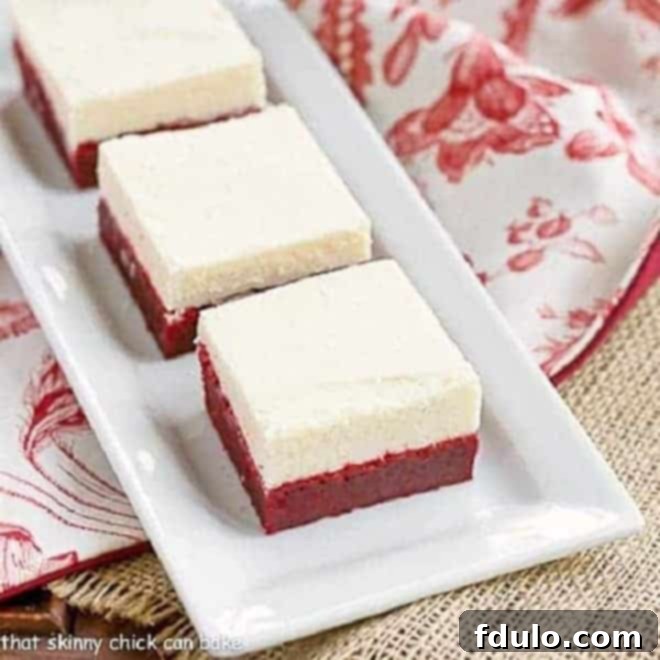
Red Velvet Desserts have always held a special place in our family, especially for my daughter, Katie. Year after year, her birthday wish often revolves around a classic red velvet cake or a batch of those delightful red velvet cupcakes. Knowing her deep affection for this crimson-hued treat, I knew I had to surprise her with something truly special: a batch of these extraordinary Red Velvet Brownies with a luxurious White Chocolate Icing!
This isn’t just any brownie recipe; it’s a meticulously crafted Red Velvet Brownies Recipe made entirely from scratch. Each square boasts a rich, tender crumb, beautifully balanced by a subtle cocoa flavor and that signature vibrant red hue. But what truly elevates these brownies from delicious to absolutely divine is the indulgent White Chocolate Buttercream Frosting. Its creamy, sweet decadence pushes these brownies over the top, making every bite an unforgettable experience.
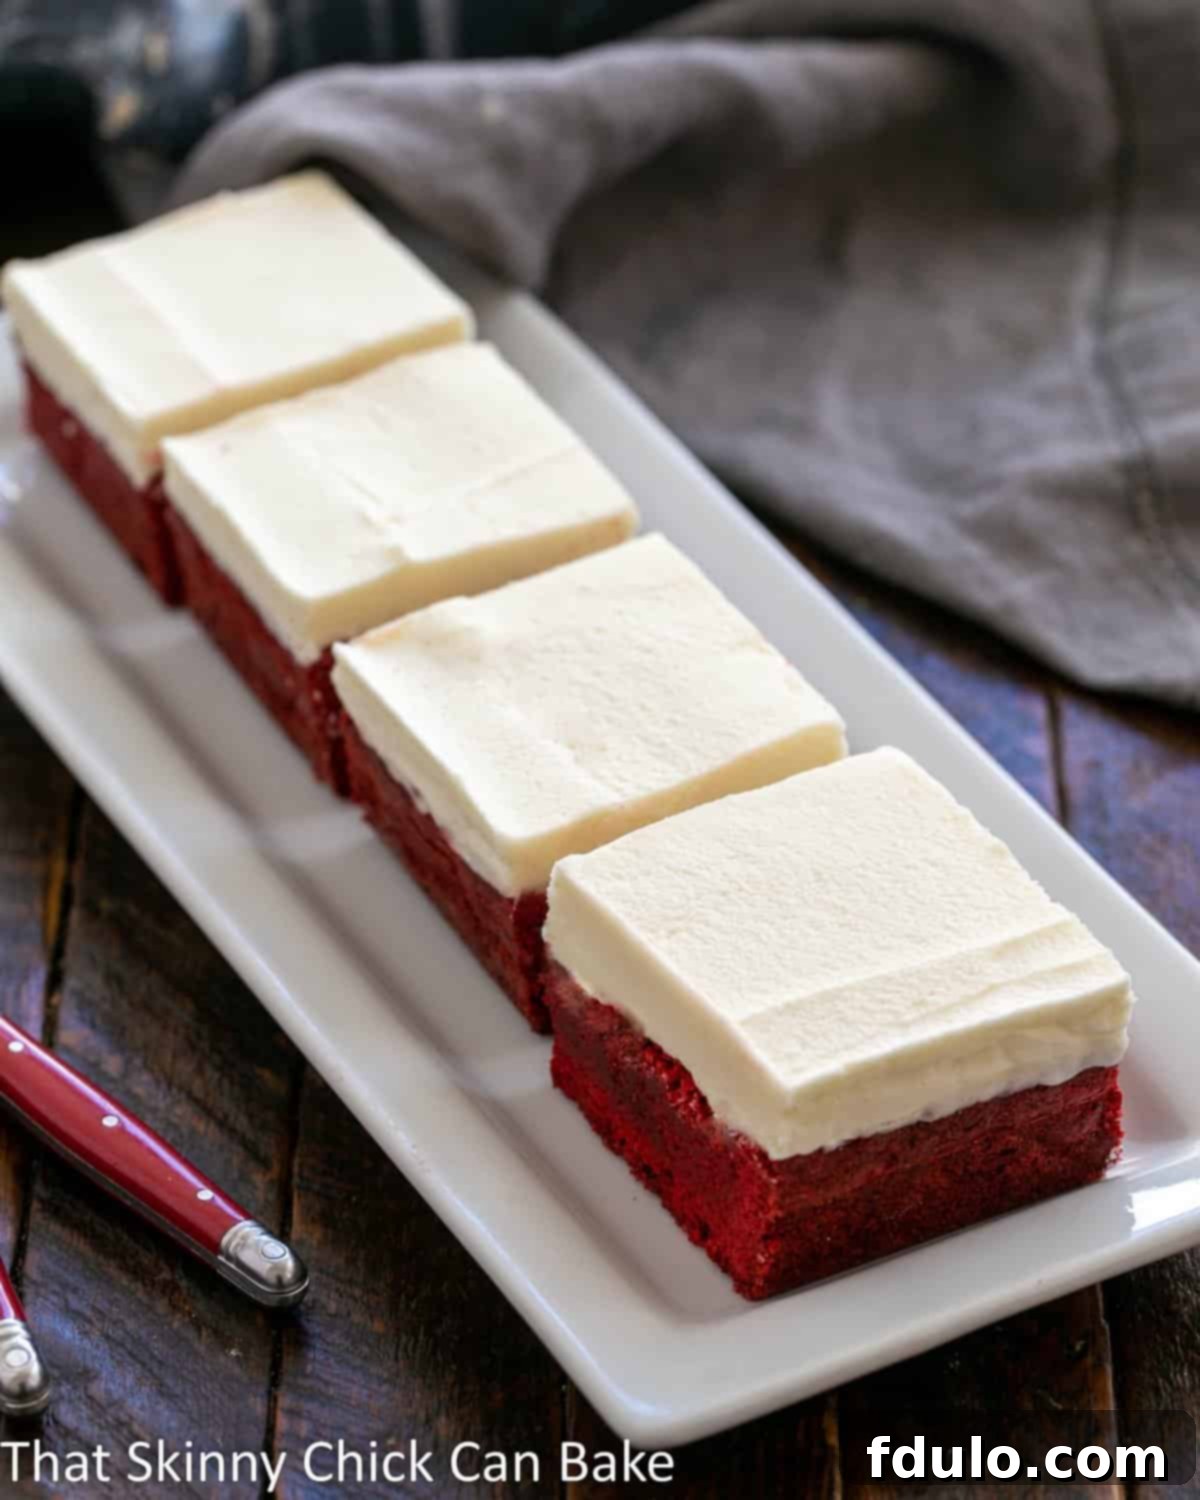
Why These Red Velvet Brownies Are an Absolute Must-Make
If you’re looking to delight your taste buds or impress guests, these Red Velvet Brownies offer a compelling combination of flavor, texture, and visual appeal. Here’s why this recipe deserves a spot in your baking repertoire:
- Effortless Red Velvet Indulgence: Red Velvet Bars provide a simpler, quicker path to your red velvet craving compared to a multi-layered cake. They offer all the beloved flavors and iconic color in a convenient, easy-to-share format. This means less baking time, less fuss, but no compromise on that distinctive red velvet taste.
- Decadent Frosting in Every Bite: Prepare for a truly luxurious experience! This recipe ensures there’s almost as much creamy, rich white chocolate frosting as there is tender brownie in every single bite. The generous layer of frosting is not just an adornment; it’s an integral part of the brownie’s allure, offering a delightful contrast in texture and a burst of sweet, buttery flavor.
- Visually Stunning for Any Occasion: The brownies’ striking red color makes them incredibly versatile and fun for a wide array of celebrations. They’re perfect for spreading cheer during Christmas, setting a romantic mood on Valentine’s Day, or even adding a festive touch to patriotic holidays if you adorn them with a sprinkle of blue or red, white, and blue decorations. Their vibrant appearance guarantees they’ll be a showstopper on any dessert table.
- A Unique Twist on a Classic: While red velvet cake is a beloved staple, these brownies offer a fresh, chewy alternative. They combine the best attributes of a traditional brownie’s dense texture with the distinct flavor profile and visual charm of red velvet. This makes them an exciting treat for those who appreciate both brownies and red velvet desserts.
- Homemade with Love: Crafting these brownies from scratch ensures maximum flavor and freshness. You control every ingredient, allowing you to tailor them to perfection. The act of baking itself is a joy, and the result is a heartwarming, homemade treat that truly tastes superior to any store-bought alternative.
My daughter Katie’s unwavering love for all things red velvet is legendary in our home. However, my husband Bill holds a different opinion. I suspect his initial encounter with a red velvet cupcake led him to expect a more pronounced chocolate flavor. While he’ll still partake in a brownie or two, his preference leans heavily towards a rich devil’s food cake generously slathered with chocolate buttercream. The minimal cocoa content, which is precisely why Katie is such a devoted fan, is also the reason Bill isn’t. So, to balance out the recent parade of lava cakes, I lovingly whipped up a batch of these red velvet brownies. After all, the Queen of the House, as she’s affectionately known, certainly deserves her special treats tailored just for her!
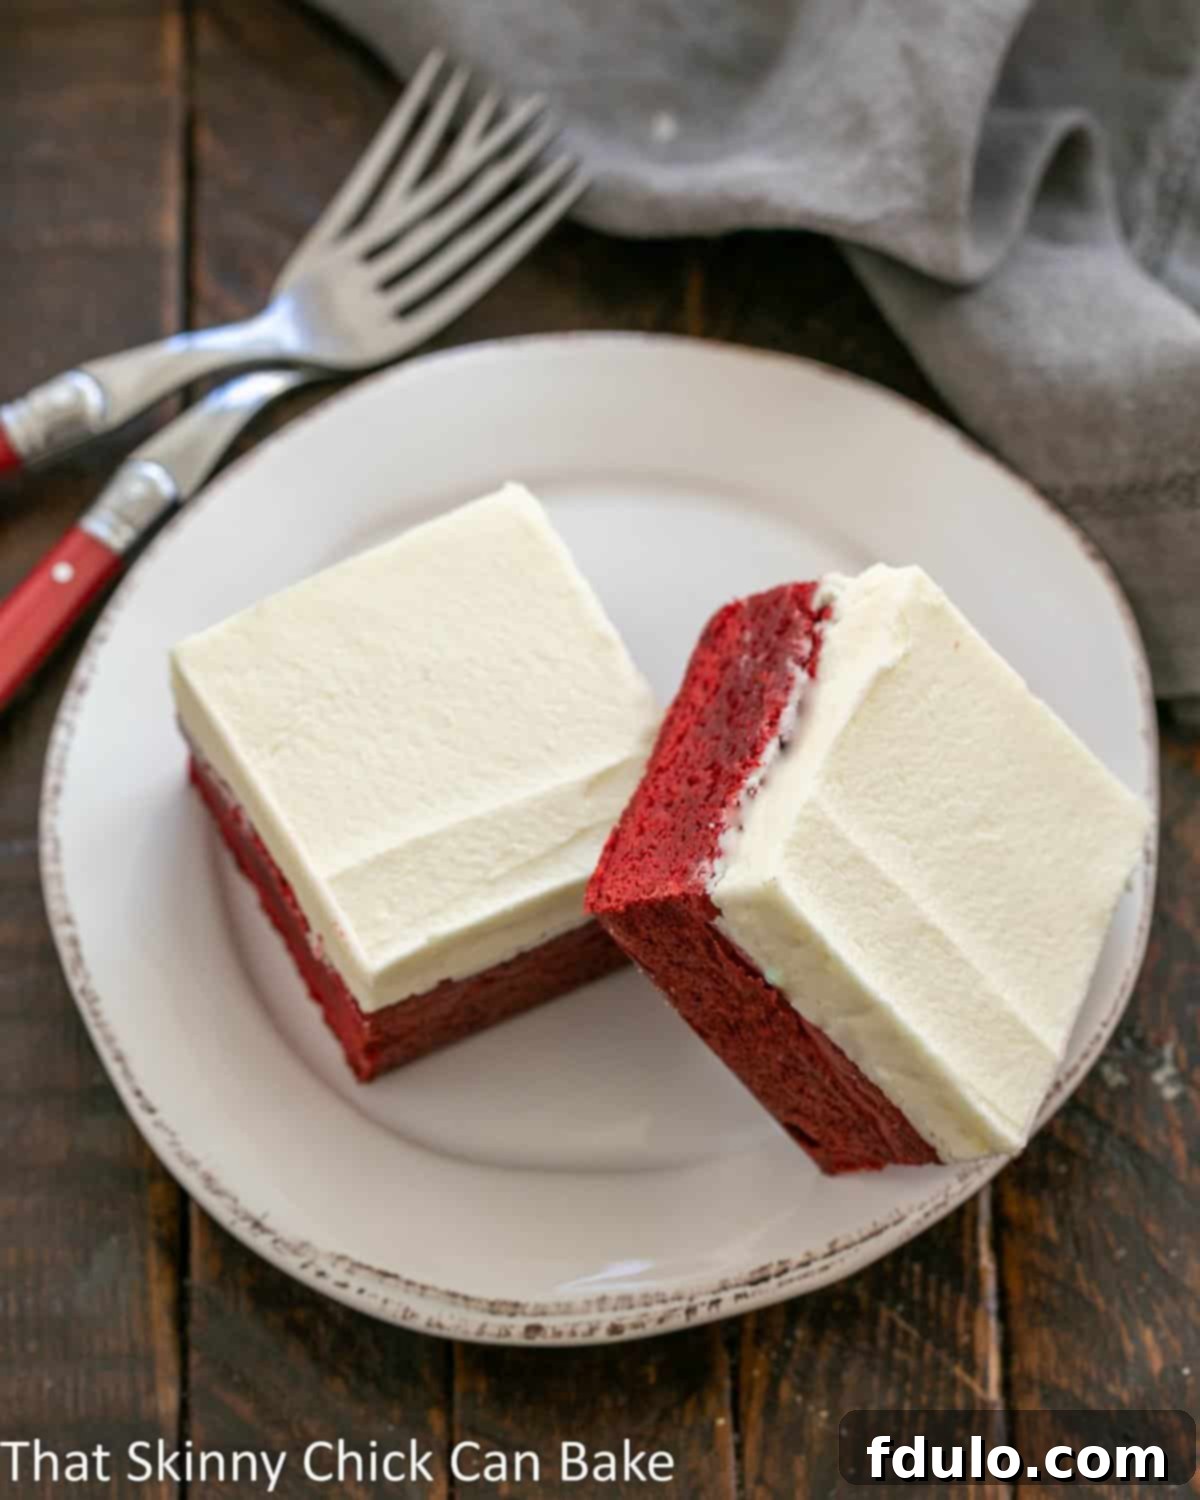
Key Ingredient Insights for Perfect Red Velvet Brownies
Crafting these delectable Red Velvet Brownies with White Chocolate Icing begins with understanding the role of each ingredient. Here’s a closer look at what you’ll need for both the brownies and the creamy white chocolate buttercream, along with some helpful tips:
For the Red Velvet Brownies:
- Kitchen Staples: You’ll need granulated sugar, large eggs, all-purpose flour, and a pinch of salt. Ensure your eggs are at room temperature for better emulsification with the fats.
- Butter: Use good quality butter, preferably unsalted, so you can control the salt content in the recipe. Make sure it’s softened to room temperature. This is crucial for creaming it properly with the sugar, creating a light and airy base for your brownies.
- Vanilla Extract: Always opt for pure vanilla extract over imitation vanilla. The quality of your vanilla significantly impacts the overall flavor profile of both the brownies and the frosting, adding a warm, aromatic depth.
- Cocoa Powder: This recipe calls for regular, unsweetened natural cocoa powder, such as Ghirardelli. Dutch-process cocoa powder, while delicious, is treated to reduce its acidity and would react differently with other ingredients, potentially dulling the vibrant red color. Natural cocoa powder is essential for achieving that characteristic red velvet hue and subtle chocolate note.
- Red Food Coloring: A generous amount, typically a one-ounce bottle (about two tablespoons), is needed to achieve the signature rich, deep red color. While liquid food coloring works, gel food coloring often provides a more intense color with less volume, so adjust accordingly if substituting.
For the White Chocolate Buttercream Frosting:
- Butter: Again, room temperature butter is key. It whips up lighter and creamier, forming the perfect base for a smooth, luscious frosting.
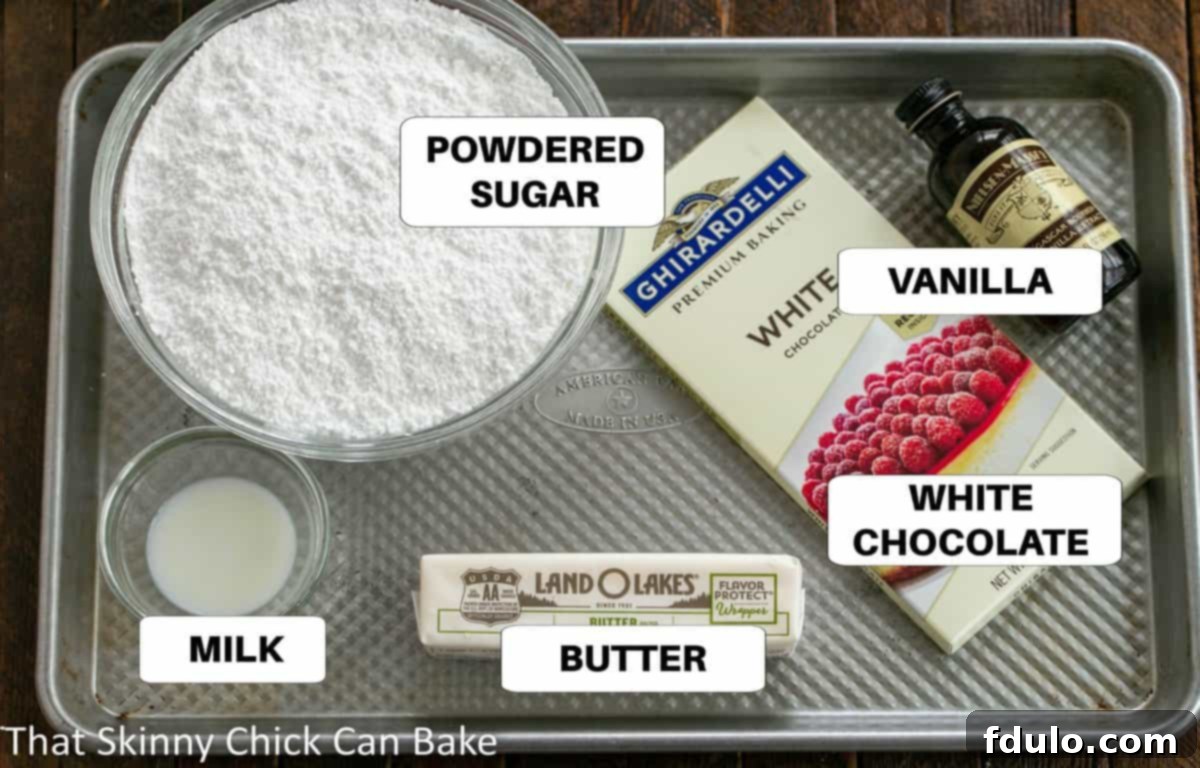
- Powdered Sugar (Confectioners’ Sugar): Sifting your powdered sugar is a non-negotiable step for achieving a smooth, lump-free frosting. This prevents any gritty texture and ensures a silky finish.
- Vanilla Extract: Pure vanilla extract again contributes significantly to the frosting’s flavor, complementing the white chocolate beautifully.
- White Chocolate: For the best flavor and texture, use a high-quality white chocolate bar, like Ghirardelli, finely chopped and then melted. White chocolate chips often contain stabilizers that can make them less ideal for melting smoothly into a frosting, resulting in a grainier texture. However, if chips are all you have, they can be a viable substitute with slight adjustments to achieve desired consistency.
- Milk: A small amount of milk helps to adjust the frosting’s consistency, making it smooth and spreadable. You can add a little more if you prefer a fluffier, piping-friendly icing.
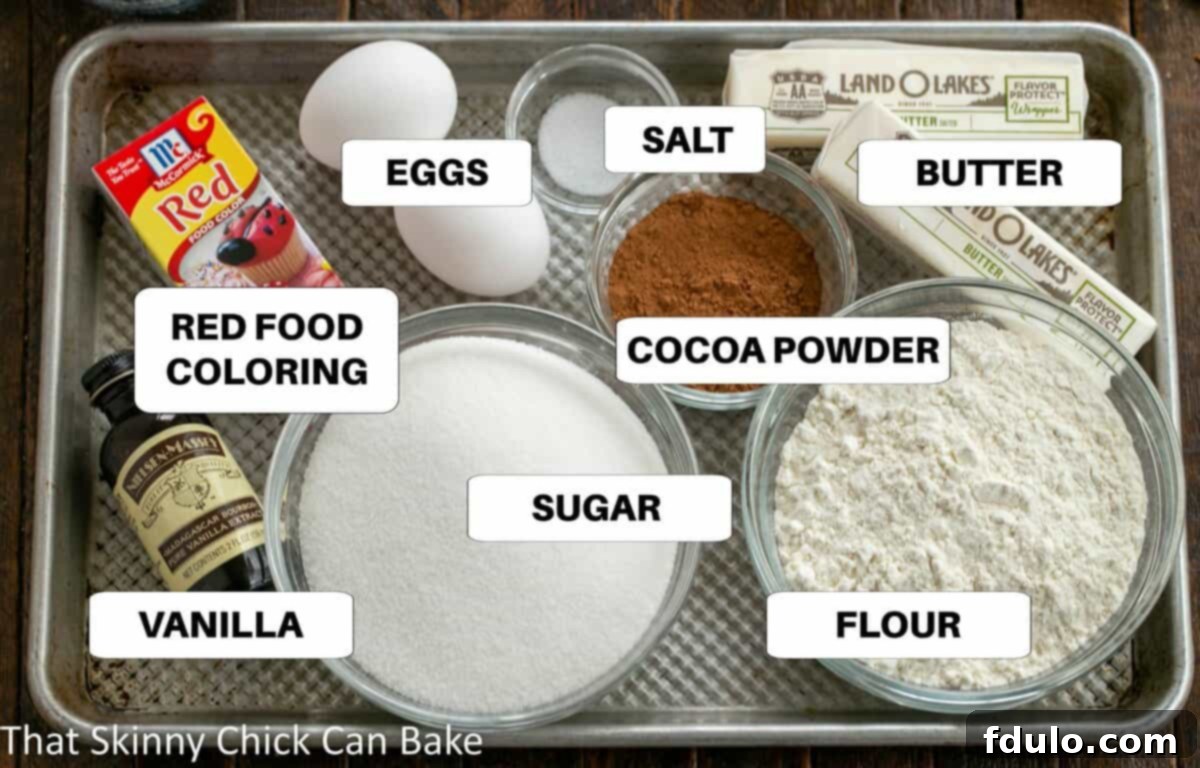
Brownie Ingredients Visual Guide
Here’s a visual representation of the essential ingredients required to make the rich, vibrant red velvet brownie base:
Frosting Ingredients Visual Guide
And here are the key ingredients for crafting that irresistible, creamy white chocolate buttercream frosting:
Expert Tips for Red Velvet Brownie Perfection
Achieving bakery-quality Red Velvet Brownies with White Chocolate Icing is simpler than you think with these professional insights:
- PRO-Tip: Room Temperature Ingredients are Your Best Friend: This isn’t just a suggestion; it’s a foundational step for successful baking. Ensure your butter and eggs are at room temperature. Softened butter creams seamlessly with sugar, incorporating air and creating a light, fluffy base. Room temperature eggs emulsify much better with the butter mixture, resulting in a smooth, homogenous batter that bakes evenly and yields a tender crumb. Cold ingredients can lead to a lumpy batter and a denser final product.
- Don’t Be Shy with the Red Food Coloring: This recipe truly embraces the iconic red velvet aesthetic, calling for a full 2 tablespoons of red food coloring. This typically equates to a standard one-ounce bottle. Don’t skimp on this step if you want that strikingly vibrant crimson hue. If using gel food coloring, which is more concentrated, you might need slightly less, so add gradually until your desired color is achieved.
- Sift Your Powdered Sugar for the Ultimate Smoothness: For a frosting that’s gloriously smooth and free of any gritty lumps, always sift your powdered sugar. Powdered sugar tends to clump easily, and sifting ensures a silky, professional finish for your white chocolate buttercream.
- Quality White Chocolate Makes a Difference: To infuse your frosting with the best possible white chocolate flavor, reach for a good quality white chocolate bar, like Ghirardelli, and chop it before melting. White chocolate chips often contain stabilizers that can prevent them from melting as smoothly, potentially giving your frosting a slightly grainy texture. While chips can be a substitute in a pinch, a bar will yield a superior, richer taste and creamier consistency.
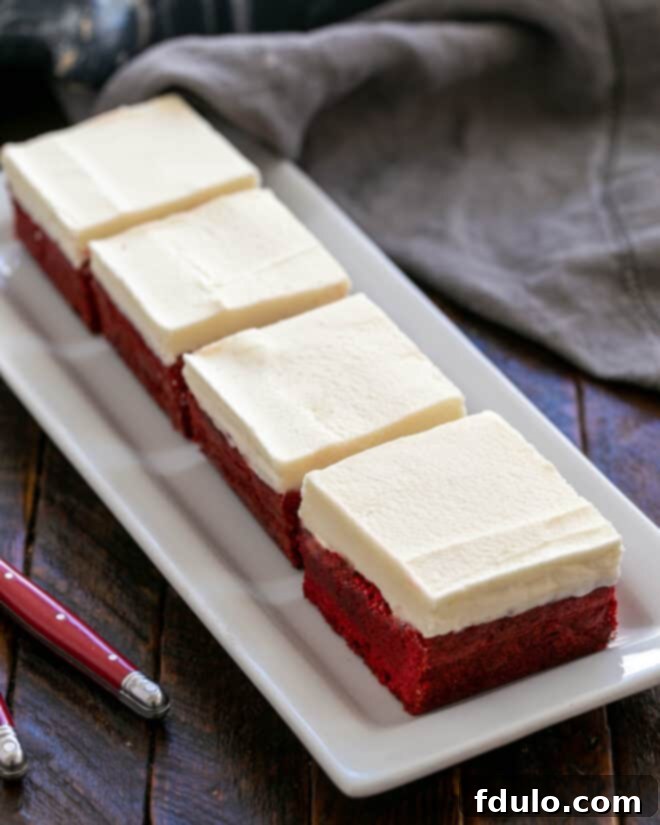
- PRO-Tip: The Hot Knife Trick for Pristine Slices: To achieve beautifully clean, sharp cuts on your brownies, chill them thoroughly in the refrigerator first. Once chilled, dip a sharp knife into a tall glass of extremely hot water, wipe it completely dry, and then make your cut. Repeat this process for each slice. This technique ensures the knife glides through the dense brownie and thick frosting without dragging or tearing. For the best serving experience, allow the sliced brownies to come back to room temperature before enjoying.
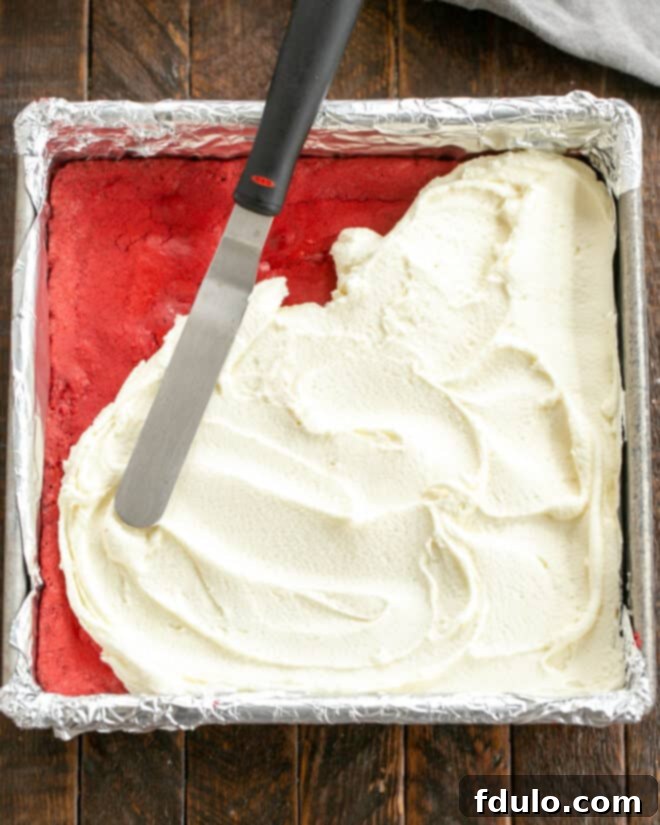
- Customize Your Frosting Consistency: The recipe as written will produce a denser frosting, perfect for spreading a thick, luxurious layer as seen in the photos. If you prefer a fluffier icing that’s easier to pipe, simply add a tiny bit more milk, a half-teaspoon at a time, until you reach your desired consistency. This allows for versatility in presentation, whether you’re spreading or piping intricate designs.
- Avoid Overmixing the Batter: Once you add the flour and salt, mix the brownie batter just until the ingredients are combined. Overmixing can develop the gluten in the flour too much, leading to tough, dry brownies rather than the desired fudgy, tender texture. A gentle hand is key here.
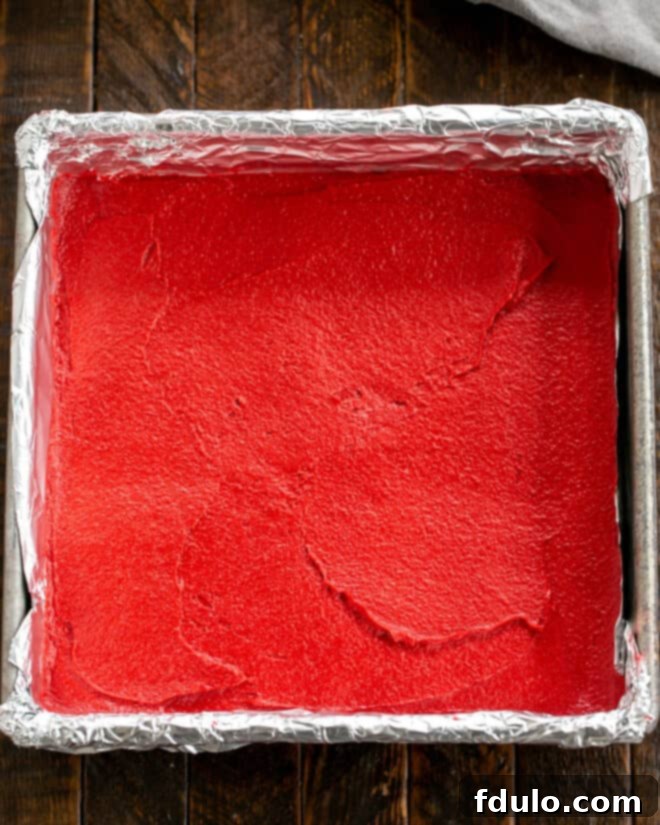
- Proper Pan Preparation: Line your 8×8 inch baking pan with nonstick foil or regular foil, leaving an overhang on the sides. If using regular foil, be sure to grease it well with cooking spray. This will make it incredibly easy to lift the entire baked brownie block out of the pan, making frosting and cutting a breeze.
- Don’t Overbake: Brownies can go from perfectly fudgy to dry and crumbly very quickly. Keep a close eye on them during the last few minutes of baking. A toothpick inserted into the center should come out with moist crumbs, but not wet batter. Slightly underbaked is always better than overbaked for a fudgy brownie.
Step-by-Step Guide: Crafting Your Red Velvet Brownies
Frequently Asked Questions About Red Velvet Brownies
That’s a fantastic question that gets to the heart of what makes red velvet unique! Traditionally, a brownie is defined as a “small square of rich chocolate cake, usually containing nuts.” By this strict definition, many red velvet brownies, including this recipe, might be better classified as “cookie bars” or “dessert bars.” While they do contain a small amount of cocoa powder – typically just enough to impart a subtle chocolate flavor and deepen the red color – it’s often not enough to qualify as a ‘rich chocolate dessert’ in the same vein as a classic fudge brownie. They possess a denser, chewier texture than cake, placing them squarely in the bar cookie category. My husband, Bill, for instance, would certainly confirm that they are not a true chocolate brownie in his book! Instead, they offer a distinct flavor profile that blends a hint of cocoa with vanilla, making them a delicious category of their own, much like a blondie is a ‘pale cookie bar’ without significant chocolate.
Red velvet desserts are known for several key characteristics that set them apart:
- Vibrant Red Color: First and foremost, a red velvet dessert must have a distinctive red or reddish-brown hue. This recipe achieves that with a generous dose of red food coloring. Historically, some recipes utilized natural ingredients like beet juice or even the reaction between acidic ingredients and natural anthocyanins in older, un-Dutched cocoa powder to create this color.
- Subtle Cocoa Flavor: Unlike a rich chocolate cake, red velvet desserts contain only a minimal amount of cocoa powder. This isn’t intended to make it taste intensely chocolatey, but rather to deepen the red color and add a slight, nuanced cocoa undertone that complements the other flavors. It’s a hint of chocolate, not a chocolate overload.
- Cream Cheese Frosting (Traditionally): While this recipe features a delicious white chocolate buttercream, traditional red velvet cakes are almost always paired with a tangy cream cheese frosting. The slight tartness of the cream cheese perfectly balances the mild sweetness of the cake.
- Unique Baking Chemistry (Historically): Many classic red velvet recipes include a trio of ingredients: cocoa powder, buttermilk, and vinegar. The acid from the buttermilk and vinegar interacts with the natural (non-Dutch-processed) cocoa powder. This interaction was once believed to enhance the red anthocyanin pigments naturally present in cocoa, thereby intensifying the red color. This chemical reaction also tenderizes the crumb and adds a characteristic tang. While these brownies contain neither vinegar nor buttermilk, they still achieve a beautifully obvious red color, demonstrating that modern food coloring can deliver the visual impact while maintaining a delicious, distinct flavor profile.
Proper storage is essential to keep your red velvet brownies fresh and delicious. Because these brownies are topped with a decadent white chocolate buttercream, which is dairy-based, they are best stored in an airtight container in the refrigerator. They will keep well for up to 3-4 days. For optimal flavor and texture, allow them to come to room temperature for about 15-30 minutes before serving. If you plan to store them for longer, you can freeze them for up to 2-3 months. Wrap individual brownies tightly in plastic wrap, then place them in an airtight freezer-safe container or bag.
Absolutely! These red velvet brownies are an excellent make-ahead dessert, which makes them perfect for parties and holidays. You can bake the brownies, allow them to cool completely, and then store them unfrosted in an airtight container at room temperature for up to 2 days, or in the refrigerator for up to 5 days. You can also prepare the white chocolate buttercream frosting a day in advance and store it in an airtight container in the refrigerator. When ready to serve, simply allow the frosting to come to room temperature and re-whip it for a minute or two until light and fluffy, then frost your cooled brownies. This strategy reduces stress on the day of your event and ensures fresh, delicious results.
Explore More Red Velvet & Delicious Dessert Recipes:
If you’re a fan of the unique flavor and vibrant color of red velvet, or simply looking for more irresistible dessert ideas, be sure to check out these fantastic recipes:
- Red Velvet Marble Cake Recipe from Grandbaby Cakes – A beautiful swirl of flavors.
- Red Velvet Gooey Butter Cookies from Tidy Mom – Irresistibly soft and chewy.
- Gooey Red Velvet Brownie Cake from Beyond Frosting – The best of both worlds.
- Red Velvet Checkerboard Cake – A stunning dessert for special occasions.
- Red Velvet Fudge – A rich, sweet treat that melts in your mouth.
- Red Velvet Cake with Cream Cheese Frosting – The classic red velvet experience.
- Discover all my other delectable Best Dessert Recipes – A treasure trove of sweet delights!
Stay connected with us and share your culinary creations! Find us on social media @ Instagram, Facebook, and Pinterest. Don’t forget to tag me when you try one of my delicious recipes! Your feedback is invaluable, and if you love the results, please consider leaving a 5-star rating in the recipe card below. Happy baking!
Red Velvet Brownies Recipe
30 minutes
30 minutes
1 hour
16 brownies
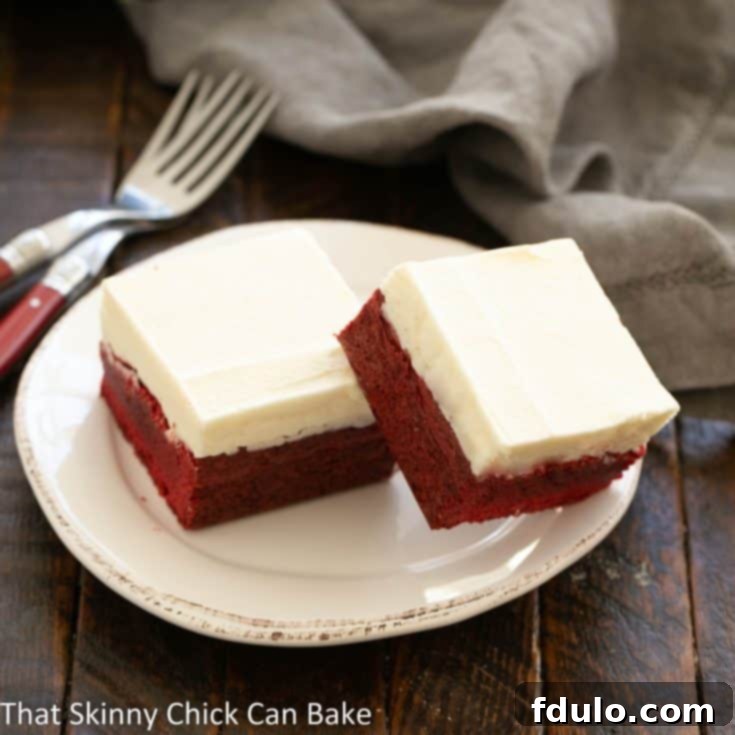
Irresistible red velvet brownies smothered in a thick layer of white chocolate icing.
Ingredients
For the Brownies:
- ½ cup butter, at room temperature
- 1 ½ cups sugar
- 2 large eggs, at room temperature
- 2 teaspoons pure vanilla extract
- 1 ¼ cups all-purpose flour
- ¼ teaspoon salt
- 3 tablespoons natural cocoa powder
- 2 tablespoons red food coloring (approx. 1 oz bottle)
For the White Chocolate Buttercream Frosting:
- ½ cup butter, at room temperature
- 2 ½ cups powdered sugar, sifted
- 1 teaspoon pure vanilla extract
- 4 ounces white chocolate, chopped and melted
- ½ tablespoon milk (plus more if needed for consistency)
Instructions
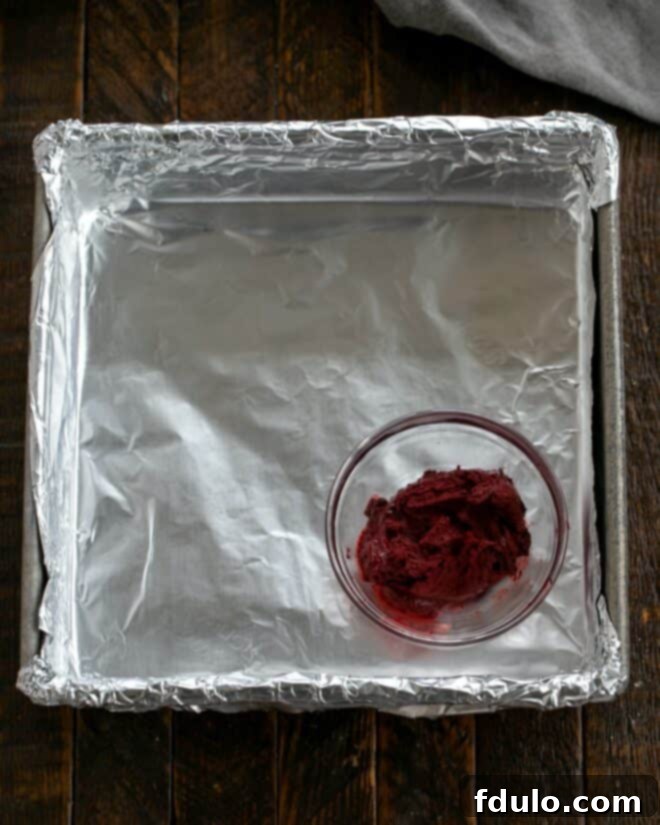
- Preheat oven to 350ºF (175°C). Line an 8×8 inch baking pan with nonstick foil or regular foil, leaving an overhang on the sides. Grease regular foil with cooking spray if using.
- In a small bowl, mix the cocoa powder, 2 tablespoons of red food coloring, and 1 teaspoon of the vanilla extract to form a thick, smooth paste. Set aside.
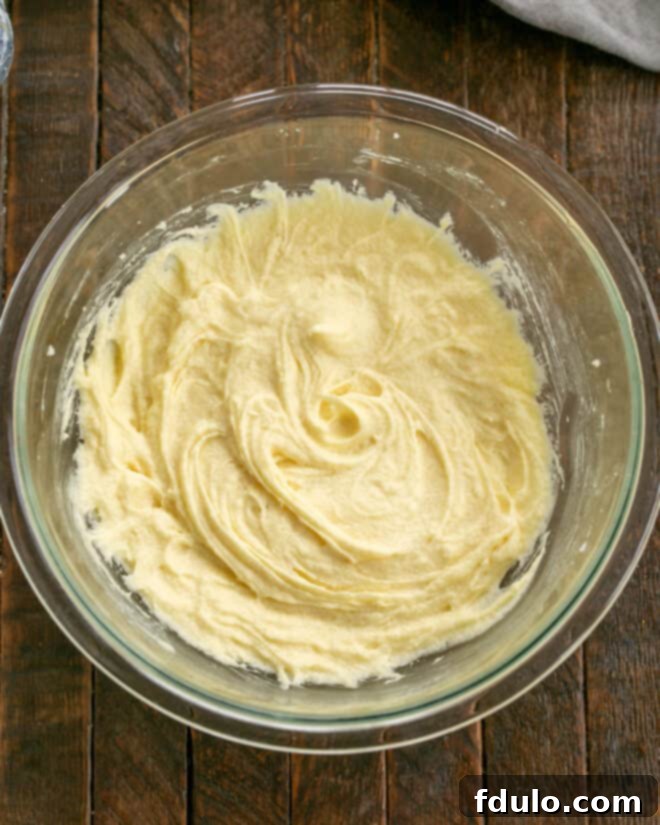
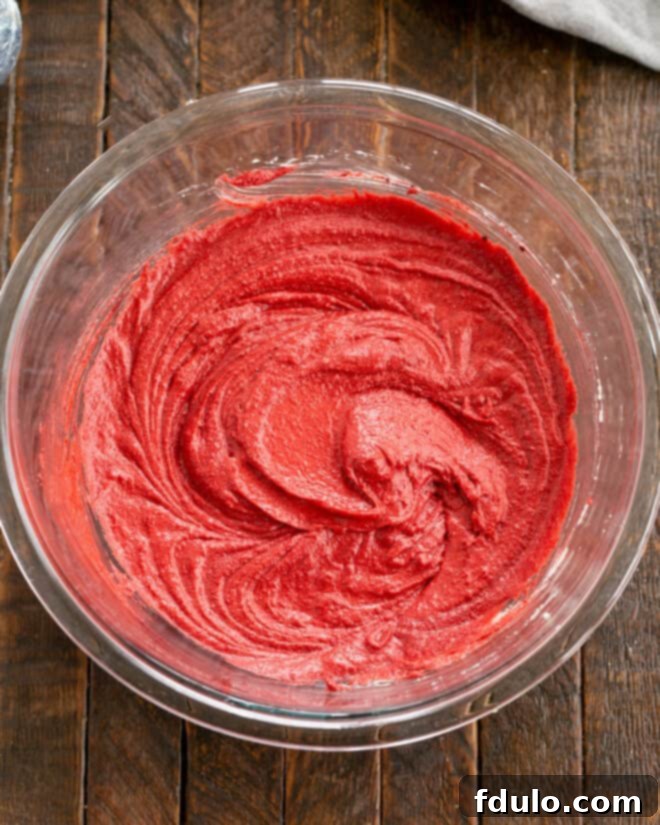
- With an electric mixer, cream the softened butter and granulated sugar together until light and fluffy. Add the eggs, one at a time, beating well after each addition. Stir in the second teaspoon of vanilla extract. Then, beat in the cocoa paste until well combined and the batter is uniformly red. Add the flour and salt to the wet ingredients and mix just until combined. Be careful not to overmix.
- Spread the batter evenly into the prepared pan. Bake for 25-30 minutes, or until a toothpick inserted into the center comes out with moist crumbs (not wet batter). Cool completely on a wire rack before frosting.
- While the brownies cool, prepare the frosting. In a mixing bowl, cream the softened butter until light and fluffy. Add the vanilla extract. Slowly mix in the sifted powdered sugar on low speed, then gradually increase to medium speed. Beat in the melted white chocolate. Add ½ tablespoon of milk, or a little more if needed, until you reach your desired consistency (denser for spreading, softer for piping). Frost the cooled brownies evenly.
Notes
For the cleanest slices, chill the frosted brownies for at least 30 minutes, then use a hot, dry knife to cut. Allow them to return to room temperature before serving for the best flavor and texture.

Recommended Products
As an Amazon Associate and member of other affiliate programs, I earn from qualifying purchases.
- Small Offset Spatula
- KitchenAid 9-Speed Digital Hand Mixer
- 8 x 8-inch Baking Pan
Nutrition Information:
Yield:
16
Serving Size:
1 brownie
Amount Per Serving:
Calories: 330Total Fat: 15gSaturated Fat: 9gTrans Fat: 0gUnsaturated Fat: 5gCholesterol: 55mgSodium: 141mgCarbohydrates: 48gFiber: 0gSugar: 40gProtein: 3g
HOW MUCH DID YOU LOVE THIS RECIPE?
Please leave a comment on the blog or share a photo on Pinterest
