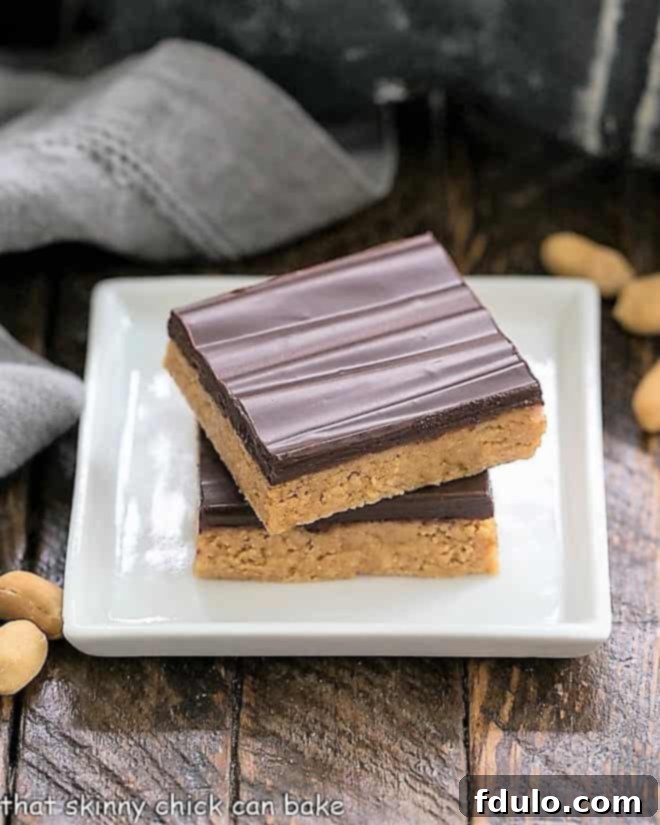
Indulge in the ultimate homemade treat with these incredibly easy No-Bake Homemade Reese’s Bars! If you’re a devout fan of Reese’s Peanut Butter Cups, prepare to be absolutely smitten. This recipe offers all the magnificent chocolate-peanut butter flavor you crave, transformed into a convenient, delightful bar. Perfect for those sweltering days when turning on the oven is unthinkable, or simply whenever a powerful Reese’s craving strikes. They’re not just good; many agree they’re even better than your favorite store-bought Chocolate Peanut Butter Cups!
For anyone with an unwavering addiction to Reese’s, these No-Bake Peanut Butter Bars are a dream come true, crafted especially for you. With just a handful of readily available ingredients, you’ll be sinking your teeth into these irresistible squares in no time. Be warned: they’re so exceptionally delicious, you might find yourself wanting to keep the whole batch to yourself!

Why These Homemade Reese’s Bars Are an Absolute Must-Make
If the mere mention of chocolate and peanut butter sends your taste buds into a frenzy, then you absolutely need to make these bars. They offer a delightful blend of simplicity and indulgence that’s hard to beat. Here’s why these homemade treats are about to become your new favorite:
- Unmatched Flavor for Peanut Butter Cup Lovers: If you adore the classic peanut butter cup, these bars will undoubtedly become your new best friend. They capture that iconic, creamy, and decadent flavor profile, but in a more substantial and satisfying bar form. Each bite delivers that perfect balance of sweet, salty, and rich goodness.
- Effortless No-Bake Preparation: Say goodbye to hot ovens and complicated baking steps! This is a genuinely no-bake recipe, meaning it comes together incredibly easily and quickly. It’s the ideal dessert for novice bakers, busy weeknights, or anyone looking for a delicious treat without the fuss.
- Perfect for Any Weather: When summer temperatures soar, or you just don’t feel like heating up your kitchen, no-bake desserts are your salvation. These Reese’s bars are a fantastic choice, allowing you to create a decadent dessert without breaking a sweat.
- Freezer-Friendly Convenience: Worried you might devour the entire batch in one sitting? Good news! These bars freeze exceptionally well. You can store them for later enjoyment, making them perfect for meal prepping desserts or having a stash of treats ready whenever a craving hits. While I’ve been known to enjoy frozen cookies and bars straight from the freezer (they’re surprisingly good!), storing them out of sight can indeed help keep them out of mind until you’re ready to indulge.
- A Guaranteed Crowd-Pleaser: Whether you’re hosting a party, bringing a dish to a potluck, or simply treating your family, these bars are always a hit. The chocolate-peanut butter combination is universally loved, ensuring smiles all around.
- Customizable to Your Liking: While the recipe is fantastic as is, it’s also easy to customize. You can experiment with different types of chocolate, add a sprinkle of sea salt, or even a dash of vanilla extract to the peanut butter layer to make them uniquely yours.
Do you, like so many others, adore the timeless chocolate peanut butter combination? Are you a dedicated Reese’s fan? In my household, two out of my three children (yes, even my grown kids still get holiday treats!) insist on having peanut butter cups in their stockings and Easter baskets. And while I only ever took one polite bite of a peanut butter sandwich at age six (I was decidedly not a fan back then!), I absolutely cannot resist peanut butter sweets, especially when they come in the form of one of those super simple No-Bake Desserts.
I’m certainly not alone in this sentiment. Danielle, my talented foodie friend behind the popular blog Hugs and Cookies XOXO, shares this passion. I recently had the pleasure of whipping up her famous Chocolate Topped Peanut Butter Bars, and I can confirm they were utterly delightful! If you’re someone who believes more peanut butter is always better, you might want to check out my Better Than Reese’s Bars recipe. It’s essentially this exact recipe but with a glorious double portion of the rich peanut butter filling. The choice is yours – which decadent recipe will be calling your name first?
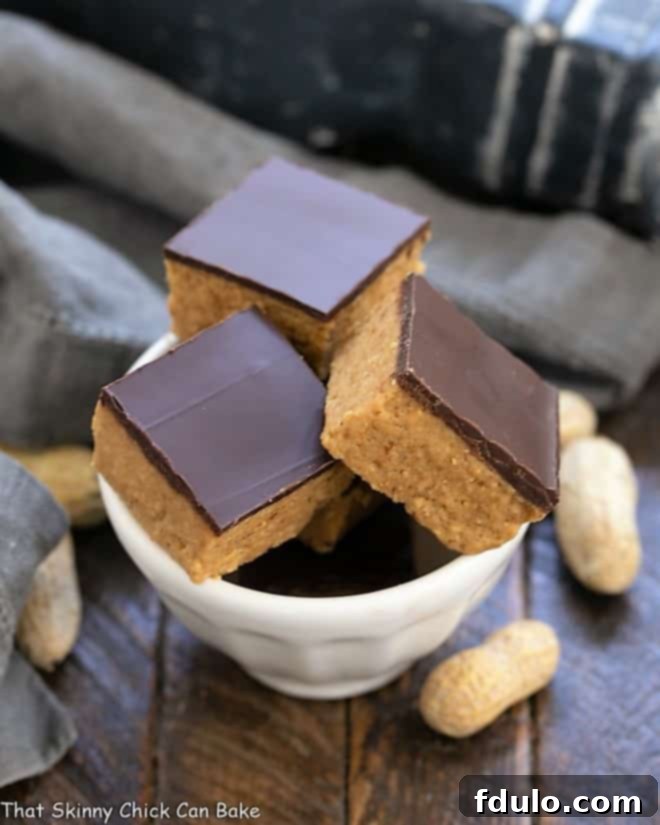
Crafting Your Homemade Reese’s Bars: A Simple Guide
These irresistible chocolate peanut butter bars have a history of disappearing quickly. I’ve taken them to numerous events, and without fail, they are always the first treats to vanish from my goodie trays. There’s a certain magic surrounding Reese’s fans – they simply cannot get enough of that sublime combination of chocolate and peanut butter. As an added bonus, these Homemade Reese’s Bars are entirely no-bake, making them a true culinary joy. Who doesn’t appreciate a delectable No Bake Dessert that comes together with minimal effort?
The process is incredibly straightforward, even for beginner bakers. Here’s a brief overview of the simple steps involved:
- Prepare the Peanut Butter Base: Begin by combining melted butter with graham cracker crumbs, powdered sugar, and your favorite smooth peanut butter. Mix these ingredients thoroughly until they form a cohesive, crumbly dough. This forms the rich, sweet, and perfectly chewy foundation of your bars.
- Press into Pan: Once the mixture is ready, firmly pat it into an even layer in your prepared pan. This creates a dense, delicious base that will hold up beautifully when sliced. Ensure it’s pressed down firmly to prevent crumbling.
- Create the Chocolate Topping: Next, prepare a wonderfully smooth and glossy chocolate topping. This involves melting chocolate (semi-sweet or milk chocolate work best) with a touch of vegetable oil. The oil is a key ingredient that gives the topping its beautiful sheen and makes it easier to slice without cracking.
- Layer and Chill: Carefully spread the melted chocolate mixture over the chilled peanut butter base. The key is to work quickly and evenly. Once topped, the bars need to chill in the refrigerator to set completely. This step is crucial for achieving firm, easy-to-slice bars.
- PRO-Tip for Perfect Slices: The secret to cleanly cut bars with a pristine chocolate topping lies in using a hot, dry knife. The warmth allows the knife to glide effortlessly through the chocolate, preventing cracks and smudges. For more in-depth techniques on achieving bakery-worthy slices, be sure to check out my comprehensive post on How to Cut Perfect Bar Cookies.
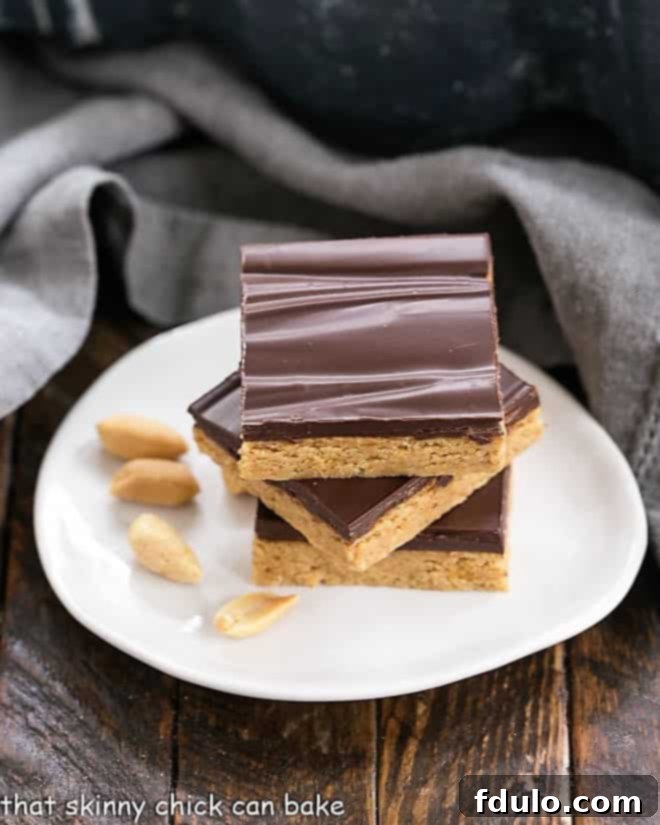
Expert Tips for Irresistible Homemade Reese’s Bars
Making these no-bake bars is generally simple, but a few expert tips can elevate your results from great to absolutely extraordinary. Follow these guidelines to ensure your Homemade Reese’s Bars are as perfect as they can be:
- Peanut Butter Choice Matters: For the smoothest, most sliceable bars, always use creamy, smooth peanut butter. Chunky peanut butter, while delicious in other contexts, can make it difficult to achieve clean cuts and a uniform texture in these bars. I personally recommend a classic brand like Jif for its consistent creaminess and flavor.
- Chocolate Selection for Optimal Flavor: You have a choice between semisweet and milk chocolate for your topping. Milk chocolate will give you a taste that’s even closer to the beloved Reese’s Peanut Butter Cup, offering a sweeter, creamier finish. However, semisweet chocolate provides a lovely, slightly less sweet contrast to the very rich and sugary peanut butter layer, creating a more balanced flavor profile. Choose according to your preference!
- Achieve a Smooth Chocolate Layer: An offset spatula is your best friend when it comes to spreading the melted chocolate topping evenly and smoothly over the peanut butter layer. Its angled blade allows for precise, effortless spreading without disturbing the base.
- The Magic of Vegetable Oil: Adding a small amount of vegetable oil to your melted chocolate might seem unconventional, but it plays a crucial role. This touch of oil not only gives the chocolate topping a beautiful, professional-looking glossy finish but also makes it slightly more pliable and less prone to cracking when you slice the bars.
- Slicing Chilled Bars with Ease: While chilling the bars is essential for them to set, slicing them straight from the refrigerator can be challenging as the chocolate tends to crack. For best results, allow the bars to sit at room temperature for 10-15 minutes before attempting to slice them. This slight warming makes the chocolate more cooperative.
- Dealing with Crumbly Peanut Butter: The peanut butter layer can sometimes be a bit crumbly when slicing, especially if not pressed firmly enough. Don’t fret if your slices aren’t absolutely perfect! They will still taste incredible. Plus, you can easily press any loose crumbs back onto the base of the bars using your offset spatula, tidying them up for a neat presentation.
- PRO-Tip for a Hot Knife (Gas Burner Method): For the cleanest cuts, I like to carefully warm my knife blade by holding it over the flame of my gas burner for a few seconds. Exercise extreme caution when doing this to avoid burning yourself or damaging your knife. Ensure the knife is dry before heating.
- Alternative Hot Knife Method (Hot Water): If you don’t have a gas stove or prefer a safer method, run your knife under very hot tap water for about 30 seconds. Dry the blade completely before slicing. This will achieve a similar effect, allowing the knife to glide smoothly through the chocolate.
- PRO-Tip for Long-Term Storage: These delightful bars freeze wonderfully, making them excellent for preparing ahead or keeping a stash for future cravings. To freeze, simply layer the bars with wax paper or parchment paper in an airtight container. This prevents them from sticking together and preserves their freshness.
- Shelf Life: When stored properly in an airtight container, these bars will maintain their quality for up to 3+ months in the freezer. In the refrigerator, they’ll remain fresh and delicious for 3-4 days, though I personally think they’d still be perfectly tasty for up to a week.
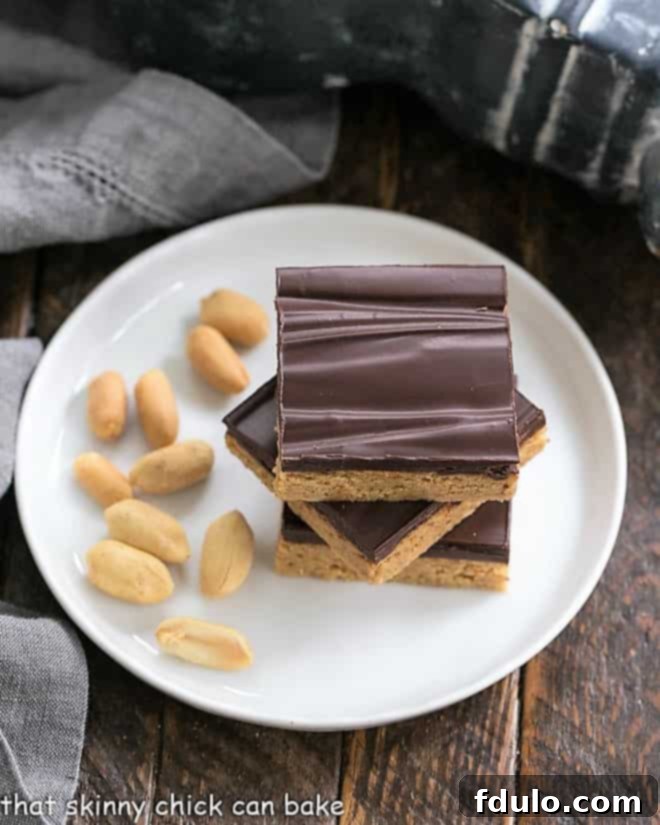
Frequently Asked Questions About Chocolate and Peanut Butter
Curious about the origins of this iconic flavor pairing? Here are some common questions answered:
The incredibly popular combination of chocolate and peanut butter was largely made famous by Harry Reese, a visionary dairy farmer. In the 1920s, while working on a property owned by the confectionery giant Milton Hershey, Mr. Reese had the brilliant idea in 1928 to mix peanut butter and chocolate into small cups. This innovative creation quickly gained traction. Later, in 1963, Hershey’s acquired Reese’s business, and the immense marketing power and distribution network of the Hershey name significantly propelled these delightful peanut butter cups into widespread popularity, cementing their status as a beloved treat worldwide.
The delightful harmony between chocolate and peanut butter is attributed to something often referred to as “natural affinity.” This concept suggests that certain foods share similar aromatic compounds or flavor profiles that, when combined, create a more complex, appealing, and intensely satisfying taste experience. In the case of chocolate and peanut butter, both ingredients possess rich, deep, and slightly bitter notes, balanced by sweetness (especially in milk chocolate and sweetened peanut butter). The creamy texture of peanut butter beautifully complements the smooth melt of chocolate, creating a sensory delight. It’s a phenomenon seen in many classic pairings, like peanut butter and jelly, or wine and cheese, where individual components enhance each other to create something greater than the sum of their parts.
Explore More Irresistible Peanut Butter Desserts
If you’re one of those people who simply cannot resist the allure of a Reese’s Peanut Butter Cup, then prepare to have your socks knocked off by these other amazing Peanut Butter Dessert Recipes. Each one offers a unique way to enjoy that glorious chocolate-peanut butter synergy!
- Frozen Chocolate Peanut Butter Pie: A chilly, creamy, and utterly decadent dessert that’s perfect for summer or any time you crave a refreshing treat.
- Classic Peanut Butter Pie: A rich, velvety pie that puts peanut butter front and center, a true showstopper for any gathering.
- Layered Peanut Butter Brownies: Fudgy brownies topped with a luscious layer of peanut butter truffle, creating an unforgettable combination of textures and flavors.
- Peanut Butter Bark: A quick and easy treat featuring swirls of chocolate and peanut butter, perfect for gifting or a quick indulgence.
- Chocolate Peanut Butter No-Bake Cookies: A timeless classic that delivers big on flavor with minimal effort, chewy and satisfying.
- Craving more sweetness? Explore our extensive collection of best dessert recipes for every occasion.
- And for more convenient, easy-to-share treats, check out our variety of delicious bar cookies recipes.
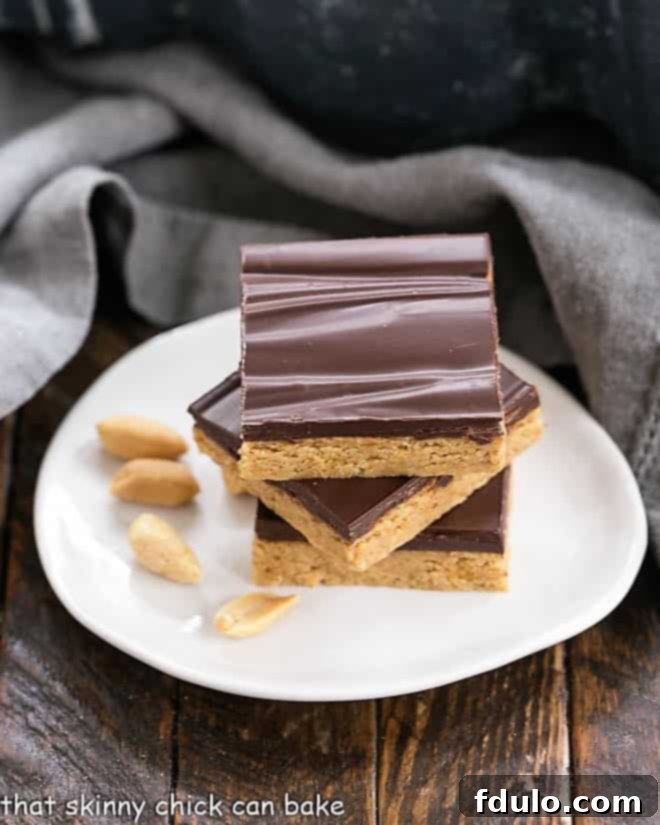
Homemade Reese’s Bars Recipe
30 minutes
30 minutes
16 bars
A simple, homemade, and utterly delicious no-bake version of the classic Reese’s Peanut Butter Cup, in a convenient bar form.
Average Rating: 4.9 out of 5 stars from 29 reviews
Ingredients
- 6 tablespoons butter, melted
- 1 cup graham cracker crumbs
- 1 cup powdered sugar
- ½ cup smooth peanut butter
- 1 cup semi-sweet chocolate chips
- 1 teaspoon vegetable oil
Instructions
- In a medium bowl, combine the melted butter, graham cracker crumbs, powdered sugar, and smooth peanut butter. Mix thoroughly until all ingredients are well incorporated and form a cohesive, somewhat crumbly mixture.
- Once combined, firmly pat the mixture into a well-greased or non-stick foil-lined 8 x 8-inch pan, ensuring an even layer. Place the pan in the refrigerator to chill while you prepare the topping.
- In a microwave-safe bowl, melt the chocolate chips and vegetable oil together. Microwave in 30-second intervals, stirring well after each, until the chocolate is completely smooth and glossy.
- Pour the melted chocolate mixture over the chilled peanut butter layer in the pan. Use an offset spatula to gently and evenly spread the chocolate across the entire surface.
- Return the pan to the refrigerator and chill for at least one hour (or until the chocolate layer is completely set) before attempting to cut the bars.
Notes
For best results and minimal cracking of the chocolate layer, use a hot, dry knife to cut the bars. Recipe adapted from Hugs and Cookies XOXO.
Recommended Products
As an Amazon Associate and member of other affiliate programs, I earn from qualifying purchases.
- Nesting Mixing Bowls
- Small Offset Spatula
- 8 x 8-inch Baking Pan
Nutrition Information:
Yield:
16
Serving Size:
1
Amount Per Serving:
Calories: 325Total Fat: 21gSaturated Fat: 9gTrans Fat: 0gUnsaturated Fat: 10gCholesterol: 23mgSodium: 195mgCarbohydrates: 33gFiber: 2gSugar: 23gProtein: 5g
HOW MUCH DID YOU LOVE THIS RECIPE?
Please leave a comment on the blog or share a photo on Pinterest
This beloved recipe for Homemade Reese’s Bars was first shared in January 2015. The text content and accompanying photos were comprehensively updated in 2019 to provide an even better experience for our readers.
