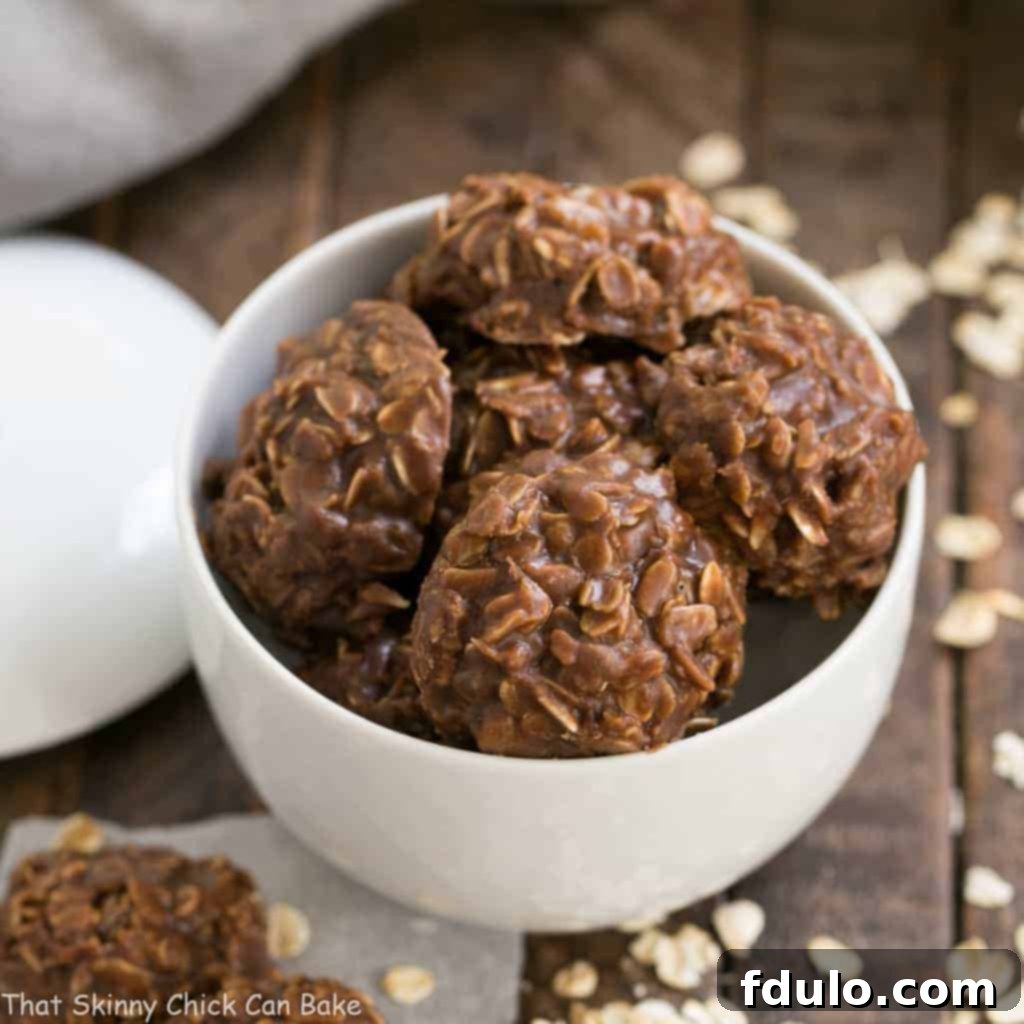
Irresistible Chocolate Peanut Butter No-Bake Cookies: A Timeless Classic
There’s a special kind of magic in a simple dessert that requires no oven, yet delivers an explosion of flavor. For me, that magic has always resided in the delightful world of Chocolate Peanut Butter No-Bake Cookies. These irresistible treats captured my heart decades ago, and they continue to be a go-to recipe for their incredible ease and speedy satisfaction of any chocolate and peanut butter craving. They are more than just a cookie; they are a bite of nostalgia, a quick comfort, and a testament to how effortlessly delicious homemade sweets can be.
My first encounter with these marvels was during my teenage years. I was on a babysitting gig, and to my delight, I discovered a pan of what looked like cookie batter cooling on the stovetop. Knowing it was meant for me (or so I convinced myself), I took a sample. From that very first taste, I was instantly smitten. The rich chocolate, the creamy peanut butter, the chewy oats – it was a revelation. These No-Bake Oatmeal Cookies sold me completely, and I have cherished the recipe ever since. You’ll soon discover why they’re such a beloved classic!
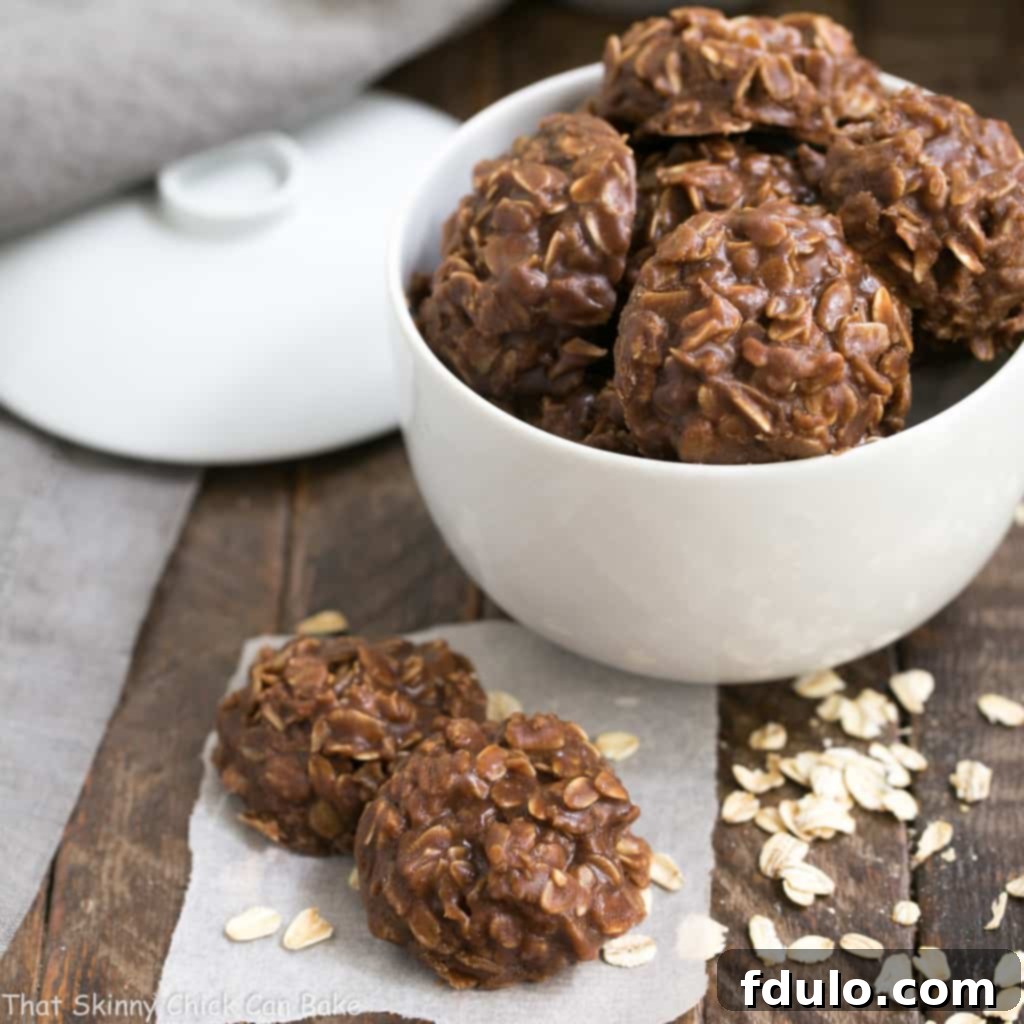
Why You Must Make These Effortless Cookies
Over the years, I’ve encountered countless variations of no-bake cookies – some with coconut, others without peanut butter. While I enjoy them all, there’s something uniquely satisfying about the classic chocolate peanut butter combination. These cookies are not just incredibly sweet; they instantly transport me back to my younger days, when a sugar rush was an invitation to boundless energy! Our No-Bake Chocolate Oatmeal Cookies are perfected by the glorious duo of creamy peanut butter and rich cocoa, creating a flavor profile that is simply unbeatable.
- Effortless Preparation: These Chocolate Peanut Butter No-Bake Cookies are made entirely in a single saucepan on the stovetop. The cooking process is incredibly quick, requiring just one minute at a full, rolling boil. This minimal effort makes them perfect for busy schedules or spontaneous dessert cravings.
- Ideal for Any Season: Since no oven is needed, these unbaked cookies are the ultimate summer treat. You can whip up a batch without heating your kitchen, making them a refreshing alternative to traditional baked goods during warmer months. They’re also perfect year-round for anyone looking for a quick, delicious dessert without the fuss.
- Instant Gratification: When a powerful sweet tooth strikes, particularly a craving for chocolate or peanut butter, these cookies come to the rescue. They set relatively quickly, allowing you to satisfy your dessert desires without a long wait.
- Universally Loved: While there are countless versions of no-bake cookies out there, this specific recipe is my absolute favorite. It strikes the perfect balance of flavors and textures, ensuring a consistent hit every single time you make them.
- Beginner-Friendly: If you’re new to baking (or non-baking!), this recipe is a fantastic starting point. The steps are straightforward, and the method is forgiving, leading to delicious results even for novice cooks.
- Crowd-Pleaser: From kids to adults, these cookies are almost universally adored. Their classic flavor combination and chewy texture make them perfect for potlucks, parties, or simply a treat for the family.
Essential Ingredient Notes for Perfect No-Bake Cookies
While these cookies are simple to make, understanding the role of each ingredient is key to achieving that perfect texture and flavor. Here’s a detailed look at what you’ll need and why:
- Sugar: Granulated white sugar is the standard for this recipe. It dissolves beautifully during the boiling process, contributing to the smooth, firm texture once cooled. While some recipes might experiment with brown sugar for added depth, it can alter the consistency slightly due to its molasses content. Stick to granulated sugar for consistent results.
- Milk: I typically use 2% milk, as it’s what we have on hand. However, feel free to use whole milk for a slightly richer cookie, thanks to its higher fat content. Skim milk can also work, but it might result in a slightly less creamy consistency. The milk helps dissolve the sugar and create the base liquid for the cookie mixture.
- Butter: Salted butter is recommended for this recipe, as no additional salt is added separately. Salt is a crucial flavor enhancer in desserts; it balances the sweetness and prevents the cookies from tasting flat or overly sugary. If you only have unsalted butter, simply add a pinch (about ¼ teaspoon) of fine sea salt to the mixture along with the cocoa.
- Cocoa Powder: Regular unsweetened cocoa powder works perfectly. This type of cocoa provides a classic chocolate flavor and rich color. If you only have Dutch-processed cocoa powder, it will also work. Dutch-processed cocoa is less acidic and typically darker, resulting in a slightly mellower chocolate flavor and a deeper, darker cookie. Either will produce delicious results, so use what you have.
- Quick Oats: This is a critical ingredient for the right texture. Quick oats (also known as instant oats) are thinner and more finely cut than old-fashioned rolled oats. This allows them to soften and absorb the liquid quickly, creating a tender yet chewy cookie. Old-fashioned oatmeal is too coarse and chewy for these cookies, and while it will technically work in a pinch, the results will be significantly tougher and chewier. For the best, melt-in-your-mouth texture, opt for quick oats.
- Peanut Butter: For no-bake cookies, smooth, processed peanut butter like Jif or Skippy is highly recommended. These brands contain stabilizers and emulsifiers that help the cookies set properly and maintain their shape. Natural peanut butter, which often separates and has a looser, oilier consistency, is generally too unstable for no-bake cookies and can lead to a crumbly or greasy batch that doesn’t set well.
- Vanilla Extract: Always use real vanilla extract, not imitation vanilla. The quality of vanilla significantly impacts the overall flavor profile of your cookies, adding a warm, aromatic depth that synthetic versions simply cannot replicate. A tablespoon of good quality vanilla makes a noticeable difference, enhancing both the chocolate and peanut butter notes.
- Optional Add-ins: While the classic recipe is perfect as is, feel free to get creative! Stir in a handful of shredded coconut, chopped nuts (like walnuts or pecans), or even a sprinkle of mini chocolate chips after removing from heat for an extra layer of texture and flavor.
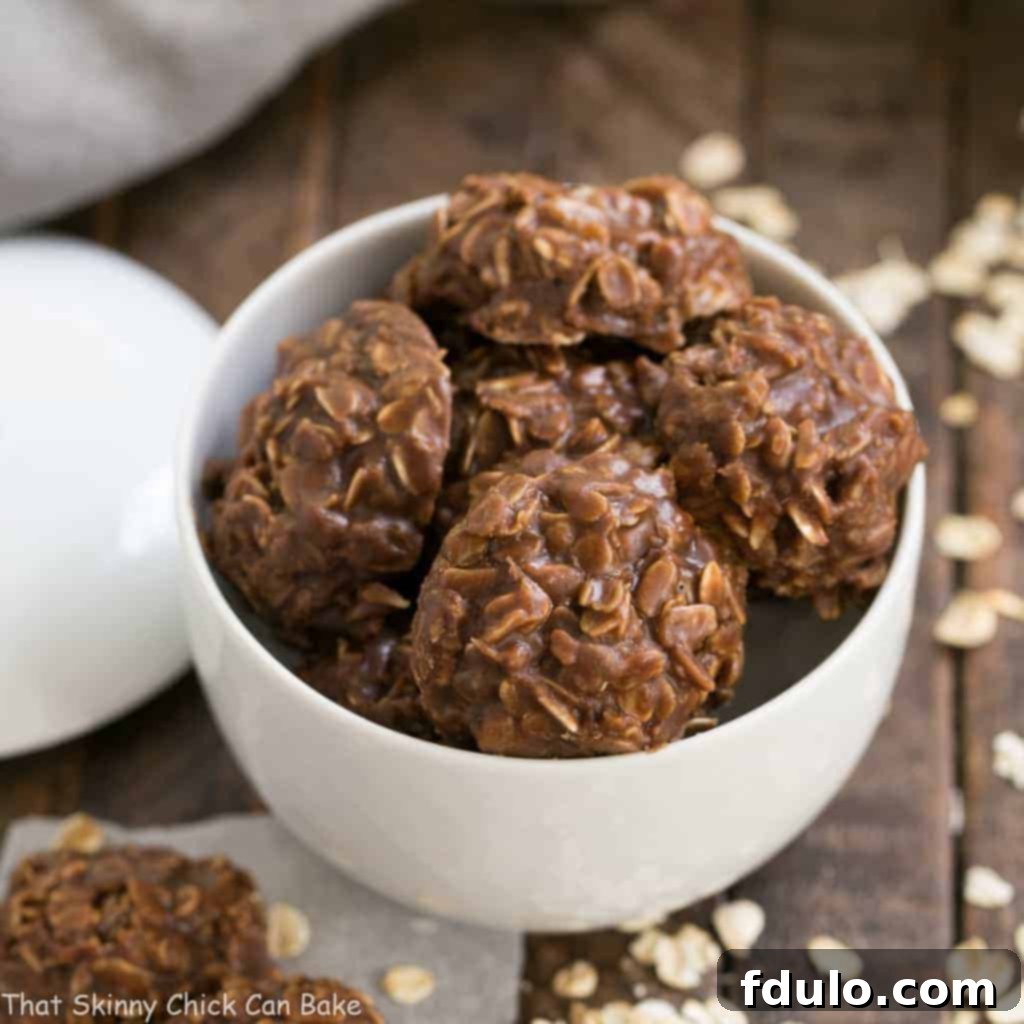
How to Make the Best Chocolate Peanut Butter No-Bake Cookies
Creating these delightful cookies is incredibly simple, requiring just a few minutes of active cooking on the stovetop. Follow these steps carefully for perfectly set, wonderfully chewy treats every time:
- Prepare Your Workspace: Before you even start cooking, line two baking sheets with parchment paper. This non-stick surface is crucial for easily removing the cookies once they’ve set. Have a medium cookie scoop ready for uniform portions.
- Combine and Bring to a Boil: In a medium-sized saucepan, combine the sugar, milk, butter, and cocoa powder. Place the saucepan over medium heat and stir occasionally. Continue stirring as the mixture comes to a boil.
- Achieve a Full Rolling Boil: This is the most crucial step for success. Wait until the mixture reaches a full, rolling boil – meaning it continues to bubble vigorously even when stirred. Once it reaches this point, set a timer and let it boil for exactly one full minute. This precise timing is essential. If it doesn’t boil for the full minute, the sugar won’t properly dissolve and reach the right temperature, preventing the cookies from setting correctly when they cool. The goal temperature for the mixture is approximately 228°F (109°C), which you can confirm with a candy thermometer if you want to be extra precise, though a full minute rolling boil is usually sufficient.
- Remove from Heat and Stir in Remaining Ingredients: Immediately after the one-minute boil, remove the saucepan from the heat. Quickly add the quick oats, peanut butter, and vanilla extract. Stir vigorously until all ingredients are thoroughly combined and the peanut butter has fully melted into the warm mixture, creating a smooth, thick batter.
- Scoop and Cool: Working quickly while the mixture is still warm and pliable, use a medium cookie scoop to drop rounded tablespoons of the cookie dough onto your prepared parchment-lined baking sheets. For perfect, uniform cookies, aim for consistent scoops.
- Pro-Tip for Perfect Shapes: If your freshly scooped no-bake cookies look more like abstract shapes than neat circles (sometimes affectionately called “amoebas”), don’t despair! While the mixture is still warm, gently tap the sides of each cookie with a spatula to encourage it into a more rounded shape. This simple trick works wonders for any slightly misshapen cookie, whether fresh out of the oven or off the stovetop.
- Allow to Set: Let the cookies rest undisturbed at room temperature until they are completely cool and firm. This usually takes about 30 minutes to an hour, depending on the ambient temperature and humidity. Resist the urge to move or sample them before they’ve fully set, as they will be soft and sticky.
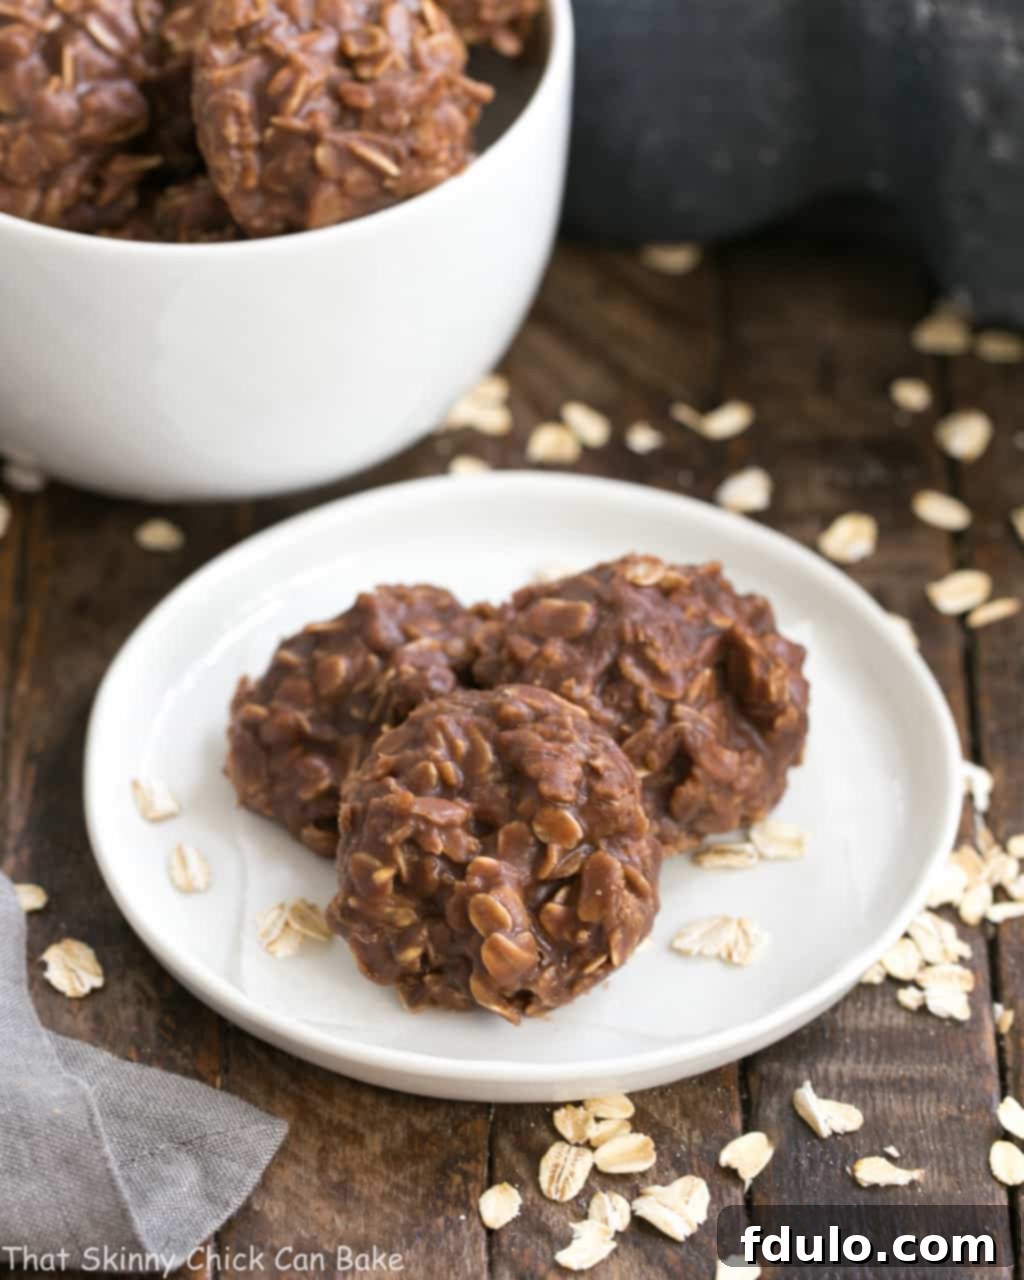
The Endearing History and Many Names of No-Bake Cookies
These delightful treats have a rich and varied history, deeply embedded in American culinary tradition. The origin of no-bake cookies, also affectionately known as “Preacher Cookies,” is a charming tale. It’s said that in earlier days, when circuit preachers would visit farmsteads on horseback without prior notice, resourceful farm wives would quickly whip up these cookies as a fast and easy treat for their unexpected guests. This evocative name is still commonly used in the Appalachian region, reflecting the cookies’ humble and hospitable beginnings.
As you travel further west, you might hear them referred to as “cow pies” – a less flattering, but descriptive name for their rustic, rounded appearance. Perhaps the most curious regional name comes from Texas, where they’re sometimes called “poodgies.” Growing up in the Midwest, I was familiar with several charming monikers such as “First Grader Cookies,” “Peanut Butter Delights,” “Boiled Cookies” (a nod to their cooking method), and “Chocolate Oaties.” However, I knew them simply as “No-Bake Cookies,” a name that remains the most popular, particularly in the Northwest part of the United States. Regardless of what you call them, these cookies represent a timeless tradition of simple, satisfying, and quick homemade desserts.
Frequently Asked Questions About No-Bake Cookies
What Exactly Are No-Bake Cookies?
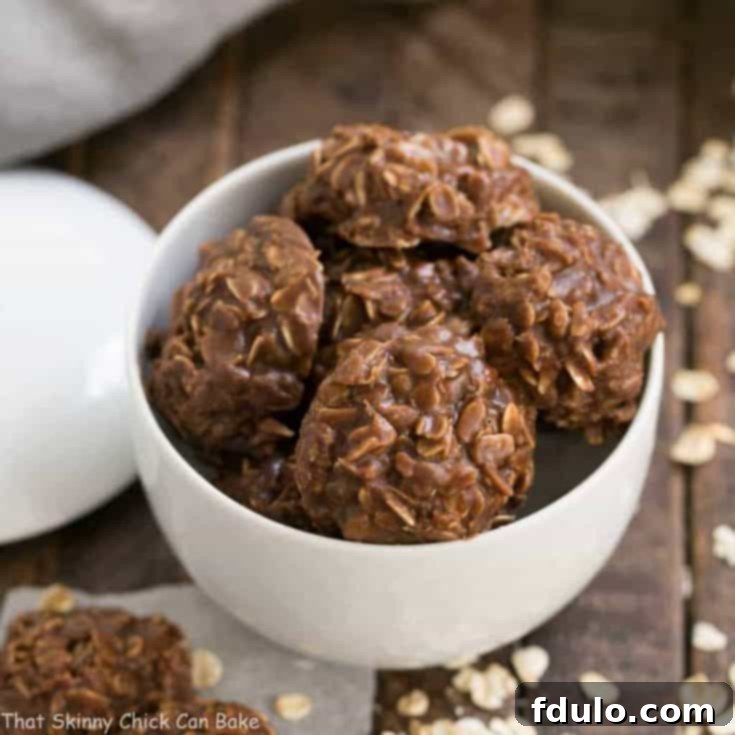
No-bake cookies are a unique type of dessert that, as the name suggests, doesn’t require an oven. Instead, their eggless batter is cooked on the stovetop by bringing a mixture of sugar, milk, butter, and cocoa to a rolling boil. This boiling process is crucial as it properly dissolves the sugar and activates the ingredients to create a specific consistency. Once boiled, oats, peanut butter, and vanilla are stirred in. The mixture is then scooped onto parchment paper and allowed to cool and set at room temperature, transforming into a firm, chewy, and delicious cookie without any baking involved.
Why Didn’t My No-Bake Cookies Set Properly?
The most common reason for no-bake cookies not setting is insufficient boiling time. It’s absolutely critical that the sugar, milk, butter, and cocoa mixture comes to a full, rolling boil (meaning it bubbles vigorously and continuously even when stirred) and then boils for a complete 60 seconds. If the mixture doesn’t boil long enough or doesn’t reach a true rolling boil, the sugar crystals won’t fully dissolve or reach the necessary temperature, preventing the cookies from firming up. Other factors can include high humidity, which makes it harder for the cookies to set, or using natural peanut butter, which is too oily and lacks the stabilizers found in processed peanut butter.
How Do You Store No-Bake Cookies for Optimal Freshness?
For best results, store your no-bake cookies in an airtight container at room temperature. They will maintain their freshness and texture for up to one week. If you need to store them for longer, they can be kept in the refrigerator for up to three weeks. For extended storage, no-bake cookies freeze beautifully; simply place them in an airtight freezer-safe container or bag for up to three months. To enjoy frozen cookies, defrost them overnight in the refrigerator before serving. Always ensure they are completely cooled before storing to prevent condensation.
Are No-Bake Cookies Gluten-Free?
This is a nuanced question regarding gluten-free diets. By nature, many of the ingredients, like oats, chocolate, and peanut butter, are often considered gluten-free. However, the key lies with the oats. While oats themselves do not contain gluten, they are frequently processed in facilities that also handle wheat, barley, or rye, leading to cross-contamination. Therefore, if you must adhere to a strict gluten-free diet due to Celiac disease or severe sensitivity, you must use certified gluten-free oats that explicitly state they are processed in a dedicated gluten-free facility. On another note, oats do contain a protein called avenin, which is structurally similar to gluten. Some individuals with gluten sensitivities may also react to avenin. So, whether these cookies are truly “gluten-free” for you will depend on your individual diagnosis and sensitivity to avenin, in addition to ensuring no cross-contamination.
Can I Use Different Nut Butters Instead of Peanut Butter?
While peanut butter is classic, you can experiment with other nut butters. However, keep in mind that the consistency and oil content of different nut butters vary greatly. Almond butter or cashew butter, especially those that are processed and less oily than natural versions, might work, but they could alter the setting time and final texture. Natural, drippy nut butters are generally not recommended as they can lead to a greasy, soft cookie that doesn’t set well. Always opt for a smooth, processed variety of any nut butter you choose for the best results in no-bake cookies.
Why are my no-bake cookies sometimes crumbly?
Crumbly no-bake cookies often indicate that the mixture was boiled for too long or cooked at too high a temperature, causing too much moisture to evaporate. This results in an overly dry batter that won’t hold together well when cooled. Ensure you stick to the “one full minute” boiling rule strictly and remove the pan from the heat promptly.
A Tester Endorsement: “Absolutely Fabulous!”
Here’s what one delighted cookie enthusiast, Heidi, shared in the comments: “We all LOVED these no-bakes (kids and adults)!! We’ve been making them for years and years, but this is the first recipe I’ve found that calls for a Tablespoon of vanilla vs a teaspoon. I’m convinced that made the difference! The consistency was perfect, and they tasted fabulous! We devoured them! Definitely will return to this recipe for our next go at no-bakes! Thanks for sharing!” This endorsement truly highlights the impact of simple adjustments, like a little extra vanilla, and confirms the irresistible appeal of this recipe.
You May Also Like: More Quick and Easy Cookie Recipes
This Chocolate Peanut Butter No-Bake Cookie Recipe is undoubtedly one of the speediest desserts you’ll ever create, delivering maximum flavor with minimal effort. But if you’re looking for more easy-to-make cookie recipes to expand your repertoire, here are a few more delightful suggestions that are just as simple and sure to please:
- Easy S’more Cookies from The Cookie Rookie
- Chippy Bars
- White Chocolate Toffee Cookies
- Old Fashioned Peanut Butter Cookies
- Classic M&M Cookies
- More Delicious Cookies Recipes
Stay connected with us through social media on Instagram, Facebook, and Pinterest. Don’t forget to tag us when you try one of our recipes! And if you love the results, please consider leaving a 5-star rating on the recipe card below – your feedback helps others discover these wonderful treats!
The Recipe:
Classic Chocolate Peanut Butter No Bake Cookies Recipe
10 minutes
3 minutes
13 minutes
3 dozen (36 cookies)
A super easy cookie recipe with that fabulous pairing of chocolate and peanut butter.
Ingredients
- 2 cups granulated sugar
- ½ cup milk (2% or whole milk recommended)
- 1 stick (½ cup) salted butter
- ¼ cup unsweetened cocoa powder
- 3 cups quick oats (NOT old-fashioned oatmeal)
- 1 cup smooth, processed peanut butter
- 1 tablespoon pure vanilla extract
Instructions
- Line two baking sheets with parchment paper and set aside.
- In a medium saucepan, combine sugar, milk, butter, and cocoa powder. Place over medium heat and bring to a full, rolling boil, stirring occasionally. Once the mixture is at a full, vigorous boil, let it boil for one full minute. Remove the pan from the heat immediately after the minute is up.
- Quickly add the quick oats, peanut butter, and vanilla extract to the hot mixture. Stir until well combined and the peanut butter has fully melted and incorporated.
- Using a medium cookie disher/scoop, drop rounded tablespoons of the dough onto the prepared parchment-lined baking sheets.
- Allow the cookies to rest at room temperature until completely cool and firm, typically 30-60 minutes.
Notes
Regular, old-fashioned oatmeal is not recommended for this recipe. Their coarser texture will result in cookies that are too tough and chewy. Look for Quick Oats, which have been processed to cook faster and provide the best, most tender texture for no-bake cookies.
Recommended Products
As an Amazon Associate and member of other affiliate programs, I earn from qualifying purchases.
- USA Pan Bakeware Half Sheet Pan
- Silicone Spatula
- Smithcraft Stainless Steel Measuring Cups Set
Nutrition Information:
Serving Size: 1 cookie
Amount Per Serving:
Calories: 267
Total Fat: 13g
Saturated Fat: 5g
Trans Fat: 0g
Unsaturated Fat: 7g
Cholesterol: 14mg
Sodium: 142mg
Carbohydrates: 34g
Fiber: 2g
Sugar: 23g
Protein: 5g
