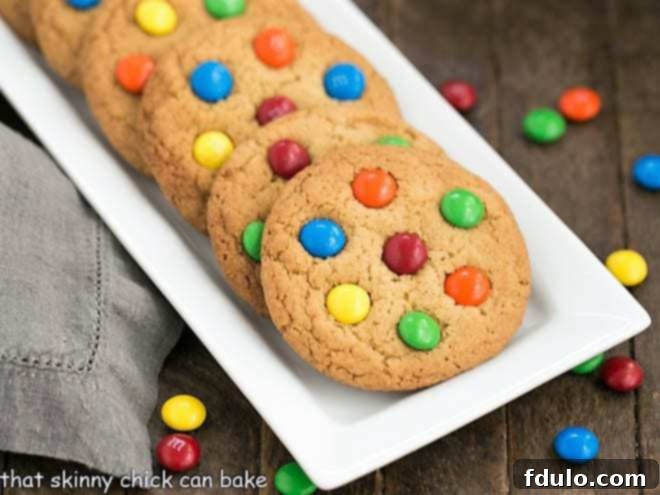
Experience the timeless joy of baking with our ultimate recipe for classic, chewy, and utterly irresistible M&M Cookies. Loved by generations, these vibrant, candy-studded treats bring a burst of color and a smile to every bite.
This meticulously crafted M&M Cookie Recipe promises a bakery-quality softness and a delightful chewiness that melts in your mouth, all from the comfort of your own kitchen. Imagine pulling warm, perfectly baked cookies, dotted with colorful chocolate candies, straight from your oven. They are the quintessential treat for any occasion – ideal for packing into lunch boxes for a midday surprise, serving as a comforting after-school snack, or presenting as a show-stopping dessert. What’s more, their versatility allows for easy customization with different colored M&M’s, making them perfect for celebrating holidays, special events, or simply adding a festive touch to your everyday.
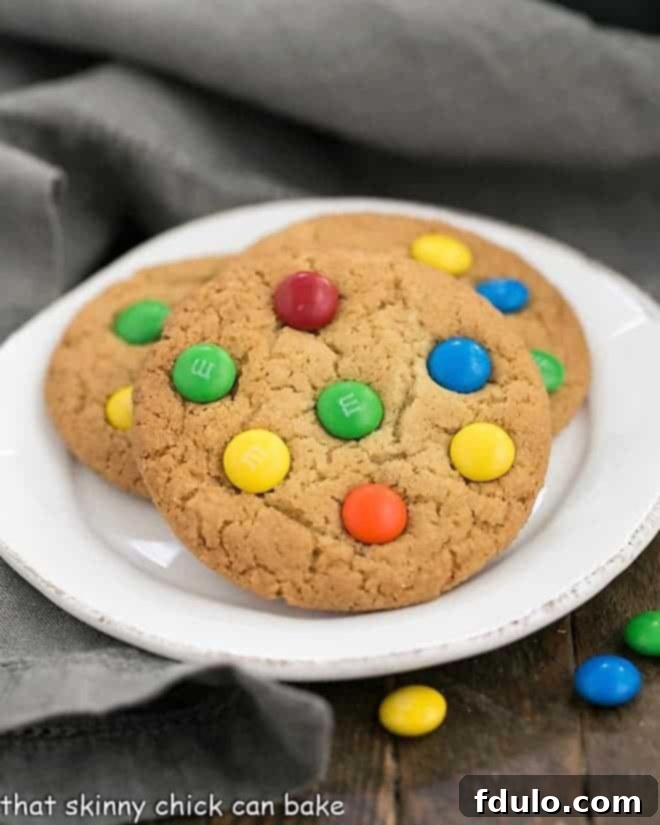
Why You Need to Bake These Irresistible M&M Cookies Today
There’s a reason why M&M cookies hold a special place in the hearts of cookie lovers everywhere. This particular recipe elevates the classic to new heights, delivering a treat that’s impossible to resist. Here’s why these should be your next baking project:
- Unforgettable Flavor and Texture: Each cookie is a masterpiece of buttery richness, with a soft, chewy interior perfectly contrasted by the satisfying crunch of candy-coated chocolate bits. The harmonious blend of sweet cookie dough and colorful M&M’s creates an indulgent experience that will have everyone reaching for more. These aren’t just cookies; they’re a moment of pure bliss.
- Seasonally Adaptable Delights: The magic of M&M cookies lies in their incredible adaptability. While the traditional multicolored M&M’s are always a hit, you can easily swap them out for seasonal varieties to match any holiday or celebration. Think pastel M&M’s for Easter, vibrant reds and pinks for Valentine’s Day, autumnal hues for Fall festivals, or festive reds and greens for Christmas. This simple change allows you to create a personalized treat that perfectly complements any occasion throughout the year.
- Effortless and Rewarding Baking: Whether you’re a seasoned baker or just starting, this M&M cookie recipe is designed for success. It’s a forgiving and straightforward process that yields impressive results every time. No need for complicated techniques or exotic ingredients; just simple steps leading to big, beautiful cookies. It’s the perfect way to utilize those leftover M&M’s from Halloween, that impulse purchase from the grocery store, or simply to satisfy a craving for something wonderfully sweet and homemade. Baking these cookies is not just about the end product; it’s about the joy of creating something delicious for yourself and your loved ones.

Essential Ingredient Notes for Perfect M&M Cookies
Creating truly exceptional M&M cookies starts with understanding the role each ingredient plays. Paying attention to these details will ensure your cookies are nothing short of perfect:
- Kitchen Staples: You’ll need pantry essentials like granulated sugar, all-purpose flour, baking soda, and salt. These form the foundational structure and flavor balance of your cookies. Ensure your baking soda is fresh for optimal lift, and use good quality flour for the best texture.
- Butter: Use unsalted butter, brought to room temperature. This is crucial for achieving a light and fluffy creamed mixture with the sugars, which is the secret to a soft, chewy cookie. If your butter is too cold, it won’t cream properly; if it’s too warm or melted, it can lead to greasy, flat cookies. Plan ahead and take it out of the fridge an hour or two before you begin.
- Egg and Egg Yolk: This recipe calls for one large egg and one additional large egg yolk. Using large eggs is standard unless specified otherwise. While eggs separate best when cold, allowing them to come to room temperature before mixing into the batter ensures they emulsify smoothly, contributing to a cohesive and tender dough. The extra egg yolk is a game-changer, adding richness, moisture, and an unbeatable chewiness to the final cookie.
- Brown Sugar: Be sure to use packed brown sugar. This means pressing the brown sugar firmly into your measuring cup until it holds its shape. Brown sugar adds depth of flavor, extra moisture, and contributes significantly to the soft, chewy texture that makes these cookies so addictive, thanks to its molasses content.
- Vanilla Extract: Always opt for “real” vanilla extract over artificial vanilla flavoring. The quality of your vanilla extract makes a noticeable difference in the overall flavor profile of your cookies, adding a warm, aromatic note that enhances the chocolate and butter.
- M&M’s: The star of the show! You can use any of your favorite M&M varieties. Classic milk chocolate M&M’s are a superb choice, but feel free to experiment with peanut, crispy, or even mini M&M’s for different textures and flavor combinations. Don’t be shy with the M&M’s; they’re what make these cookies so fun and colorful.
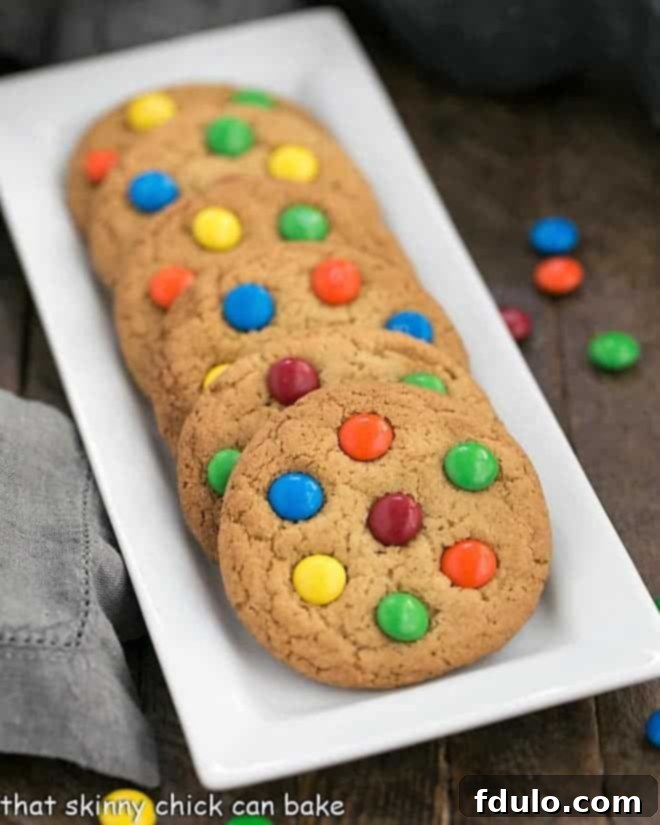
Step-by-Step Guide: Crafting Your Perfect M&M Cookies
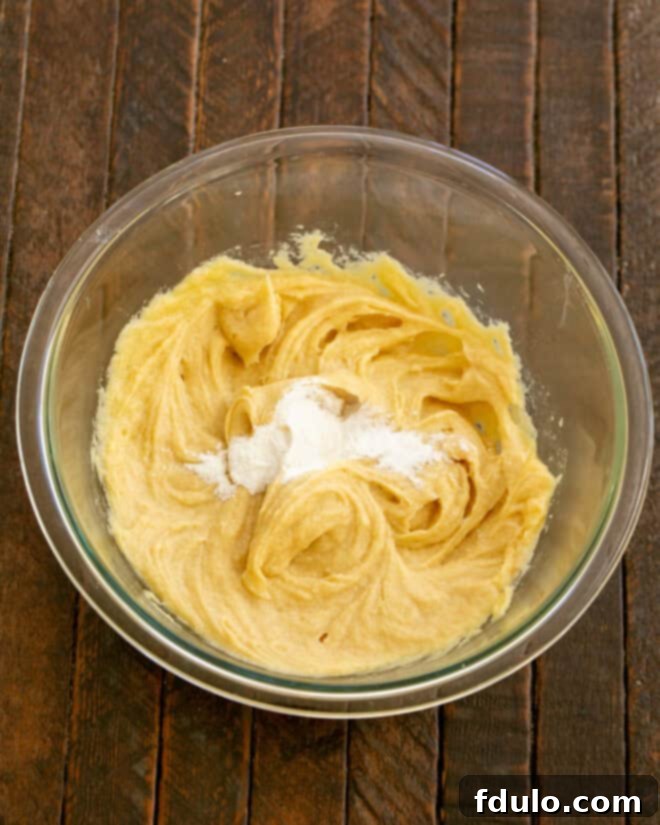
Follow these visual steps to create beautifully chewy and colorful M&M cookies. Each stage is designed to be straightforward, ensuring delicious results for every baker.


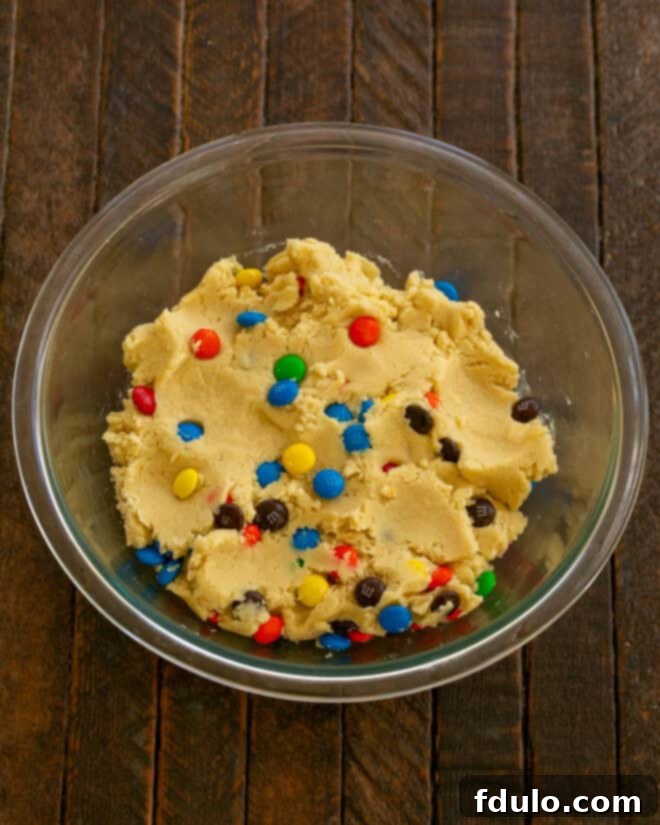
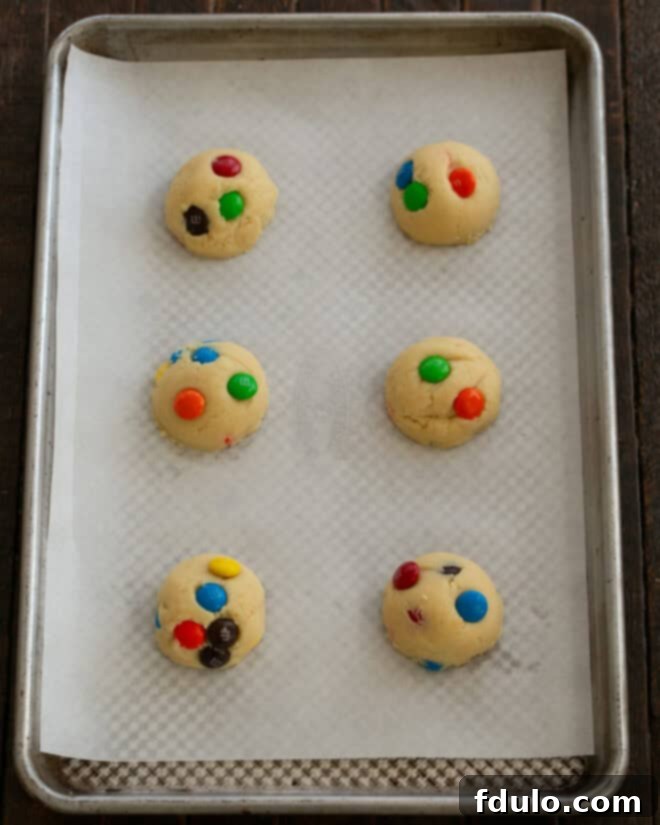
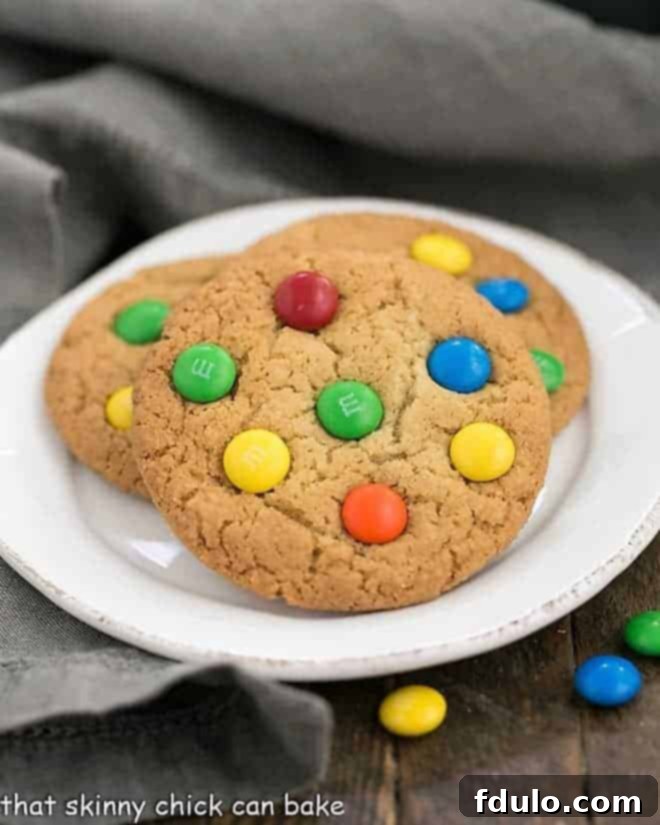
Expert Recipe Tips for the Best M&M Cookies
I still vividly remember the flurry of activity a few years back when my youngest, Nick, was due back at college after his fall break. Just hours before he had to leave, I realized I hadn’t prepared any homemade treats for him to take back to the dorms! A wave of panic set in, but thankfully, these chewy M&M cookies are my go-to for speed and deliciousness. They come together in what feels like the blink of an eye, and I’m pretty sure they disappeared just as quickly once he got back to school. Baking doesn’t have to be stressful; with these tips, you’ll whip up bakery-worthy cookies with ease!
- Read the Recipe Thoroughly: Before you even reach for your ingredients, take a moment to read the entire recipe from start to finish. This helps you understand the process, anticipate steps, and ensure you have all necessary ingredients and equipment on hand. For cookies, many recipes, including this one, call for room temperature eggs and butter, which requires foresight to take them out of the fridge an hour or two before you begin mixing.
- Mind Your Butter and Eggs’ Temperature: Having butter and eggs at the correct room temperature is critical for successful cookie dough. Room temperature butter creams more easily with sugar, creating tiny air pockets that lead to a light, fluffy texture. Similarly, room temperature eggs incorporate more smoothly into the batter, preventing curdling and promoting an even consistency. However, avoid butter that is too warm or greasy, as this can cause your cookies to spread excessively and become flat. The butter should be soft enough to indent with your finger but still hold its shape.
- The Magic of an Extra Egg Yolk: This recipe calls for an additional egg yolk, and for good reason! Egg yolks are rich in fat, which contributes significantly to the cookies’ tenderness, chewiness, and moist texture. It’s a simple trick that elevates a good cookie to a great one, ensuring that coveted soft center.
- Accurate Flour Measurement: Precision in measuring flour is vital. Avoid scooping directly from the bag with your measuring cup, as this compacts the flour and results in too much dry ingredient. Instead, gently spoon flour into your measuring cup until it overflows, then level off the excess with the straight edge of a knife or an offset spatula. This “fluff and spoon” method ensures you add the correct amount of flour for a perfectly balanced dough.
- Even Distribution of Dry Ingredients: To ensure uniform leavening and seasoning, whisk your baking soda and salt directly into the flour before adding them to the wet ingredients. This simple step prevents pockets of leavening agent or salt in the dough, leading to a consistently textured and flavored cookie.
- Choosing Your Mixing Method: For the chewiest M&M cookies, I recommend mixing the dough with a wooden spoon or spatula, especially when adding the flour. Overmixing, particularly with an electric mixer after the flour is added, can develop the gluten in the flour too much, resulting in a tougher, more cake-like cookie rather than the desired soft and chewy texture. Use a mixer for creaming butter and sugar, but switch to hand-mixing for the final stages.
- Prepare Your Baking Sheets: Lining your baking sheets with parchment paper is a simple yet effective tip. It prevents the cookies from sticking, ensures even baking, and makes for incredibly easy cleanup. No more scrubbing sticky cookie residue off your pans!
- Achieve Uniformity with a Cookie Scoop: For perfectly round and evenly sized cookies, a cookie disher (or ice cream scoop) is your best friend. This ensures that all your cookies bake at the same rate, preventing some from being overdone while others are underbaked. Consistent sizing also makes for a more appealing presentation.
- Proper Spacing is Key: Always space your cookie dough balls adequately on the baking sheet, as specified in the recipe. Cookies spread during baking, and if they’re too close, they’ll merge into one giant, misshapen cookie. Giving them room to breathe allows for optimal air circulation and individual, perfectly formed cookies.
- Cool Before Moving: Resist the urge to immediately transfer your freshly baked cookies from the hot pan to a cooling rack. Allow them to cool on the baking sheet for a few minutes. This crucial resting period allows the cookies to set and firm up, preventing them from breaking apart when you move them. After a few minutes, gently transfer them to a wire cooling rack to cool completely.
- Shape While Warm (Pro-Tip!): If your cookies come out of the oven a little less than perfectly round, don’t despair! Immediately after removing them from the oven, while they are still hot and pliable, use the back of a spatula or the rim of a round cookie cutter slightly larger than your cookies to gently nudge and shape the edges into perfect circles. This quick trick works wonders for presentation.
- The M&M Post-Bake Press (Pro-Tip for Visuals!): M&M candy shells can sometimes crack or lose their vibrant color when exposed to the full heat of the oven during baking. For the most visually stunning cookies, try this trick: bake the cookies as directed, and then, immediately after taking them out of the oven while they are still hot and soft, gently press extra M&M’s onto their surface. This helps preserve the integrity and bright colors of most candies, resulting in a more appealing cookie. While a few might still crack, the majority will remain pristine.

Frequently Asked Questions About M&M Cookies
Achieving perfectly round cookies involves a couple of simple techniques. First, use a cookie disher or scoop to portion out the dough. This ensures consistent size. For an even more uniform shape, gently roll the scooped dough between your palms into neat balls. After baking, as soon as the cookies come out of the oven and are still hot and pliable, you can use a spatula or the rim of a large round cookie cutter to gently tap and shape the edges, guiding them into perfect spheres. Additionally, by pressing the M&M’s into the cookies after they’ve baked rather than before, you prevent the dough balls from becoming lumpy and uneven during baking, which often results in less-than-perfect rounds.
Knowing when your cookies are perfectly baked can be tricky, as oven temperatures can vary. A good rule of thumb is to start checking when you smell that delightful cookie aroma filling your kitchen. Visually, the edges of the cookies should be lightly golden brown. It’s okay if the very centers still look a bit soft or underbaked; this is a sign of a perfectly chewy cookie! Remember that cookies continue to cook and firm up as they cool on the hot baking sheet even after being removed from the oven. Overbaking will lead to dry, hard cookies, so err on the side of slightly underbaked for maximum chewiness.
The vibrant candy coating of M&M’s is susceptible to the intense heat of the oven. This high temperature can cause the shell to weaken and crack, sometimes even dulling their color. This is precisely why our recipe suggests adding a portion of the M&M’s after the cookies have baked, while they are still hot and pliable. By pressing them onto the surface post-baking, you significantly reduce the chance of cracking and preserve their bright, appealing appearance. While a few might still develop small cracks due to residual heat, the majority will remain beautifully intact, making for a much more visually appealing cookie.
Absolutely! M&M cookies are excellent for make-ahead convenience. To freeze cookie dough, scoop balls onto a parchment-lined baking sheet and flash freeze until firm (about 1-2 hours). Then, transfer the frozen dough balls to an airtight freezer-safe bag or container for up to 3 months. Bake from frozen, adding a few extra minutes to the baking time. For baked cookies, ensure they are completely cooled before layering them in an airtight container with parchment paper between layers. They can be frozen for up to 2-3 months and thawed at room temperature, or gently warmed for that fresh-baked taste.
This classic M&M cookie recipe is a fantastic base for creativity! You can easily add other mix-ins to complement the M&M’s, such as chocolate chips (milk, dark, or white), chopped nuts (pecans, walnuts), or even a sprinkle of sea salt on top for a delightful sweet and salty contrast. For a different flavor profile, consider adding a pinch of cinnamon or nutmeg to the dry ingredients. As mentioned, swapping out M&M colors for holidays is a popular and fun variation. You can also adjust the size of the cookies, making smaller bite-sized treats or larger, bakery-style giants, just be sure to adjust baking times accordingly.
Explore More Delicious Cookie and Dessert Recipes
- Chocolate Cupcakes with M & M Frosting from Shugary Sweets
- M & M Chocolate Chip Pudding Cookies from The Bakermama
- M & M Blondies
- M & M Brownie Cookies
- M & M White Chocolate and Macadamia Nut Cookies
- More of My Best Cookie Recipes
Stay connected with us for more delicious recipes and baking inspiration! Find us on social media @ Instagram, Facebook, and Pinterest. Don’t forget to tag us when you try one of our recipes! And if you absolutely love the results, please consider giving it a 5-star rating in the recipe card below.
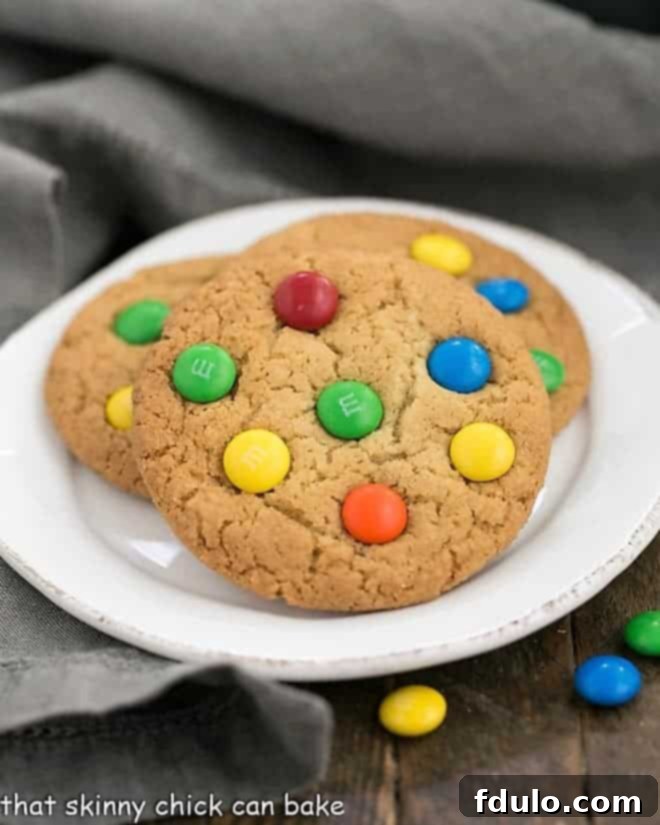
Classic M&M Cookies
20 minutes
12 minutes
32 minutes
Approximately 30 cookies
Indulge in these buttery, soft, and wonderfully chewy bakery-style cookies, generously studded with colorful, melt-in-your-mouth M&M’s. A perfect treat for any occasion!
Ingredients You’ll Need
- ¾ cup (1 ½ sticks) unsalted butter, softened to room temperature
- ⅔ cup granulated sugar
- ⅔ cup packed light brown sugar
- 1 large egg
- 1 large egg yolk (extra yolk for chewiness!)
- 1 ½ teaspoons pure vanilla extract
- 2 cups all-purpose flour
- 1 ¼ teaspoon baking soda
- ¼ teaspoon fine sea salt
- 1 cup M&M’s (plus more for pressing on top, if desired)
Detailed Instructions for Baking
- Begin by preheating your oven to 350ºF (175ºC). Prepare two large baking sheets by lining them with parchment paper to prevent sticking and ensure easy cleanup. Set them aside.
- In a large mixing bowl, using an electric mixer, beat together the softened butter with both the granulated sugar and packed brown sugar. Continue beating on medium speed until the mixture is light, fluffy, and pale in color, typically for 2-3 minutes. Scrape down the sides of the bowl as needed.
- Crack in the large egg and add the additional egg yolk to the butter-sugar mixture. Beat on medium speed until they are fully incorporated and the mixture is smooth and cohesive.
- Stir in the pure vanilla extract until just combined, infusing the dough with its wonderful aroma.
- In a separate small bowl, whisk together the all-purpose flour, baking soda, and salt. Gradually add this dry ingredient mixture to the wet ingredients, mixing on low speed or by hand with a wooden spoon until just combined. Be careful not to overmix; stop as soon as no streaks of flour remain. If your kitchen is particularly warm, you may wish to cover the dough and refrigerate it for up to an hour until it firms up slightly, which can help prevent excessive spreading.
- Using a 2-tablespoon cookie scoop, portion out the dough. Roll each portion into a smooth ball between your palms. Place 6-8 dough balls onto each prepared baking sheet, ensuring they are spaced well apart to allow for spreading. For a bakery-style look, you can slightly flatten each dough ball with the palm of your hand before baking. Optionally, press 6-8 M&M’s onto the top of each dough ball at this stage, or follow the pro-tip in the recipe tips section for pressing M&M’s after baking for less cracking.
- Bake for approximately 10-12 minutes, or until the edges are light golden brown and the centers appear slightly soft. Remember, cookies continue to set as they cool. Remove the baking sheets from the oven and let the cookies cool on the sheets for a few minutes before carefully transferring them to a wire cooling rack to cool completely. This helps them firm up and prevents breakage.
- This recipe yields about 30 delightful M&M cookies, though the exact number may vary depending on the size you make your cookies. Enjoy your homemade, perfectly chewy treats!
Chef’s Notes & Variations
This recipe has been lovingly adapted from classic baking techniques to ensure optimal chewiness and flavor.
For a festive touch throughout the year, don’t hesitate to use seasonal colored M&Ms! Think bright pastels for Spring, patriotic reds and blues for summer holidays, earthy tones for Thanksgiving, or classic red and green for Christmas. This simple change makes the cookies perfect for any celebration or themed event.
For an extra boost of flavor and texture, consider adding a handful of chocolate chips (milk, semi-sweet, or white) along with the M&Ms. A pinch of sea salt sprinkled over the top of the cookies just after they come out of the oven can also beautifully enhance the sweet chocolate flavor.
Recommended Baking Products
As an Amazon Associate and member of other affiliate programs, I earn from qualifying purchases, helping to support this blog at no extra cost to you.
- Reynolds Cookie Baking Sheets Non-Stick Parchment Paper, 25 Sheet, 4 Count
- High-Quality Silicone Spatula
- USA Pan Bakeware Half Sheet Pan
Nutrition Information:
Yield:
15
Serving Size:
2 cookies
Amount Per Serving:
Calories: 204Total Fat: 4gSaturated Fat: 2gTrans Fat: 0gUnsaturated Fat: 1gCholesterol: 27mgSodium: 157mgCarbohydrates: 40gFiber: 1gSugar: 26gProtein: 3g
HOW MUCH DID YOU LOVE THIS RECIPE?
Please leave a comment on the blog or share a photo on Pinterest
