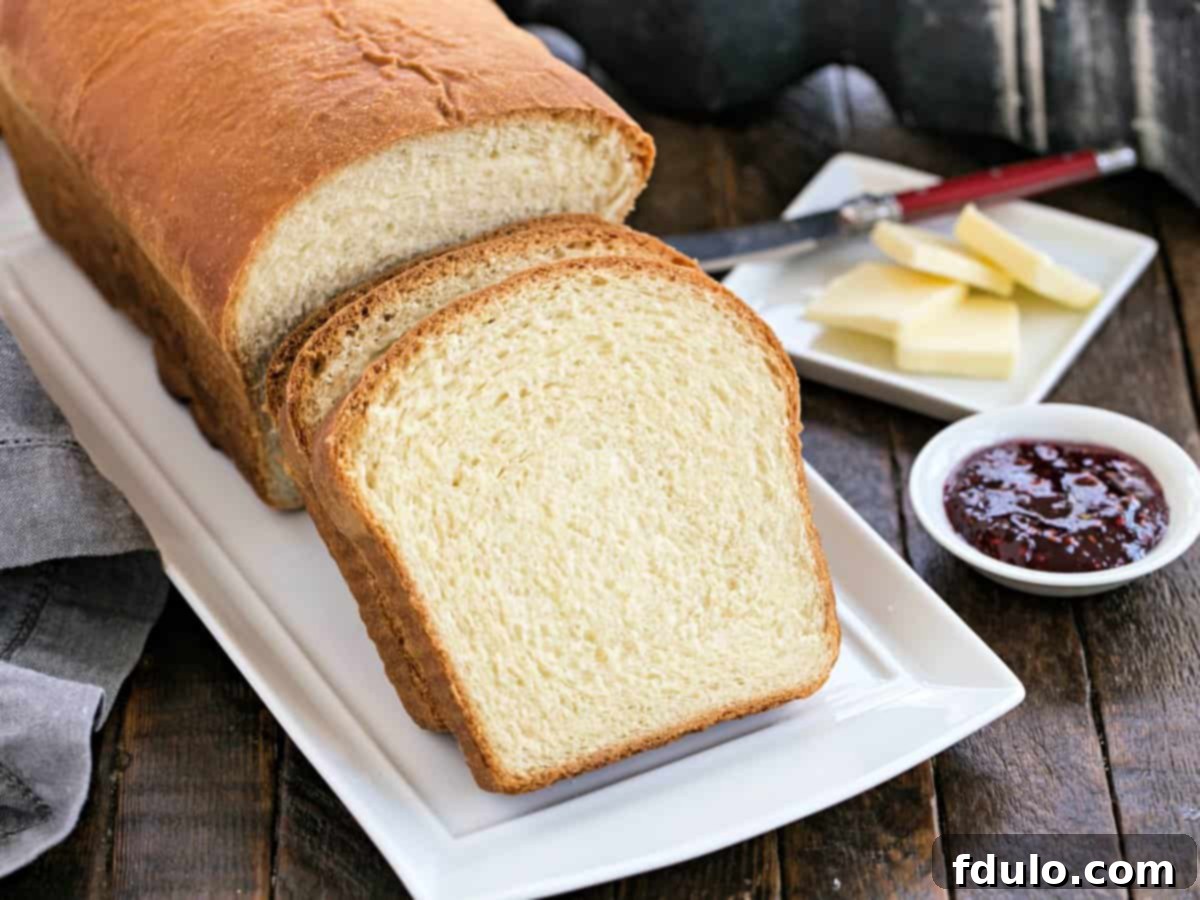
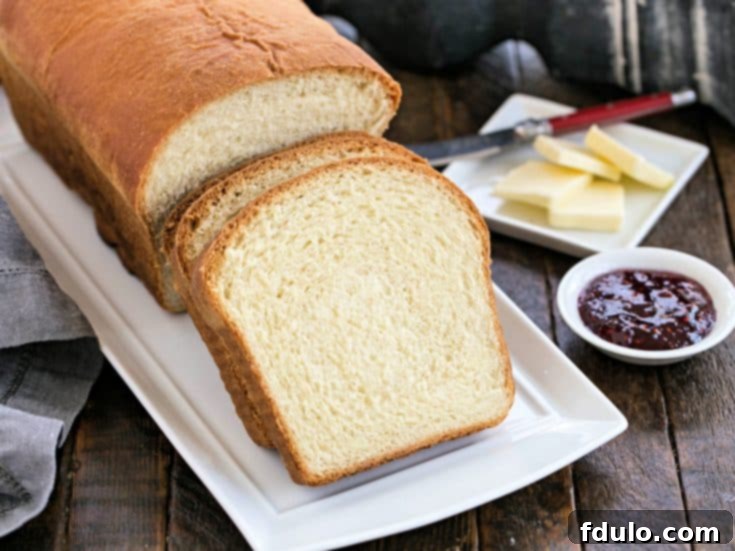
Experience the unmatched delight of a truly homemade loaf! This **Homemade Potato Bread** is wonderfully light, incredibly tender, and utterly irresistible – making it the perfect foundation for any sandwich. Imagine sinking your teeth into a slice that’s soft, fluffy, and boasts a subtle sweetness, all while staying fresh for longer. Transform leftover mashed potatoes into something truly spectacular with this easy-to-follow recipe, yielding two beautiful, golden-brown loaves that will quickly become a cherished family favorite.
My childhood memories are filled with the distinct aroma of freshly baked bread, though not always the kind I craved as a child. Back in the ’70s, my parents embarked on a health kick, introducing carob and hearty whole grains into our kitchen. My sisters and I, however, longed for the simple joy of mushy Wonder bread. We didn’t quite grasp the concept of whole wheat at the time! We yearned for that classic, soft, sliceable white sandwich bread, a yearning that truly inspired this exceptional **Potato Bread Recipe**.
Why You’ll Love Baking This Homemade Potato Bread
While our kitchen often featured robust, healthy loaves, there were special occasions when my mom would bring home a loaf of impossibly fluffy potato bread from the market. Those cherished memories were the direct inspiration behind developing this incredible homemade potato bread, crafted lovingly with mashed potatoes. And I can confidently say, after countless baking adventures, this stands out as one of the best bread recipes I’ve had the pleasure of creating in years. Here’s why this recipe will become a staple in your kitchen:
- Unmatched Texture and Flavor: Mashed potatoes replace a portion of the all-purpose flour in this bread, creating a truly magical transformation. The starch in the potatoes contributes to an incredibly soft, wonderfully fluffy loaf with a beautiful pale yellow hue and a subtle, comforting potato undertone that elevates its flavor beyond ordinary white bread. This unique combination results in a bread that is both delicate and satisfying.
- Extended Freshness: The addition of mashed potatoes isn’t just for flavor and texture; it also plays a crucial role in the bread’s longevity. Potatoes naturally absorb and retain moisture, meaning your homemade loaves will stay wonderfully softer and fresher for significantly longer than traditional wheat bread. This reduces waste and allows you to enjoy your delicious creation for days, making it perfect for meal prepping sandwiches throughout the week.
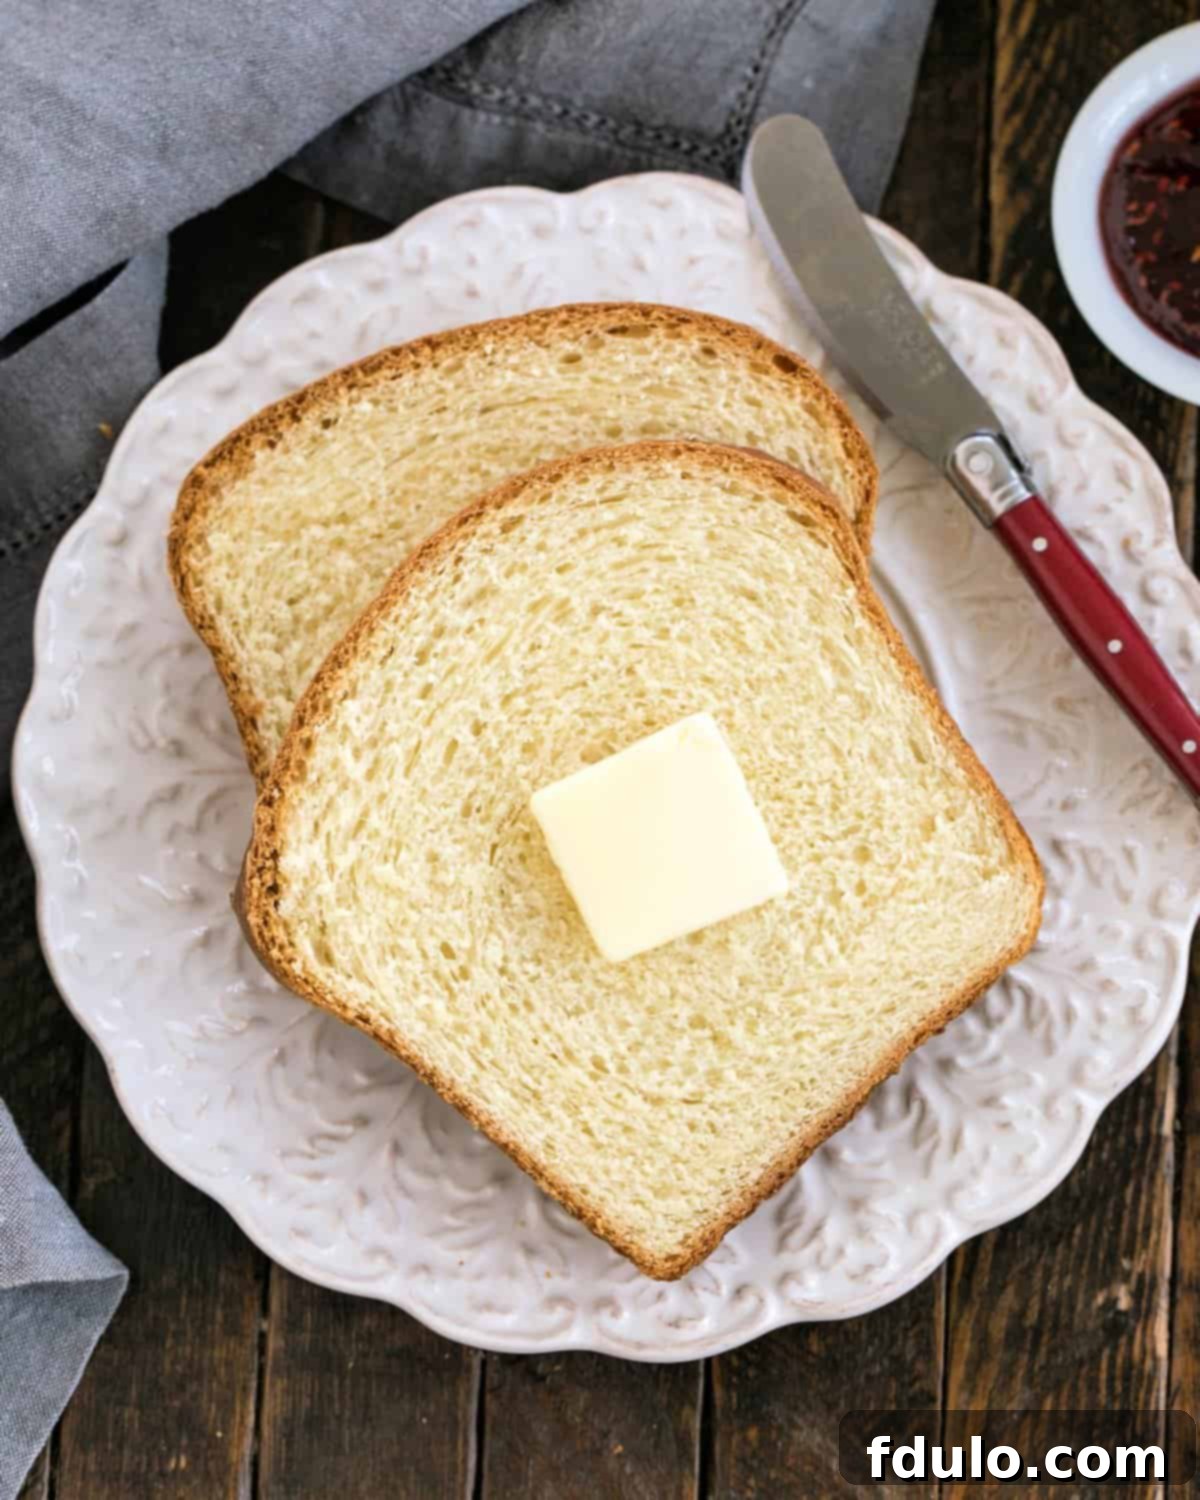
- Perfect Versatility: Whether you’re assembling a hearty sandwich, enjoying a slice smeared with butter and jam for breakfast, or using it as a base for a gourmet snack, potato bread is exceptionally delicious and adaptable. Its subtle sweetness and tender crumb make it ideal for both sweet and savory applications. It’s truly an all-purpose bread that complements a wide array of meals.
- The Joy of Homemade: There’s an undeniable satisfaction in baking your own bread. The comforting aroma filling your home, the hands-on process of transforming simple ingredients into something extraordinary, and the pride of serving a fresh, warm loaf to your family are truly rewarding experiences. This potato bread recipe makes that joy accessible and incredibly delicious, even for those new to yeast baking.
Key Ingredients for the Best Homemade Potato Bread
Crafting the perfect loaf of potato bread begins with selecting the right ingredients. Fortunately, this recipe uses readily available items, many of which you likely already have in your pantry. Be sure to add these to your shopping list, and you’ll be well on your way to baking a marvelous, tender loaf!
- Potatoes: The star of the show! For the best results, use starchy varieties like Russet or Yukon Gold, which are ideal for mashing and provide that signature fluffy texture. Remember to reserve the starchy potato water from boiling; this liquid adds an extra layer of flavor and moisture to your dough, enhancing its tenderness and keeping qualities.
- Instant Yeast: This is the crucial leavening agent that gives your bread its beautiful rise and airy texture. I highly recommend a high-quality instant yeast like Red Star Platinum for its consistent and reliable performance, ensuring a vigorous rise and a perfectly airy crumb. Always double-check the expiration date to ensure your yeast is fresh and active.
- All-Purpose Flour: The primary structural component of your bread. While any good quality all-purpose flour will work, I often use King Arthur Flour for its consistent protein content, which contributes to a well-structured yet tender loaf. Sifting your flour can also help create a lighter bread.
- Unsalted Butter: Adds essential richness, deep flavor, and contributes significantly to the bread’s incredibly soft and tender texture. Ensure your butter is softened to room temperature before adding it to the dough, as this allows it to incorporate smoothly and evenly, yielding a more uniform crumb.
- Granulated Sugar: A touch of granulated sugar not only provides a subtle sweetness that perfectly complements the potato flavor but also serves as vital food for the yeast, helping it activate quickly and rise more effectively. It also aids in browning the crust.
- Fine Table Salt: Essential for enhancing the overall flavor of the bread, balancing the sweetness, and controlling yeast activity. While often overlooked, salt plays a critical role in the final taste and texture of your loaf. Don’t omit it!
- Large Eggs: Two large eggs add richness to the dough, contribute to the beautiful golden color of the crust, and help bind the ingredients, resulting in a more tender and moist crumb that stays fresh longer. Ensure eggs are at room temperature for optimal incorporation.
Versatile Ways to Enjoy Your Homemade Potato Bread
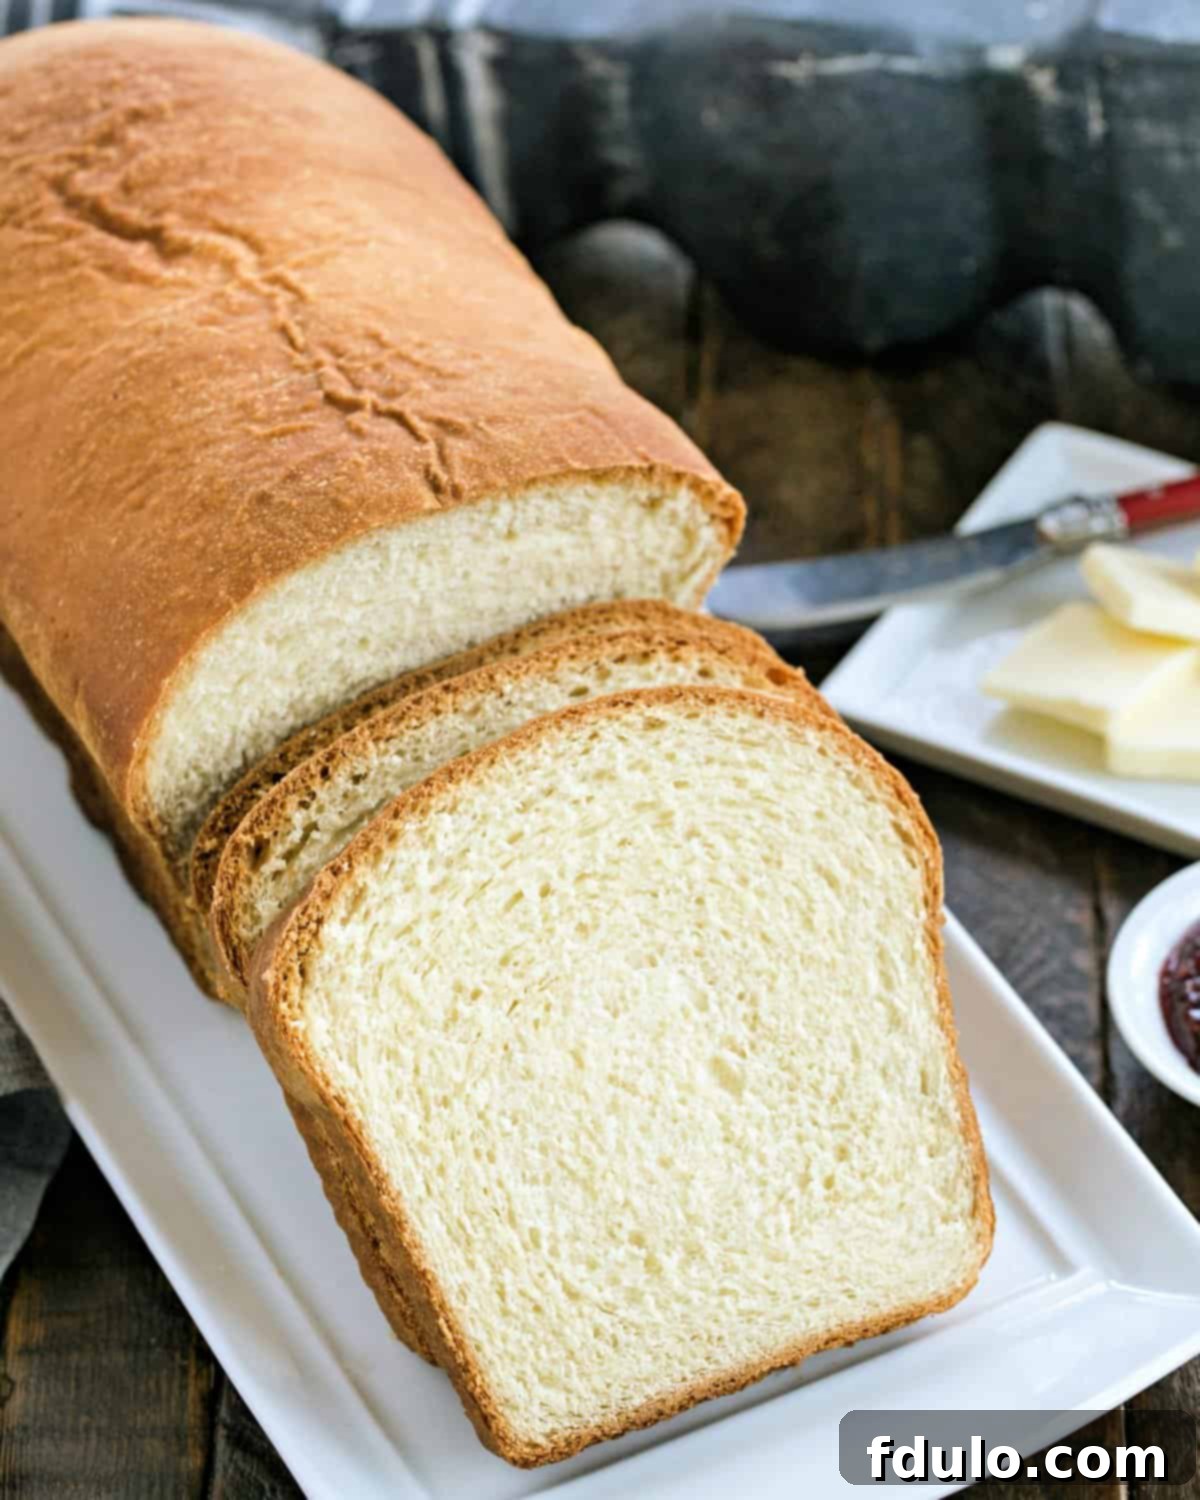
This homemade potato bread isn’t just a loaf; it’s the ultimate canvas for culinary creativity. Its inherently soft, slightly sweet, and unbelievably tender texture makes it incredibly versatile, perfect for elevating any meal or snack. I remember the day my husband came home from work early and I insisted he try a slice straight from the oven. His enthusiastic confirmation of its deliciousness solidified its place as a household favorite. Here are just a few ways to savor every piece:
- The Perfect Sandwich Loaf: Its sturdy yet tender crumb holds up beautifully to all your favorite fillings. Imagine classic peanut butter and jelly, a hearty ham and cheese, or a gourmet turkey and avocado sandwich – each elevated by the superior taste and texture of homemade potato bread. It makes everyday lunches feel special.
- Simply Smeared with Butter: Sometimes, simplicity is best. A warm, freshly baked slice generously slathered with soft butter, allowing it to melt into every crevice, is pure bliss. It’s an ideal accompaniment to a cup of coffee or tea, or a delightful afternoon snack that requires minimal effort for maximum enjoyment.
- Morning Toast or Breakfast Treat: Toast a slice to golden perfection and top it with your favorite jam, marmalade, or a drizzle of honey. Its subtle sweetness makes it a fantastic start to any day. You can even create delightful open-faced sandwiches with cream cheese and chives, or a poached egg for a savory twist.
- French Toast Reinvented: Take your breakfast or brunch to the next level by using thick slices of this potato bread for French toast. Its rich texture absorbs the egg custard beautifully, resulting in a golden, crispy exterior and a custardy, flavorful interior that’s simply divine. It holds its shape better than thinner white breads.
- Homemade Croutons and Breadcrumbs: Don’t let any leftover bread go to waste! Cube stale potato bread, toss with olive oil and your favorite herbs (like garlic powder, basil, and oregano), and bake until crispy for incredible homemade croutons. Or, process it into fresh breadcrumbs for coating chicken, topping casseroles, or enhancing the flavor and texture of meatballs and meatloaves.
A Step-by-Step Guide to Baking Perfect Potato Bread
Baking homemade yeast bread might seem daunting, but with a clear guide, it’s a deeply rewarding experience. If you’ve ever made a yeast loaf before, you’ll recognize the rhythm; if not, you’re in for a treat! This recipe is designed to simplify the process while ensuring a perfect result. Follow these detailed steps to create your two loaves of tender, delicious potato bread:
- Combine Ingredients and Initial Mix: In the large bowl of your stand mixer (or a spacious mixing bowl if you’re mixing by hand), add the instant yeast, granulated sugar, lukewarm water (or your reserved potato water), softened room temperature butter, fine table salt, large eggs, prepared mashed potatoes, and approximately half of the all-purpose flour. Attach the paddle attachment to your stand mixer and mix these ingredients on medium-high speed for 4 to 5 minutes. Periodically stop the mixer to scrape down any ingredients clinging to the sides and bottom of the bowl. The mixture should gradually become smooth, well-combined, and develop a slight sheen.
- Add Remaining Flour and Knead the Dough: Gradually incorporate the remaining all-purpose flour, adding about half a cup at a time, until a shaggy, somewhat sticky dough forms. Switch from the paddle attachment to the dough hook attachment on your stand mixer. Knead the dough at a steady medium speed for a full 7 minutes. The dough will feel sticky, especially initially, but resist the urge to add excessive extra flour. During the kneading process, stop the mixer once or twice to scrape any dough accumulated on the hook and gently gather it back into a cohesive ball. Proper kneading is essential for developing the gluten structure, which is crucial for the bread’s soft texture and elasticity.
- First Rise (Cold Fermentation): Once kneading is complete, carefully scrape the sticky dough into a ball and transfer it to a lightly greased bowl. Ensure the entire surface of the dough is lightly coated with oil to prevent any drying or crust formation. Cover the bowl securely with greased plastic wrap. For optimal flavor development and a superior texture, refrigerate the dough overnight, aiming for at least 12 to 18 hours, and up to 24 hours. This slow, cold rise (also known as retarding the dough) allows the yeast to work slowly, producing deeper, more complex flavors and contributing to a finer, more even crumb.
- Shape the Loaves: The next day, remove the dough from the refrigerator. You’ll notice it has risen considerably, even in the cold environment. Gently turn the dough out onto a lightly floured surface and divide it evenly into two halves. Taking one half at a time, gently shape it into a 9-inch log. Try to handle the dough with a light touch to preserve some of the delicate air pockets created during the first rise. Carefully place each shaped log into a greased 9 x 5-inch bread pan.
- Second Rise (Proofing): Loosely cover the bread pans with lightly greased plastic wrap. Allow the dough to rise in a warm, draft-free spot in your kitchen until it visibly extends about 1 inch over the rim of the pan. Because the dough is starting cold from the refrigerator, this second rise (proofing) will take longer than a typical room-temperature rise, usually anywhere from 2 to 4 hours, depending on the warmth of your kitchen. Be patient; a proper second rise is absolutely key to achieving a light, airy, and perfectly structured loaf. During the final 20-30 minutes of this rise, preheat your oven to 350°F (175°C).
- Bake the Loaves: Once the oven is preheated and the loaves have finished their second rise, carefully place the bread pans into the preheated oven. Bake for an initial 25 minutes. After this time, loosely tent the tops of the loaves with aluminum foil. This prevents the crust from browning too quickly while allowing the interior to finish baking thoroughly. Continue baking for an additional 15 to 25 minutes, or until the bread achieves a deep, golden brown color. To confirm doneness, insert a digital instant-read thermometer into the very center of one of the loaves; it should register at least 190°F (88°C).
- Cool Completely: As soon as the bread is baked to perfection, remove the pans from the oven. Let the loaves rest in their pans for just a few minutes, typically 5 to 10 minutes. This brief resting period allows the structure to set slightly. Then, carefully release the loaves from their pans and transfer them to a wire cooling rack to finish cooling completely. Cooling bread on a rack is vital, as it allows air to circulate around all sides, preventing a soggy bottom and ensuring a perfectly crisp crust and tender interior. Slicing too early can result in a gummy texture inside the loaf.
Unlock Baking Success: Pro Tips for Homemade Potato Bread
Baking yeast bread is a rewarding culinary journey, and even a less-than-perfect loaf can still taste fabulous! It involves a few key stages: mixing, kneading, proofing, and baking. Don’t be intimidated; the captivating smell of fresh bread filling your home is definitely worth the effort. Here are some expert tips to help you achieve perfect homemade potato bread every time:
- Ensure Yeast Freshness: First and foremost, you must use fresh, active yeast. Expired or inactive yeast is the most common reason bread fails to rise properly. Always check the expiration date on your yeast package or jar before you begin baking.
- PRO-Tip: Test Your Yeast: To quickly verify if your yeast is active, combine about ½ cup of warm water (ideally 105-115°F, never hotter than 120°F as excessive heat can kill the yeast) with a teaspoon of sugar in a small bowl. Stir in about a teaspoon of your yeast. Let it sit for 5-10 minutes. If the mixture becomes foamy and bubbly, your yeast is active and ready to use. If nothing happens, it’s time to purchase fresh yeast.
- Precise Temperature Control for Liquids: When proofing yeast in liquid (common for active dry yeast, less so for instant yeast mixed directly with flour), the water temperature is critical. Aim for 105-115°F (40-46°C). For instant yeast, which is mixed with flour first, some sources suggest water temperatures up to 120-130°F (49-54°C), but I find staying closer to 120°F (49°C) or less is safer to avoid damaging the yeast. Always use a cooking thermometer to precisely check your water temperature.
- Mastering the Knead: While bread dough can certainly be mixed and kneaded by hand, a stand mixer equipped with a paddle attachment (for initial mixing) and then a dough hook (for kneading) can save significant time and effort. This potato bread dough is notably sticky, making a stand mixer an invaluable tool for achieving the necessary elasticity without excessive mess. Always monitor your mixer to prevent overheating, especially during longer kneading times.
- The Art of Proofing (Rising): Bread requires one or more rising periods, known as “proofing,” where the yeast ferments and the dough expands. The times listed in recipes are suggestions; the ultimate goal is usually for the dough to approximately double in size. It’s crucial not to overproof (which can lead to a collapsed loaf with a strong yeasty flavor and coarse texture) or underproof (resulting in a dense, heavy bread).
- PRO-Tip: Ideal Proofing Environment: Proof your dough in a warm, draft-free spot in your kitchen. The ideal temperature for consistent proofing is around 85°F (29°C). If the environment is too hot, the bread may rise too quickly, negatively impacting its texture (large, irregular holes) and failing to develop the full, rich flavors that come with a slower, more controlled rise.
- Confirm Doneness with Temperature: Always bake your bread according to the recipe’s instructions, but the most reliable way to know if your loaf is truly done is by checking its internal temperature. Visual cues like a golden-brown crust are helpful, but internal temperature is definitive.
- PRO-Tip: Use an Instant-Read Thermometer: Insert an instant-read thermometer into the exact center of a loaf. For most yeast breads, an internal temperature of 190°F (88°C) indicates that it is fully baked through and safe to remove from the oven.
Your Homemade Potato Bread Questions Answered
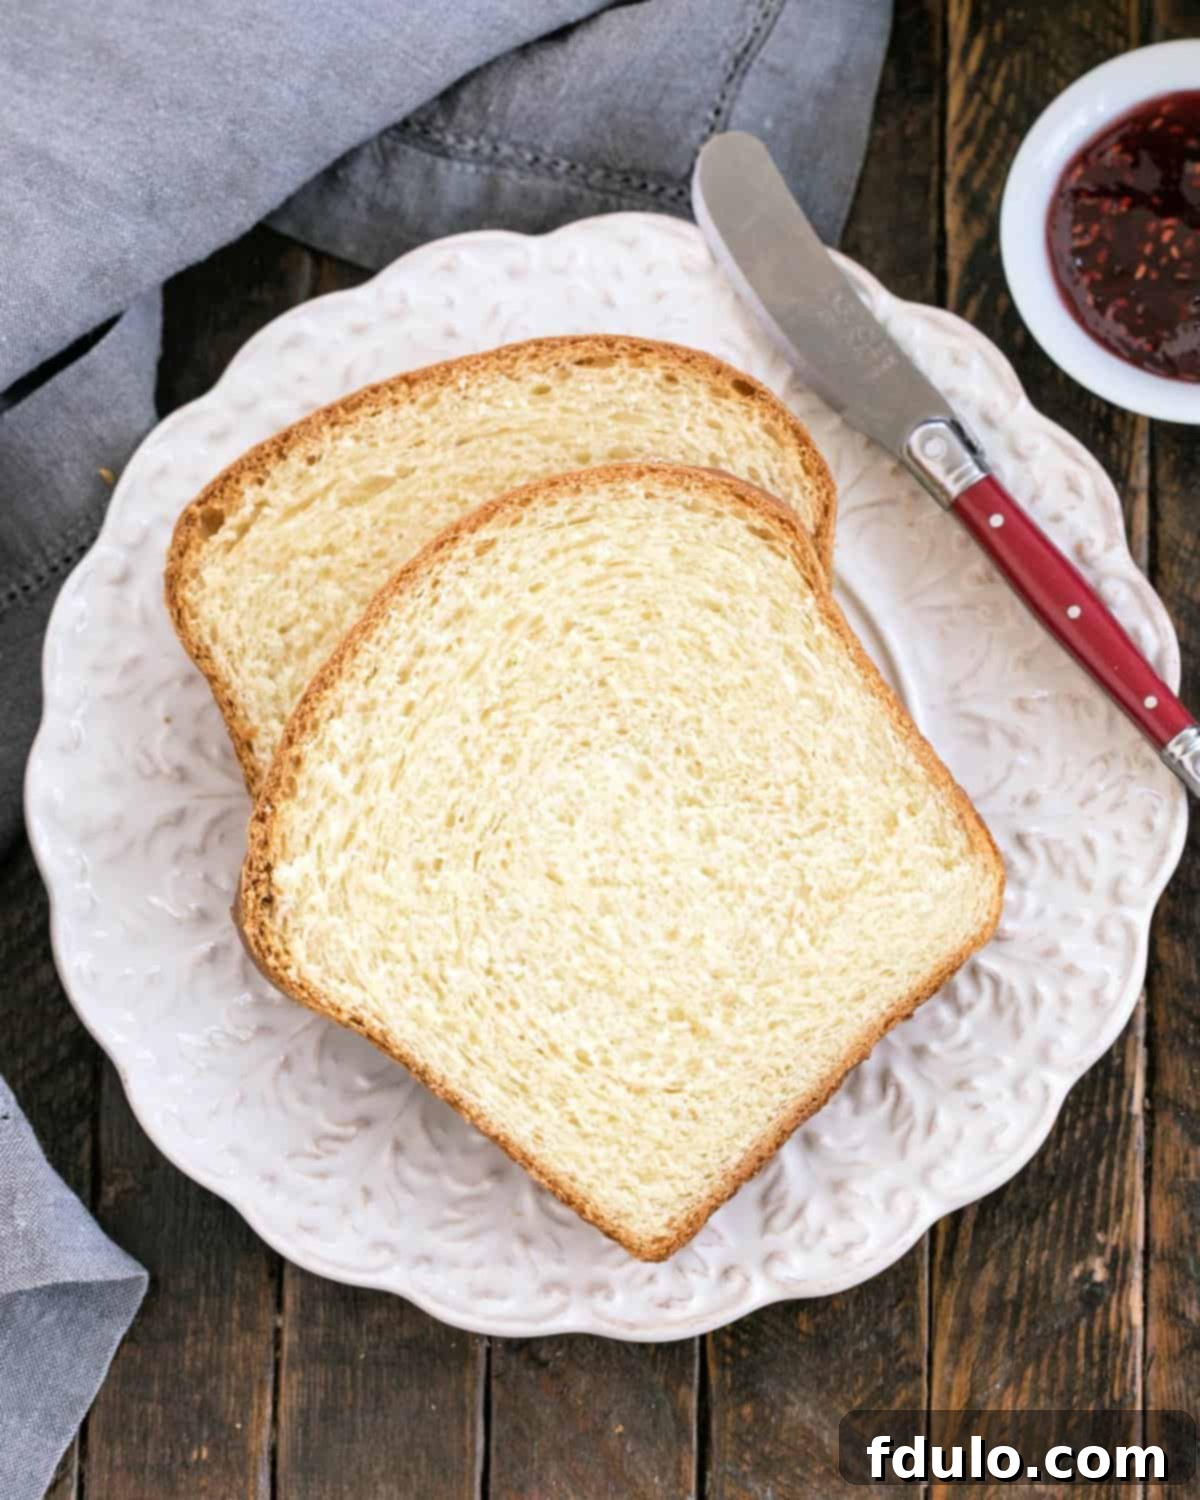
Potato bread is a distinctive type of bread where mashed potatoes or potato flour are incorporated directly into the dough. Essentially, the potatoes replace some of the traditional all-purpose flour in the recipe. This substitution is what gives potato bread its unique characteristics, making it stand out from other breads. It shares similarities with a classic white bread but is notably softer, fluffier, and often boasts a more tender crumb due to the reduced gluten development that occurs when less wheat flour is used. The potatoes also contribute a subtle, earthy flavor.
Despite its name, traditional potato bread, including this recipe, is not gluten-free. This is because regular all-purpose flour, which contains gluten, is one of the main ingredients used in its preparation to provide structure. While the potatoes add moisture and tenderness, they do not replace the gluten. If you require a gluten-free bread, you would need to seek out recipes specifically formulated with gluten-free flours and binders like xanthan gum.
Yes, you absolutely can use instant potato flakes to prepare the mashed potatoes needed for this recipe, making it even more convenient! When doing so, ensure you use plain, unflavored instant potatoes and do not add any butter, milk, or seasonings typically used for side dish mashed potatoes. The goal is pure potato. Since you won’t have any potato water from boiling, simply use plain lukewarm tap water in its place as specified in the recipe. Additionally, be mindful of the sodium content in instant potatoes; if they are particularly salty, you may need to slightly decrease the amount of salt called for in the bread recipe to avoid an overly salty loaf.
When compared to some traditional white bread recipes, potato bread can offer certain nutritional advantages. Thanks to the addition of potatoes, it typically contains more fiber and protein than standard white bread. Furthermore, potatoes are a natural source of important minerals such as zinc, iron, and potassium, which contribute to the bread’s overall nutritional profile. However, it’s also worth noting that the inclusion of potatoes can increase the total carbohydrate content of the loaf. As with any food, moderation is key. For detailed nutritional information per slice (assuming each loaf is cut into 16 slices), please refer to the recipe card provided below for a comprehensive breakdown.
Refrigerating the bread dough overnight for its first rise, also known as cold fermentation or retarding, is a technique highly favored by experienced bakers for several compelling reasons. This slower rise significantly allows the yeast more time to develop deeper, more nuanced, and complex flavors in the bread, resulting in a richer taste profile that can’t be achieved with a quick rise. Additionally, the cold environment contributes to a much-improved texture, often yielding a finer, more even crumb with a delicate chewiness than bread that proofs quickly at warm room temperature. For the very best results, aim to refrigerate the dough for 12 to 18 hours. It is absolutely crucial to cover the dough securely with greased plastic wrap while it’s in the refrigerator to prevent its surface from drying out and forming an undesirable crust.
Once your delicious potato bread has completely cooled to room temperature, it can be stored for 3-4 days. For optimal freshness, place the cooled loaves in a sealed plastic bag. An ideal storage spot in your kitchen would be a cool, dry, and dark pantry or cupboard, away from direct sunlight or heat, to prevent it from staling quickly. If you wish to store the bread for a longer period, it freezes exceptionally well. Wrap the cooled loaf tightly in plastic wrap, then an additional layer of aluminum foil, or place it in a freezer-grade Ziploc bag. It will keep beautifully in the freezer for up to 3 months without significant loss of quality. When you’re ready to enjoy it, simply let the bread defrost slowly in its wrapping at room temperature to maintain its moisture and prevent it from drying out.
Explore More Delicious Bread Recipes
If you’ve fallen in love with the art of bread making, there’s a whole world of delightful loaves to explore. From savory to sweet, whole grain to enriched, here are some other fantastic bread recipes that might pique your interest and expand your baking repertoire:
- Beautiful Whole Wheat Sandwich Bread from Barefeet in the Kitchen
- Rosemary Olive Bread – A fragrant and savory loaf perfect for pairing with Italian dishes or cheese.
- Classic Oatmeal Bread – A hearty yet tender bread with a subtle nutty flavor, great for breakfast.
- Whole Wheat Challah – A richer, braided loaf, perfect for special occasions or delicious French toast.
- Pretzel Rolls Recipe – Soft, chewy, and salty, these rolls are a fantastic addition to any meal.
- More Bread Recipes – Explore our full collection of delectable homemade breads.
- More Side Dish Recipes – Discover perfect accompaniments to your freshly baked bread.
We love connecting with fellow food enthusiasts and seeing your culinary creations! Stay in touch through social media @ Instagram, Facebook, and Pinterest. Don’t forget to tag us when you try one of our recipes! And if you’re absolutely delighted with the results of this homemade potato bread, please consider sharing your love by giving it a 5-star rating in the recipe card below – your feedback means the world to us!
Homemade Potato Bread Recipe
30 minutes
50 minutes
1 hour 20 minutes
2 loaves
A delectable Homemade Potato Bread Recipe that’s ideal for sandwiches or anytime you want a fabulous fresh loaf of yeast bread.
Ingredients
- 1 tablespoon instant yeast (Red Star Platinum yeast preferred)
- ½ cup granulated sugar
- 1 ¼ to 1 ½ cups lukewarm water or reserved potato water*
- ¾ cup (12 tablespoons) unsalted butter, softened to room temperature
- 2 ½ teaspoons fine table salt
- 2 large eggs
- 1 cup mashed potatoes (prepared from about ½ pound of Russet or Yukon Gold potatoes)
- 6 ½ cups all-purpose flour (King Arthur brand recommended)
Instructions
- Beat Dough Ingredients: In the bowl of your stand mixer, combine the instant yeast, sugar, lukewarm water (or potato water), room temperature butter, salt, eggs, mashed potatoes, and about half of the all-purpose flour. Using the paddle attachment, beat on medium-high speed for 4 to 5 minutes, stopping to scrape down the sides and bottom of the bowl as needed, until the mixture starts to look smooth and slightly shiny.
- Knead the Dough: Gradually add the remaining flour. Switch to the dough hook attachment. Knead the dough at medium speed for 7 minutes. The dough will be sticky; periodically stop the mixer to scrape the dough from the hook and form it back into a ball.
- First Rise (Refrigeration): Scrape the sticky dough into a ball and transfer it to a lightly greased bowl. Cover the bowl tightly with greased plastic wrap. Refrigerate the dough overnight, or for a minimum of 12 hours and up to 24 hours, for best flavor and texture development.
- Shape Loaves: Remove the dough from the refrigerator. Divide it in half. On a lightly floured surface, gently shape each half into a 9-inch log. Place each log into a greased 9 x 5-inch bread pan.
- Second Rise (Proofing): Cover the bread pans loosely with lightly greased plastic wrap. Allow the dough to rise in a warm, draft-free spot until it extends about 1 inch over the rim of the pan. This second rise typically takes 2 to 4 hours, as the dough is cold. Preheat your oven to 350°F (175°C) during the last 20-30 minutes of this rise.
- Bake: Bake the loaves for 25 minutes. Then, loosely tent the tops with aluminum foil and continue baking for an additional 15 to 25 minutes, or until the bread is a deep golden brown and a digital thermometer inserted into the center of a loaf registers at least 190°F (88°C).
- Cool: Remove the bread from the oven. Let it rest in the pans for a few minutes before carefully removing the loaves to a wire cooling rack to cool completely.
Notes
*Potato water is the starchy water left over from boiling your potatoes. Using it adds extra moisture and flavor to the dough. In drier, winter months, you might find the larger amount of liquid yields a better dough consistency.
Please note that the “Total Time” for this recipe includes the significant overnight refrigeration period for the dough. This cold fermentation, typically 12-18 hours, is a crucial step that greatly enhances the bread’s flavor and texture.
Recipe adapted from King Arthur Flour.
Recommended Baking Products
As an Amazon Associate and member of other affiliate programs, I earn from qualifying purchases.
- KitchenAid KSM150PSER Artisan Tilt-Head Stand Mixer with Pouring Shield, 5-Quart, Empire Red
- Red Star Platinum Yeast
- Stainless Steel Loaf Pan
Nutrition Information:
Yield:
32 slices
Serving Size:
1 slice
Amount Per Serving (approximate):
Calories: 123
Total Fat: 1g
Saturated Fat: 0g
Trans Fat: 0g
Unsaturated Fat: 0g
Cholesterol: 12mg
Sodium: 194mg
Carbohydrates: 25g
Fiber: 1g
Sugar: 3g
Protein: 3g
HOW MUCH DID YOU LOVE THIS RECIPE?
Please leave a comment on the blog or share a photo on Pinterest!
