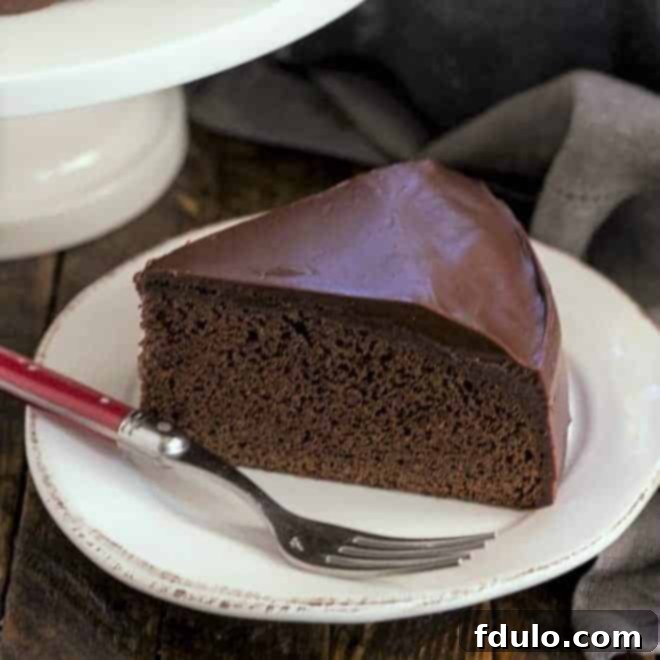
Are you searching for an effortlessly luxurious chocolate dessert that promises to delight without overwhelming your kitchen or your guests? This incredible One Layer Fudge Cake is the answer! It’s the perfect solution when you desire a deeply satisfying, rich chocolate treat but don’t need to feed a large crowd. Just recently, a dear friend served this exquisite chocolate cake at a birthday celebration, and it was a powerful reminder of how truly magnificent this Homemade Chocolate Cake recipe tastes. Every bite was pure bliss, prompting me to practically scrape my plate clean!
For my eldest, a rich chocolate cake is absolutely essential on December 27th – his birthday. On any other day of the year, a luscious Chocolate Lasagna might make the family swoon with delight, but for a birthday, it unequivocally must be cake. It hardly mattered that we still had three-quarters of a delightful Chocolate Mousse Torte lingering in the fridge from Christmas festivities. We had to honor the birthday boy, even if his special day falls so close to the holidays. Thus, the quest for the Best Chocolate Cake Recipe led us to this magnificent single-layer wonder.
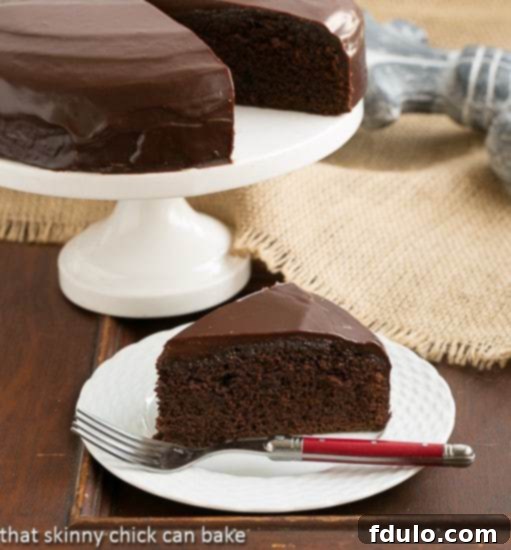
Why This One Layer Fudge Cake is a Must-Try
This isn’t just another chocolate cake; it’s a carefully crafted experience designed for maximum flavor with minimal fuss. Here’s why this One Layer Fudge Cake will become your new go-to recipe:
- Perfectly Portioned: Being only one layer, it’s ideal for smaller gatherings, intimate celebrations, or when you simply crave a decadent treat without an abundance of leftovers. Say goodbye to food waste and hello to perfectly sized indulgence.
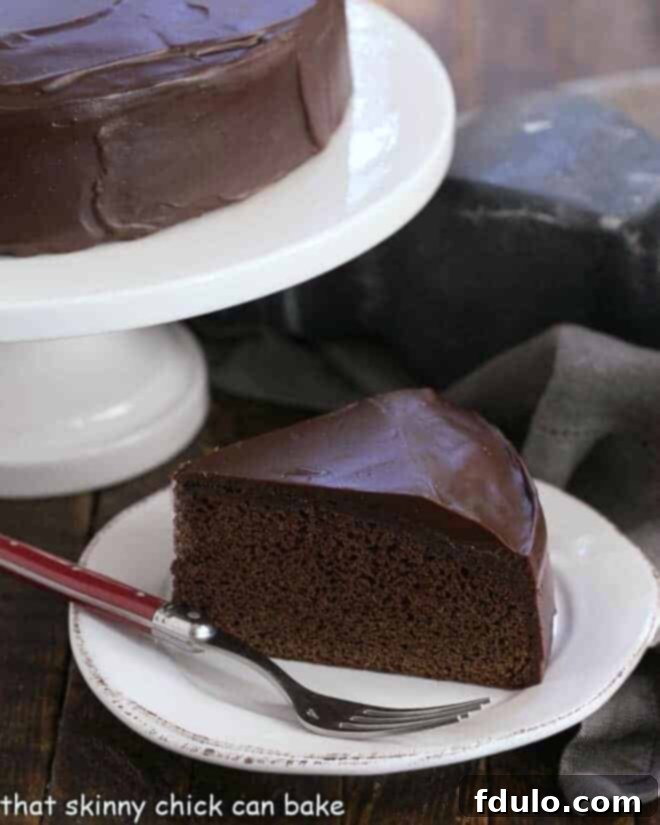
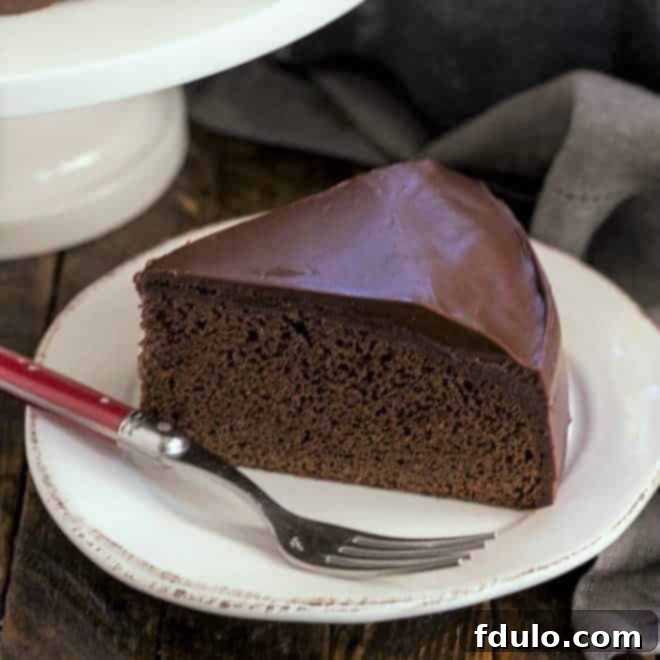
- Unbelievably Moist and Rich: Every forkful reveals a cake that is dense, exquisitely moist, and bursting with deep, luxurious chocolate flavor. The texture is sublime, making it truly unforgettable.
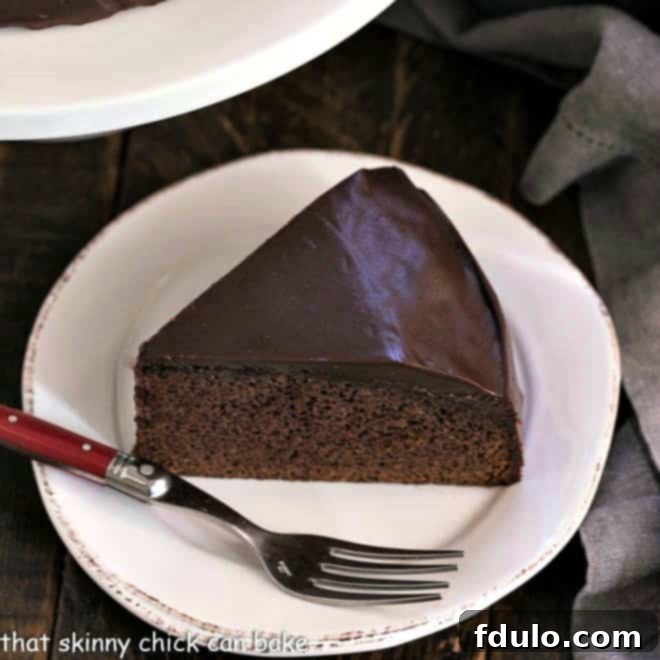
- Effortless Elegance: This cake proves that simplicity can be incredibly sophisticated. Its single layer and glossy ganache topping make for an elegant presentation without the complexities of multi-tiered baking.
- Easily Adaptable: For those with dietary considerations, this recipe is incredibly forgiving. You can effortlessly make it gluten-free by substituting regular flour with a high-quality gluten-free blend like Cup-4-Cup Flour, without compromising on taste or texture.
- Quick to Assemble: Without the need for stacking and elaborate frosting, this cake comes together much faster than traditional layered cakes, making it perfect for last-minute cravings or busy schedules.
It’s always a bit challenging when your special day closely follows Christmas. As a busy parent, you might be tired from endless cooking and holiday shopping. Sometimes, the poor birthday honoree receives a few more “IOUs” than actual presents! But I always make sure there’s a memorable chocolate cake. This rich, single-layer cake is absolutely perfect for the post-holiday season when you’ve likely been overindulging and prefer a dessert that feels celebratory but not excessively heavy.
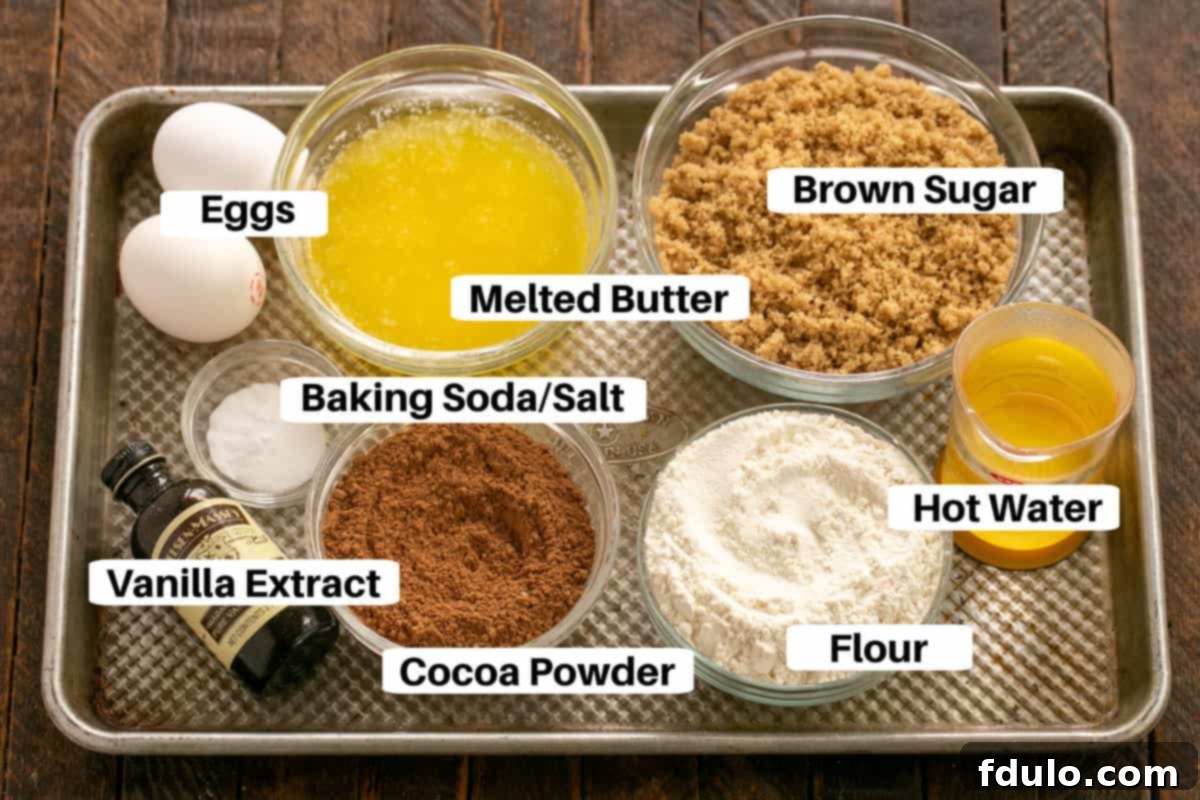
Essential Cake Ingredients for a Perfect Fudge Cake
Crafting the perfect fudge cake begins with selecting the right ingredients. Here’s a closer look at what you’ll need to create a moist, deeply chocolatey base:
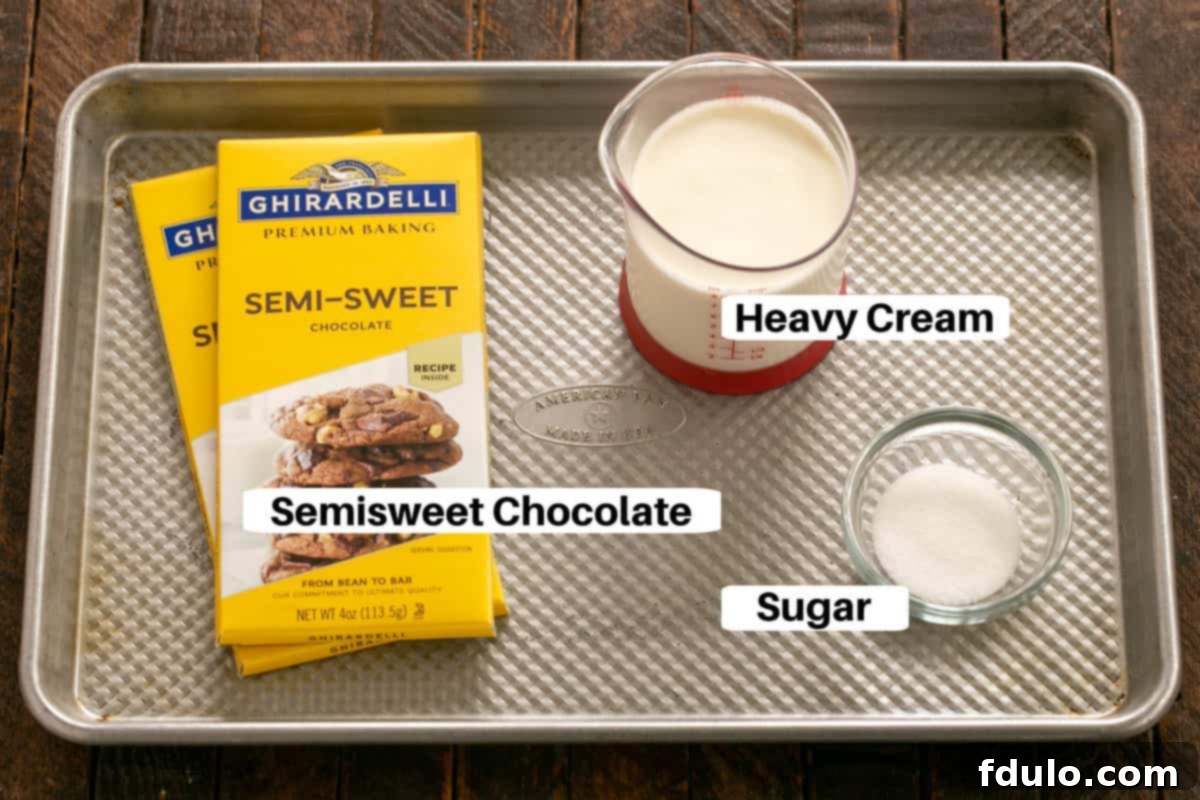
Luscious Frosting Ingredients for a Glossy Ganache
The crowning glory of this fudge cake is its rich, glossy ganache. Simple yet utterly decadent, the right ingredients are key to achieving that perfect pourable consistency and intense chocolate flavor:
Ingredient Notes and Expert Tips
Understanding your ingredients is crucial for baking success. Here are some detailed notes and tips to ensure your fudge cake turns out perfectly every time:
- Kitchen Staples: You’ll need basic items like granulated sugar, all-purpose flour, baking soda, and salt. Don’t underestimate the role of hot water in this recipe – it helps to “bloom” the cocoa powder, enhancing its flavor and contributing to the cake’s moist texture. Brown sugar adds a lovely molasses note and helps keep the cake extra moist.
- High-Quality Semisweet Chocolate: For the ganache, always opt for good quality semisweet chocolate. Finely chopping the chocolate ensures it melts smoothly and evenly when combined with hot cream. I highly recommend using Ghirardelli bars for their consistent quality and rich flavor, but any premium baking chocolate will work wonderfully.
- Heavy Cream (36% Milkfat): This is non-negotiable for a truly decadent ganache. The high fat content provides the rich body and glossy finish that makes ganache so irresistible. Avoid using half-and-half or lighter creams, as they won’t yield the same luscious results.
- Unsweetened Cocoa Powder: Choose a natural unsweetened cocoa powder, not a sweetened hot chocolate mix. Brands like Hershey’s or Ghirardelli are widely available and deliver excellent chocolate depth. The cocoa powder in the cake batter, combined with the chocolate in the ganache, creates a symphony of chocolate flavors.
- Butter (Melted and Warm): Melted butter distributes easily throughout the batter, contributing to the cake’s tender crumb. Using salted butter is perfectly fine as the small amount of salt enhances the chocolate flavor. Just ensure it’s warm, not scorching hot, when you add it to other ingredients.
- Large Eggs (Room Temperature): Room temperature eggs incorporate much more easily and evenly into batter, creating a smoother emulsion and a lighter, more consistent cake texture. Plan ahead and take your eggs out of the refrigerator at least 30 minutes before you start baking.
- Pure Vanilla Extract: Always use real vanilla extract for the best flavor. Artificial vanilla flavoring simply can’t compare to the complex notes of genuine vanilla, which beautifully complements and elevates the rich chocolate. Nielsen-Massey is a fantastic brand, but any pure vanilla extract will make a difference.
Serving Suggestions for Your Decadent Fudge Cake
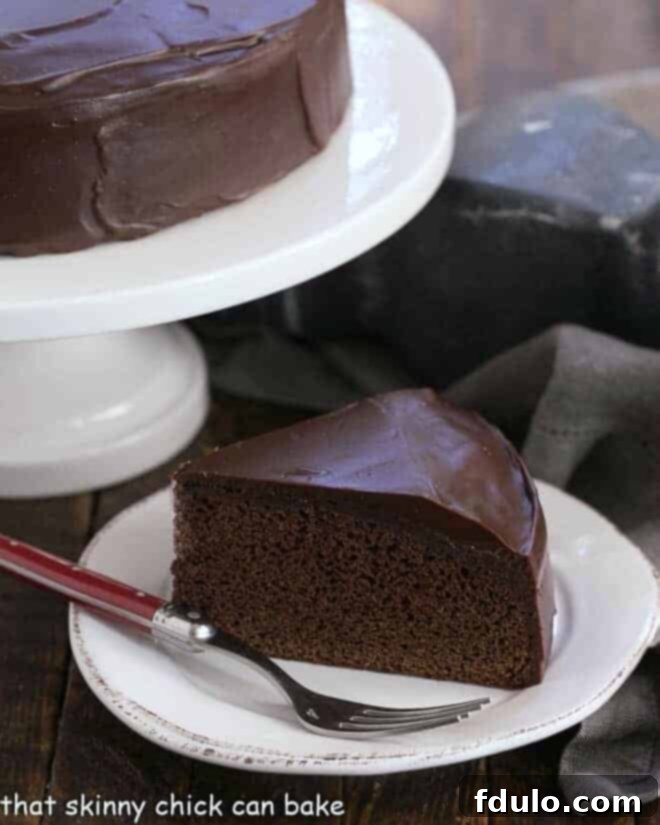
This year, the choice for the birthday celebration was an easy one: a magnificent one-layer fudge cake crowned with a decadent, glossy ganache. When I presented the birthday boy with a photo of this particular cake from the renowned Fine Cooking website, he instantly agreed with my selection. You truly cannot go wrong with an Alice Medrich recipe when it comes to creating exceptional chocolate desserts. But beyond birthdays, this versatile single-layer cake is absolutely perfect for a variety of special occasions. Imagine it as the romantic highlight of Valentine’s Day, or a delightful treat for celebrating “Galentine’s Day” with your favorite girlfriends.
For a classic presentation, cut the cake into generous wedges and serve each slice with a delicate dollop of lightly sweetened whipped cream. This offers a refreshing contrast to the cake’s richness. For an even more extravagant indulgence that will truly impress, consider topping a warm slice with a scoop of premium vanilla bean ice cream, allowing it to melt slightly into the cake, and finishing it with a luscious drizzle of hot fudge sauce. Just contemplating this combination makes my blood sugar rise with anticipation!
How to Make the Perfect One Layer Fudge Cake
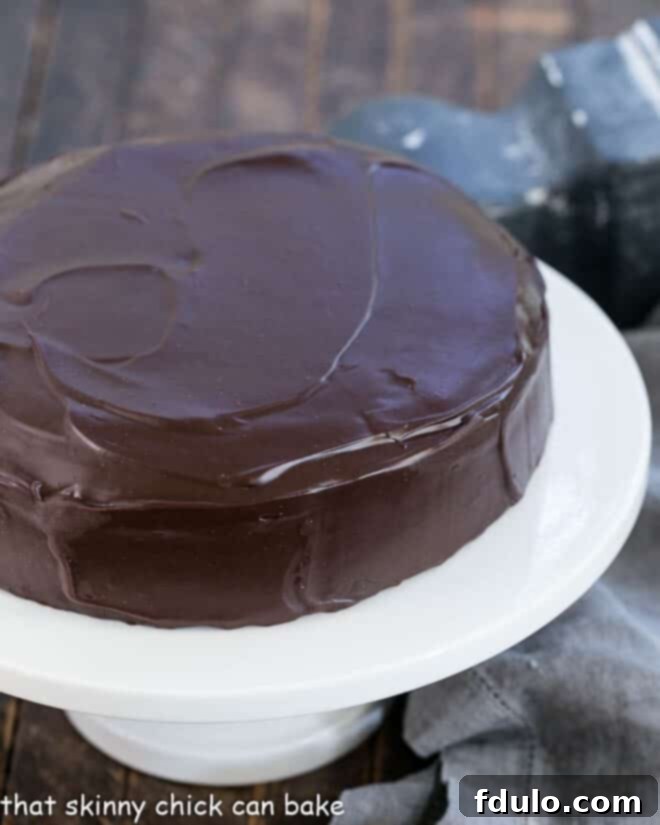
This dense and incredibly moist one-layer fudge cake, draped in its signature glossy ganache, is surprisingly easy to create. Forget the common anxieties of multi-layered cakes—no worries about precisely lining up layers, intricate piping decorations, or fiddling with leveling. The process is straightforward: bake, cool, and coat. It truly is as simple as that. And the best part? Its superb taste is perfectly matched by how effortlessly it comes together.
You’ll undoubtedly want to whip up this delightful single-layer chocolate cake for the chocolate connoisseur in your life. We even sent the delicious leftovers home with Tom, the birthday boy. I’m fairly certain he and his roommates polished it off for breakfast – a perfect birthday boy’s prerogative, if you ask me!
Recipe Tips for Success
This ganache chocolate cake is truly ideal when you’re not catering to a massive crowd. Its single-layer design means fewer leftovers (if any!) and less potential waste, all while delivering a flavor that is absolutely out of this world!
- Achieving Your Preferred Ganache Consistency: If you prefer a thicker, more luscious ganache, consider adding an extra 2-4 ounces of semisweet chocolate to the recipe. Remember, though, that the ganache should still be pourable to achieve that smooth, glossy coating we’re aiming for. Too thick, and it won’t spread easily; too thin, and it will run right off.
- Oven Accuracy is Key: Baking is a science, and oven temperature plays a crucial role. Invest in an oven thermometer to ensure your oven is consistently registering the proper temperature. An inaccurate oven can lead to a dry, over-baked cake or an undercooked one, and nobody wants a disappointing dessert!
- Gluten-Free Adaptation: One of my friends regularly makes a delicious gluten-free version of this one-layer fudge cake simply by substituting Cup4Cup Gluten-Free Flour for the all-purpose flour in equal measurements. I’ve personally tasted it, and I can attest that you would never know the difference – it’s just as moist and flavorful!
- Don’t Overmix: When combining the wet and dry ingredients for the cake batter, mix just until the flour is moistened. Overmixing can develop the gluten in the flour, leading to a tougher, drier cake. A few small lumps are perfectly fine.
- Cooling Patience: Allow the cake to cool completely before applying the ganache. If the cake is even slightly warm, the ganache will melt and slide off, resulting in a messy rather than a glossy finish.
Frequently Asked Questions About Baking Your Fudge Cake
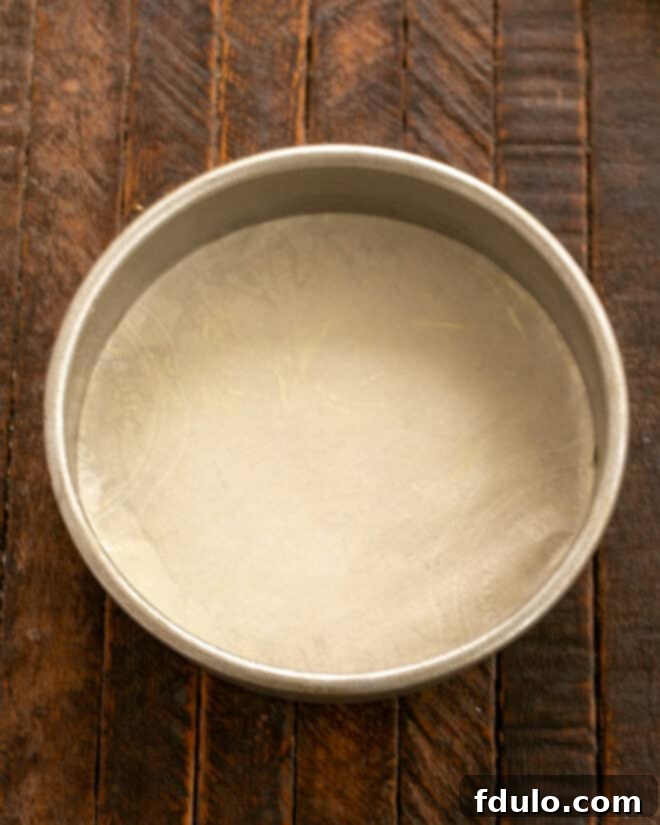
To ensure your cake releases flawlessly, first grease your 8-inch round baking pan generously. Then, place a round of parchment paper on the bottom of the pan and grease the parchment paper as well. There’s no need to flour the pan after greasing, as flouring can sometimes leave an undesirable white residue around the edges of your beautifully dark chocolate cake.
You’ll often start to detect a delicious, rich chocolate aroma emanating from the oven when your cake is nearing completion. To confirm doneness, gently insert a wooden toothpick into the center of the cake. If it comes out with just a few moist crumbs or is clean when removed, your cake is perfectly baked. Another reliable method is the tapping test: using an index finger, gently tap the top of the hot cake while it’s still on the oven rack. If the indentation springs back up, the cake is finished. If the indentation remains, it needs a few more minutes in the oven.
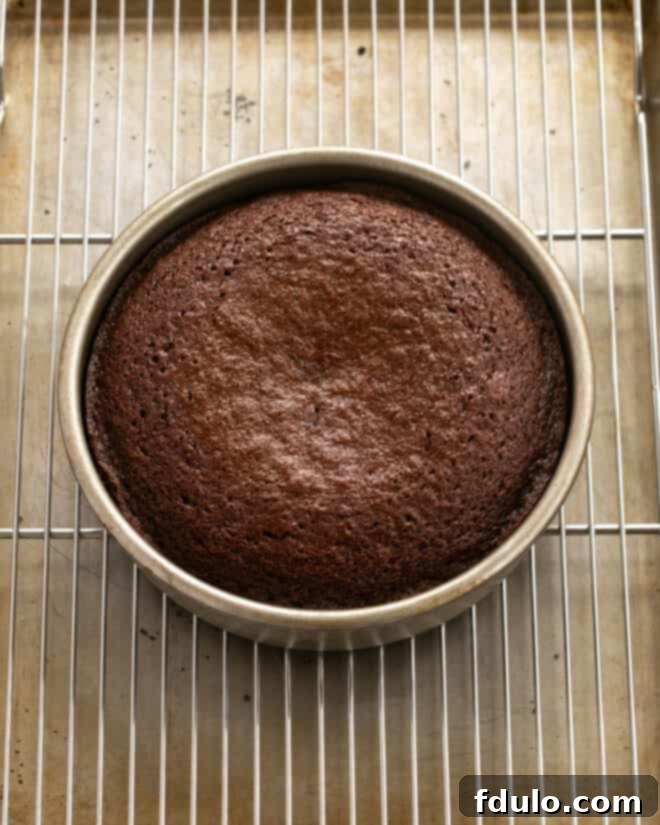
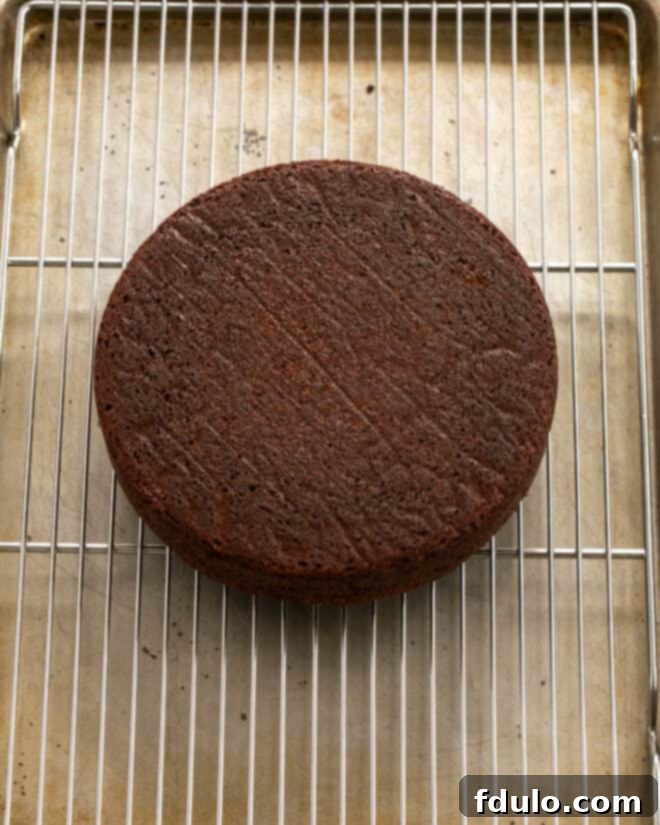
Your chocolate cake should cool on a wire rack within the pan for about 10 minutes. This crucial cooling period allows the cake structure to firm up. After 10 minutes, using oven mitts if necessary, gently shake the pan back and forth to loosen the cake slightly. Then, carefully invert the cake onto the cooling rack. If the cake is released too early, it might break apart. Conversely, if it’s left in the pan for too long, it can stick or become soggy.
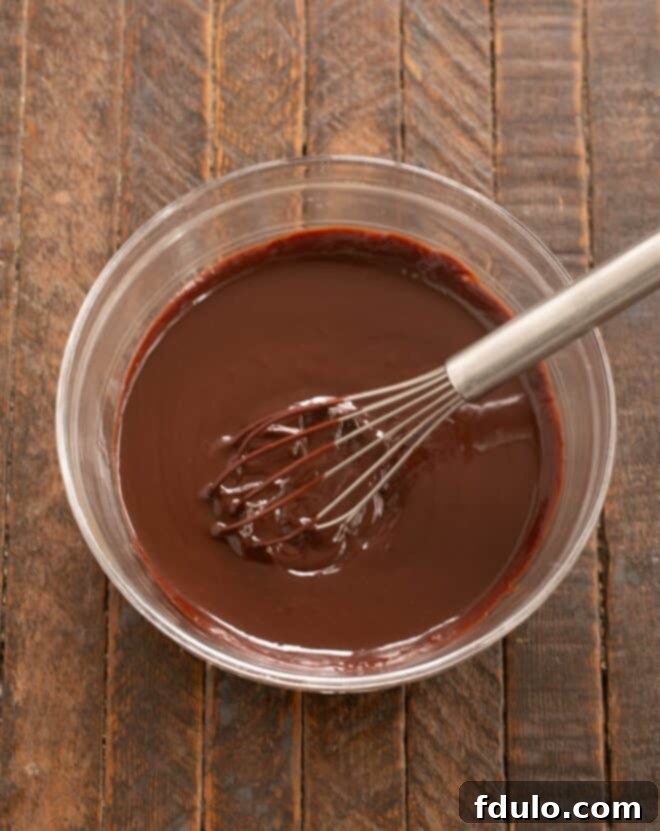
Achieving the ideal ganache consistency is key. If your ganache is too runny, simply let it cool at room temperature a bit longer, stirring occasionally. If your kitchen is particularly warm, you can place the ganache in the refrigerator for short intervals, stirring frequently, until it reaches the desired pourable yet slightly thickened consistency. If, however, the ganache becomes too thick, microwave it for about 10-15 seconds, then stir until smooth. Repeat this process as needed, heating in short bursts to avoid overheating.
To maintain its freshness and moisture, store any leftover One Layer Fudge Cake in an airtight container at room temperature for up to 2-3 days. If you need to store it for longer, it can be kept in the refrigerator for up to a week. For optimal taste and texture when chilled, allow slices to come to room temperature for about 30 minutes before serving.
Absolutely! This cake is excellent for making ahead. You can bake the cake layer up to 1-2 days in advance, let it cool completely, wrap it tightly in plastic wrap, and store it at room temperature. The ganache can also be made a day ahead and stored in an airtight container in the refrigerator. When you’re ready to serve, gently rewarm the ganache in the microwave (stirring until smooth) and pour it over the cake.
You May Also Like: Other Decadent Chocolate Desserts
If you’ve fallen in love with this One Layer Fudge Cake, you’ll be thrilled to explore more of our favorite chocolate creations. Each recipe promises rich flavor and satisfying indulgence:
- German Chocolate Cake from Jo Cooks: A classic with coconut-pecan frosting.
- Triple Layer Chocolate Cake: For when you need a show-stopping dessert.
- Death by Chocolate Cake: An intense chocolate experience for true chocoholics.
- Chocolate-Mayonnaise Cake: Surprisingly moist and incredibly delicious.
- Chocolate Fudge Layer Cake: Another fantastic option for a layered chocolate cake.
- The Best Chocolate Cake: A bold claim, but this recipe delivers on flavor and texture.
- Whipped Ganache Chocolate Cake: A lighter, airier take on chocolate ganache.
- More Homemade Chocolate Recipes: Explore our full collection of chocolate delights.
Stay in touch and share your baking triumphs with us through social media! Find us @ Instagram, Facebook, and Pinterest. Don’t forget to tag me when you try one of my delicious recipes! And if you absolutely love the results, please consider giving it a 5-star rating in the recipe card below – your feedback means the world to us.
One Layer Fudge Cake Recipe
20 minutes
40 minutes
1 hour
8 servings
A smaller, perfectly portioned version of the ultimate decadent chocolate cake!
Rating: 4.7 stars based on 123 reviews.
Ingredients
For Ganache:
- 8 ounces semisweet chocolate, finely chopped
- 1 cup heavy cream
- 1 tablespoon sugar
For Cake and Assembling:
- 1 cup all-purpose flour
- ¼ cup plus 2 tablespoons unsweetened cocoa powder
- ½ teaspoon baking soda
- ¼ teaspoon salt
- 4 ounces (½ cup) butter, melted and warm
- 1 ¼ cups brown sugar
- 2 large eggs
- 1 teaspoon pure vanilla extract
- ½ cup hot water
- 1 cup warm ganache (prepared above)
Instructions
- Prepare the Ganache: Place the finely chopped semisweet chocolate in a medium heatproof bowl. In a small saucepan, or using a microwave, heat the heavy cream to a simmer, ensuring it doesn’t boil.
- Combine Ganache: Pour the hot cream over the chopped chocolate. Let it sit undisturbed for 2-3 minutes to allow the chocolate to melt. Then, whisk gently until the chocolate is completely melted and the ganache is smooth and glossy.
- Sweeten and Cool Ganache: Add the tablespoon of sugar to the ganache and whisk to combine. Set the ganache aside and let it cool to a lukewarm temperature. It should be thick enough to coat the back of a spoon but still pourable, ensuring it doesn’t run off the cake when glazed.
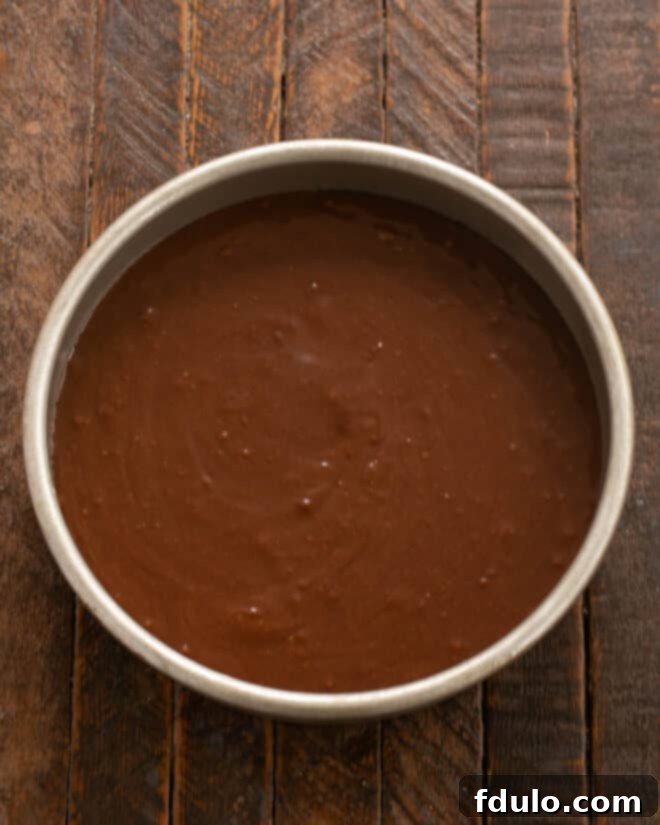
- Preheat Oven & Prep Pan: Preheat your oven to 350°F (175°C). Grease the bottom of an 8-inch round cake pan. For easy release, line the bottom with a round of parchment paper and grease the parchment paper as well.
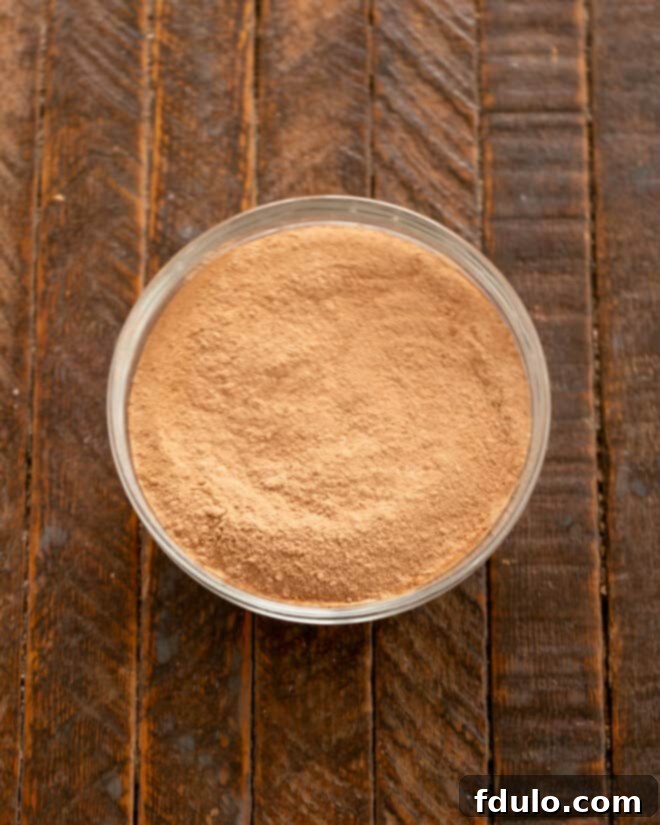
- Combine Dry Ingredients: In a small bowl, whisk together the all-purpose flour, baking soda, and salt. Sift the unsweetened cocoa powder into these dry ingredients and whisk again to ensure everything is thoroughly combined.
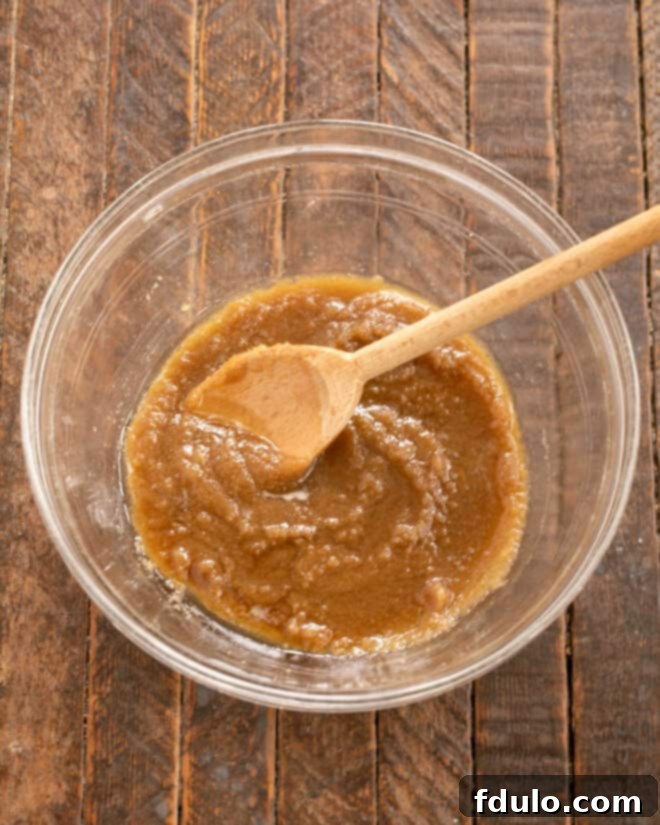
- Combine Wet Ingredients (Part 1): In a large mixing bowl, combine the melted and warm butter with the brown sugar. Stir with a wooden spoon or spatula until well blended and creamy.
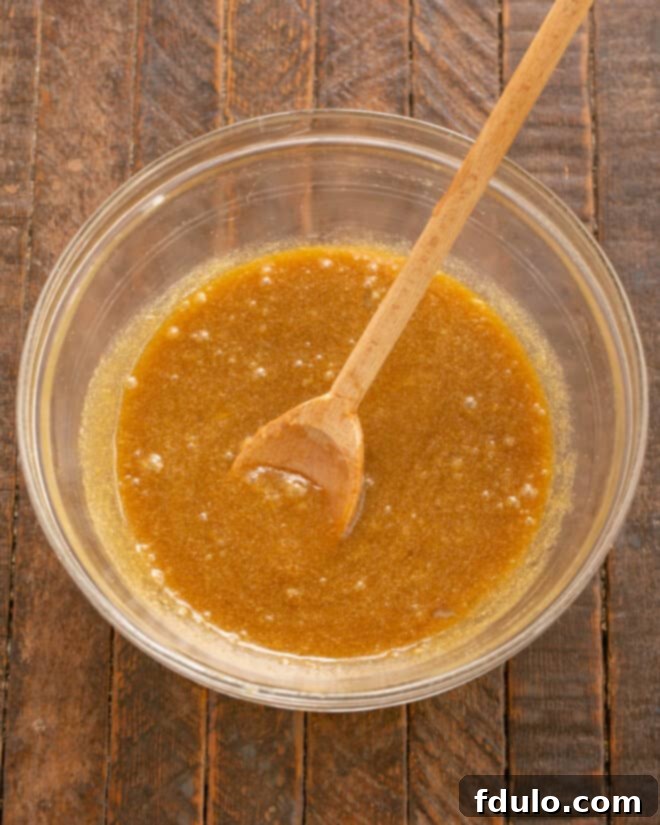
- Combine Wet Ingredients (Part 2): Add the eggs and vanilla extract to the butter and sugar mixture. Stir until everything is well blended and smooth.
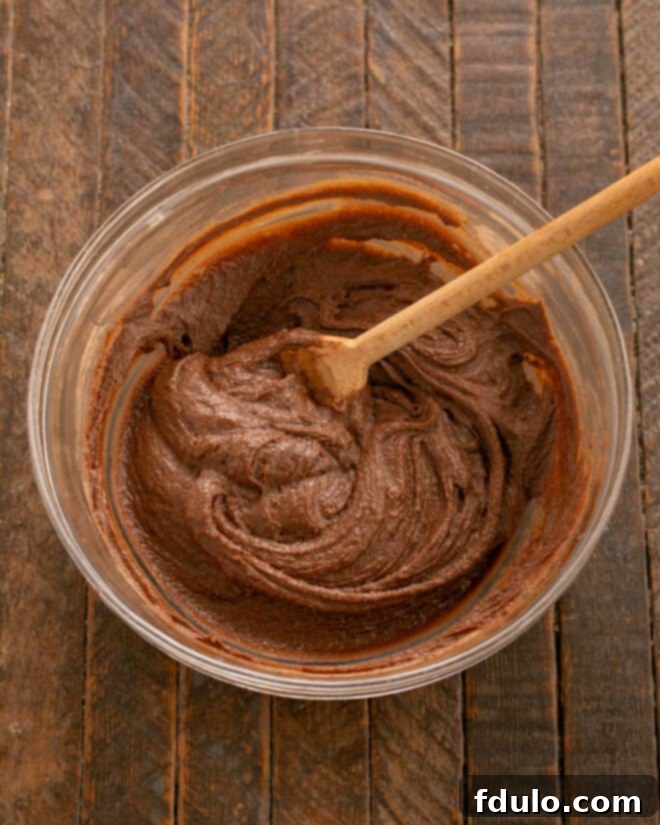
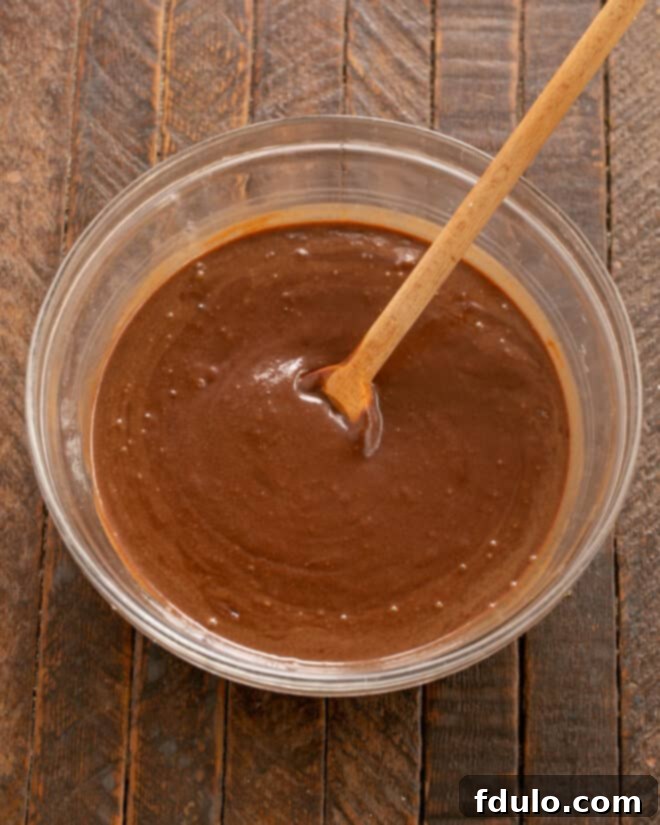
- Add Dry to Wet: Add the prepared flour mixture to the wet ingredients all at once. Stir gently, just until all the flour is moistened and no dry streaks remain. Be careful not to overmix.
- Incorporate Hot Water: Pour the hot water over the cake batter. Stir gently, just until it is fully incorporated and the batter becomes smooth. This step helps activate the cocoa and baking soda, contributing to the cake’s texture.
- Bake the Cake: Pour the smooth batter into your prepared 8-inch cake pan. Bake for approximately 35 to 40 minutes, or until a wooden toothpick inserted into the center of the cake comes out clean or with just a few moist crumbs.
- Cool and Release: Allow the cake to cool on a wire rack in its pan for 10 minutes. Then, run a thin knife around the edge of the cake to loosen it. Carefully invert the cake onto the cooling rack to remove it from the pan. If parchment paper was used, peel it off gently. Let the cake cool completely on the rack before proceeding.
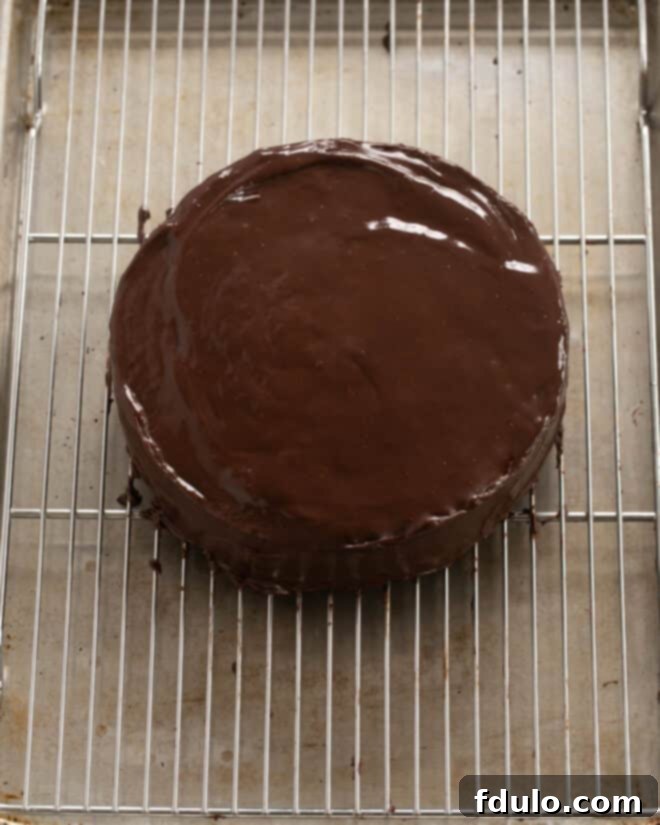
- Glaze with Ganache: Once the cake is completely cool, place the wire rack (with the cake on it) over a baking sheet or a sheet of aluminum foil to catch any drips. Pour the lukewarm ganache over the center of the cake. Use an offset spatula to gently spread the ganache evenly over the top and allow it to cascade beautifully down the sides.
- Set and Serve: Let the ganache set for about an hour at room temperature. This will allow it to firm up slightly and create that perfect, stable glaze. Once set, slice and serve your magnificent One Layer Fudge Cake!
Notes
This recipe is adapted from a renowned Alice Medrich recipe from Fine Cooking, known for her expertise in chocolate desserts.
You may find you have a small amount of extra ganache. Don’t let it go to waste! It’s fantastic for making sandwich cookies with two chocolate chip cookies, or simply enjoying with fresh fruit.
Video tutorial for this recipe will be available soon!
Recommended Products
As an Amazon Associate and member of other affiliate programs, I earn from qualifying purchases.
- Baking Rack Cooling Rack Set of 2
- Set of Glass Mixing Bowls
- OXO Good Grips 11-Inch Better Balloon Whisk
- 8-inch Cake Pan
Nutrition Information:
Yield:
8
Serving Size:
1 slice
Amount Per Serving:
Calories: 433
Total Fat: 21g
Saturated Fat: 12g
Trans Fat: 0g
Unsaturated Fat: 7g
Cholesterol: 80mg
Sodium: 183mg
Carbohydrates: 61g
Fiber: 2g
Sugar: 46g
Protein: 5g
HOW MUCH DID YOU LOVE THIS RECIPE?
Please leave a comment on the blog or share a photo on Pinterest
