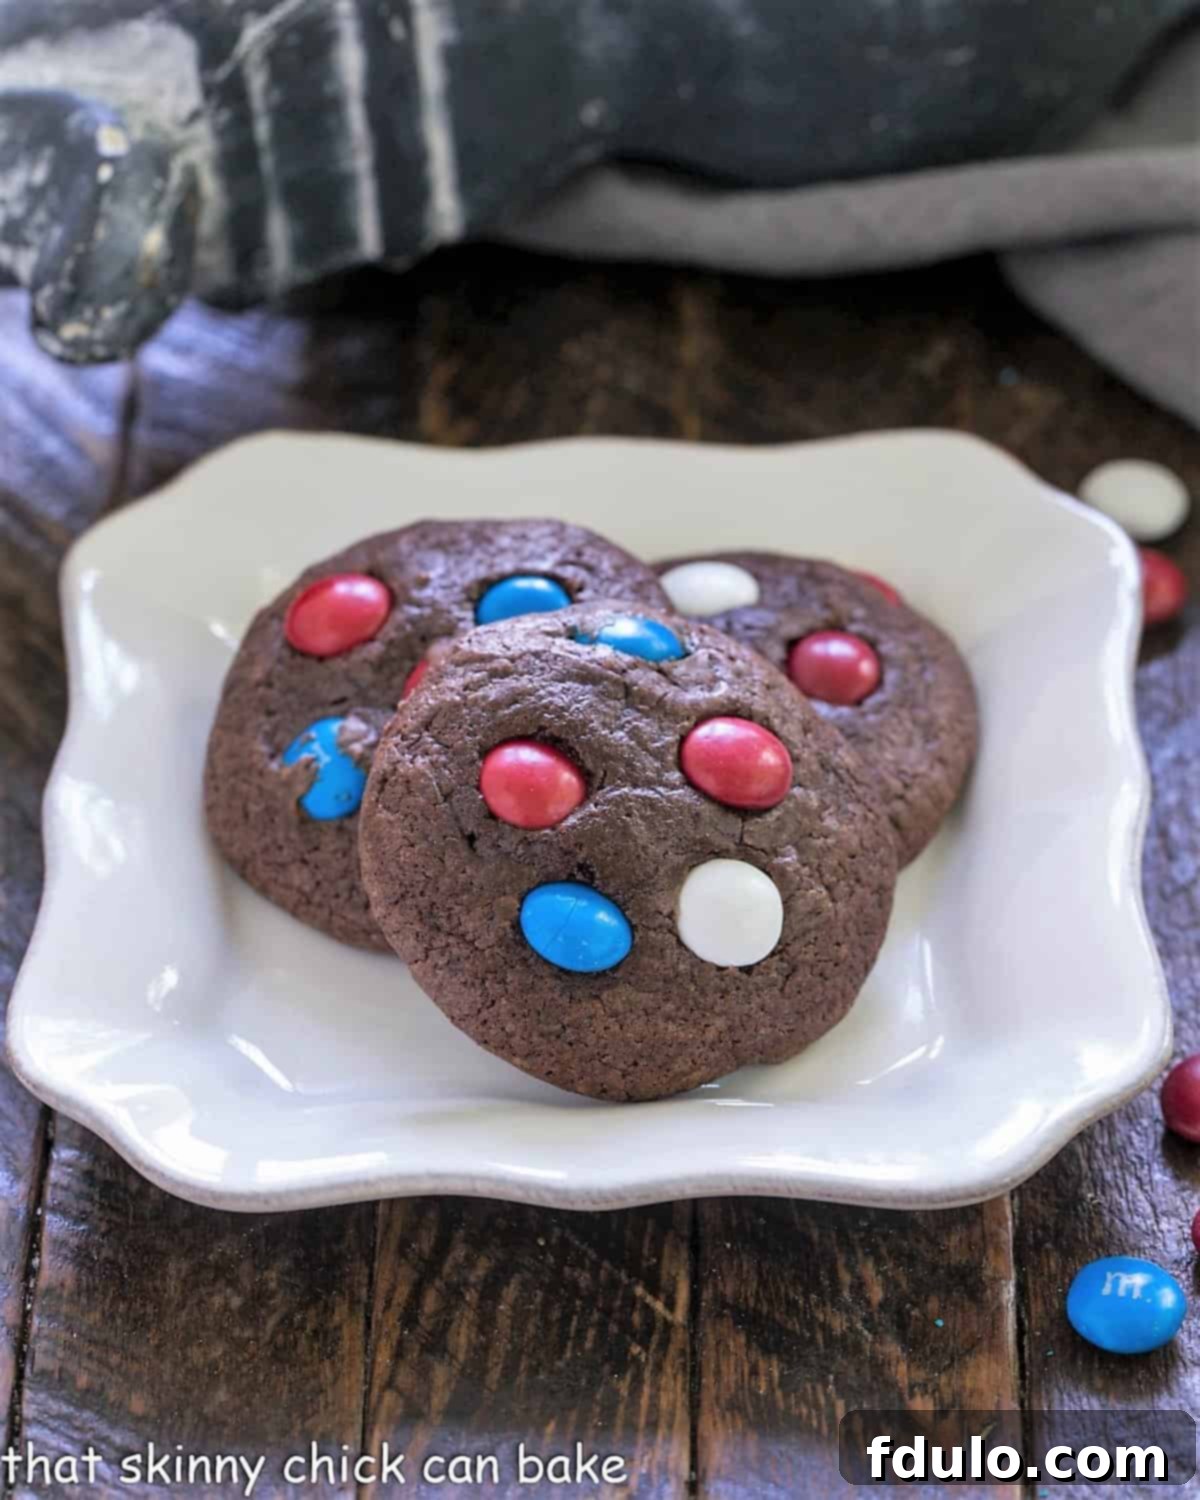
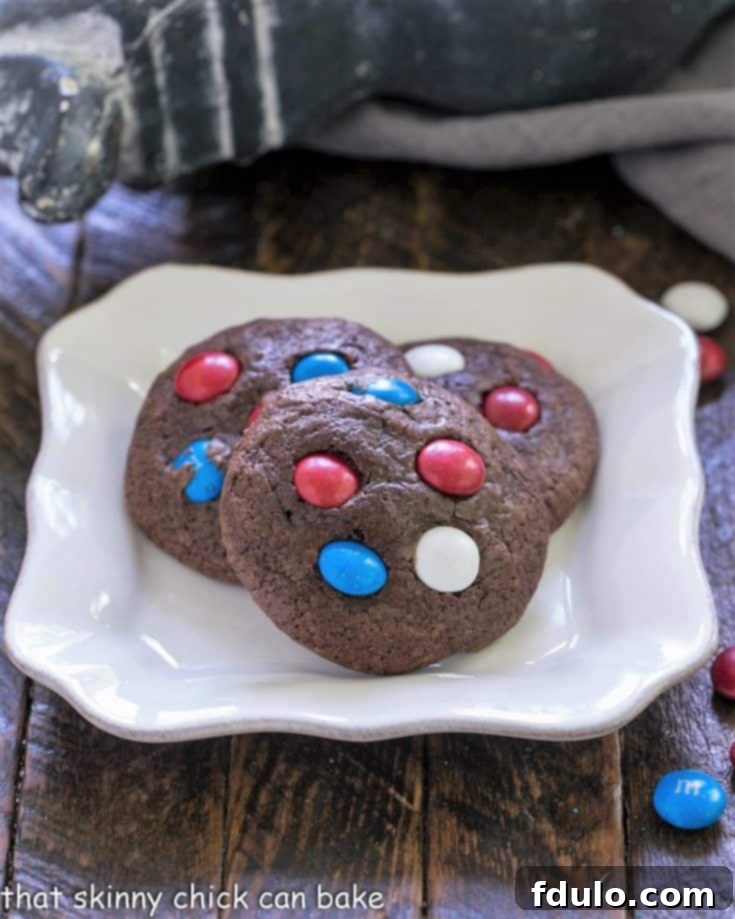
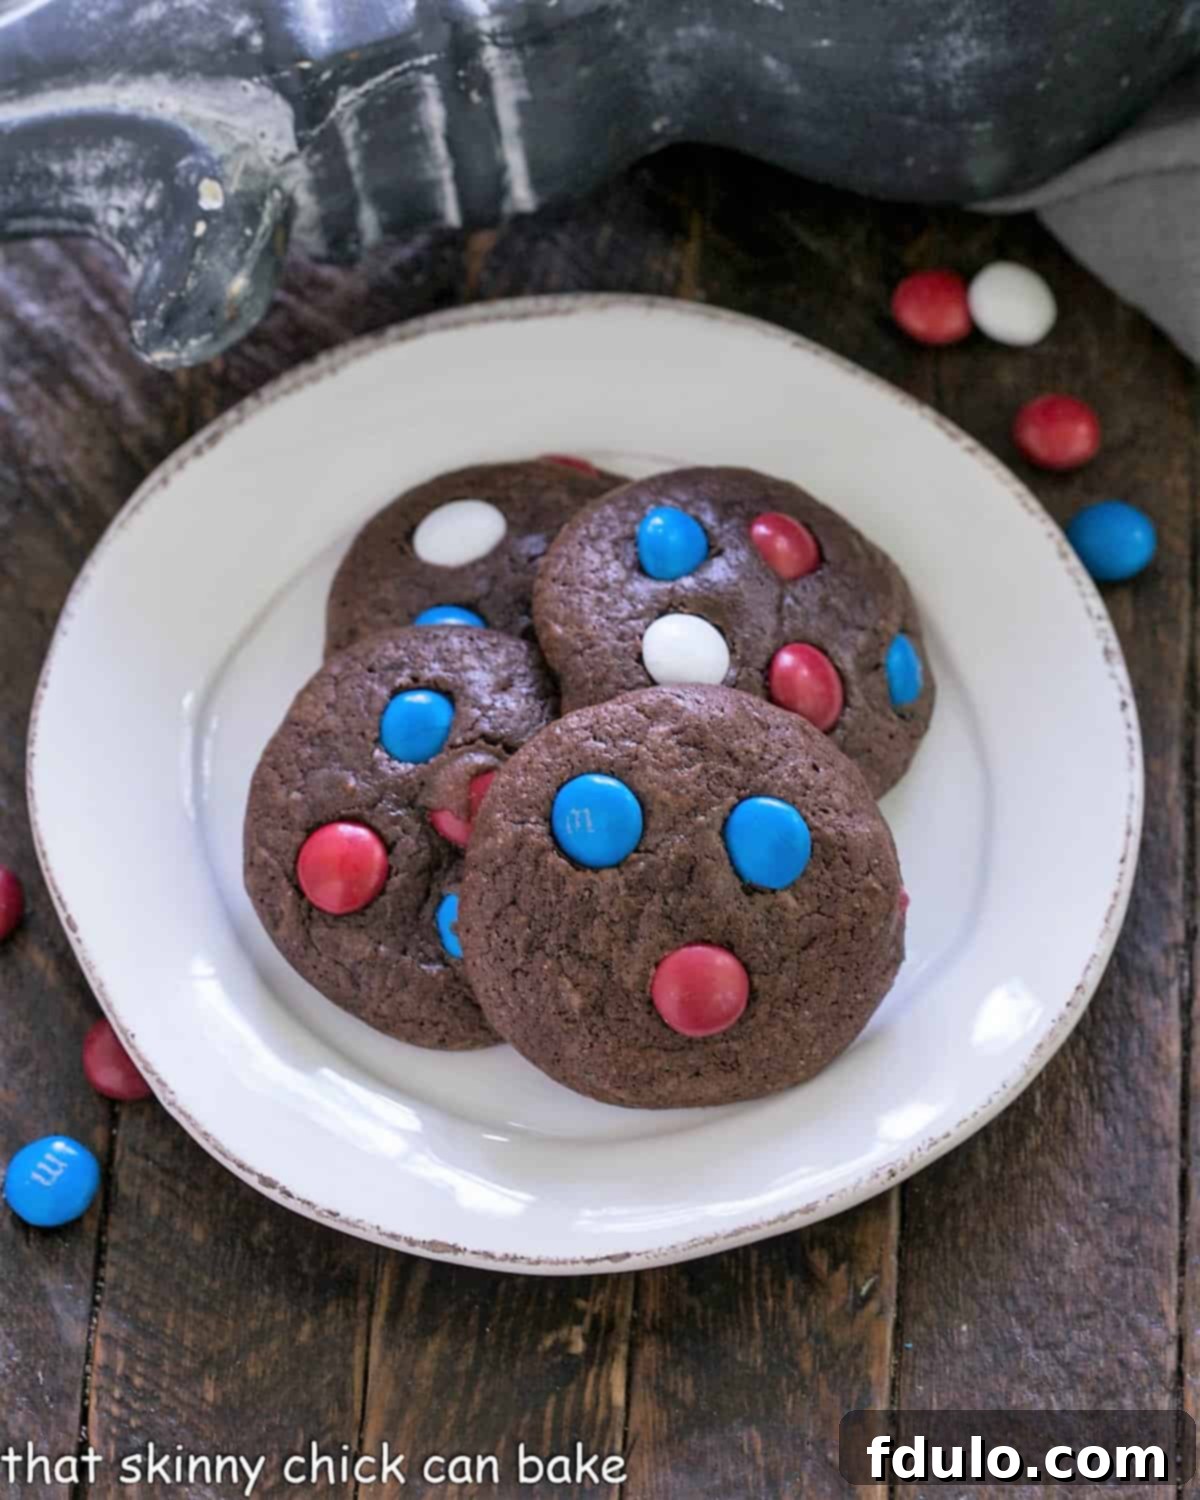
Indulge in the ultimate treat with these irresistibly Chewy Brownie Cookies. While they are a delightful indulgence year-round, adding vibrant Patriotic M&Ms transforms them into the perfect, rich, and festive 4th of July Cookies. Imagine the classic fudge-like texture of a brownie combined with the convenience of a handheld cookie, making them an ideal dessert for any celebration, especially for Independence Day festivities or any patriotic gathering.
This foundational chocolate Brownie Cookie Recipe has been a beloved family staple for decades, tracing its origins back to the pioneering days of the Food Network. The original recipe, a testament to timeless baking, was generously shared by Caprial Pence, a distinguished James Beard award-winning chef, during an episode of “Cooking Live” in the 1990s. Its enduring popularity is a testament to its simple preparation and consistently spectacular results. This recipe doesn’t just bake cookies; it creates memories, bringing smiles to faces with every fudgy, chocolatey bite. Whether you’re a seasoned baker or just starting your culinary journey, these cookies offer a rewarding and delicious experience that promises to impress.

Why These Brownie Cookies Are a Must-Bake
Beyond their stunning appearance, especially when decked out in festive colors, these brownie cookies offer a multitude of compelling reasons to whip up a batch (or two!) today:
- Unforgettable Flavor and Texture: They capture the very essence of a rich, fudgy brownie with a delightful crackly crust, yet in a convenient, portable cookie form. This means you get all the gooey, chocolatey goodness without needing a fork, making them perfect for on-the-go snacking or party platters.
- Effortless One-Bowl Preparation: Say goodbye to mountains of dirty dishes! This recipe is designed for maximum ease, requiring just one mixing bowl from start to finish. This streamlined process makes baking quick, enjoyable, and significantly reduces cleanup time, allowing you to spend more time savoring your delicious creations.
- Infinitely Adaptable for Any Occasion: While patriotic M&Ms make them shine for the 4th of July, Memorial Day, or Labor Day, their versatility knows no bounds. Easily adapt them for any holiday or theme by swapping out the M&Ms for different seasonal colors, classic chocolate chips for an intense chocolate experience, or even white chocolate chips, nuts, or sprinkles. They are truly a blank canvas for your creativity, ensuring they fit seamlessly into any festive spread.
- Crowd-Pleaser Guaranteed: These cookies are universally loved by both children and adults. Their rich flavor and appealing texture make them an instant hit at potlucks, family gatherings, school events, or simply as a comforting treat at home. Expect rave reviews and requests for the recipe!
- Perfect for Gifting: Homemade cookies make thoughtful gifts. Package these beautiful brownie cookies in decorative boxes or bags for friends, neighbors, or teachers. Their impressive appearance and delectable taste make them a gift that truly keeps on giving.
- A Classic with a Twist: This recipe takes a beloved classic (the brownie) and transforms it into an even more accessible and fun format. It’s a nostalgic treat that feels fresh and exciting every time.

Essential Ingredient Notes for Perfect Brownie Cookies
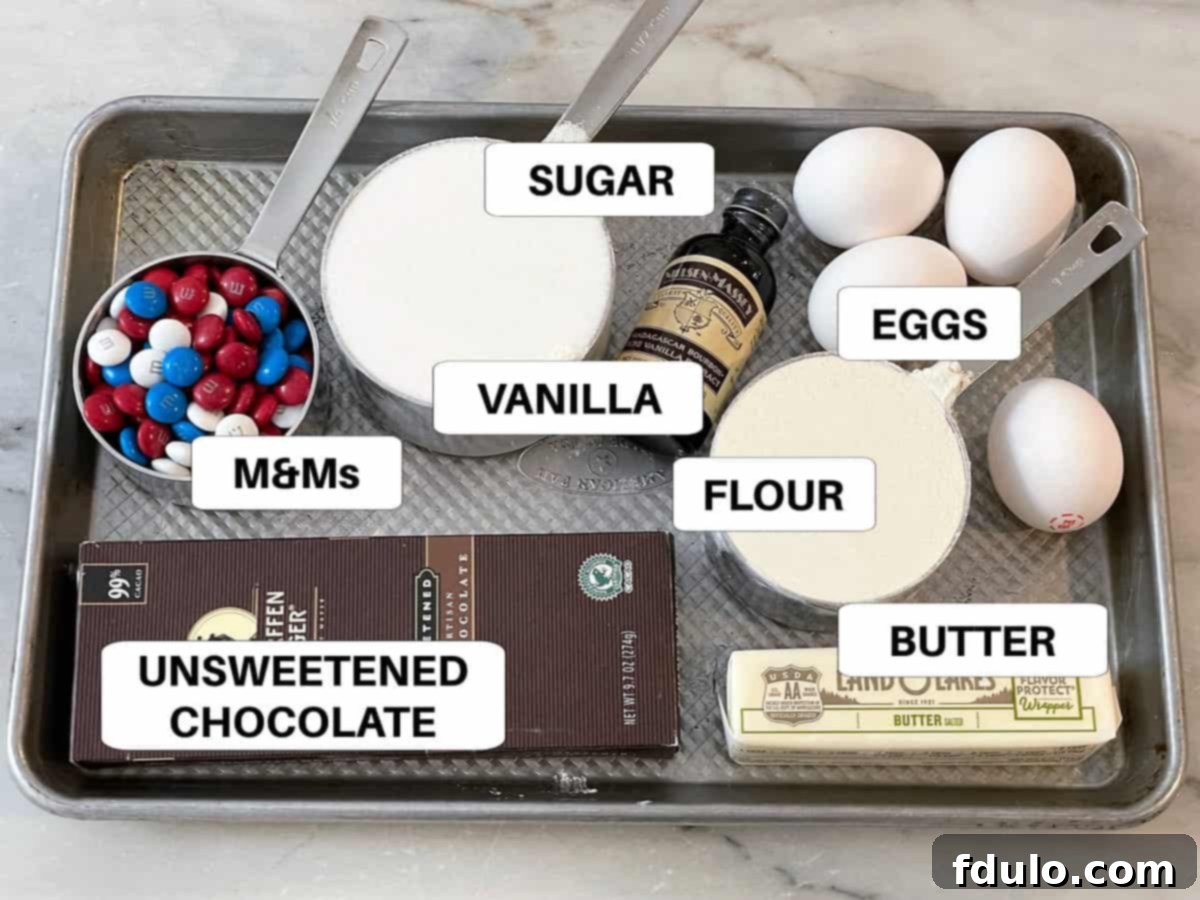
Achieving the perfect chewy, fudgy brownie cookie starts with understanding your ingredients. Here’s a closer look at what you’ll need and why:
- Unsweetened Chocolate: This is the cornerstone of the rich chocolate flavor. Opt for high-quality unsweetened chocolate, as it will significantly impact the final taste. Brands like Scharffen Berger or Ghirardelli are excellent choices, known for their deep, robust chocolate notes. Avoid using baking cocoa powder as a direct substitute; the fat content and flavor profile are very different.
- Butter: I typically use salted butter in this recipe, as the hint of salt perfectly balances the sweetness and enhances the chocolate flavor. If you only have unsalted butter, simply add an extra pinch of salt (about ¼ teaspoon) to the dry ingredients to achieve a similar balance. Ensure your butter is at room temperature for smooth melting and mixing.
- Eggs: Large eggs are standard for baking and provide structure, richness, and moisture. For best results, use eggs that are at room temperature. This allows them to incorporate more easily and evenly into the batter, leading to a smoother, more uniform cookie texture.
- Vanilla Extract: This small addition makes a huge difference, complementing and deepening the chocolate flavor. Always use Real or Pure Vanilla Extract. Imitation vanilla simply won’t deliver the same complex, aromatic profile and can leave an artificial aftertaste. A good quality vanilla extract is worth the investment.
- All-Purpose Flour: Standard all-purpose flour provides the necessary structure without making the cookies tough. Avoid overmixing once the flour is added, as this can develop the gluten too much, resulting in a drier, less chewy cookie.
- Salt: A small amount of salt (table salt works perfectly) is crucial. It doesn’t just add seasoning; it acts as a flavor enhancer, cutting through the sweetness and amplifying the rich chocolate notes. Don’t skip it!
- M&Ms (or Chocolate Chips): This is where the fun and customization come in! For patriotic holidays, seek out seasonal red, white, and blue M&Ms. For other occasions, regular M&Ms, or various types of chocolate chips (semi-sweet, milk, dark, white chocolate) work beautifully. For an even more intense chocolate flavor, semi-sweet chocolate chips are an excellent substitute. Consider using mini M&Ms for a more even distribution and delicate look.

Step-by-Step Guide: Crafting Your Chewy Brownie Cookies
Making these decadent brownie cookies is surprisingly straightforward. Follow these steps for perfect results every time:
- Prepare Your Workspace: Begin by preheating your oven to 350 degrees Fahrenheit (175°C). Line several baking sheets with parchment paper. This step is essential for preventing sticking and ensuring easy cleanup. Set the prepared baking sheets aside, ready for your cookie dough.
- Melt Chocolate and Butter: In a large, microwave-safe bowl, combine your unsweetened chocolate and butter. Microwave in 30-second intervals, stopping and stirring well after each interval, until the mixture is completely melted and smooth. Be careful not to scorch the chocolate. The goal is a glossy, even consistency.
- Incorporate Sugar: Once the chocolate and butter mixture is just melted and still warm, add the sugar. Mix thoroughly until well combined. The warmth from the chocolate helps the sugar dissolve slightly, contributing to that signature crackly brownie crust.
- Add Eggs and Vanilla: Beat in the eggs, one at a time, ensuring each egg is fully incorporated before adding the next. This creates a smooth emulsion. Follow with the vanilla extract and mix well. The mixture should be thick and glossy.
- Fold in Dry Ingredients and M&Ms: Gently fold in the all-purpose flour and salt until just combined. Be careful not to overmix the batter once the flour is added. Then, gently stir in approximately half of your M&Ms (or chocolate chips). Reserving some M&Ms will allow you to press them onto the cookies later for a more vibrant, aesthetically pleasing finish.
- THE CRITICAL DOUGH REST: This step is paramount for achieving perfectly shaped cookies. Let the cookie dough rest at room temperature for about 15-20 minutes, or until it becomes firm enough to scoop without being too runny. Skipping this resting period will result in dough that spreads too much in the oven, leading to thin, flat cookies. The rest allows the flour to fully hydrate and the chocolate to slightly firm up, creating a more manageable and bake-stable dough.
- Scoop and Bake: Using a medium cookie scoop (about 1.5 tablespoons), drop rounded mounds of dough onto your prepared baking sheets, leaving enough space between them for spreading. Bake for approximately 10 minutes, or just until the edges are set and the centers still look slightly soft and fudgy. Overbaking will diminish their signature chewy texture. PRO-Tip: The dough can be quite sticky. For cleaner, more consistent scoops, periodically wash and wipe your cookie disher (scoop) between batches. A clean scoop ensures beautifully uniform cookies.
- PRO-Tip: As the dough balls can sometimes have small “spikes” after scooping, gently tap them down and shape them into neat rounds using a moist finger. This simple trick ensures a smooth, professional appearance, especially when serving these to guests.
- Decorate and Shape (Optional): Immediately after removing the cookies from the oven, while they are still warm and soft, gently press 3-4 of the reserved M&Ms onto the top of each cookie. This ensures the colors pop and adhere beautifully. If you desire perfectly round cookies, use a greased spatula or a round cookie cutter slightly larger than your cookie to gently “tap” the warm cookies into neat circles right after baking.
- Cooling Process: Allow the cookies to cool on the baking sheet for at least 5 minutes. They are quite delicate when hot, and this cooling period helps them firm up. After 5 minutes, carefully transfer them to a wire cooling rack to cool completely. This prevents the bottoms from becoming soggy and helps maintain their crisp edges and chewy centers.

Frequently Asked Questions About Brownie Cookies
These aren’t just chocolate cookies! They embody all the best characteristics of a classic brownie: a delightful crackly crust, intensely fudgy and chewy centers, and a rich, bold chocolate flavor that stands out. The texture is denser and more moist than a typical chocolate chip cookie, truly offering the best of both worlds in a single bite.
The key to their signature fudginess is not to overbake them. You’ll know they’re done when the tops look just set, but the centers still appear slightly soft and perhaps a tiny bit undercooked. This usually takes between 7-10 minutes in a preheated oven, though baking times can vary slightly depending on your oven. A good indicator is when the edges are firm but the middle still yields slightly to a gentle touch.
Once your delicious brownie cookies have completely cooled, transfer them to an airtight container. They will remain wonderfully fresh and chewy at room temperature for 3-4 days. For optimal freshness and to prolong their life, you can also store them in the refrigerator, which can extend their shelf life by a few extra days. Just be sure to bring them to room temperature before serving for the best texture.
Absolutely! Brownie cookies freeze beautifully. Ensure they are completely cooled before freezing to prevent any condensation from forming and creating ice crystals. Arrange them in a single layer on a baking sheet to freeze solid, then transfer them to an airtight, freezer-safe container or freezer bag, layering them with parchment paper to prevent sticking. They’ll maintain their delicious flavor and texture for up to 3 months. Thaw them at room temperature when you’re ready to enjoy.
Yes, you can! This dough is excellent for making ahead. Prepare the dough as directed, then cover the bowl tightly with plastic wrap and refrigerate for up to 2-3 days. When you’re ready to bake, let the dough sit at room temperature for about 20-30 minutes to soften slightly before scooping, as it will be quite firm from chilling.
Over-spreading can happen for a few reasons. Ensure your oven temperature is accurate (an oven thermometer can help!). The most common culprit is often skipping the crucial dough resting step. The rest allows the butter to firm up and the flour to hydrate, creating a more stable dough. Also, make sure your baking sheets aren’t too hot between batches, as this can cause immediate spreading. If the dough seems overly soft, pop it in the fridge for 10-15 minutes before scooping.
Explore More Festive Treats and Recipes
If you loved these patriotic brownie cookies, you might also enjoy these other delightful recipes perfect for celebrations or everyday indulgence:
- 4th of July White Chocolate Fudge from Taste and Tell – A vibrant, easy fudge recipe that’s sure to impress.
- Red White and Blue Strawberries – A simple yet elegant dessert, perfect for any patriotic gathering.
- S’mores Pie – All the nostalgic flavors of s’mores in a decadent, easy-to-share pie.
- 25+ 4th of July Recipes – A comprehensive collection of ideas for your Independence Day feast.
- More of the Best Holiday Recipes – Discover a treasure trove of recipes perfect for any holiday celebration throughout the year.
Stay connected with us for more delicious recipes and baking tips! Follow us on social media @ Instagram, Facebook, and Pinterest. Don’t forget to tag us when you try one of our recipes – we love seeing your creations! And if you absolutely adore the results, please consider giving it a 5-star rating in the recipe card below to help others discover this fantastic recipe.

Patriotic Brownie Cookies Recipe
20 minutes
10 minutes
25 minutes
55 minutes
36 cookies
A decadent Chewy Brownie Cookie recipe that’s incredibly versatile and perfect for any celebration. Customize with seasonal M&Ms or classic chocolate chips for a rich, fudgy treat every time.
Ingredients
- 6 ounces unsweetened chocolate, chopped
- ½ cup (1 stick) unsalted or salted butter
- 1 ¾ cups granulated sugar
- 4 large eggs, at room temperature
- 1 teaspoon pure vanilla extract
- 1 ¼ cups all-purpose flour
- ¼ teaspoon table salt
- 1 ½ cups Patriotic M&Ms (red, white, and blue) or semi-sweet chocolate chips, divided
Instructions
- Preheat your oven to 350°F (175°C).
- Line two large baking sheets with parchment paper and set them aside.
- In a large, heat-safe bowl, combine the chopped unsweetened chocolate and butter. Microwave in 30-second intervals, stirring well after each, until completely melted and smooth.
- While the chocolate mixture is still warm, add the sugar and mix thoroughly until well combined and glossy.
- Add the large eggs one at a time, mixing well after each addition. Then stir in the pure vanilla extract until fully incorporated.
- Gently fold in the all-purpose flour and salt until just combined. Be careful not to overmix. Stir in half of your M&Ms or chocolate chips.
- THIS IS KEY: Allow the cookie dough to rest at room temperature for 15-20 minutes, or until it has firmed up slightly and is scoopable. This prevents the cookies from spreading too much.
- Using a medium cookie scoop (about 1.5 tablespoons), drop mounds of dough onto your prepared baking sheets, ensuring adequate spacing. Bake for about 10 minutes, or until the edges are set and the centers still look slightly fudgy.
- Immediately after removing from the oven, gently press 3-4 of the remaining M&Ms onto the top of each hot cookie for a vibrant finish. If desired, use a greased spatula or a larger round cookie cutter to gently tap the warm cookies into perfectly round shapes.
- Let the cookies cool on the baking sheets for at least 5 minutes before carefully transferring them to a wire rack to cool completely.
Notes
Holding back half of the M&Ms until after baking will ensure that your cookies bake into beautiful, rounder shapes. Use the reserved candies to press onto the warm cookies as soon as they come out of the oven. This not only enhances their festive look but also keeps the colors vibrant, making them even more appealing.
Recommended Products
As an Amazon Associate and member of other affiliate programs, I earn from qualifying purchases.
- Baking Rack Cooling Rack Set of 2
- Black Spatula
- Reynolds Cookie Baking Sheets Non-Stick Parchment Paper, 25 Sheet, 4 Count
- USA Pan Bakeware Half Sheet Pan
- OXO Good Grips Medium Cookie Scoop
Nutrition Information:
Yield:
36
Serving Size:
1 cookie
Amount Per Serving:
Calories: 163Total Fat: 8gSaturated Fat: 5gTrans Fat: 0gUnsaturated Fat: 3gCholesterol: 29mgSodium: 50mgCarbohydrates: 21gFiber: 1gSugar: 16gProtein: 2g
Thatskinnychickcanbake.com occasionally offers nutritional information for recipes contained on this site. This information is provided as a courtesy and is an estimate only. This information comes from online calculators. Although thatskinnychickcanbake.com attempts to provide accurate nutritional information, these figures are only estimates. Varying factors such as product types or brands purchased can change the nutritional information in any given recipe. Also, many recipes on thatskinnychickcanbake.com recommend toppings, which may or may not be listed as optional and nutritional information for these added toppings is not listed. Other factors may change the nutritional information such as when the salt amount is listed “to taste,” it is not calculated into the recipe as the amount will vary. Also, different online calculators can provide different results. To obtain the most accurate representation of the nutritional information in any given recipe, you should calculate the nutritional information with the actual ingredients used in your recipe. You are solely responsible for ensuring that any nutritional information obtained is accurate.
HOW MUCH DID YOU LOVE THIS RECIPE?
Please leave a comment on the blog or share a photo on Pinterest and tag us! Your feedback helps other bakers!
