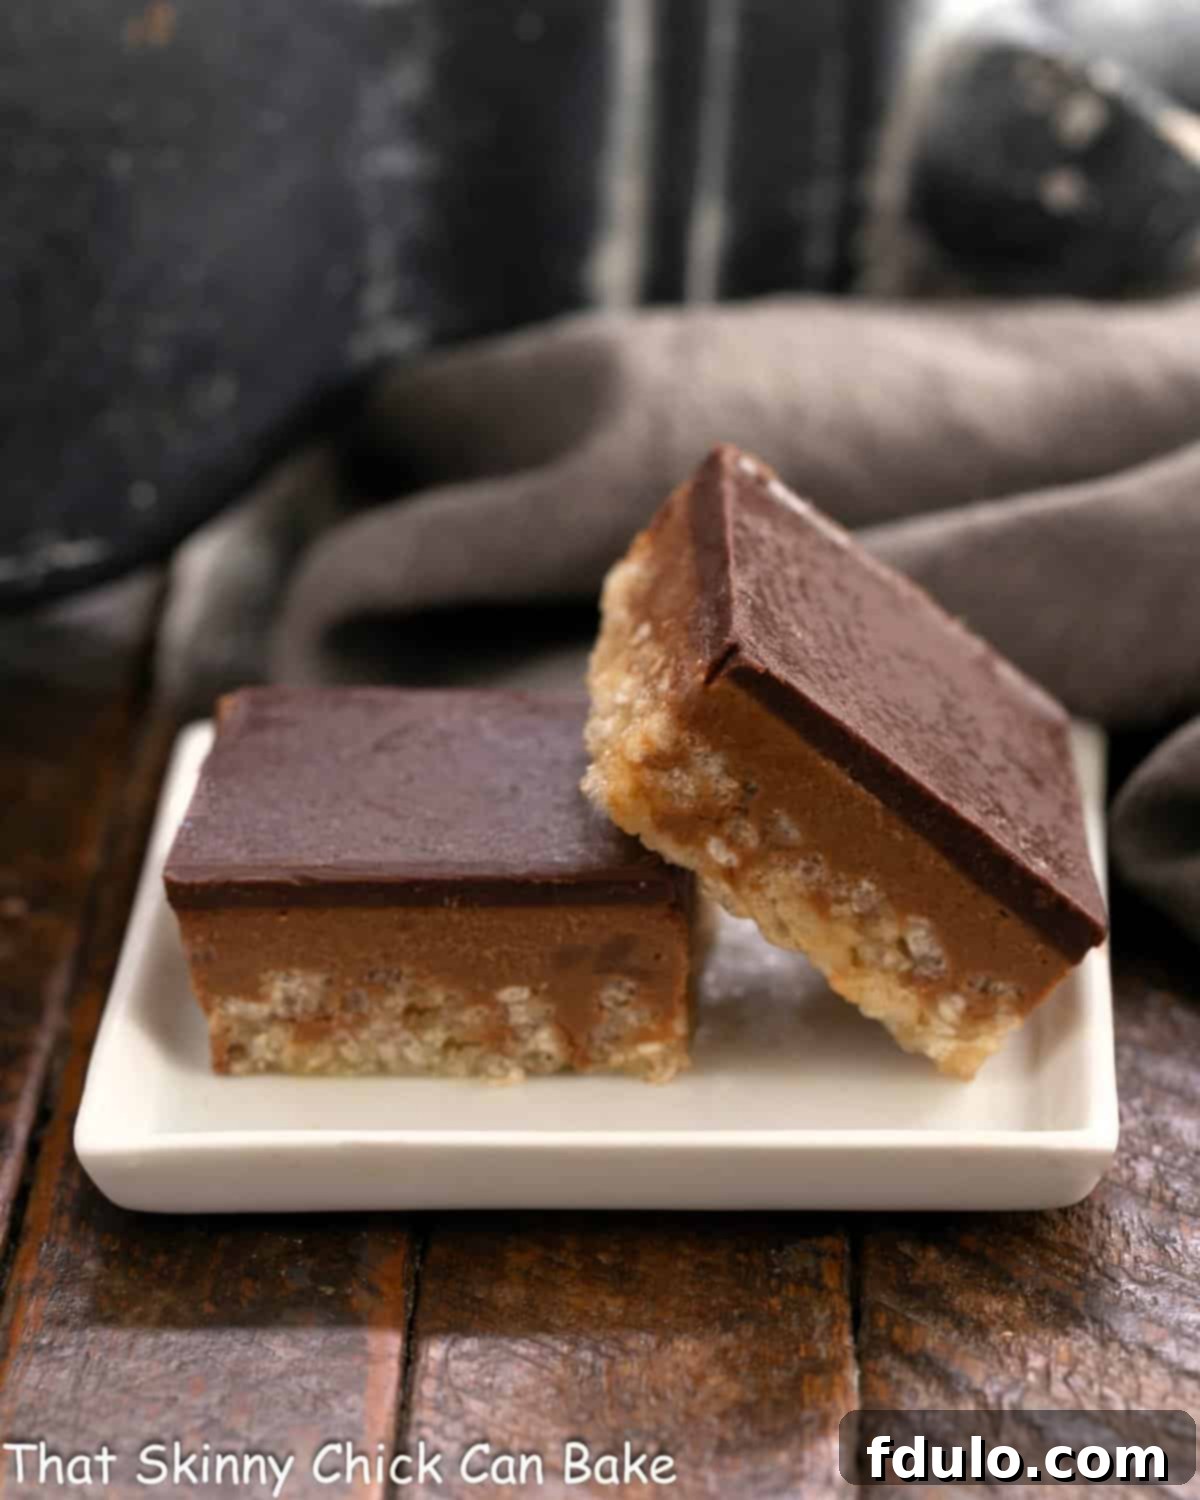
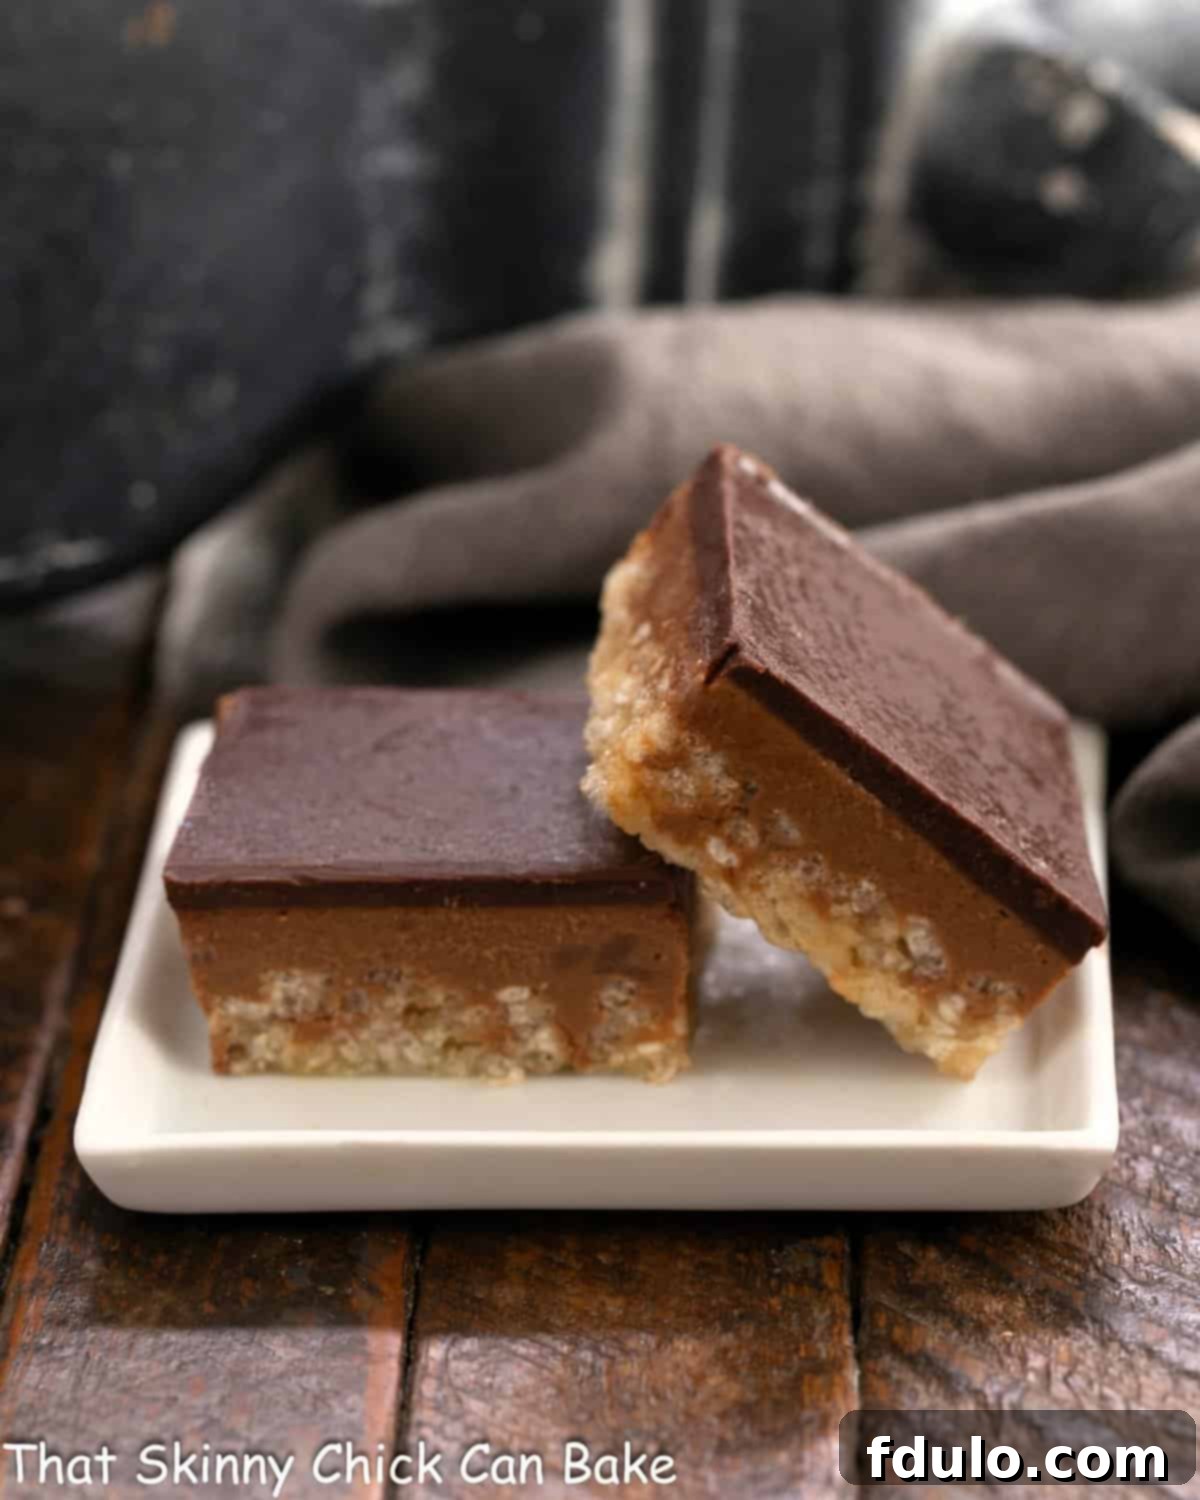
Welcome to the ultimate indulgence for any dessert lover: these incredibly rich and satisfying Chocolate Peanut Butter Krispie Bars. If you’re a devoted fan of the classic Reese’s flavor combination, prepare to be absolutely captivated. This isn’t just another no-bake treat; it’s a meticulously crafted dessert featuring three distinct, irresistible layers. Imagine a foundation of peanut butter-infused Rice Krispies, generously topped with a creamy chocolate peanut butter layer, all crowned with a smooth, decadent chocolate finish. It’s a symphony of textures and tastes that will transport you straight to dessert heaven. Forget everything you thought you knew about traditional Scotcheroos; this recipe elevates them to an entirely new level of deliciousness!
Why These Chocolate Peanut Butter Krispie Bars Are a Must-Try
In a world full of desserts, some stand out from the crowd. These Chocolate Peanut Butter Krispie Bars are not just a treat; they’re an experience designed for pure enjoyment. Here’s why this recipe deserves a prime spot in your kitchen:
- Unmatched Three-Layer Indulgence: Unlike most peanut butter Rice Krispie treats or Scotcheroos that offer just two layers, our recipe boasts an impressive three-layer construction. This means more complexity in flavor and texture with every single bite – a crisp peanut butter base, a smooth chocolate peanut butter center, and a rich chocolate topping. It’s an extra dimension of deliciousness that sets these bars apart.
- A Gourmet Twist on a Beloved Classic: While honoring the nostalgic essence of traditional Scotcheroos, these bars introduce a refined upgrade. The classic combination of corn syrup, Rice Krispies, and a melted chocolate (and often butterscotch) chip topping is reimagined with premium chocolates and a distinct middle layer. It’s familiar yet excitingly new, offering a sophisticated take on a timeless favorite without losing its comforting appeal.
- The Ultimate Treat for Peanut Butter and Chocolate Enthusiasts: If you’re someone who believes peanut butter and chocolate are a match made in culinary heaven, then these bars are your dream come true. They are specifically crafted to maximize this iconic flavor pairing, ensuring that every component delivers intense, harmonious notes of both chocolate and peanut butter. These bars are guaranteed to be a hit with anyone who loves this dynamic duo.
- Effortless No-Bake Preparation: Enjoying a sensational dessert doesn’t always require hours in the kitchen or turning on the oven. These bars are entirely no-bake, making them perfect for hot summer days, busy schedules, or when you simply want a quick and easy dessert solution. The simplicity of preparation means more time savoring and less time stressing.
- Perfect for Any Occasion: Whether you’re hosting a party, looking for a delicious potluck contribution, or simply craving a homemade snack, these bars fit the bill. Their visually appealing layers and universally loved flavors make them a crowd-pleaser for holidays, family gatherings, or just a quiet evening indulgence.
I crafted this delightful dessert specifically for the discerning chocolate and peanut butter aficionados in my home. I vividly recall my college days, returning home and making a beeline for the kitchen, often before even unpacking, to whip up either my cherished pumpkin bread or a batch of peanut butter Rice Krispie Treats. It makes me wonder what essential nutrients my body was so desperately craving back then! Perhaps a diet consisting primarily of popcorn and Diet Cokes wasn’t the most nutritionally sound choice? My enduring affection for the classic Scotcheroos, with their delightful blend of peanut butter, corn syrup, Rice Krispies, and a melted chocolate chip topping (my mother’s version, notably, omitted butterscotch chips), spurred my desire to try these magnificent creations. I was just as excited to taste these bars myself as I was to share them with my two children, who inherited my passion for this incredible flavor combination.
Essential Ingredient Notes for Perfect Peanut Butter Krispie Bars
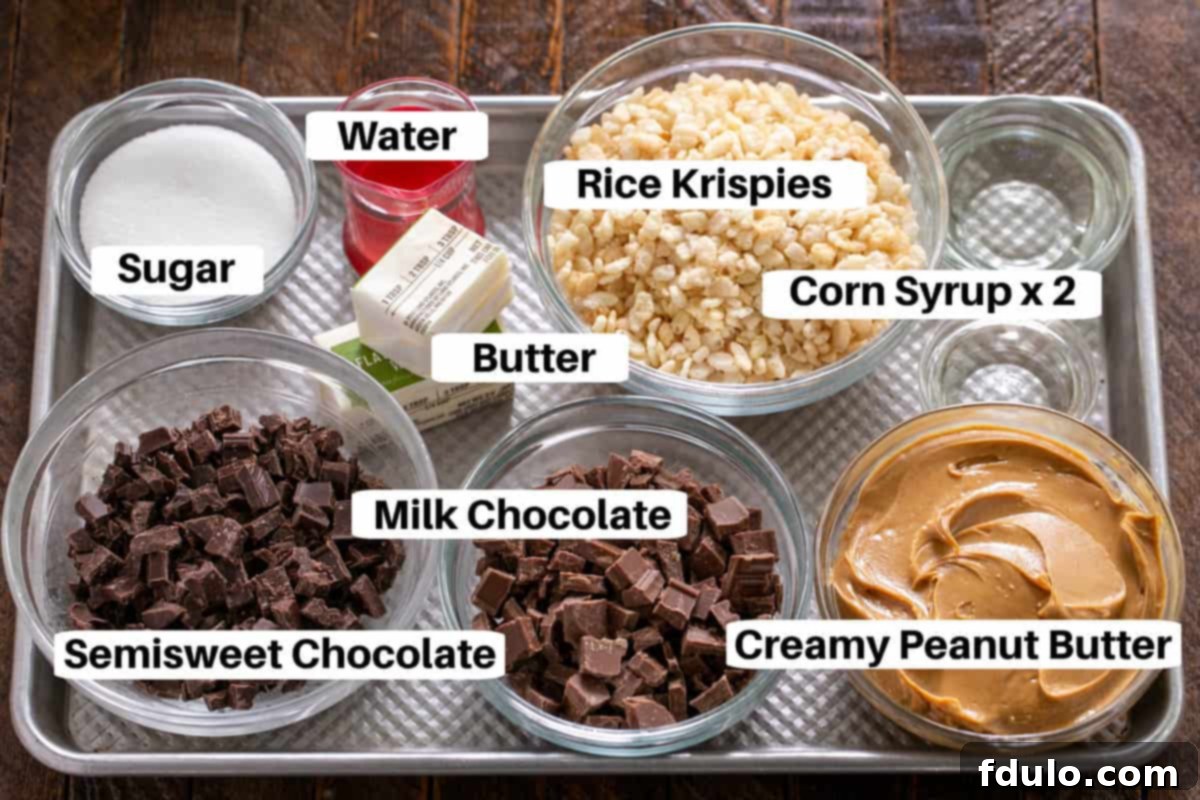
Crafting these delectable Chocolate Peanut Butter Krispie Bars requires a few key ingredients. While the recipe is straightforward, understanding the role of each component and selecting the right products can significantly impact the final taste and texture. Here’s a detailed look at what you’ll need:
- Kitchen Staples – You’ll need basic pantry items like water, sugar, and butter. Ensure your butter is unsalted, as this gives you more control over the overall sweetness and sodium content of the bars. Melted butter is essential for blending into the crispy layer.
- Rice Krispies Cereal – For the iconic crunch, I highly recommend using Kellogg’s brand Rice Krispies. While generic brands can work, Kellogg’s often delivers the most consistent crispness. It’s crucial to use Rice Krispies cereal and not a puffed rice cereal, as they are not interchangeable. Puffed rice has a different density and texture that will not yield the same chewy-crispy base.
- Corn Syrup – Always opt for light corn syrup in this recipe. Dark corn syrup has a much stronger molasses-like flavor and a darker color, which would alter the taste and appearance of the base layer. Light corn syrup provides the necessary binding and sweetness without overpowering the peanut butter flavor.
- Milk Chocolate – For the creamy middle layer, high-quality milk chocolate makes a noticeable difference. I prefer using Ghirardelli Bars, finely chopped, as they melt beautifully and provide a rich, smooth texture. If using chocolate chips, ensure you weigh them for accuracy, as cup measurements can vary significantly due to chip size and density. Good quality milk chocolate will give a superior, more luxurious mouthfeel.
- Semisweet Chocolate – The top layer demands a robust chocolate flavor. Again, Ghirardelli Semisweet Bars, coarsely chopped, are my go-to for their excellent melting properties and deep chocolate profile. This layer provides a perfect contrast to the sweetness of the milk chocolate and peanut butter. You can use semisweet chocolate chips, but again, weighing is recommended for best results.
- Creamy Peanut Butter – The heart of these bars! I consistently use Jif brand creamy peanut butter for its consistent texture and classic flavor. Avoid using natural peanut butter that separates, as its oil content and consistency can make the layers too greasy or difficult to set properly. A smooth, creamy, and shelf-stable peanut butter is key for achieving the desired texture and stability in both the base and the middle layer.
Step-by-Step Guide to Crafting Chocolate Peanut Butter Krispie Bars
Creating these sensational three-layer bars is a rewarding process, and following these steps will ensure perfect results every time. Take your time, and enjoy the journey to peanut butter and chocolate bliss!
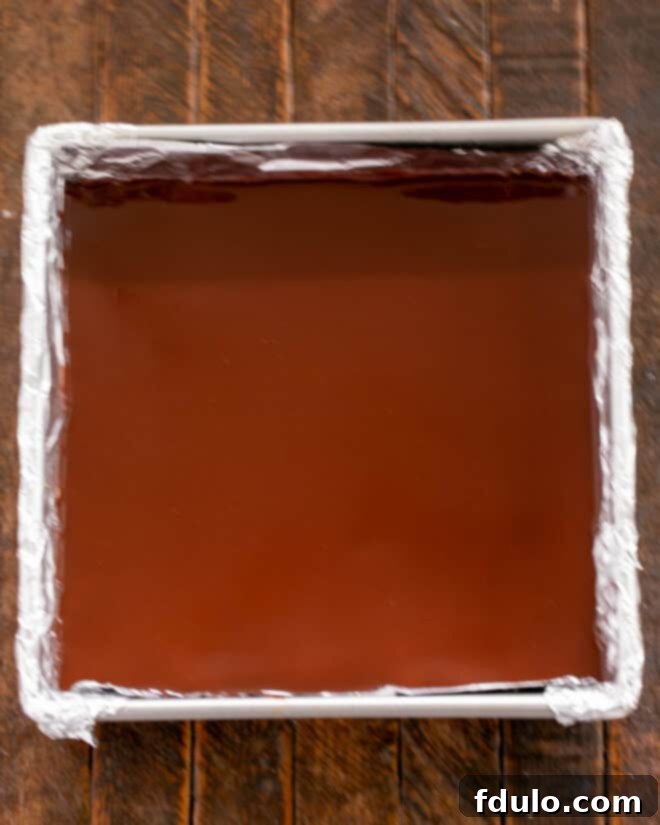
Pro Tips for Flawless Chocolate Peanut Butter Krispie Bars
These bars truly exceeded all expectations. For any true Reese’s enthusiast, trying this recipe is an absolute must! To ensure your Chocolate Peanut Butter Krispie Bars turn out perfectly, here are some invaluable tips and tricks:
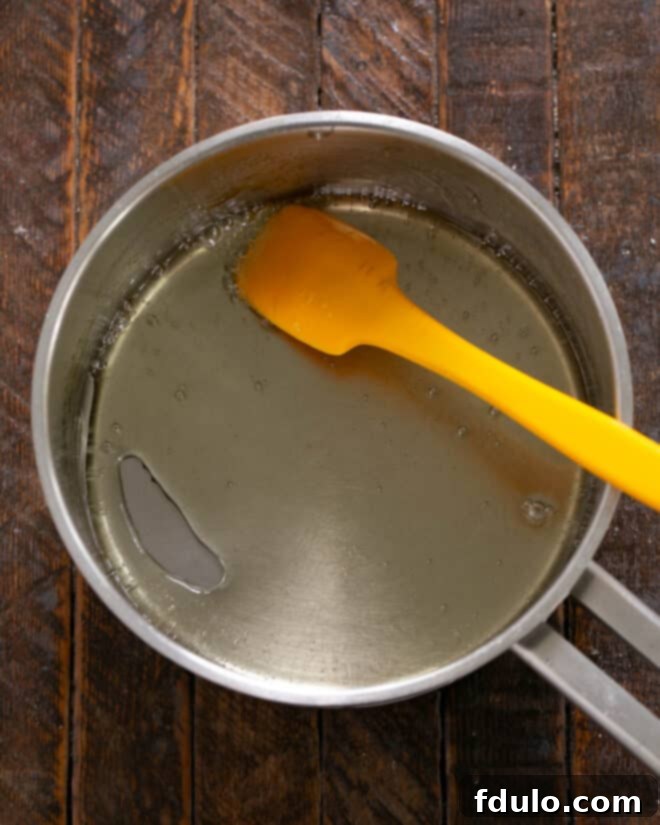
- Precision with a Candy Thermometer: Achieving the ideal texture for the crispy base relies on the sugar syrup reaching the “soft ball stage” (235°F). A candy thermometer is crucial for this step and can be easily found at any supermarket or kitchen supply store. This ensures the base is firm enough to hold its shape but still deliciously chewy, not brittle.
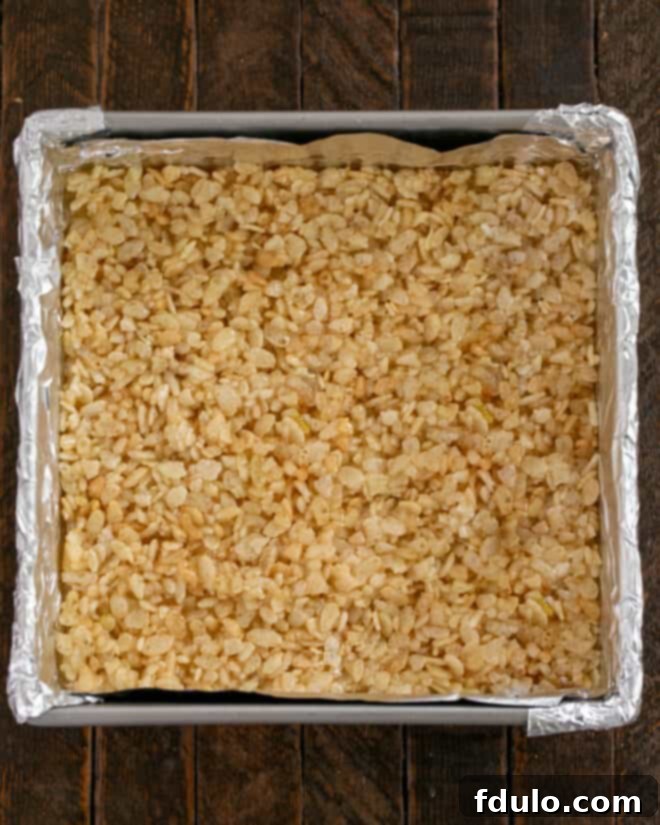
- Gentle Compression for the Base: When pressing the Rice Krispie mixture into the pan, be gentle. You want an even, level layer, but avoid packing it too firmly. Over-compressing the cereal can result in a hard, dense base that’s difficult to bite into. Use a silicone spatula or the back of a spoon to lightly spread and smooth it out.
- The Art of Clean Cuts: To achieve beautifully clean, professional-looking squares, proper chilling is key. Ensure your bars are thoroughly chilled and firm before attempting to cut them. Then, heat a large, sharp knife under very hot water, wipe it completely dry, and make a clean cut. Reheat and wipe the knife before each subsequent cut. This prevents the chocolate from cracking and the layers from sticking to the blade.
- Optimal Storage for Freshness: Due to their luscious chocolate and peanut butter layers, these bars are best stored in the refrigerator. This keeps the chocolate firm and prevents it from becoming too soft, especially in warmer environments. Stored properly, they will maintain their delightful texture and flavor for several days.
- Layering for Storage: If you plan to stack your bars in an airtight container for storage, always place a piece of wax paper or parchment paper between each layer. This prevents the chocolate topping from sticking to the bars above and keeps them looking pristine.
- Pan Preparation is Key: For easy removal and clean slices, always line your 8×8-inch pan with non-stick foil, leaving an overhang on two sides to create “handles.” Alternatively, you can use regular foil sprayed generously with cooking spray. This simple step makes lifting the entire batch out of the pan a breeze.
- Don’t Rush the Cooling: Patience is a virtue, especially in baking (or no-baking!). Allow each layer to set sufficiently, especially the initial Rice Krispie base, before adding the next. This ensures distinct layers that hold their shape beautifully when cut.
During one of our regular Sunday family dinners, I generously offered some of these bars to my son, Tom. The look of sheer exasperation on my daughter Katie’s face told the whole story – she absolutely did not want her brother making off with “her” precious bars! This anecdote speaks volumes about just how universally adored these treats are. You might even consider breaking out a 9×13-inch pan and making a double batch to avoid any potential family disputes. They are truly delectable and possess the power to start a friendly feud. Thankfully, my two oldest eventually agreed to a diplomatic 50-50 split of the remaining bars. Whew!
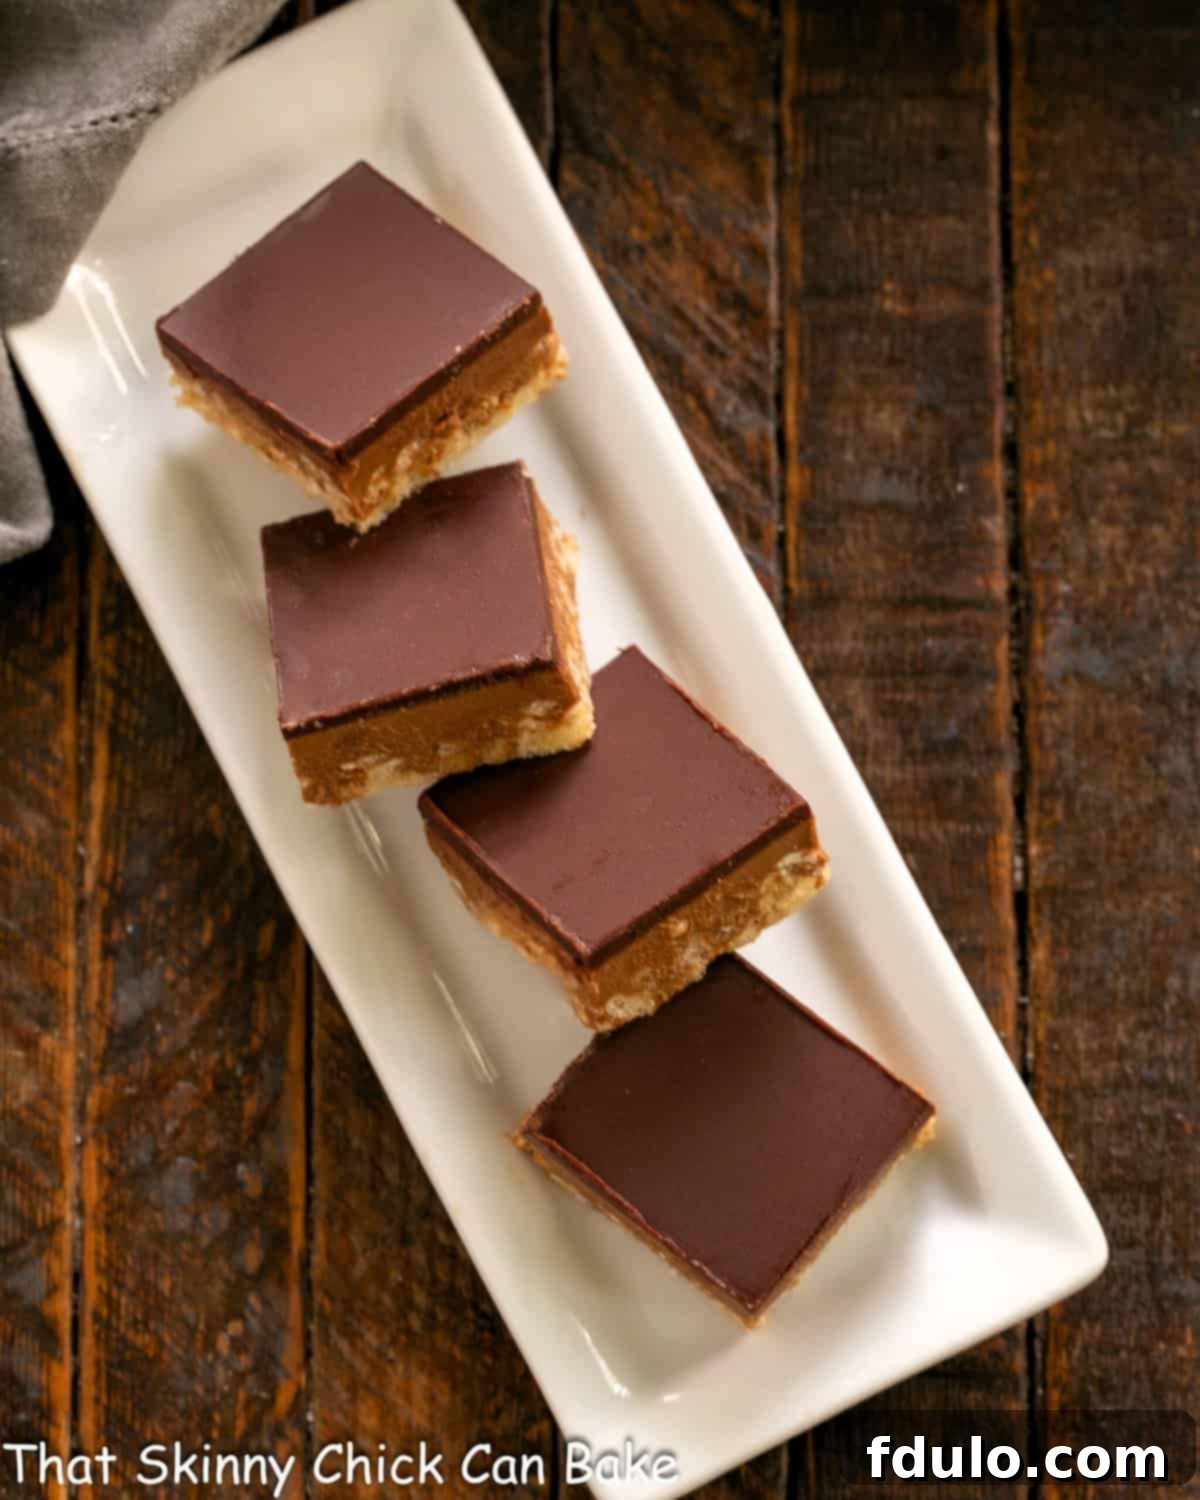
Frequently Asked Questions About Peanut Butter Krispie Bars
Have questions about making these irresistible Chocolate Peanut Butter Krispie Bars? We’ve got answers to some of the most common queries to help you achieve perfect results every time.
Rice Krispie treats can become hard for a couple of reasons. Primarily, if you pack the Rice Krispie mixture too firmly into the pan, the intense compression can lead to a dense, hard-to-chew bar. Gentle pressing is key for a tender, chewy texture. In the case of this specific recipe, if the sugar syrup for the base layer is overcooked and reaches a stage beyond the soft ball stage (e.g., hard ball or crack stage), it can cause the bottom layer to become brittle and hard once cooled. Using a candy thermometer precisely to reach 235°F is essential to avoid this, ensuring a perfectly chewy and satisfying base.
Absolutely! This recipe can certainly be adapted for a larger 9 x 13-inch pan. However, to ensure you maintain the same delicious thickness and impressive three layers, you will need to double the entire recipe. Doubling the ingredients will yield a batch that perfectly fills the larger pan, providing more generous servings for a crowd or simply more indulgent moments for yourself!
Traditional Rice Krispie Treats, made primarily with cereal, butter, and marshmallows, are rich in simple carbohydrates. These simple sugars can provide a quick burst of energy, making them a decent option for an almost instant energy boost before a workout. However, this specific version of Chocolate Peanut Butter Krispie Bars includes significant amounts of fat from both the chocolate and peanut butter. While delicious, the higher fat content means they will take longer for your body to digest compared to traditional treats. Consequently, they wouldn’t provide as rapid a source of energy for an immediate pre-workout fuel as their simpler counterparts.
When stored properly in an airtight container in the refrigerator, these Chocolate Peanut Butter Krispie Bars will stay fresh and delicious for up to 5-7 days. Keeping them chilled helps the chocolate layers maintain their firm texture and prevents melting, especially in warmer climates. For longer storage, you can also freeze the bars for up to 2-3 months. Just be sure to wrap them tightly in plastic wrap and then in foil before freezing. Thaw them in the refrigerator before serving.
While you could technically use crunchy peanut butter, I highly recommend sticking with creamy peanut butter for this recipe. The smooth texture of creamy peanut butter is crucial for achieving the desired consistency in both the crispy base and the chocolate peanut butter middle layer. Crunchy peanut butter would introduce a different texture, which might make the layers less cohesive and the bars more crumbly. For the best results and a truly luxurious feel, creamy is the way to go.
Explore More Delicious Desserts You’ll Love
If you’ve fallen in love with these Chocolate Peanut Butter Krispie Bars, you’re in for a treat! Here are more delicious recipes that share similar comforting flavors and easy-to-make appeal:
- Caramel Rolo Rice Krispie Treats
- Chocolate Peanut Butter Pie
- Reese’s Rice Krispie Treats
- Caramel Rice Krispie Treats
- More of the Best Bar Cookies
Stay connected with us for more delectable recipes and baking inspiration! Find us on social media @ Instagram, Facebook, and Pinterest. Don’t forget to tag us when you try one of our recipes! And if you absolutely adore the results, please consider giving it a 5-star rating in the recipe card below – your feedback means the world to us.
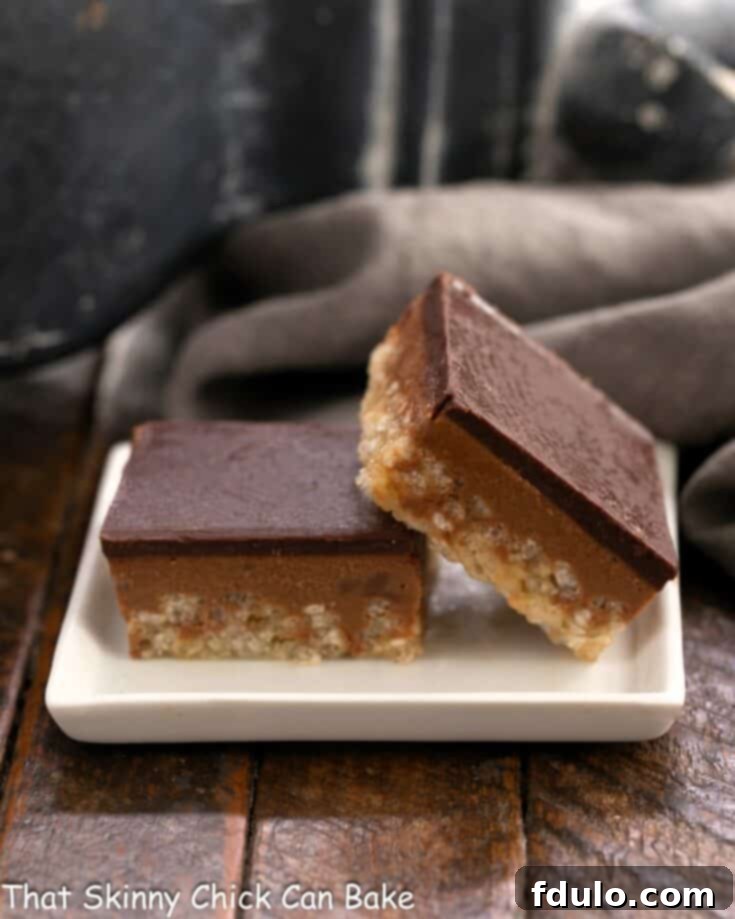
Chocolate Peanut Butter Krispie Bars
30 minutes
15 minutes
45 minutes
9-16 bars, depending on size
Decadent Chocolate Topped Peanut Butter Rice Krispie Bars. A three-layer no-bake dessert, adapted from Baked Explorations.
Rated 5 out of 5 stars by 39 reviewers.
Ingredients
For the Crispy Peanut Butter Layer:
- 1 ¾ cups Rice Krispies cereal
- ¼ cup water
- ¼ cup granulated sugar
- 3 tablespoons light corn syrup
- 3 tablespoons unsalted butter, melted
For the Creamy Chocolate Peanut Butter Layer:
- 5 ounces milk chocolate, coarsely chopped (or chips, weighed)
- 1 cup creamy peanut butter
For the Decadent Dark Chocolate Top Layer:
- 4 ounces semisweet chocolate, coarsely chopped (or chips, weighed)
- 1 tablespoon light corn syrup
- 4 tablespoons unsalted butter
Instructions
- Prepare Your Pan: For the crust, line an 8 x 8-inch baking pan with non-stick foil, ensuring some overhang to use as handles. Alternatively, use regular foil generously sprayed with cooking spray for easy removal.
- Start the Sugar Syrup: Pour the measured water into a small, heavy-bottomed saucepan. Carefully add the sugar and corn syrup into the center of the pan, making sure to avoid getting crystals on the sides. Gently stir the mixture with a wooden spoon or silicone spatula to combine.
- Cook to Soft Ball Stage: Insert a candy thermometer into the saucepan. Cook the mixture over medium-high heat, bringing it to a rolling boil. Continue to cook, stirring occasionally, until the mixture precisely reaches the soft ball stage, which is 235ºF (113ºC) on your candy thermometer.
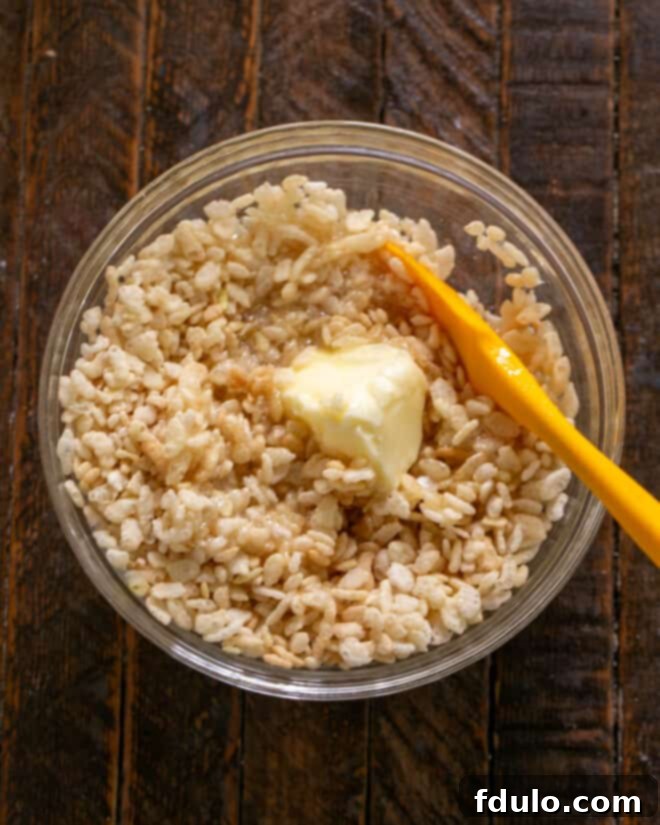
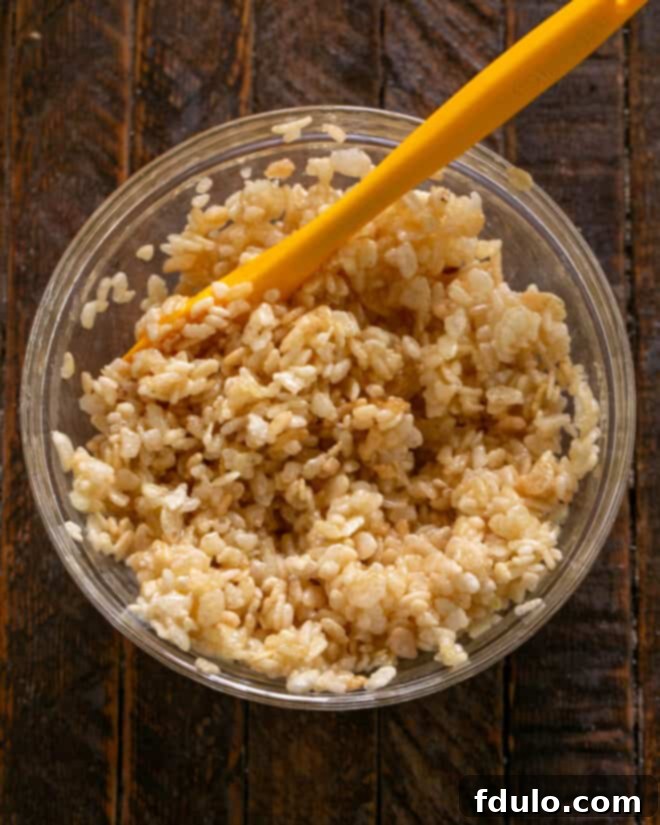
- Combine with Cereal: Immediately remove the saucepan from the heat. Stir in the melted butter until fully incorporated. Pour this hot syrup mixture directly over the Rice Krispies cereal in a large bowl. Quickly but gently stir the cereal until every piece is thoroughly coated with the syrup.
- Form the Base Layer: Using a silicone spatula or the back of a lightly greased spoon, gently press the coated Rice Krispies mixture evenly into the bottom of your prepared baking pan. Be careful not to pack it too densely. Allow this base layer to cool completely to room temperature.
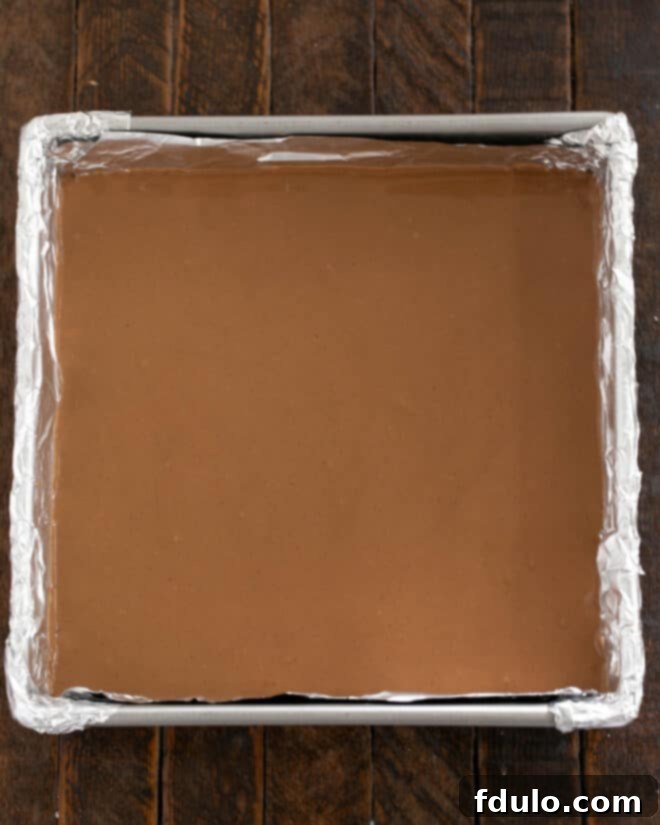
- Create the Milk Chocolate Peanut Butter Layer: While the base cools, prepare your middle layer. In a large microwave-safe bowl, combine the milk chocolate (chopped or chips) and creamy peanut butter. Heat gently in the microwave in 30-second intervals, stirring well after each, until the mixture is fully melted and smooth. Pour this luscious chocolate peanut butter mixture evenly over the cooled Rice Krispies crust. Chill the pan in the refrigerator for at least one hour, or until the layer is firm.
- Prepare the Dark Chocolate Top Layer: Once the middle layer is set, make the final dark chocolate icing layer. In another microwave-safe bowl, combine the semisweet chocolate (chopped or chips), corn syrup, and butter. Heat gently in the microwave as before, stirring until completely melted and smooth. Pour this dark chocolate mixture evenly over the chilled peanut butter layer and spread it gently to cover the surface. Chill the bars in the refrigerator again for at least an hour, or until this top layer is fully hardened.
- Slice and Serve: Once all layers are firm, carefully lift the entire slab of bars out of the pan using the foil overhang. Place it on a cutting board. For perfect, clean squares, heat a large, sharp knife under hot water, wipe it dry, then make your cuts. Reheat and wipe the knife between each cut. Cut into nine generous squares, or smaller bars for more servings. Store any leftover bars in an airtight container in the refrigerator to maintain their freshness and firm texture. Enjoy!
Notes
This recipe for Chocolate Peanut Butter Krispie Bars has been lovingly adapted from an original concept found on the Diva Entertains blog (which is no longer active online). Its unique three-layer structure brings an elevated experience to a classic no-bake treat.
Recommended Products
As an Amazon Associate and member of other affiliate programs, I earn from qualifying purchases.
- Candy Thermometer
- Nonstick Foil
- 8 x 8-inch Baking Pan
Nutrition Information:
Yield:
9
Serving Size:
1 bar
Amount Per Serving (estimated):
Calories: 462Total Fat: 32gSaturated Fat: 14gTrans Fat: 0gUnsaturated Fat: 15gCholesterol: 27mgSodium: 256mgCarbohydrates: 42gFiber: 3gSugar: 30gProtein: 8g
*Nutritional information is an estimate and may vary based on ingredients and preparation.
HOW MUCH DID YOU LOVE THIS RECIPE?
Please leave a comment on the blog or share a photo on Pinterest
