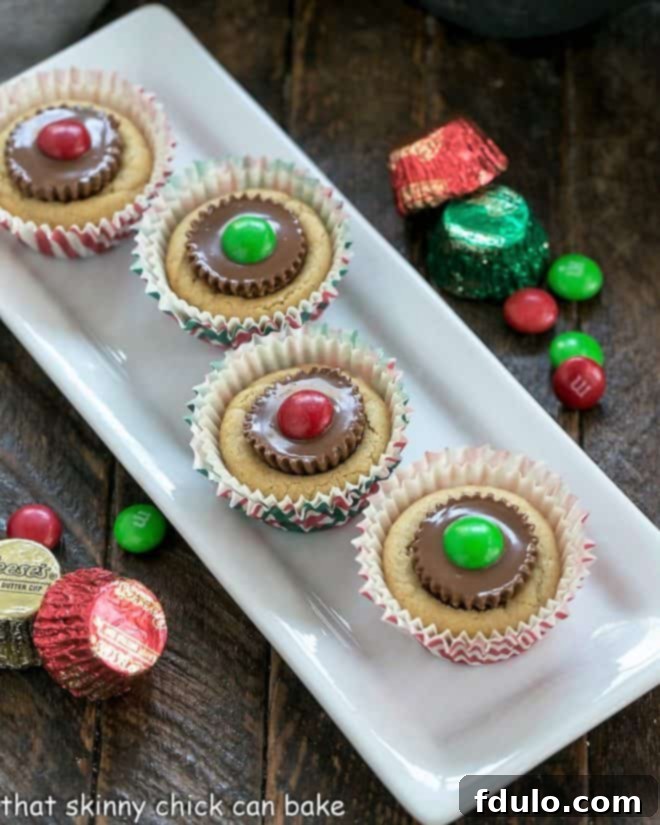
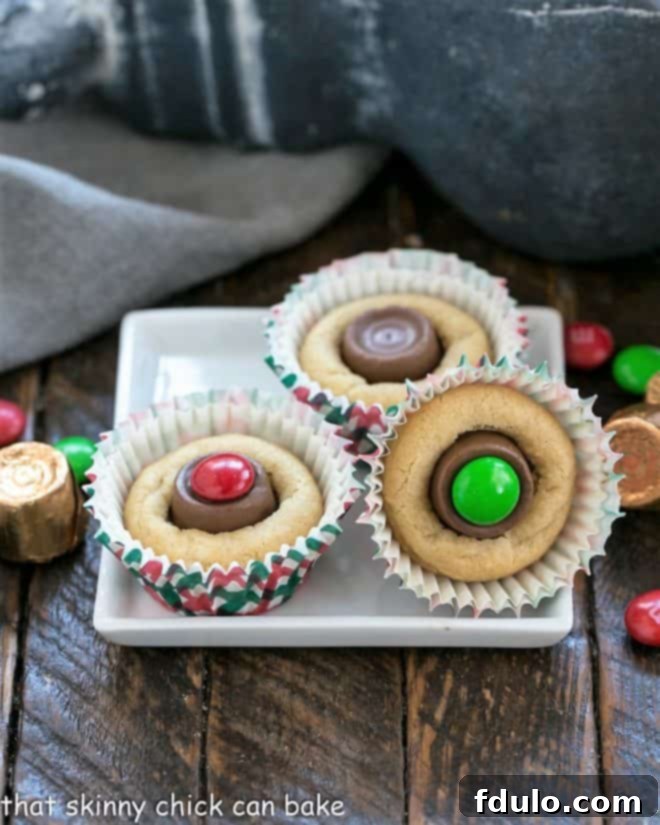
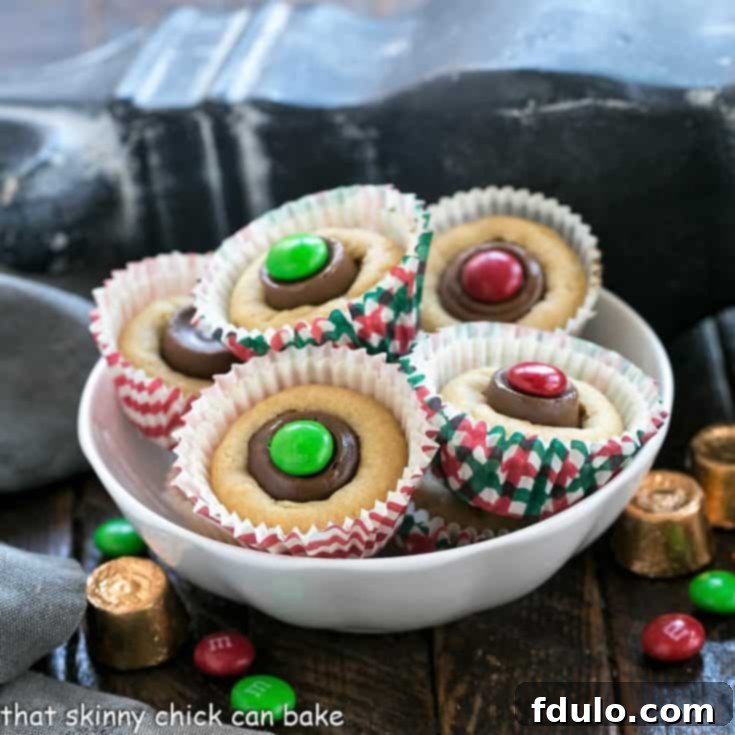
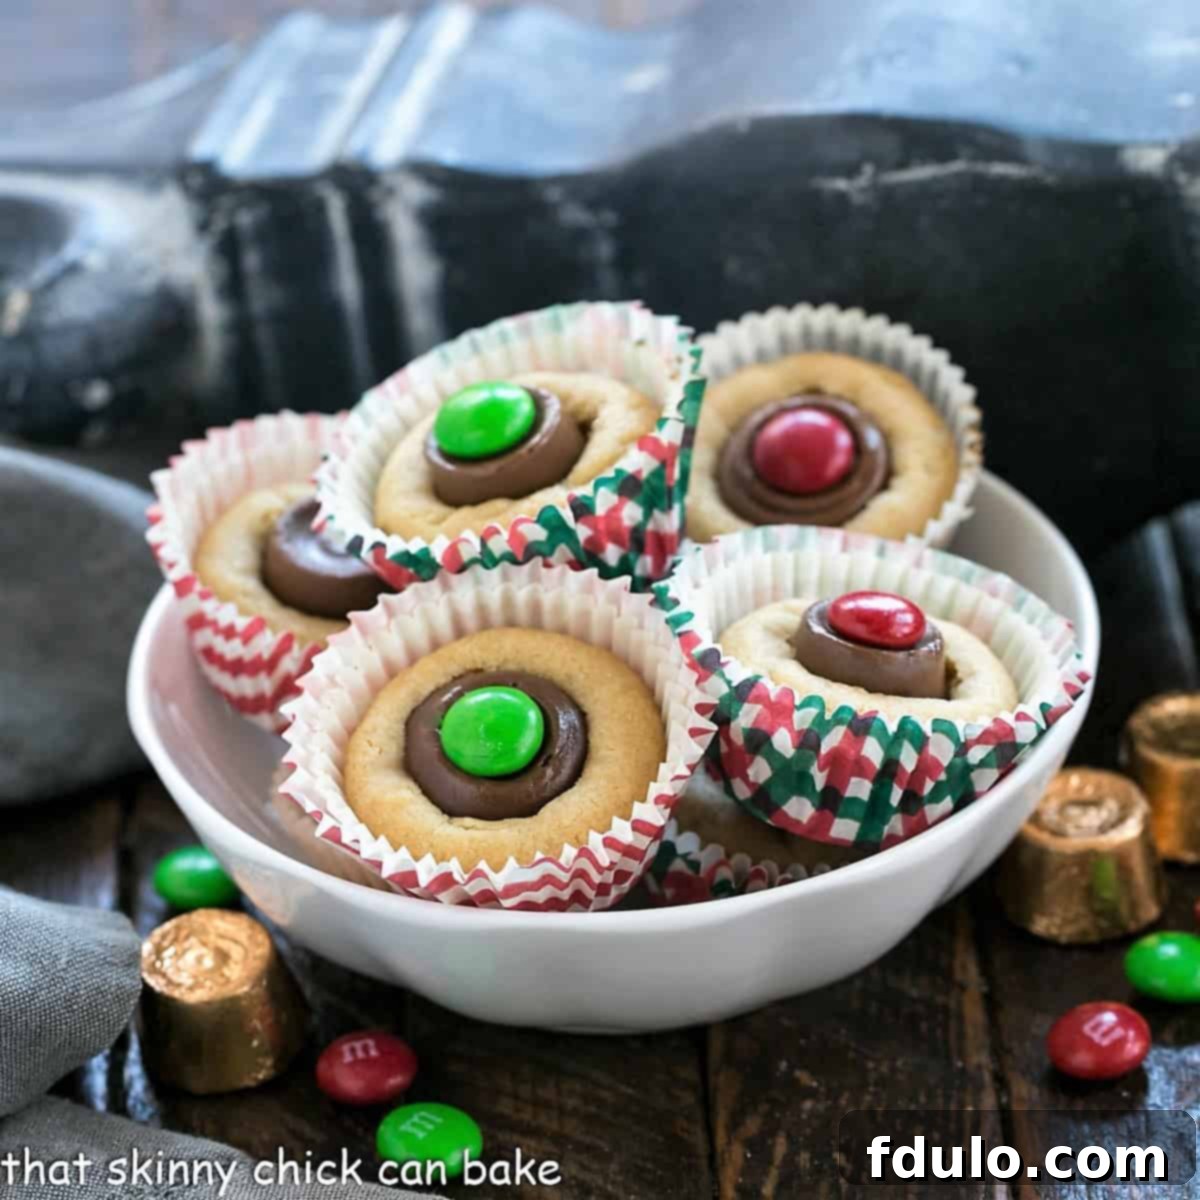
Welcome to the delightful world of Peanut Butter Cookie Cups! These bite-sized treasures are the ultimate two-bite treats, each filled with a tempting surprise of chocolate-covered candies. Imagine sinking your teeth into a soft, chewy peanut butter cookie, only to discover a melty, luscious core of chocolate or caramel. Easy to make and utterly irresistible, these cookie cups offer a perfect combination of flavors and textures that will captivate any dessert lover.
Whether you’re looking for a delightful snack, a special addition to lunch boxes, a crowd-pleasing dessert for holidays, or simply a sweet indulgence, these Peanut Butter Cookie Bites are perfectly suited for any occasion. They are incredibly versatile, allowing you to personalize each cup with your favorite fillings – from classic miniature peanut butter cups to rich caramel-filled Rolo candies. Get ready to embark on a baking adventure that promises pure satisfaction!

Why These Peanut Butter Cookie Cups Are an Absolute Must-Make
In a world full of desserts, why should Peanut Butter Cookie Cups be your next baking project? The reasons are simple yet compelling, making this recipe a staple for both novice and experienced bakers alike. These treats offer an unparalleled blend of convenience, indulgence, and adaptability that is hard to beat.
- Effortlessly Easy to Make: Forget complicated steps and lengthy preparation times. This recipe is designed for simplicity, allowing you to whip up a batch of professional-looking, delectable cookie cups with minimal fuss. It’s a fantastic entry point for anyone new to baking or for those busy days when you crave something homemade without the usual kitchen marathon.
- Diet-Friendly Indulgence: Don’t let the word “treat” scare you! These bite-sized portions are naturally controlled, meaning you can enjoy a moment of sweet bliss without overindulging. Each cookie cup is a satisfying burst of flavor, perfectly curbing your cravings and making them an ideal choice for mindful snacking (unless, of course, you opt for a baker’s dozen!).
- Infinitely Adaptable: The beauty of cookie cups lies in their incredible versatility. While our focus is on the classic peanut butter and chocolate pairing, the base recipe can be easily adapted with various cookie doughs and an endless array of small candies. This means you can customize them for different palates, seasonal themes, or whatever delightful candy stash you have on hand.
Beyond these core benefits, these peanut butter cookie cups are incredibly versatile for social gatherings. They are sturdy enough for bake sales, charming enough for gifting, and perfectly portioned for party platters. Their delightful appearance and rich flavor make them instant crowd-pleasers, guaranteeing smiles and satisfied sweet cravings. It’s more than just a recipe; it’s an invitation to create joy, one delicious, candy-filled cookie cup at a time.
Crafting Perfection: A Step-by-Step Guide to Making Peanut Butter Cookie Cups
Creating these divine Peanut Butter Cookie Cups is a straightforward and rewarding process. Follow these simple steps to ensure perfectly baked, beautifully shaped treats every time. The key is in the preparation and timing, especially when it comes to adding that special candy center.
- Prepare Your Muffin Tin: Begin by lining a mini muffin tin with paper liners. These not only make for easy cleanup but also give your cookie cups a polished, professional look. If you don’t have liners, a good grease with a flour-oil spray like Baker’s Joy will do the trick.
- Prepare the Cookie Dough: Follow your favorite peanut butter cookie dough recipe, ensuring all ingredients, especially butter and eggs, are at room temperature for optimal mixing and a smooth consistency.
- Portion the Dough: Shape the cookie dough into 1-inch balls. It’s crucial not to make them too large, as you need ample space in the center for your chosen candy filling. A small cookie scoop is an invaluable tool for ensuring uniform sizing.
- Bake to Golden Perfection: Place one dough ball into each well of the prepared muffin tin. Bake as directed in the recipe (typically 10-12 minutes), until the edges are lightly golden and the centers are puffed.
- Insert Your Sweet Surprise: This step requires quick action! As soon as the cookie cups come out of the oven, while they are still hot and pliable, gently press one candy (like a Reese’s Miniature or Rolo) into the center of each cookie. The residual heat will slightly melt the candy, creating a seamless, gooey center.
- Cool Completely: Patience is a virtue here. Allow the cookie cups to cool completely in the muffin tin before attempting to remove them. This ensures they firm up and retain their beautiful cup shape. Rushing this step can lead to crumbling or misshapen treats.
Each step is designed to be user-friendly, ensuring that even a novice baker can achieve stunning results. The magic truly happens when the warm cookie embraces the melting chocolate or caramel, creating a dessert experience that is both simple to make and extraordinary to taste.

Unlock Professional Results: Expert Tips for Flawless Peanut Butter Cookie Cups
Achieving bakery-quality Peanut Butter Cookie Cups is easier than you think with these professional insights. These tips will elevate your baking game, ensuring consistent, delicious, and visually appealing treats every time.
- Consistency is Key with a Cookie Scoop: For cookie cups that bake evenly and look uniform, invest in a small cookie scoop. Using a scoop guarantees that each dough ball is approximately the same size. This consistency is vital for simultaneous baking, preventing some cookies from being overdone while others are still raw, and results in a more professional presentation.
- The Two-Liner Trick for Presentation: While paper liners are great for easy cleanup, they can often become greasy during baking. For serving, consider placing your baked cookie cups into a second, fresh, and decorative paper liner. This simple trick ensures your treats always look their best, free from any unsightly grease stains.
- Room Temperature Ingredients for Seamless Mixing: Just like with most cookie recipes, starting with room temperature butter and eggs is crucial. Butter that’s softened (but not melted) creams effortlessly with sugar, creating a light, airy base for your dough. Room temperature eggs emulsify better, leading to a smoother, more uniform batter and a tender cookie texture.
- Embrace Adaptability: Your Cookie Canvas: Don’t limit yourself to just peanut butter dough! These cookie cups are a fantastic canvas for experimentation. Try a classic sugar cookie dough, a rich chocolate cookie dough, or even a spicy snickerdoodle. The possibilities extend to fillings too – think mini chocolate bars, caramel squares, or even a dollop of jam before baking for a thumbprint-style cup.
- The Golden Rule of Candy Insertion: Timing is Everything: The most critical tip for perfectly integrated candy centers is to insert them immediately after the cookies come out of the oven. The cookies are hot and soft, allowing the candy to settle beautifully into the molten center and melt slightly. Once the cookie cups cool, they will firm up, making it impossible to add the candies without cracking the cookie. Have your unwrapped candies ready and waiting!
- Avoid Overmixing for Tender Cookies: Once you add the flour to your wet ingredients, mix just until combined. Overmixing develops the gluten in the flour, leading to tougher, chewier cookies rather than the soft, melt-in-your-mouth texture you desire for your cookie cups.
- Cooling Completely is Non-Negotiable: It’s tempting to pop these warm treats out of the tin right away, but resist! Allowing them to cool completely in the muffin tin allows them to firm up and set their shape properly. This prevents them from crumbling or losing their “cup” form when you remove them.
By incorporating these expert tips into your baking routine, you’ll consistently create irresistible Peanut Butter Cookie Cups that are as delightful to look at as they are to eat.
Frequently Asked Questions About Peanut Butter Cookie Cups
New to baking cookie cups or simply looking for more insights into perfecting these delightful treats? Here are some common questions and detailed answers to help you master the art of making Peanut Butter Cookie Cups. We cover everything from their definition to storage and creative variations, ensuring you have all the information you need for baking success.
Cookie cups are essentially a playful and ingenious twist on traditional flat cookies. Instead of baking cookie dough on a flat baking sheet, it’s baked in a muffin tin (either mini or full-sized), which gives the cookie a distinctive cup-like shape. This method creates a perfect little vessel for holding various fillings, making them incredibly versatile for adding candies, frostings, or even tiny scoops of ice cream. They are a delightful way to present individual portions of dessert.
Making cookie cups with a muffin tin is quite simple! You start by rolling balls of your chosen cookie dough (about 1 inch in diameter for mini muffin tins) and placing them into the greased or lined wells of the tin. As the dough bakes, it naturally spreads and fills the well, creating a perfect cup shape. The magic truly happens when you remove them from the oven: immediately press miniature candies, such as Rolos or Reese’s Peanut Butter Cups, into the warm, soft centers. This allows the candy to melt slightly and set perfectly within your delicious Peanut Butter Temptations!
Proper storage ensures your Peanut Butter Cookie Cups remain fresh and delicious for as long as possible. At room temperature, in an airtight container, they will keep well for 3-4 days. For extended freshness, you can store them in the refrigerator for up to a week. They also freeze exceptionally well, maintaining their quality for at least 3 months. To enjoy frozen cookie cups, simply defrost them overnight in the refrigerator, then let them come to room temperature before serving for the best texture and flavor experience.
Absolutely! The versatility of cookie cups is one of their greatest advantages. You’re not limited to peanut butter dough; feel free to experiment with any of your favorite cookie dough recipes. Classic choices like chocolate chip, sugar, or even rich chocolate cookie dough work wonderfully. You can also save time by using pre-made cookie dough from your supermarket’s refrigerator section. Beyond the dough, vary the candy too! While Rolos and Reese’s are undeniably delicious with peanut butter dough, imagine sugar cookie cups filled with fruit jellies or chocolate cookie cups with mint chocolate squares. For an extra decadent touch, try adding a swirl of chocolate buttercream frosting onto the cooled cookie cups before serving.
Beyond the Basics: Creative Variations and Serving Suggestions for Your Cookie Cups
Once you’ve mastered the basic Peanut Butter Cookie Cups, a world of creative possibilities opens up! These adaptable treats can be transformed for any season, celebration, or craving. For holiday gatherings, consider swapping out the standard M&Ms for festive red and green ones for Christmas, or pastel colors for Easter. You can also drizzle melted white chocolate over a batch of dark chocolate cookie cups for a striking contrast, or sprinkle with crushed peppermint for a winter wonderland effect.
Think about different candy centers: Snickers miniatures, Milky Way bites, or even a small piece of your favorite gourmet chocolate bar. For a truly unique experience, fill warm cookie cups with a mini marshmallow and then broil them briefly for a s’mores-inspired treat. Another delightful idea is to turn them into mini ice cream sundaes! Fill cooled cookie cups with a small scoop of vanilla ice cream, a drizzle of fudge, and a cherry on top. They also make fantastic edible gifts when packaged beautifully in small boxes or cellophane bags, perfect for teachers, neighbors, or party favors.
Why Peanut Butter Cookie Cups Are the Perfect Treat for Any Occasion
In conclusion, these Peanut Butter Cookie Cups are more than just a dessert; they are a delightful solution for countless occasions. Their ease of preparation makes them accessible to every baker, while their portion-controlled size ensures guilt-free enjoyment. The endless possibilities for customization, from different cookie doughs to a myriad of candy fillings, guarantee that they will never get boring. Whether you need a quick snack, a festive holiday treat, a charming addition to a party spread, or a simple pick-me-up, these bite-sized wonders deliver on all fronts. They are guaranteed to bring joy to any table and satisfy even the most discerning sweet tooth. So, gather your ingredients and prepare to create a batch of these unforgettable treats!
More Delicious Bite-Sized Treats You’ll Love
If you’re a fan of these easy and delightful cookie cups, you’ll surely enjoy exploring other mini dessert options that are perfect for snacking, parties, or satisfying a sweet craving. Here are some fantastic recipes from my kitchen and fellow bakers that you might love:
- Mini Baileys Chocolate Cheesecake Trifles from Life, Love, and Sugar
- 4 Ingredient Peanut Butter Cookies from The Rebel Chick
- Mini Chocolate Cheesecakes
- Black Bottom Brownie Bites
- Mini Mascarpone Cheesecakes
- Individual Pavlovas
- Mini Vanilla Flan
Stay in touch and discover more delicious recipes by following me on Instagram, Facebook, and Pinterest. Don’t forget to tag me when you try one of my recipes! Your feedback is incredibly valuable, so if you love the results, please consider leaving a 5-star rating on the recipe card below!

The Recipe:
Peanut Butter Cookie Cups Recipe
20 minutes
12 minutes
1 hour
1 hour 32 minutes
48 servings
Mini Peanut Butter Cookies with a candy center! Delicious bite-sized treats for peanut butter lovers!
Ingredients
- ½ cup unsalted butter, softened to room temperature
- ½ cup granulated sugar
- ½ cup light brown sugar, packed
- ½ cup creamy peanut butter
- 1 large egg
- ½ teaspoon pure vanilla extract
- 1 ½ cups all-purpose flour
- ¾ teaspoon baking soda
- ½ teaspoon salt
- 48 miniature Reese’s Peanut Butter Cups or 48 Rolo candies (or a delightful combination of both)
- Festive M&M candies for garnish, optional
Instructions
- Preheat Oven: Begin by preheating your oven to 375°F (190°C).
- Prepare Muffin Tins: Line two mini muffin tins with paper wrappers for easy removal and cleanup. If liners are unavailable, thoroughly grease the wells of the tins with a flour-oil spray. Set these prepared tins aside.
- Unwrap Candies: Take the time to unwrap all 48 miniature Reese’s or Rolo candies in advance. Having them ready ensures a smooth and quick process later.
- Make the Dough – Wet Ingredients: In a large mixing bowl, combine the softened butter, granulated sugar, packed brown sugar, creamy peanut butter, large egg, and vanilla extract. Beat these ingredients together with an electric mixer until the mixture is light, fluffy, and well combined.
- Combine Dry Ingredients: In a separate medium-sized bowl, whisk together the all-purpose flour, baking soda, and salt until they are thoroughly mixed.
- Combine Wet and Dry: Gradually add the whisked dry ingredients to the wet mixture. Stir gently with a wooden spoon until the flour is just incorporated into the dough. Be careful not to overmix, as this can lead to tough cookies.
- Portion Dough: Using a small cookie scoop (approximately 1-inch in diameter), shape the dough into uniform 1-inch balls.
- Place in Tins: Place one dough ball into each well of the prepared mini muffin tin. Do not flatten the dough balls; they will naturally form a cup shape during baking.
- Bake: Bake the cookie cups for 10-12 minutes, or until they appear puffed and the edges are lightly golden.
- Insert Candy Immediately: As soon as the muffin tins are removed from the oven, quickly insert one unwrapped chocolate-covered candy into the center of each hot cookie cup. The warmth of the cookie will slightly melt the candy, creating a perfectly nestled and gooey center.
- Garnish (Optional): If you are using M&M candies for garnish, carefully place one M&M into the center of each piece of chocolate while it is still soft and melted, before it sets.
- Cool Completely: It is crucial to allow the cookie cups to cool completely in their muffin tins before attempting to remove them. This step ensures that the cookies set properly and maintain their beautiful cup shape without crumbling.
Chef’s Notes:
- For optimal baking and even air circulation, it’s best to bake one muffin tin at a time.
- To achieve the most tender cookie texture, mix in the flour by hand with a wooden spoon, or use your mixer on a very slow speed, avoiding over-incorporation of air into the dough.
Recommended Products
As an Amazon Associate and member of other affiliate programs, I earn from qualifying purchases.
- 10-Inch Wire Whisk
- Small Cookie Scoop
- Non Stick Mini Muffin Pan
© Liz Berg
Cuisine: American | Category: Cookies
