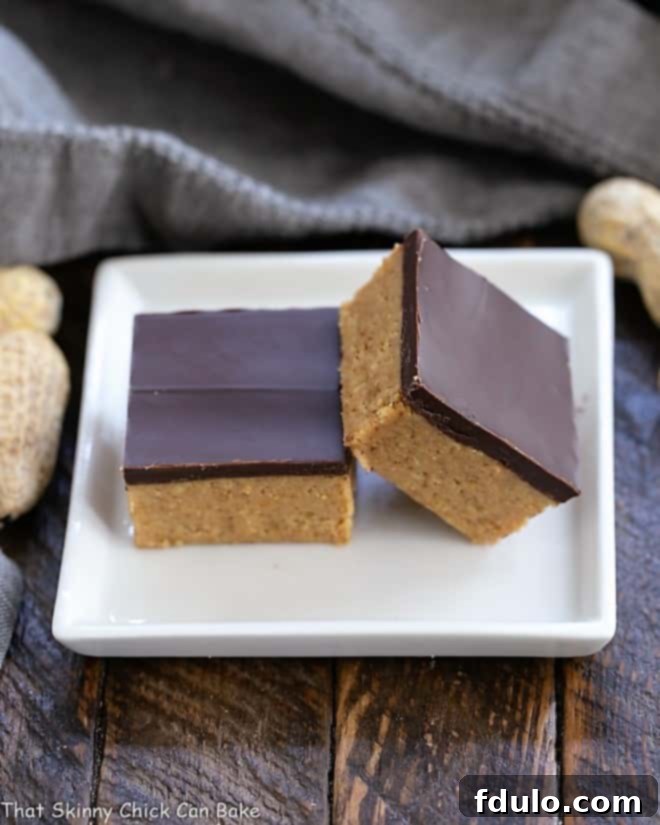
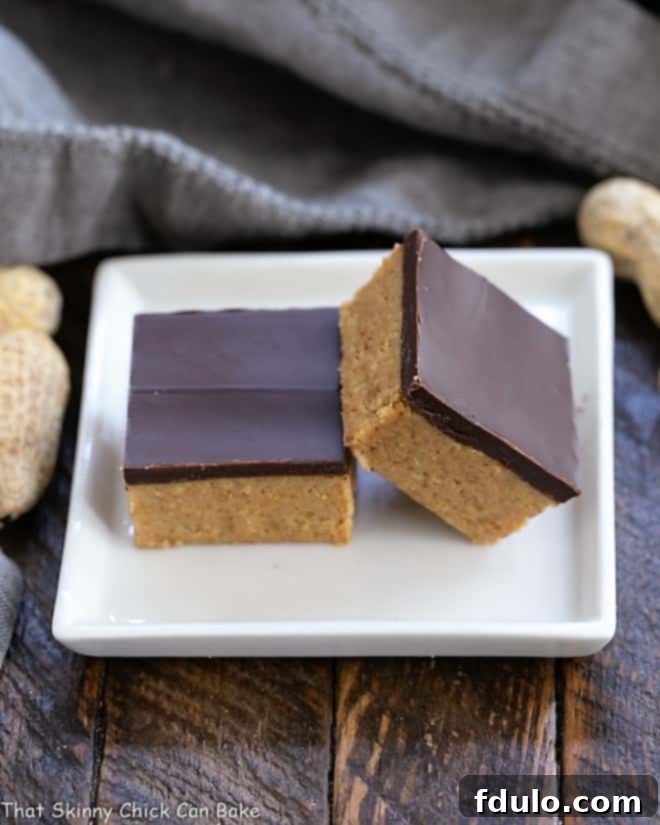
Forget store-bought! These Better Than Reese’s Peanut Butter Bars are an absolutely irresistible homemade dream, designed to conquer every chocolate and peanut butter craving. If you’re a devoted fan of Reese’s Peanut Butter Cups, prepare to be utterly swept away with each decadent bite.
Craving that iconic sweet and salty combination but don’t want to turn on the oven? Look no further! These outrageously delicious, super easy No-Bake Chocolate Peanut Butter Bars require absolutely no baking, making them the perfect quick treat for any occasion. Whip up a batch for the Reese’s lovers in your life – trust us, you’ll be showered with compliments and requests for this incredible Reese’s Peanut Butter Bar recipe. It’s the ultimate dessert for impressing friends and family with minimal effort and maximum flavor!

Why You Need to Make These Unforgettable Peanut Butter Bars
There’s a reason these chocolate peanut butter bars have become a household favorite and a highly requested recipe. They aren’t just good; they’re truly exceptional and offer several compelling reasons why they deserve a spot in your dessert rotation.
- Unbeatable Flavor & Texture: After a single taste of these easy peanut butter bars at a neighborhood gathering, I was instantly hooked. The rich, creamy peanut butter layer perfectly complements the smooth, snappy chocolate topping, creating a symphony of textures and flavors that’s simply addictive. Each bite delivers that perfect balance of sweet and salty, making them genuinely “better than Reese’s.”
- Effortless No-Bake Delight: This is a super simple, no-bake recipe, meaning you won’t need to heat up your kitchen or worry about oven temperatures. It’s the ideal dessert for warm weather, busy holidays, or whenever you need a quick, impressive treat without the fuss of baking. The simplicity makes it perfect for novice bakers and seasoned pros alike.
- The Ultimate Reese’s Craving Satisfier: If you adore Reese’s Peanut Butter Cups, these homemade peanut butter bars will absolutely thrill you. They capture the essence of that beloved candy, but with a thicker, more luxurious peanut butter filling and a superior chocolate coating that melts in your mouth. Get ready to experience your favorite flavor combination elevated to new heights.
- Perfect for Any Occasion: From casual family desserts to holiday platters, potlucks, and bake sales, these bars are always a hit. Their delightful taste and easy portability make them a go-to option when you want to bring something universally loved.
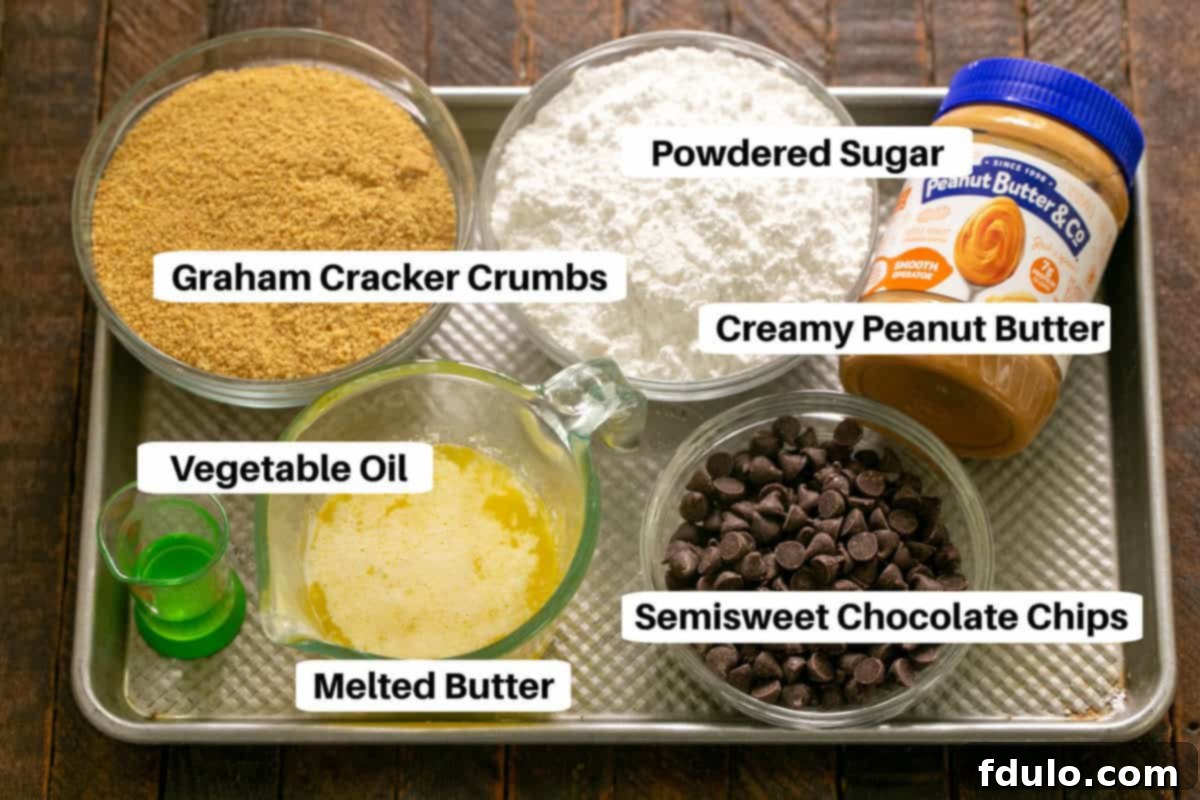
Key Ingredients for the Perfect Peanut Butter Bars
Achieving these “Better Than Reese’s” bars starts with selecting the right ingredients. While the list is simple, a few considerations can elevate your no-bake creation from good to absolutely phenomenal.
- Butter (Salted is Best!): You’ll need melted butter to bind the peanut butter layer. I highly recommend using salted butter in this recipe. The subtle saltiness perfectly enhances the sweetness of the other ingredients, creating that addictive sweet-and-salty contrast synonymous with a classic peanut butter cup. Don’t worry, it won’t make your bars taste overly salty, just perfectly balanced and incredibly flavorful.
-
Graham Cracker Crumbs: These crumbs form the structural base of our rich peanut butter layer. You have two options:
- Premade Graham Cracker Crumbs: Conveniently available in a box at most grocery stores.
- Grind Your Own: For the freshest flavor, you can crush whole graham crackers in a food processor until finely ground. About 14-15 full sheets of graham crackers will yield 2 cups of crumbs.
Ensure your crumbs are fine and uniform for the best texture in your bars.
-
Powdered Sugar (Confectioners’ Sugar): This fine sugar is crucial for the silky-smooth texture of the peanut butter filling. It dissolves beautifully without any grittiness.
- Sift Before Using: To prevent any unwanted lumps in your peanut butter layer, it’s a good practice to sift the powdered sugar before mixing. This ensures a perfectly smooth consistency.
-
Smooth Peanut Butter: The star of the show! The type of peanut butter you choose significantly impacts the final texture and taste.
- Our Preference: Brands like Peanut Butter and Co. (especially their Smooth Operator) or Jif work wonderfully. These brands offer a consistent, creamy texture that’s ideal for these bars.
- Avoid Natural Peanut Butter: It’s crucial not to use “natural” or “old-fashioned” peanut butter (where oil separates at the top) for this recipe. These types tend to be too thin and oily, which can prevent your peanut butter layer from setting properly and result in a greasy texture. Stick to the classic, no-stir varieties for the best results.
-
Semisweet Chocolate Bars or Chocolate Chips: This forms the decadent top layer.
- Quality Matters: My personal brand of choice is Ghirardelli for its rich flavor and smooth melt. However, Nestlé chocolate chips also work well and are a widely available option.
- Chips vs. Bars: You can use either chocolate chips or finely chopped chocolate bars. Chopped bars often melt more smoothly, but chips are convenient.
- Quantity Note: Typically, 1 cup of standard chocolate chips is equivalent to about 6 ounces of chocolate. If using bars, you’ll need approximately 1½ bars of a standard Ghirardelli semisweet chocolate bar to reach the required 6 ounces. Keep an eye out for sales and stock up!
-
Vegetable Oil: A small amount of neutral-flavored oil is added to the chocolate topping.
- Purpose: This helps create a smooth, glossy, and slightly softer chocolate layer that is less prone to cracking when sliced. It also gives the topping a beautiful sheen.
- Type of Oil: Use a neutral-flavored oil like canola oil or refined coconut oil (liquid form). Avoid strong-flavored oils like olive oil, as they will alter the taste of your chocolate topping.
Disclaimer: I was kindly provided a variety of Peanut Butter from Peanut Butter and Co. While I received no compensation for mentioning them in this post, their smooth peanut butter truly performed deliciously in this recipe. They also offer a fantastic range of products including chunky peanut butters, peanut butter powder, white and dark chocolate peanut butter spreads, convenient squeeze packs, and much more!
How to Make These Irresistible No-Bake Peanut Butter Bars
Making these chocolate peanut butter bars is surprisingly simple, especially since it’s a no-bake recipe. Follow these easy steps to create your own batch of pure bliss.
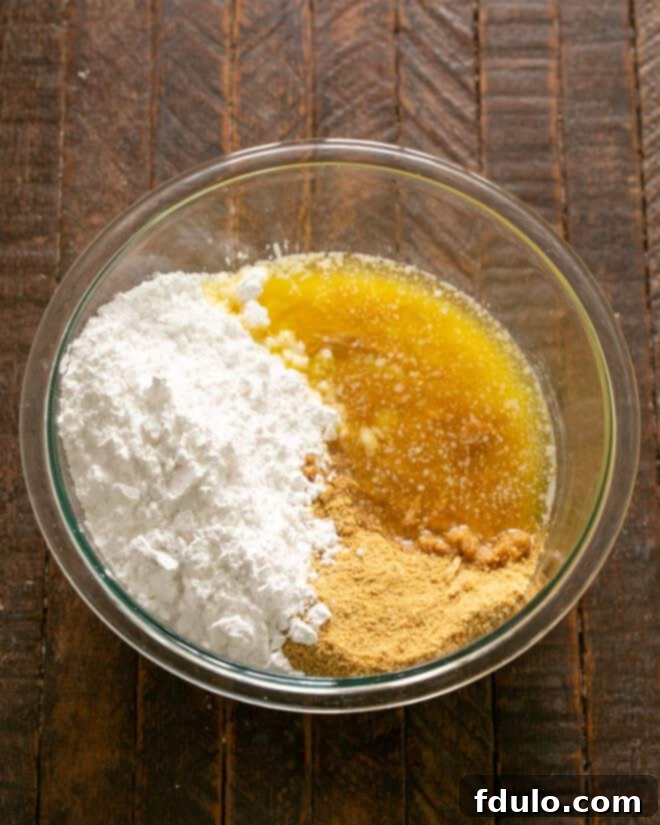
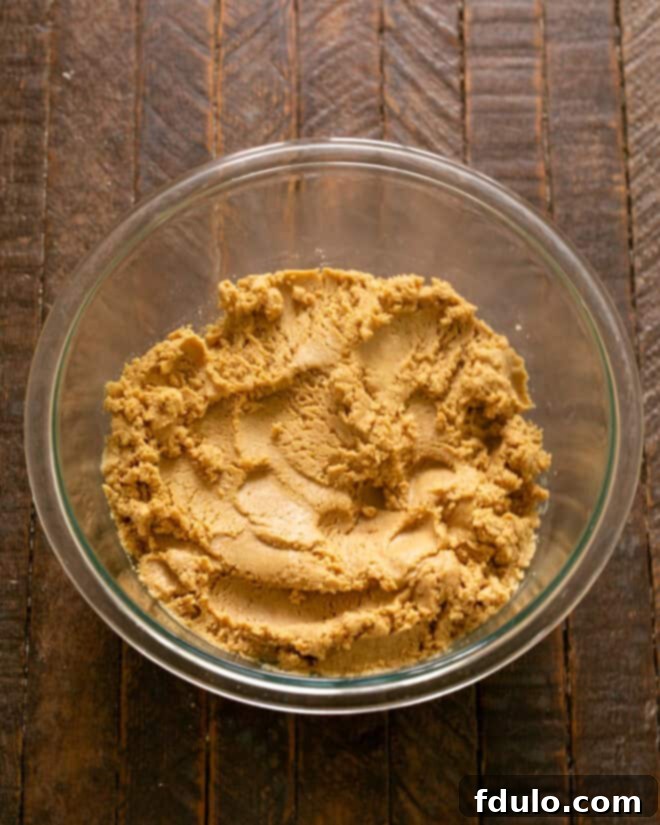
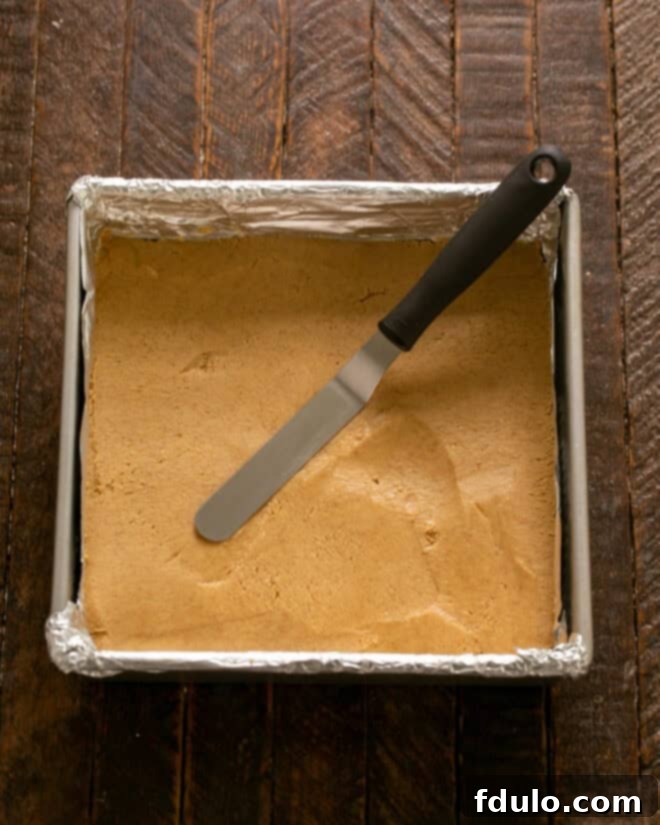
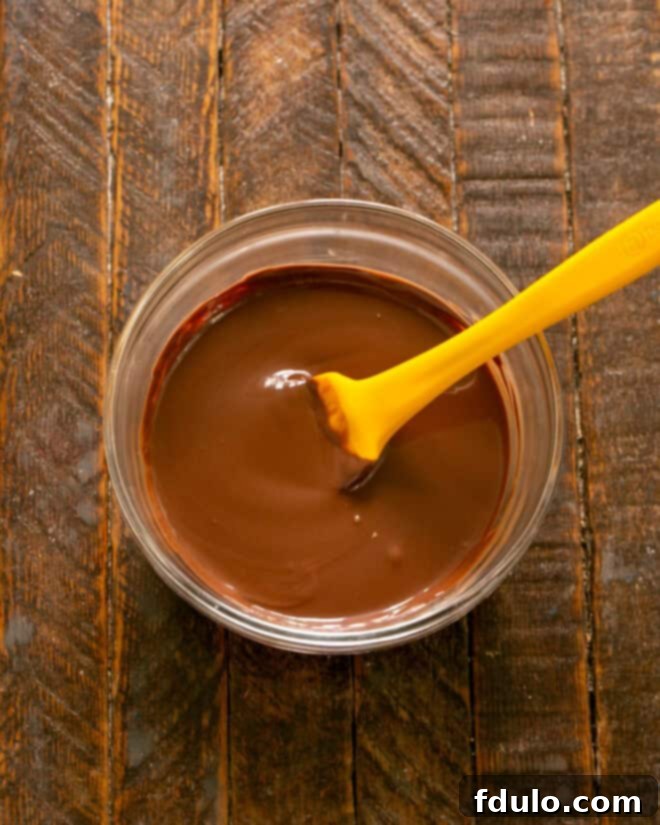
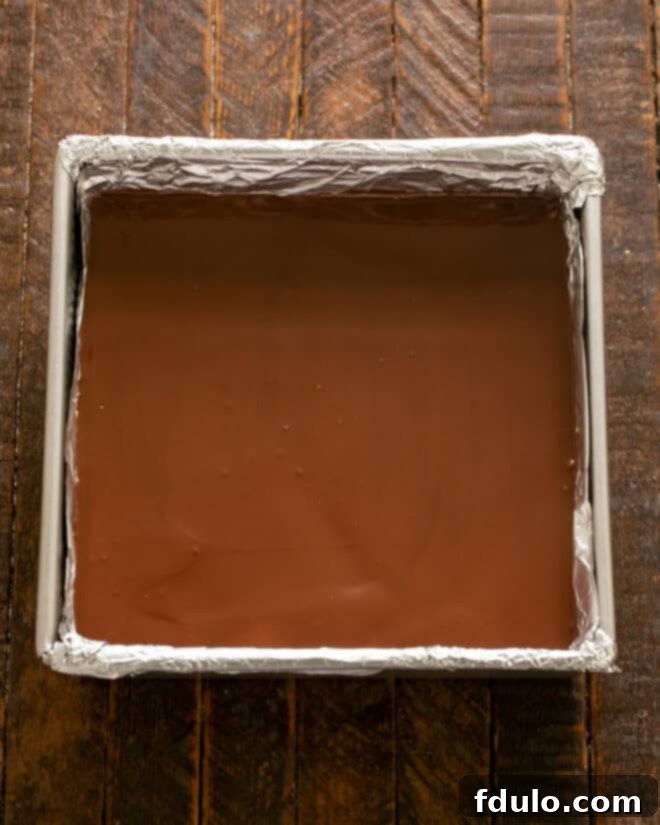
Expert Tips for Perfect No-Bake Peanut Butter Bars
Over the years, making these bars countless times, I’ve gathered some invaluable tips to ensure your “Better Than Reese’s” Peanut Butter Bars turn out perfectly every single time.
- Embrace the Thickness: When I first shared this recipe in 2010, it featured a thinner peanut butter layer. While delicious, I quickly realized the true indulgence comes from a thick, decadent bar cookie. This improved recipe reflects that preference, giving you a more substantial and satisfying peanut butter experience. Don’t skimp on that creamy base!
-
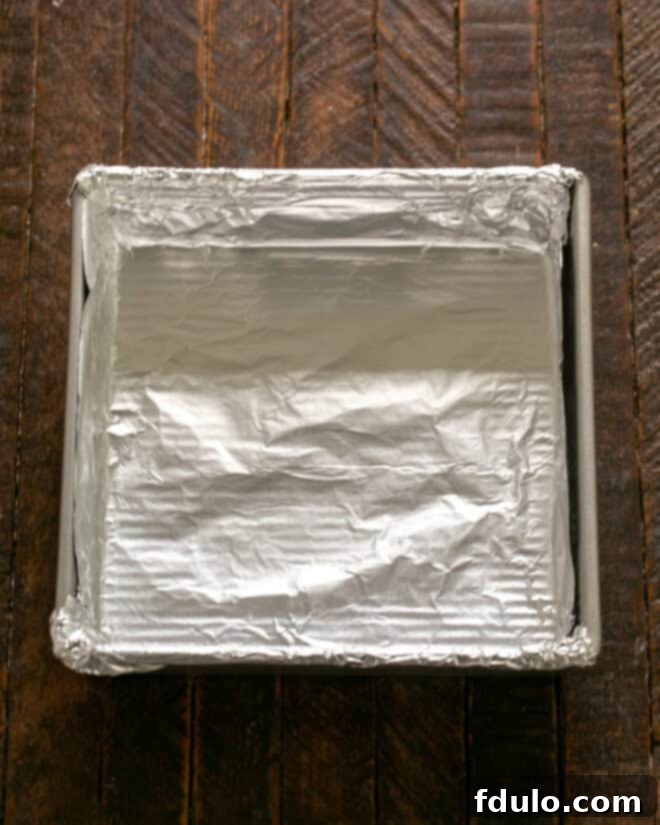
PRO-Tip: The Power of Non-Stick Foil: This is a game-changer! Lining your baking pan with non-stick foil serves two amazing purposes:
- No Sticking: The ingredients, especially the peanut butter layer, won’t stick to the sides of the pan, ensuring clean edges.
- Easy Removal: The foil acts as a convenient “sling.” Once the bars are chilled, you can easily lift them out of the pan and place them onto a cutting board. This is infinitely easier than attempting to slice them while still in the pan, preventing scratches and ensuring neat cuts.
- Salted Butter for Flavor Depth: As mentioned in the ingredient notes, using salted butter is key. The slight salinity balances the sweetness of the powdered sugar and chocolate, creating a more complex and utterly irresistible flavor profile. It’s not about making them taste salty, but rather about enhancing and rounding out the overall taste.
- Customize Your Chocolate: While semisweet chocolate is my personal preference for a classic Reese’s flavor, feel free to use milk chocolate if that’s what you love. Milk chocolate might even produce a flavor combination that’s closer to the sweetness of a traditional Reese’s Cup. Dark chocolate could also be an option if you prefer a less sweet, more intense chocolate flavor.
- The Secret to a Glossy Topping: The small amount of vegetable oil added to the melted chocolate mixture isn’t just for texture; it also helps give the topping a beautiful, professional-looking sheen. It ensures the chocolate spreads smoothly and sets with a lovely gloss.
- Chocolate Quantity Matters: Pay attention to the quantity of chocolate. Remember that 1 cup of standard chocolate chips typically weighs around 6 ounces. If you’re using chocolate bars, aim for 6 ounces by weight. For example, Ghirardelli semisweet chocolate bars, often found at supermarkets or Target, can be chopped; you’ll likely need about 1½ bars for this recipe. Stock up when they’re on sale!
-
PRO-Tip: Slicing for Perfection: Achieving clean, crack-free slices is crucial for presentation.
- Allow to Temper Slightly: If your bars are truly ice-cold when you attempt to cut them, the chocolate topping is very likely to crack. To minimize this, let the chilled bars sit at room temperature for about 10-15 minutes before slicing. They should still be very firm and cold, but the chocolate won’t be as brittle.
- Use a Hot, Dry Knife: The best method for clean cuts is to use a sharp knife that has been warmed. Run the knife blade under very hot tap water for about 30 seconds, then immediately wipe it completely dry with a kitchen towel before making each cut. The warm blade will glide through the chocolate and peanut butter layers cleanly. Wipe the blade clean between slices for the tidiest results.
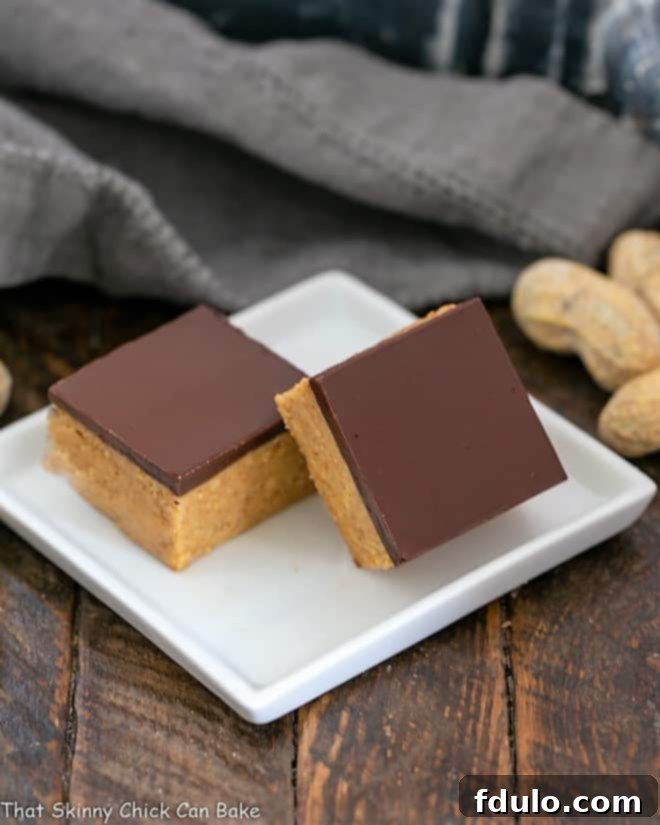
Frequently Asked Questions About These No-Bake Peanut Butter Bars
Achieving perfectly even layers is key for both visual appeal and consistent texture. For the graham cracker and peanut butter crust, you can use the flat bottom of a clean measuring cup or a sturdy glass to firmly and evenly press it into the pan. Work from the center outwards, ensuring consistent pressure across the entire surface. For the melted chocolate topping, an offset spatula is your best friend. It allows you to gently level and spread the chocolate across the peanut butter layer with minimal disturbance, creating a smooth, flawless finish.
The secret to beautiful, crack-free slices lies in proper chilling and technique. First, ensure the bars are thoroughly chilled in the refrigerator until completely firm (at least 1-2 hours). Then, use the foil overhang to carefully lift the entire slab of bars out of the pan and place it onto a sturdy cutting board. Before cutting, let the bars sit at room temperature for about 10-15 minutes. This slight warming helps prevent the chocolate from cracking when the knife goes through, while still keeping the bars firm enough to hold their shape. The ultimate trick is to use a hot, dry knife. Run the knife blade under very hot tap water for about 30 seconds, then immediately wipe it completely dry. Slice through the bars, wiping the blade clean and re-warming it between each cut as needed. This warm, clean blade will glide through both layers, giving you perfectly crisp and clean edges every time.
Once you’ve sliced your delicious peanut butter bars, proper storage is essential to maintain their freshness and texture. Place the individual bars in an airtight container. To prevent them from sticking together, layer them with parchment paper or wax paper between each row. These bars will keep beautifully in the refrigerator for 4-5 days. For longer storage, these no-bake bars freeze exceptionally well! Simply place them in a freezer-safe airtight container, again with parchment paper between layers, and they will stay fresh for up to 3 months. When you’re ready to enjoy them, just defrost them overnight in the refrigerator before serving.
While smooth peanut butter is highly recommended for the best texture and consistency in these bars, you *could* try chunky peanut butter if you prefer a different mouthfeel. However, be aware that the chunky texture might make the peanut butter layer a bit more crumbly and harder to press evenly, and it won’t be as smooth or “Reese’s-like” as with smooth peanut butter. If you do use chunky, ensure it’s a no-stir variety, not natural peanut butter with separated oils.
Absolutely! The main ingredient to watch out for is the graham cracker crumbs. Simply swap regular graham cracker crumbs for certified gluten-free graham cracker crumbs, which are readily available in many grocery stores. All other ingredients (butter, powdered sugar, peanut butter, chocolate, and oil) are typically gluten-free, but always double-check labels to be safe, especially for chocolate chips, if you have severe sensitivities.
You May Also Love These Chocolate & Peanut Butter Delights:
- Peanut Butter Cake Roll from Crazy for Crust
- Homemade Reese’s Bars – A similar recipe, featuring a slightly thinner peanut butter layer for variety.
- Tagalong Bars – A delicious take on the classic Girl Scout cookie in bar form.
- Peanut Butter Chocolate Tiger Bark – A stunning and easy swirled treat.
- Stuffed Peanut Butter Krispie Treats – An indulgent twist on a childhood favorite.
- Peanut Butter Truffle Brownies – Rich brownies topped with a creamy truffle layer.
- Best Peanut Butter Lovers Recipes – A collection of delightful recipes for peanut butter enthusiasts.
- More Bar Cookie Recipes – Explore a wider range of easy-to-make bar desserts.
Stay connected and share your culinary creations with me through social media! Follow @ Instagram, Facebook, and Pinterest. Don’t forget to tag me when you try one of my recipes! And if you absolutely love the results, please consider leaving a 5-star rating in the recipe card below – your feedback means the world.
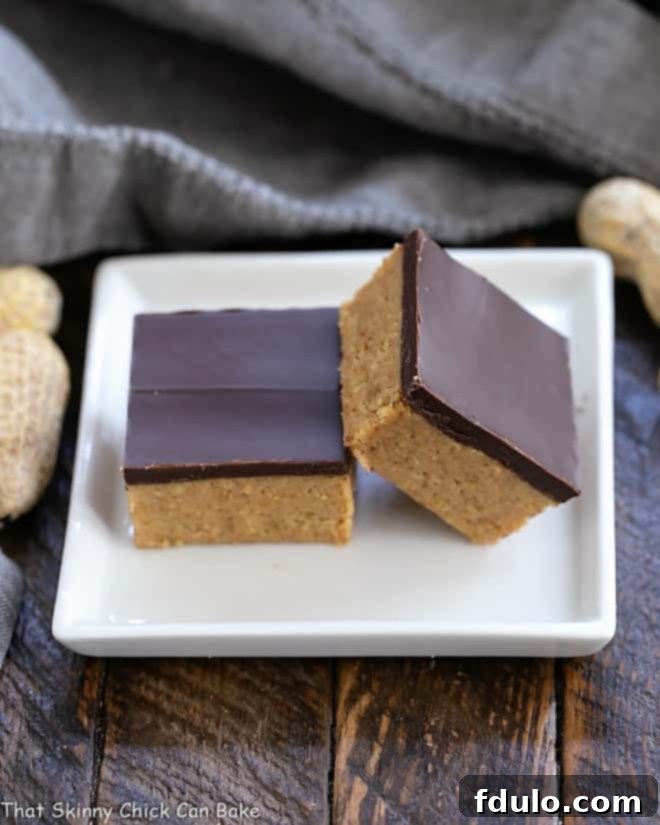
Better Than Reese’s Peanut Butter Bars
20 minutes
20 minutes
16 bars
A no-bake chocolate and peanut butter treat that will satisfy your Reese’s cravings!
Ingredients
Peanut Butter Layer:
- 12 tablespoons butter, melted
- 2 cup graham cracker crumbs
- 2 cup powdered sugar
- 1 cup smooth peanut butter
Chocolate Topping:
- 6 ounces semi sweet chocolate, chopped finely or 1 cup semi-sweet chocolate chips
- 1 teaspoon vegetable oil
Instructions
- Combine butter, graham cracker crumbs, powdered sugar, and peanut butter in a medium bowl.
- When well combined, pat into a well greased or foil lined 8 x 8-inch pan. Refrigerate while preparing the topping.
- Melt chocolate chips and oil together in the microwave, stirring every 30 seconds or so, till smooth.
- Spread over the top of the peanut butter layer.
- Refrigerate for at least an hour before cutting.
Notes
Adapted from a combination of recipes. Lining with non-stick foil makes for easy cleanup and easy removal from the pan.
Recommended Products
As an Amazon Associate and member of other affiliate programs, I earn from qualifying purchases.
- Nonstick Foil
- Small Offset Spatula
- 8 x 8-inch Baking Pan
Nutrition Information:
Yield:
16
Serving Size:
1 bar
Amount Per Serving:
Calories: 325Total Fat: 21gSaturated Fat: 9gTrans Fat: 0gUnsaturated Fat: 10gCholesterol: 23mgSodium: 195mgCarbohydrates: 33gFiber: 2gSugar: 23gProtein: 5g
HOW MUCH DID YOU LOVE THIS RECIPE?
Please leave a comment on the blog or share a photo on Pinterest
