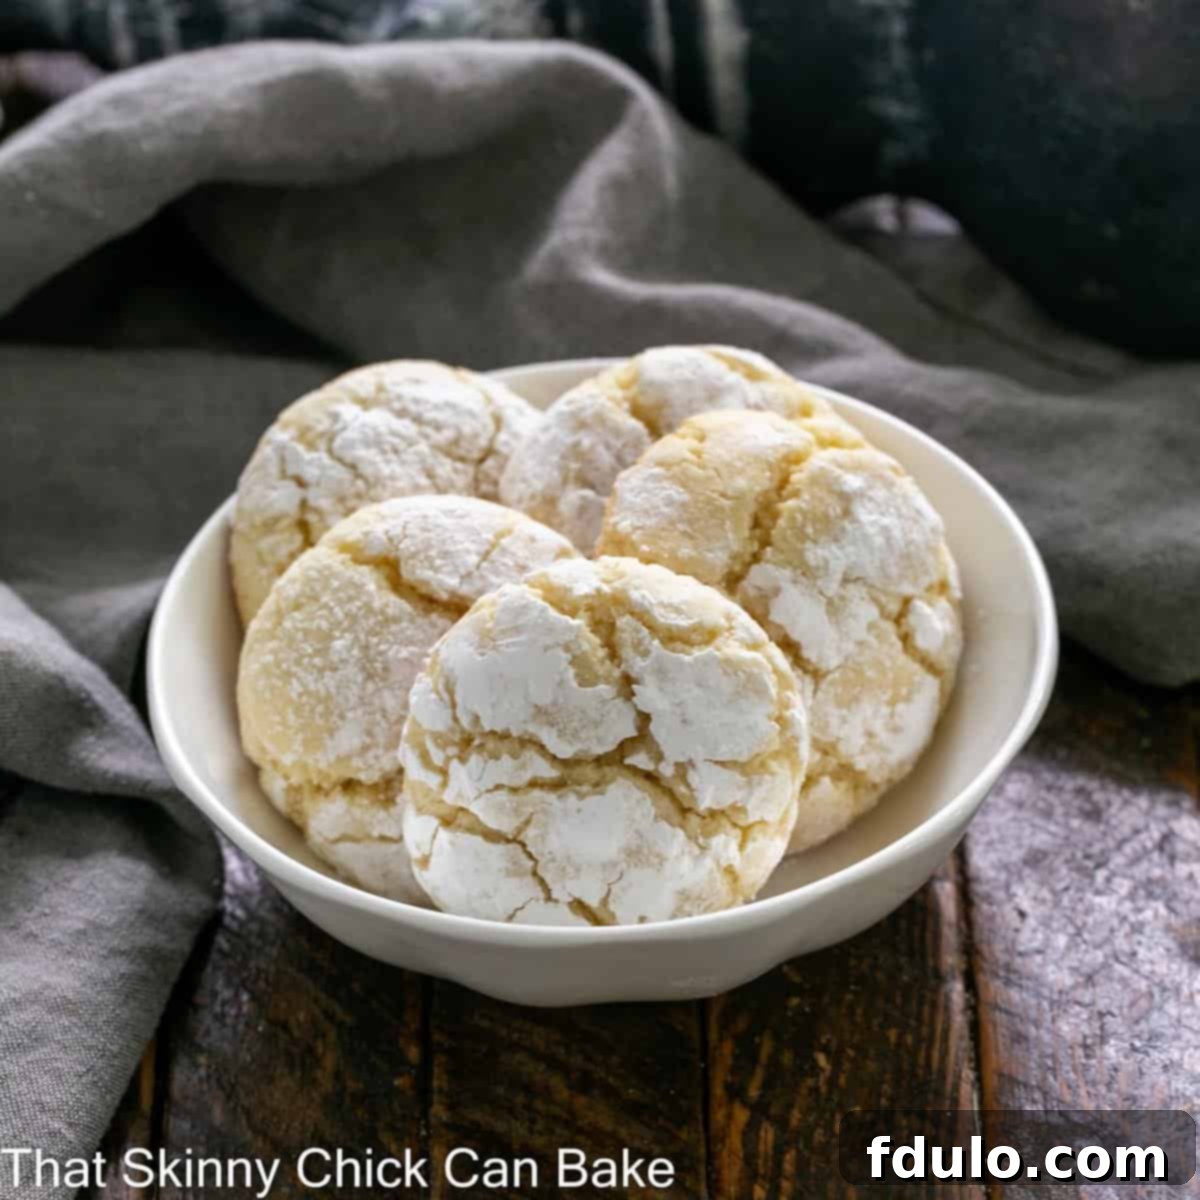
Gooey Butter Cookies are an irresistible, bite-sized confection that capture the essence of the beloved classic Ooey Gooey Butter Cake. For decades, this iconic dessert has graced tables, and now you can enjoy its rich, buttery goodness in a convenient, portable cookie form.
Unlike many recipes that rely on a yellow cake mix for convenience, these exceptional Butter Cake Cookies are crafted entirely from scratch. This commitment to homemade quality ensures an unparalleled depth of flavor, derived purely from real butter, fresh cream cheese, and a hint of pure vanilla extract, without any artificial undertones.
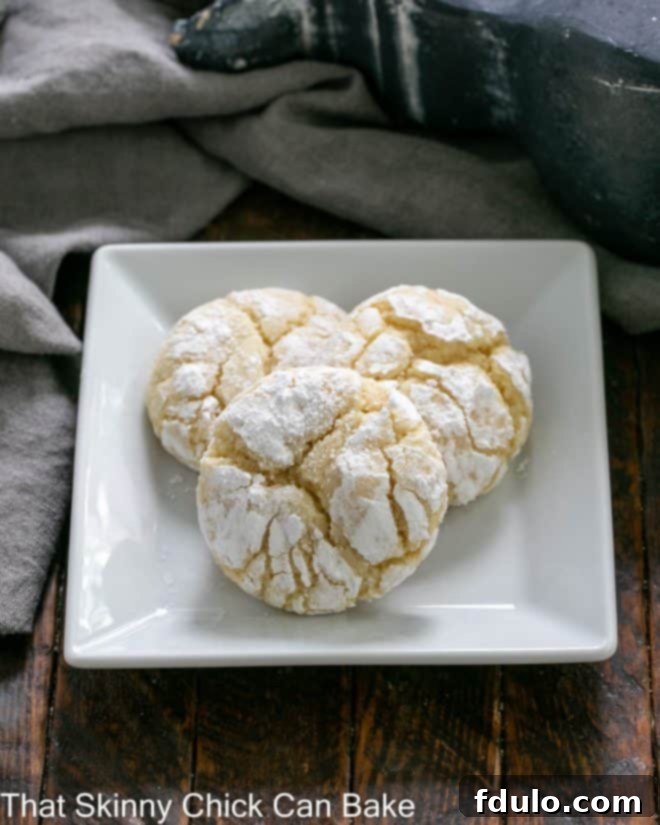
Why These Gooey Butter Cookies Are a Must-Bake
If the mere mention of Ooey Gooey Butter Cake brings a smile to your face, then prepare to fall in love with these buttery cookies. They encapsulate everything you adore about the classic St. Louis dessert, transformed into a perfectly portioned treat.
Crafted without any cake mix, this recipe eliminates artificial flavors, dyes, and preservatives often found in pre-packaged mixes. What you get instead is pure, wholesome goodness, allowing the natural, rich flavors of butter and cream cheese to shine through. It’s a truly authentic taste experience that discerning palates will appreciate.
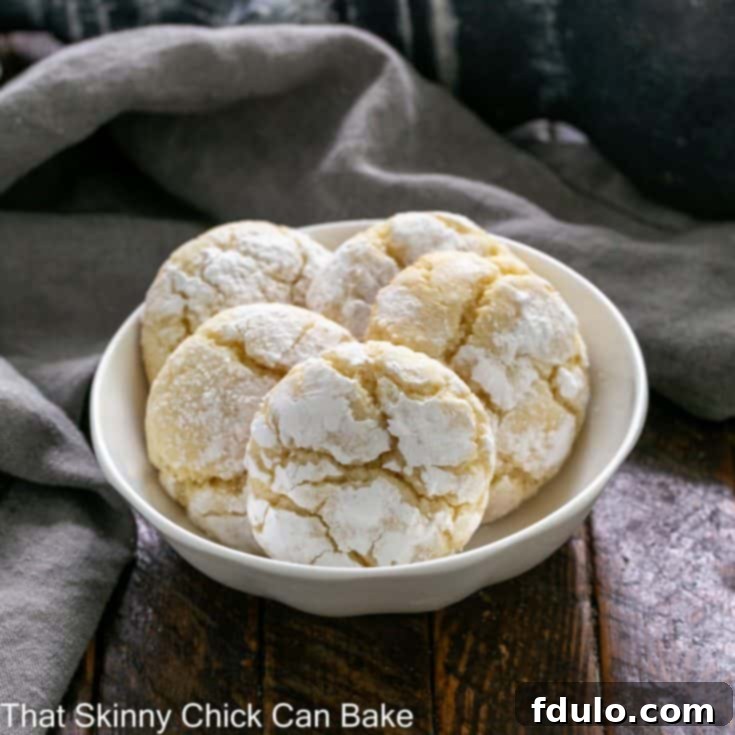
Each cookie boasts a delightful crackled exterior, a hallmark of the classic gooey butter cake, giving way to an incredibly soft, sweet, and wonderfully buttery interior. Their melt-in-your-mouth texture and rich flavor profile make them an absolute indulgence, perfect for any occasion from casual snacking to elegant dessert platters.
Essential Ingredient Notes for Perfect Gooey Butter Cookies
Achieving the perfect gooey butter cookie starts with understanding your ingredients. While the list is simple, attention to detail in selection and preparation makes all the difference.
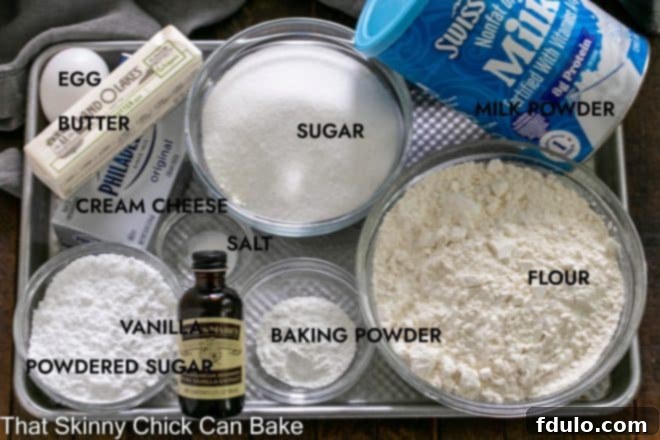
- Butter: For these cookies, you can confidently use salted butter, as its subtle saltiness beautifully balances the sweetness. The most crucial factor is ensuring your butter is at proper room temperature. This means it should be soft enough to indent with a finger without being greasy or melted, allowing it to cream smoothly with the sugar and cream cheese for a uniform, airy texture.
- Cream Cheese: Opt for a full-fat, reputable brand of cream cheese. High-quality cream cheese contributes significantly to the cookie’s signature richness and gooey texture. Like butter, it must be at room temperature. Cold cream cheese will result in lumps and an inconsistent dough, making it difficult to achieve that smooth, velvety base.
- Dry Milk Powder: This ingredient is a secret weapon for enhancing the butter cake flavor and contributing to a tender crumb. It adds a subtle richness without introducing excess liquid. You’ll typically find nonfat dry milk powder in the baking aisle of most grocery stores, often near the condensed milk or baking ingredients.
- Baking Powder: This leavening agent is critical for the cookies’ slight puff and characteristic crackled appearance. It’s important to distinguish it from baking soda, as they are not interchangeable. Baking powder has a shelf life, and often, because it’s used less frequently, it can expire before you realize it.
PRO-Tip: To test the freshness of your baking powder, place a spoonful in a small bowl of very hot water. If it fizzes and bubbles vigorously, it’s still active and good to use. If there’s no reaction or only a weak one, it’s time to replace it. Using expired baking powder will result in flat, dense cookies that lack the desired texture.
- Powdered (Confectioner’s) Sugar: Used for both the dough and the delightful outer coating. Sifting powdered sugar is a non-negotiable step, especially for the coating. This prevents unsightly lumps and ensures a smooth, even layer that melts beautifully as the cookies bake, accentuating their crackled surface.
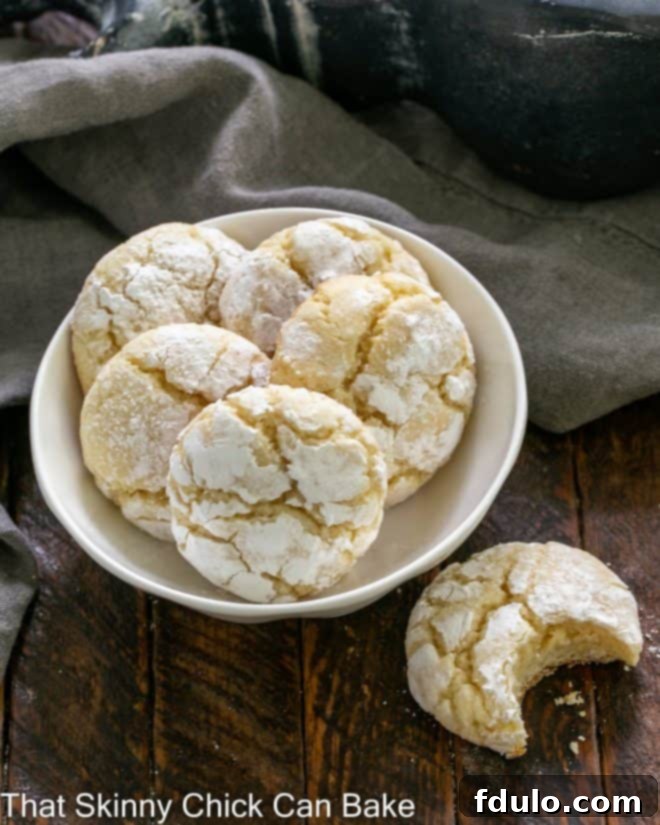
Expert Tips for Baking Flawless Gooey Butter Cookies
Crafting these delectable cookies is a straightforward process, akin to many classic cookie recipes. However, a few key techniques and insights will elevate your results from good to absolutely outstanding.
- Mixing the Dough for Ideal Texture: The initial step of combining butter, cream cheese, and sugar is crucial.
PRO-Tip: When using a stand mixer, always opt for the paddle attachment, not the whisk. The paddle attachment creams ingredients together without incorporating excessive air. Whipping too much air into the dough, as a whisk would do, can result in a lighter, more cake-like cookie rather than the dense, chewy, and gooey texture we’re aiming for.
- The Importance of Chilling the Dough: Once your dough is mixed, resist the urge to bake immediately. It absolutely needs to chill for a minimum of 30 minutes, and ideally longer (up to several hours). This chilling period serves multiple purposes:
- It firms up the butter and cream cheese, making the dough much easier to handle and roll into uniform balls.
- It prevents the cookies from spreading too much in the oven, ensuring they maintain their shape and don’t bake up flat and greasy.
- It allows the flavors to meld, resulting in a more pronounced and delicious taste.
- Achieving the Signature Crackled Surface with Powdered Sugar: Rolling the chilled dough balls generously in sifted powdered sugar before baking is essential. This step isn’t just for aesthetics; it plays a vital role in the cookie’s texture and appearance. The powdered sugar creates a beautiful, sweet crust that crackles as the cookies expand in the oven, forming that iconic gooey butter cake look. Sifting the sugar is non-negotiable to prevent any unappealing lumps on the cookie surface.
- Ensuring Even Baking with a Cookie Disher: Consistency is key for perfectly baked cookies.
PRO-Tip: Utilize a medium cookie disher (also known as a cookie scoop) to portion your dough. This simple tool guarantees that each cookie is the same size, which means they will all bake at the same rate, preventing some from being undercooked while others are overdone.
- Baking Times and Visual Cues: A medium cookie disher typically portions about 1½ tablespoons of dough, which will generally bake in 14-16 minutes. If you opt for a smaller 1-tablespoon scoop, reduce the baking time to 10-12 minutes. Remember that oven temperatures can vary significantly, so these times are guidelines. Always begin checking your cookies a few minutes before the timer indicates, looking for a puffed, slightly golden edge and a crackled top. The centers may still look soft, which is perfect for that gooey texture.
- Shaping Warm Cookies for Perfection: Sometimes, cookies emerge from the oven looking a little uneven or lopsided.
PRO-Tip: Don’t fret! As soon as they come out of the oven, while still warm and pliable, you can gently take a spatula and tap the sides of the warm cookie into shape. Hold the baking sheet steady with one hand (using a hot pad!) and carefully press on the edges of any misshapen cookies with the spatula. This quick fix helps create perfectly round cookies that are ready for their close-up.
A Step-by-Step Guide to Making Irresistible Ooey Gooey Cookies
Follow these instructions carefully to create a batch of perfectly soft, buttery, and crackled Gooey Butter Cookies that will impress everyone.
- Prepare Your Oven and Baking Sheets: Begin by preheating your oven to 350°F (175°C). Line several baking sheets with parchment paper. Parchment paper is essential for preventing sticking and ensuring easy transfer of the delicate cookies once baked. Set the prepared sheets aside.
- Combine Wet Ingredients: In a large mixing bowl or the bowl of your stand mixer, cream together the room temperature butter, cream cheese, and granulated sugar until light, fluffy, and well blended. Be sure to scrape down the sides of the bowl frequently to ensure all ingredients are thoroughly incorporated.
- Add Egg and Vanilla: Beat in the egg and vanilla extract until fully combined. Continue to scrape down the bowl to ensure no pockets of unmixed ingredients remain.
- Mix Dry Ingredients Separately: In a separate, medium-sized bowl, whisk together the flour, nonfat dry milk powder, and baking powder. Whisking ensures these dry ingredients are evenly distributed, which is important for the cookie’s texture and leavening.
- Gradually Incorporate Dry into Wet: With the mixer on low speed, gradually add the dry ingredient mixture to the wet mixture. Mix only until just combined, being careful not to overmix. Overmixing can develop the gluten in the flour, leading to tougher cookies. Scrape down the bowl as needed to ensure a uniform dough.
- Chill the Dough: Cover the cookie dough and place it into the refrigerator for at least 30 minutes, or until the dough is firm and cool enough to handle easily. This chilling step is vital for preventing the cookies from spreading too much during baking.
- Portion and Shape the Dough: Once chilled, use a medium cookie scoop (approximately 1½ tablespoons) to portion out balls of dough. Roll each portion between your palms to create smooth, round balls. Even sizing is important for consistent baking.
- Roll in Powdered Sugar: Pour the sifted powdered sugar into a shallow bowl. Generously roll each dough ball in the powdered sugar, ensuring it’s completely coated. Place the coated dough balls on the prepared baking sheets, leaving at least 2 inches between each cookie to allow for spreading.
- Bake to Perfection: Bake the cookies in your preheated oven for 14-16 minutes. They should appear puffed, with beautifully crackled tops and slightly golden edges. The centers will still be soft, contributing to their signature gooey texture.
- Cool on Baking Sheet, Then Rack: Let the cookies cool on the baking sheet for about 10 minutes. This allows them to set up and become firm enough to handle without breaking. After 10 minutes, carefully transfer them to a wire rack to finish cooling completely.
- Store for Freshness: Once entirely cool, store the Gooey Butter Cookies in an airtight container at room temperature to maintain their freshness and soft, gooey texture for several days.
Frequently Asked Questions About Gooey Butter Cookies
Here are some common questions and answers to help you master your Gooey Butter Cookie baking experience and enjoy this classic treat to the fullest.
The Gooey Butter Cake is a beloved dessert originating from St. Louis, Missouri, believed to have been created by accident in the 1930s. The traditional version features a dense, chewy cake flour base (sometimes yeast-based) topped with a rich, buttery, and incredibly gooey custard-like filling made from sugar, eggs, and butter. It’s typically baked in a shallow pan and served in squares, often dusted generously with powdered sugar. Our cookies capture the essence of this delightful “mistake” in a convenient form!
These homemade Gooey Butter Cookies are an absolute dream! They are wonderfully soft and incredibly buttery, with subtle yet distinct notes of vanilla that perfectly complement the rich cream cheese flavor. Unlike many commercial or cake-mix versions, our from-scratch recipe results in a deeper, more authentic butter cake flavor. Each bite offers a satisfying chewiness and a melt-in-your-mouth experience, especially with that delicate, crackled powdered sugar crust.
To maintain their optimal freshness and soft, gooey texture, store your homemade Gooey Butter Cookies in an airtight container at room temperature for 2-3 days. If you wish to extend their freshness further, you can transfer them to the refrigerator, where they will keep well for an additional 2-3 days. For longer storage, these cookies freeze beautifully! Place them in an airtight, freezer-safe container or bag for up to 3 months. To enjoy, simply defrost frozen cookies overnight in the refrigerator or at room temperature for a few hours. They taste just as delicious as when freshly baked!
Absolutely! The dough can be prepared and stored in the refrigerator for up to 2-3 days before baking. You can also form the dough balls, roll them in powdered sugar, and then freeze them on a baking sheet. Once solid, transfer to a freezer-safe bag and bake directly from frozen, adding a few extra minutes to the baking time. This makes them perfect for holiday baking or unexpected guests.
Flat cookies are usually a sign of a few common issues. The most frequent culprit is insufficient chilling time for the dough. Warm dough causes the butter and cream cheese to melt too quickly in the oven, leading to excessive spreading. Ensure your dough is thoroughly chilled. Other reasons could include using butter that was too soft or melted initially, expired baking powder (which won’t provide enough lift), or an oven temperature that is too low. Double-check your baking powder’s freshness and your oven thermometer!
Explore More Decadent Desserts
If you’ve enjoyed these Gooey Butter Cookies, you’ll surely love these other fantastic recipes. Dive into more buttery, sweet, and comforting treats perfect for any occasion:
- Nutella Gooey Butter Cake – A rich twist on the classic, from Tidy Mom.
- Gooey Butter Bars – The convenience of cake mix meets gooey deliciousness.
- Gooey Butter Cake – Experience the original, made completely from scratch.
- Gooey Chocolate Chip Pie – A truly indulgent dessert for chocolate lovers.
- More of my Best Cookie Recipes – Discover a wide array of cookie delights for every craving.
Stay in touch through social media @ Instagram, Facebook, and Pinterest. Don’t forget to tag me when you try one of my recipes! And if you love the results, please give it a 5-star rating in the recipe card.
Gooey Butter Cookies Recipe
20 minutes
14 minutes
30 minutes
1 hour 4 minutes
36 cookies
Inspired by the classic St. Louis dessert, these homemade Gooey Butter Cookies are wonderfully soft, incredibly buttery, and feature a delightful crackled crust. Perfect for snacking, sharing, or satisfying that sweet craving with an authentic, from-scratch taste.
Ingredients
- ½ cup (1 stick) butter, at room temperature
- 8 ounces cream cheese, at room temperature
- 1 ½ cups sugar
- 1 egg
- 1 ½ teaspoon vanilla extract
- 2¼ cups flour
- ½ cup nonfat dry milk powder
- 1 tablespoon baking powder
- ½ cup powdered sugar, sifted
Instructions
- Preheat the oven to 350°. Line baking sheets with parchment paper and set aside.
- In your stand mixer with the paddle attachment, beat butter, cream cheese and sugar until blended, scraping the bowl as needed.
- Mix in egg and vanilla.
- In another bowl, whisk together the flour, milk powder, and baking powder,
- Gradually add the dry ingredients to the batter, stopping to scrape down the bowl if needed.
- Place the dough into the refrigerator for at least 30 minutes or until the dough is cool enough to roll into balls.
- Using a medium cookie scoop, dish out balls of dough. Roll them into nice rounds between your palms.
- Next, roll them into the sifted powdered sugar and place on the baking sheets, at least 2 inches apart.
- Bake until puffed and crackled, about 14-16 minutes.
- Let cool for about 10 minutes and then move to a wire rack to finish cooling.
- Once cool, store in an airtight container at room temperature to keep fresh.
Notes
This cherished recipe is adapted from a classic version found in Taste of Home, ensuring authentic flavor and texture in every bite.
Recommended Products
As an Amazon Associate and member of other affiliate programs, I earn from qualifying purchases.
- Black Spatula
- KitchenAid KSM150PSER Artisan Tilt-Head Stand Mixer with Pouring Shield, 5-Quart, Empire Red
- USA Pan Bakeware Half Sheet Pan
- Reynolds Cookie Baking Sheets Non-Stick Parchment Paper, 25 Sheet, 4 Count
Nutrition Information:
Yield:
18
Serving Size:
2 cookies
Amount Per Serving:
Calories: 190Total Fat: 5gSaturated Fat: 3gTrans Fat: 0gUnsaturated Fat: 2gCholesterol: 23mgSodium: 136mgCarbohydrates: 34gFiber: 0gSugar: 21gProtein: 3g
Thatskinnychickcanbake.com occasionally offers nutritional information for recipes contained on this site. This information is provided as a courtesy and is an estimate only. This information comes from online calculators. Although thatskinnychickcanbake.com attempts to provide accurate nutritional information, these figures are only estimates.
Varying factors such as product types or brands purchased can change the nutritional information in any given recipe. Also, many recipes on thatskinnychickcanbake.com recommend toppings, which may or may not be listed as optional and nutritional information for these added toppings is not listed. Other factors may change the nutritional information such as when the salt amount is listed “to taste,” it is not calculated into the recipe as the amount will vary. Also, different online calculators can provide different results.
To obtain the most accurate representation of the nutritional information in any given recipe, you should calculate the nutritional information with the actual ingredients used in your recipe. You are solely responsible for ensuring that any nutritional information obtained is accurate.
HOW MUCH DID YOU LOVE THIS RECIPE?
Please leave a comment on the blog or share a photo on Pinterest
