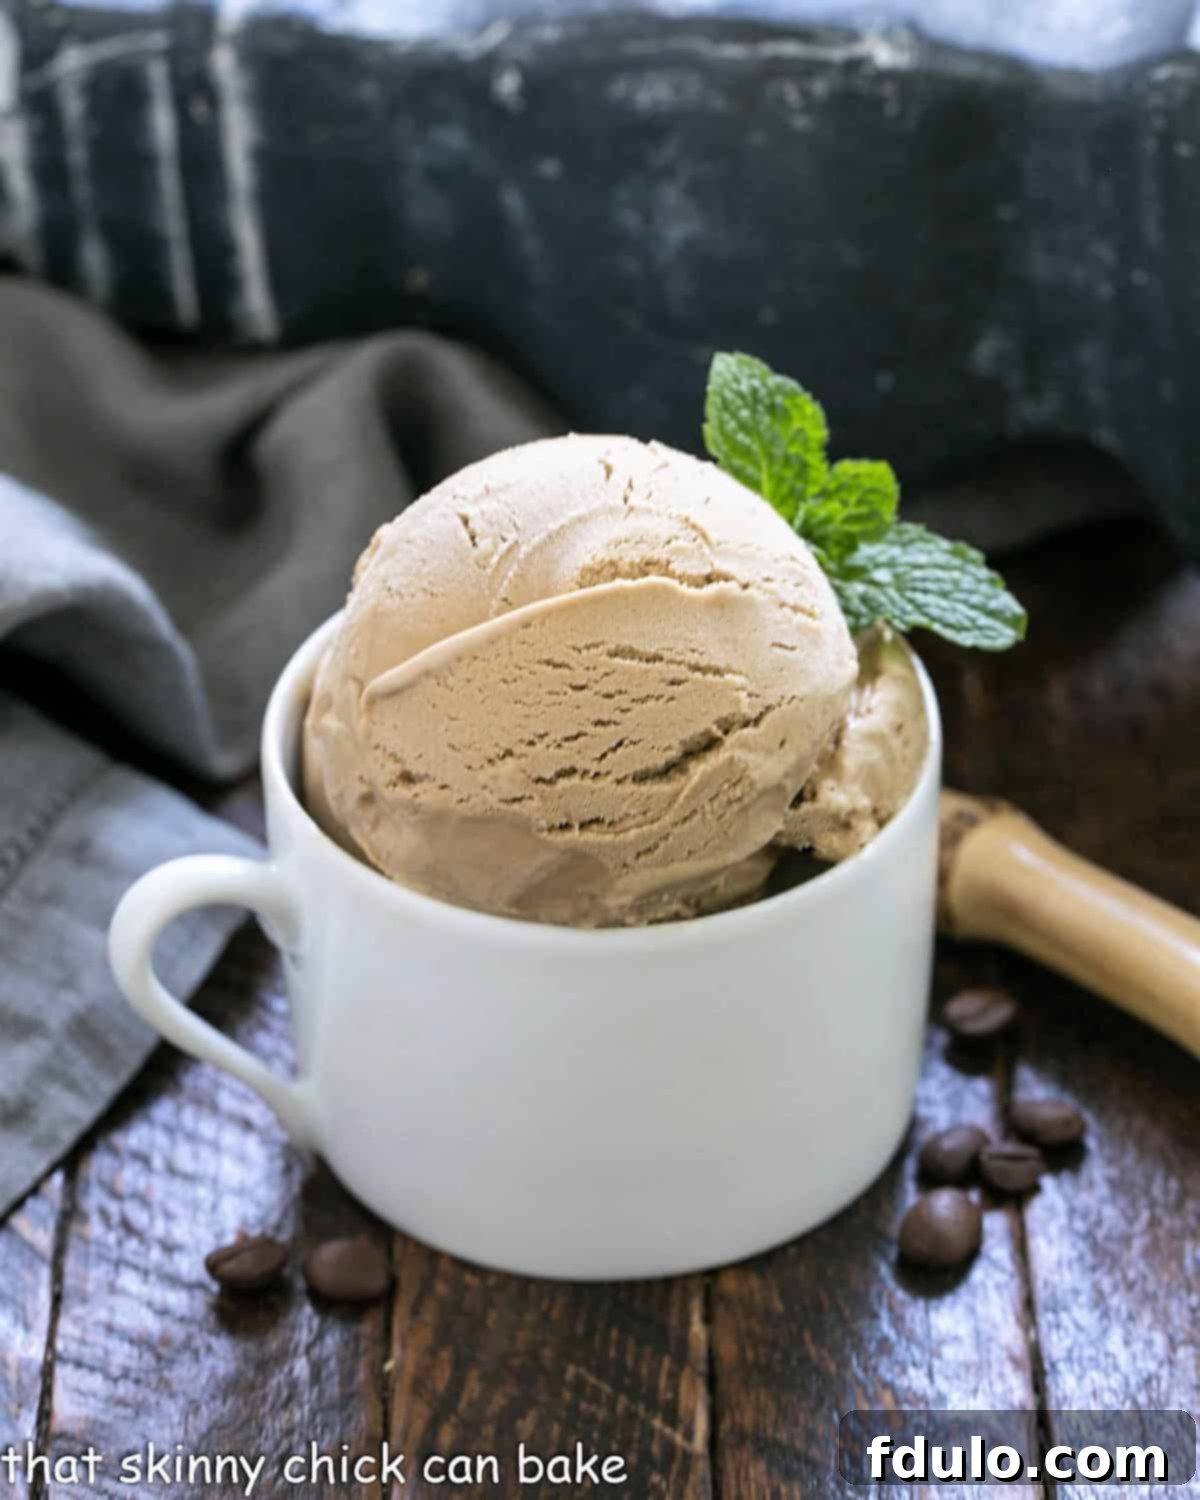
Welcome, fellow coffee lovers, to your ultimate summer obsession! This Homemade Coffee Ice Cream recipe is an absolute dream, delivering a rich, velvety, and intensely flavorful scoop that will have you craving seconds, thirds, and maybe even a midnight snack. Forget bland, store-bought versions – this recipe promises an unparalleled coffee experience, right in your own kitchen.
Even for those who’ve moved past daily coffee rituals, the allure of a perfectly crafted Coffee Ice Cream remains irresistible. This recipe transcends expectations, transforming simple ingredients into a gourmet dessert that will truly knock your socks off. Prepare to be amazed by the depth of flavor and the incredibly smooth texture.
Why This Homemade Coffee Ice Cream Recipe Is a Must-Try
What makes this specific coffee ice cream stand out from the rest? It’s not just a dessert; it’s an experience. Here’s why you absolutely need to add this recipe to your culinary repertoire:
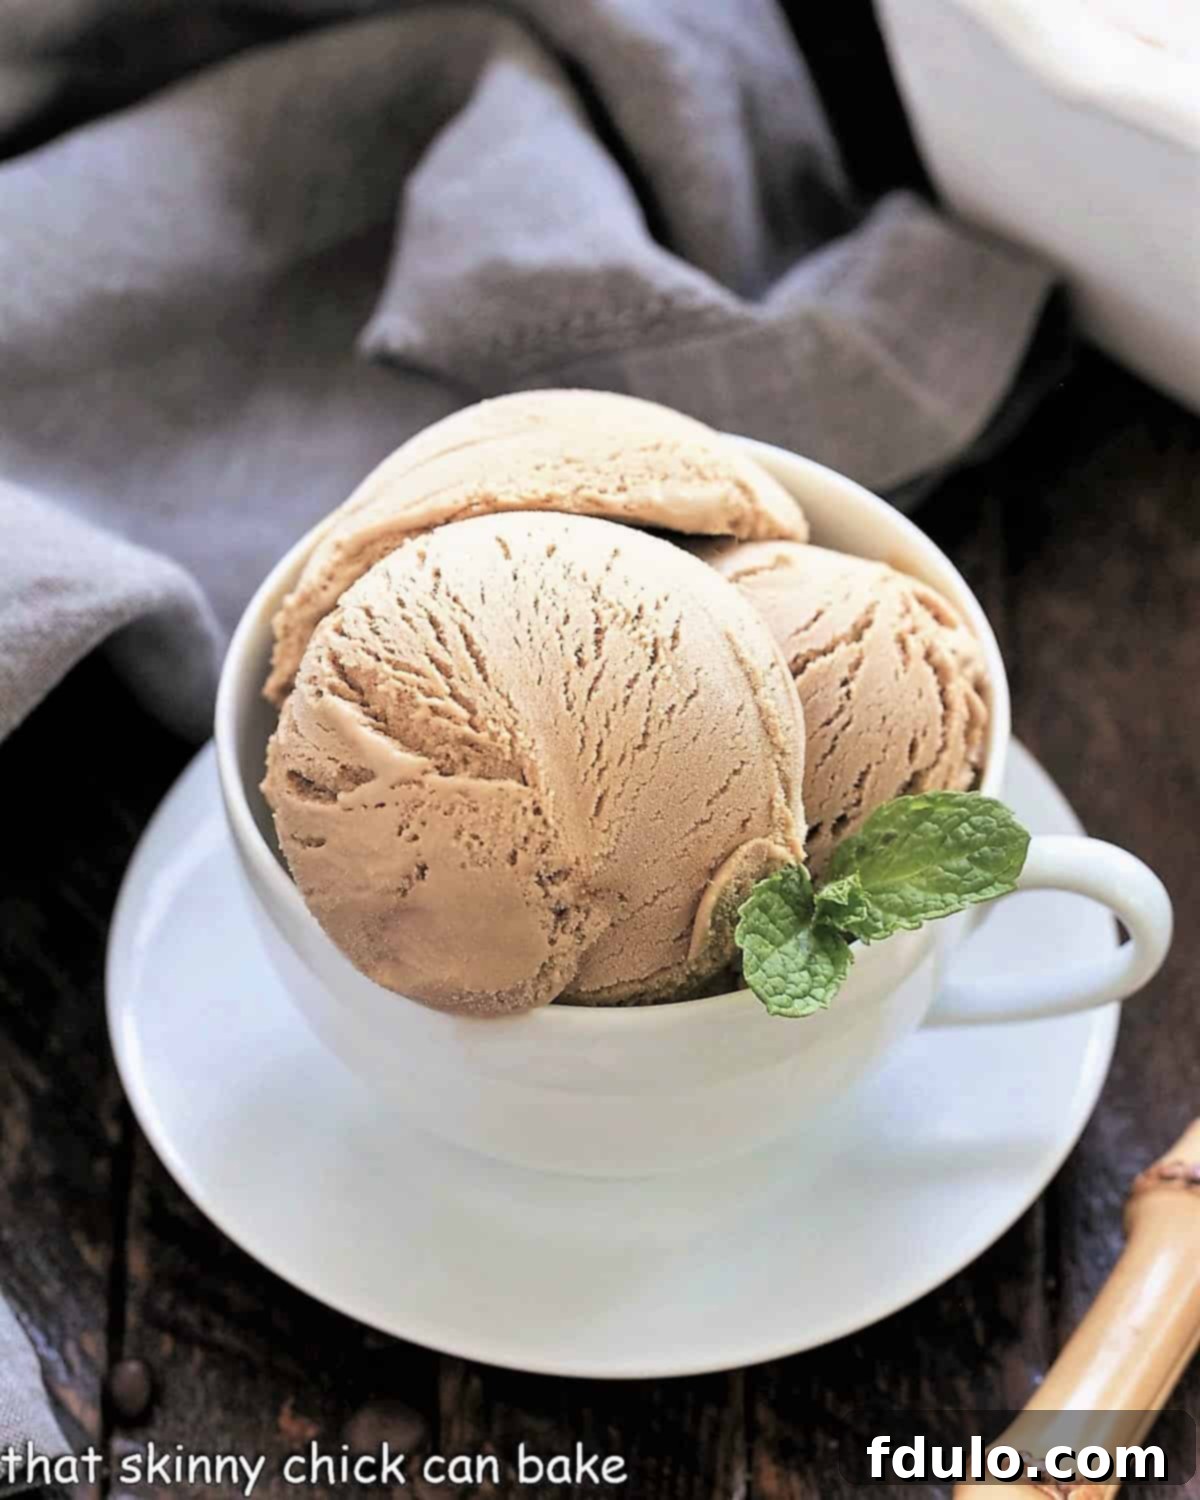
- Unforgettable Flavor Profile: This isn’t just “coffee-flavored” ice cream; it’s a deep dive into genuine coffee intensity. Infused with a generous three tablespoons of premium instant espresso powder, every spoonful delivers that unmistakable, robust coffee kick that true enthusiasts adore. The addition of Kahlúa, a renowned coffee liqueur, doesn’t just add another layer of coffee flavor, but also introduces a subtle, sophisticated warmth that elevates the entire dessert.
- Irresistibly Smooth & Creamy Texture: Forget icy, hard-to-scoop ice cream. This recipe crafts a luxuriously smooth and creamy texture that melts beautifully on your tongue. The secret lies in a carefully cooked custard base, enriched with egg yolks and whole milk, and expertly balanced with just the right amount of alcohol. As you’ll discover below, alcohol plays a fascinating role in achieving that perfect, scoopable consistency without making the ice cream too soft.
- A True Coffee Lover’s Dream: From the moment the rich aroma fills your kitchen to the last lingering taste, this ice cream is a homage to coffee. Whether you enjoy it plain, with a drizzle of chocolate, or nestled in a warm brioche bun (as they do in Southern Italy!), it’s guaranteed to satisfy even the most discerning coffee palates. It’s a perfect treat for summer, but equally delightful any time you crave a comforting, coffee-infused indulgence.
- Effortless Elegance for Any Occasion: While the results are gourmet, the process is surprisingly straightforward. This recipe is designed to guide you through each step, ensuring a successful and delicious outcome. It’s perfect for impressing guests, delighting your family, or simply treating yourself to a well-deserved moment of bliss.
Rave Reviews from Our Readers:
Don’t just take our word for it! Here’s what delighted home cooks are saying about this exceptional recipe:
From Genevieve: “I stumbled upon this recipe yesterday and made it today. WOW! This might just be my all-time favorite ice cream. It vividly reminds me of the authentic Italian coffee ice cream I’ve enjoyed in cafes across Southern Italy, often served as a decadent breakfast treat tucked inside a warm brioche roll. My only tweak was substituting the one tablespoon of Kahlúa with two tablespoons of a homemade liqueur (cream, chocolate, coffee, and a touch of moonshine – you can’t taste the alcohol, but it keeps the ice cream wonderfully soft). This ice cream is magnificent on its own, but I served it to friends with a warm chocolate sauce, and it was a sensation. Seriously, two people offered to pay me handsomely to make them each a quart to take home. Bravo!”
These testimonials highlight the truly special nature of this recipe and its ability to evoke cherished memories and create new ones. It’s a testament to the rich, authentic coffee flavor and the perfect texture that this recipe consistently delivers.
Essential Ingredient Notes for Your Perfect Coffee Ice Cream:
Crafting the perfect coffee ice cream starts with understanding the role each ingredient plays. Here’s a detailed look at what you’ll need and why:
- Egg Yolks: We use large egg yolks to create a rich, velvety custard base, which is the secret to exceptionally smooth, scoopable ice cream. The yolks act as an emulsifier, preventing ice crystals from forming and contributing to the luxurious mouthfeel. Don’t discard those leftover 6 egg whites! They’re perfect for an exquisite Chocolate Raspberry Pavlova or a fluffy meringue.
- Heavy Cream: This is a crucial component for richness and creaminess. Opt for heavy cream with at least 36% butterfat content. The higher fat content is key to a smooth texture, as fat molecules interfere with water crystallization, resulting in a silkier ice cream. Avoid lighter creams, as they won’t provide the desired lusciousness.
- Whole Milk: Complementing the heavy cream, whole milk adds additional richness and helps achieve the ideal consistency. Its fat content (around 3.5%) is superior to skim or 2% milk for ice cream making, contributing to a fuller body and preventing an icy texture.
- Granulated Sugar: Standard white granulated sugar sweetens the ice cream to perfection. Beyond sweetness, sugar also plays a vital role in the texture, lowering the freezing point of the mixture, which contributes to a softer, more scoopable final product.
- Salt: A pinch of table salt is a non-negotiable ingredient in nearly all desserts. It’s not just for seasoning; it’s a powerful flavor enhancer. Salt balances the sweetness and brings out the deep, complex notes of the coffee, making the overall flavor profile more vibrant and pronounced.
- Instant Espresso Powder: This is where the magic coffee flavor truly comes alive. We recommend the Medaglia D’oro brand for its robust and authentic espresso taste. Instant espresso powder dissolves easily and delivers a concentrated coffee punch without adding excess liquid. You can also substitute with instant coffee powder, though the flavor might be slightly less intense. Ensure you’re using instant powder, not coffee grounds, which won’t dissolve properly and will result in a gritty texture.
- Kahlúa (Coffee Liqueur): This addition is a game-changer for both flavor and texture. Kahlúa, a rum-based coffee liqueur, amplifies the coffee notes with a sophisticated depth. More importantly for ice cream texture, alcohol significantly lowers the freezing point of the mixture. This prevents the formation of large, hard ice crystals, resulting in an incredibly smooth, creamy, and easier-to-scoop ice cream. While optional, it’s highly recommended for the best possible outcome.
Mastering Homemade Coffee Ice Cream: Expert Tips for Success
Making a custard-based ice cream is a rewarding process, and with these expert tips, you’ll achieve a smooth, luscious result every time. This rich blend of cream and egg requires a little attention to detail, but the payoff is an absolutely divine coffee ice cream.
- Achieve Optimal Custard Chill: The single most critical step for perfectly frozen ice cream is ensuring your custard base is extremely cold before it enters the ice cream maker. If the custard isn’t thoroughly chilled, your machine won’t be able to freeze it properly, leading to a runny, inconsistent texture.
- PRO-Tip: The Overnight Chill Advantage: For the best results, prepare your custard base the day before you plan to churn your ice cream. Allowing it to rest overnight in the refrigerator (for at least 12-24 hours) serves a dual purpose: it guarantees the custard is perfectly chilled throughout, and it gives the coffee flavors ample time to deeply infuse into the mixture, resulting in a more pronounced and harmonious taste.
- Master the Art of Tempering Eggs: When combining the hot cream mixture with the whisked egg yolks, you must do so *very slowly* while whisking the egg yolks vigorously. This process, known as tempering, gradually raises the temperature of the egg yolks, preventing them from scrambling. If you add the hot liquid too quickly, you’ll end up with bits of cooked egg in your custard, affecting its smooth texture. A thin, steady stream is key.
- The Science of Smoothness – Alcohol’s Role: As mentioned in the ingredient notes, adding just the right amount of alcohol, like Kahlúa in this recipe, is a brilliant trick to achieve ultra-smooth ice cream. Alcohol lowers the freezing point of the mixture, preventing the formation of large, icy crystals. The result is a softer, creamier, and more scoopable ice cream, even after extended time in the freezer. While it greatly enhances the texture, you can certainly omit it if preferred; the ice cream will still be delicious, albeit slightly firmer.
- Ice Cream Maker Preparation: Your ice cream maker’s canister needs to be frozen solid – typically overnight or for at least 15-24 hours, depending on your model. Trust us, attempting to churn ice cream with an insufficiently frozen canister is a recipe for disappointment and a wasted batch. Plan ahead!
- Churning for Soft-Serve Consistency: An electric ice cream maker will typically churn your ice cream to a soft-serve consistency in about 20-30 minutes. This is perfect for immediate gratification!
- Freezing for Firmer Scoops: If you prefer firmer, more traditional scoops, transfer the freshly churned soft-serve ice cream into a freezer-safe container, press a piece of plastic wrap directly onto the surface to prevent ice crystals, cover it tightly, and allow it to freeze for a few more hours (4-6 hours is usually sufficient) until firm.
- Caffeine-Conscious Choices: If you’re concerned about caffeine intake, especially when enjoying this treat in the evening, simply opt for decaffeinated instant espresso powder or decaffeinated instant coffee instead. The flavor will remain wonderfully robust without the stimulating effects.
- Adjusting Coffee Intensity: This recipe uses espresso powder for a strong, authentic coffee flavor. If you prefer a milder coffee profile, you can easily substitute instant coffee powder for the espresso powder. You might even reduce the quantity slightly if you desire a very subtle coffee note. Experiment to find your perfect balance!
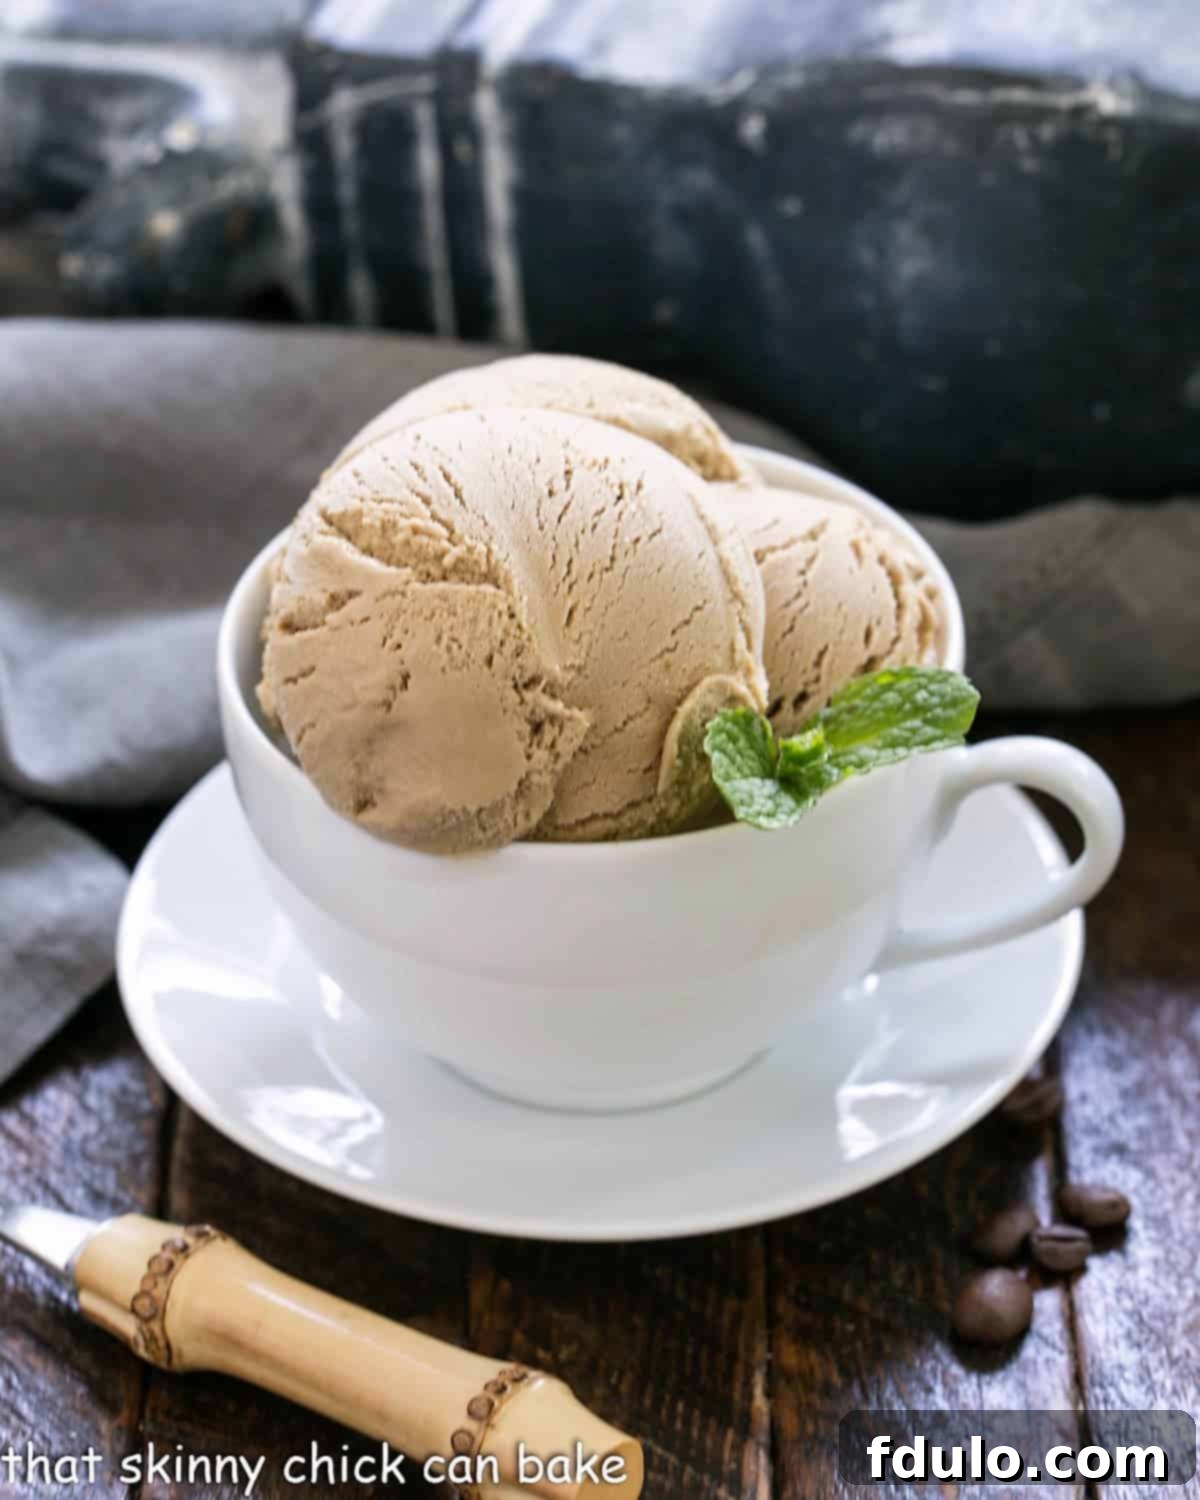
Simple Steps to Your Perfect Homemade Coffee Ice Cream
Making this incredible coffee ice cream is a straightforward process when broken down into these key stages. Follow these steps for a guaranteed delicious outcome:
- Prepare the Coffee Custard Base: Combine heavy cream, whole milk, sugar, salt, and instant espresso powder in a saucepan. Heat until simmering, then temper a portion into whisked egg yolks before returning to the pan to thicken into a rich custard.
- Strain for Silky Smoothness: Once thickened, immediately strain the hot custard through a fine-mesh sieve. This crucial step removes any tiny cooked egg particles or undissolved espresso powder, ensuring your ice cream has an incredibly smooth and luxurious texture.
- Cool & Thoroughly Chill: Allow the strained custard to cool to room temperature, then cover it with plastic wrap pressed directly onto the surface to prevent a skin from forming. Refrigerate for at least 4 hours, or ideally, overnight, until it is completely chilled.
- Churn in Your Ice Cream Maker: Pour the cold custard into your pre-frozen ice cream maker canister. Churn according to the manufacturer’s instructions, typically for 20-30 minutes, until it reaches a soft-serve consistency.
- Freeze to Firm Perfection: Transfer the freshly churned ice cream into an airtight, freezer-safe container. Press plastic wrap directly onto the surface, seal, and freeze for at least 4-8 hours, or until it reaches your desired scoopable firmness.
Frequently Asked Questions About Coffee Ice Cream
The initial churning process in your ice cream maker will typically take about 20-30 minutes to reach a soft-serve consistency. However, for a truly firm, scoopable ice cream, it needs a secondary freeze in your freezer. This second freeze usually takes between 4 to 8 hours. The exact time can vary depending on your freezer’s temperature and the fat content of your ice cream. If patience isn’t your strongest virtue, or if you simply prefer a softer, straight-from-the-machine texture, you can certainly enjoy it right after churning!
When stored properly in an airtight container in the freezer, your homemade coffee ice cream will maintain its prime quality for about 2 weeks. Beyond this period, it may begin to develop freezer burn, which can manifest as an icy, dry texture and a loss of flavor vibrancy. While it will still be safe to eat after two weeks, it won’t be at its peak deliciousness. For the best experience, enjoy it fresh!
To preserve the exceptional quality, texture, and flavor of your homemade ice cream, airtight storage is paramount. Transfer the ice cream to a freezer-safe container with a tight-fitting lid. For an extra layer of protection against ice crystals and freezer burn, place a sheet of plastic wrap directly onto the surface of the ice cream before sealing the container with its lid. This creates a barrier that minimizes air exposure, keeping your ice cream smooth and fresh for longer.
Absolutely, this recipe features genuine coffee flavor derived from instant espresso powder. Instant espresso or instant coffee powder are ideal choices because they dissolve completely into the custard base, providing intense flavor without any grit. While some recipes use whole coffee beans or even coarse coffee grounds to infuse flavor into the cream before churning, we do not recommend adding coffee grounds directly into the ice cream mixture. Coffee grounds will not dissolve and will leave a gritty, unpleasant texture in your final product. Stick to instant powders for a smooth result!
The possibilities for serving this delicious coffee ice cream are virtually endless! For a classic indulgence, top it with a generous dollop of sweetened whipped cream, a luscious caramel sauce, or a decadent warm chocolate fudge sauce to create an irresistible ice cream sundae. For a mocha-lover’s dream, gently fold in mini chocolate chips or chopped Oreos after churning, then garnish with an additional Oreo cookie. Serve it simply in an ice cream cone, a sophisticated waffle cone bowl, or an elegant ice cream sundae dish. It also makes an exceptional base for an ice cream pie, especially with a chocolate cookie crust. For an adult treat, try serving a scoop in a glass of cold brew coffee for an elevated affogato experience. Don’t be afraid to experiment with your favorite add-ins like toasted nuts, a sprinkle of cinnamon, or a drizzle of espresso syrup!
Yes, you can! While an ice cream maker is highly recommended for the creamiest results, a no-churn method is also possible. To make it without a machine, prepare the custard as directed and chill thoroughly. Then, pour the chilled mixture into a shallow, freezer-safe container. Freeze for about 30-45 minutes until the edges just begin to set. Remove from the freezer and vigorously whisk or beat the mixture with an electric mixer to break up ice crystals. Repeat this process every 30-45 minutes for about 3-4 hours, or until the ice cream is consistently creamy and firm. This method requires more manual effort but can still yield delicious results.
Preventing ice crystals is key to creamy ice cream! Several factors contribute to a smooth texture:
- Use a Custard Base: The egg yolks in this recipe act as emulsifiers and stabilizers, significantly reducing ice crystal formation.
- High Fat Content: Heavy cream and whole milk (as used here) contribute fat, which inhibits water molecules from binding together and forming large crystals.
- Sugar Content: Sugar lowers the freezing point, making the ice cream softer.
- Alcohol (Optional): Adding a small amount of alcohol, like Kahlúa, further lowers the freezing point and greatly improves texture.
- Proper Chilling: Ensure your custard is absolutely ice-cold before churning.
- Churning Speed: A good ice cream maker churns quickly, incorporating air and freezing the mixture fast, which minimizes crystal growth.
- Airtight Storage: After churning, store ice cream in an airtight container with plastic wrap pressed directly onto the surface to prevent exposure to air, which causes freezer burn and ice crystals.
Explore More Delicious Dessert Recipes
If you loved this coffee ice cream, you’re in for a treat! Here are more delightful dessert recipes to satisfy your sweet tooth:
- Creamy Cheesecake Ice Cream with Strawberry Sauce
- Indulgent White Chocolate Ice Cream with Raspberry Sauce
- Strawberry Cheesecake Ice Cream Pie: A Crowd-Pleaser
- Refreshingly Sweet Fresh Peach Ice Cream
- Decadent Mocha Ice Cream
- Classic Oreo Ice Cream
- Discover more of our Best Dessert Recipes for every occasion.
- And for another coffee-inspired favorite, don’t miss this incredible Tiramisu Cheesecake!
Stay connected and share your culinary creations with us! Follow us on social media @ Instagram, Facebook, and Pinterest. We love seeing your photos, so don’t forget to tag us when you try one of our recipes! If you’re delighted with the results, please consider leaving a 5-star rating in the recipe card below – your feedback means the world to us.
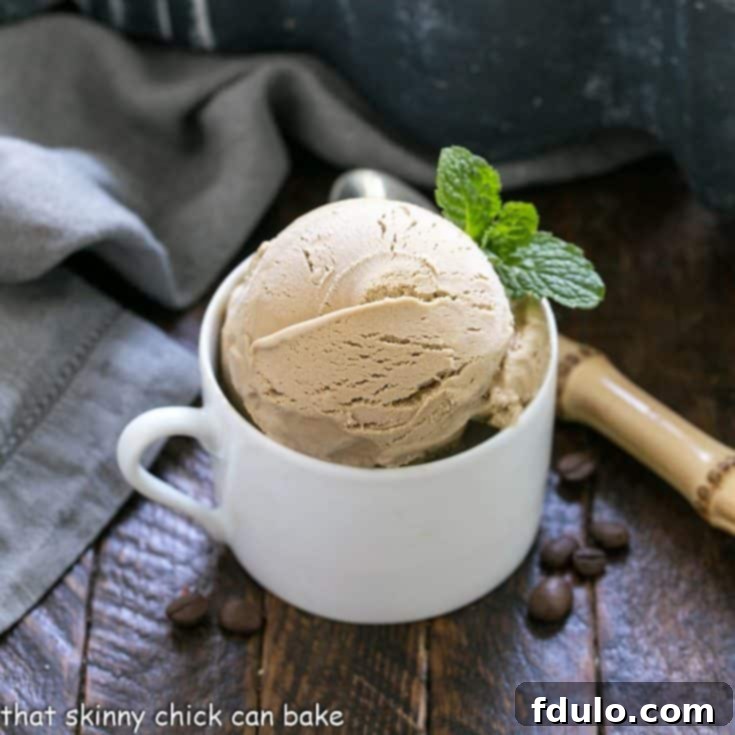
Coffee Ice Cream
10 minutes
10 minutes
20 minutes
10 servings
A delicious and intensely flavorful version of homemade coffee ice cream, perfect for any coffee enthusiast.
Ingredients
- 6 large egg yolks
- 1¾ cups heavy cream (at least 36% butterfat)
- 2 cups whole milk
- ¾ cup granulated sugar plus 2 tablespoons
- ¼ teaspoon table salt
- 3 tablespoons instant espresso powder (or instant coffee powder for milder flavor)
- 1 tablespoon Kahlúa (or other coffee liqueur, optional for extra creaminess)
Instructions
- Prepare your workstation by placing the 6 egg yolks in a large, heatproof bowl and setting it aside.
- In a medium saucepan, combine the heavy cream, whole milk, granulated sugar, salt, and instant espresso powder. Stir well to combine. Heat the mixture over medium heat, stirring occasionally, until it reaches a slow, consistent simmer – just before a full boil. Once simmering, remove the saucepan from the heat.
- Carefully temper the egg yolks: While whisking the egg yolks vigorously and constantly, slowly stream in about half of the hot coffee cream mixture into the bowl. This gradually raises the temperature of the yolks without cooking them.
- Transfer the warmed egg yolk mixture back into the medium saucepan containing the remaining half of the hot coffee cream mixture. Stir to combine thoroughly.
- Return the saucepan to medium-low heat. Cook, stirring constantly with a wooden spoon or spatula, until the mixture thickens enough to coat the back of a spoon (it should reach about 175 degrees F or 79 degrees C on an instant-read thermometer). Do not boil.
- Immediately remove the custard from the heat. Strain the entire mixture through a fine-mesh strainer into a clean bowl to ensure a perfectly smooth custard, removing any potential cooked egg particles. Whisk in the Kahlúa (if using). Allow the mixture to cool completely to room temperature.
- Once at room temperature, press a piece of plastic wrap directly onto the surface of the custard to prevent a skin from forming. Refrigerate for a minimum of 4 hours, or ideally overnight, until thoroughly chilled.
- Pour the thoroughly chilled custard into your ice cream machine (ensure the canister is frozen solid). Churn according to the manufacturer’s directions until it reaches a soft-serve consistency, usually 20-30 minutes. Transfer to an airtight freezer-safe container, press plastic wrap onto the surface, cover, and freeze for 4-8 hours for firmer scoops.
Notes
For a less intense coffee flavor, you can use instant coffee powder instead of espresso powder. If you’re sensitive to caffeine, opt for decaffeinated instant espresso or coffee powder.
Recommended Products
As an Amazon Associate and member of other affiliate programs, I earn from qualifying purchases.
- Medaglia D’Oro Espresso Instant Coffee
- Egg separator
- Ice Cream Scoop
- Ice Cream Maker
Nutrition Information:
Yield:
10
Serving Size:
1
Amount Per Serving:
Calories: 268Total Fat: 19gSaturated Fat: 11gTrans Fat: 1gUnsaturated Fat: 7gCholesterol: 163mgSodium: 250mgCarbohydrates: 19gFiber: 0gSugar: 19gProtein: 4g
HOW MUCH DID YOU LOVE THIS RECIPE?
Please leave a comment on the blog or share a photo on Pinterest
