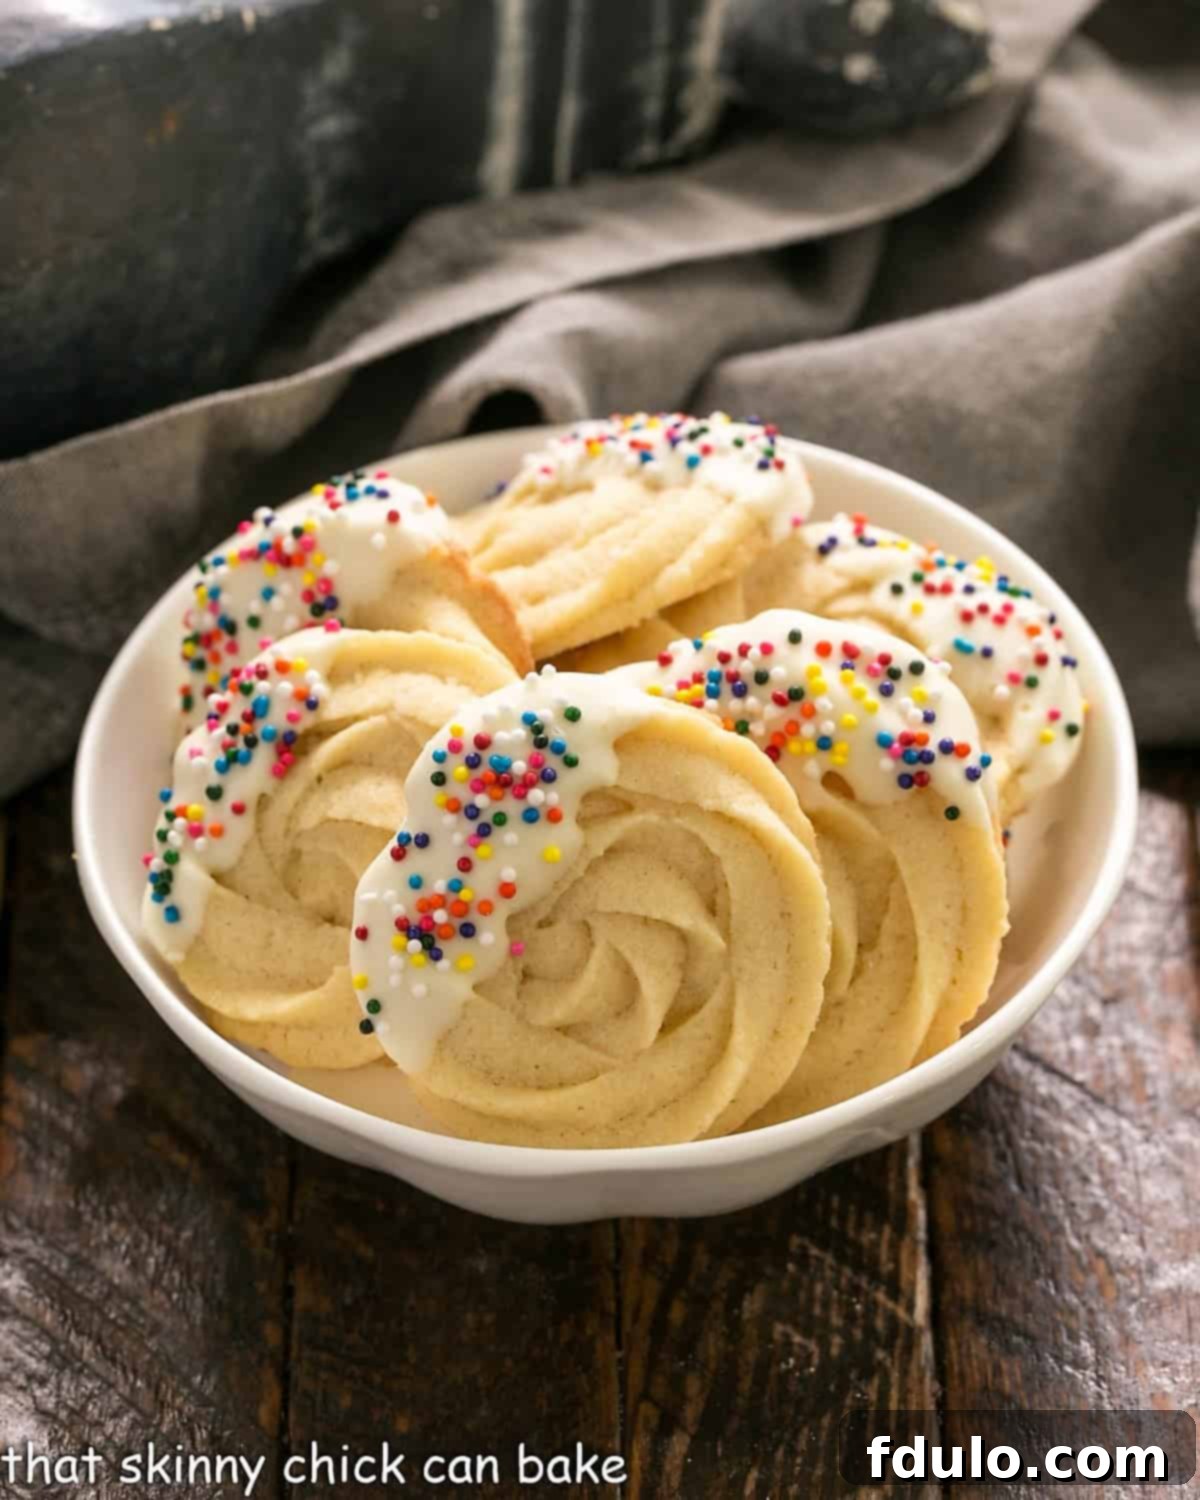
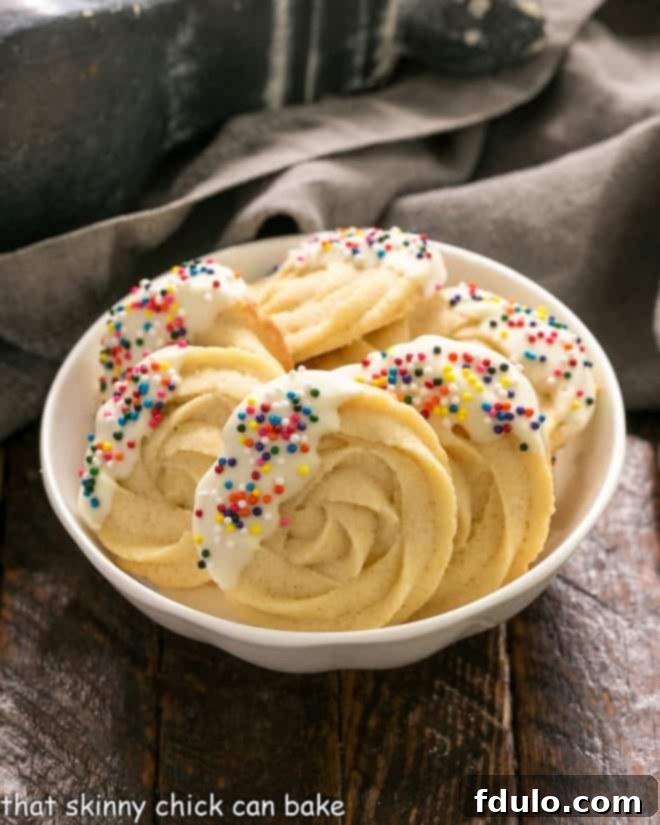
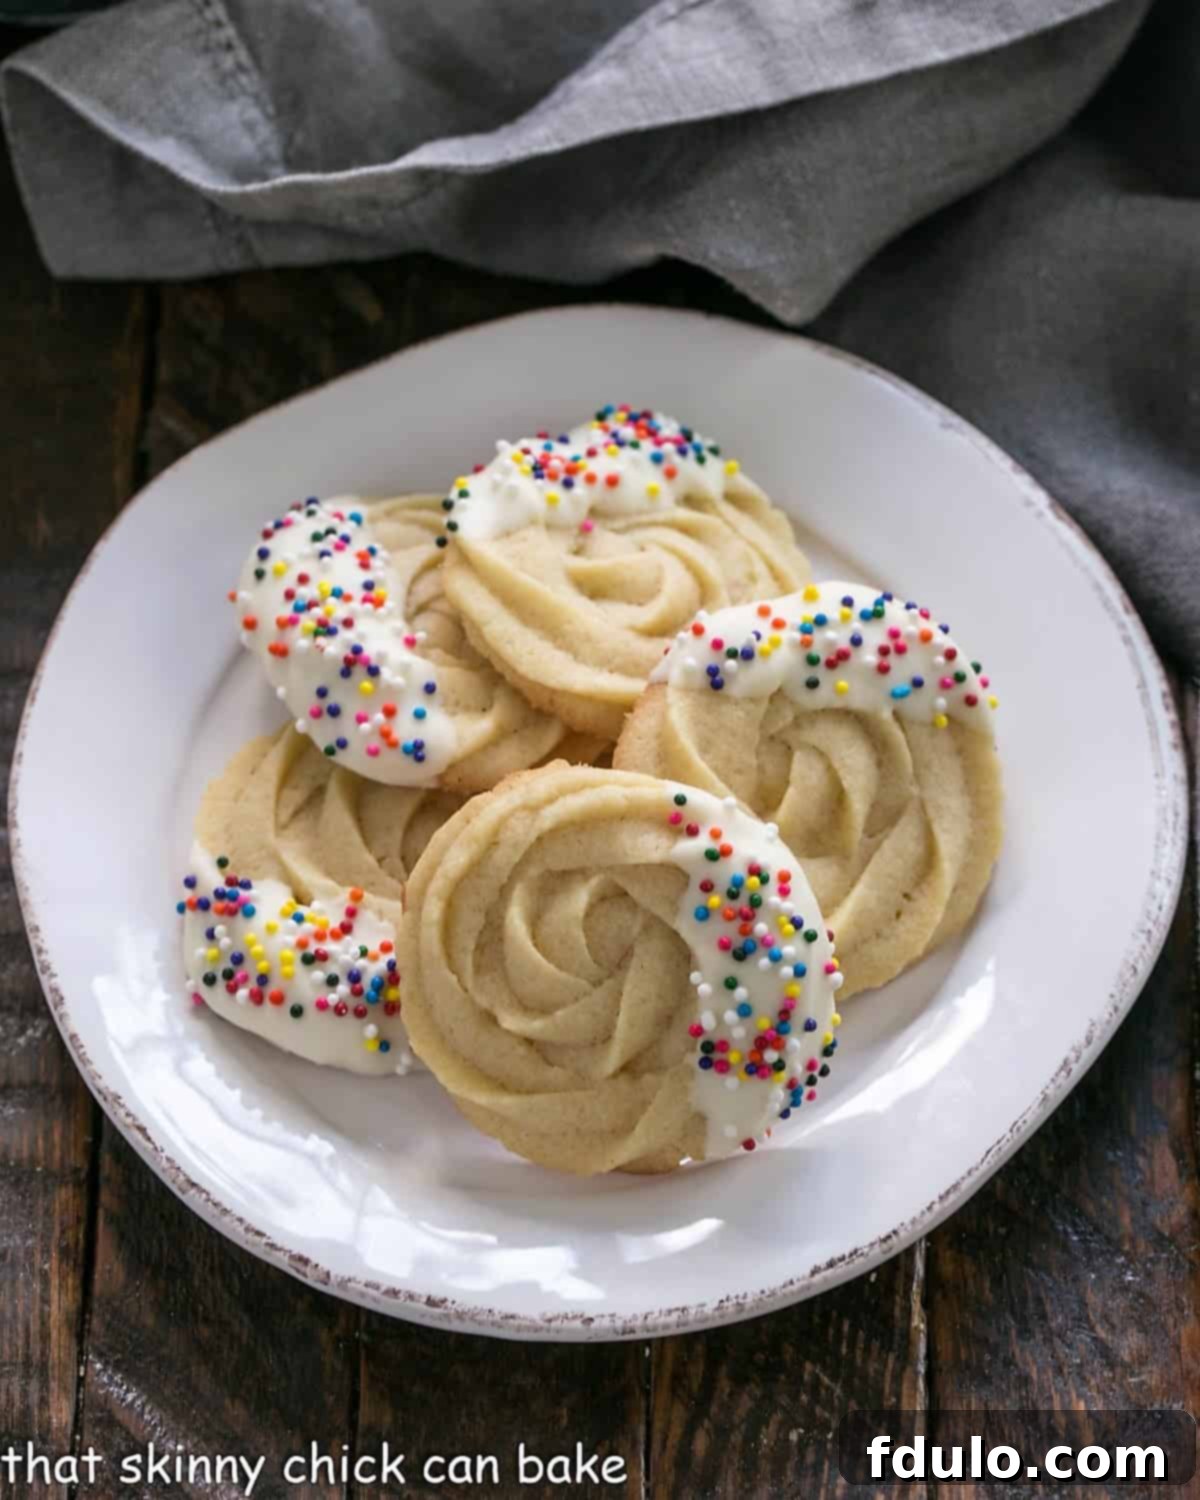
Danish Butter Cookies are an exquisite homemade rendition of the beloved treats found in the iconic blue tin, reminiscent of the famous Royal Dansk varieties. This delightful twist on a Traditional Shortbread Recipe is not just a cookie; it’s a celebration of simple, pure flavor, making it absolutely perfect for the holidays and any special occasion. Forget store-bought; once you taste these freshly baked, melt-in-your-mouth delights, you’ll be hooked!
Embarking on the quest for the perfect Danish Butter Cookie recipe was quite the culinary adventure for me. I meticulously tested batch after batch, encountering various challenges along the way. Some attempts resulted in flat, pancake-like cookies, while others yielded a dough too stiff to pipe gracefully into those signature swirls. My patient husband, a true cookie connoisseur, happily sampled every imperfect creation, always offering encouraging words despite their less-than-flawless appearance. But perseverance paid off! After countless trials and joyful taste tests, I am thrilled to share with you what I believe to be the ultimate winning recipe for these irresistible Cookie Swirls. This recipe guarantees beautiful, tender, and incredibly flavorful cookies that truly capture the essence of the classic.
Why You Absolutely Must Make These Classic Danish Butter Cookies
There are countless reasons why these homemade Danish Butter Cookies deserve a prime spot in your baking repertoire, especially when you’re seeking to recreate the magic of those cherished blue-tin cookies. Beyond their nostalgic appeal, these cookies offer a perfect blend of simplicity, elegance, and incredible flavor that makes them an undeniable crowd-pleaser. Here’s why this recipe is a must-try:
- Unparalleled Flavor Profile: The flavor palate of these cookies is delightfully simple, yet profoundly satisfying – a harmonious blend of sweet and buttery notes that truly stands out. Made with real butter and vanilla, each bite delivers a rich, authentic taste that is both comforting and sophisticated. It’s a classic taste that never goes out of style.
- Universally Appealing: These cookies are a dream come true for even the pickiest palates. Their mild sweetness and smooth, melt-in-your-mouth texture make them universally loved by children and adults alike. There are no exotic spices or strong flavors to contend with, just pure, wholesome goodness.
- Endlessly Customizable: One of the greatest joys of making these Danish Butter Cookies is their versatility. They serve as a perfect canvas for your creative decorating whims. Simply by changing the type or color of sprinkles, adding a drizzle of chocolate, or even a hint of zest, you can transform them to suit any holiday, celebration, or seasonal theme. From festive Christmas cookies to elegant treats for a tea party, the possibilities are endless!
- Exceptional Shelf Life for Gifting: Unlike many ordinary cookies that quickly lose their freshness, these shortbread-style Danish Butter Cookies maintain their delightful taste and texture for an impressively long time. This makes them absolutely ideal for packaging in decorative tins or boxes, creating thoughtful and delicious homemade gifts for friends, family, and colleagues during the holidays. They travel well and are always appreciated.
- A Touch of Homemade Nostalgia: Recreating these classic cookies at home brings a wonderful sense of nostalgia. The process itself is therapeutic, and the aroma filling your kitchen is simply irresistible. Plus, the satisfaction of making your own version of those iconic blue-tin cookies is a reward in itself.
Essential Ingredient Notes for Perfect Danish Butter Cookies:
Crafting the perfect Danish Butter Cookies relies on quality ingredients and a few key considerations. Paying attention to these details will ensure your cookies are as tender, buttery, and delicious as they should be.
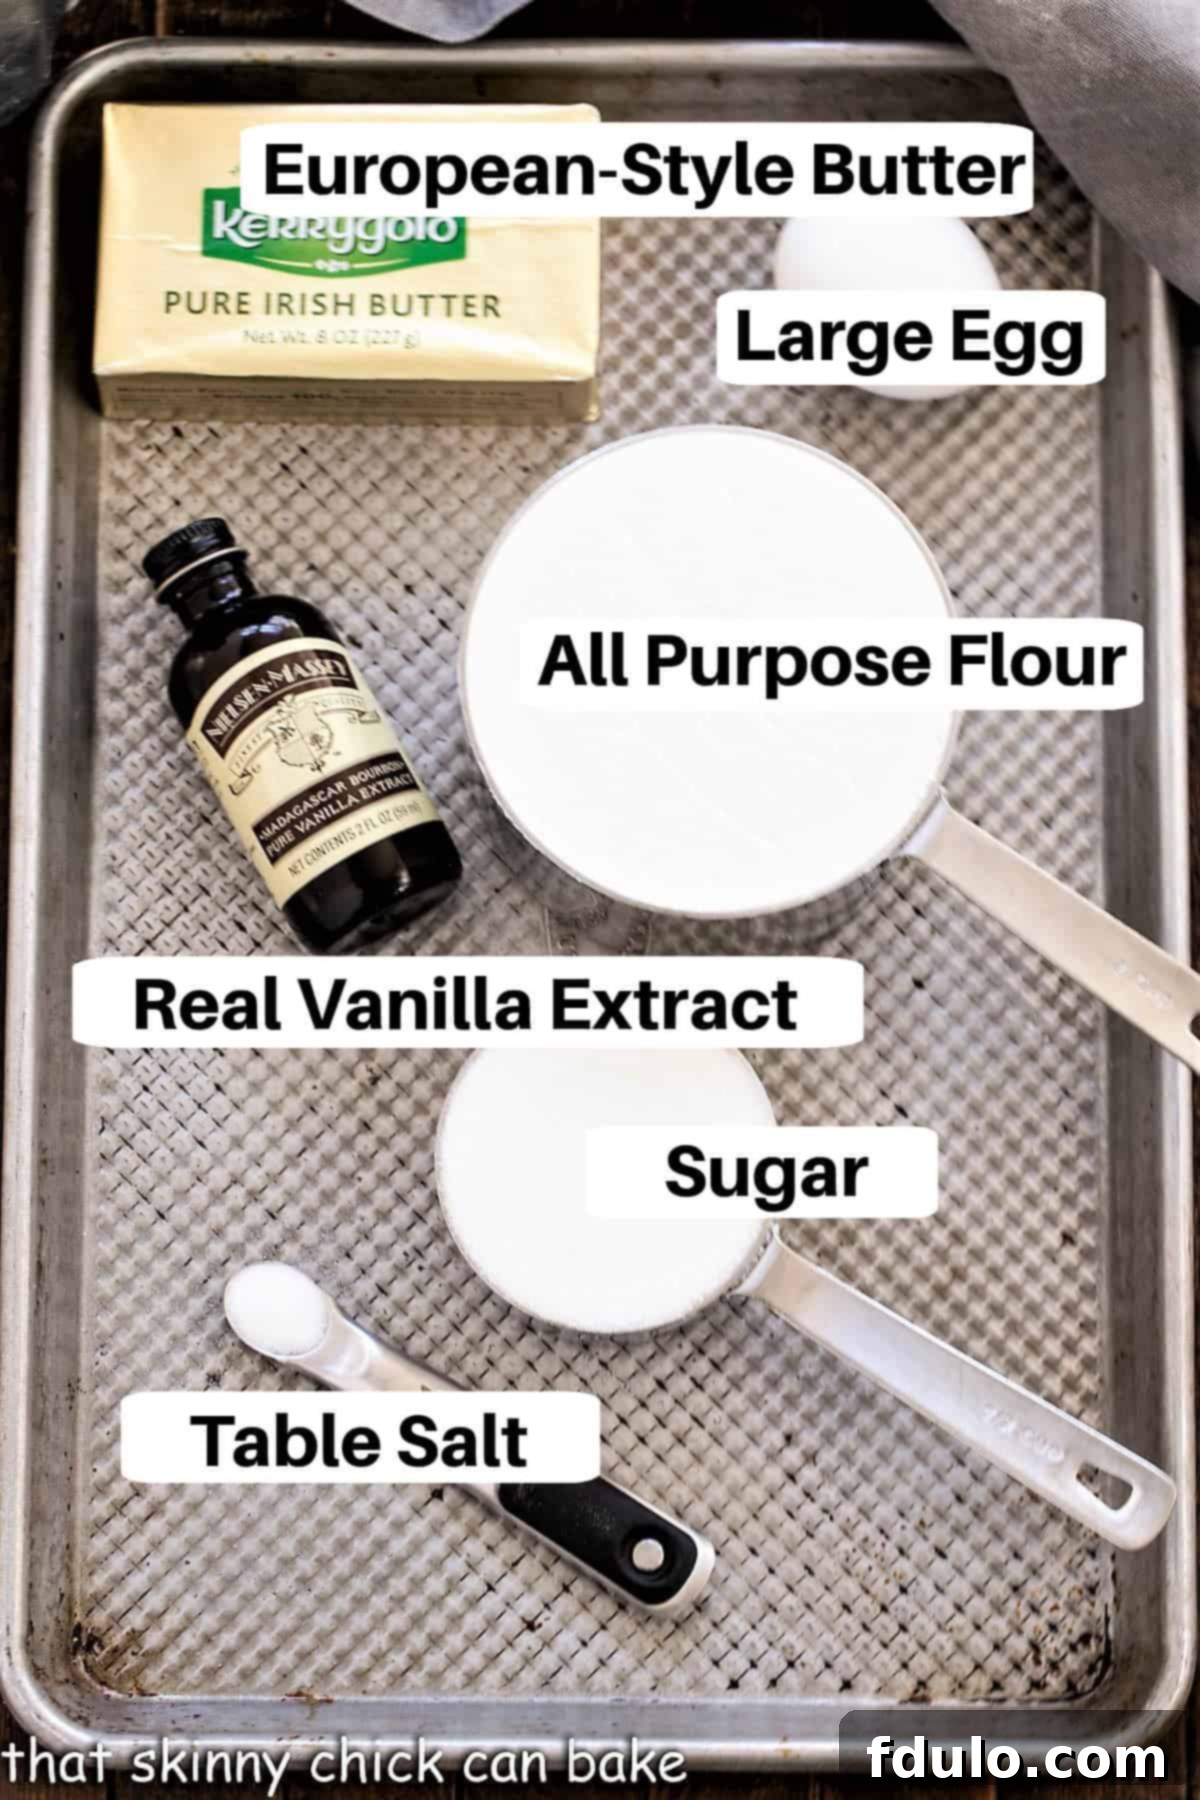
- Butter: Always use salted butter, and crucially, ensure it’s at room temperature. The quality of your butter significantly impacts the flavor and texture of these cookies. PRO-Tip: European-style butters, such as Kerrygold, are highly recommended. They boast a lower water content and a higher fat content compared to many American brands. This higher fat percentage results in a richer flavor and helps to minimize spreading during baking, ensuring your piped cookie swirls maintain their beautiful shape.
- Sugar: Regular granulated white sugar is all you need here. It provides the perfect level of sweetness and contributes to the cookie’s delicate crumb.
- Salt: While a small amount, salt plays a vital role in balancing the sweetness and enhancing the overall flavor. I prefer using fine-grained table salt for baking, as its smaller crystals disperse more evenly throughout the dough, ensuring every bite has that perfect hint of seasoning.
- Real Vanilla Extract: This is where much of the cookie’s signature aroma and subtle flavor come from. Always opt for real vanilla extract and steer clear of imitation versions. The difference in taste is significant and will elevate your cookies from good to truly exceptional.
- Egg: Unless a recipe specifies otherwise, I always use large eggs in my baking. For seamless incorporation into the butter and sugar mixture, it’s essential to have your egg at room temperature. A cold egg can cause the butter to seize, resulting in a lumpy batter.
- Flour: Standard all-purpose flour is ideal for these cookies. It provides the necessary structure without making them overly dense. Accuracy in measuring flour is key; too much can lead to dry, tough cookies.
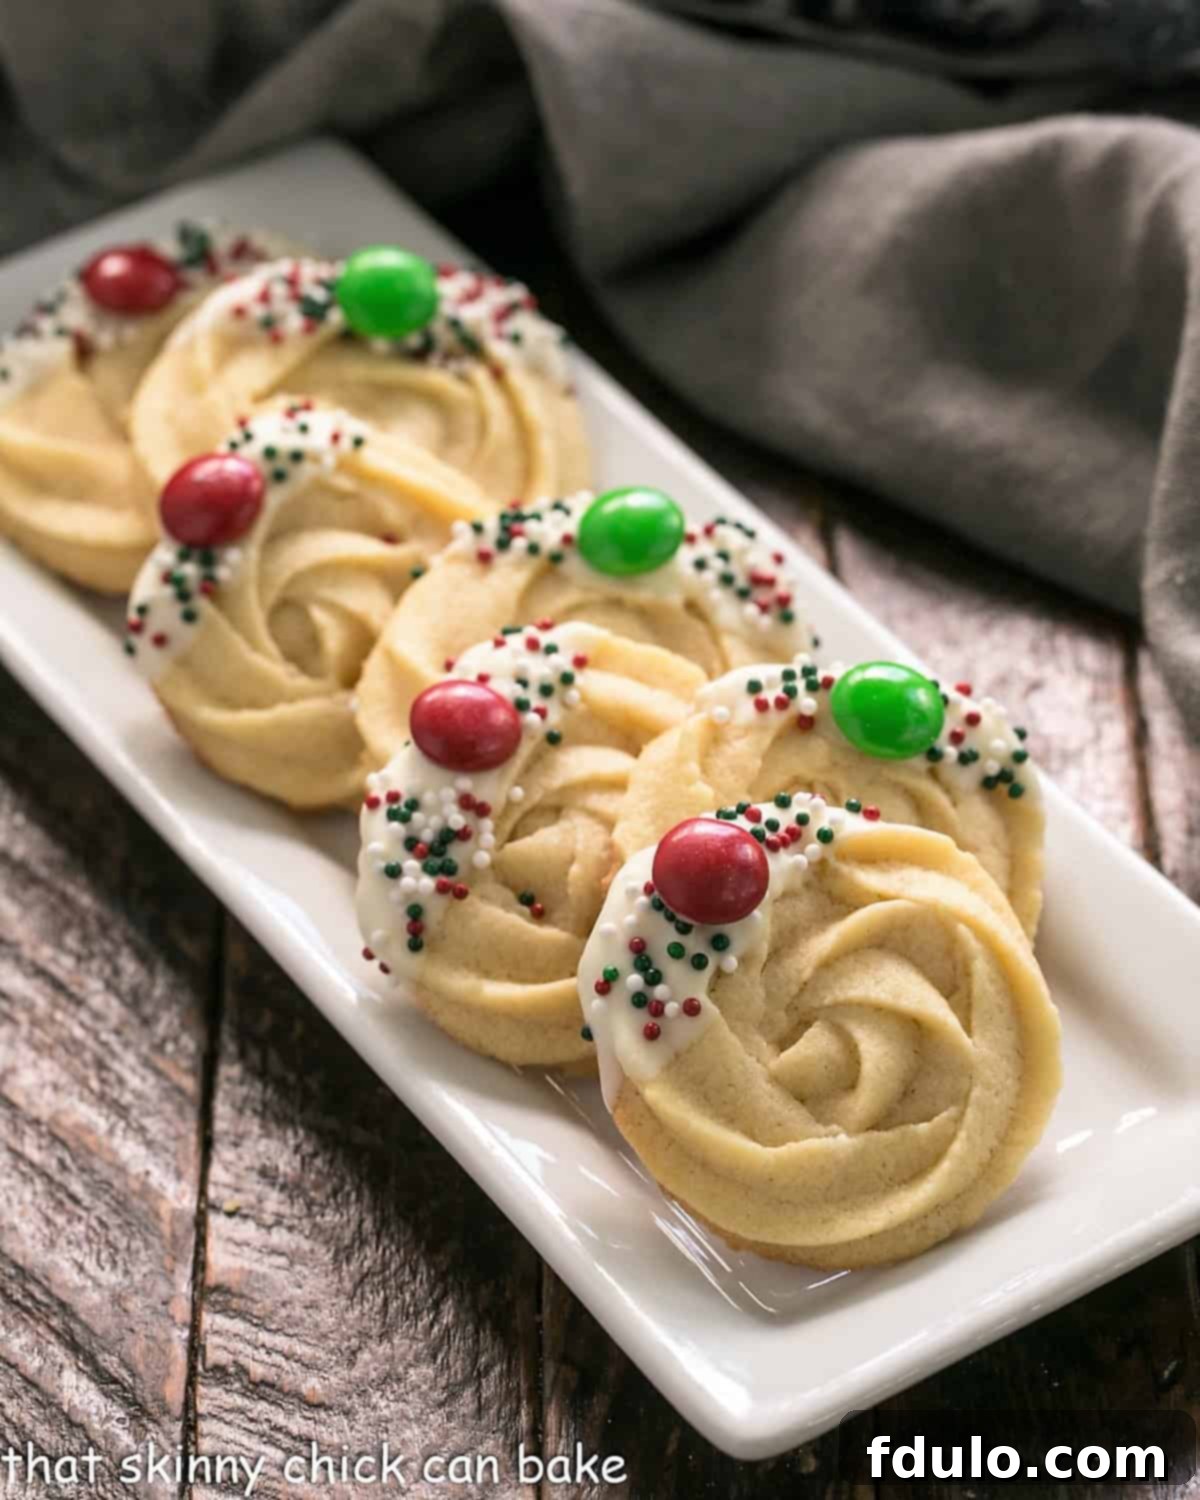
- White Chocolate, Dark Chocolate, M&M’s and/or Sprinkles: These are all optional garnishes, but they add a wonderful touch of visual appeal and extra flavor. Melted chocolate makes for a beautiful dip or drizzle, while sprinkles and M&M’s add a festive pop of color and texture, making your cookies truly shine for any occasion.
Step-by-Step Guide: How to Make Irresistible Danish Butter Cookies
Making these elegant Danish Butter Cookies is a delightful and rewarding process. Follow these detailed steps to achieve perfect, beautifully piped swirls that taste just like the classic from the blue tin.
- Prepare the Dough: In a stand mixer fitted with the paddle attachment, cream together the room temperature butter, granulated sugar, and a pinch of salt until the mixture is light, fluffy, and pale in color. This process incorporates air, which is crucial for the cookies’ tender texture. Next, beat in the room temperature egg and the real vanilla extract until fully combined, ensuring to scrape down the sides and bottom of the bowl with a rubber spatula to ensure all ingredients are thoroughly mixed. Finally, gradually add the all-purpose flour, mixing on low speed only until it is *just* incorporated. Be careful not to overmix, as this can develop the gluten and lead to tougher cookies.
- Load the Piping Bag: Carefully scrape the thick cookie dough into a sturdy piping bag. Make sure the bag is fitted with a large star tip. The dough’s consistency is quite firm, so a large opening is essential for easy piping and to create those characteristic swirls.
- Pipe Your Cookie Shapes: On baking sheets lined with parchment paper (this prevents sticking and aids in easy cleanup), pipe out uniform rings, decorative rosettes, or elegant S-shapes. Take your time to create neat and consistent patterns; practice makes perfect!
- Chill the Dough: Once your baking sheets are filled with piped cookie shapes, place them in the refrigerator for at least 30 minutes, or even up to an hour. This crucial chilling step helps the butter in the dough solidify, which in turn minimizes spreading during baking and ensures your cookies hold their intricate piped designs beautifully.
- Bake to Golden Perfection: Preheat your oven to 350°F (175°C). Transfer the chilled baking sheets to the preheated oven and bake as directed in the full recipe card, typically for 12-15 minutes. Bake until the edges of the cookies are light golden brown, indicating they are perfectly cooked through and have developed a wonderfully crisp exterior while remaining tender inside.
- Optional Garnish and Personalization: For an extra touch of elegance and flavor, you may garnish your cooled Danish Butter Cookies. This can involve dipping them in melted white chocolate or dark chocolate, sprinkling them with colorful jimmies or nonpareils, or even pressing a small M&M’s candy into the center while the chocolate is still wet. Get creative and make them your own!
- Cool and Store: Allow the cookies to cool completely on the baking sheets before carefully transferring them to a wire rack. Once fully cooled and any garnishes have set, store your beautiful Danish Butter Cookies in an airtight container at room temperature. This will help maintain their freshness and crisp-tender texture for several days.
Expert Tips for Mastering Your Danish Butter Cookies
Achieving bakery-quality Danish Butter Cookies at home is easier than you think with these expert tips designed to guide you through every step of the process. From piping to baking, these insights will help you create perfect, delectable treats every time.
- Choose the Right Piping Tip: This cookie dough is notably thick, which is essential for holding its shape. Therefore, it’s absolutely crucial to use a piping tip with a large opening. Attempting to use a small tip will make piping incredibly difficult and could even damage your piping bag.
- Recommended Piping Tips: I personally achieved fantastic results using a 1M Piping Tip (affiliate link), which creates beautiful, classic swirls. However, Ateco 844 or 827 tips are also excellent alternatives. Keep in mind that each tip will produce a slightly different style of swirl, so feel free to experiment to find your favorite aesthetic.
- Keep the Dough Chilled: If you find that your cookie batter warms up and becomes too soft while you’re piping, causing it to lose its shape or spread too much, don’t despair! Simply pop your baking sheet, complete with the piped cookies, into the refrigerator for 10-15 minutes to allow the dough to rechill. This firming up of the butter will significantly help minimize spreading during baking, ensuring your cookies retain their elegant definition.
- Handle Flour Gently: To ensure your cookies remain tender and possess that desirable melt-in-your-mouth texture, incorporate the flour into the wet ingredients until it is *just* combined. Avoid using a mixer to beat the flour in vigorously. Excessive mixing can introduce too much air into the dough and, more importantly, will activate the gluten in the flour. This leads to tough, chewy cookies, rather than the delicate crispness you’re aiming for. A gentle fold or mixing on the lowest speed until no dry streaks remain is sufficient.
- Flavor Variations: While vanilla extract is the traditional and primary flavor for these cookies, you can experiment with subtle enhancements. Adding a mere ¼ teaspoon of almond extract alongside the vanilla can provide a wonderful, complex flavor boost, complementing the buttery notes beautifully.
- Refine Piped Shapes: After you’ve piped your cookies but before they go into the oven, you might notice small dough spikes or slight malformations in your swirls. To achieve perfectly smooth and neat cookies, gently tap these imperfections into place using the tip of a damp finger. This little trick makes a big difference in the final presentation.
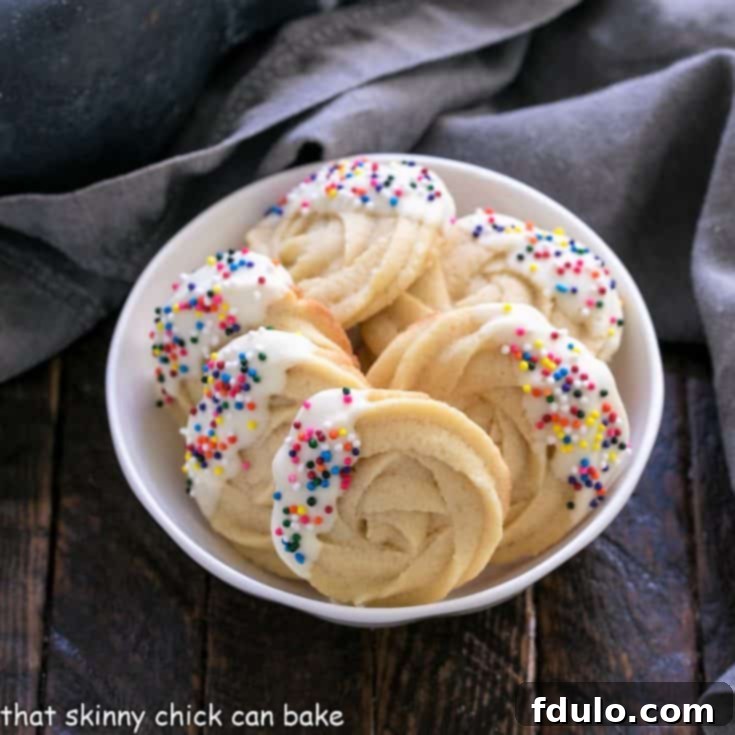
- Strategic Dipping: For an aesthetically pleasing finish, I particularly enjoy dipping only the side of the cookie where the swirl naturally ends into melted white chocolate. This leaves the prettiest, most intricate part of the cookie swirl unadorned, allowing its delicate beauty to shine through, while still offering that delightful chocolate contrast.
Frequently Asked Questions About Danish Butter Cookies
While both butter cookies and shortbread are delicious, buttery treats, there are a few subtle but distinct differences in their composition and baking. Butter cookies typically have a higher sugar content and a lower ratio of butter to flour compared to traditional shortbread. This specific balance allows butter cookies to hold their intricate piped shapes exceptionally well during baking. Additionally, butter cookies are often baked at a slightly higher temperature than shortbread, which contributes to their characteristic light browning around the edges, whereas classic shortbread is usually baked until just pale to maintain a tender, crumbly texture without much color.
One of the fantastic qualities of Danish Butter Cookies is their excellent shelf life. When stored properly in an airtight container at room temperature, they will keep nicely for up to a week, maintaining their crisp-tender texture and fresh flavor. For longer storage, these cookies freeze exceptionally well! If they are ungarnished (without chocolate or sprinkles), you can freeze them for up to 3 months. Simply thaw them at room temperature before serving to enjoy that freshly baked taste.
I highly recommend using European-style butter, such as Kerrygold, for this Danish Butter Cookie recipe due to its superior composition. European butters typically have a higher butterfat content and a lower water content than many standard American brands. This higher fat-to-water ratio is crucial because it helps to significantly minimize the spreading of the cookies as they bake, allowing your beautifully piped swirls and shapes to remain distinct and perfectly formed. The rich butterfat also contributes to a more intense, luxurious buttery flavor and a more tender, delicate crumb.
The texture of a well-made Danish Butter Cookie is truly delightful. They are wonderfully light, exquisitely buttery, and possess a delicate crispness that gives way to a melt-in-your-mouth tenderness. They are not overly sweet, which makes them perfectly balanced and incredibly versatile for embellishing. This subtle sweetness allows the rich butter flavor to shine through, making them an ideal base for dipping in chocolate or adorning with colorful sprinkles for added visual appeal and textural contrast.
You May Also Love These Delicious Cookie Recipes:
- Pecan Shortbread Cookies from Crazy for Crust – A nutty, buttery twist on a classic.
- Cranberry White Chocolate Pistachio Shortbread – A vibrant and festive shortbread option.
- Old-Fashioned Amish Sugar Cookies – Simple, soft, and sweet, just like Grandma used to make.
- Classic Christmas Sugar Cookies – Perfect for decorating and holiday cheer.
- Chocolate Caramel Shortbread (Twix Cookies) – A decadent, layered treat for chocolate and caramel lovers.
- Explore more of the Best Cookie Recipes on our site!
- Discover more of the Best Holiday Recipes to make your celebrations extra special.
Stay in touch with us through social media! Follow us on Instagram, Facebook, and Pinterest for daily inspiration, new recipes, and behind-the-scenes glimpses. Don’t forget to tag me when you try one of my delicious recipes – I love seeing your culinary creations! And if you absolutely love the results and enjoyed making these Danish Butter Cookies, please show your support by giving it a 5-star rating in the recipe card below. Your feedback helps others discover these wonderful treats!
Danish Butter Cookies Recipe
30 minutes
15 minutes
1 hour
1 hour 45 minutes
30 cookies
Buttery shortbread cookies that can be dressed up for any occasion, tasting just like the iconic Royal Dansk cookies!
Ingredients
- 1 cup butter, at room temperature (European style butter like Kerrygold works best)
- ½ cup sugar
- ⅛ teaspoon salt
- 1 tablespoon vanilla extract
- 1 large egg, at room temperature
- 2 cups all-purpose flour
- White chocolate, M&M’s and/or sprinkles to garnish, optional
Instructions
- Preheat your oven to 350°F (175°C). Line several large baking sheets with parchment paper for easy release.
- In the bowl of a stand mixer fitted with the paddle attachment, cream the softened butter, granulated sugar, and salt together on medium speed until the mixture is light, fluffy, and pale (about 2-3 minutes).
- Add the vanilla extract and the room temperature egg, mixing until just combined. Be sure to scrape down the bottom and sides of the bowl with a rubber spatula to ensure everything is fully incorporated.
- Gradually add the all-purpose flour to the wet ingredients, mixing on low speed only until the flour is just incorporated and no dry streaks remain. Be careful not to overmix the dough, as this can lead to tough cookies.
- Transfer the thick cookie dough into a sturdy piping bag fitted with a large star tip. A Wilton 1M tip works wonderfully, but Ateco 844 or 827 tips are also great options for creating beautiful swirls and shapes. If you don’t have piping tools, a cookie press can be used, though baking times may vary slightly.
- Pipe your desired shapes (like rings, rosettes, or S-shapes) onto the prepared parchment-lined baking sheets. Once piped, place the baking sheets in the refrigerator to chill for at least 30 minutes. This step helps the cookies hold their shape while baking.
- Bake the chilled cookies for 12-15 minutes, or until the edges are light golden brown. The centers should still be pale, but set.
- Allow the cookies to cool completely on the baking sheets before attempting to move them. If desired, once cooled, you may garnish them with melted white chocolate, colorful sprinkles, and/or M&M’s. See the notes section for more details on garnishing. Store cooled cookies in an airtight container at room temperature.
Notes
For the best possible results and to ensure your cookies hold their beautiful piped shapes, use European-style butter (like Kerrygold). Its lower water content compared to American brands is key in minimizing spreading during baking.
To garnish your cooled cookies, melt your desired amount of chopped white chocolate (or dark chocolate) in a microwave-safe bowl, stirring every 30 seconds until smooth. Dip one side or edge of each cookie into the melted chocolate, allowing any excess to drip off. Immediately place the dipped cookie onto a fresh sheet of parchment paper and add sprinkles before the chocolate has a chance to harden. Let the chocolate set completely before storing.
This recipe has been adapted with inspiration from Gemma’s Bigger Bolder Baking for its excellent technique.
Recommended Products
As an Amazon Associate and member of other affiliate programs, I earn from qualifying purchases.
- Wilton 1M Piping Tip
- Reynolds Kitchens Non-Stick Baking Parchment Paper Sheets – 12×16 Inch, 22 Count
- USA Pan Bakeware Half Sheet Pan, Warp Resistant Nonstick Baking Pan, Made in the USA from Aluminized Steel – 1050HS
Nutrition Information:
Yield:
15
Serving Size:
2 cookies
Amount Per Serving:
Calories: 250Total Fat: 15gSaturated Fat: 9gTrans Fat: 1gUnsaturated Fat: 5gCholesterol: 47mgSodium: 127mgCarbohydrates: 25gFiber: 1gSugar: 12gProtein: 3g
Thatskinnychickcanbake.com occasionally offers nutritional information for recipes contained on this site. This information is provided as a courtesy and is an estimate only. This information comes from online calculators. Although thatskinnychickcanbake.com attempts to provide accurate nutritional information, these figures are only estimates.
Varying factors such as product types or brands purchased can change the nutritional information in any given recipe. Also, many recipes on thatskinnychickcanbake.com recommend toppings, which may or may not be listed as optional and nutritional information for these added toppings is not listed. Other factors may change the nutritional information such as when the salt amount is listed “to taste,” it is not calculated into the recipe as the amount will vary. Also, different online calculators can provide different results.
To obtain the most accurate representation of the nutritional information in any given recipe, you should calculate the nutritional information with the actual ingredients used in your recipe. You are solely responsible for ensuring that any nutritional information obtained is accurate.
HOW MUCH DID YOU LOVE THIS RECIPE?
Please leave a comment on the blog or share a photo on Pinterest
