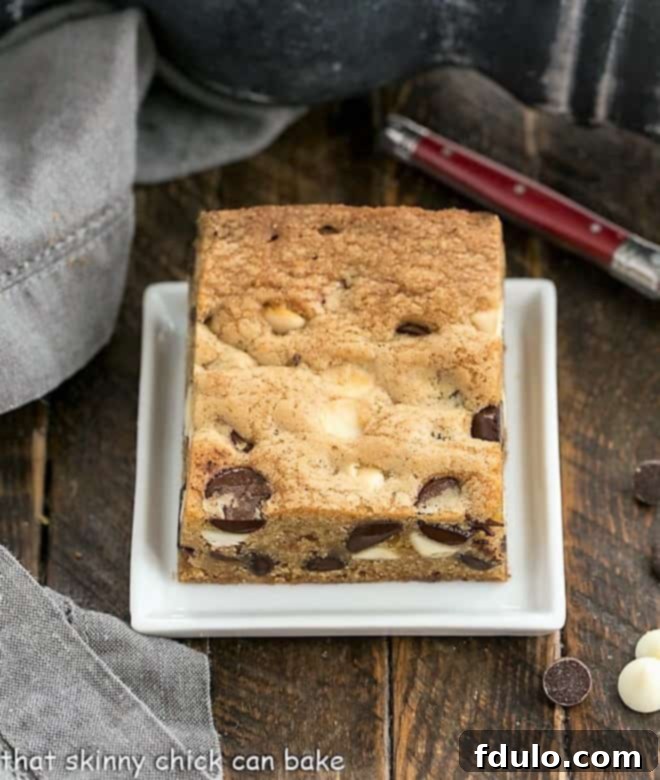
Welcome to the ultimate guide for creating the most irresistibly chewy, perfectly golden, and delightfully easy Chocolate Chip Cookie Bars. Forget the fuss of individual cookies; these bars deliver all the beloved classic flavor with minimal effort, making them a true game-changer for bakers of all skill levels, especially those just starting their culinary journey. Made with readily available pantry staples, this recipe is your ticket to a quick, satisfying, and universally adored dessert that will become an instant family favorite.
Life can be busy, and sometimes, the craving for warm, gooey chocolate chip cookies strikes when time is scarce or little helpers (and their curious fingers!) are underfoot. That’s where these incredible Cookie Bars shine. With no tedious scooping, a single mixing bowl, and just one pan, you can achieve cookie perfection in a fraction of the time. This recipe is wonderfully adaptable, allowing you to personalize each batch. Feel free to incorporate your favorite chocolate chips, a sprinkle of toasted nuts, a handful of dried fruit for a touch of tartness (if your family is adventurous enough!), or even some buttery toffee chips to add an extra layer of crunch and flavor. Get ready to transform your baking experience with this simple yet sensational treat!
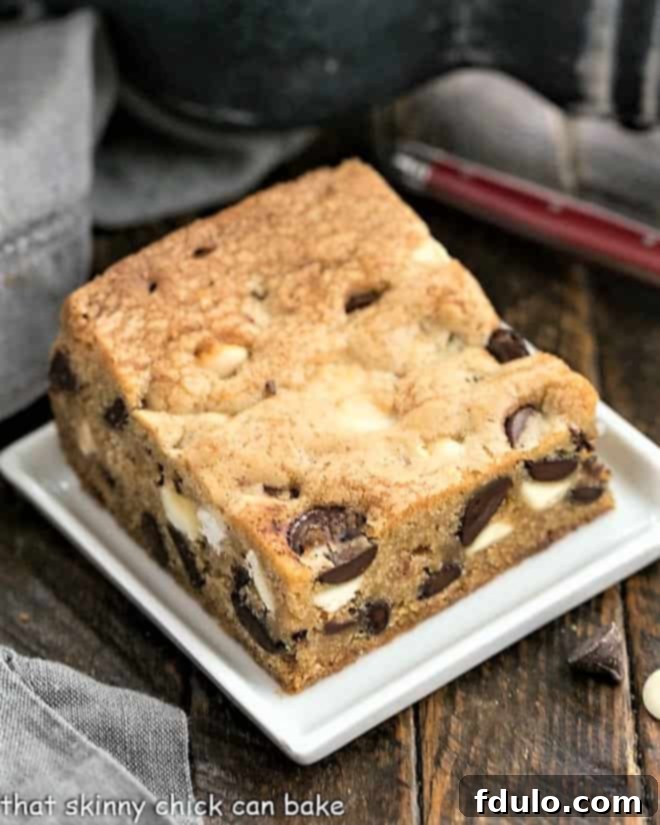
The Allure of Effortless Baking: Why These Chocolate Chip Cookie Bars Are a Must-Try
In a world where time is a precious commodity, finding a dessert recipe that delivers maximum flavor with minimum fuss is a culinary triumph. Our chocolate chip cookie bars are precisely that – a baking revelation for anyone who loves the classic cookie but dreads the tedious process of making individual drops. Here’s why these bars are about to become a permanent fixture in your recipe rotation:
- Unmatched Convenience: Say goodbye to the endless cycle of scooping dough, baking small batches, and waiting for each cookie to cool. With this pan-baked method, you simply spread the dough into a single pan and bake. It’s perfect for busy weeknights, impromptu gatherings, or when you need a quick dessert that feeds a crowd without requiring hours in the kitchen.
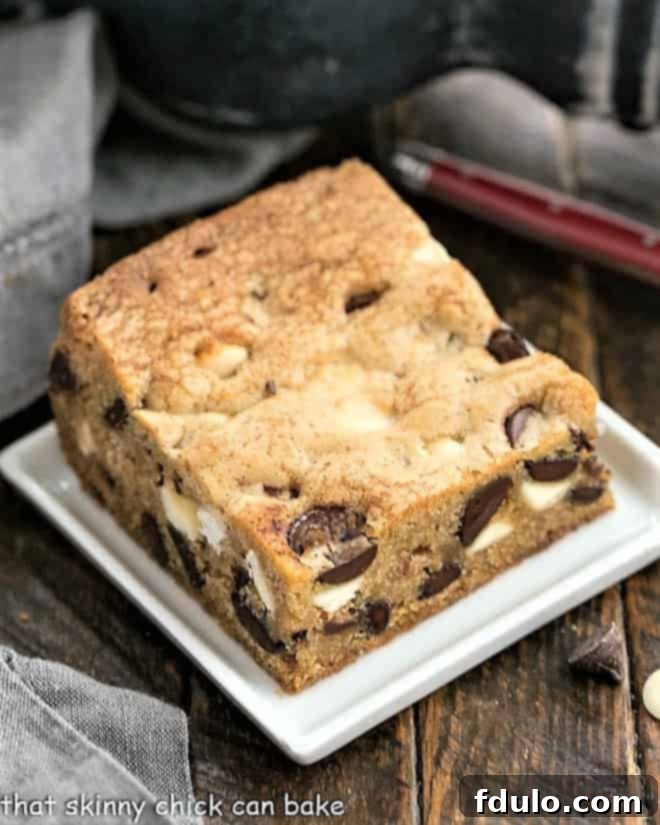
- Identical, Irresistible Flavor: Despite the streamlined process, these chewy chocolate chip cookie bars capture the exact, beloved taste and texture of your favorite traditional chocolate chip cookies. Every bite offers that perfect blend of sweet, buttery dough and melty chocolate that we all crave. You won’t compromise on flavor, only on the effort!
- A Family Favorite from Day One: The moment these bars emerge from the oven, their warm, inviting aroma will fill your home, signaling a treat everyone will adore. My own family, with my husband leading the charge, has always been passionate about chocolate chip cookies. But when our three children were young, making individual cookies often felt like an insurmountable task. The endless scooping, baking, cooling, and repeating was just too much with little ones constantly underfoot. That’s when I embraced the “pure laziness” (as I fondly call it) of spreading the dough into a single cake pan. From the very first batch, these chewy delights were an instant hit, quickly earning the affectionate nickname “chippy bars” from my kids. This simple switch transformed dessert-making from a chore into a joy, providing an easy, satisfying solution for our sweet cravings.
- Perfect for Any Occasion: Whether it’s a school bake sale, a potluck, a birthday party, or just a quiet evening at home, these cookie bars fit seamlessly into any event. Their easy-to-slice format makes serving a breeze, and they travel exceptionally well, ensuring deliciousness wherever you go.
Essential Ingredients for Perfect Chocolate Chip Cookie Bars
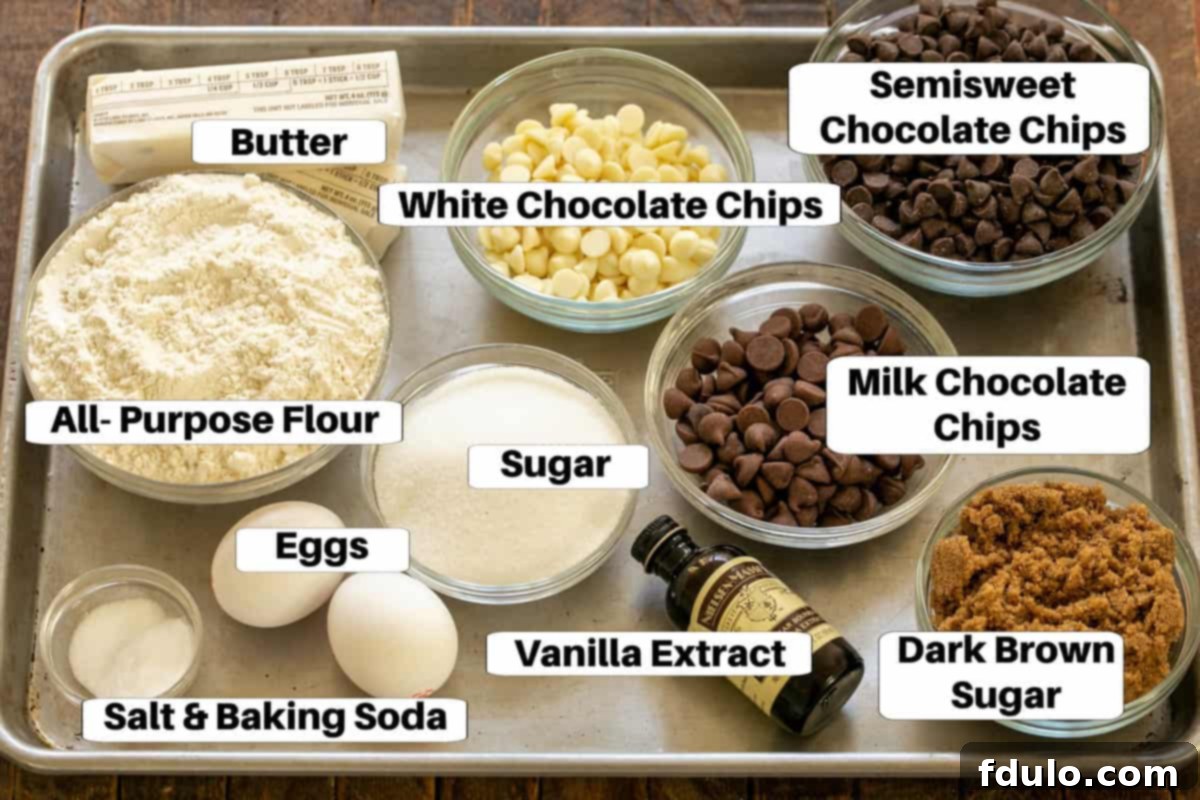
Creating exceptional chocolate chip cookie bars begins with understanding the role each ingredient plays. This recipe relies on straightforward, common pantry items, making it accessible and easy to whip up anytime a craving strikes. Let’s delve into the specifics that make these bars so utterly delicious:
- Kitchen Staples: Flour, Sugar, Baking Soda, Salt: These form the backbone of any great cookie. All-purpose flour provides structure, granulated sugar adds sweetness and contributes to browning, baking soda helps the bars rise and achieve a tender crumb, and salt balances the sweetness while enhancing all the other flavors. Using fresh baking soda is key for optimal lift.
- Butter: For the best results, use unsalted butter at room temperature. This is crucial for proper creaming with the sugars, which incorporates air into the mixture, resulting in a lighter, more tender bar. Cold butter won’t blend smoothly, and melted butter will lead to a denser, greasier texture. If you only have salted butter, you can use it, but reduce the added salt in the recipe by ¼ teaspoon.
- Brown Sugar: This ingredient is a star for a reason! Whether you opt for light or dark brown sugar, it contributes significantly to the bars’ moistness, chewiness, and rich, caramel-like flavor. Dark brown sugar, with its higher molasses content, will impart an even deeper caramel undertone and create an extra chewy texture, often leading to what some might call “blondies.” Both varieties work beautifully, so choose based on your preference for intensity. Did you know you can easily make your own dark brown sugar if you’re out? Simply mix 1 tablespoon of molasses into 1 cup of light brown sugar for each cup required. It’s a handy trick to have up your sleeve!
- Eggs: Like the butter, ensure your eggs are at room temperature. This allows them to emulsify more easily with the butter and sugar mixture, creating a smoother, more uniform batter. Eggs act as a binder, adding structure and richness, and contributing to the overall chewiness of the bars.
- Vanilla Extract: Do not skimp on quality here! Real vanilla extract makes a noticeable difference in the flavor profile. Its warm, aromatic notes elevate the taste of the chocolate and butter, transforming a good cookie bar into an unforgettable one. Avoid artificially flavored vanilla, as it often leaves a less desirable aftertaste.
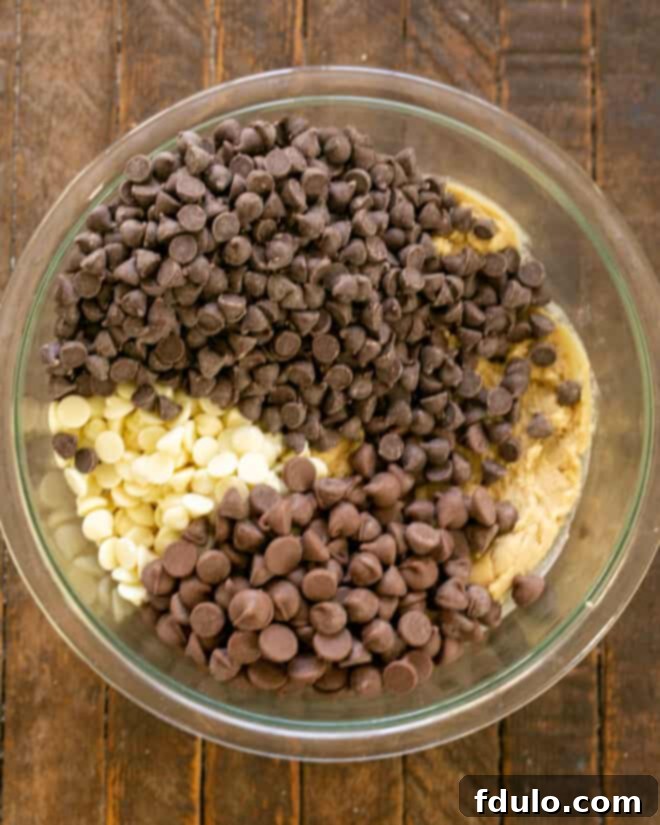
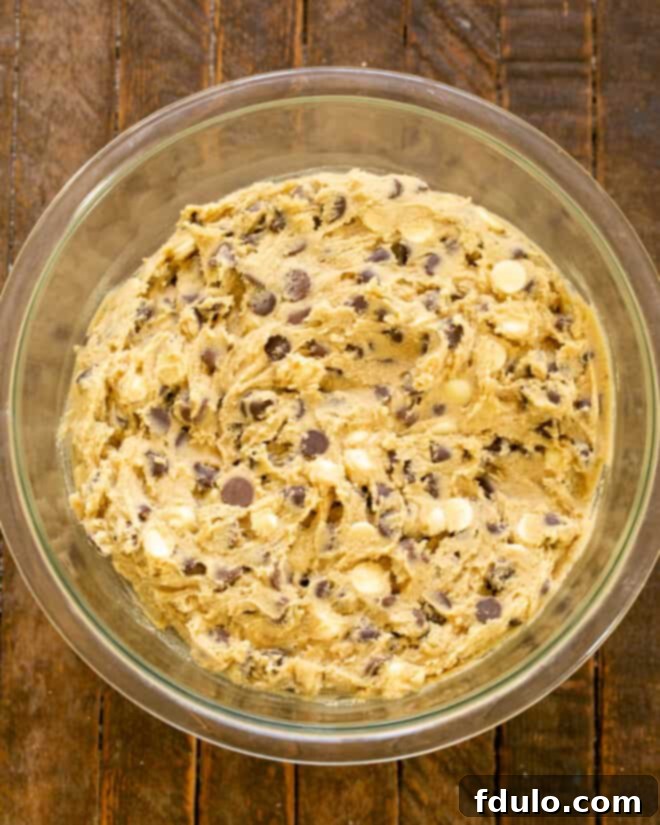
- Semisweet Chocolate Chips: The classic choice for a reason, semisweet chocolate chips offer a balanced sweetness that pairs perfectly with the rich cookie dough. However, don’t be afraid to get creative! You can use a delightful combination of 1 cup semisweet chocolate chips, plus ¾ cup white chocolate chips and ¾ cup milk chocolate chips for a truly multi-layered chocolate experience. For a bakery-worthy appearance, reserve a handful of chocolate chips and carefully press them into the warm, freshly baked bars immediately after they come out of the oven. The residual heat will melt them slightly, creating an inviting, glossy topping.
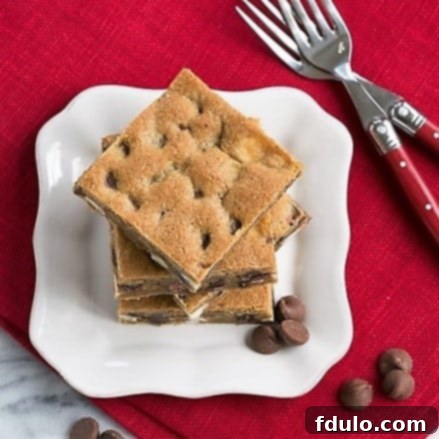
Crafting Your Cookie Bars: A Simple Step-by-Step Guide
Making these chocolate chip cookie bars is an incredibly straightforward process, perfect for a relaxing afternoon bake or a quick dessert fix. Follow these simple steps to achieve perfect, chewy bars every time:
Master Your Bake: Expert Tips for Irresistible Chocolate Chip Cookie Bars
Having made these delightful cookie bars more times than I can count, I’ve gathered a few invaluable insights that elevate them from good to truly extraordinary. From start to finish, these bars take roughly an hour to prepare and bake, making them significantly faster and less demanding than traditional cookies – and just as, if not more, beloved! My family is notorious for snatching these warm and gooey straight from the oven, and I suspect yours might too. To ensure your chocolate chip cookie bars are the absolute best they can be, consider these expert tips:
- PRO-Tip: Embrace Room Temperature Ingredients: About an hour before you plan to bake, take your eggs and butter out of the refrigerator and let them come to room temperature. This isn’t just a suggestion; it’s a game-changer. Room temperature butter creams more effectively with sugar, incorporating more air for a lighter, tender crumb. Similarly, room temperature eggs emulsify better into the mixture, creating a smoother, more uniform batter that bakes evenly. Cold ingredients can cause the batter to seize, leading to a denser texture.
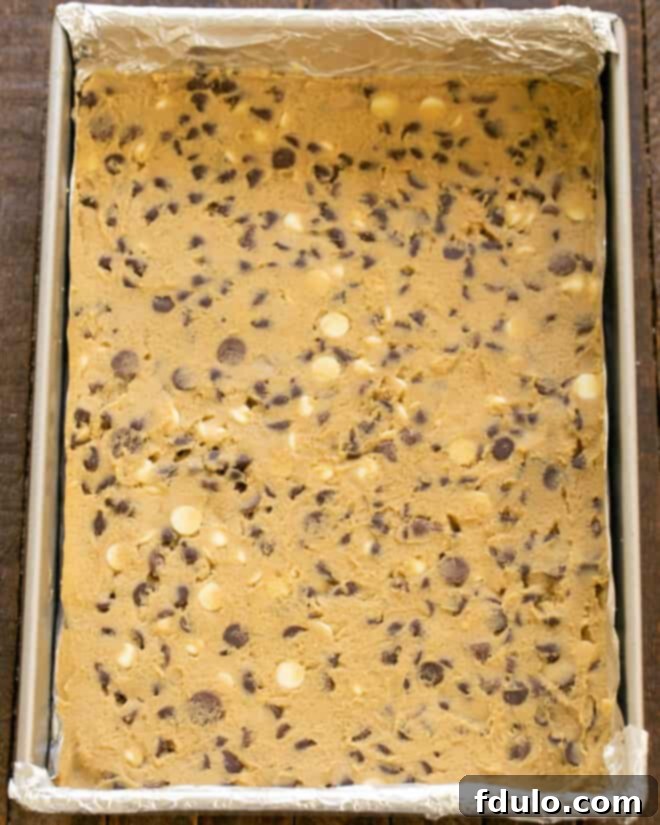
- Line Your Pan for Perfection: While greasing your baking pan is an option, I highly recommend lining it with non-stick foil or parchment paper. This simple step serves multiple purposes. Firstly, it ensures your precious cookie bars won’t stick to the pan, guaranteeing an easy release. Secondly, the foil or parchment acts as a “sling.” Once the bars have cooled sufficiently, you can simply lift the entire slab out of the pan onto a cutting board. This allows you to slice them into neat, even bars with crisp edges, making for a much more professional and aesthetically pleasing presentation, especially if you’re serving them to guests.
- Customize Your Chocolate Experience: The beauty of cookie bars lies in their versatility. While semisweet chocolate chips are a timeless choice, don’t hesitate to experiment! My personal favorite combination includes milk chocolate, semisweet chocolate, and white chocolate chips for a complex, layered chocolate flavor. For a different twist, try butterscotch chips, peanut butter chips, or even a mix of M&Ms with half chocolate chips for a pop of color and extra fun. Feel free to incorporate your favorite mix-ins like chopped toasted pecans, walnuts, or even shredded coconut for added texture and flavor.
- The Magic of Brown Sugar: For bars that are wonderfully moist and chewy, dark brown sugar is your secret weapon. Its higher molasses content not only provides extra moisture, which prevents the bars from drying out, but also imparts a richer, more profound caramel flavor that is simply divine. If you prefer a slightly less intense caramel note, light brown sugar works perfectly too.
- PRO-Tip: Homemade Dark Brown Sugar: If your pantry is lacking dark brown sugar, there’s no need to run to the store. You can easily make your own! For every cup of dark brown sugar needed, simply mix 1 tablespoon of molasses into 1 cup of light brown sugar. This quick hack ensures you always have the right ingredient on hand for that perfect chewy texture.
- Spread with Precision: For a perfectly even bake and consistent texture throughout your cookie bars, use an offset spatula to spread the dough into the prepared pan. This tool makes it incredibly easy to achieve a smooth, level surface from edge to edge, preventing thin spots that can overbake or thick spots that might remain undercooked.
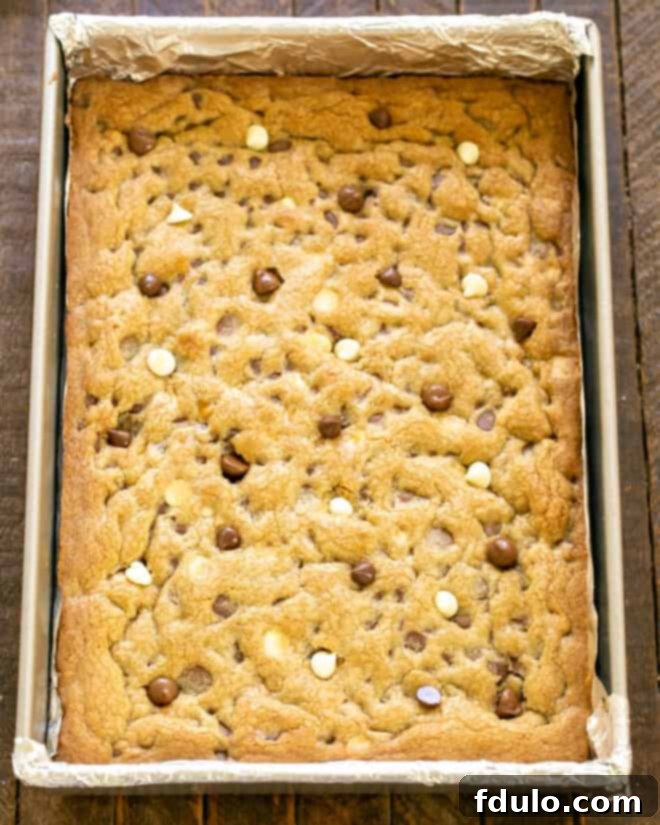
- The Art of Slight Underbaking: The key to moist, chewy chocolate chip cookie bars is to slightly underbake them. You want the edges to be set and lightly golden, but the center should still look a tiny bit soft. This ensures they remain delightfully gooey even after cooling. However, avoid underbaking to the point of being raw in the middle. Baking times can vary significantly depending on your specific oven and the material of your pan. I recommend adhering to the recipe’s suggested baking time initially, then observing closely. If you desire a chewier result next time, adjust your baking time by a minute or two. Trust me, you’ll want to make them again!
- PRO-Tip: The Presentation Touch: To truly bake like a pro and achieve that “bakery-worthy” appearance, reserve a small handful of chocolate chips. Immediately after removing the hot pan from the oven, carefully (remember, the pan is very hot!) press these reserved chips onto the warm surface of the bars. The residual heat will gently melt them, creating an inviting, glossy look that screams homemade goodness. While my family typically devours them too quickly to appreciate the aesthetics, it’s a wonderful touch if you’re making these for friends, a party, or simply to impress!
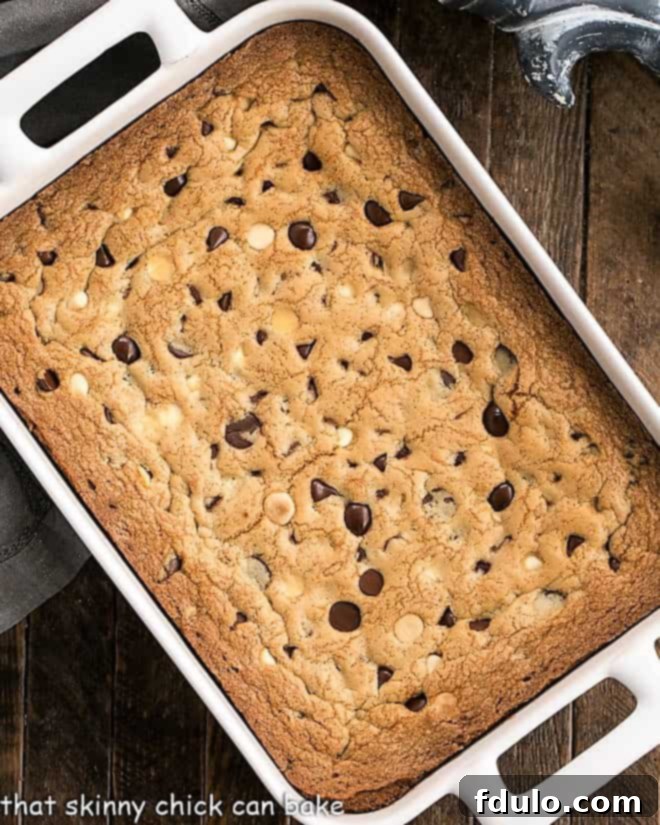
Your Burning Questions Answered: Chocolate Chip Cookie Bar FAQs
Proper pan preparation is crucial for easy removal and neat slicing of your cookie bars. You can certainly grease your 9×13-inch baking pan with cooking spray like Pam, which is effective for preventing sticking. However, for truly effortless removal and clean edges, I highly recommend lining your pan with foil, particularly non-stick foil. The foil serves a dual purpose: it prevents sticking and acts as a “sling.” Once the bars are completely cool, you can use the foil to lift the entire slab of cookie bars out of the pan onto a cutting board. This makes slicing incredibly easy and results in perfectly uniform bars. While regular foil works for the sling method, non-stick foil peels off the bars seamlessly, leaving no residue. This is especially beneficial if you’re making these for company, as a clean presentation is always appreciated. For additional tips on achieving perfectly cut bars, you might find my detailed post on How to Cut Perfect Cookie Bars helpful.
While cookie bars are typically baked at a similar temperature to individual cookies (often around 375°F), they require a significantly longer baking time due to their thicker, more substantial form. For these chocolate chip cookie bars baked in a standard 9×13-inch pan, the typical baking time is approximately 24-25 minutes. However, it’s important to remember that all ovens calibrate differently, and pan size plays a major role. If you opt for a slightly smaller pan, such as an 8½ x 12-inch pan, your bars will be thicker, requiring an additional 5-10 minutes in the oven to bake through properly. Always observe your bars as they bake; they should be lightly golden brown around the edges and set in the center. The delightful aroma filling your kitchen is often a good indicator that they are nearing completion!
Determining when your chocolate chip cookie bars (often referred to as blondies if they don’t contain chocolate, though the principle is similar) are perfectly done requires a keen eye and a bit of practice. Unlike cakey bars where a toothpick inserted into the center comes out clean, these dense, chewy cookie bars won’t necessarily yield a perfectly clean toothpick. Instead, look for these visual and sensory cues: the edges should be beautifully golden brown and appear set, while the center should still look slightly soft, indicating a moist and chewy interior. You might notice a crackled surface. A fantastic indicator is the aroma – your kitchen will be filled with an undeniably delicious, sweet, and buttery scent just before they are fully cooked. The first batch you make is often a “test batch,” so pay close attention. Once you’ve achieved your desired level of doneness, make a note of the exact baking time for your specific oven and pan. This information will be invaluable for consistently perfect batches in the future, as every oven behaves a little differently.
The beauty of chocolate chip cookie bars lies in their incredible adaptability! While the classic recipe is fantastic on its own, you can easily customize them with a variety of mix-ins to suit any palate. For those who love a bit of crunch, consider adding 1 cup of chopped and toasted pecans or walnuts to the dough. The toasting step really brings out their flavor. If you’re a fan of different chocolate experiences, feel free to use just one type of chocolate chip (milk, white, or dark), or create a vibrant mix. You can also substitute a portion of the chocolate chips with other delightful candies like M&M’s, chopped Reese’s Peanut Butter Cups, or even mini marshmallows for a s’mores-inspired twist. Other popular additions include toffee bits, shredded coconut, or even a swirl of caramel or peanut butter through the dough before baking. The possibilities are truly endless!
Proper storage is essential to maintain the deliciousness and chewiness of your chocolate chip cookie bars. These resilient treats are perfectly safe and will remain wonderfully fresh when stored at room temperature for 3 to 4 days. To prevent them from drying out and to keep them soft and chewy, make sure to place them in an airtight container or cover the top of the pan tightly with foil or plastic wrap. Unlike more delicate desserts like lemon bars or cheesecake bars, which require refrigeration due to their higher moisture content and perishable ingredients, these cookie bars hold up well at room temperature. For longer storage, these versatile bars can also be frozen! Simply wrap individual bars or the entire slab tightly in plastic wrap, then place them in an airtight freezer-safe container or heavy-duty freezer bag. They will keep beautifully in the freezer for up to 3 months. To enjoy them after freezing, defrost them overnight in the refrigerator, then allow them to come to room temperature before serving for the best texture and flavor. You can even warm them slightly in the microwave for that fresh-from-the-oven gooeyness!
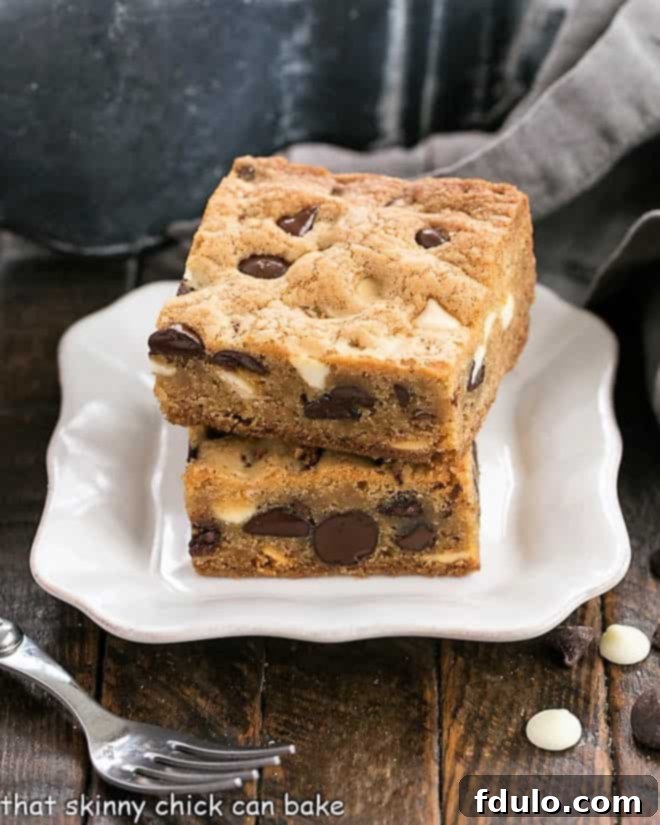
The Full Recipe: Chewy Chocolate Chip Cookie Bars
Here’s the detailed recipe for these incredible, chewy chocolate chip cookie bars that are sure to become a cherished family favorite. Get ready for an easy baking experience with utterly delicious results!
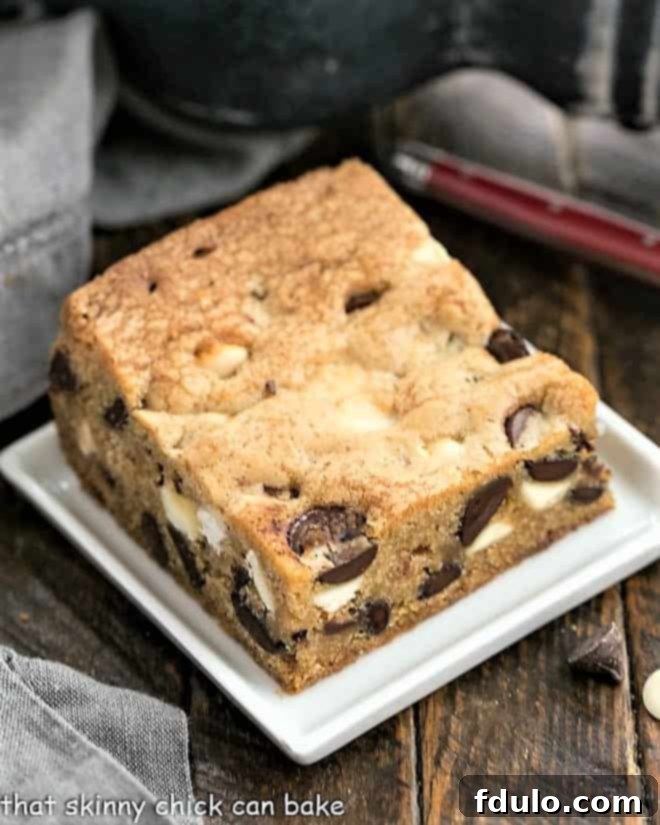
Chocolate Chip Cookie Bars
10 minutes
24 minutes
34 minutes
24 bars
An easy way to get the flavors of chocolate chip cookies without all the work! These moist and chewy bars are perfect for any occasion.
Ingredients
- 1 cup (2 sticks) unsalted butter, at room temperature
- ¾ cup packed brown sugar (light or dark, dark brown sugar enhances chewiness and caramel flavor)
- ¾ cup granulated sugar
- 2 large eggs, at room temperature
- 1 ½ teaspoons real vanilla extract
- 1 teaspoon baking soda
- ½ teaspoon salt
- 2 ¼ cups all-purpose flour
- 2 cups semisweet chocolate chips (or a delightful mix of 1 cup semisweet, ¾ cup white, and ¾ cup milk chocolate chips for varied flavor)
Instructions
- Preheat your oven to 375°F (190°C). Prepare a 9×13-inch baking pan by lining it with non-stick foil or parchment paper, leaving an overhang on the sides to create a “sling” for easy removal.
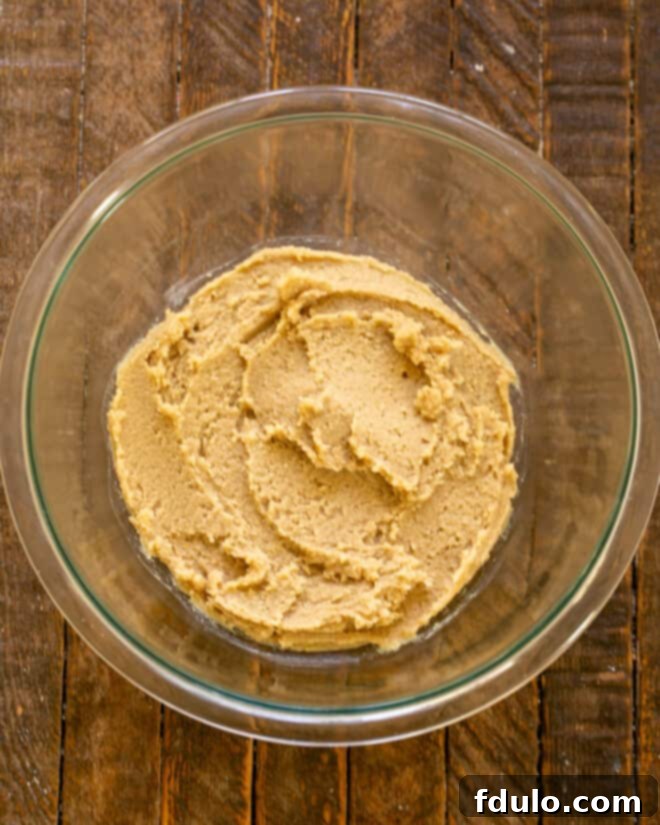
- In a large mixing bowl, cream together the softened butter and both brown and granulated sugars until the mixture is light, fluffy, and well combined (about 2-3 minutes with an electric mixer).
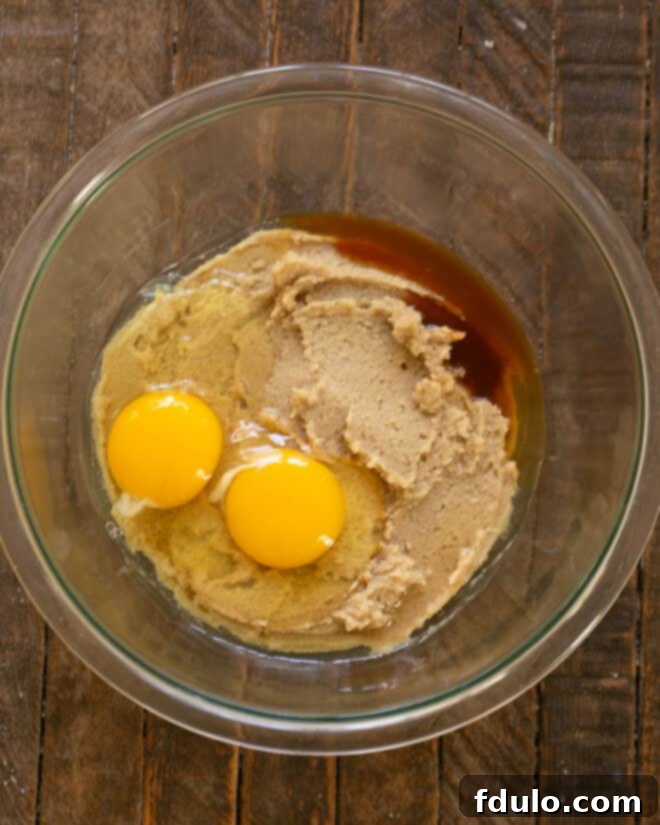
- Beat in the room temperature eggs one at a time, mixing well after each addition. Stir in the vanilla extract until fully incorporated.
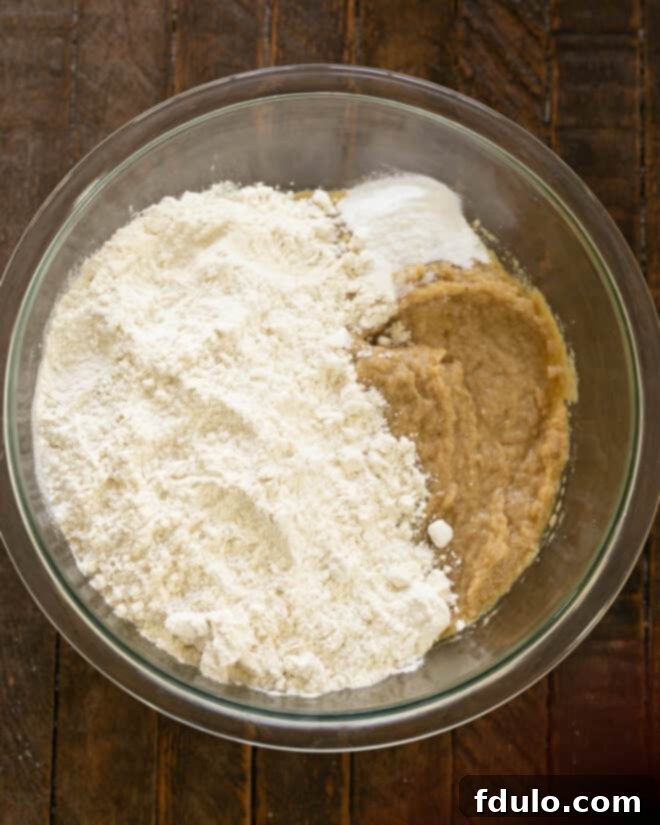
- In a separate medium bowl, whisk together the flour, baking soda, and salt. Gradually add the dry ingredients to the wet ingredients, mixing on low speed or by hand until just combined. Be careful not to overmix, as this can develop gluten and make the bars tough.
- Fold in the chocolate chips until they are evenly distributed throughout the dough.
- Evenly spread the cookie dough into the prepared 9×13-inch pan. An offset spatula can help you achieve a smooth, level surface.
- Bake for about 24-28 minutes, or until the edges are golden brown and the center appears set but still slightly soft. (If using an 8½ x 12-inch pan for thicker bars, you might need an additional 5-10 minutes of baking time, or up to 30-34 minutes total).
- Remove the pan from the oven. If desired, carefully press a few extra chocolate chips onto the warm surface for a beautiful, bakery-style presentation.
- Allow the bars to cool completely in the pan on a wire rack before using the foil sling to lift them out and slice them into 24 even bars. Enjoy!
Notes
For the best texture, avoid over-mixing the dough once the flour is added; this helps prevent excessive gluten formation, which can lead to tough bars. Feel free to customize your cookie bars by using a variety of chocolate chips, adding nuts, or even substituting some chocolate with M&Ms. For an enhanced presentation, carefully press a few extra chocolate chips onto the freshly baked, warm bars right after they come out of the oven.
Recommended Products
As an Amazon Associate and member of other affiliate programs, I earn from qualifying purchases.
- 3 Pyrex Mixing Bowls
- Nonstick Foil
- 9 x 13 Baking Pan
Nutrition Information:
Yield:
24
Serving Size:
1 bar
Amount Per Serving:
Calories: 324Total Fat: 18gSaturated Fat: 11gTrans Fat: 0gUnsaturated Fat: 6gCholesterol: 38mgSodium: 176mgCarbohydrates: 41gFiber: 2gSugar: 30gProtein: 3g
Explore More Delicious Bar Cookie Recipes
If you’ve fallen in love with the ease and deliciousness of these chocolate chip cookie bars, you’re in for a treat! The world of bar cookies is vast and wonderful, offering endless possibilities for quick, crowd-pleasing desserts. Dive into more of our favorite bar cookie recipes and discover new favorites for every occasion:
- Peanut Butter and Jelly Bars from Saving Room for Dessert – A nostalgic twist on a classic pairing.
- Raspberry Filled White Chocolate Bars – Elegant and fruity, perfect for a sophisticated touch.
- Coconut Macadamia Nut Bars – A tropical escape in every bite.
- Mounds Bars – Indulge in the irresistible combination of coconut and chocolate.
- Dark Chocolate Mousse Bars – A rich and decadent treat for serious chocolate lovers.
- More Easy Bar Cookies – Explore our full collection for more inspiration!
Stay in touch through social media! Find us @ Instagram, Facebook, and Pinterest. Don’t forget to tag us when you try one of our recipes! And if you love the results, please consider giving it a 5-star rating and leaving a comment on the blog – your feedback helps other bakers!
