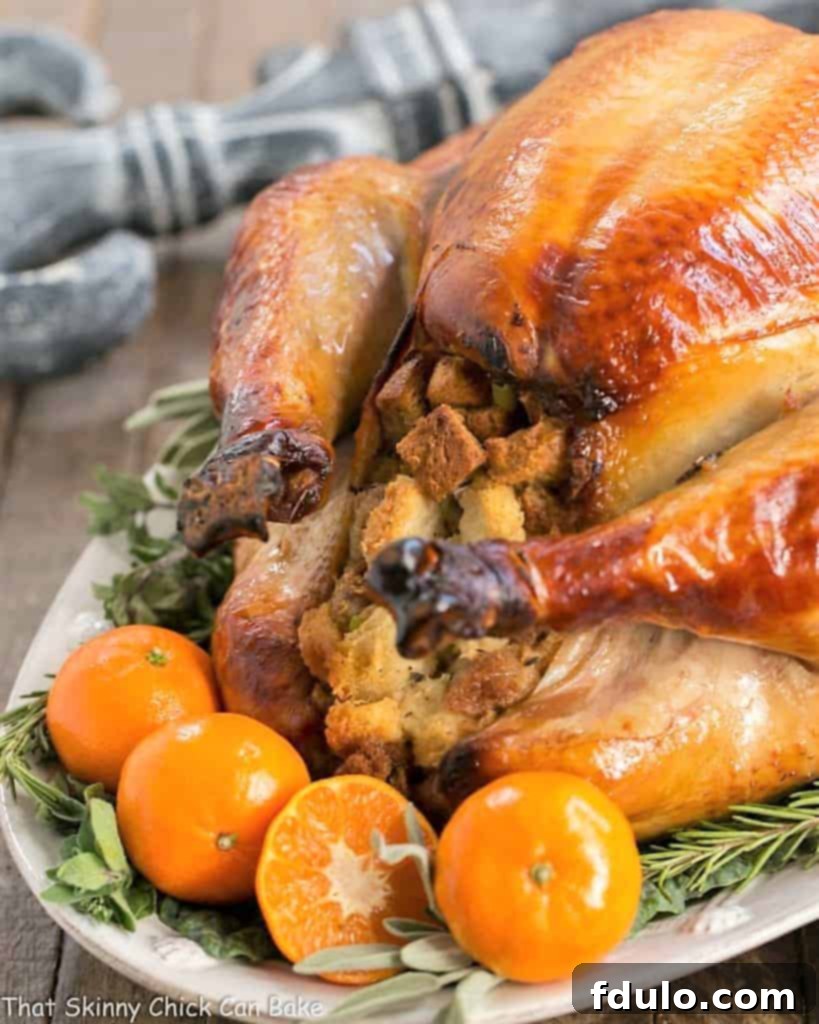
Transform your holiday feast with a show-stopping centerpiece: a succulent, flavorful turkey achieved through the magic of brining. For years, Thanksgiving turkeys were often a source of culinary anxiety, frequently resulting in dry, bland meat, especially the white meat. But a few years ago, a revelation changed everything. My girlfriend introduced me to a Honey Brined Turkey Recipe that promised unparalleled moisture and taste, and it absolutely delivered. The turkey she prepared was not only incredibly flavorful but also remarkably juicy, from breast to thigh. Not a single dry bite in sight! This wasn’t just another turkey; it was a testament to how simple preparation can elevate a classic dish to extraordinary heights, making it the star of your holiday spread.
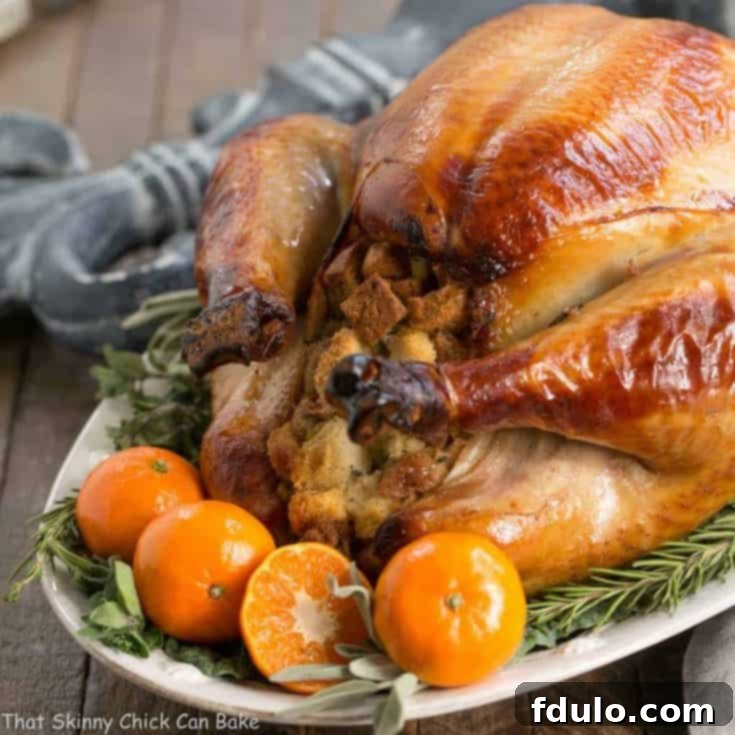
Intrigued by her success, I eagerly jotted down the details of this revolutionary Turkey Brine Recipe. The following holiday season, I decided to put it to the test myself. The result was a stunning, mahogany-hued bird that graced our table, emanating an aroma that hinted at the deliciousness within. This recipe is more than just a method; it’s a gateway to consistently perfect holiday turkeys, ensuring every guest enjoys a truly memorable meal that will be talked about long after the festivities conclude. It’s a simple secret to unlocking the full potential of your festive turkey, making it the undeniable centerpiece of your celebration.
Why This Honey Brined Turkey Recipe is a Must-Try for Your Holidays
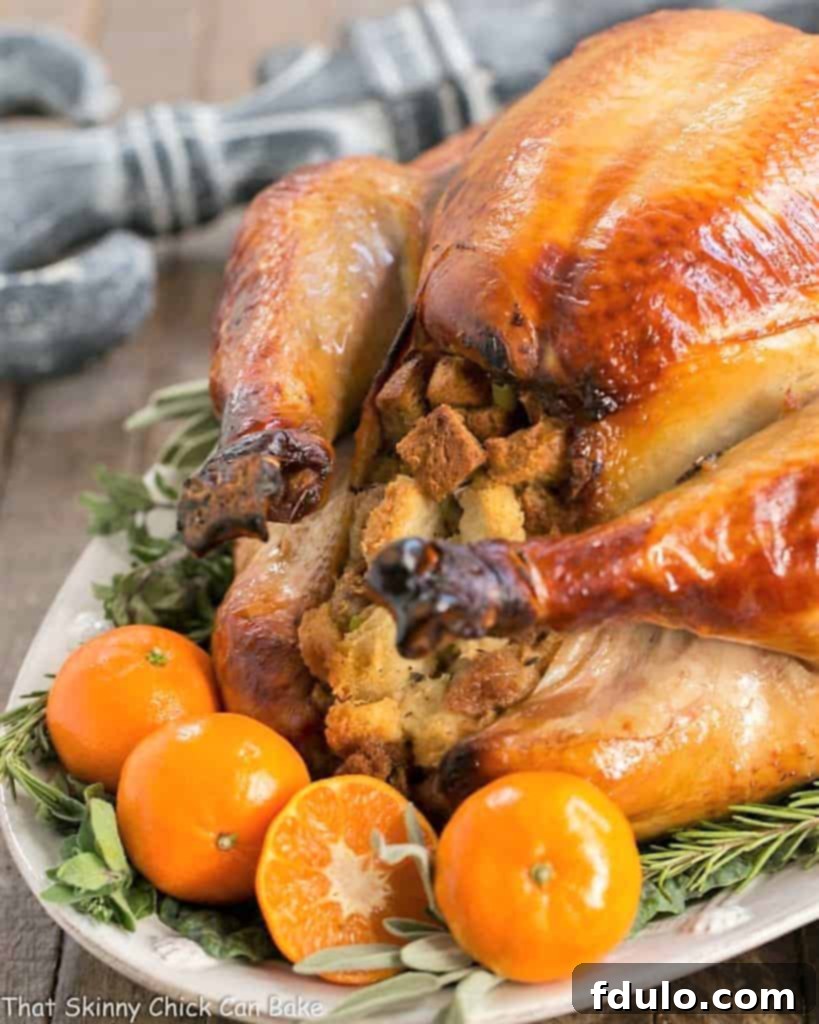
For the past five years, brining has been my secret weapon for Thanksgiving turkey, and once you try this Honey Brined Turkey recipe, it will undoubtedly become yours too. This method virtually guarantees moist, tender white meat, transforming what can often be the driest part of the bird into a succulent delight. Forget about dry, chewy turkey; this recipe ensures every slice is bursting with flavor and juiciness, making every bite a pleasure.
What makes this particular turkey brine so exceptional? It’s surprisingly simple, utilizing readily available pantry ingredients that come together to create a complex flavor profile. You don’t need exotic spices or hard-to-find components; just a few staples are enough to achieve culinary magic. This simplicity means less stress during the often-hectic holiday cooking preparations, allowing you more time to enjoy with your loved ones.
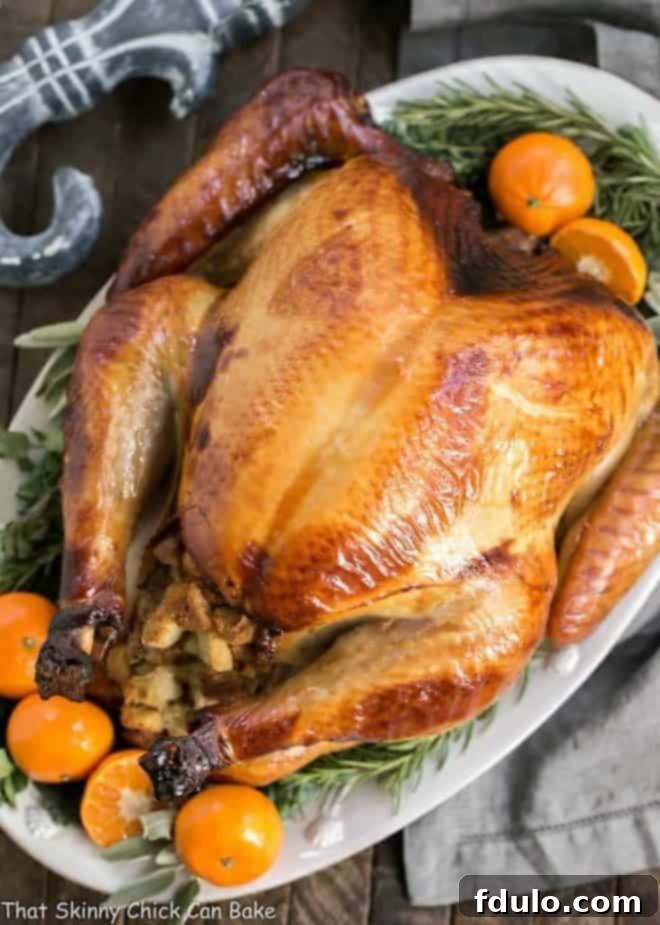
The unique combination of soy sauce and molasses is not just for flavor; it’s also responsible for the turkey’s stunning appearance. As it roasts, the skin develops a beautiful, dark, lacquered sheen – a rich mahogany that will impress anyone at your table. This perfect balance of sweet and salty elements infuses the meat with a delectable flavor that goes far beyond surface seasoning, reaching deep into the turkey to create an unforgettable taste experience. The honey adds another layer of natural sweetness and aids in that gorgeous caramelization, contributing to the irresistible aroma that fills your home.
Furthermore, unlike many grocery store brined turkeys which often contain artificial flavors, preservatives, or excessive sodium, this homemade brine relies solely on all-natural ingredients. You control exactly what goes into your turkey, ensuring a wholesome and delicious meal for your family and friends. This commitment to natural ingredients means a cleaner, more authentic flavor profile that truly celebrates the turkey, offering peace of mind along with incredible taste.
If the thought of a wet brine feels a bit daunting, fear not! You can explore my Dry Brined Turkey recipe, which offers fabulous results with considerably less mess. It’s an excellent alternative for those who prefer a simpler approach while still aiming for a wonderfully juicy bird. And for those hosting a more intimate gathering, this Grilled Turkey Breast is a fantastic, flavorful option that scales perfectly for smaller crowds, ensuring everyone enjoys a gourmet experience without the full commitment of a whole turkey.
Essential Ingredients for Your Honey Turkey Brine
Crafting the perfect honey turkey brine requires a few key ingredients, each playing a vital role in infusing your bird with moisture and exceptional flavor. Here’s a closer look at what you’ll need and why these specific components are so important for achieving a truly magnificent holiday turkey:
- Kosher Salt: This is the cornerstone of any effective brine. Kosher salt’s larger crystal size means it dissolves more slowly and offers better control over salinity compared to finer table salt, which can make your brine overly salty if not measured carefully. It initiates the osmosis process, drawing moisture into the turkey’s cells while seasoning it from within, creating a deeply flavorful foundation.
- Hot Water: Essential for dissolving the significant amount of kosher salt required for the brine. Using hot water ensures the salt fully integrates into the solution, creating an evenly distributed and potent brine. After dissolving the salt, it’s crucial to cool the brine completely before adding the turkey to maintain food safety and prevent any premature cooking of the bird.
- Molasses: A powerhouse ingredient that contributes rich, earthy sweetness and a deep, complex flavor profile to the brine. Beyond taste, molasses is a key player in achieving that coveted dark, lacquered finish on your turkey’s skin, helping it to caramelize beautifully during roasting and creating a stunning presentation.
- Soy Sauce: More than just a source of sodium, soy sauce introduces a profound umami flavor – often described as the “fifth” or savory sense of taste. This depth of flavor elevates the turkey beyond simple salty notes, adding a robust, meaty undertone that makes the bird incredibly satisfying and complex.
- Honey: Adds a beautiful, natural sweetness that perfectly complements the savory elements of the brine. Honey also aids in achieving superior browning and caramelization of the skin, contributing to the stunning golden-brown exterior while imparting a delicate, floral aroma that truly makes this “Honey Brined” turkey special and unforgettable.
- Ice: Critical for rapidly cooling the brine after the hot water has dissolved the salt and other ingredients. Adding ice ensures the brine reaches a safe, cold temperature (below 40°F / 4°C) before the turkey is submerged, preventing any premature cooking and ensuring optimal food safety. As it melts, the ice also helps to dilute the brine slightly, balancing its potency.
- Turkey: The star of your holiday meal! It’s absolutely essential to ensure your turkey is completely defrosted before brining. A partially frozen turkey will not absorb the brine evenly, leading to inconsistent flavor and texture in the final cooked product. Choose a fresh or fully thawed frozen turkey for the best and most consistent results.
A Feast for the Eyes and the Palate
Expert Tips for Perfecting Your Honey Brined Turkey
Brining a turkey is a straightforward process, but a few expert insights can elevate your results from good to absolutely phenomenal. My own journey with this simple turkey brine recipe taught me valuable lessons. One time, I was running low on mild molasses and supplemented with blackstrap molasses, which is significantly darker and possesses a much stronger, more intense taste and smell. I worried it might overpower the delicate turkey meat, but to my pleasant surprise, the turkey was still wonderfully flavorful. The skin absorbed a lot of the deep color from the more potent molasses, resulting in an even more bronzed exterior, yet the meat remained incredibly moist and succulent. This experience showed me the robustness of the brine and its ability to deliver deliciousness even with minor adjustments, giving you confidence to experiment.
- Secure Brining Container is Crucial: A critical step to prevent a messy disaster! When re-testing this recipe, my brining bag unfortunately sprung a leak. To avoid this, always invest in an extra-large, heavy-duty turkey brine bag. These are specifically designed to hold large volumes of liquid and a heavy turkey without tearing. For added peace of mind, especially with larger birds or if you’re concerned about the bag’s integrity, consider double-bagging. Placing the bagged turkey in a large roasting pan or an insulated cooler also provides an extra layer of protection against leaks, saving you from a significant cleanup on a busy holiday.
- Dissolving the Salt Properly: Begin by pouring the hot water into your chosen brining bag or container, then immediately add the kosher salt. Stir or agitate the bag thoroughly while the water is still at its hottest. This ensures the salt dissolves completely and evenly, which is vital for the brine’s effectiveness and for uniform seasoning of the turkey. Once the salt is fully integrated, you can incorporate the molasses, soy sauce, and honey. Feel free to enhance your brine further by adding aromatics like sliced oranges, fresh rosemary, thyme, or bay leaves for an extra layer of flavor complexity, infusing the turkey with even more holiday cheer.
- Cool Down Before Brining: Never add your turkey to hot or even warm brine. This is a crucial food safety step. After dissolving all the ingredients, allow the brine to cool down completely to room temperature, and ideally, chill it further in the refrigerator before adding the turkey. This prevents the turkey from starting to cook prematurely, which can affect its texture, dry out the meat, and compromise food safety. Using the specified amount of ice is key for rapid and safe cooling of the brine.
- Optimal Brining Duration: For the most flavorful and moist turkey, aim to brine it for approximately 12 to 18 hours, or overnight. This window allows sufficient time for the salt and flavors to penetrate deeply into the meat without over-salting it. Brining for too short a period (e.g., less than 8 hours) won’t allow the flavors to penetrate deeply enough, resulting in a less impactful taste. Conversely, brining for much longer than 18-24 hours can result in meat that is excessively salty and can also negatively impact its texture, making it mushy or tough. While a longer brine might lead to darker meat and skin (due to the molasses), it will still taste fine, but be mindful not to exceed 24 hours to avoid an unpleasantly salty bird.
- Consistent Chilling is Key: Food safety is paramount when brining. Always brine your turkey in the refrigerator if you have sufficient space. This ensures the turkey remains at a safe temperature below 40°F (4°C) throughout the process, inhibiting bacterial growth. For many, especially during the holiday season, refrigerator real estate is precious. In such cases, a large, insulated cooler filled generously with ice is an excellent alternative. Ensure the turkey is fully submerged in the brine and nestled in ice, checking periodically (every few hours) to replenish the ice as it melts to maintain a consistent, safe temperature.
- Truss for Even Roasting: To help your turkey roast more evenly and achieve a more uniform golden-brown skin, consider trussing it. This involves tying the legs and wings tight against the turkey’s body with butcher’s twine. Trussing prevents thinner parts, like wings and drumsticks, from overcooking before the breast is done, promoting uniform cooking and helping the turkey maintain a more compact, appealing shape for presentation.
- Cover to Prevent Over-Browning: Once your turkey’s skin has achieved that glorious golden-brown color – typically within the first hour or two of roasting – cover it loosely with heavy-duty aluminum foil. This clever technique prevents the skin from becoming too dark or even burning while allowing the meat underneath to cook through thoroughly and remain moist. You can remove the foil for the last 30-45 minutes of roasting to re-crisp the skin if desired, ensuring that perfect balance of color and texture.
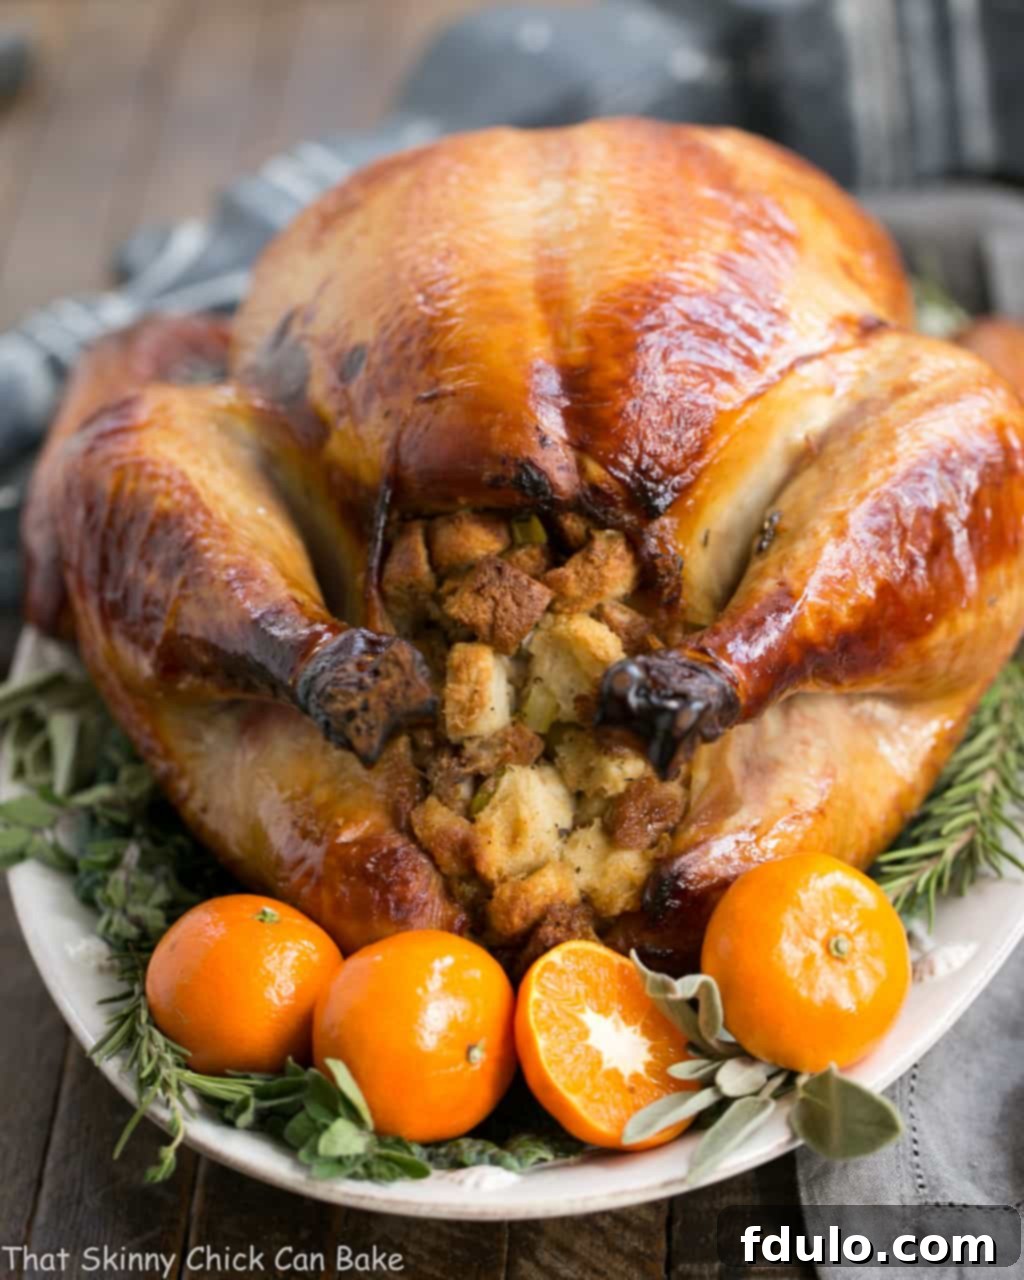
- Mind the Stuffing: If you plan to stuff your turkey, remember that the stuffing will absorb some of the turkey’s flavorful juices, which will now be seasoned by the brine. This means the stuffing might be extra salty, so adjust your stuffing recipe accordingly (e.g., reduce any added salt). Always use a meat thermometer to ensure the stuffing reaches a safe internal temperature of 165°F (74°C) before removing the bird from the oven. Safety and flavor go hand in hand!
- PRO-Tip: Last-Minute Flavor Boost with Injection: Did you forget to brine your turkey, or simply ran out of time? Don’t despair! You can still infuse incredible flavor and moisture into your bird using an easy Turkey Injection. This method allows you to directly inject a flavorful liquid, like a Cajun-spiced butter or a savory broth, into the meat just before roasting. It’s a fantastic way to salvage flavor and moisture, even at the eleventh hour, ensuring your turkey is delicious no matter what.
- Rest Your Turkey: After roasting, it’s crucial to let the turkey rest for at least 20-30 minutes (or even longer for larger birds up to an hour) before carving. Tent it loosely with foil during this time. Resting allows the juices, which have migrated to the center of the bird during cooking, to redistribute throughout the meat. This ensures every slice is as moist and tender as possible. Carving too soon will result in juices running out onto your cutting board, leaving you with a drier, less flavorful turkey.
- Use a Reliable Meat Thermometer: The only foolproof way to ensure your turkey is perfectly cooked and safe to eat is by using a reliable meat thermometer. Insert the thermometer into the thickest part of the thigh, avoiding the bone, and ensure it registers 165°F (74°C). For stuffed turkeys, also check the stuffing’s temperature, as it needs to reach the same safe temperature.
Frequently Asked Questions About Honey Brined Turkey
Brining works through a scientific process called osmosis and diffusion. When you soak or “brine” meat in a saltwater solution, the salt from the brine begins to infuse into the less salty turkey cells. Due to the concentration difference, water and salt move across the cell membranes until a balance is achieved. This causes the meat cells to absorb extra moisture, plumping them up. As the turkey cooks, even though some moisture is lost through the natural cooking process, the meat retains significantly more moisture than an unbrined turkey, virtually guaranteeing incredibly moist and tender results. A fantastic bonus of brining your own turkey is that you use only wholesome, natural ingredients, avoiding any unwanted chemicals or artificial flavors often found in commercially brined products, giving you complete control over your meal.
The optimal brining time for most turkeys using a wet brine is between 8 to 18 hours. This window allows sufficient time for the salt and flavors to penetrate the meat without over-salting it. Brining a turkey for too long (e.g., beyond 24 hours) can result in meat that is excessively salty, making it unpleasant to eat, and can also negatively impact its texture, leading to a mushy or oddly firm consistency. Conversely, too short a brine (e.g., less than 8 hours) might not yield the desired juiciness and flavor enhancement, as the brine won’t have enough time to work its magic. Keep in mind that this duration applies specifically to wet brining; dry brining methods typically require a few days for the salt to work its magic and draw moisture to the surface before reabsorption.
A good rule of thumb for a basic wet brine is a ratio of 1 tablespoon of kosher salt for each cup of water or liquid. For this Honey Brined Turkey recipe, we use a larger quantity, approximately 1 pound of kosher salt for 6 quarts (24 cups) of water, which translates to roughly 1 tablespoon per 1.5 cups of liquid, taking into account the other flavorful liquids like soy sauce and molasses. It’s crucial to use kosher (coarser) salt, not regular table salt. Table salt is much denser, and using the same volume (e.g., 1 tablespoon) will result in a brine that is far too salty for your turkey, potentially ruining your holiday meal. Always measure by weight or use kosher salt specifically.
Absolutely! While the core components of salt, water, and sugar (like honey and molasses in this recipe) are essential for the brining process, you can certainly customize your turkey brine with various aromatic additions to enhance its flavor profile. Popular choices include fresh herbs such as rosemary, thyme, sage, or bay leaves, which impart a classic holiday aroma. Spices like black peppercorns, whole cloves, star anise, or coriander seeds can add wonderful complexity and warmth. Citrus fruits, such as sliced oranges, lemons, or mandarins, contribute brightness and a festive zing. You can also experiment with different types of sugar, like granulated white sugar or brown sugar, depending on your desired sweetness and caramelization effects. Just be mindful not to overdo it, as strong flavors can sometimes overshadow the turkey itself.
Yes, it is absolutely critical that your turkey remains properly chilled and refrigerated throughout the entire brining process. Maintaining a temperature below 40°F (4°C) is essential to prevent the growth of harmful bacteria and ensure food safety. Never brine a turkey at room temperature. If your refrigerator lacks the space for a large turkey and its brine (which is common during the busy holiday season), a sizable, insulated cooler filled generously with ice is an excellent alternative. Just be diligent about monitoring the ice levels and adding more as needed to keep the temperature consistently low and safe. Safety always comes first when handling poultry!
No, there is generally no need to rinse your turkey after brining. In fact, rinsing can actually be counterproductive as it can wash away some of the flavorful brining solution that has seasoned the skin, potentially diminishing its taste and contribution to a crispy exterior. Furthermore, rinsing poultry in the sink can spread bacteria around your kitchen, posing a food safety risk. Instead of rinsing, simply remove the turkey from the brine, discard the brine, and pat the turkey extremely thoroughly dry with paper towels, both inside and out. For even crispier skin, you can place the patted-dry turkey on a rack in a roasting pan and let it air-dry in the refrigerator for 4-6 hours (or even overnight) before roasting. This process further dries out the skin, promoting superior crispiness during cooking.
Roasting a brined turkey typically follows your standard method, but with the added benefit of guaranteed moisture. A common and effective approach is to start with a higher oven temperature, such as 425°F (220°C), for the first 30-45 minutes. This initial burst of heat helps to create that beautiful crispy skin and jumpstarts the browning process. Immediately after, decrease the oven temperature to 350°F (175°C) for the remainder of the cooking time to ensure even cooking without burning the exterior. For added richness and flavor, you can baste the turkey periodically with a mixture of melted butter and white wine, or your preferred basting liquid. Once the skin develops a gorgeous, deep brown lacquer, loosely cover the turkey with heavy-duty aluminum foil to prevent over-browning while the internal meat finishes cooking. Always rely on a meat thermometer inserted into the thickest part of the thigh (without touching the bone) to ensure the turkey reaches a safe internal temperature of 165°F (74°C). The best turkey brine, like this honey infusion, truly sets the stage for delicious results, making your holiday turkey a real winner every time!
This honey brine recipe is highly versatile and works wonderfully with turkeys of various sizes. However, for home cooks, a turkey ranging from 12 to 20 pounds is often ideal for brining. Smaller turkeys (12-16 lbs) are generally easier to manage in standard brining bags or coolers and typically require closer to the 12-hour mark for brining. Larger turkeys (18-20+ lbs) will benefit from the full 18-hour brining period to ensure the flavors penetrate thoroughly and the moisture is locked in. Always ensure your chosen turkey fits comfortably in your brining vessel and that you have adequate refrigerator (or cooler) space to keep it properly chilled throughout the brining process.
No, you cannot brine a frozen or even partially frozen turkey. For the brine to effectively penetrate the meat and deliver its moisture-enhancing and flavoring benefits, the turkey must be completely thawed. Brining a frozen bird will result in uneven absorption, leading to inconsistent seasoning and potentially unsafe cooking, as the interior may not cook thoroughly while the exterior overcooks. Always plan ahead and allow ample time for your turkey to thaw completely in the refrigerator before beginning the brining process. A general rule of thumb for safe thawing is 24 hours of thawing time for every 4-5 pounds of turkey in the refrigerator.
Complement Your Honey Brined Turkey with These Holiday Sides
A perfectly brined turkey deserves equally magnificent accompaniments. Here are some incredible side dish ideas to complete your holiday meal, ranging from comforting classics to delightful new favorites that will perfectly complement the rich flavors of your Honey Brined Turkey:
- No Boil Slow Cooker Mashed Potatoes from Spend with Pennies – creamy, dreamy mashed potatoes made effortlessly, freeing up stovetop space.
- Shredded Brussels Sprouts Recipe with Pistachios, Cranberries, and Parmesan from Cookin’ Canuck – a vibrant, flavorful, and elegant green side that adds texture and tang.
- The Best Thanksgiving Stuffing Recipe from Fifteen Spatulas – a classic, aromatic stuffing that complements turkey perfectly, soaking up those delicious juices.
- Spinach Souffle – a light, fluffy, and sophisticated green side dish that adds elegance without being too heavy.
- Praline Topped Sweet Potato Casserole – a decadent and sweet classic, perfect for the holidays, balancing the savory notes of the turkey.
- Best Holiday Side Dish Recipes – an extensive collection of festive accompaniments to inspire your entire holiday menu.
- Plus more Holiday Recipes – explore a wide variety of dishes for any festive occasion, ensuring your table is always bountiful and delicious.
We love seeing your culinary creations! Stay in touch and share your photos through social media. You can find us on Instagram, Facebook, and Pinterest. Don’t forget to tag us when you try one of our recipes! And if you absolutely love the results and want to help fellow home cooks, please consider giving this recipe a 5-star rating in the recipe card below.
Honey Brined Turkey Recipe
15 minutes
3 hours
3 hours 15 minutes
16 servings
The perfect way to get succulent meat from your holiday turkey! This honey brine guarantees a moist, flavorful, and beautifully bronzed bird every time.
Rating: 4.9 out of 5 stars based on 53 reviews.
Ingredients
For the Brine:
- 1 pound kosher salt
- 6 quarts hot water
- 1 cup molasses
- 1 cup soy sauce
- 1 cup honey
- 5 pounds of ice
- 16-pound turkey, defrosted (any size will work; adjust brining time for size)
Instructions
- Prepare the Brine Base: In an extra-large brining bag (or a food-safe bucket/cooler lined with a heavy-duty bag), pour the hot water. Add the kosher salt and agitate the bag thoroughly, kneading it gently, to ensure the salt fully dissolves.
- Add Flavorings: Once the salt is dissolved, incorporate the molasses, soy sauce, and honey into the hot water mixture. Stir or mix well to combine all ingredients until the brine is uniform.
- Cool the Brine: Add the 5 pounds of ice to the brine. This step is crucial to rapidly cool the brine to a safe temperature (below 40°F / 4°C) before adding the turkey. Ensure the brine is completely chilled to prevent premature cooking of the turkey.
- Submerge the Turkey: Carefully add your fully defrosted turkey (with giblets removed) to the cooled brine solution. Ensure the turkey is fully submerged. Seal the brining bag securely with a twist tie, or close your container tightly.
- Brine Safely: Place the brining bag in a large cooler filled with additional ice to maintain a consistent cold temperature, or place it in the refrigerator. Use a large pan underneath if brining in the fridge to catch any potential leaks. Allow the turkey to brine for 12 hours or overnight (up to 18 hours for larger birds).
- Prepare for Roasting: After brining, remove the turkey from the brine. Discard the brine. Pat the turkey extremely dry, both inside and out, with paper towels. A dry surface is essential for crispy skin. Proceed with your preferred roasting method (see Expert Tips section for guidance).
Notes
This recipe was adapted from my friend, Mary Ann, who always makes the most delicious holiday turkey.
Roasting time for your turkey will vary significantly based on its size and your oven. Always use a meat thermometer to ensure the thickest part of the thigh (without touching bone) reaches 165°F (74°C) for food safety.
The nutritional information provided below is an estimate and not 100% accurate, as a significant portion of the salt, honey, and molasses from the brining liquid will not be consumed with the turkey. It serves as a general guideline only.
Due to the presence of molasses and soy sauce in the brine, the turkey meat and especially the skin may appear darker than normal after roasting. This is completely expected and will contribute to a wonderfully rich flavor and beautiful appearance.
Recommended Products
As an Amazon Associate and member of other affiliate programs, I earn from qualifying purchases, at no extra cost to you.
- Roasting Pan
- Brining Bags (Heavy-Duty)
- OXO Angled Turkey Baster
Nutrition Information:
Yield:
16 servings
Serving Size:
1
Amount Per Serving (estimated):
Calories: 991
Total Fat: 34g
Saturated Fat: 10g
Trans Fat: 0g
Unsaturated Fat: 22g
Cholesterol: 494mg
Sodium: 12355mg
Carbohydrates: 34g
Fiber: 0g
Sugar: 33g
Protein: 131g
This nutritional information is significantly skewed as you will not be consuming the brining liquid. It provides a general estimate only and should be used with caution.
How Much Did You Love This Recipe?
Please leave a comment on the blog or share a photo of your delicious Honey Brined Turkey on Pinterest. Your feedback and beautiful photos help other home cooks discover and enjoy this incredible recipe!
