Welcome to the delightful world of the Apple Crostata, a rustic, free-form tart that delivers all the incredible flavor of a classic apple pie with significantly less fuss. Imagine a buttery, flaky crust embracing a luscious swirl of tender, spiced apples – a picture-perfect dessert that’s as easy to make as it is stunning to behold. This Italian-inspired creation, often called an apple galette in French cuisine, celebrates simplicity and natural beauty, making it an ideal choice for both novice bakers and seasoned chefs looking for a charming, no-stress sweet treat.
Gone are the days of wrestling with a challenging double pie crust, praying it holds together through crimping and baking. Our Easy Apple Tart Recipe liberates you from those worries. With just one elegant crust that artfully folds over a generous filling of sweet and tart apples, a crostata embraces a perfectly imperfect, handmade aesthetic. Its rustic charm means that minor cracks or uneven edges only add to its appeal, promising a delicious outcome every time without the pressure of perfection.

Why This Apple Crostata Recipe Will Become Your Go-To Dessert
If you’re searching for a dessert that combines elegance with ease, look no further than this homemade apple crostata. It’s quickly becoming a favorite for its irresistible qualities:
- Effortless Elegance: This crostata recipe captures the essence of an apple pie but requires only a single crust. This significantly reduces the time and skill needed, making it a truly achievable dessert for any home baker. Forget the complexities of crimping and blind-baking; the crostata’s charm lies in its free-form, rustic appearance.
- Embrace Rustic Perfection: Unlike traditional pies that demand a pristine, symmetrical finish, a crostata thrives on its natural, unconstrained shape. If the crust cracks slightly or the edges are uneven, it simply adds to its homemade appeal. This forgiving nature makes baking a crostata a joy, rather than a stressful endeavor. It’s a dessert that truly celebrates the beauty of imperfection.
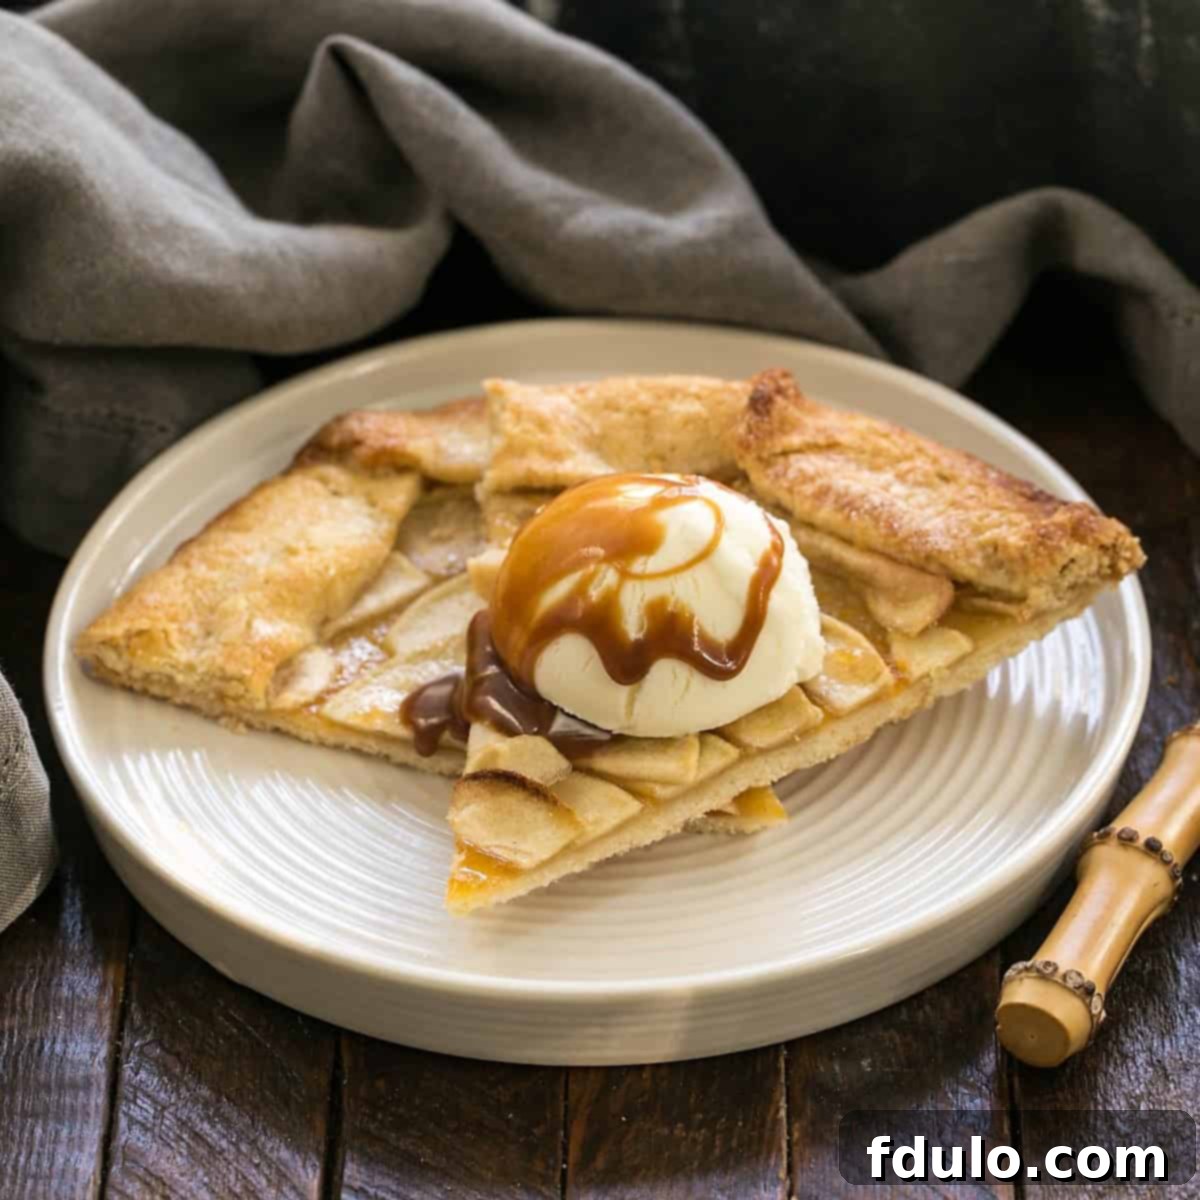
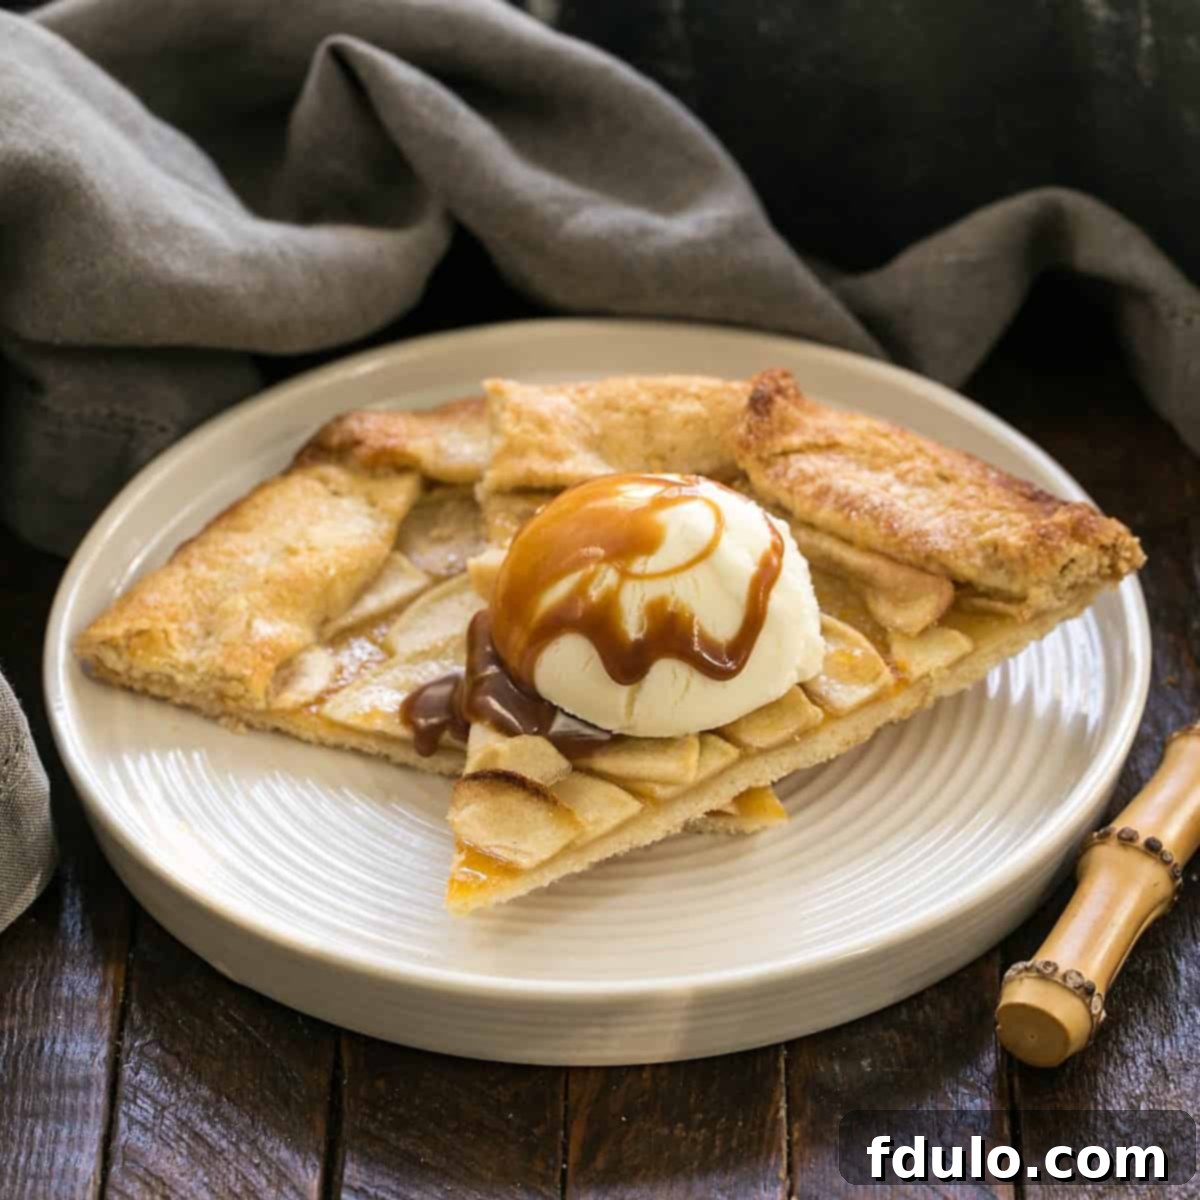
- Lighter, Yet Indulgent: While undeniably decadent, a crostata often boasts fewer calories per serving than a comparable slice of double-crust apple pie. The lighter crust-to-filling ratio allows the natural sweetness of the apples to shine. Of course, this calculation might change if you decide to crown your warm crostata with a generous scoop of creamy vanilla ice cream and a luscious drizzle of homemade caramel sauce – an indulgence we highly recommend for a truly memorable experience!
- Versatile for Any Occasion: Whether served warm with coffee for a casual brunch, as an elegant centerpiece for a holiday gathering, or simply as a comforting weeknight treat, the apple crostata fits seamlessly into any occasion. Its inviting aroma and beautiful presentation make it a universally loved dessert.

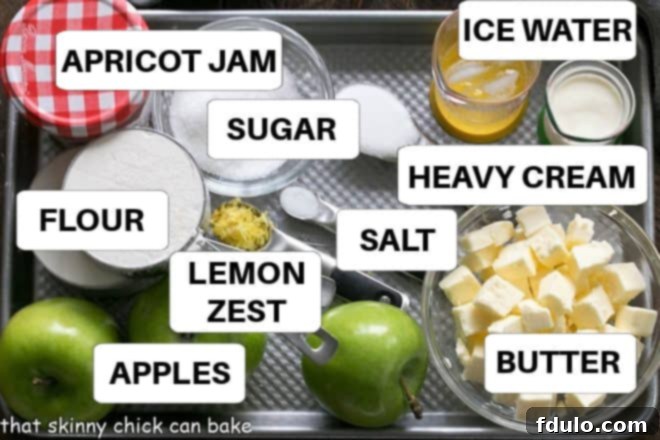
Key Ingredients for the Perfect Apple Crostata
Crafting a truly exceptional apple crostata begins with selecting the right ingredients. Each component plays a vital role in achieving that coveted flaky crust and tender, flavorful apple filling.
- Pantry Staples: You’ll need granulated sugar, all-purpose flour, and a pinch of salt. These foundational ingredients create the structure and initial flavor of both the crust and the filling. Ensure your flour is fresh for the best texture.
- Butter – The Heart of the Crust: This is non-negotiable for a flaky, tender crust. Your butter MUST be very cold, preferably straight from the refrigerator or even briefly frozen before dicing. Cold butter creates pockets of steam during baking, which separate the layers of dough, resulting in that delightful flakiness. Salted butter works perfectly fine here; if using unsalted, you might consider a tiny pinch more salt in the crust.
- Ice Water – The Secret to Flakiness: Just like butter, the water used in your pastry dough needs to be ice-cold. Using ice cubes to chill the water is an excellent tip, but remember to remove the cubes before precisely measuring the liquid. Cold water inhibits gluten development, preventing a tough crust and encouraging a tender, delicate texture.
- Apples – The Star of the Show: For the best apple crostata, choose firm, tart apples that hold their shape well when baked. Granny Smith apples are a classic choice due to their crisp texture and bright acidity, which balances the sweetness of the tart. Other excellent options include Pink Lady (slightly less tart), Jonagold, Honeycrisp, Braeburn, and Mutsu. A mix of two apple varieties can also add wonderful complexity to the flavor and texture of your filling.
- Heavy Cream – For a Golden Sheen: A brush of heavy cream (ideally 36% butterfat) over the crust before baking achieves a beautiful golden-brown color and a slightly richer finish. It also helps the sprinkled sugar adhere, creating a lovely subtle crunch.
- Lemon Zest – A Burst of Freshness: Freshly zested lemon peel is essential. It provides a bright, aromatic counterpoint to the sweet apples, lifting the overall flavor profile. Do not substitute with dried or jarred versions; their flavor simply doesn’t compare. Use a microplane zester for fine, flavorful zest, avoiding the bitter white pith.
- Apricot Preserves – The Flavor Barrier: Apricot preserves serve a dual purpose: they add a subtle layer of fruity sweetness and, more importantly, act as a barrier between the moist apple filling and the delicate crust. This helps prevent a soggy bottom, ensuring your crostata remains perfectly crisp. If apricot preserves aren’t available, apple jelly or another neutral-colored jelly or jam (like peach or quince) can be substituted.

Crafting Your Homemade Apple Crostata: A Step-by-Step Guide
Making an apple crostata or galette is a surprisingly straightforward and rewarding process. Its single-crust design makes it not only lighter in calories but also significantly simpler to assemble than a traditional pie, proving that delicious desserts don’t have to be complicated.
- Prepare the Dough: Begin by combining your flour, salt, and sugar in a food processor or a large bowl. Add the very cold, cubed butter and pulse or cut it in until the mixture resembles coarse cornmeal with some pea-sized pieces of butter still visible. Gradually add ice water, one tablespoon at a time, pulsing until the dough just comes together. Be careful not to overmix. Form the dough into a disc, wrap it in plastic, and chill it for at least an hour. This resting period is crucial for the gluten to relax and for the butter to firm up, ensuring a tender, flaky crust.
- Roll the Pastry Dough: On a lightly floured surface or, even better, between two sheets of parchment paper, roll out your chilled dough into a large circle, approximately 14 inches in diameter and about 1/8 inch thick. Rolling between parchment paper makes transferring the delicate dough much easier and reduces the need for additional flour.
- Spread the Preserves: Carefully transfer the rolled dough, still on the bottom sheet of parchment, to a rimless baking sheet. Spread a thin, even layer of apricot (or chosen) preserves over the center of the crust, leaving a clear border of about 1 ½ to 2 inches around the edges. This layer acts as a delicious flavor enhancer and, more importantly, a protective barrier that helps prevent the crust from becoming soggy.
- Layer the Apple Slices: In a separate bowl, toss your thinly sliced apples with sugar and fresh lemon zest. Arrange these apple slices in beautiful concentric circles over the preserve-covered portion of the pastry, slightly overlapping each slice for an appealing, uniform look.
- Fold the Edges: Gently fold the bare outer edges of the pastry dough over the apples, creating a rustic border that helps to contain the fruit and its juices during baking. Don’t worry if it’s not perfectly symmetrical; the charm of a crostata lies in its handmade appearance. Pinch together any cracks that may form in the dough.
- Brush and Sprinkle: Brush the exposed pastry crust with a little heavy cream, then generously sprinkle both the crust and the apple filling with the remaining granulated sugar. The cream promotes a beautiful golden color, while the sugar creates a delightful caramelized crunch.
- Bake to Perfection: Bake your crostata in a preheated oven until the crust is golden brown and the apples are beautifully tender. The aroma filling your kitchen will be irresistible! A good indicator is when a sharp knife can easily pierce the apple slices.
The apple lovers in your life will be absolutely enchanted by this gorgeous apple crostata. And the best part? You won’t break a sweat bringing this masterpiece to life!

Tips for Success and Delicious Variations
Achieving the perfect apple crostata is simple with a few helpful pointers. To ensure a truly flaky crust, always handle the dough as little as possible to prevent overworking the gluten. If your kitchen is warm, consider chilling your rolling pin and even your flour for a few minutes before starting. When arranging the apples, try to slice them uniformly thin for even cooking. If your apples release a lot of juice, you can toss them with a teaspoon of cornstarch before layering to absorb excess moisture and prevent a soggy crust.
Feel free to experiment with the filling! While this recipe focuses on classic apples, you can easily adapt it with other fruits like peaches, berries, or plums. For a spice variation, add a pinch of cinnamon, nutmeg, or allspice to your apple filling. A sprinkle of chopped nuts, such as walnuts or pecans, over the apples before folding the crust can add wonderful texture and flavor. For a truly decadent finish, a drizzle of warm caramel sauce after baking transforms this rustic tart into an extraordinary dessert.
Frequently Asked Questions About Apple Crostata
While the names might vary, a crostata and a galette are essentially the same type of dessert! “Crostata” is the Italian term for this free-form, rustic tart, while “galette” is its French counterpart. Both involve a single-crust pastry dough wrapped around a fruit filling, baked on a flat baking sheet. The charm of both lies in their relaxed, unpretentious appearance and incredible flavor.
The word “crostata” is derived from the Italian verb “incrostare,” meaning “to encrust.” This aptly describes the dessert’s structure, where the fruit filling is beautifully encased or “encrusted” by the folded edges of the pastry dough.
For a perfect apple crostata, you want apples that are firm and tart, capable of holding their structure well during baking while offering a good balance of flavor. Granny Smith apples are a top choice due to their crisp texture and bright acidity. Other excellent varieties include Pink Lady, which offers a lovely sweet-tart balance, as well as Jonagold, Honeycrisp, Braeburn, and Mutsu. You can also combine varieties for a more complex flavor profile.
Determining doneness for your apple crostata is crucial for optimal flavor and texture. The crust should be beautifully golden brown and crisp, and the apple filling should be tender. To check the apples, carefully insert a sharp knife or a skewer into the thickest part of the fruit. If it goes in easily with little resistance, the apples are perfectly cooked. The juices from the apples should also appear bubbly and slightly thickened.
For the first day or two, your freshly baked apple crostata can be stored uncovered at room temperature in a cool, dry place. The crust might even retain more crispness this way. However, to maintain freshness and prevent the apples from deteriorating, it’s best to cover and refrigerate any leftovers after two days. Stored in an airtight container in the refrigerator, it will keep well for an additional 2-3 days. You can gently reheat slices in a low oven for a warm, comforting treat.
Explore More Delicious Apple Desserts
If you’ve fallen in love with the flavors of this apple crostata, you’ll be thrilled to discover other wonderful apple-inspired creations perfect for any season or celebration. Here are some of our favorites:
- 25 All-American Apple Desserts from Melissa’s Southern Style Kitchen – a fantastic collection of diverse recipes.
- Caramel Apple Pie – a classic with a rich, sweet twist.
- Apple Pie Pizza – a fun, shareable take on a beloved dessert.
- Deep Dish Apple Pie – for when you need an extra-generous serving of apple goodness.
- Discover all my Best Dessert Recipes for endless sweet inspiration.
Stay in touch through social media @ Instagram, Facebook, and Pinterest. Don’t forget to tag me when you try one of my recipes! And if you love the results, please give it a 5-star rating in the recipe card below.

Apple Crostata
40 minutes
50 minutes
1 hour 30 minutes
8 servings
A scrumptious Italian Apple Tart, easy to make and bursting with fall flavors!
Ingredients
For the Crust:
- 1 ¾ cups all-purpose flour
- ¼ teaspoon salt
- 1 tablespoon granulated sugar
- ¾ cup (1 ½ sticks) very cold unsalted butter, cut into ½ inch cubes
- 4 tablespoons ice water (approximately, may need more or less)
For the Filling:
- 1 ½ pounds firm, tart apples (about 3-4 medium apples, like Granny Smith or Honeycrisp), peeled, cored, and cut into 1/8 inch slices
- 5 tablespoons granulated sugar, divided
- 1 teaspoon finely grated lemon peel (zest of one lemon)
- ¼ cup apricot preserves (or peach jam, apple jelly, or a homemade peach-apricot jam)
- Heavy cream, for glazing (about 1-2 tablespoons)
Instructions
- Make the Dough: In a food processor, combine flour, salt, and 1 tablespoon of sugar. Pulse a couple of times to mix well. Add the very cold, cubed butter and pulse until the mixture resembles coarse cornmeal with some pea-sized pieces of butter still visible.
- Add Water: Add 2 tablespoons of ice water and pulse until just combined. Pinch a small amount of dough between your fingers; if it holds together, it’s ready. If it’s too dry, add up to 3 more tablespoons of ice water, one teaspoon at a time, pulsing briefly after each addition until a cohesive dough forms. Do not overmix. Wrap the dough in plastic wrap and refrigerate for at least 1 hour (or up to 2 days) to chill and allow the gluten to relax.
- Prepare Apples: While the dough chills, toss the thinly sliced apples with 3 tablespoons of sugar and the finely grated lemon peel in a medium bowl. Set aside. Remove the chilled dough from the refrigerator about 10-15 minutes before rolling to allow it to soften slightly.
- Roll the Dough: On a lightly floured surface or between two sheets of parchment paper, roll the dough into a 14-inch circle, about 1/8 inch thick. If using parchment, carefully transfer the bottom sheet with the rolled dough onto a rimless baking sheet. Chill the dough on the baking sheet for 10 minutes to make it easier to handle.
- Assemble Crostata: Preheat your oven to 450ºF (230ºC). Remove the top sheet of parchment if you used it. Spread the apricot preserves evenly over the center of the dough, leaving a clear border of about 1 ½ to 2 inches around the outer edge.
- Add Apples: Arrange the apple slices in concentric circles over the preserves, overlapping them slightly to create a beautiful, full filling.
- Fold the Crust: Using the bottom sheet of parchment paper as a guide, carefully fold the apple-free edges of the dough over the top of the apple filling, forming a rustic border. The dough may be fragile; if cracking occurs, gently pinch the cracks back together. Brush the exposed crust with heavy cream and sprinkle the crust and apples with the remaining 2 tablespoons of sugar.
- Bake: Bake the crostata for 20 minutes at 450ºF (230ºC). Then, reduce the oven temperature to 375ºF (190ºC) and continue to bake for another 30-40 minutes, or until the crust is golden brown and the apples are tender when pierced with a knife.
- Cool and Serve: Carefully remove the crostata to a wire rack. While still warm, you can gently run a knife between the crostata and the parchment paper to ensure easier release once completely cooled. Allow to cool for at least 15-20 minutes before slicing.
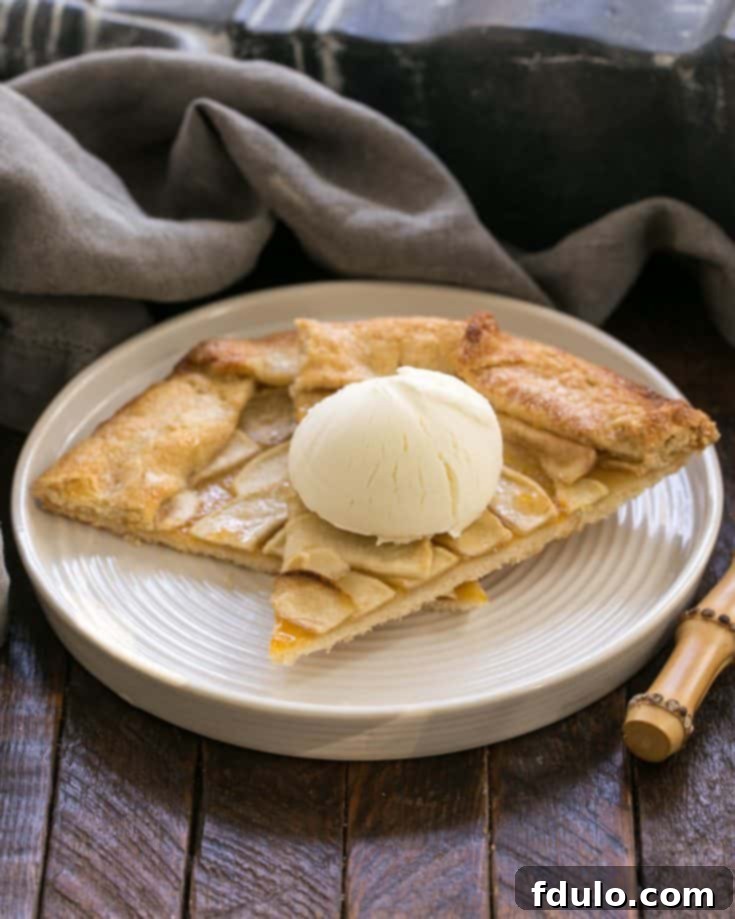
- Serving Suggestions: Serve in wedges, either plain or dusted with powdered sugar. For an ultimate treat, serve warm with a scoop of vanilla ice cream and a drizzle of caramel sauce.
Notes
If your chosen apples are exceptionally tart, feel free to toss them with an extra tablespoon or two of sugar to achieve your desired sweetness balance in the filling.
Nutrition Information:
Yield:
8
Serving Size:
1 slice
Amount Per Serving:
Calories: 262Total Fat: 3gSaturated Fat: 2gTrans Fat: 0gUnsaturated Fat: 1gCholesterol: 7mgSodium: 84mgCarbohydrates: 56gFiber: 4gSugar: 28gProtein: 4g
HOW MUCH DID YOU LOVE THIS RECIPE?
Please leave a comment on the blog or share a photo on Pinterest
