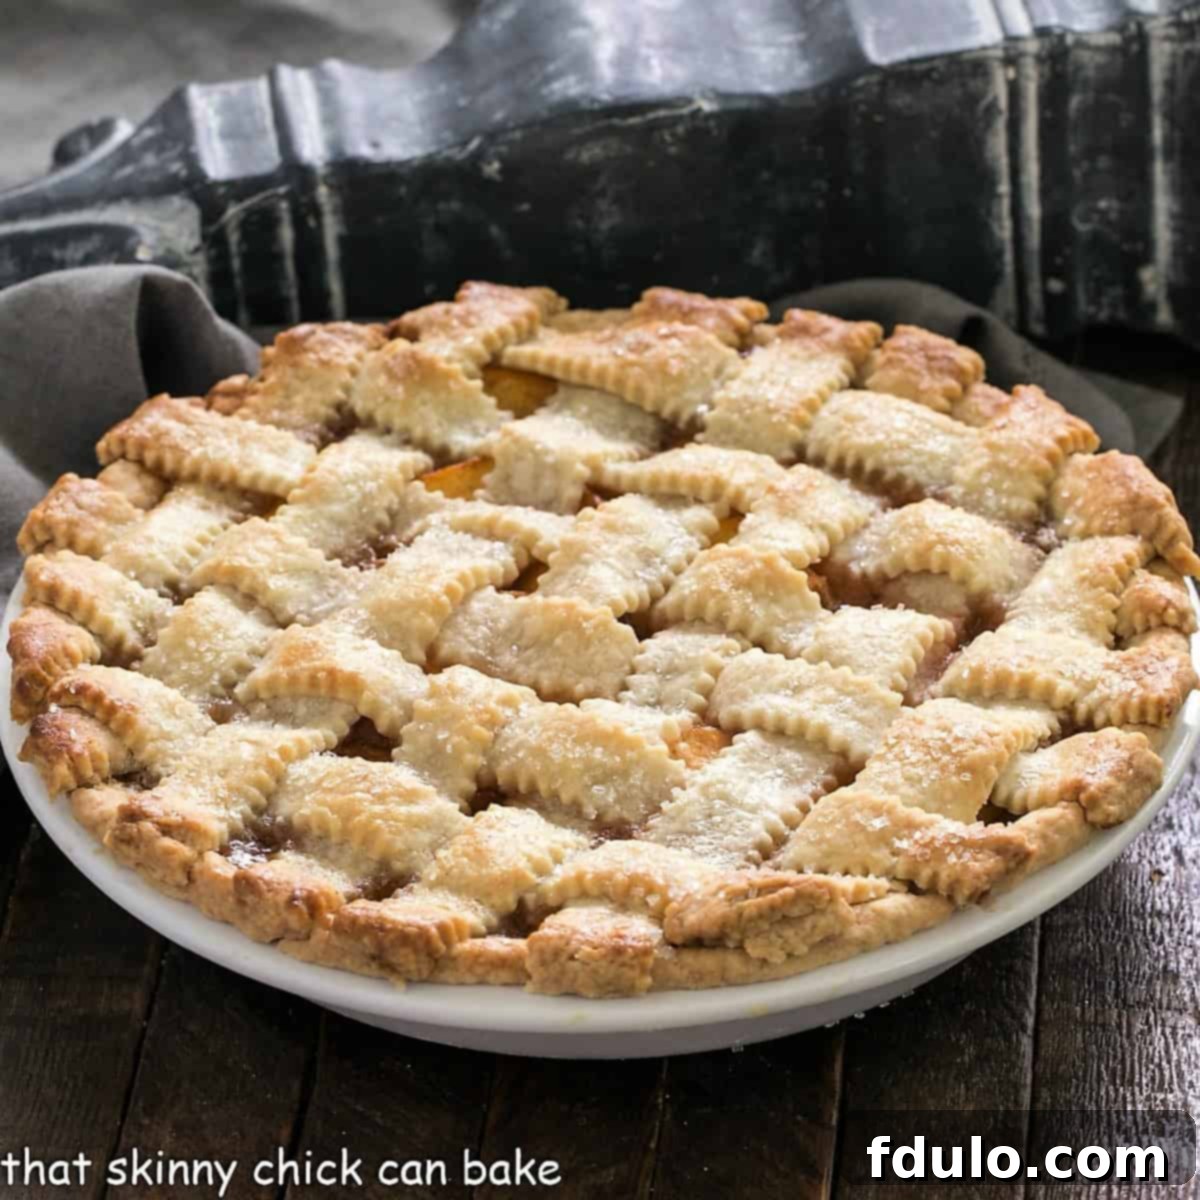
There’s nothing quite like the taste of summer, and for many, that means the sweet, sun-kissed flavor of fresh peaches. With succulent Georgia peaches now gracing our local produce stands, it’s the perfect time to celebrate this seasonal bounty with a truly special dessert. Today, we’re diving into the delightful art of crafting a Fresh Peach Pie, a timeless classic that brings warmth and joy to any table.
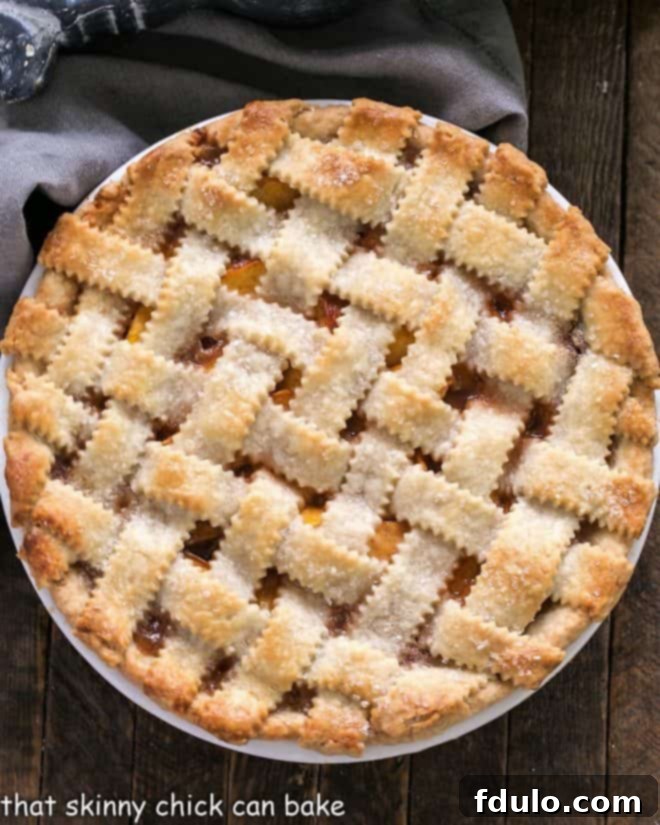
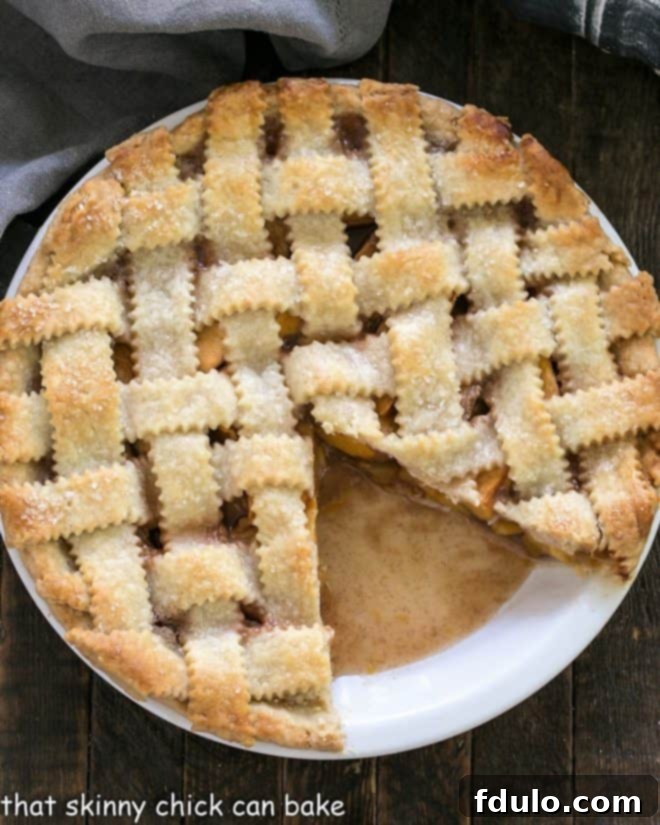
Elevating this rustic favorite is the elegant touch of a Lattice Pie Crust. More than just a topping, it’s a beautiful showstopper that hints at the juicy, spiced peach filling nestled within. This pie isn’t just delicious; it’s a feast for the eyes, making it the quintessential dessert when peaches are at their peak.
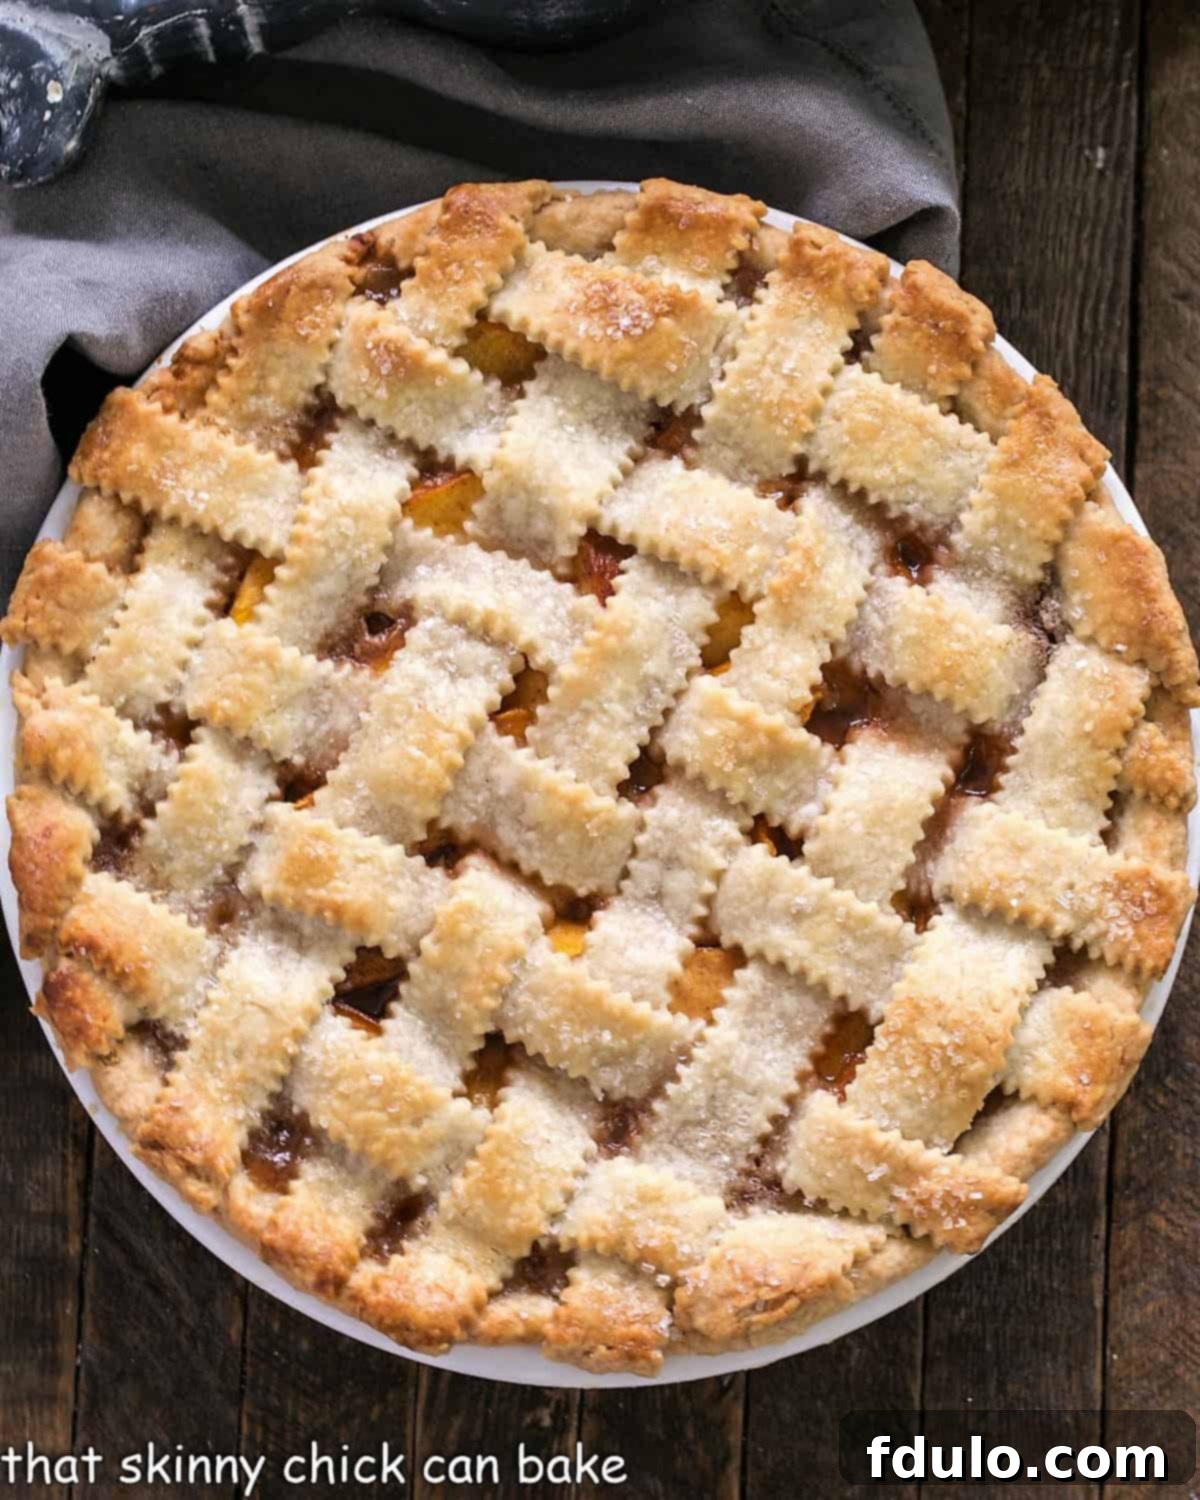
Why You Must Make This Classic Peach Pie
Few desserts evoke the comfort and taste of home quite like a freshly baked peach pie. This recipe isn’t just about making a pie; it’s about creating a memorable experience, a culinary masterpiece that captures the essence of summer in every bite. Here’s why this particular peach pie recipe deserves a spot in your baking repertoire:
- Unmatched Flavor with Seasonal Peaches: The foundation of any exceptional peach pie lies in the quality of its fruit. Using sweet, ripe local or Southern peaches ensures a filling bursting with natural flavor that simply cannot be replicated with off-season or canned alternatives. Their fragrant juiciness creates a deeply satisfying and aromatic experience.
- A Recipe That Earns Rave Reviews: While it might require a touch more effort than a simple batch of cookies, the reward is immeasurable. This isn’t just “a” peach pie recipe; it’s often hailed as the best, consistently garnering rave reviews from family and friends. The harmonious blend of sweet peaches and warm spices creates a truly irresistible dessert.
- The Impressive Lattice Pie Crust: A lattice crust transforms a humble pie into an artistic presentation. I began mastering this technique as a teenager, and while it might take a little practice, the visual impact is undeniably stunning. Each interwoven strip reveals glimpses of the golden, bubbling fruit below, adding an element of elegance that makes any occasion feel special. It’s a skill worth developing, and the compliments you’ll receive make every moment of effort worthwhile.
Ingredient Notes for the Perfect Peach Pie
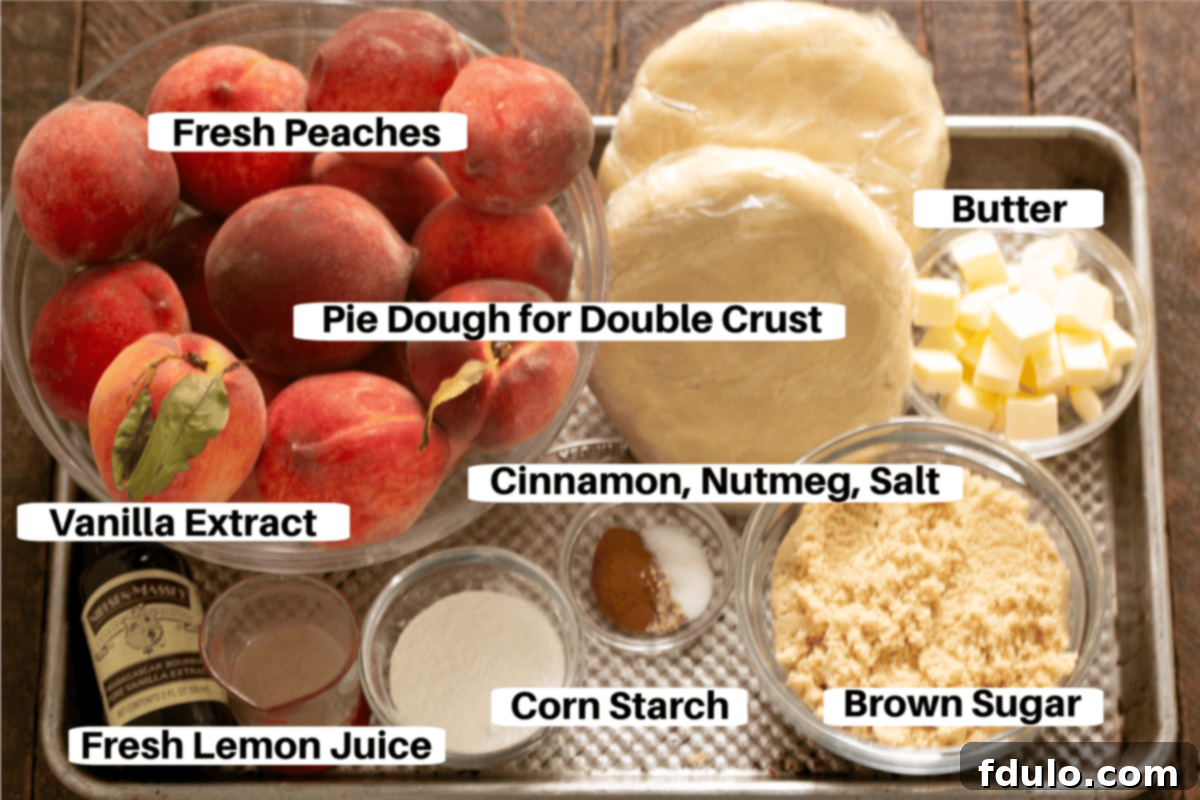
Crafting an exquisite peach pie begins with understanding your ingredients. Each component plays a vital role in achieving that perfect balance of flavor, texture, and aroma. Here’s a closer look at what you’ll need and why:
- Kitchen Staples: These foundational ingredients—table salt, butter, light brown sugar, ground cinnamon, and ground nutmeg—are essential for seasoning the peaches and enriching the crust. The brown sugar adds a deep, molasses-like sweetness that complements the peaches, while cinnamon and nutmeg provide that classic warm, comforting spice profile.
- Peaches – The Star of the Show: For truly exceptional results, use peaches at the peak of their season. They should be incredibly sweet, fragrant, and yield slightly to gentle pressure. Avoid any with green tinges or hard spots, as these indicate under-ripeness and won’t develop good flavor. Freestone peaches are generally easier to peel and slice, making your prep work smoother.
- Lemon Juice – A Brightening Touch: Always opt for freshly squeezed lemon juice. Bottled lemon juice lacks the vibrant, fresh acidity that balances the sweetness of the peaches and prevents the pie from tasting cloyingly sweet. It brightens the overall flavor profile beautifully.
- Cornstarch – The Essential Thickener: Cornstarch is crucial for thickening the peach juices as the pie bakes, ensuring a perfectly set filling that isn’t watery. If you don’t have cornstarch, quick-cooking tapioca is an excellent substitute, providing a similar effect without altering the flavor.
- Vanilla Extract – Aromatic Depth: Invest in real vanilla extract (brands like Nielsen-Massey are superb). Artificial vanilla simply doesn’t compare in terms of depth and complexity of flavor, which is vital in a fruit-forward dessert like peach pie.
- Pie Dough – The Flaky Foundation: You’ll need enough dough for a double crust. While my homemade recipe offers an unparalleled flaky texture, using a good quality grocery store pie crust is a perfectly acceptable shortcut. The key is to have a tender, buttery crust that complements the luscious filling.
How to Make Your Delectable Peach Pie
Making a peach pie is a delightful journey, from preparing the fruit to weaving the lattice and finally, enjoying the aromatic warmth of a freshly baked masterpiece. Follow these simple steps for a truly rewarding baking experience:


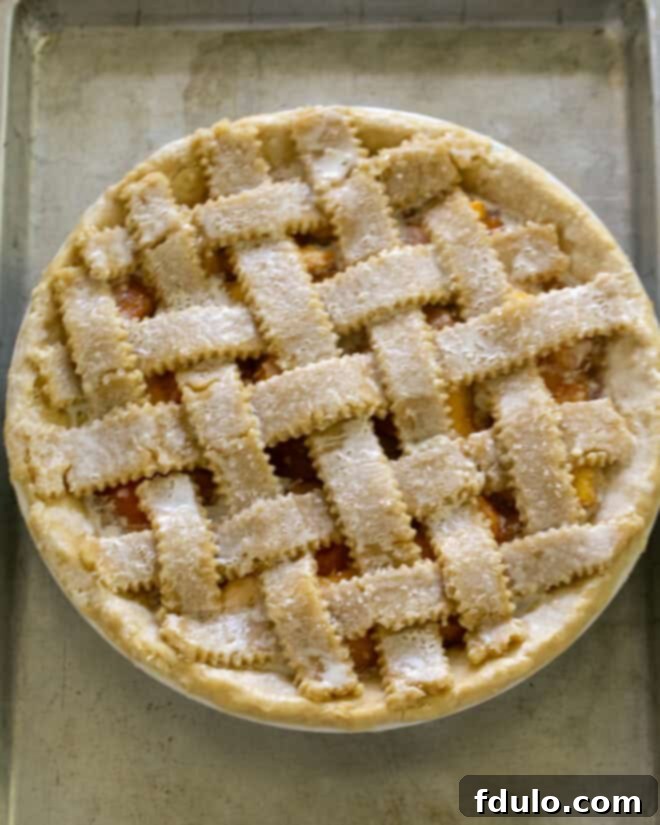
How to Make a Lattice Pie Crust Step-by-Step
A lattice crust is more than just a decorative element; it allows steam to escape while baking, preventing a soggy top crust, and lets the beautiful fruit and its bubbling juices peek through. It’s an art form that’s surprisingly accessible, and creating one is often easier than meticulously fitting a solid top crust with perfect steam vents. This recipe for a lattice-topped peach pie is your perfect opportunity to experiment and hone your skills! Remember, practice truly makes perfect, and in most homes, the taste always outweighs any aesthetic imperfections.
I’ve grown quite adept at avoiding the frustration of tearing or slashing unattractive steam vents. While some bakers opt for simpler strip arrangements, I personally adore the classic woven presentation created by carefully going over and under with each strip of dough. This intricate detail truly elevates the lattice-topped peach pie, transforming it into a special dessert that impresses every time.
Here’s a detailed guide to weaving your perfect lattice crust:
- Prepare Your Dough: Begin by rolling out one disk of your pastry dough into a round, just as you would for a traditional, solid top crust. Aim for about a 12-inch diameter and an ⅛-inch thickness. Ensure the dough is well-chilled but pliable enough to work with.
- Cut the Strips: Using a sharp knife or a pastry wheel, cut the rolled-out dough round into even strips. Aim for strips approximately ½ to ¾-inch wide. For a more dramatic effect, you can vary the width of some strips. Lay them out on a sheet of parchment paper or a lightly floured surface.
- First Layer (Horizontal): Gently transfer about half of your dough strips and lay them across the top of your peach filling, all in one direction. Start with shorter strips near the edges of the pie and use longer strips towards the center. Ensure there’s an even space between each strip, roughly the same width as your dough strips.
- Initiate the Weave: Now for the “tricky” but fun part! Fold back every other strip of dough that you just laid down. Fold them back halfway over themselves, so they are temporarily shorter and expose the peach filling.
- Place the First Vertical Strip: Take one of the longest remaining dough strips (from your unused pile) and place it perpendicularly over the exposed filling, right down the middle of the pie. Gently press it into place.
- Fold Back and Secure: Carefully fold the previously folded strips back over the new perpendicular strip. This secures the first vertical strip in place and begins the woven pattern.
- Repeat on One Side: Now, fold back the alternate set of horizontal strips (those that were not folded back in the previous step). Take another vertical strip and lay it parallel to the first vertical strip, next to it. Again, maintain consistent spacing.
- Continue Weaving: Fold the horizontal strips back over the new vertical strip. Repeat this process, folding back alternating horizontal strips and placing new vertical strips, working your way towards one side of the pie until half of your pie is covered with a woven crust.
- Complete the Other Side: Rotate your pie and repeat steps 7 and 8 on the other half of the pie, working from the center outwards. Be mindful of how many strips you have left and adjust spacing slightly if necessary to ensure an even finish.
- Finishing Touches: Once all strips are woven, trim any excess dough around the edges of the pie, leaving about a one-inch overhang. Press the top and bottom crusts together firmly to seal. You can then flute the edges decoratively using your fingers or a fork for a polished look.
If you’re looking for more detailed visual guidance, I highly recommend checking out Elise Bauer’s excellent tutorial on Simply Recipes. Her step-by-step photos can be incredibly helpful for beginners.
Of course, should you prefer, you are always welcome to use a traditional solid pastry top, or even a convenient store-bought crust. The most important thing is to take advantage of these glorious fresh peaches and treat someone you love to the heartwarming delight of a classic peach pie.

Baking and Serving Tips
Achieving the perfect bake is just as important as the preparation. Here are some pointers to ensure your peach pie turns out beautifully:
- Preventing a Soggy Bottom: To avoid a dreaded soggy bottom crust, blind bake your bottom crust for 10-15 minutes before adding the filling, especially if your peaches are particularly juicy. You can also sprinkle a thin layer of breadcrumbs or crushed cereal on the bottom crust before adding the filling to absorb excess moisture.
- Perfect Golden Crust: For a gorgeously golden-brown crust, brush the top (especially the lattice) with a little heavy cream or an egg wash (egg yolk mixed with a tablespoon of water) and sprinkle with a touch of sugar about halfway through baking. This creates a beautiful sheen and a slight crunch.
- Tent if Browning Too Quickly: If your crust starts to brown too much before the filling is cooked, lightly tent the pie with aluminum foil. This will protect the crust from burning while allowing the filling to continue cooking.
- Cooling is Key: It’s tempting to slice into a warm pie right out of the oven, but resist! Allowing the pie to cool completely (or at least for several hours) allows the filling to fully set. Slicing it too soon will result in a runny, messy pie.
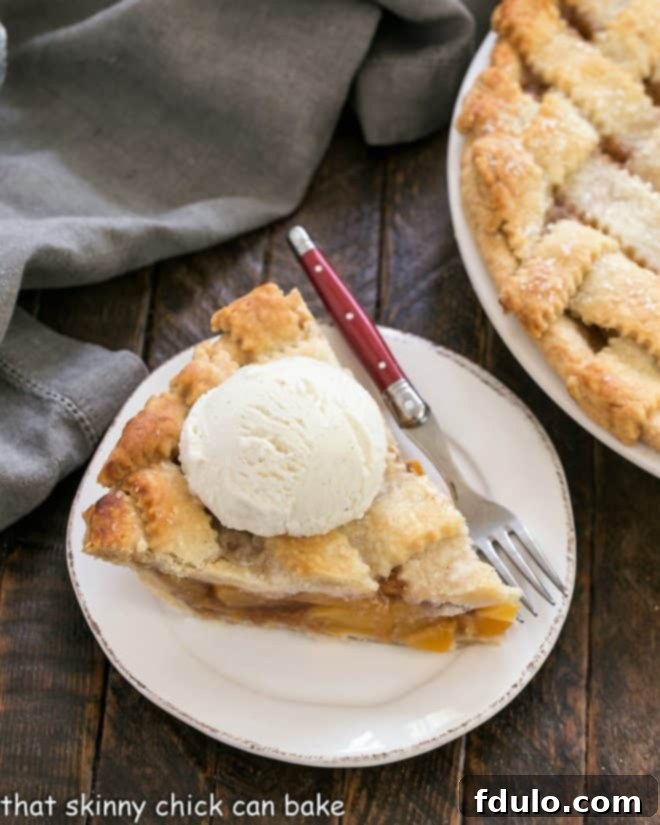
- Serving Suggestions: While heavenly on its own, a slice of warm peach pie truly shines when served à la mode with a scoop of premium vanilla bean ice cream. A dollop of freshly whipped cream or a drizzle of caramel sauce also makes for a delightful addition.
Frequently Asked Questions About Peach Pie
Selecting the right peaches is paramount for a flavorful pie. First, rely on your eyes: look for peaches without any green tinge, wrinkled skin (which can indicate over-ripeness or dehydration), or bruises. Green peaches picked too early will not ripen properly, so avoid them.
The darker, reddish skin on a peach is often called the “blush,” where it has been kissed by the sun. The lighter areas should be yellow or white, depending on the peach variety. Crucially, these lighter areas, especially around the stem, should be free of any green.
Next, pick them up. A ripe peach should feel surprisingly heavy for its size and offer a slight, gentle give when softly squeezed in the palm of your hand. Avoid pressing with your fingers, as this can easily bruise the delicate fruit.
Most importantly, a good peach should smell like a peach! It should have a sweet, distinct aroma that promises the flavor you desire. A lack of smell often indicates that the peach was picked too soon and might never fully develop its taste.
Peeling peaches can be a breeze with the blanching method. Boil a large pot of water. While it heats, cut a very shallow “X” through the peach’s skin on the side opposite the stem. Carefully lower a few peaches into the boiling water and let them simmer for just 30-45 seconds. Immediately transfer them to a bowl of ice water to stop the cooking process and cool them down. The skins should then slip off easily using a small knife or your fingers. Note: if your peaches are still hard (unripe), the peels might remain stubbornly attached even after blanching.
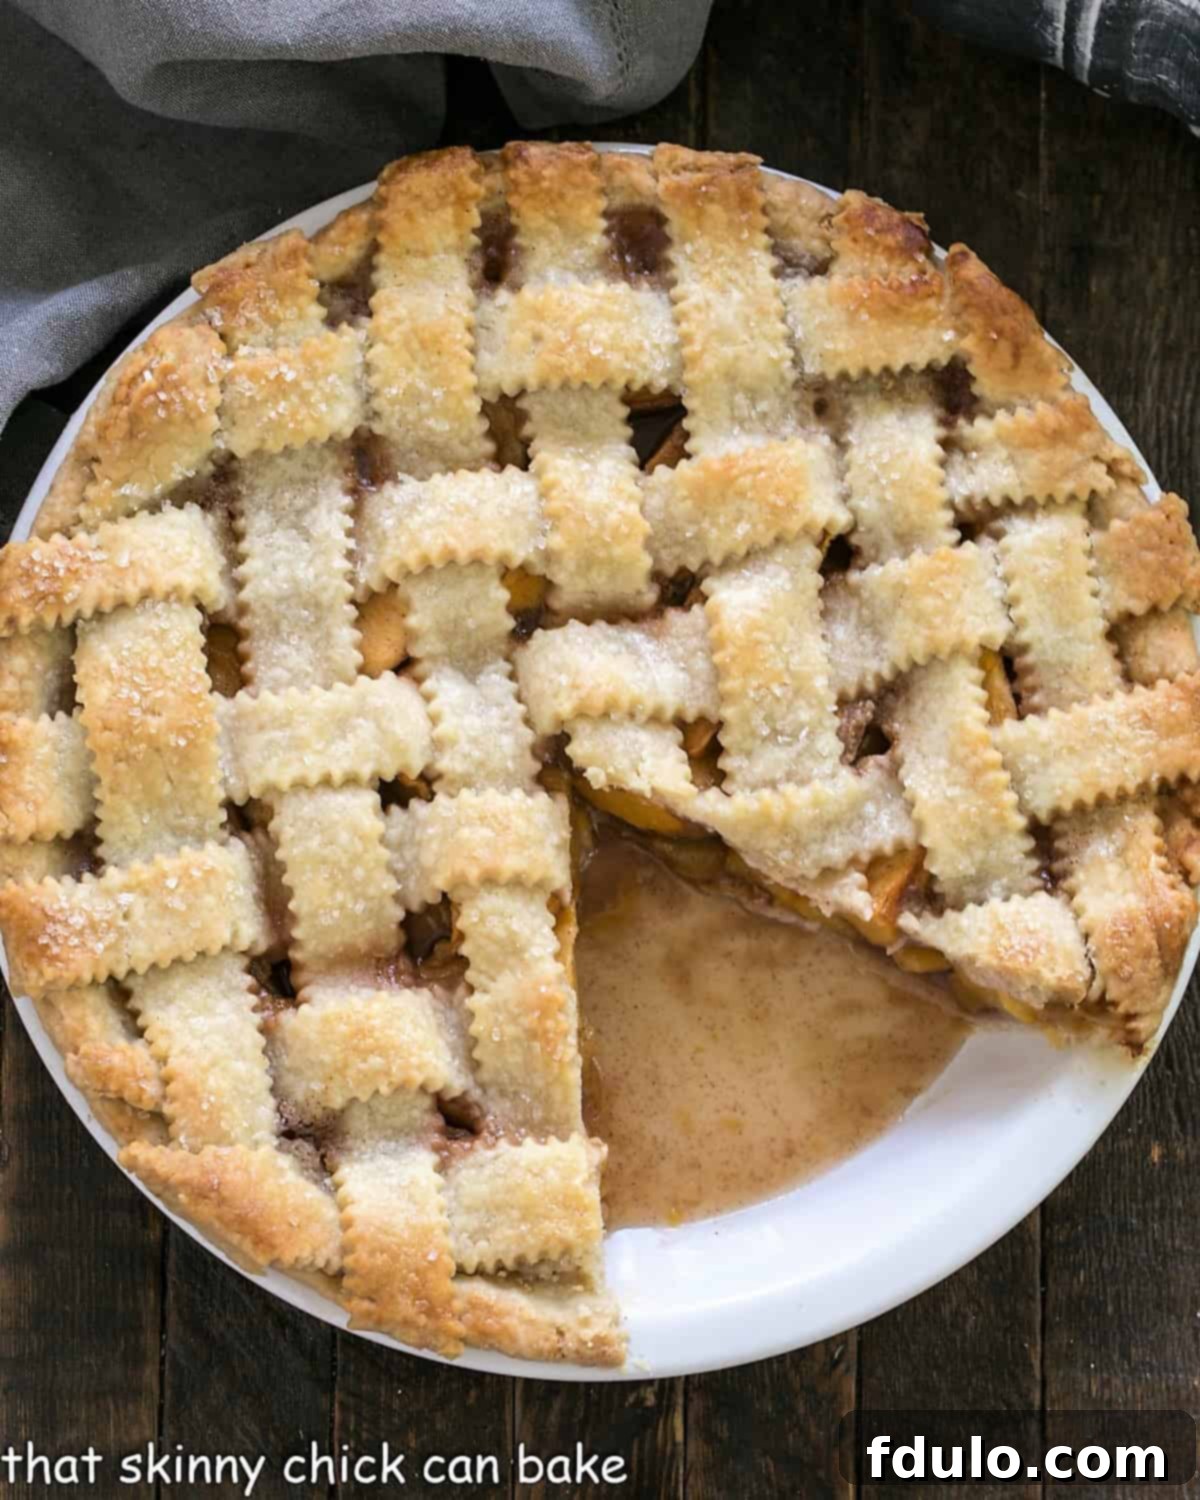
Baking times can vary depending on your oven and pie dish, but typically, a peach pie bakes for about 60-70 minutes. Use the recipe as a primary guide, but always look for visual cues. The key indicator that your pie is done is when the filling in the center begins to bubble vigorously. This is where a lattice crust proves incredibly handy, as those openings allow you to clearly see the filling. The bubbling means the juices have reached a high enough temperature to activate the cornstarch (or tapioca), ensuring a perfectly thickened filling. Even if the timer goes off, it’s imperative to confirm that bubbling action before removing the pie from the oven.
While the quest for the “perfect” pie crust is ongoing for many bakers, some recipes come exceptionally close. My preferred homemade recipe, referenced in this article, uses a combination of both butter and leaf lard. Leaf lard, which undergoes a special rendering process, is renowned for creating an incredibly flaky and tender crust. For this particular peach pie, I often substitute shortening for leaf lard, and it still produces wonderfully tender and flaky results. Feel free to explore my Pumpkin Pie recipe for a detailed guide to this versatile crust.
A soggy bottom crust is a common pie pitfall, but easily avoidable! Ensure your pie crust is well-chilled before filling. You can also blind bake the bottom crust for 10-15 minutes at 375°F (190°C) before adding the filling. Another trick is to sprinkle a thin layer of breadcrumbs, crushed cornflakes, or even ground nuts on the bottom of the crust before adding the peach mixture. These absorb excess moisture released by the fruit during baking.
Yes, absolutely! If fresh peaches aren’t in season, high-quality frozen peaches are a great alternative. Thaw them completely, then drain off any excess liquid before using them in the filling. You might need to add a touch more cornstarch (or tapioca) to account for any additional moisture from the frozen fruit.
You May Also Like:
- Best Summer Dessert Recipes – Explore more delightful treats perfect for the warmer months.
- Blueberry Peach Custard Pie – A creamy twist on a classic, combining two beloved fruits.
- Lattice Topped Raspberry Pie – Apply your lattice skills to another vibrant fruit pie.
- More Dessert Recipes – A wide array of sweet indulgences to satisfy any craving.

Classic Peach Pie with a Lattice Crust Recipe
30 minutes
1 hour
1 hour 30 minutes
8 servings
A classic peach pie recipe featuring the freshest peaches and a harmonious blend of warm spices! The elegant lattice crust adds a sophisticated touch, making this pie a true summer showstopper.
Rating: 5 out of 5 stars (Based on 67 reviews)
Ingredients
- Pastry for a double crust pie
- 2 ½ pounds peaches, peeled and sliced
- ¾-1 cup light brown sugar (adjust based on the sweetness of your peaches)
- Juice of ½ lemon (freshly squeezed for best flavor)
- 2 tablespoons cornstarch (or quick-cooking tapioca)
- ½ teaspoon vanilla extract (use real vanilla for best results)
- ½ teaspoon cinnamon
- A few grates of fresh nutmeg or ⅛ teaspoon ground nutmeg
- ¼ teaspoon salt
- 4 tablespoons unsalted butter, cut into small pieces (optional, but adds richness)
- Heavy cream (for brushing crust, optional)
- Granulated sugar (for sprinkling on crust, optional)
Instructions
- In a large bowl, combine the sliced peaches with the brown sugar, lemon juice, cornstarch (or tapioca), vanilla, cinnamon, nutmeg, and salt. Gently toss until the peaches are evenly coated. Set aside and let stand for 10-15 minutes to allow juices to form.
- On a lightly floured surface, roll out one piece of your pastry dough into a 12-inch circle, approximately ⅛-inch thick. Keep the other dough disk refrigerated until needed.
- Carefully fit the rolled dough into a 9-inch pie plate, allowing the edges to hang over. Pour the peach mixture into the prepared bottom crust, spreading it evenly. Dot the top of the filling with the small pieces of butter, if using.
- Roll out the second piece of dough. You can either place this as a solid top crust (making a few air vents with a knife) or cut it into strips and weave a lattice crust following the detailed instructions above. Once the top crust is in place, press the edges of both crusts together firmly and trim, leaving about a one-inch overhang.
- Flute the edges to create a decorative seal, ensuring the filling is completely enclosed (if using a solid top crust, remember to make a few air vents with a knife).
- Chill the pie in the refrigerator for at least 30 minutes. Meanwhile, preheat your oven to 450ºF (230ºC).
- After chilling, reduce the oven temperature to 375ºF (190ºC). Place the pie on a foil-lined baking sheet (to catch any potential drips) and bake for 30 minutes.
- After 30 minutes, if desired, brush the visible crust with heavy cream and sprinkle lightly with granulated sugar. Continue baking for another 30-40 minutes, or until the crust is golden brown and the filling in the center is visibly bubbling, indicating it’s thoroughly cooked and thickened.
- Remove the pie from the oven and cool completely on a wire rack before slicing and serving. This allows the filling to set properly. Serve warm with vanilla ice cream, if desired.
Notes
Recipe adapted from Food Network Magazine.
If your pie dough becomes too soft or difficult to handle while rolling or weaving, simply chill it in the refrigerator for another 15-20 minutes. A little extra flour on your work surface can also help prevent sticking.
For a reliable homemade pie crust, consider using the recipe from my Pumpkin Pie Recipe. You can easily substitute shortening for the leaf lard if preferred.
Recommended Products
As an Amazon Associate and member of other affiliate programs, I earn from qualifying purchases.
- French Rolling Pin
- Ceramic Pie Plate
- Roul’Pat Silicone Counter Mat
Nutrition Information:
Yield:
8
Serving Size:
1 slice
Amount Per Serving:
Calories: 289
Total Fat: 11g
Saturated Fat: 6g
Trans Fat: 0g
Unsaturated Fat: 4g
Cholesterol: 25mg
Sodium: 203mg
Carbohydrates: 47g
Fiber: 3g
Sugar: 37g
Protein: 3g
HOW MUCH DID YOU LOVE THIS RECIPE?
Please leave a comment on the blog or share a photo on Pinterest
I understand the joy of baking for loved ones. After several decades of marriage, I’ve learned all of my husband’s food preferences by heart. With a container of leaf lard* in the freezer—known for creating the flakiest, most exquisite crust—and a bounty of ripe Georgia peaches at my disposal, it was unequivocally time for the season’s inaugural peach dessert. There’s a special kind of excitement when fresh peaches make their appearance at local farmstands, signaling the start of prime baking season. While crisps and cobblers will certainly have their moment, the classic peach pie holds a unique charm. Let me tell you, my husband, Bill, was absolutely thrilled after his very first bite of this classic peach pie, a testament to the simple yet profound pleasure of homemade baking.
Stay in touch through social media @ Instagram, Facebook, and Pinterest. Don’t forget to tag me when you try one of my recipes! And if you love the results, please give it a 5-star rating in the recipe card.
*Those in the Indianapolis area can purchase high-quality leaf lard at Moody’s Butcher Shops. The lard commonly found in most grocery stores today often doesn’t match the superior quality and flakiness that your grandmother would have used.
