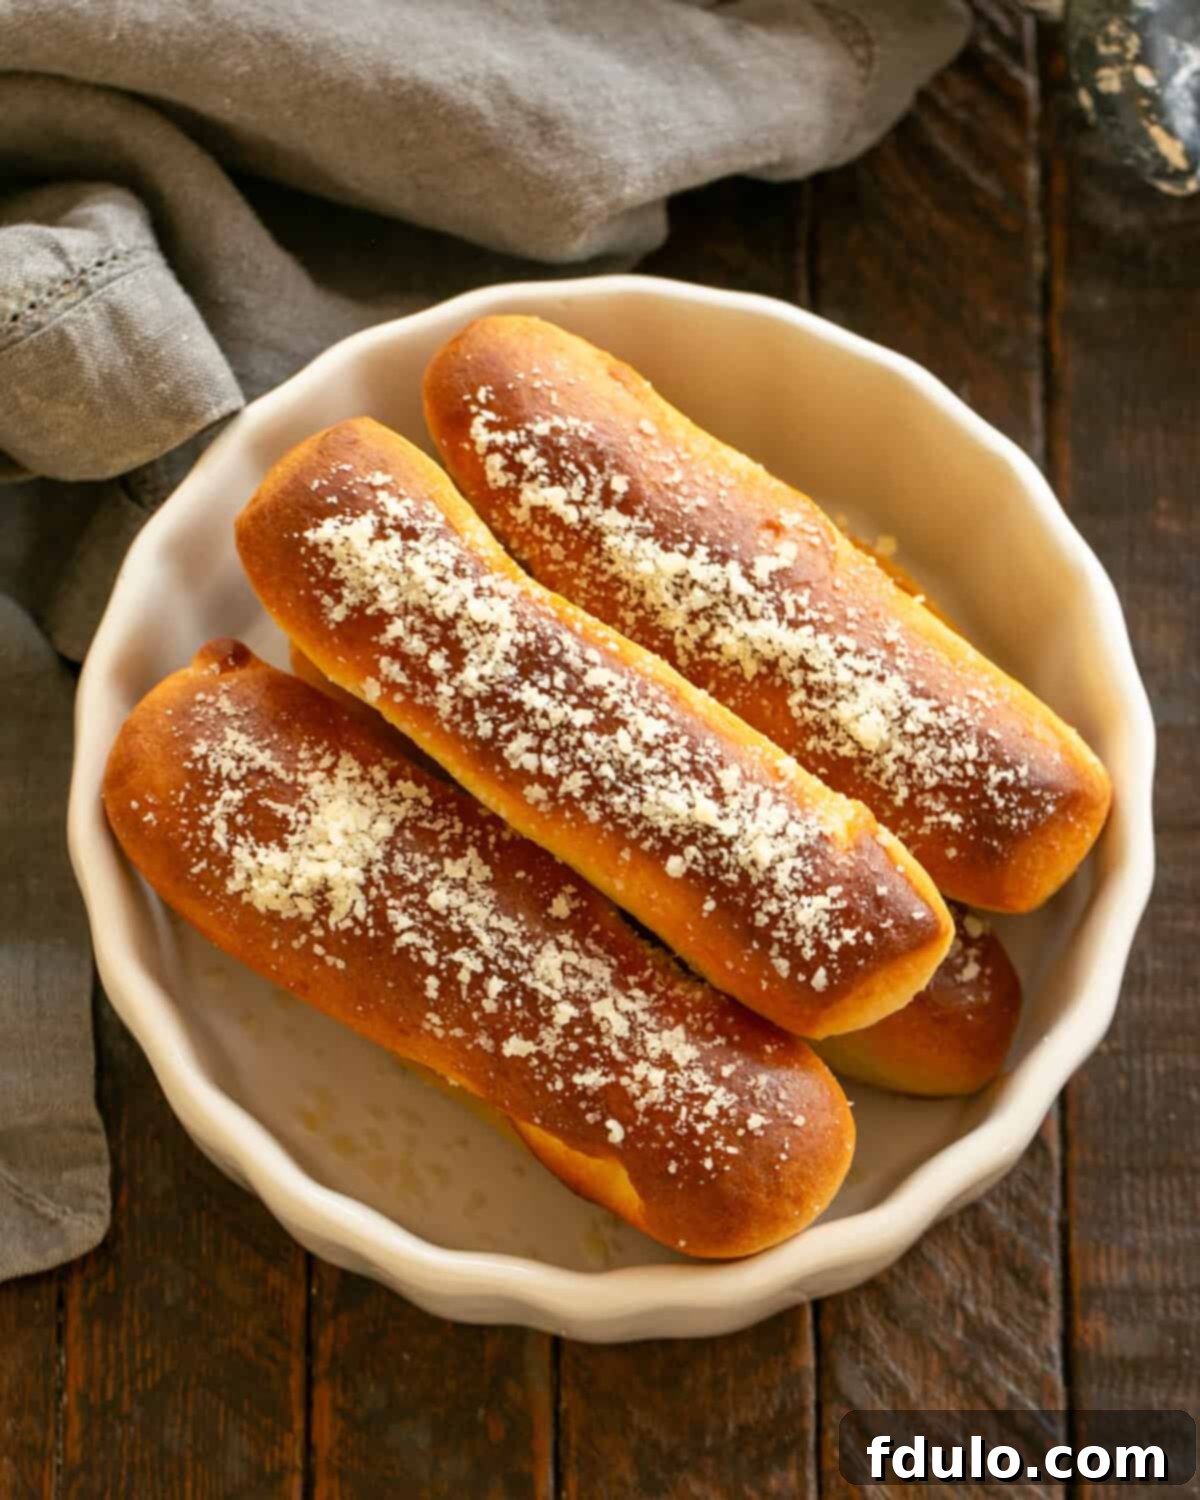
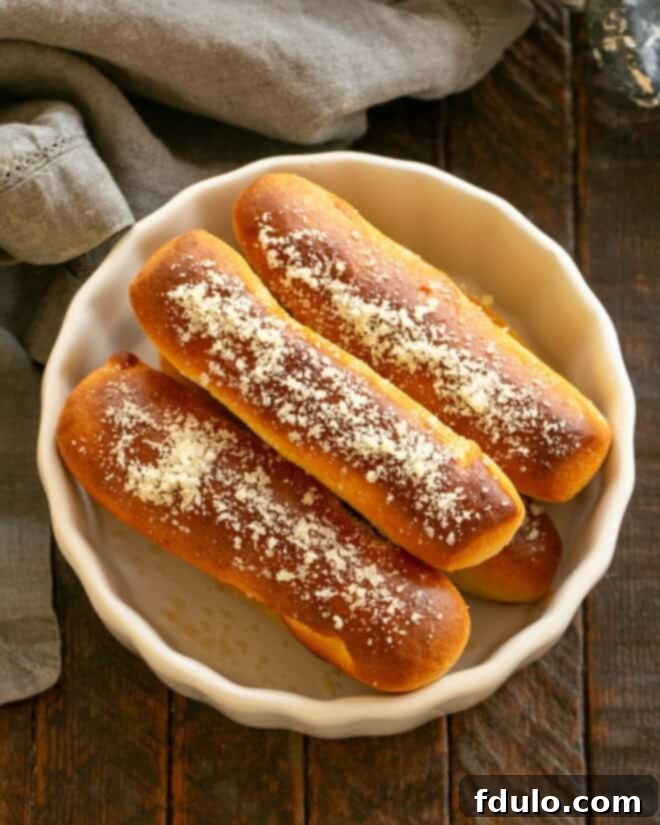
An Easy Breadsticks Recipe is a delightful addition to almost any meal, transforming an ordinary dinner into something special! These homemade breadsticks are crafted from a soft, yeast dough, meticulously proofed, and then baked to golden perfection. Each warm, fluffy breadstick is generously brushed with savory garlic butter and sprinkled with grated Parmesan cheese, creating an irresistible aroma and flavor that will captivate everyone at your table.
These magnificent Homemade Breadsticks have a reputation for disappearing fast! I recently served them to my book club, and they were an instant hit, receiving enthusiastic compliments. Later, my husband, Bill – who is notoriously picky about his food – single-handedly devoured the remaining batch. He couldn’t get enough! Many guests even remarked that they tasted as good as, if not better than, the famously popular Olive Garden Breadsticks. Once you try this recipe, you might just find yourself agreeing.

Why These Homemade Breadsticks Are a Must-Make
There’s an undeniable magic to homemade yeast bread, and these breadsticks are no exception. Beyond their incredible taste, there are countless reasons why this recipe deserves a permanent spot in your culinary repertoire:
- Unforgettable Aroma and Flavor: There’s truly nothing better than the comforting scent of freshly baked yeast bread wafting through your kitchen. As these breadsticks bake, the aroma alone is enough to make your mouth water, building anticipation for the soft, flavorful treat to come. The delicate balance of yeast, enriched dough, and the subsequent garlic butter and Parmesan topping creates a sensory experience that store-bought versions simply cannot replicate.
- Versatile Pairing for Any Occasion: These breadsticks are incredibly versatile, making them the perfect accompaniment for a wide array of meals. They are absolutely essential for a homemade pizza night, providing that authentic Italian restaurant feel. Beyond pizza, they pair wonderfully with any Italian entree, elevating classics like spaghetti and meatballs, hearty lasagna, cheesy baked ziti, or delicate ravioli. Don’t limit them to Italian fare; they’re also fantastic alongside a warm bowl of soup, a crisp garden salad, or even a robust chili. Imagine dipping one into a rich marinara sauce!
- A Family Favorite: Both kids and adults alike will fall in love with these soft, buttery breadsticks. Their inviting texture and familiar flavors make them an instant hit, even with the pickiest eaters. They’re easy for little hands to hold and perfect for dipping, making mealtime more fun and engaging for everyone. Expect requests for seconds, and even thirds!
- Guaranteed Rave Reviews: When I hosted my book club this month, these breadsticks were a standout hit, served as part of an Easy Salad Bar at Home. I received countless rave reviews, and the ultimate compliment came when a couple of friends genuinely asked where I had purchased them! That’s how good they are – so delicious, they’re often mistaken for professional bakery quality. Preparing them from scratch allows you to control the quality of ingredients, ensuring a fresh and superior taste every time.
- Simple Yet Rewarding: While baking with yeast might seem intimidating to some, this recipe is designed to be straightforward and accessible. The steps are clear, and the process is incredibly rewarding, yielding a product that tastes far more complex than the effort it requires. It’s a fantastic way to enjoy the art of baking without undue stress.
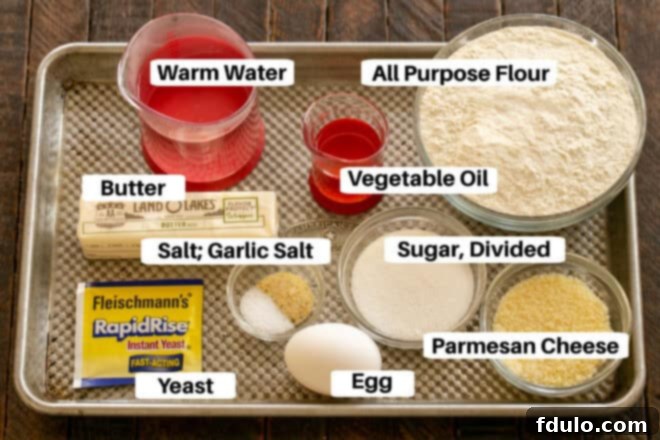
Essential Ingredients for Perfect Breadsticks
Crafting the best homemade breadsticks starts with high-quality ingredients. Here’s a closer look at what you’ll need and why each component is vital:
- Kitchen Staples: These fundamental ingredients form the backbone of your dough.
- Sugar: Not just for sweetness, sugar provides essential food for the yeast, helping it activate and thrive, which is crucial for a good rise. We’ll use it divided between activating the yeast and incorporating into the main dough.
- All-Purpose Flour: The primary structural component of your breadsticks. While all-purpose flour works beautifully, ensure you measure it correctly – spooning it into a measuring cup and leveling it off, rather than scooping directly from the bag, prevents over-measuring and a dense dough.
- Warm Water: Absolutely critical for activating the yeast. The water needs to be warm, not hot (which kills the yeast) and not cold (which inhibits activation). Aim for a temperature between 105-115°F (40-46°C).
- Salt: Essential for flavor balance, salt also helps control the yeast activity and strengthens the gluten structure in the dough. Don’t skip it!
- Dry Active Yeast: This is the leavening agent that makes your breadsticks light and airy. Use one standard package (.25 ounces or 2¼ teaspoons). Always double-check the expiration date on your yeast package before beginning. Expired yeast will not activate, resulting in a flat, dense dough. Fresh yeast guarantees a beautiful, fluffy rise.
- Vegetable Oil: Incorporating vegetable oil (such as canola oil, which I typically keep on hand) into the dough contributes to a softer texture and adds a subtle richness. It also helps with the dough’s elasticity and prevents it from drying out during the rising process.
- Egg: A single egg adds moisture, richness, and contributes to the dough’s tender crumb and golden-brown crust. For easier incorporation into the dough, ensure your egg is at room temperature. You can quickly warm it by placing it in a bowl of warm water for a few minutes.
- Butter (Melted): Used for the irresistible topping. I prefer using salted butter for an extra layer of flavor, but unsalted butter works just as well – you might just want to adjust the garlic salt slightly.
- Garlic Salt: This seasoning provides that classic savory garlic kick. It’s a convenient blend of garlic powder and salt, perfect for sprinkling over the buttery breadsticks. If you prefer, you can use garlic powder and a pinch of fine sea salt separately.
- Parmesan Cheese: For the ultimate topping, opt for genuine grated Parmigiano-Reggiano cheese. Its nutty, savory flavor and fine texture are far superior to the pre-grated varieties found in green cans on grocer’s shelves. The fresh Parmesan melts slightly into the warm garlic butter, creating a heavenly crust.
Step-by-Step Guide to Crafting Perfect Homemade Breadsticks
Creating these delectable breadsticks is a rewarding process. Follow these detailed steps to ensure perfectly soft, flavorful results every time:
Pro Tips for Bakery-Quality Breadsticks Every Time
Achieving perfect, fluffy breadsticks is easier than you think with these expert tips:
- Check Your Yeast’s Vitality: This is arguably the most crucial step! Before you start mixing any other ingredients, always ensure your yeast is fresh and active. Check the expiration date on the package. If the yeast doesn’t foam up in the warm water and sugar mixture after 5-10 minutes, it’s likely dead or inactive, and your dough won’t rise. It’s best to discard it and start with a fresh packet.
- PRO-Tip: The Goldilocks Zone for Water Temperature: When proofing your yeast, the water should be warm, but never boiling or too hot. Very hot water (above 120°F/49°C) will kill the yeast, preventing it from activating. Conversely, water that’s too cold will inhibit yeast activity, leading to a sluggish or non-existent rise. Aim for a temperature between 105°F and 115°F (40-46°C). If you don’t have a thermometer, it should feel comfortably warm to the touch, like a baby’s bath water, not hot.
- PRO-Tip: Optimize Your Proofing Environment: The ideal temperature for dough to rise (proof) is around 85°F (29°C). Many newer ovens come with a convenient “proof” setting, which creates the perfect warm, draft-free environment. If your oven doesn’t have this feature, don’t worry! You can create a warm spot by turning your oven on to its lowest setting (around 170°F/77°C) for just a minute or two, then turning it off. Place the covered dough inside the slightly warm oven. Alternatively, find a sunny spot in your kitchen or place the bowl near a warm appliance. Avoid drafty areas, as cold air can shock the yeast and hinder the rise.
- Customizing Your Flavor: If you’re not a fan of garlic or prefer a milder flavor, you can easily adjust the topping. Simply brush your baked breadsticks with plain melted butter before dusting them with Parmesan cheese. For an herb-infused twist, mix dried Italian herbs (like oregano, basil, or parsley) into the melted butter along with a pinch of salt instead of garlic salt.
- Don’t Over-Knead, Don’t Under-Knead: Kneading develops the gluten, which gives bread its structure and chewiness. Under-kneading will result in a dense, crumbly breadstick, while over-kneading can make it tough. The dough is perfectly kneaded when it’s smooth, elastic, and springs back slowly when you gently poke it with a finger.
- Prevent Over-Baking: Keep a close eye on your breadsticks as they bake. They should be golden brown, not dark brown or burnt. Over-baking can dry them out, making them hard instead of soft and tender.
- Storage and Reheating: These breadsticks are best enjoyed fresh. However, if you have leftovers, store them in an airtight container at room temperature for up to 2-3 days. To reheat, simply warm them in a toaster oven or conventional oven at 300°F (150°C) for a few minutes until soft and warm.
- Freezing for Future Enjoyment: You can freeze baked breadsticks! Once completely cooled, place them in a freezer-safe bag or container and freeze for up to 2 months. Thaw at room temperature and reheat as directed above. For a quicker option, you can even freeze the unbaked dough ropes. After shaping, arrange them on a baking sheet, freeze until solid, then transfer to a freezer bag. When ready to bake, place frozen ropes on a greased baking sheet, let rise at room temperature for 1-2 hours (or until doubled), then bake as usual, possibly adding a few extra minutes to the baking time.
Frequently Asked Questions About Homemade Breadsticks
This recipe was submitted by Kandilynn on All Recipes, who specifically mentioned their similarity to Olive Garden’s famous breadsticks. While I haven’t personally tried the Olive Garden version, I can confirm that these homemade breadsticks are incredibly soft, buttery, and packed with savory garlic and Parmesan flavor – a combination that generally earns them comparisons to beloved restaurant-style breadsticks. Many of my guests have given them the highest praise, so I encourage you to try them and compare for yourself!
These versatile breadsticks are truly perfect with almost anything! They’re a classic accompaniment for a wide range of Italian entrees, including hearty lasagna, comforting spaghetti and meatballs, cheesy baked ziti, or delicate ravioli. When I made these for my book club, I served them alongside a vibrant do-it-yourself salad bar, and they were a huge hit. They’d also be wonderfully delicious with a warm, comforting bowl of soup – think creamy tomato soup, robust minestrone, or a savory chicken noodle. Don’t limit yourself; they’re also fantastic dipped in hummus, served with a charcuterie board, or even as a simple snack on their own. The possibilities are endless!
Absolutely! Using a stand mixer with a dough hook attachment can make the kneading process effortless. Combine your ingredients in the mixer bowl and knead on low speed for 6-8 minutes, or until the dough is smooth and elastic, pulling away from the sides of the bowl. This method saves time and effort, ensuring perfectly kneaded dough every time.
There are a few common reasons why dough might not rise properly. The most frequent culprit is inactive or expired yeast; always check the expiration date and ensure it foams up when activated. The water temperature for proofing the yeast is also critical – if it’s too hot, it kills the yeast; if too cold, the yeast won’t activate. Ensure your proofing environment is warm and draft-free. Lastly, ensure you’re using fresh ingredients and that your flour isn’t too old.
Explore More Homemade Bread Recipes
If you loved making these breadsticks, you might enjoy trying some of my other favorite bread recipes:
- Braided Challah Bread: A beautiful, rich, and slightly sweet bread, perfect for special occasions or everyday enjoyment.
- Irish Soda Bread: A quick and easy rustic bread that requires no yeast, ideal for a last-minute addition to any meal.
- Classic Oatmeal Bread: A wholesome and hearty bread with a delightful texture and subtle sweetness from oats.
- Homemade Bagels: Master the art of chewy, delicious bagels with this satisfying recipe.
- Discover all my Best Bread Recipes for a variety of baking adventures!
Stay in touch through social media @ Instagram, Facebook, and Pinterest. Don’t forget to tag me when you try one of my recipes! And if you love the results, please give it a 5-star rating in the recipe card below.
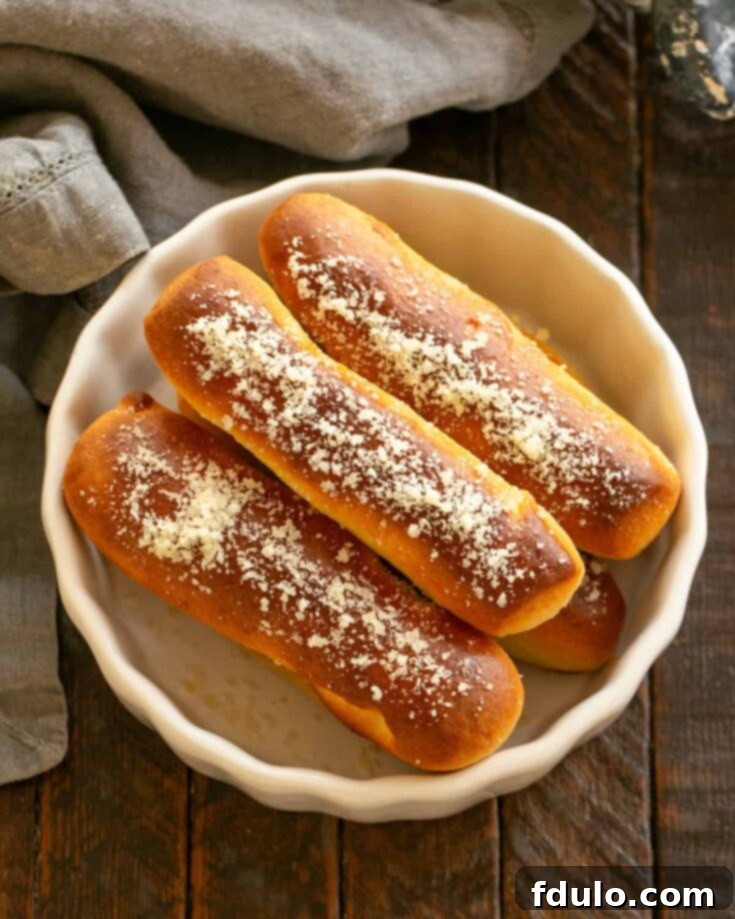
Homemade Garlic Parmesan Breadsticks Recipe
20 minutes
10 minutes
40 minutes
1 hour 10 minutes
16 delicious breadsticks
Soft, fluffy homemade breadsticks with an irresistible garlic butter and Parmesan topping. Perfect for any meal!
Ingredients
- 2 ½ tablespoons white sugar, divided
- 1 (.25 ounce) package active dry yeast
- 1 cup warm water, divided
- 3 cups all-purpose flour
- 3 tablespoons vegetable oil
- 1 large egg, at room temperature
- ½ teaspoon salt
- ½ cup butter, melted
- ½ teaspoon garlic salt
- ¼ cup freshly grated Parmesan cheese
Instructions
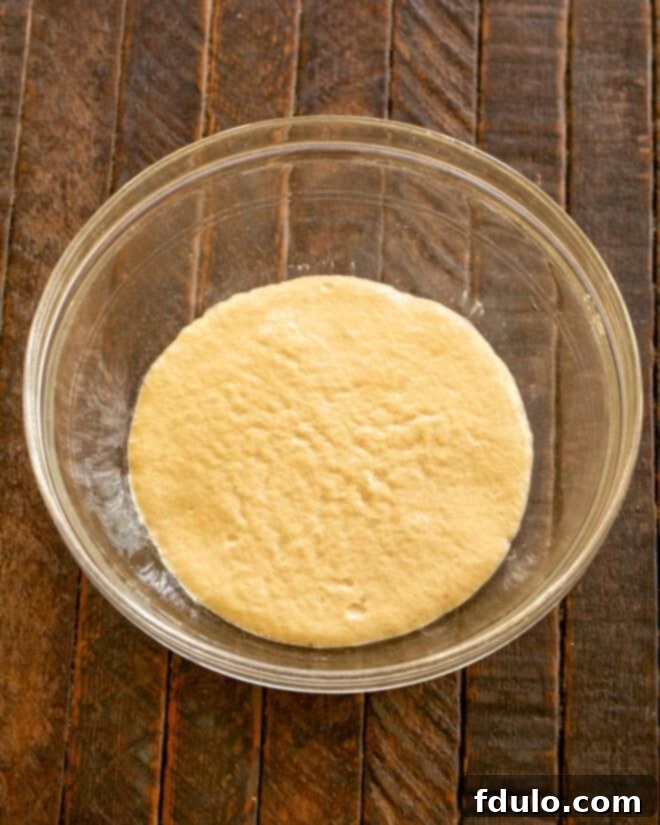
- Dissolve 1 ½ teaspoons sugar and active dry yeast in ½ cup warm water in a large mixing bowl. Let stand until the yeast softens and begins to form a creamy foam, about 5 minutes, indicating it’s active.
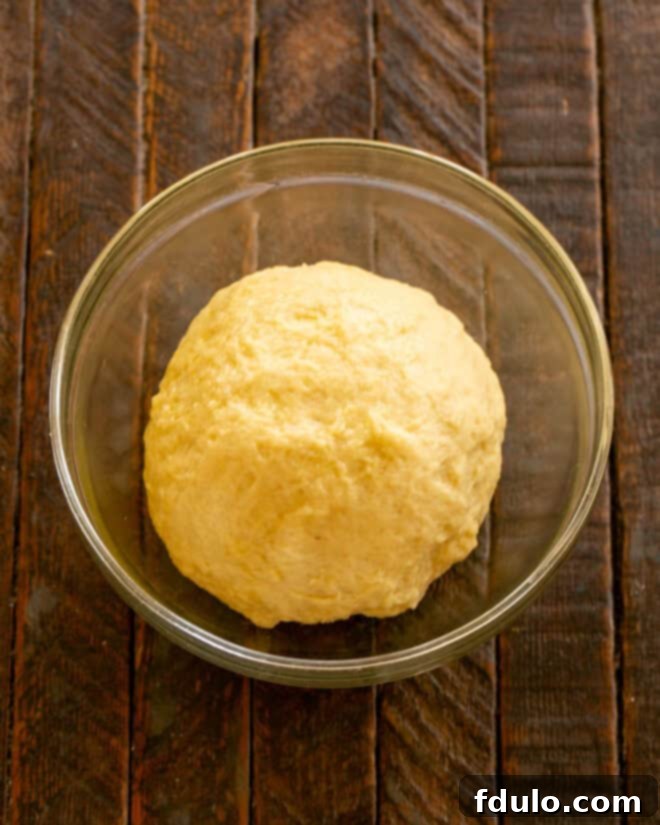
- Add the flour, vegetable oil, room temperature egg, ½ teaspoon salt, the remaining 1 tablespoon of sugar, and the remaining ½ cup warm water into the yeast mixture. Beat until a smooth dough forms, adding more flour if needed (1-2 tablespoons at a time) to achieve a soft, pliable dough. Turn the dough onto a lightly floured work surface; knead by hand for 6 to 8 minutes, or until the dough is smooth and elastic.
- Place the kneaded dough in a lightly greased bowl, turning it once to coat the entire surface with oil. Cover the bowl with a damp towel or plastic wrap and place in a warm, draft-free area until the dough is doubled in size, approximately 40 minutes.
- While the dough is rising, lightly grease a large baking sheet (or two if needed for spacing).
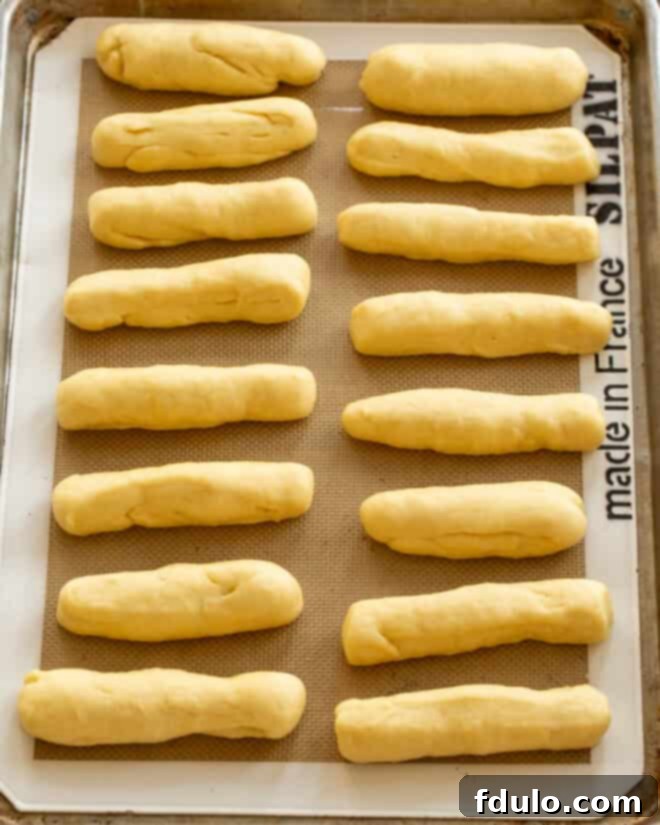
- Once the dough has doubled, gently punch it down to release the air. Turn the dough onto a lightly floured work surface. Divide the dough into 16 to 18 equal pieces and shape each piece into a 6-inch long rope.
- Arrange the shaped dough ropes on the prepared baking sheet(s), ensuring they are about 2 inches apart. Cover again with a towel or plastic wrap and let them rise in a warm spot until doubled in size, about 20-25 minutes.
- Preheat your oven to 400°F (200°C) during the second rise. Once preheated and the breadsticks have risen, gently remove the cover from the dough.
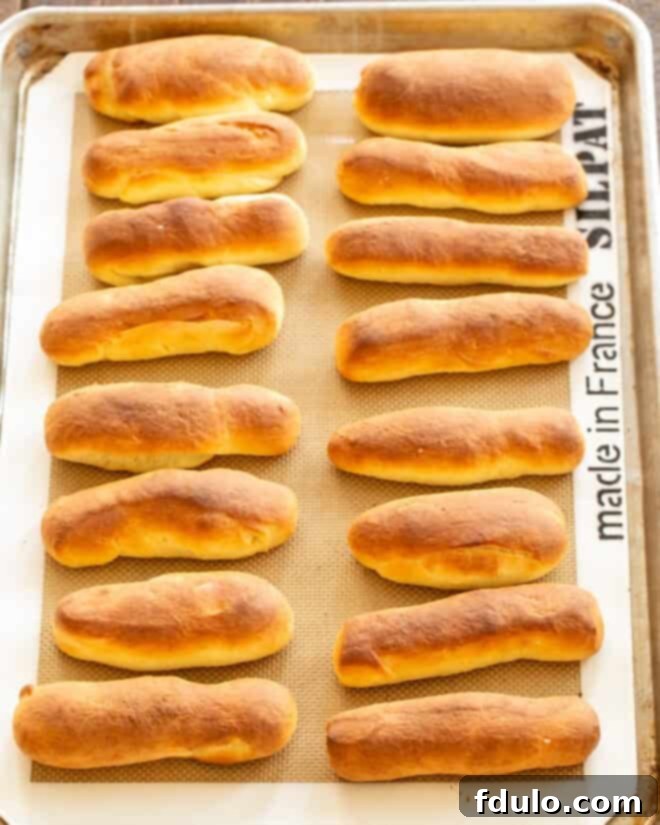
- Bake the breadsticks in the preheated oven for 10 to 12 minutes, or until they are golden brown and cooked through. Watch carefully to avoid over-baking.
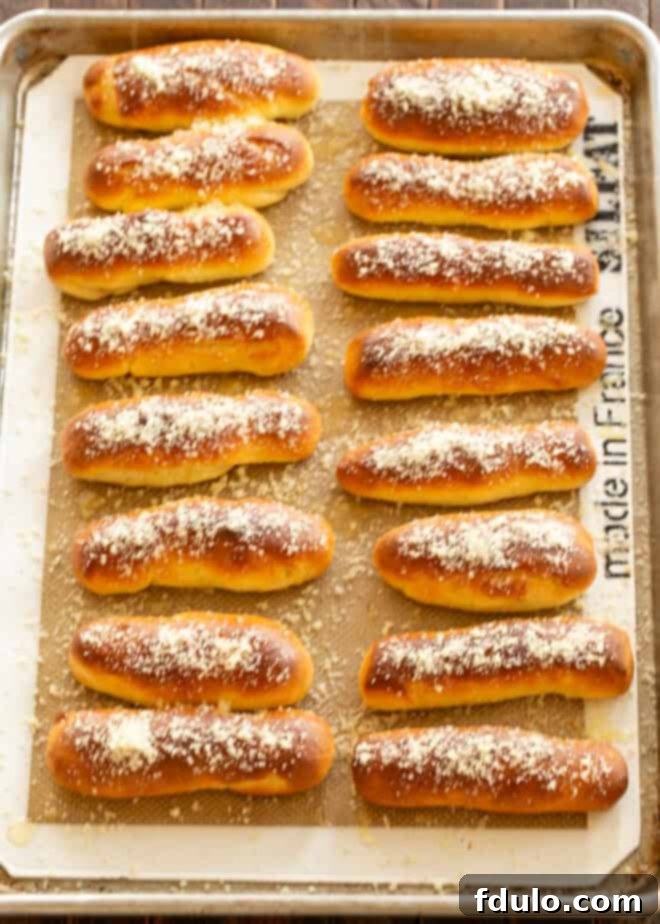
- While the breadsticks are still warm, whisk the melted butter and garlic salt together in a small bowl. Brush this fragrant mixture generously over the top of each baked breadstick. Immediately sprinkle with the freshly grated Parmesan cheese.
Notes
Recipe adapted from Allrecipes.com. For best results, ensure your yeast is fresh and active. Serve these breadsticks warm for the ultimate flavor and texture experience. Leftovers can be stored in an airtight container at room temperature for 2-3 days and reheated in the oven.
Recommended Products
As an Amazon Associate and member of other affiliate programs, I earn from qualifying purchases.
- KitchenAid 9-Speed Digital Hand Mixer
- OXO Measuring Beakers
- Nesting Mixing Bowls
Nutrition Information:
Yield:
16 breadsticks
Serving Size:
1 breadstick
Amount Per Serving:
Calories: 178Total Fat: 9gSaturated Fat: 4gTrans Fat: 0gUnsaturated Fat: 4gCholesterol: 28mgSodium: 195mgCarbohydrates: 20gFiber: 1gSugar: 2gProtein: 3g
Thatskinnychickcanbake.com occasionally offers nutritional information for recipes contained on this site. This information is provided as a courtesy and is an estimate only. This information comes from online calculators. Although thatskinnychickcanbake.com attempts to provide accurate nutritional information, these figures are only estimates.
Varying factors such as product types or brands purchased can change the nutritional information in any given recipe. Also, many recipes on thatskinnychickcanbake.com recommend toppings, which may or may not be listed as optional and nutritional information for these added toppings is not listed. Other factors may change the nutritional information such as when the salt amount is listed “to taste,” it is not calculated into the recipe as the amount will vary. Also, different online calculators can provide different results.
To obtain the most accurate representation of the nutritional information in any given recipe, you should calculate the nutritional information with the actual ingredients used in your recipe. You are solely responsible for ensuring that any nutritional information obtained is accurate.
HOW MUCH DID YOU LOVE THIS RECIPE?
Please leave a comment on the blog or share a photo on Pinterest
