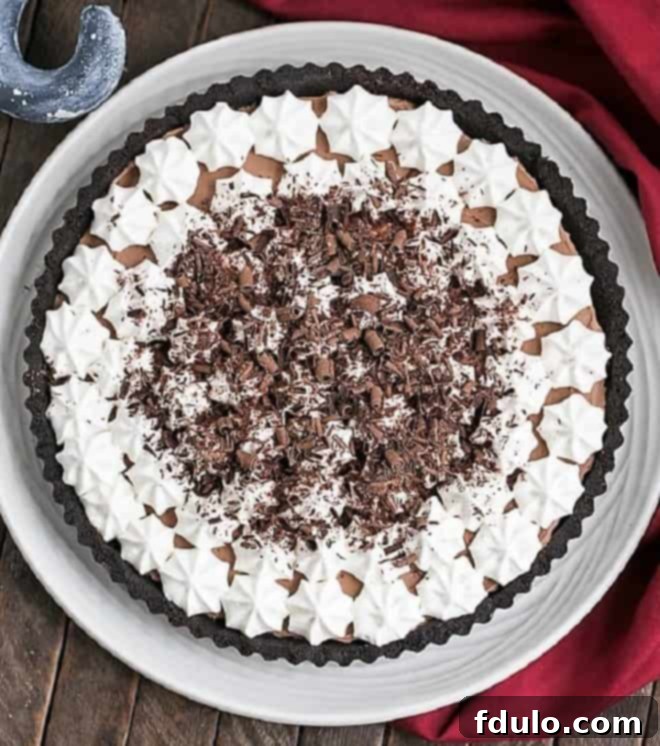
Indulge in the ultimate chocolate experience with this sensational French Silk Tart featuring a rich, velvety filling nestled within a crisp Oreo crust. While it makes a show-stopping addition to any holiday table, its straightforward preparation means you can whip up this luxurious, decadent dessert whenever a craving strikes. This isn’t just another chocolate pie; it’s a testament to the irresistible allure of chocolate, offering one of the most sublime and dreamlike versions of a Chocolate Silk Pie you’ll ever create in your own kitchen.
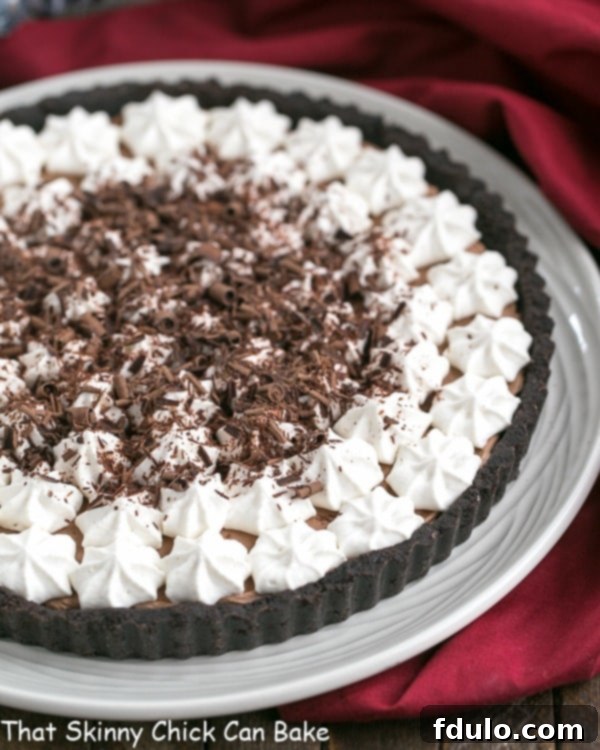
The Ultimate Indulgence: Why This French Silk Tart Stands Out
For any true chocoholic, the pursuit of the perfect chocolate dessert is a lifelong journey. Look no further, because this French Silk Tart delivers an unparalleled experience that will captivate your senses. It’s more than just a dessert; it’s an event, a celebration of chocolate in its most refined form. Here’s why this recipe will become your go-to:
- **Unmatched Decadence:** This is the pinnacle of chocolate desserts. The filling isn’t merely sweet; it’s incredibly rich, with a deep cocoa flavor, and possesses a signature satiny, melt-in-your-mouth texture that defines “silk.” Each spoonful is pure bliss.
- **Nostalgic Comfort:** Many, like myself, grew up with cherished memories of Baker’s Square French Silk Pie. This homemade tart captures that nostalgic essence, elevating it with fresh ingredients and a personalized touch that store-bought versions can rarely match. It’s a taste of childhood, perfected.
- **Effortless Elegance with an Oreo Crust:** Say goodbye to the fuss and intimidation of traditional pastry crusts! This recipe ingeniously uses a simple, no-bake Oreo crust, making it accessible for bakers of all skill levels. It saves time, reduces stress, and adds an extra layer of chocolatey goodness that perfectly complements the silky filling.
Over the years, I’ve experimented with countless variations of French silk pie, seeking to refine and reimagine this classic. My journey has taken me through different crusts—from flaky butter pastry to salty pretzel and intensely chocolate—and explored various filling techniques, including those with raw and cooked eggs. I’ve scaled the dessert from delightful mini tarts to standard pies and now, to a generous 10-inch tart. The one constant? My family’s insatiable love for French silk. And as a passionate baker and blogger, the joy lies in continuously reinventing beloved classics, ensuring each creation is fresh, exciting, and utterly irresistible.
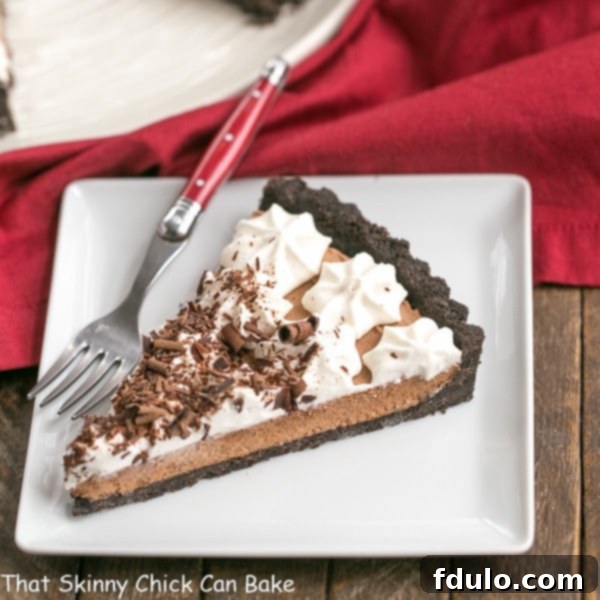
Mastering the Ingredients: What You’ll Need for Perfection
This French Silk Tart earned its place as our cherished bonus Thanksgiving dessert this year. Despite having only five at the dinner table, my chocoholic husband and children firmly believe in their inherent right to a second dessert! And I must confess, I couldn’t resist sneaking little slivers as I portioned out generous slices after our main feast. This exquisite French Silk Tart is destined to remain a beloved holiday tradition and a year-round favorite.
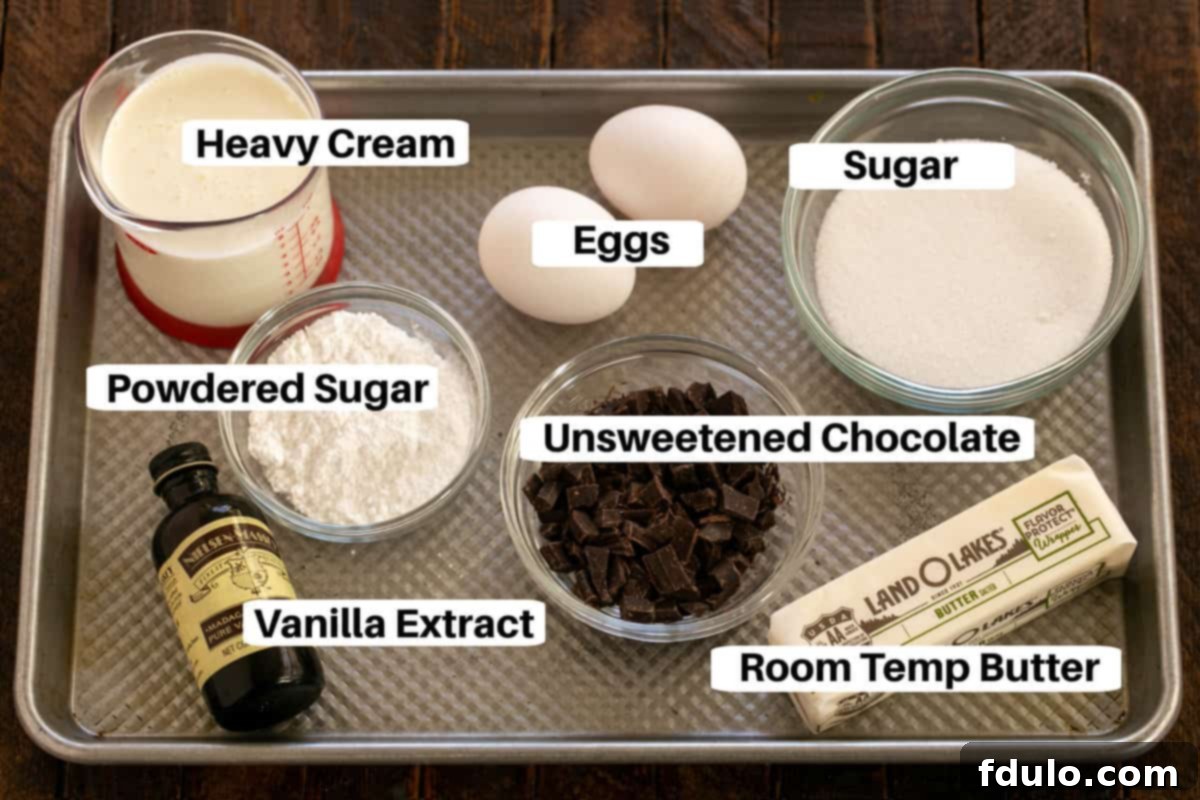
The magic of this tart lies in the quality and careful preparation of a few key ingredients. Choosing wisely ensures that signature rich flavor and satiny texture.
Essential Components for Your French Silk Tart:
- Kitchen Staples: Butter and Granulated Sugar
- Butter: Use good quality unsalted butter, softened to room temperature for the filling. For the crust, salted butter is perfectly acceptable as a touch of salt beautifully enhances the chocolate flavor in desserts.
- Sugar: Fine granulated sugar is essential for achieving the smooth texture in the filling.
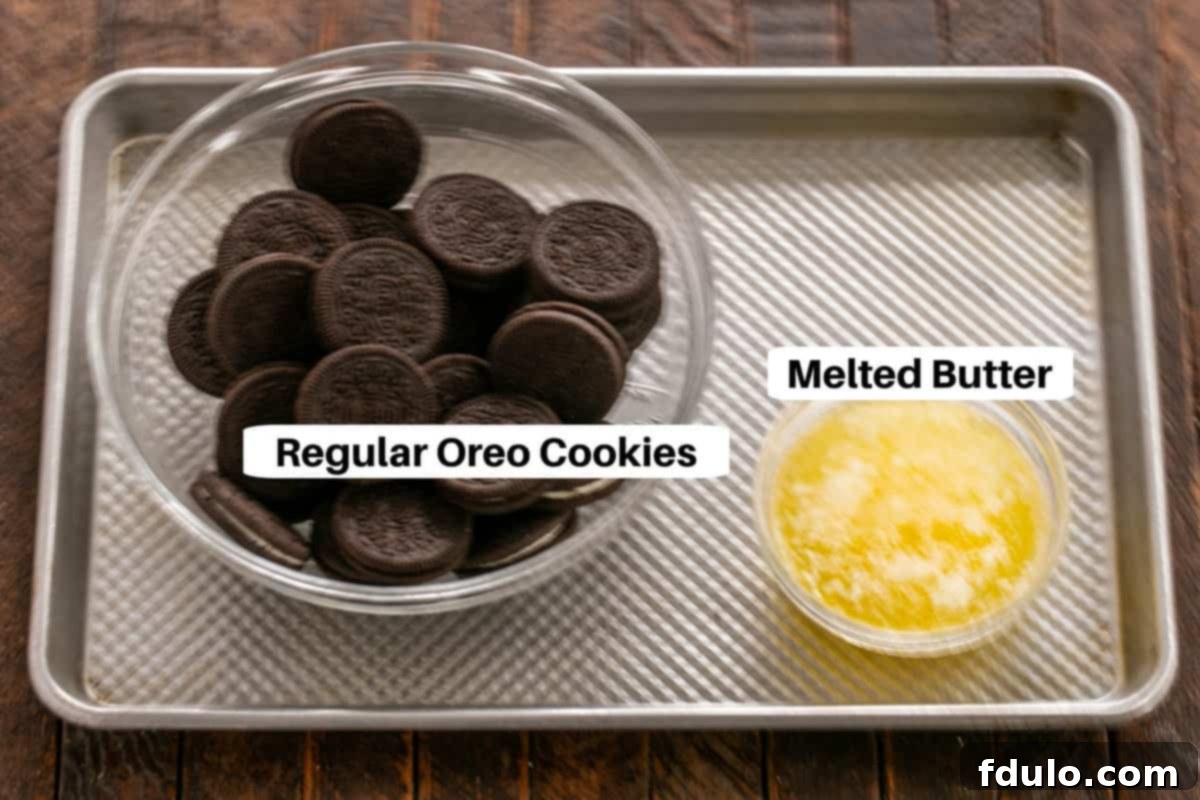
- Regular Oreos: These are the heroes of our no-bake crust. You’ll need to process them into fine crumbs. The cream filling inside the Oreos contributes to the crust’s binding and flavor, so no need to scrape it out!
- Unsweetened Chocolate: This is where the deep, intense chocolate flavor comes from. Choose a high-quality unsweetened baking chocolate. Gently melt it using short spurts in the microwave, stirring frequently until it’s smooth and fully liquefied. Avoid overheating, which can cause it to seize.
- Vanilla Extract: Always opt for pure vanilla extract. The subtle warmth and complexity of real vanilla are crucial for enhancing the chocolate notes and adding depth to the overall flavor profile. Avoid artificially flavored versions, which can leave an unpleasant aftertaste.
- Eggs: This recipe traditionally calls for raw eggs, which are key to achieving the incredibly satiny, almost mousse-like texture of a true French Silk Tart. However, raw eggs carry a risk of salmonella.
- Safety First: If serving this dessert to young children, the elderly, pregnant individuals, or anyone with a compromised immune system, it is highly recommended to use **pasteurized eggs**. These eggs have been gently heated to kill potential bacteria without cooking them.
- Home Pasteurization: If pasteurized eggs are difficult to find, you can gently heat whisked eggs over a double boiler until they reach 140°F (60°C), which effectively eliminates salmonella risk before the eggs are fully cooked. Simply Recipes offers an excellent guide on how to pasteurize eggs at home.
- Powdered Sugar: Used for sweetening and thickening the whipped cream topping. For the smoothest, lump-free whipped cream, always sift your powdered sugar before adding it.
- Whip It (Whipped Cream Stabilizer): This is an optional but highly recommended ingredient. Adding a packet of whipped cream stabilizer to your heavy cream before whipping helps to maintain its fluffy texture for several days, preventing it from weeping or deflating. It’s perfect if you’re making the tart ahead of time or want your leftovers to look just as good as the first slice.
From Pantry to Plate: Step-by-Step Guide to Your French Silk Tart
Creating this stunning French Silk Tart is a surprisingly simple process, divided into three main stages: preparing the crust, crafting the silky filling, and adding the final touches. Follow these steps carefully to ensure a truly magnificent dessert.
Crafting the Ideal Oreo Crust
The no-bake Oreo crust is a revelation in convenience and flavor. It provides a sturdy, chocolatey base that perfectly contrasts with the smooth filling.
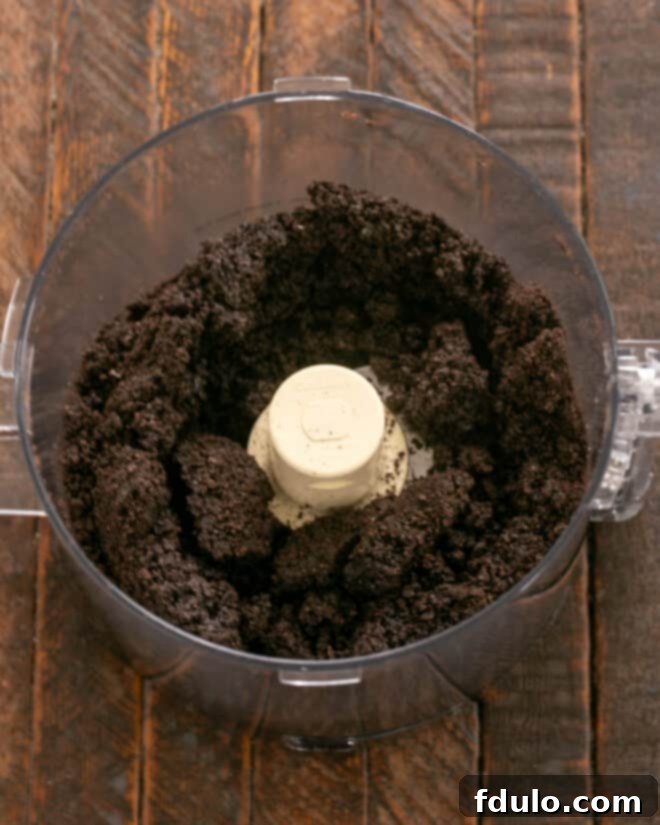
- **Prepare the Crumbs:** Begin by finely processing regular Oreos into crumbs using a food processor. Ensure there are no large chunks left, as this will affect the crust’s texture.
- **Combine with Butter:** In a medium bowl, combine the Oreo crumbs with melted butter. Stir thoroughly until all the crumbs are moistened and resemble wet sand.
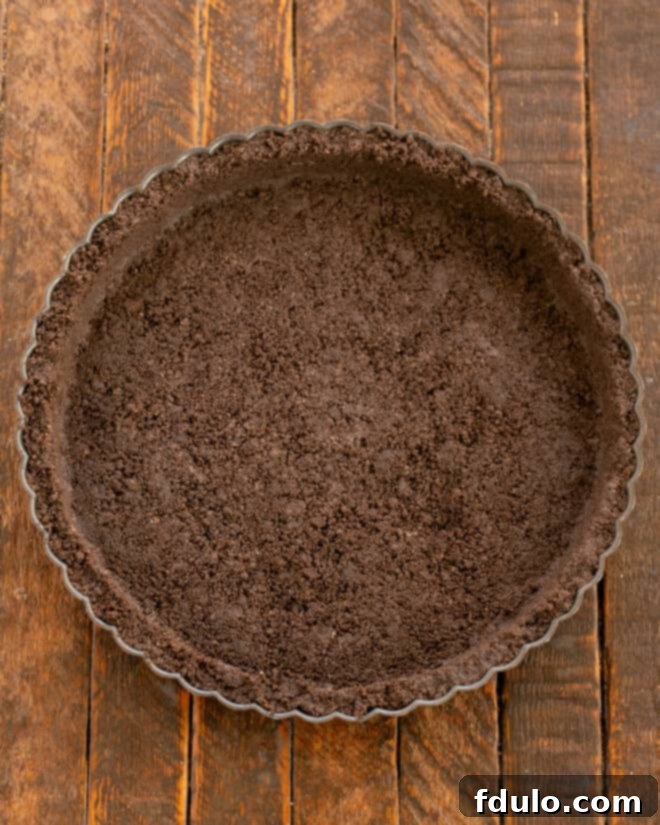
- **Form the Crust:** Press the mixture firmly and evenly into the bottom and up the sides of a 10-inch tart pan. Take your time to create a uniform thickness.
- **Chill:** Place the tart pan in the freezer for about 10 minutes. This quick chill helps the crust set firmly before the filling is added, preventing it from becoming crumbly.
Whipping Up the Silky Chocolate Filling
This is where the magic happens! The unique beating process is crucial for achieving the “silk” in French silk.
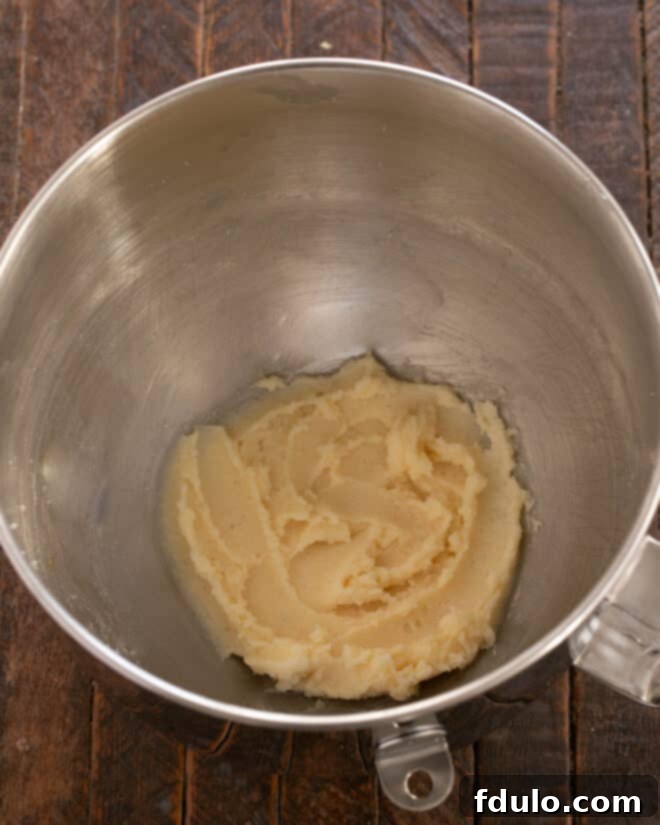
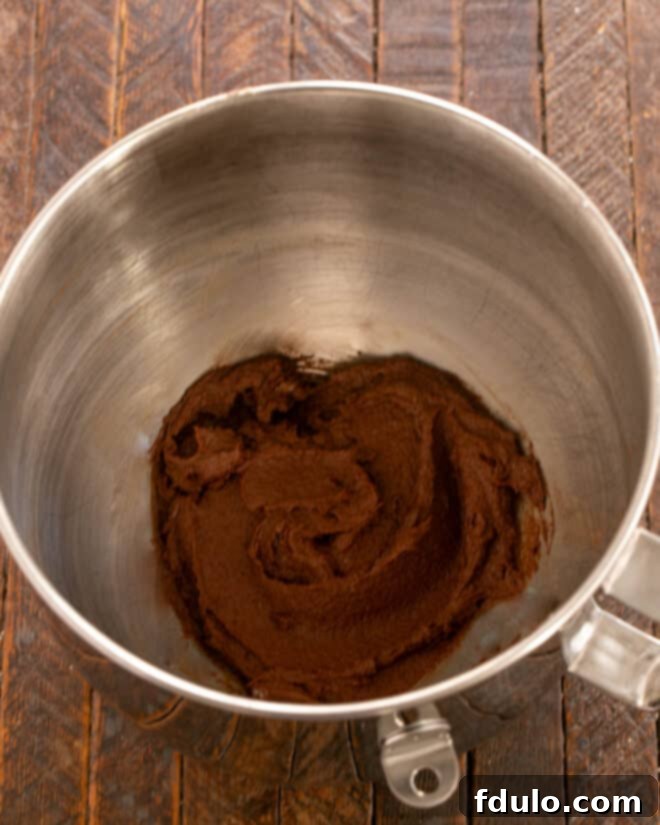
- **Cream Butter and Sugar:** In the bowl of a stand mixer fitted with the paddle attachment, cream together the softened butter and granulated sugar for about 2 minutes. Beat on medium speed until the mixture is light, fluffy, and pale in color. This incorporates air, which contributes to the filling’s airy texture.
- **Add Chocolate and Vanilla:** With the mixer running on low speed, gradually add the melted unsweetened chocolate and vanilla extract. Mix until just combined, scraping down the sides of the bowl as needed.
- **Incorporate Eggs for Silkiness:** This is the most critical step for that signature silky texture. Add the eggs one at a time. After each egg addition, beat the mixture on medium speed for a full 5 minutes. This extended beating time is essential; it emulsifies the ingredients, dissolves the sugar crystals, and incorporates air, resulting in an incredibly smooth, satiny, and light filling. Do not rush this step!
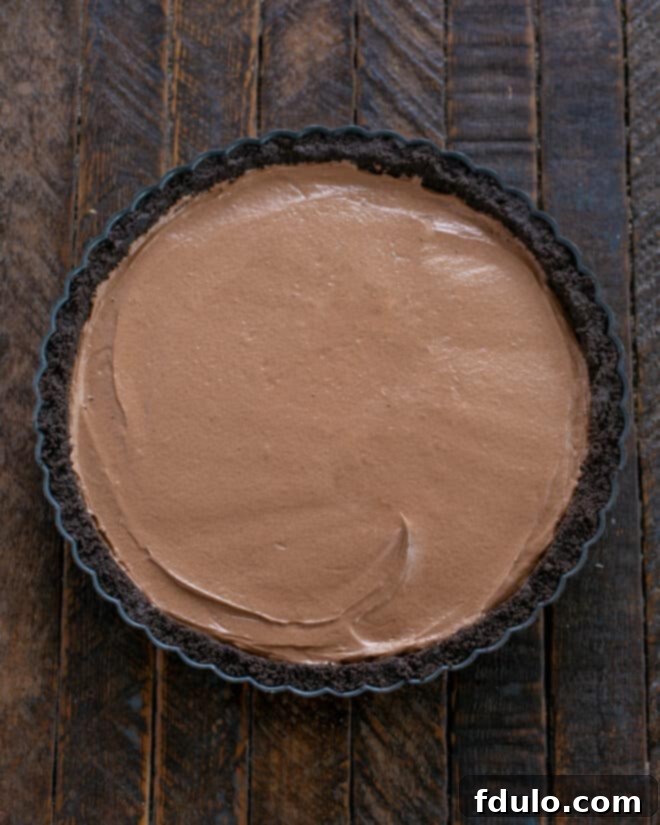
- **Fill and Chill:** Once the filling is perfectly smooth and glossy, pour it into the cooled Oreo crust. Gently spread it evenly. Loosely cover the tart with plastic wrap and refrigerate for at least 4 hours, or preferably overnight, to allow the filling to set completely.
The Grand Finale: Garnishing Your Decadent Creation
A beautiful garnish elevates this tart from delicious to truly unforgettable.
- **Whip the Cream:** In a clean, cold bowl, whip one cup of heavy cream until soft peaks form. Gradually add sifted powdered sugar (for smoothness), Whip It (if using, for stabilization), and vanilla extract to taste. Continue whipping until firm peaks form.
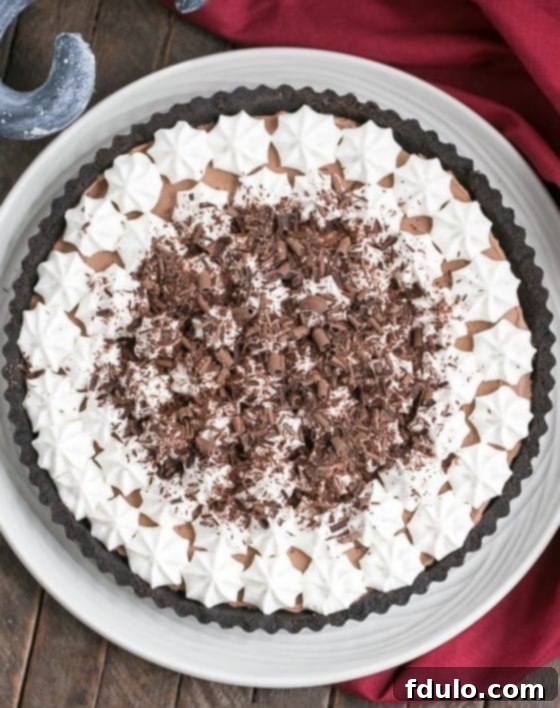
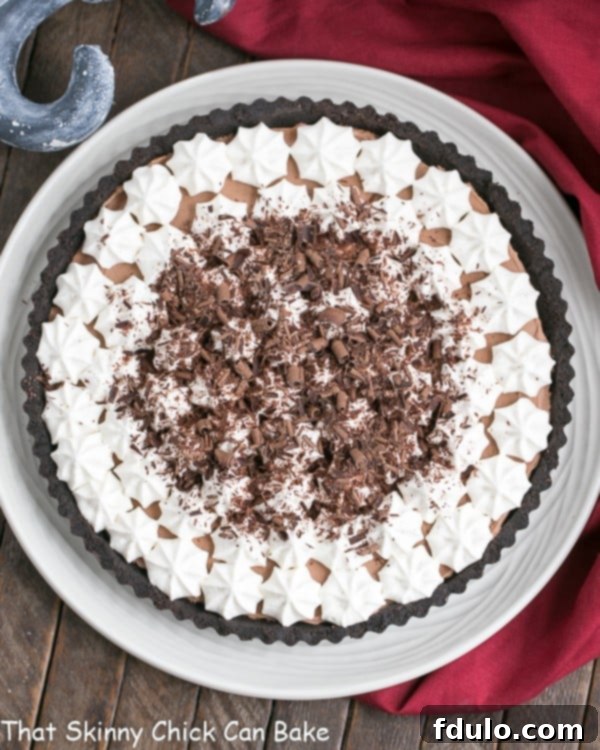
- **Garnish and Serve:** You have options for presentation! For an elegant look, pipe stars of whipped cream over the surface of the tart using a piping bag fitted with a star tip. Alternatively, simply spread the whipped cream evenly over the surface. Finish with a sprinkle of chocolate shavings for extra appeal and texture.
Expert Tips for a Flawless French Silk Tart
Achieving French Silk perfection is easier with a few insider tricks. Keep these pointers in mind for a truly spectacular dessert:
- **Egg Safety is Paramount:** As mentioned, this French Silk Tart recipe calls for raw eggs, which are crucial for the uniquely satiny texture. However, uncooked eggs can harbor salmonella. It is always safest to use pasteurized eggs, especially when serving to children, the elderly, or anyone with a weakened immune system. If you can’t find them, consider gently pasteurizing eggs at home following a reliable guide. While I’ve personally enjoyed raw cookie dough for decades without issue, caution is always advisable, especially for such a special dessert.
- **Crust Alternatives:** While the Oreo crust is wonderfully easy and delicious, feel free to experiment. A classic pastry crust, a graham cracker crust, or even a store-bought premade crust can work. Just be mindful that a store-bought crust might be smaller, leaving you with extra filling.
- **Perfect Chocolate Shavings:** To make elegant chocolate shavings, lightly warm a bar of semi-sweet chocolate in the microwave for just a few seconds – enough to slightly soften the surface without melting it. Then, use a vegetable peeler to scrape along the sides of the chocolate bar, creating beautiful curls.
- **Garnish with Flair (or Simplicity):** Piping whipped cream stars adds a professional touch, but don’t feel pressured. A simple dollop of fresh whipped cream on each slice, or a rustic spread across the whole tart, is equally delicious. A dusting of cocoa powder or a few fresh berries can also make a lovely addition.
- **Prompt Refrigeration:** Due to the egg-rich filling, it’s essential to slice, serve, and return any leftovers to the refrigerator promptly. This ensures both safety and maintains the tart’s exquisite texture.
- **The Importance of Chilling Time:** Don’t skimp on the refrigeration! A minimum of 4 hours is needed for the filling to fully set, but overnight chilling is ideal. This allows the flavors to meld and the tart to achieve its proper, firm yet silky consistency, making it much easier to slice cleanly.
- **Room Temperature Ingredients (for filling):** Ensure your butter and eggs are at true room temperature before you begin making the filling. This allows them to cream together smoothly and emulsify properly, preventing a grainy texture.
Frequently Asked Questions About French Silk Tart
Curious about the origins or specifics of this beloved dessert? Here are answers to some common questions:
Despite its elegant name, the French Silk Pie is quintessentially American! One of its earliest widely recognized appearances was as the $1000 winner of the Pillsbury Bake Off in 1951, invented by Betty Cooper from Minneapolis, Minnesota. It quickly became a dessert sensation across the United States.
Take a single bite, and you’ll immediately understand the name. The “silk” refers to the incredibly rich, smooth, and satiny texture of the chocolate filling. It’s so refined and melts so delicately in your mouth that “silk” is the only fitting descriptor for its luxurious feel.
Yes, many traditional French Silk Pie and Tart recipes, including this one, call for raw eggs. These uncooked eggs are instrumental in creating the signature super-satiny, almost ethereal texture. If you have concerns about raw eggs, you can opt for pasteurized eggs or gently heat your whisked eggs over a double boiler until they reach 140 degrees Fahrenheit (60°C) before incorporating them into the recipe. This process will kill any potential salmonella without cooking the eggs solid.
The core ingredients for a classic French Silk Pie or Tart filling are relatively simple but work together to create complex flavor and texture: butter, sugar, unsweetened chocolate, vanilla extract, and eggs.
Absolutely! This French Silk Tart is an excellent make-ahead dessert. You can prepare the entire tart, including the filling, and refrigerate it for up to 2-3 days before serving. Add the whipped cream topping and chocolate shavings just before serving for the freshest look and best texture.
When stored properly in the refrigerator, covered loosely with plastic wrap or in an airtight container, your French Silk Tart will remain fresh and delicious for about 3-4 days. Remember to keep it chilled due to the dairy and egg content.
Yes, you can! To freeze, prepare the tart without the whipped cream topping. Once the filling is completely set and firm, wrap the tart (still in its pan) tightly with plastic wrap, then with aluminum foil. It can be frozen for up to 1 month. Thaw overnight in the refrigerator before adding the fresh whipped cream and garnishes.
Discover More Decadent Desserts
If you’ve fallen in love with the French Silk Tart, you’re sure to enjoy these other delightful variations and related recipes:
- French Silk Cake Roll from I Am Baker
- French Silk Shooters
- French Silk Brownies
- Frangelico French Silk Pie
- Plus, explore more of my Best Pies and Tart Recipes to inspire your next baking adventure!
Stay in touch through social media @ Instagram, Facebook, and Pinterest. Don’t forget to tag me when you try one of my recipes! And if you love the results, please give it a 5-star rating!
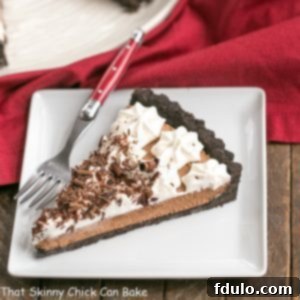
French Silk Tart
30 minutes
30 minutes
8 servings
A rich, satiny chocolate filling in an Oreo tart shell, perfect for any special occasion!
Ingredients
Oreo Crust:
- 32 Regular Oreos, processed to crumbs
- 6 tablespoons butter, melted
Filling:
- ½ cup butter, at room temperature
- ⅔ cup sugar
- 2 ounces unsweetened chocolate, melted
- 1 teaspoon vanilla extract
- 2 eggs, pasteurized recommended
Topping:
- 1 cup heavy cream
- ¼ cup powdered sugar, sifted for the smoothest whipped cream
- 1 packet Whip It (whipped cream stabilizer), optional
- 1 teaspoon vanilla extract
- Chocolate shavings, optional, to garnish
Instructions
- For the Crust: In a bowl, mix Oreo crumbs and melted butter until well combined.
- Press the crumb mixture firmly into the bottom and up the sides of a 10-inch tart pan. Freeze for about 10 minutes to set.
- For the Filling: In the bowl of a stand mixer with the paddle attachment, cream the softened butter and sugar for about 2 minutes, until light and fluffy.
- With the mixer running on low speed, gradually add the melted unsweetened chocolate and vanilla extract. Mix until just combined.
- Add eggs, one at a time, beating at medium speed for 5 minutes after each addition. This crucial step creates the signature silky texture.
- Pour the filling into the cooled crust. Loosely cover with plastic wrap and chill in the refrigerator for at least 4 hours, or preferably overnight, until firm.
- For the Topping: Whip one cup of heavy cream, gradually adding sifted powdered sugar, Whip It (if using), and vanilla extract to taste, until stiff peaks form.
- Pipe stars of whipped cream over the surface of the tart, or simply spread the cream evenly. Garnish with chocolate shavings if desired, and serve!
Notes
To make chocolate shavings, gently warm a bar of semi-sweet chocolate in the microwave for a few seconds. Use a vegetable peeler to scrape shavings from the sides of the bar.
This dessert contains raw eggs, so it is not recommended for young children, the elderly, or individuals with compromised immune systems unless pasteurized eggs are used.
If you prefer not to pipe the whipped cream, simply serve each slice with a generous dollop of sweetened whipped cream.
Recommended Products
As an Amazon Associate and member of other affiliate programs, I earn from qualifying purchases.
- 10-inch tart pan
- KitchenAid KSM150PSER Artisan Tilt-Head Stand Mixer
- Whip It Whipped Cream Stabilizer
Nutrition Information:
Yield:
8
Serving Size:
1 slice
Amount Per Serving:
Calories: 642
Total Fat: 45g
Saturated Fat: 25g
Trans Fat: 1g
Unsaturated Fat: 11g
Cholesterol: 134mg
Sodium: 368mg
Carbohydrates: 57g
Fiber: 3g
Sugar: 40g
Protein: 5g
