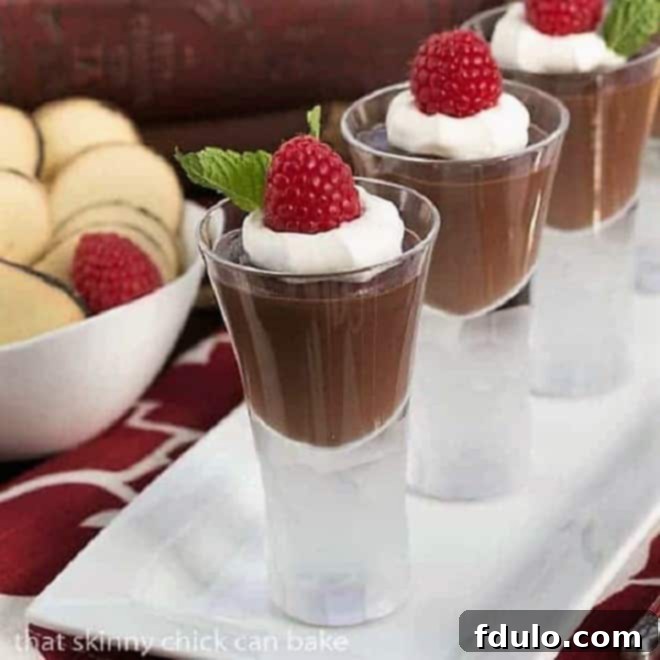
Indulge in the ultimate comfort food with this incredibly Rich Double Chocolate Pudding. Each luscious spoonful, enhanced with crisp cookies, fresh berries, or a dollop of whipped cream, transforms a simple dessert into an extraordinary experience. This isn’t just any chocolate pudding; it’s a decadent celebration for your taste buds, designed to delight even the most discerning chocolate connoisseur.
This exquisite Homemade Double Chocolate Pudding Recipe features a harmonious blend of both premium Dutch-processed cocoa powder and high-quality semisweet chocolate, delivering an unparalleled depth of flavor that chocolate lovers will adore. Forget the boxed mixes; creating your own velvety chocolate pudding from scratch is surprisingly simple and yields a dessert far superior in taste and texture. Perfect for a cozy night in or an elegant gathering, this creamy, dreamy pudding promises pure chocolate bliss.
Why This Double Chocolate Pudding is a Must-Try
- Unmatched Chocolate Experience: When a craving for something truly special strikes, nothing satisfies quite like a deeply flavored chocolate dessert. This recipe delivers a double dose of chocolate, ensuring every bite is intensely rich and utterly delicious, making it the perfect treat for any occasion.
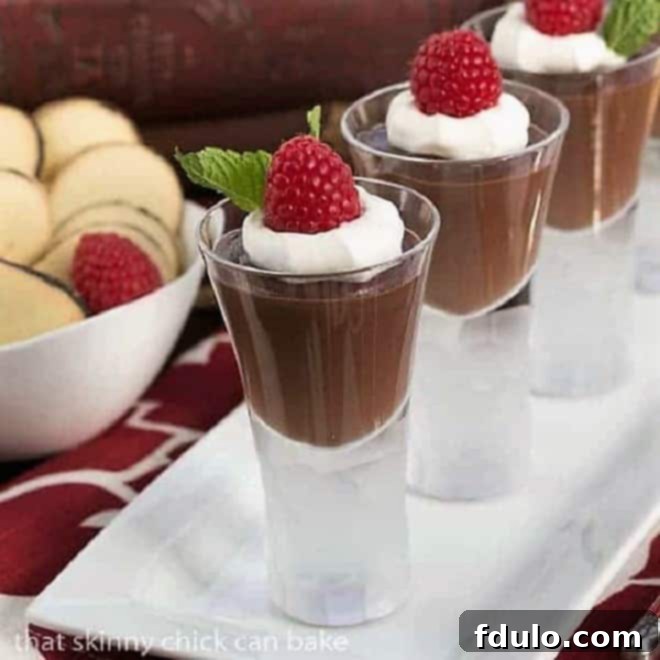
- Elegant Portion Control: Serving this homemade chocolate pudding in individual portions, whether in elegant shot glasses, ramekins, or small bowls, offers a sophisticated presentation. This also provides excellent portion control, allowing everyone to enjoy a decadent dessert without overindulging – a thoughtful touch, especially when chocolate is involved!
- Luxurious Texture: Unlike many store-bought options, this pudding boasts an incredibly smooth, velvety, and luxurious texture that practically melts in your mouth. The careful cooking process and straining ensure a restaurant-quality consistency.
- Versatile & Customizable Garnishes: Elevate this comforting classic into a gourmet delight with an array of beautiful garnishes. Fresh berries, a cloud of homemade whipped cream, a sprig of fresh mint, or a sprinkle of chocolate shavings transform this simple comfort food into a showstopper, perfect for entertaining guests or celebrating special moments.
- Simple Yet Impressive: Despite its sophisticated flavor and texture, this recipe is straightforward to follow, making it accessible for home bakers of all skill levels. Impress your family and friends with a homemade dessert that tastes like it came from a professional patisserie.
Essential Ingredient Insights
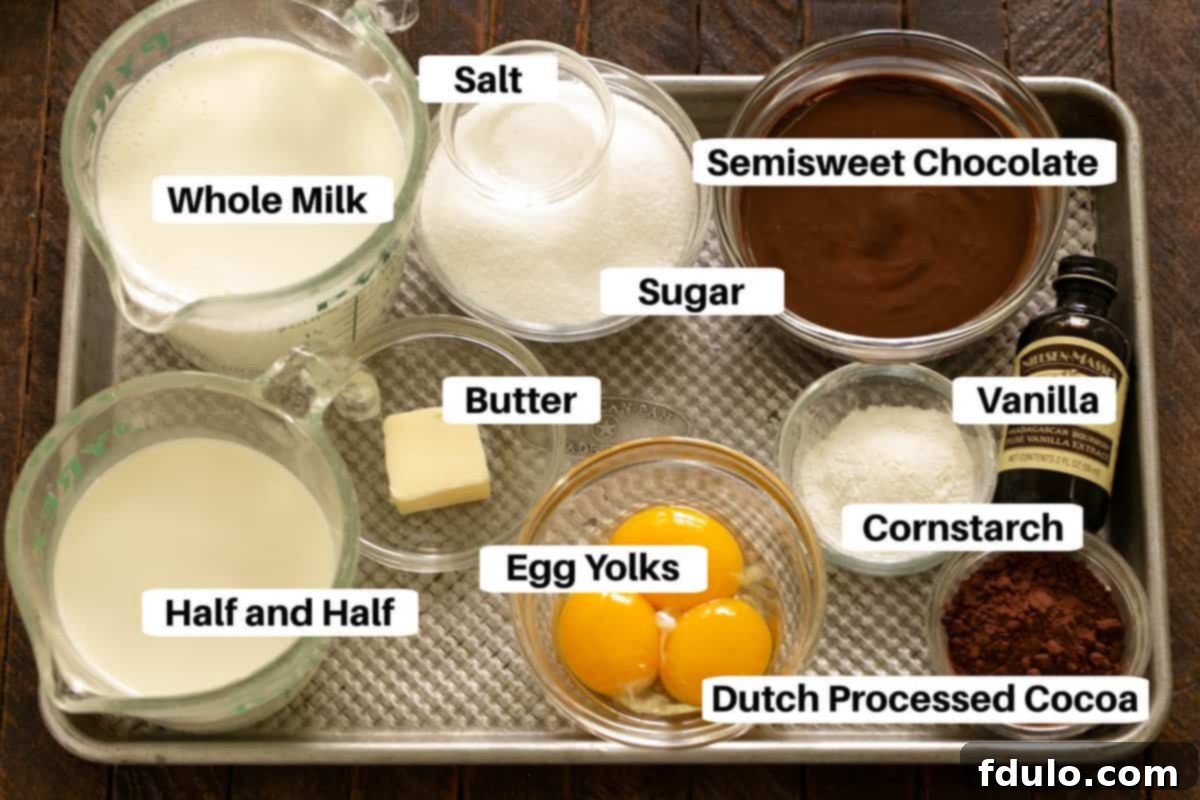
Crafting the perfect double chocolate pudding begins with understanding the role of each ingredient. Quality matters, as does proper selection.
- Kitchen Staples: You’ll need granulated Sugar for sweetness, a dash of Salt to enhance and balance the chocolate flavors, and a tablespoon of good quality Butter (salted is perfectly fine here, as the salt enhances flavor). These form the backbone of your pudding base.
- Dutch Processed Cocoa Powder: This is a crucial element for deep chocolate flavor. Brands like Droste are widely available and excellent choices. Dutch-processed cocoa powder is treated with an alkali, which neutralizes its natural acidity. This process results in a darker, richer color and a smoother, less bitter chocolate flavor compared to natural cocoa powder. It also reacts differently with leavening agents, but here, it’s all about flavor and color.
- Cornstarch: Our primary thickening agent. Cornstarch activates and thickens liquids only when brought to a boil. To ensure a lump-free pudding, it’s essential to whisk it thoroughly with the dry ingredients first, and then combine it smoothly with liquids before heating.
- Half and Half: This dairy product is a delightful blend of half whole milk and half light cream, typically containing 10-12% milk fat. It contributes significantly to the pudding’s creamy mouthfeel without being overly heavy, striking a perfect balance between richness and lightness.
- Egg Yolks: These are vital for richness, color, and additional thickening. For easier separation, it’s best to separate the egg whites from the yolks while the eggs are cold, as cold yolks are firmer and less likely to break. Remember to temper the yolks properly to prevent curdling.
- Whole Milk: Providing a foundational liquid and dairy richness, whole milk contains approximately 3.5% milk fat, contributing to the pudding’s overall creamy texture and luxurious feel.
- Semisweet Chocolate: For the best results, opt for high-quality semisweet chocolate bars, such as Ghirardelli. Chocolate chips often contain stabilizers and less cocoa butter, which can affect the melting quality and overall texture of the pudding. While chocolate chips will work in a pinch, a good quality bar chocolate will melt more smoothly and impart a superior flavor.
- Vanilla Extract: Always choose real vanilla extract over imitation. The genuine vanilla flavor significantly enhances and complements the rich chocolate, adding a layer of aromatic complexity that imitation vanilla simply cannot replicate.
Crafting Your Creamy Double Chocolate Pudding: A Step-by-Step Guide
Making homemade chocolate pudding is a rewarding experience, transforming simple ingredients into a decadent dessert. This recipe focuses on creating a smooth, rich, and truly satisfying treat.
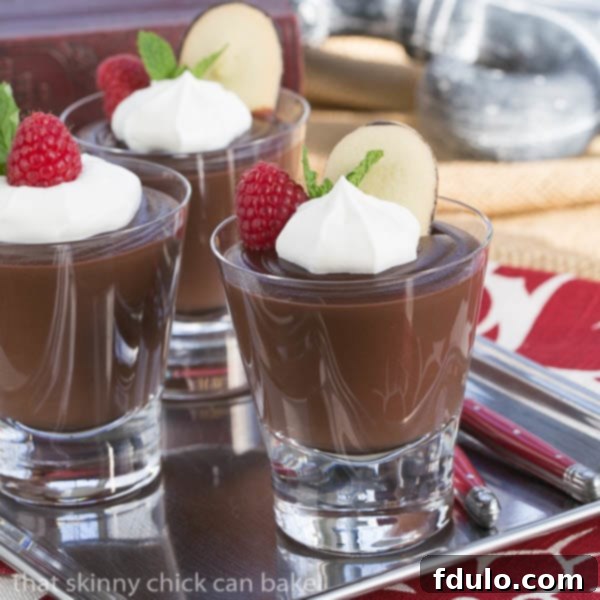
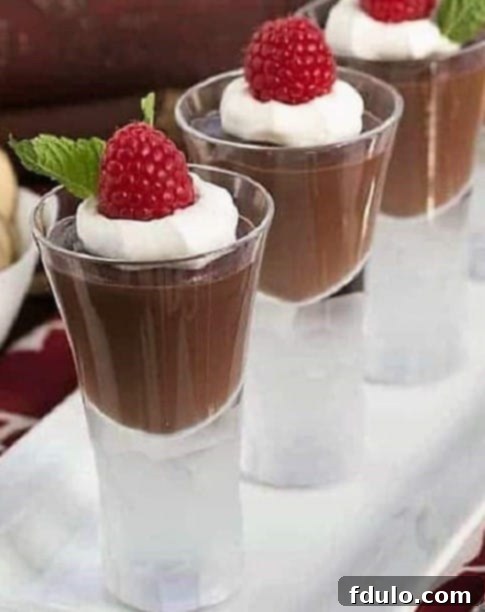
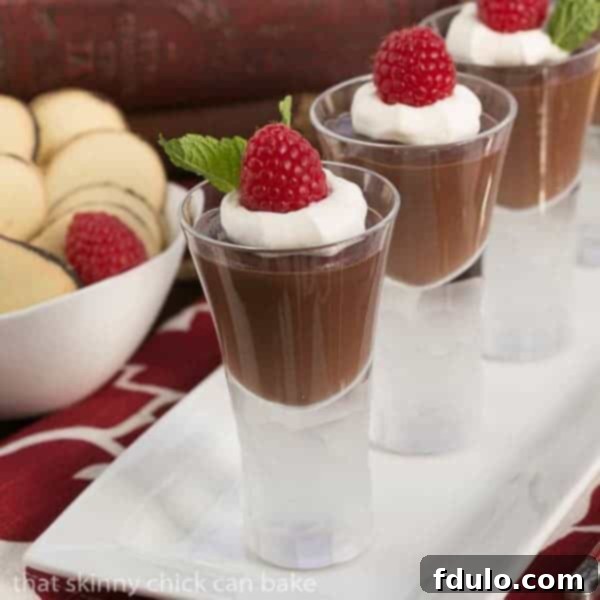
One of the joys of this recipe is its versatility in serving. Whether you prefer elegant mini desserts that perfectly satisfy a sweet tooth without overdoing it, or more generous “man-sized” portions, this pudding adapts beautifully. For smaller, sophisticated servings, shot glasses are ideal. For heartier appetites, larger bowls or ramekins work perfectly. Garnish mini servings with a single raspberry and a mint sprig, while larger portions might be adorned with indulgent Milano cookies or extra chocolate shavings.
Mastering the Pudding Cook: From Whisk to Wonderful
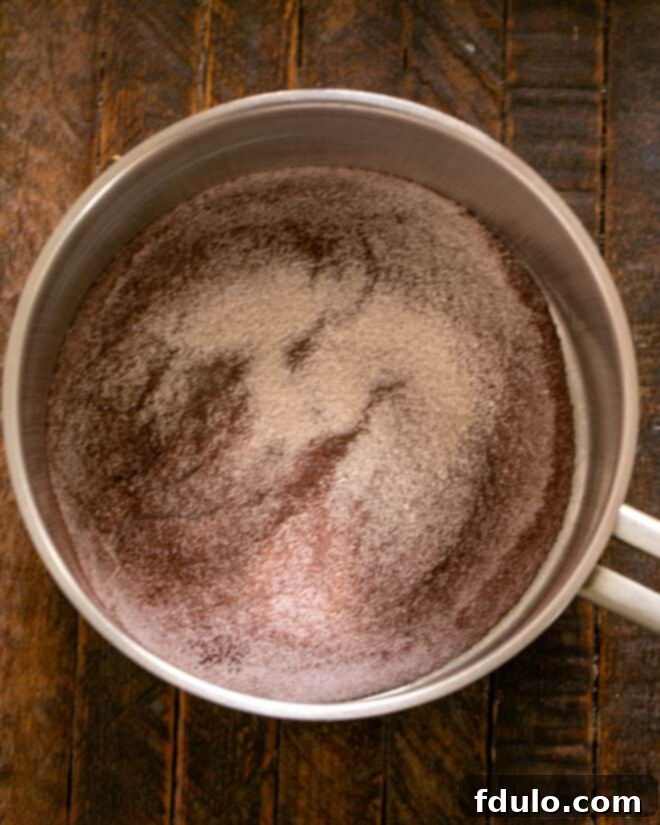
- Initial Preparation: Begin by combining the dry ingredients – cocoa powder, cornstarch, sugar, and salt – in a large, heavy-bottomed saucepan. Whisk them thoroughly to ensure they are well-mixed and free of lumps. This crucial step prevents the thickening agents from clumping later on.
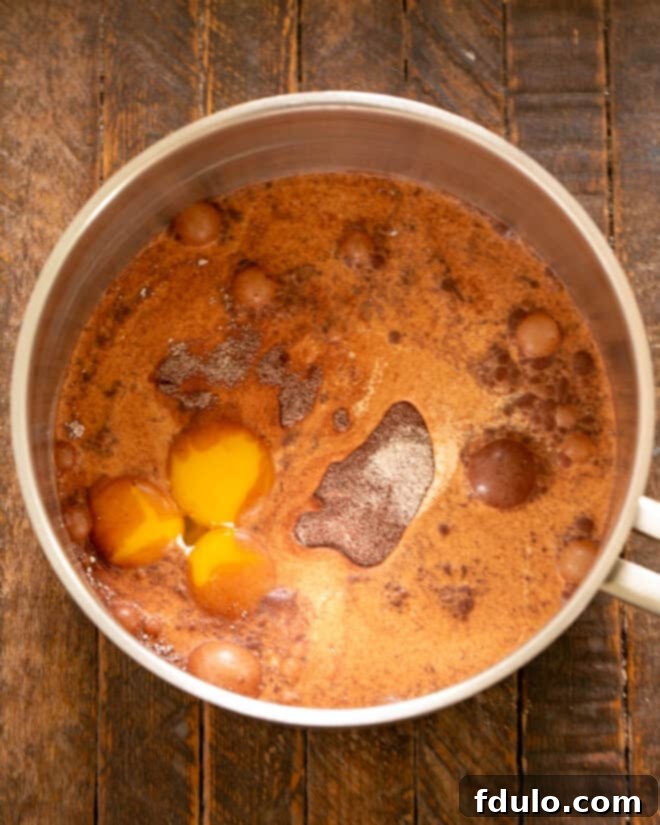
- Integrating Liquids and Chocolate: Next, gradually whisk in the half and half, followed by the egg yolks, and then the whole milk. Continue whisking until the mixture is smooth. Finally, stir in the slightly melted and cooled semisweet chocolate. Don’t worry if the chocolate seems to clump a bit at this stage; it will fully incorporate as it heats.
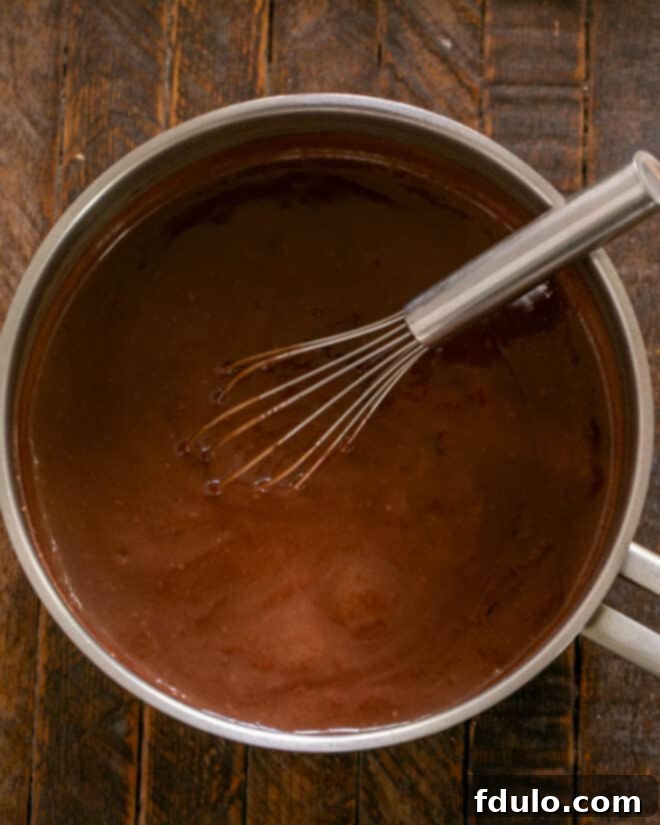
- The Thickening Process: Place the saucepan over medium heat. This old-fashioned chocolate pudding relies on eggs for its luxurious texture and must be cooked to thicken properly. Whisk the mixture constantly to prevent scorching and ensure even cooking. Bring the pudding to a gentle boil. Once it reaches a boil, reduce the heat immediately to a low simmer. Continue to cook, stirring frequently with a wooden spoon or heat-proof spatula, until the pudding visibly thickens. This usually occurs when the mixture reaches approximately 200°F (93°C). The constant stirring is key to preventing the eggs from scrambling.
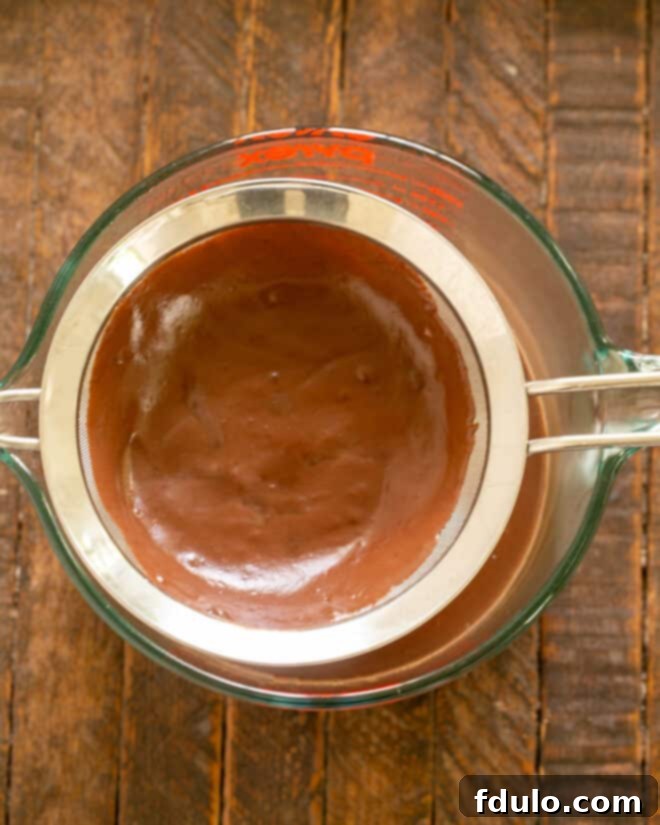
- PRO-Tip: The Sieve Secret for Silky Smoothness: Because this recipe uses egg yolks, there’s a slight chance of tiny bits of cooked egg forming in the mixture. To guarantee an ultra-silky, perfectly smooth pudding, it’s essential to pass the cooked pudding through a fine-mesh sieve or strainer immediately after removing it from the heat. This step removes any minuscule egg pieces and ensures a truly professional-grade texture. If you notice a significant amount of cooked egg in the sieve, it might indicate that the pudding was heated too quickly or not stirred constantly enough, potentially affecting its final set.
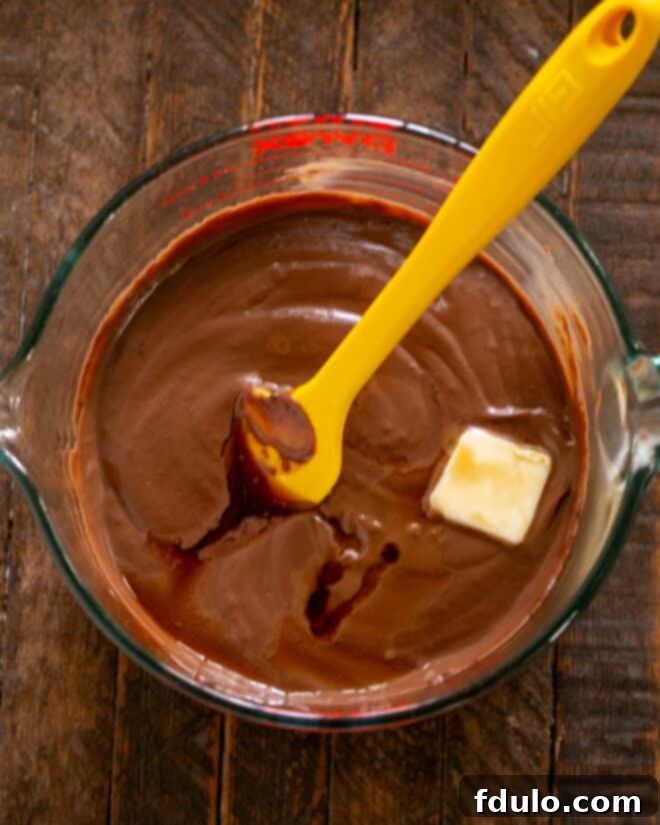
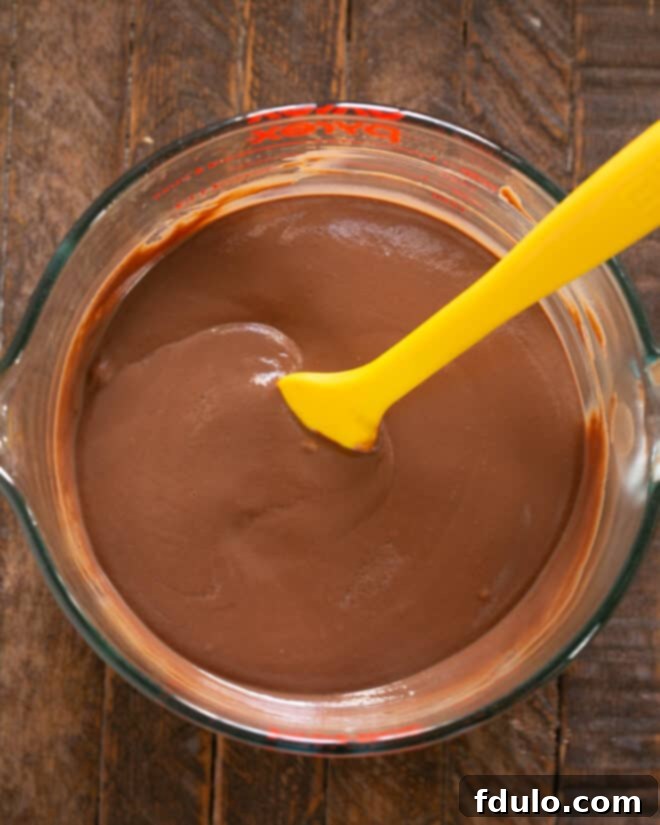
- Final Touches for Flavor and Sheen: Once strained, stir in a tablespoon of room temperature butter and the real vanilla extract. The butter adds a wonderful richness and a beautiful glossy sheen, while the vanilla extract elevates the chocolate flavor, adding aromatic complexity.
Perfect Chilling and Elegant Garnishing
- Pouring and Preventing Skin: Pour the warm pudding mixture into your chosen serving dishes – be it elegant serving glasses, individual ramekins, small bowls, or shot glasses for mini versions. To prevent a “skin” from forming on the surface of the pudding as it cools and chills, gently press a piece of plastic wrap directly onto the surface of the pudding. This seals it from the air. If, however, you happen to be one of those who enjoys the pudding skin, feel free to skip this step!
- Chilling for Optimal Flavor and Texture: Allow the pudding to cool at room temperature for about 30 minutes, then transfer it to the refrigerator to chill for at least 2-4 hours, or preferably overnight. Chilling allows the pudding to fully set and for the flavors to deepen, resulting in a more satisfying dessert.
- Creative Garnishing Ideas: Just before serving, prepare your garnishes. For a classic touch, whip some heavy cream with powdered sugar (to taste) and a splash of real vanilla extract until soft peaks form. Spoon or pipe a generous dollop onto each chilled pudding. Elevate further by topping with a single vibrant raspberry, a few fresh blueberries, half a sliced strawberry, or delicate chocolate shavings. A small sprig of fresh mint adds a pop of color and a refreshing aromatic contrast. For an extra decadent touch, consider crumbled cookies like chocolate wafers or crushed roasted nuts.

Frequently Asked Questions About Double Chocolate Pudding
Absolutely! Many traditional pudding recipes use flour as a thickening agent, which contains gluten. However, this particular recipe relies solely on cornstarch for thickening, making it naturally gluten-free. Always double-check labels of all your ingredients to ensure they are certified gluten-free if you have severe dietary restrictions.
Beyond enjoying it straight from the spoon, chocolate pudding is incredibly versatile! Consider using it as a luscious base for a layered trifle with cake cubes and fruit, as a rich filling for a chocolate cream pie, or as the star in a whimsical “dirt dessert” with crushed Oreos and gummy worms. It also works wonderfully in no-bake layered desserts with cookies or graham crackers, adding a creamy, indulgent layer.
While homemade chocolate pudding is undeniably delicious and offers some nutritional benefits from ingredients like eggs and dairy (which provide protein and calcium), it is primarily an indulgence. With sugar for sweetness and saturated fats from butter, whole milk, and half and half, it is relatively high in calories. It’s best enjoyed as a treat in moderation, rather than a staple healthy food.
Lumpy pudding, especially with egg-based recipes, often occurs when cold egg yolks are added directly to a hot custard mixture without proper tempering. The sudden change in temperature causes the proteins in the eggs to curdle or coagulate instantly. To prevent this, always temper your yolks: slowly drizzle a small amount of the hot pudding mixture into the whisked egg yolks while continuously whisking the yolks. This gradually warms the yolks, allowing them to be safely incorporated into the main custard without scrambling.
Don’t despair! While it may not become perfectly smooth, you can significantly improve lumpy pudding. Immediately pass the warm pudding through a fine-mesh sieve or a mesh strainer to remove larger lumps. For an even smoother result, an immersion blender (stick blender) can work wonders. Blend the pudding directly in the saucepan or a heatproof bowl until it reaches a more desirable consistency. While it might not be as perfectly silken as untempered pudding, it will certainly be much more enjoyable.
Store any leftover double chocolate pudding in an airtight container in the refrigerator for up to 3-4 days. To prevent a skin from forming and to keep it fresh, press plastic wrap directly onto the surface of the pudding before sealing the container.
Absolutely! This chocolate pudding is an excellent make-ahead dessert. Prepare it a day or even two in advance, following all instructions up to the chilling stage. Ensure it’s covered properly with plastic wrap directly on the surface, then refrigerate. When ready to serve, simply garnish and enjoy. This allows the flavors to meld beautifully and provides a convenient option for entertaining.

Explore More Decadent Chocolate Desserts
If you love this Rich Double Chocolate Pudding, be sure to explore these other fantastic chocolate-inspired recipes:
- Chocolate Fondue from Real Housemoms – Perfect for a fun, interactive dessert.
- Chocolate Caramel Cheesecake Bites from Barbara Bakes – Bite-sized indulgence.
- Mascarpone Filled Chocolate Covered Strawberries – A sophisticated and fruity treat.
- Salted Toffee Chocolate Chunk Cookies – A delightful blend of sweet and salty.
- Triple Chocolate Terrine – The ultimate dessert for serious chocolate aficionados.
- And don’t miss more of the Best Dessert Recipes for every craving!
Stay connected and share your culinary creations with me through social media on Instagram, Facebook, and Pinterest. Don’t forget to tag me when you try one of my delicious recipes! If you love the results, please consider giving it a 5-star rating in the recipe card below – your feedback means the world to me.
Rich Double Chocolate Pudding Recipe
20 minutes
10 minutes
30 minutes
6 servings
An intensely rich and creamy homemade pudding featuring a luxurious double dose of chocolate. This recipe, adapted from “The Best Recipe” cookbook, promises a velvety texture and deep, satisfying chocolate flavor. Perfect for individual indulgence or an elegant dessert spread.
Ingredients
- 2 tablespoons Dutch processed cocoa powder
- 2 tablespoons cornstarch
- ⅔ cup granulated sugar
- Dash of salt
- 1 cup half and half
- 3 large egg yolks
- 2 cups whole milk
- 6 ounces semisweet chocolate, melted and cooled slightly
- 1 tablespoon unsalted butter, at room temperature
- 2 teaspoons real vanilla extract
Instructions
- In a large, heavy-bottomed saucepan, sift together the Dutch-processed cocoa, cornstarch, sugar, and salt. Whisk vigorously to ensure all dry ingredients are thoroughly combined and lump-free.
- Gradually whisk in the half and half until smooth, then add the egg yolks and whisk until well incorporated. Follow with the whole milk, stirring until the mixture is uniform. Finally, stir in the slightly cooled, melted semisweet chocolate. Don’t worry if it appears to clump slightly; it will smooth out with heat.
- Place the saucepan over medium heat. Whisk the mixture constantly to prevent scorching and ensure even cooking. Bring the pudding to a gentle boil, ensuring it bubbles for at least 1 minute to activate the cornstarch and thicken.
- Immediately reduce the heat to low and continue to cook, stirring continuously with a wooden spoon or heat-proof spatula, for another 2-3 minutes until the pudding thickens significantly. The temperature should reach approximately 200°F (93°C) for optimal thickening.
- Remove from heat and immediately pass the hot pudding through a fine-mesh sieve into a clean medium bowl. This step is crucial for achieving a perfectly smooth and silky texture, removing any tiny bits of cooked egg.
- Stir in the room temperature butter and real vanilla extract until both are fully incorporated and the pudding is glossy.
- Pour the pudding into individual serving bowls, ramekins, or shot glasses. To prevent a skin from forming, press plastic wrap directly onto the surface of the pudding. Chill in the refrigerator for at least 2-4 hours, or preferably overnight, until thoroughly set and cold. Serve warm or chilled, garnished as desired.
Notes
For an elegant presentation, garnish your Rich Double Chocolate Pudding with a dollop of fresh whipped cream, a handful of vibrant berries (like raspberries or blueberries), and a sprig of fresh mint. Crushed chocolate cookies or shavings can also add a delightful textural contrast. This pudding is perfect for make-ahead convenience, as its flavor and texture improve with chilling. Ensure plastic wrap touches the surface during chilling to prevent a skin from forming.
Recommended Products
As an Amazon Associate and member of other affiliate programs, I earn from qualifying purchases.
- Fine Mesh Sieve
- Silicone Spatulas
- Balloon Whisk
Nutrition Information:
Yield:
6
Serving Size:
1
Amount Per Serving (estimate):
Calories: 387Total Fat: 20gSaturated Fat: 11gTrans Fat: 0gUnsaturated Fat: 7gCholesterol: 120mgSodium: 108mgCarbohydrates: 50gFiber: 2gSugar: 44gProtein: 7g
This nutritional information is provided as a courtesy and is an estimate only. It is derived from online calculators and may vary based on specific brands, product types, and measurement variations. To obtain the most accurate representation of nutritional information for any given recipe, it is recommended to calculate it with the actual ingredients used in your kitchen. We are not responsible for the accuracy of this information.
HOW MUCH DID YOU LOVE THIS RECIPE?
Please leave a comment on the blog or share a photo on Pinterest
