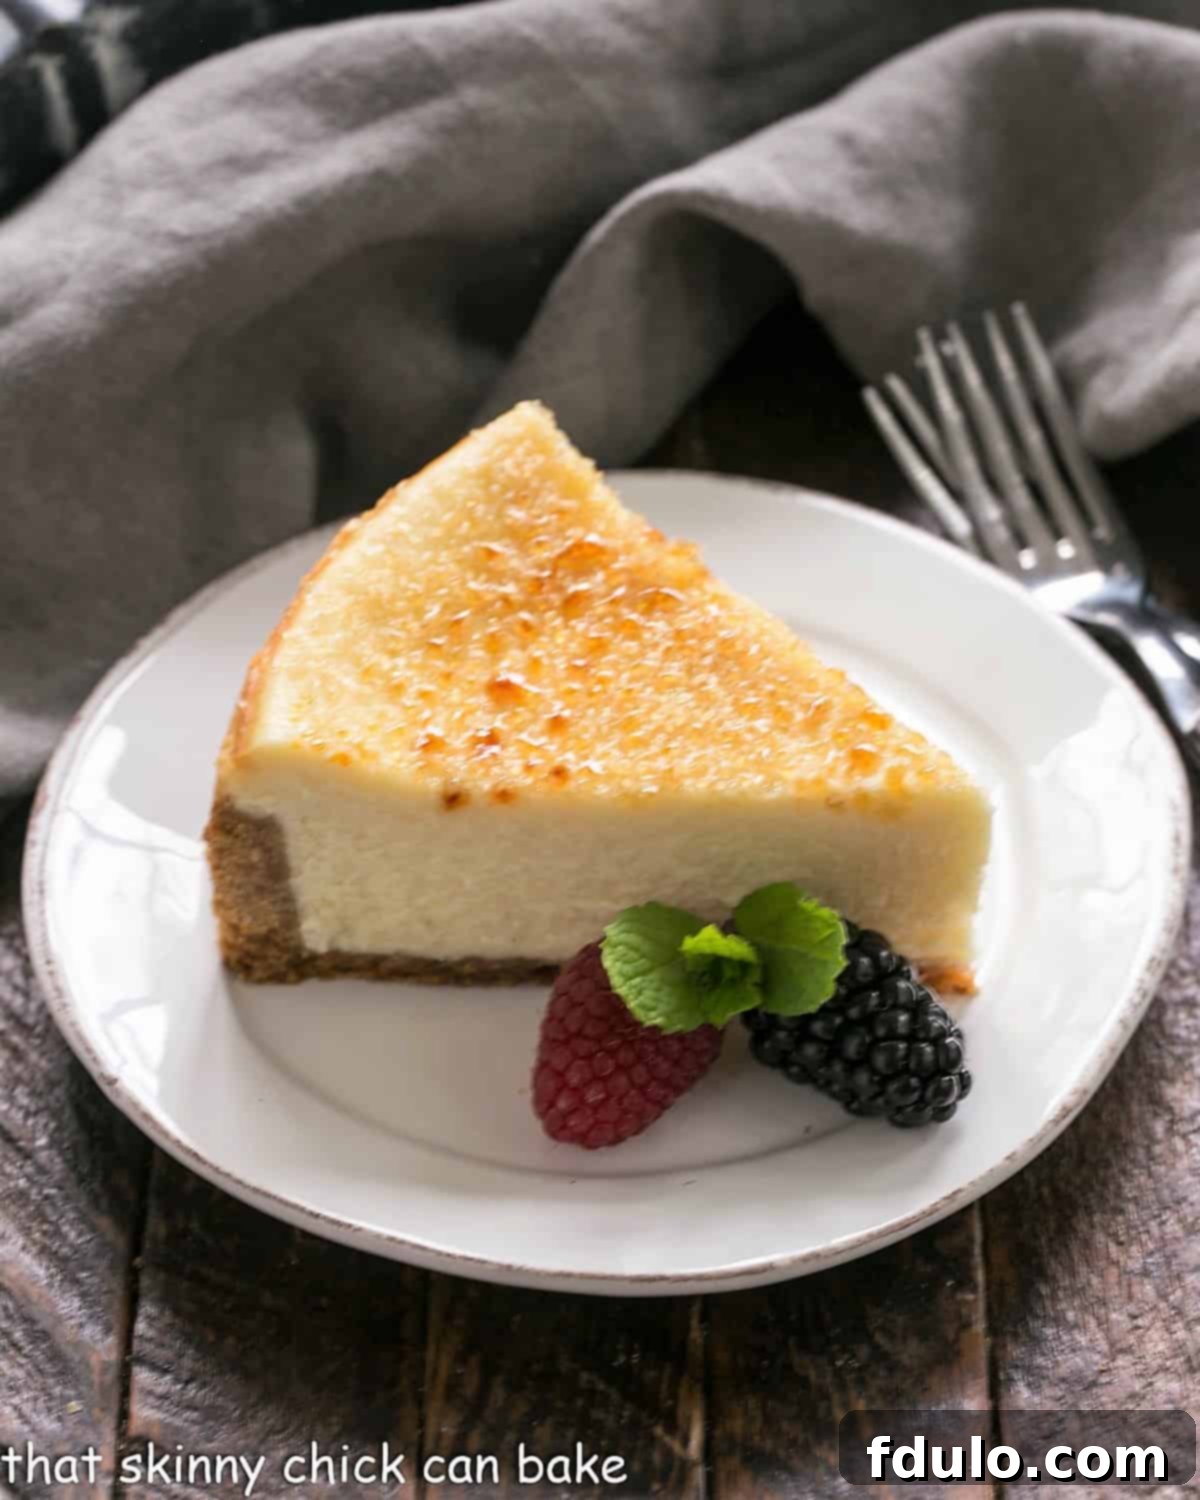
Indulge in the extraordinary with this **Crème Brûlée Cheesecake**, a masterful fusion where the rich, creamy texture of a classic mascarpone cheesecake meets the iconic, glass-like caramelized sugar crust of a decadent crème brûlée. This dessert isn’t just a treat; it’s an experience that brings together two beloved sweet sensations into one magnificent creation. Forget choosing between your favorites – now you can have the best of both worlds, flawlessly combined into a show-stopping dessert that promises to captivate every palate.
There’s something truly special about a **homemade cheesecake** that instantly elevates any occasion. And when that cheesecake is infused with the sophisticated charm of crème brûlée, the result is nothing short of spectacular. This isn’t just any cheesecake; it’s a testament to the joy of baking and the art of combining distinct flavors and textures. The delicate, silky smooth cheesecake body, enriched with mascarpone, provides the perfect canvas for the signature burnt sugar topping, creating a symphony of taste and crunch that is utterly unforgettable.
Why This Crème Brûlée Cheesecake Will Be Your New Favorite
There are countless reasons why this **Crème Brûlée Cheesecake recipe** deserves a prime spot in your dessert repertoire. It’s more than just a cheesecake; it’s a culinary masterpiece that brings an unparalleled level of sophistication and delight to any table. Here’s why you absolutely must try making this sensational dessert:
- An Unforgettable Dessert Hybrid: This recipe brilliantly unites two of the world’s most luxurious desserts: the creamy indulgence of cheesecake and the iconic crackle of crème brûlée. The contrasting textures of the velvety cheesecake and the crisp caramelized sugar topping create an extraordinary eating experience that’s both comforting and exciting.
- Perfect for Any Gathering: Whether you’re hosting a grand dinner party, celebrating a special occasion, or simply treating your family, this cheesecake is designed to impress. Yielding up to 12 generous servings, it’s an ideal choice for feeding a crowd and is guaranteed to draw rave reviews and requests for the recipe. Its elegant appearance makes it a true centerpiece.
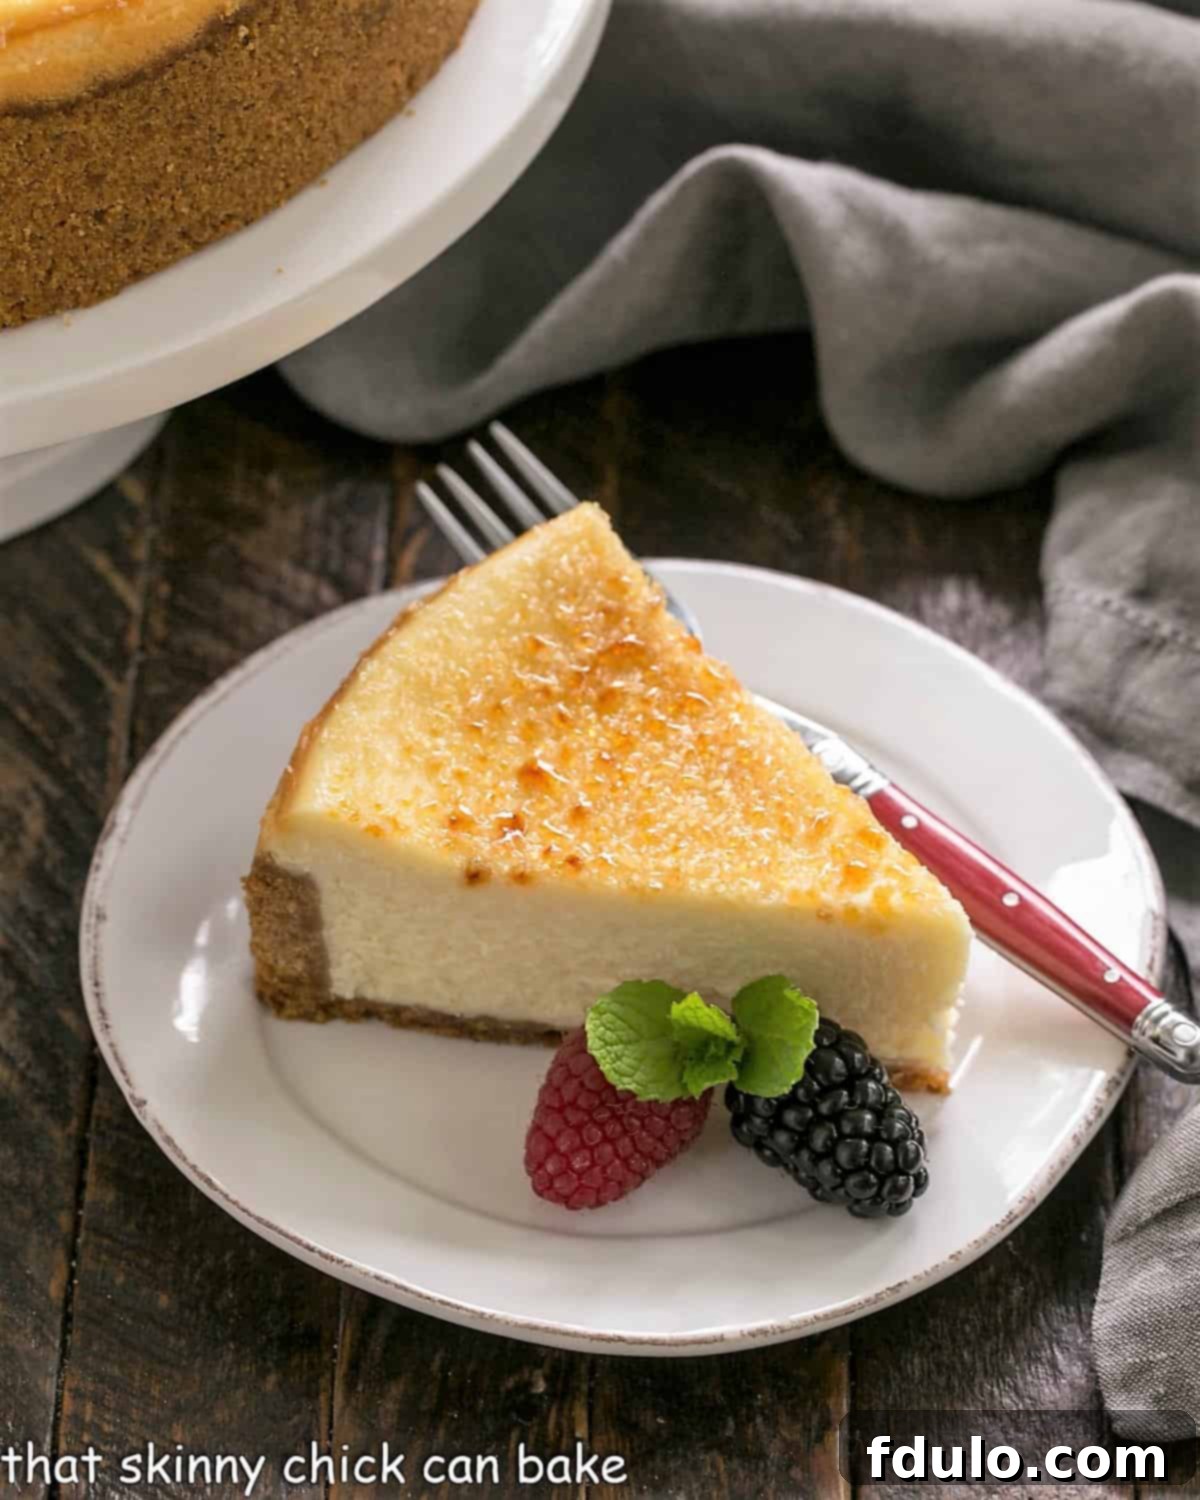
- Elegance in Every Bite: The signature caramelized sugar topping isn’t just delicious; it’s visually stunning. The golden-brown, crackling crust adds a professional, gourmet touch that makes this dessert look incredibly elegant and sophisticated. Torching the sugar at the moment of serving is a captivating culinary spectacle that will leave your guests in awe.
- Rich and Creamy Perfection: The use of mascarpone cheese alongside cream cheese results in an exceptionally rich, smooth, and utterly dreamy cheesecake texture. It’s less dense than some traditional cheesecakes, offering a melt-in-your-mouth quality that perfectly complements the sugary crunch.
- A Unique Flavor Profile: While familiar, the combination of classic cheesecake flavors with the subtle, deep caramel notes of the brûléed sugar creates a unique and harmonious flavor profile that stands out from typical cheesecakes. It’s a sophisticated twist on a beloved classic.
My youngest recently left for college, and my oldest has flown the nest into his own place. With the house feeling a little emptier, my daughter, Katie, has been delighting in getting more of her dinner and dessert requests honored. For years, I’d wanted to create a dessert that combined two of her absolute favorites: rich, creamy cheesecake and the delightful crackle of crème brûlée. This Crème Brûlée Cheesecake was my answer, and it has quickly become a cherished family recipe, bringing a little extra sweetness to our new routine.
Crafting the Perfect Crème Brûlée Cheesecake: Expert Tips
Achieving that perfectly creamy texture and stunning caramelized crust requires a few key techniques. Follow these expert tips to ensure your Crème Brûlée Cheesecake is nothing short of perfection:
- Room Temperature Ingredients are Non-Negotiable: This is arguably the most critical tip for any cheesecake. Ensure your cream cheese, mascarpone, and eggs are at room temperature. Cold ingredients don’t blend smoothly, leading to a lumpy batter and potentially overmixing. Room temperature ingredients emulsify better, creating a silky, lump-free batter that bakes evenly and results in an incredibly creamy cheesecake. Plan ahead and take them out of the fridge at least an hour or two before you start baking.
- Mixing with Precision: When using a stand mixer, always opt for the paddle attachment. The paddle attachment gently incorporates ingredients without whipping in too much air. Excess air in the batter can cause the cheesecake to puff up significantly during baking and then collapse, leading to cracks as it cools.
- Avoid Overbeating the Eggs: Once you add the eggs, mix them one at a time and only until they are just incorporated. Overbeating eggs can introduce too much air, which, as mentioned, can lead to cracks and a less dense, less creamy texture. A gentle, low-speed mix is all you need.
- Embrace the Water Bath (Bain-Marie): Baking your cheesecake in a water bath is a game-changer. This technique provides a moist, steamy baking environment and ensures a gentle, even heat distribution around the cheesecake. This slow, steady cooking prevents the edges from baking faster than the center, significantly reducing the risk of cracks and resulting in a consistently smooth, custardy texture from edge to edge. To set up a water bath, wrap the bottom of your springform pan with heavy-duty foil (to prevent leaks), place it in a larger roasting pan, and then pour hot water into the roasting pan until it comes halfway up the sides of the springform.
- Know When It’s Done: Don’t rely solely on timing, as oven temperatures can vary. Your cheesecake is ready when the edges are set, but the very center (about a 2-3 inch circle) still has a slight jiggle when you gently tap the side of the pan. It will continue to set as it cools. Overbaking will lead to a dry, cracked cheesecake.
- The Art of Cooling and Chilling: After baking, turn off the oven and leave the cheesecake inside with the door slightly ajar for about an hour. This gradual cooling prevents drastic temperature changes that can cause cracks. Once it’s completely cool, transfer it to the refrigerator and chill for at least 8 hours, or preferably overnight. This extended chilling period is crucial for the cheesecake to firm up, develop its full flavor, and achieve that super creamy, dense texture.
- Mascarpone Magic and Alternatives: Mascarpone cheese is key to this cheesecake’s luxurious richness and smooth texture. Its high-fat content makes the cheesecake extra decadent. If you find mascarpone hard to source, a quick search online will provide recipes to make your own at home using heavy cream and an acid like lemon juice or tartaric acid. Alternatively, a blend of 1/4 cup whipping cream, 8 ounces of cream cheese, and 2 1/2 tablespoons of sour cream can serve as a decent substitute in a pinch, though it won’t be quite the same as authentic mascarpone.
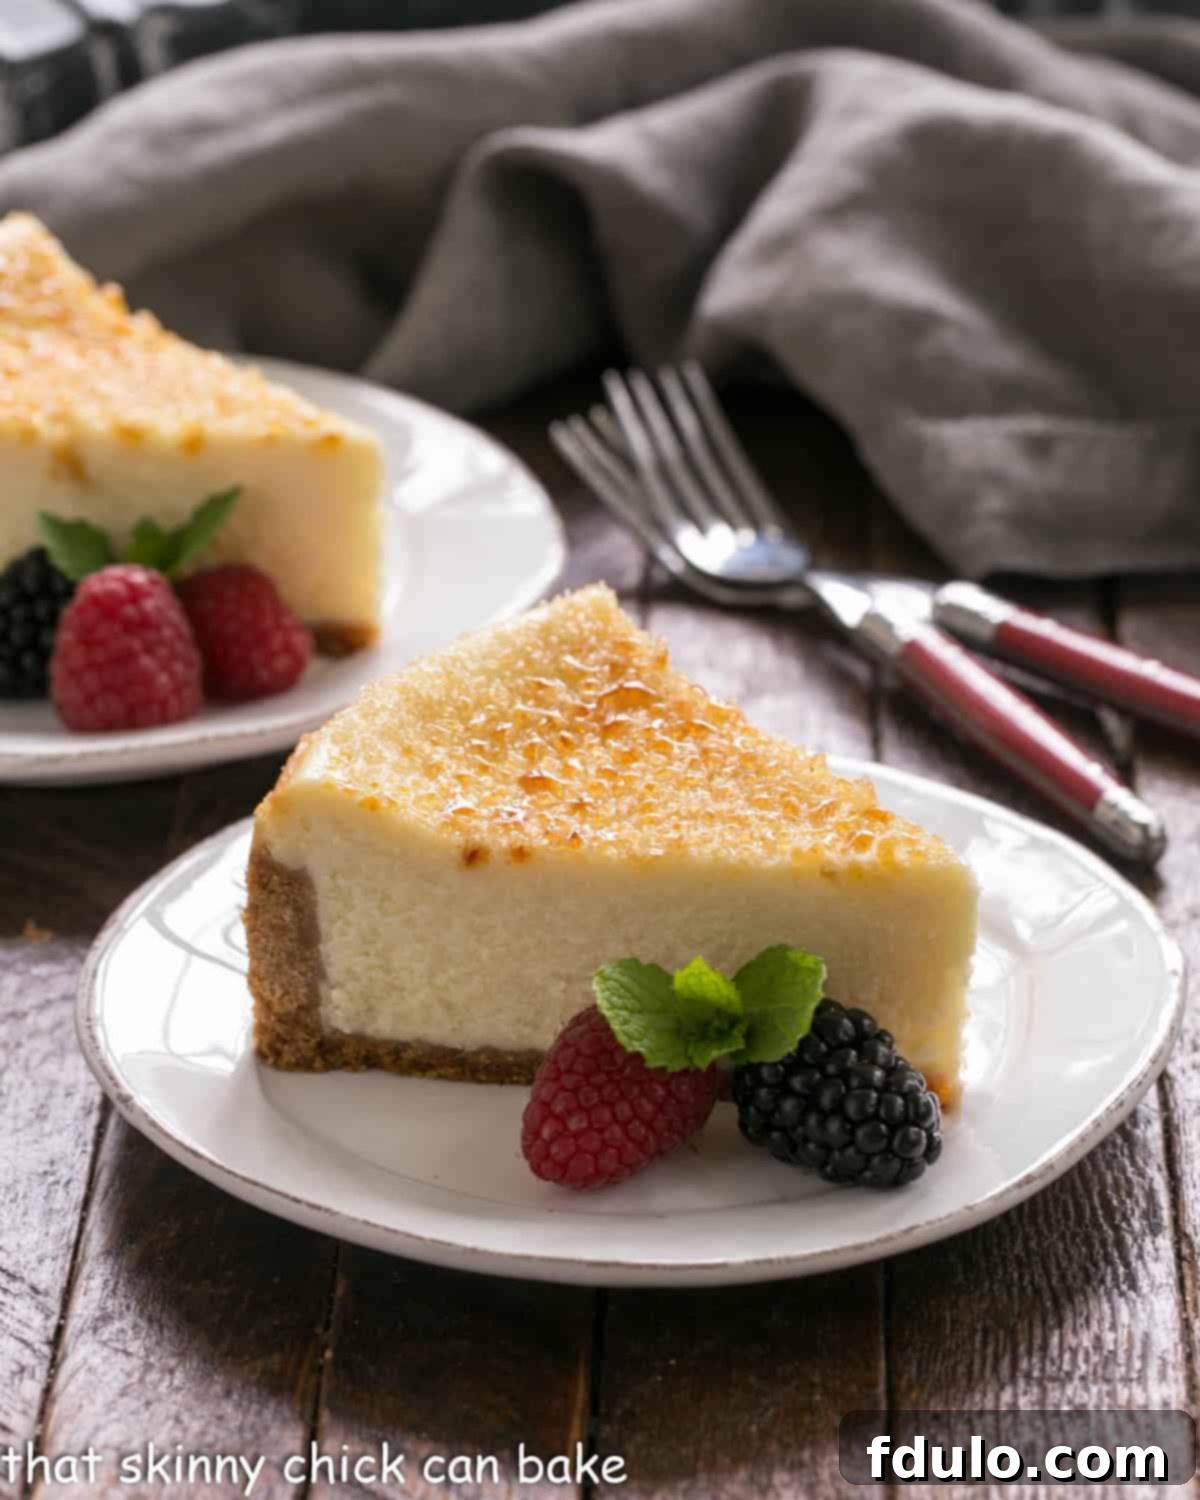
- Perfecting the Caramelized Topping: While turbinado sugar (sugar in the raw) creates a beautiful, coarse, and deeply caramelized crust, regular granulated sugar works perfectly well too. For the best results, sprinkle the sugar evenly over the chilled cheesecake just before serving. Use a kitchen torch for the ultimate control and a perfect, even burn. If you don’t have a torch, a broiler can be used with extreme caution, watching it constantly as sugar burns very quickly.
My husband, Bill, a self-proclaimed chocoholic, surprised even himself by declaring this cheesecake recipe an absolute winner. He adored its perfectly smooth and creamy consistency, and the delightful crunch of the crisp, caramelized sugar topping provided the ideal textural contrast he never knew he needed in a dessert. It quickly became one of his new non-chocolate favorites!
How to Make Two Smaller Crème Brûlée Cheesecakes
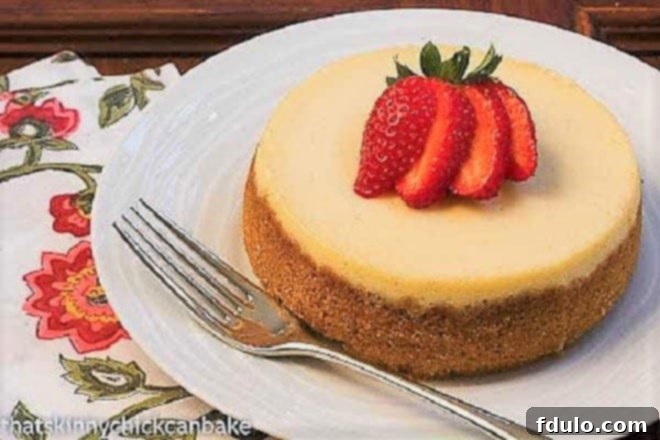
While my geometry skills are highly honed, sometimes simple measurement is best. I discovered that two deep 5-inch springform pans could accommodate approximately 5 cups of batter, a much simpler calculation than wrestling with π (though I certainly prefer pie to pi!). If you’d like to prepare two smaller, more individual-sized cheesecakes from this recipe, simply halve all the ingredients. Bake the crusts in two 5 x 2 1/2-inch springform pans for 5-7 minutes. Then, bake the cheesecake filling for approximately 40 minutes. These smaller versions are perfect for gifting, smaller gatherings, or when you want to enjoy this decadent treat without committing to a full-sized cake.
A delightful 5-inch Crème Brûlée Cheesecake, ready to be devoured. Circa 2012.
Frequently Asked Questions About Crème Brûlée Cheesecake
Crème brûlée, pronounced Krehm-broo-LAY, is a French dessert that literally translates to “burnt cream.” This refers to the signature caramelized sugar crust that tops a rich, creamy custard base.
To create the iconic brittle caramelized topping, you’ll sprinkle an even layer of turbinado or granulated sugar over the chilled cheesecake. The sugar is then quickly melted and browned using a kitchen torch. The intense heat melts the sugar, which then hardens into a crisp, glassy crust as it cools, providing a delicious textural contrast to the creamy dessert beneath. Alternatively, you can briefly place it under a broiler, but a torch offers more control.
Absolutely! In fact, this cheesecake benefits from being made ahead. The cheesecake itself needs at least 8 hours, or ideally overnight, to chill and set properly in the refrigerator. The caramelized sugar topping, however, should be done just before serving to ensure maximum crispness. If you brûlée it too early, the sugar will absorb moisture and soften.
Beyond standard baking equipment, the most essential tool for this recipe is a good quality 9-inch springform pan. For the crème brûlée topping, a kitchen torch is highly recommended for achieving the best results. A stand mixer with a paddle attachment also makes the process much easier, but a hand mixer can work too.
Several factors contribute to crack-free cheesecakes. Ensure all dairy and eggs are at room temperature. Avoid overmixing, especially after adding eggs, to prevent excess air incorporation. Baking in a water bath provides gentle, even heat and moisture, which is crucial. Finally, allow the cheesecake to cool slowly in the turned-off oven with the door ajar before chilling it thoroughly in the refrigerator.
Explore More Crème Brûlée Inspired Desserts & Cheesecake Tips:
If you’re a fan of the glorious combination of creamy and crunchy, or simply adore crème brûlée, you’ll love these other inspired recipes and helpful baking guides:
- Creme Brulee Cupcakes from Life, Love and Sugar for a bite-sized treat.
- White Chocolate Creme Brulee for an elegant twist on the classic.
- Creme Brulee French Toast, a fantastic make-ahead breakfast or brunch option.
- Classic Creme Brulee, master the original dessert.
- Raspberry Creme Brulee, adding a fruity burst to your creamy indulgence.
- Plus, don’t miss more of my Best Dessert Recipes and essential Tips for Making the Best Cheesecakes.
Stay connected and share your culinary creations with me! Find me on social media @ Instagram, Facebook, and Pinterest. Don’t forget to tag me when you try one of my delicious recipes! If you adore the results, please consider leaving a 5-star rating in the recipe card below – your feedback means the world!
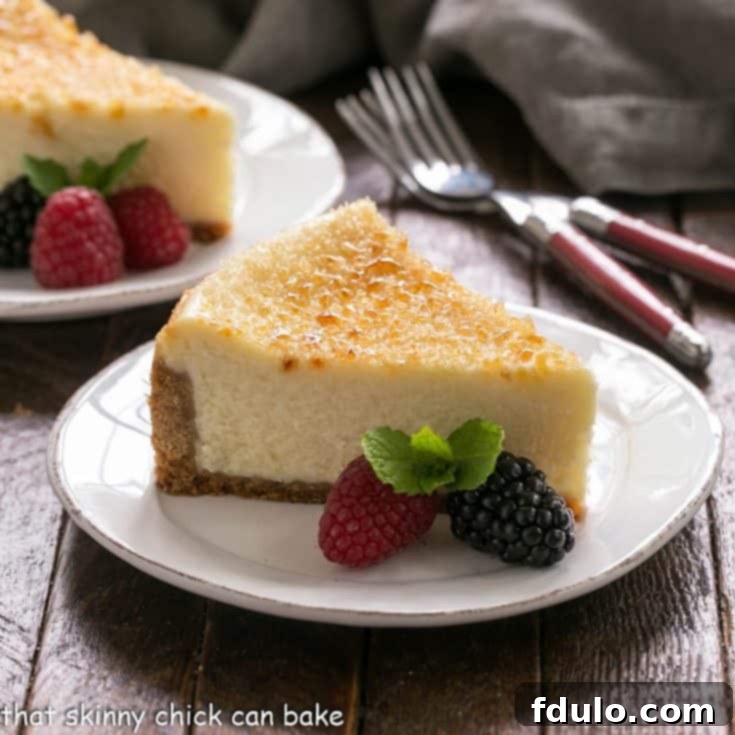
Crème Brûlée Cheesecake
30 minutes
47 minutes
1 hour 17 minutes
10 servings
A lovely cheesecake made to mimic the terrific flavors of creme brulee! Recipe adapted from Fine Cooking.
Ingredients
For Crust:
- 2 cups graham cracker crumbs
- 2 tablespoons sugar
- ½ cup butter, melted
For Cheesecake:
- 24 ounces cream cheese (3 packages), at room temperature
- 8 ounces mascarpone cheese, at room temperature
- 2 tablespoons flour
- Pinch of salt
- 1 ¼ cups sugar
- 1 tablespoon pure vanilla bean paste (may substitute vanilla extract)
- 4 eggs, at room temperature
- 3-4 tablespoons turbinado sugar (sugar in the raw)
Instructions
- Preheat the oven to 375º.
- Mix the graham cracker crumbs, sugar, and melted butter till well combined.
- Pat the crumbs onto the bottom and about halfway up the sides of each of a 9-inch springform pan.
- Bake for 10-12 minutes just until the crust slightly darkens. Remove to rack and cool.
- Reduce oven temperature to 300º.
- Using the paddle attachment of your stand mixer, beat cream cheese, mascarpone, flour, and salt until smooth and fluffy, about 5 minutes.
- Add sugar and continue mixing till smooth then add and mix in vanilla extract or paste.
- Add eggs one at a time, mixing just until incorporated.
- Scrape the batter into your springform pan.
- Bake for about 55-65 minutes or till most of the cheesecake is set and only the middle is slightly jiggly when the pan is tapped.
- Remove to rack and cool completely.
- Place in refrigerator and chill for at least 8 hours.
- Carefully remove the sides of springform pans, then use a large spatula to release cheesecakes from the bottom of the pan onto a serving plate.
- To serve, sprinkle the top with turbinado sugar and use a kitchen torch to melt the sugar.
Notes
Have the cream cheese, mascarpone, and eggs at room temperature for the best, most creamy cheesecake.
Recommended Products
As an Amazon Associate and member of other affiliate programs, I earn from qualifying purchases.
- Silicone Spatula
- KitchenAid KSM150PSER Artisan Tilt-Head Stand Mixer with Pouring Shield, 5-Quart, Empire Red
- 9-inch springform pan
Nutrition Information:
Yield:
12
Serving Size:
1
Amount Per Serving:
Calories: 465Total Fat: 37gSaturated Fat: 21gTrans Fat: 0gUnsaturated Fat: 12gCholesterol: 160mgSodium: 416mgCarbohydrates: 26gFiber: 1gSugar: 17gProtein: 8g
HOW MUCH DID YOU LOVE THIS RECIPE?
Please leave a comment on the blog or share a photo on Pinterest
