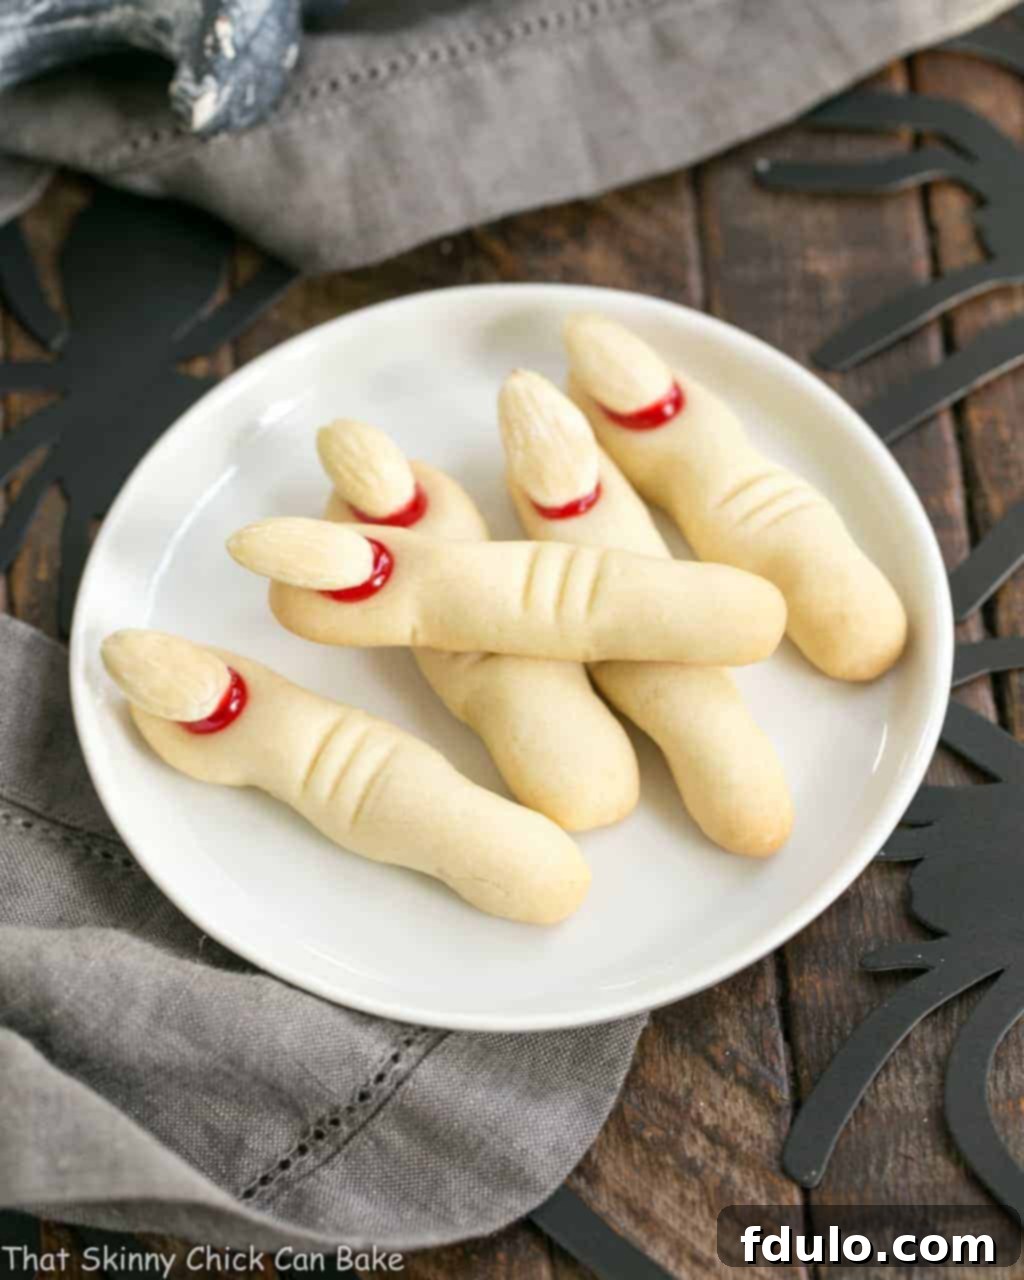
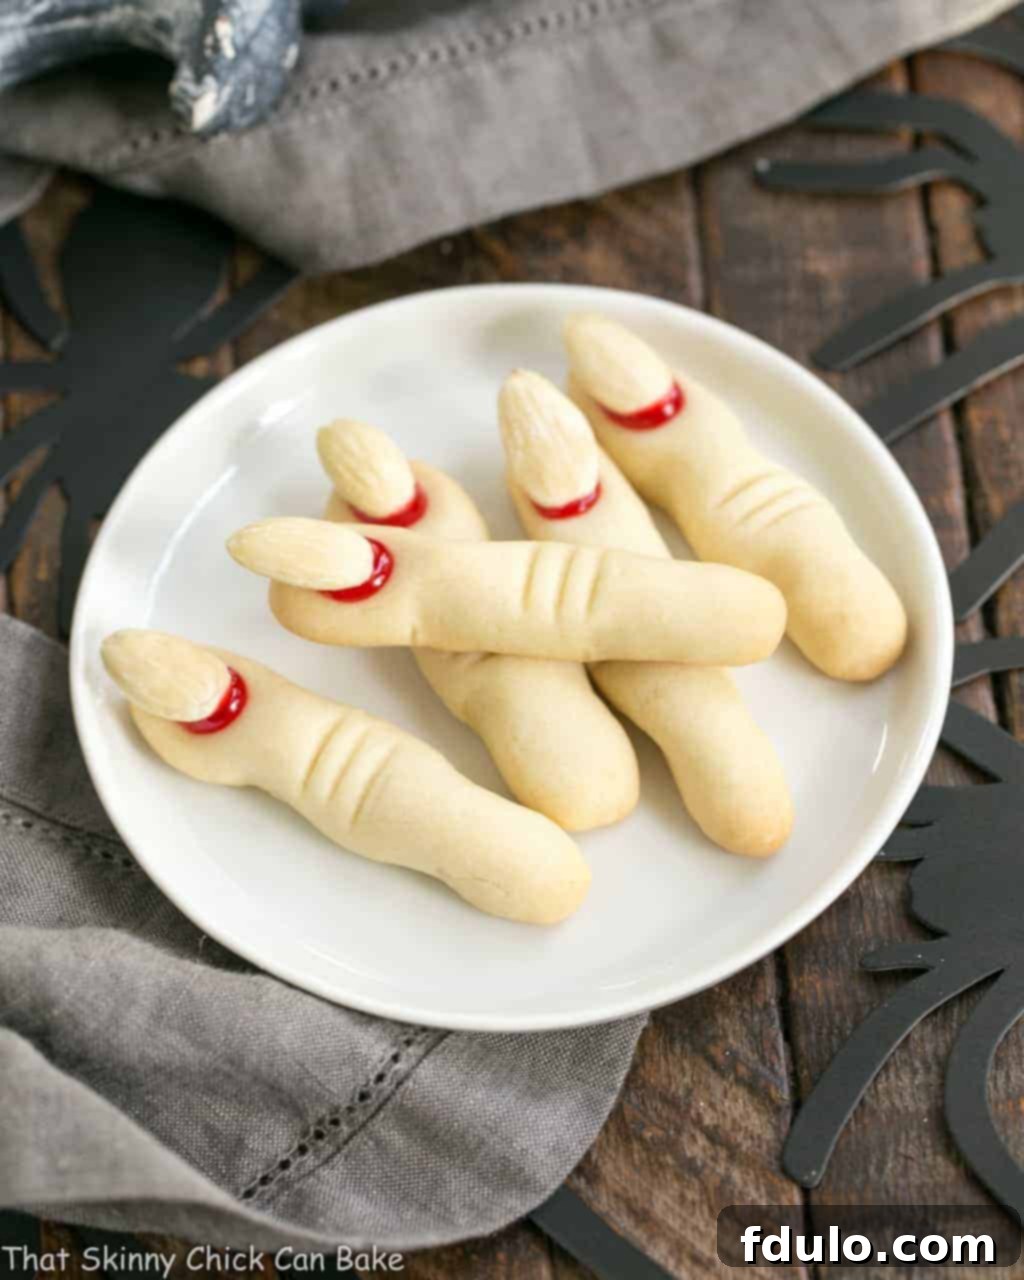
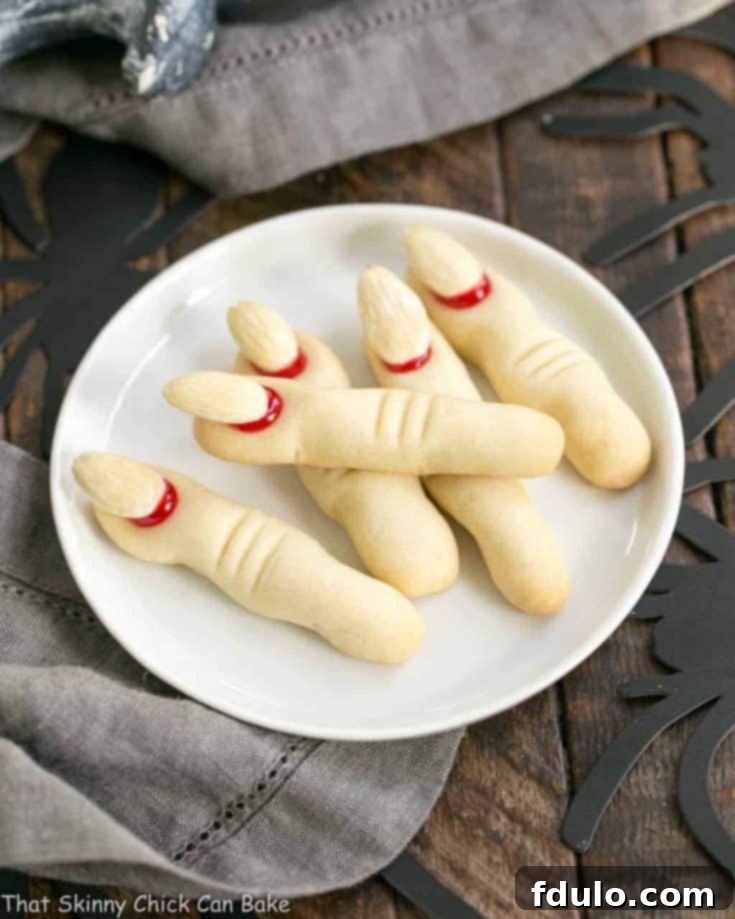
Welcome to the enchanting world of Halloween baking, where imagination transforms simple ingredients into delightfully spooky treats! This year, prepare to captivate your guests and satisfy their sweet cravings with a batch of our famously ghoulish yet incredibly delicious Witches Fingers Cookies. These aren’t just any Halloween snacks; they are a truly captivating and easy-to-make dessert that perfectly embodies the spirit of the season. Imagine soft, buttery sugar cookies, artfully shaped to resemble the eerie digits of a witch, complete with gruesome almond “nails” and a touch of crimson “blood.” They are the ultimate Halloween Treat that promises to be a conversation starter, drawing smiles, gasps, and loads of compliments. Despite their creepy appearance, they are irresistibly tasty, ensuring they disappear from the platter faster than you can say “trick or treat!”
Even my husband, who usually steers clear of anything nut-related, couldn’t resist these spooked-up Halloween Sugar Cookies. He simply plucked off the almond “nail” and happily munched away, a testament to just how universally appealing these cookies are. This recipe offers a fantastic way to engage in some creative baking without requiring advanced skills, making it perfect for bakers of all levels looking to add a touch of magic to their Halloween festivities.
Why You Must Make These Spooky Halloween Treats
Baking for Halloween is about more than just making sweets; it’s about crafting edible experiences that add to the holiday’s festive and mysterious atmosphere. Our Witches Fingers Cookies are an absolute must-make for several compelling reasons:
- Inspired by a Culinary Icon: These chilling creations draw inspiration from none other than Martha Stewart, a true connoisseur of all things seasonal and stylish. Martha’s passion for Halloween is legendary, and her ability to transform simple concepts into elegant yet spooky delights has always been a benchmark. Our rendition captures that same spirit – a classic idea with a fun, accessible twist.
- Universally Adored Sugar Cookies: At their core, these are classic sugar cookies, a dessert beloved by almost everyone. The familiar, comforting taste of a perfectly baked sugar cookie provides the ideal canvas for their eerie transformation. This means you’re not just offering a novelty; you’re offering a genuinely delicious treat that even the pickiest eaters will enjoy, making them perfect for parties and gatherings where diverse tastes converge.
- Effortlessly Creepy Charm: Achieving a genuinely spooky effect for Halloween often seems daunting, but these cookies prove that you don’t need elaborate techniques or expensive tools. With a bit of dough shaping, the strategic placement of an almond, and a touch of red gel, you can create a batch of impressively gruesome fingers that look fantastic without requiring hours of intricate decoration. It’s all about simple steps yielding maximum impact, allowing you more time to enjoy the holiday festivities.
I distinctly recall stumbling upon Martha Stewart’s witches’ fingers cookies many years ago, likely in one of her iconic Halloween-themed publications or television segments. If my memory serves me right, her original Halloween Cookies might have even featured a pale green dough, adding another layer of macabre charm to her already ingenious concept. The simplicity and visual impact instantly resonated with me. Knowing they were essentially humble sugar cookies cleverly disguised as ghastly digits, I was confident my family would embrace them with enthusiasm. While I anticipated some might discard the almond “nails”—perhaps even into my opportunistic mouth—they were an absolute hit across the board, proving that good taste triumphs over spooky appearances every time!
Crafting the Perfect Witches Fingers: Expert Tips for Success
Creating truly impressive Witches Fingers Cookies is easier than you think, especially with a few insider tips to guide you. These suggestions will help ensure your cookies not only look fantastically spooky but also bake up perfectly every time, delivering that delightful sugar cookie flavor and texture that everyone loves.
- Mastering the Chill: The Secret to No-Spread Cookies:
- PRO-Tip: Sugar cookie dough can become warm and sticky during shaping, especially when handled extensively. If your dough starts to feel too soft or difficult to work with, don’t hesitate to pop the bowl of dough or the baking sheet filled with your already-shaped fingers into the fridge or freezer for a quick chill.
- This chilling step is absolutely crucial. It helps to firm up the butter in the dough, which prevents the cookies from spreading too much in the oven, ensuring your spooky fingers maintain their distinct, eerie shape and don’t turn into blob-like masses. Aim for at least 10-15 minutes in the freezer or 20-30 minutes in the fridge for optimal results before baking.
- Choosing and Preparing Your “Nails”: The Almond Detail:
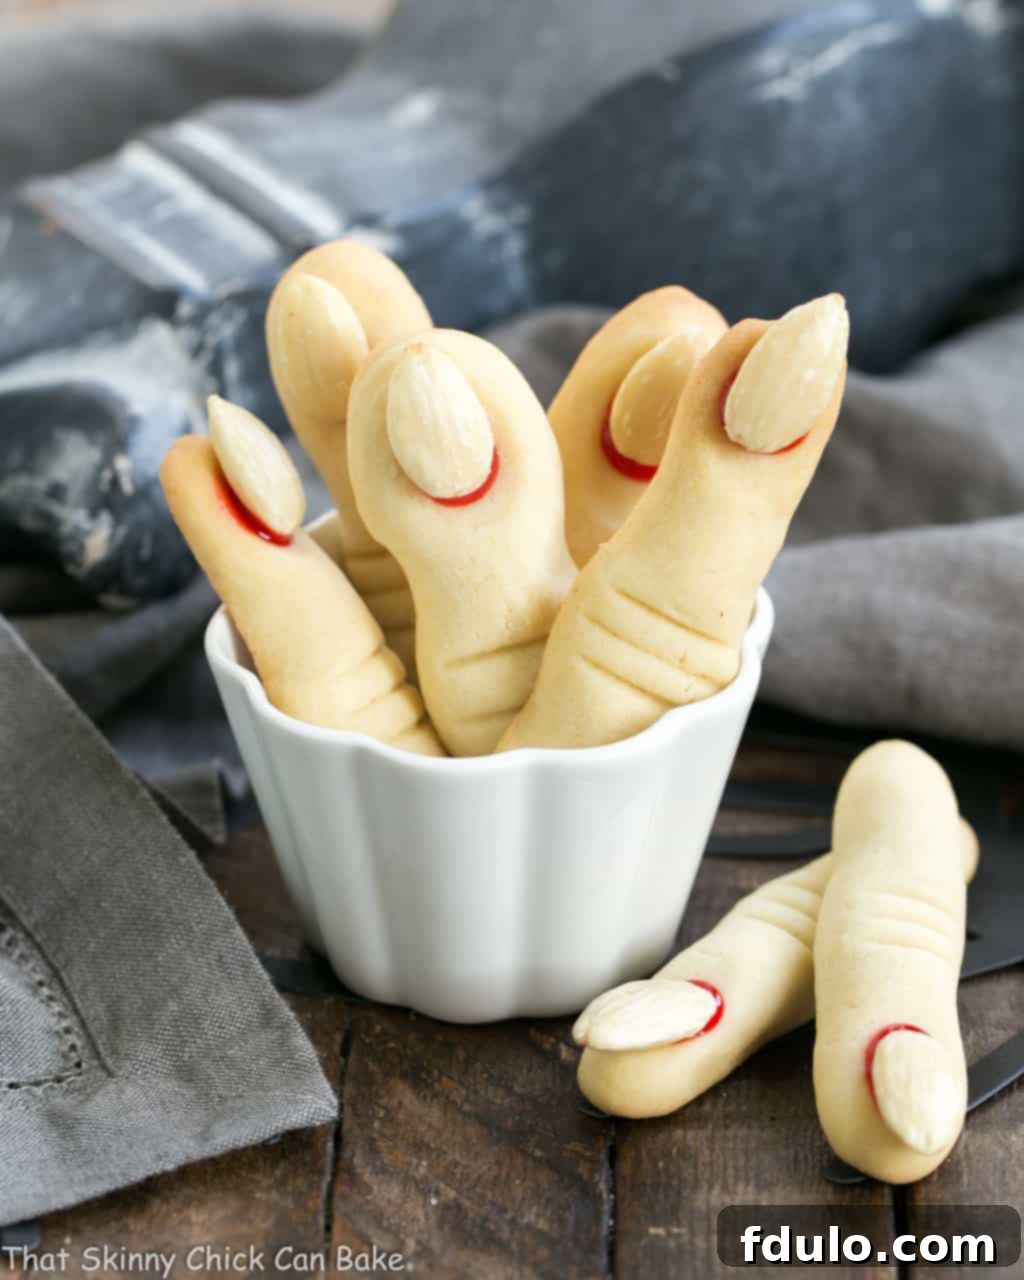
- PRO-Tip: The iconic “nail” on each witch’s finger can be crafted from either whole almonds or sliced almonds. Whole almonds provide a more substantial, gnarly look, while sliced almonds offer a slightly more delicate but equally creepy effect.
- If you prefer the look of blanched almonds (without their brown skin), but can’t find them readily available, blanching them yourself is a simple process. Briefly dip the almonds into boiling water for about a minute, then immediately transfer them to a colander and rinse under cold water. The skins should then slip off easily between your fingers. Ensure they are thoroughly dried before attaching them to your cookies to prevent any moisture issues. You can find more detailed instructions in our FAQ section below.
- For those with nut allergies or preferences, consider alternatives like pumpkin seeds for a green, slightly flattened nail, or even a small, dark chocolate chip pressed flat for a less realistic but still effective “nail.”
- The Gruesome Touch: Crafting Bloody Nail Beds:
- I personally adore the vivid, almost theatrical look that red icing gel provides for the “bloody” nail beds. Its intense color and slightly gooey texture add to the macabre realism.
- However, if you’re seeking a more natural or subtly fruity alternative, a dab of strawberry or raspberry jelly or jam works wonderfully. The natural fruit sugars will help the almond adhere, and the slightly translucent, jewel-toned red creates a more organic, yet still unsettling, appearance. You can also experiment with black icing gel for a truly sinister, decaying nail effect.
Frequently Asked Questions About Witches Fingers Cookies
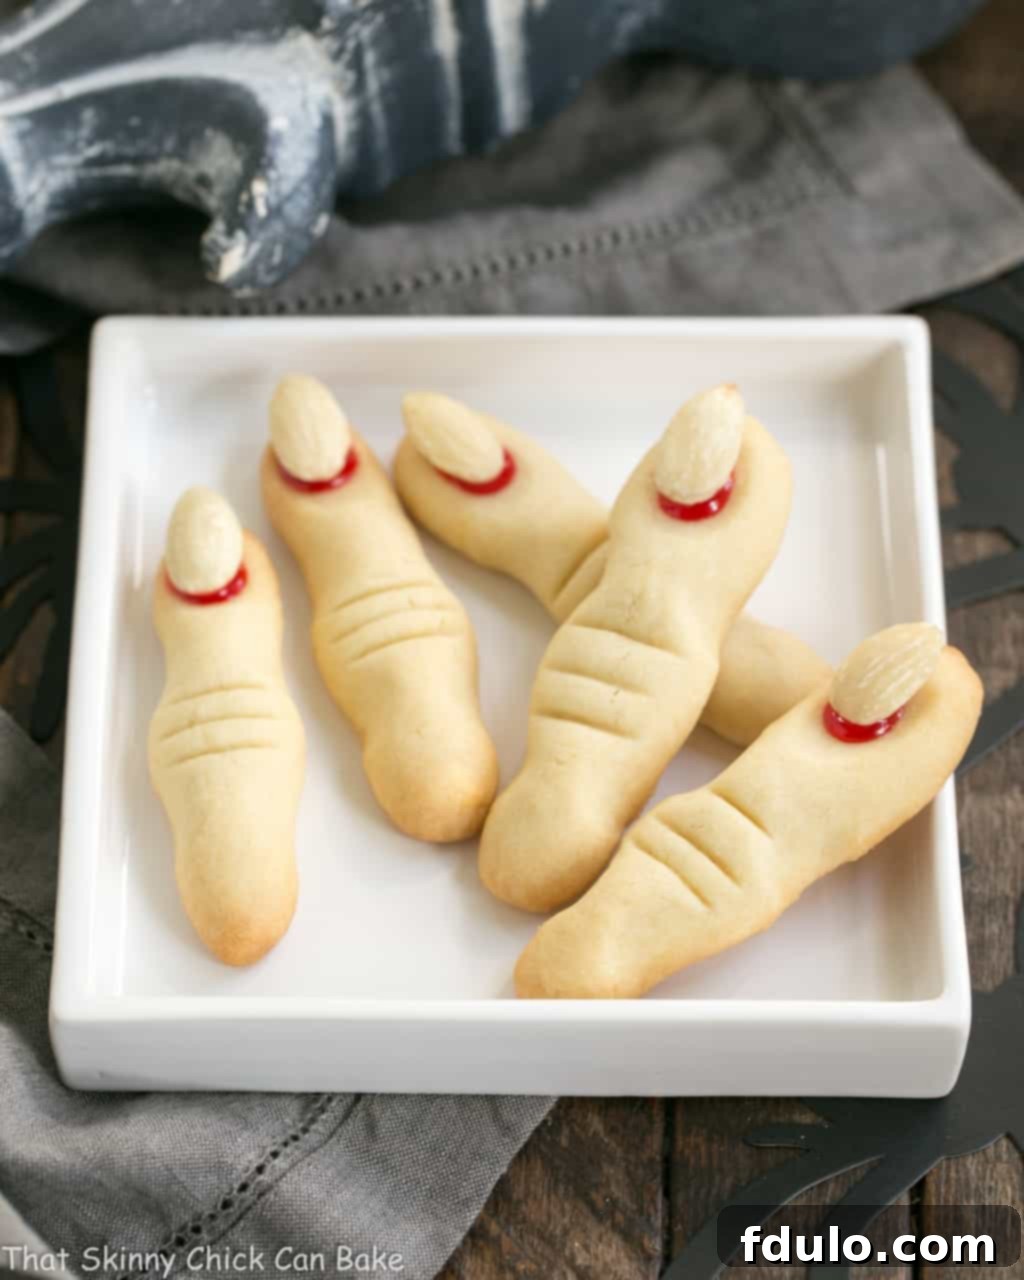
Witches Fingers Cookies are a popular and visually striking Halloween treat. They are essentially sugar cookies that are skillfully shaped to resemble gnarled, spooky fingers. To enhance their witchy appearance, a blanched almond is pressed onto one end to mimic a fingernail. The “nail bed” is often made to look bloody by using red food gel or jam, which also helps to adhere the almond. Knuckly wrinkles are created by making slight indentations with the dull side of a table knife, and the overall finger shape is refined by symmetrical indentations along the sides, giving each cookie a uniquely eerie and realistic look.
Blanching almonds is a straightforward process used to remove their dark outer skins, resulting in a paler, smoother appearance ideal for our witchy nails. To blanch almonds, bring a small pot of water to a rolling boil. Carefully add the raw, unblanched almonds to the boiling water and let them boil for just one minute. Immediately after, drain the almonds into a colander and rinse them thoroughly under cold running water. Once cooled, you can easily peel off the skins by gently squeezing each almond between your fingers. Ensure the blanched almonds are completely dry before using them in your recipe, as any moisture can affect the cookie dough or the adherence of the “nail.”
Absolutely! These spooky Halloween cookies are excellent for making ahead, which can be a huge time-saver during the busy Halloween season. You can prepare the dough and store it wrapped tightly in plastic wrap in the refrigerator for up to 3-5 days. Alternatively, you can shape the fingers, place them on baking sheets, and freeze them until solid. Once frozen, transfer the unbaked cookie fingers to an airtight container or freezer bag and store for up to 2-3 months. When ready to bake, simply place the frozen fingers directly onto parchment-lined baking sheets and add a few extra minutes to the baking time.
Once baked and completely cooled, store your Witches Fingers Cookies in an airtight container at room temperature for up to 5-7 days. If you’ve used jelly or jam for the “blood,” ensure it’s fully set before stacking to prevent sticking. For longer storage, the baked cookies can also be frozen for up to 2-3 months. Wrap them individually or place parchment paper between layers in a freezer-safe container. Thaw them at room temperature before serving.
You May Also Like: More Spine-Tingling Halloween Treats!
If you’re still in the mood for more festive baking after whipping up these delightful Witches Fingers Cookies, we’ve got a selection of other amazing Halloween-themed recipes to keep your spooky season vibrant and delicious. Explore these other fantastic ideas for your next ghoulish gathering or a fun family baking day!
- Halloween Chocolate Bark by Life Tastes Good: A simple yet impressive treat that’s perfect for a crowd.
- Spiderweb Cookie Cake: A stunning centerpiece that’s as fun to decorate as it is to eat.
- Chocolate Mummy Cupcakes: Adorably spooky cupcakes that are always a hit with kids and adults alike.
- White Chocolate Monster Munch: A sweet and salty snack mix that’s addictively good.
- Candy Corn Cupcakes: A colorful and festive homage to a classic Halloween candy.
- Don’t miss our extensive collection of 20+ Halloween Treats for even more inspiration!
- Discover more easy and delightful recipes in our Easy Holiday Recipes section.
Stay connected with us and share your culinary adventures! Follow us on social media @ Instagram, Facebook, and Pinterest. Don’t forget to tag us when you create one of our recipes! And if you absolutely love the results, please consider giving it a 5-star rating in the recipe card below. Your feedback helps us continue to create delicious content for you.
Witches Fingers Cookies Recipe
Gnarly finger cookies with almond nails are the ultimate spooky yet delicious treat for Halloween parties and family fun!
20 minutes
15 minutes
35 minutes
5 dozen (60 cookies)
Rated 4.7 out of 5 stars based on 41 reviews.
Ingredients
- 1 cup butter, at room temperature
- 1 cup powdered sugar
- 1 egg
- 1 teaspoon vanilla extract
- 1 teaspoon almond extract
- 2 ¾ cups all-purpose flour
- 1 teaspoon baking powder
- ½ teaspoon salt
- Red gel frosting or red jam/jelly (for nail beds)
- 60 whole blanched almonds or sliced almonds (one for each cookie)
Instructions
- Prepare the Dough: In a large mixing bowl, using a handheld mixer or stand mixer, cream together the softened butter and powdered sugar until light and fluffy. Beat in the egg, vanilla extract, and almond extract until well combined.
- Combine Dry Ingredients: In a separate bowl, whisk together the flour, baking powder, and salt. Gradually add this dry mixture to the butter mixture, mixing on low speed until just combined and a soft dough forms. Be careful not to overmix.
- Chill the Dough: Wrap the cookie dough in plastic wrap and gently pat it into a flattened disk. Chill the dough in the refrigerator for at least 30 minutes. This step is crucial for preventing the cookies from spreading too much during baking and makes the dough easier to handle.
- Preheat Oven and Prep Sheets: While the dough is chilling, preheat your oven to 325°F (160°C). Line several baking sheets with parchment paper for non-stick baking and easy cleanup.
- Shape the Fingers: Take small portions of the chilled dough and roll them into 1-inch diameter balls. Then, gently roll each ball into a 3-inch long “finger” shape. Place the shaped fingers onto the prepared baking sheets, ensuring they are spaced about 2 inches apart to allow for slight expansion.
- Create Knuckles and Nail Beds: Once a baking sheet is full, use the dull side of a table knife to make 3 parallel indentations midway down each finger to resemble a knuckle. Gently pinch the dough slightly above and below the knuckle marks to give the finger a more realistic, gnarled appearance. Using your index finger or thumb, press down a small indentation at the very top of each finger to create a spot for the “nailbed.”
- Final Chill Before Baking: For best results and to maintain their shape, place the baking sheet filled with shaped fingers into the freezer for a few minutes (5-10 minutes) while you prepare the next batch of cookies. This additional chill further prevents spreading.
- Bake the Cookies: Bake the chilled fingers for approximately 15 minutes, or until the edges are lightly golden and the cookies are set. Baking time may vary depending on your oven and cookie thickness.
- Add Nails and “Blood”: Remove the cookies from the oven and let them cool on the baking sheet for a few minutes. While still slightly warm, squeeze a small amount of red gel frosting (or a dab of red jam/jelly) onto the nailbed indentation. Gently press a blanched almond into the red gel/jam to create the “nail.” Allow the cookies to cool completely on a wire rack so the almond adheres firmly and the cookies firm up.
Notes
The chilling steps are essential for preventing these cookies from spreading excessively in the oven, ensuring your Witches Fingers maintain their gruesome shape. If you find your cookie dough to be a bit crumbly after chilling or mixing, add milk a drop at a time (half a teaspoon at most) until it reaches a more workable, pliable consistency. Overworking the dough can lead to tougher cookies, so mix just until combined.
Recommended Products
As an Amazon Associate and member of other affiliate programs, I earn from qualifying purchases.
- Baking Rack Cooling Rack Set of 2
- Reynolds Cookie Baking Sheets Non-Stick Parchment Paper, 25 Sheet, 4 Count
- USA Pan Bakeware Half Sheet Pan
Nutrition Information:
Yield: 30 servings (2 cookies per serving)
Amount Per Serving:
Calories: 156
Total Fat: 10g
Saturated Fat: 4g
Trans Fat: 0g
Unsaturated Fat: 5g
Cholesterol: 22mg
Sodium: 119mg
Carbohydrates: 16g
Fiber: 1g
Sugar: 5g
Protein: 3g
