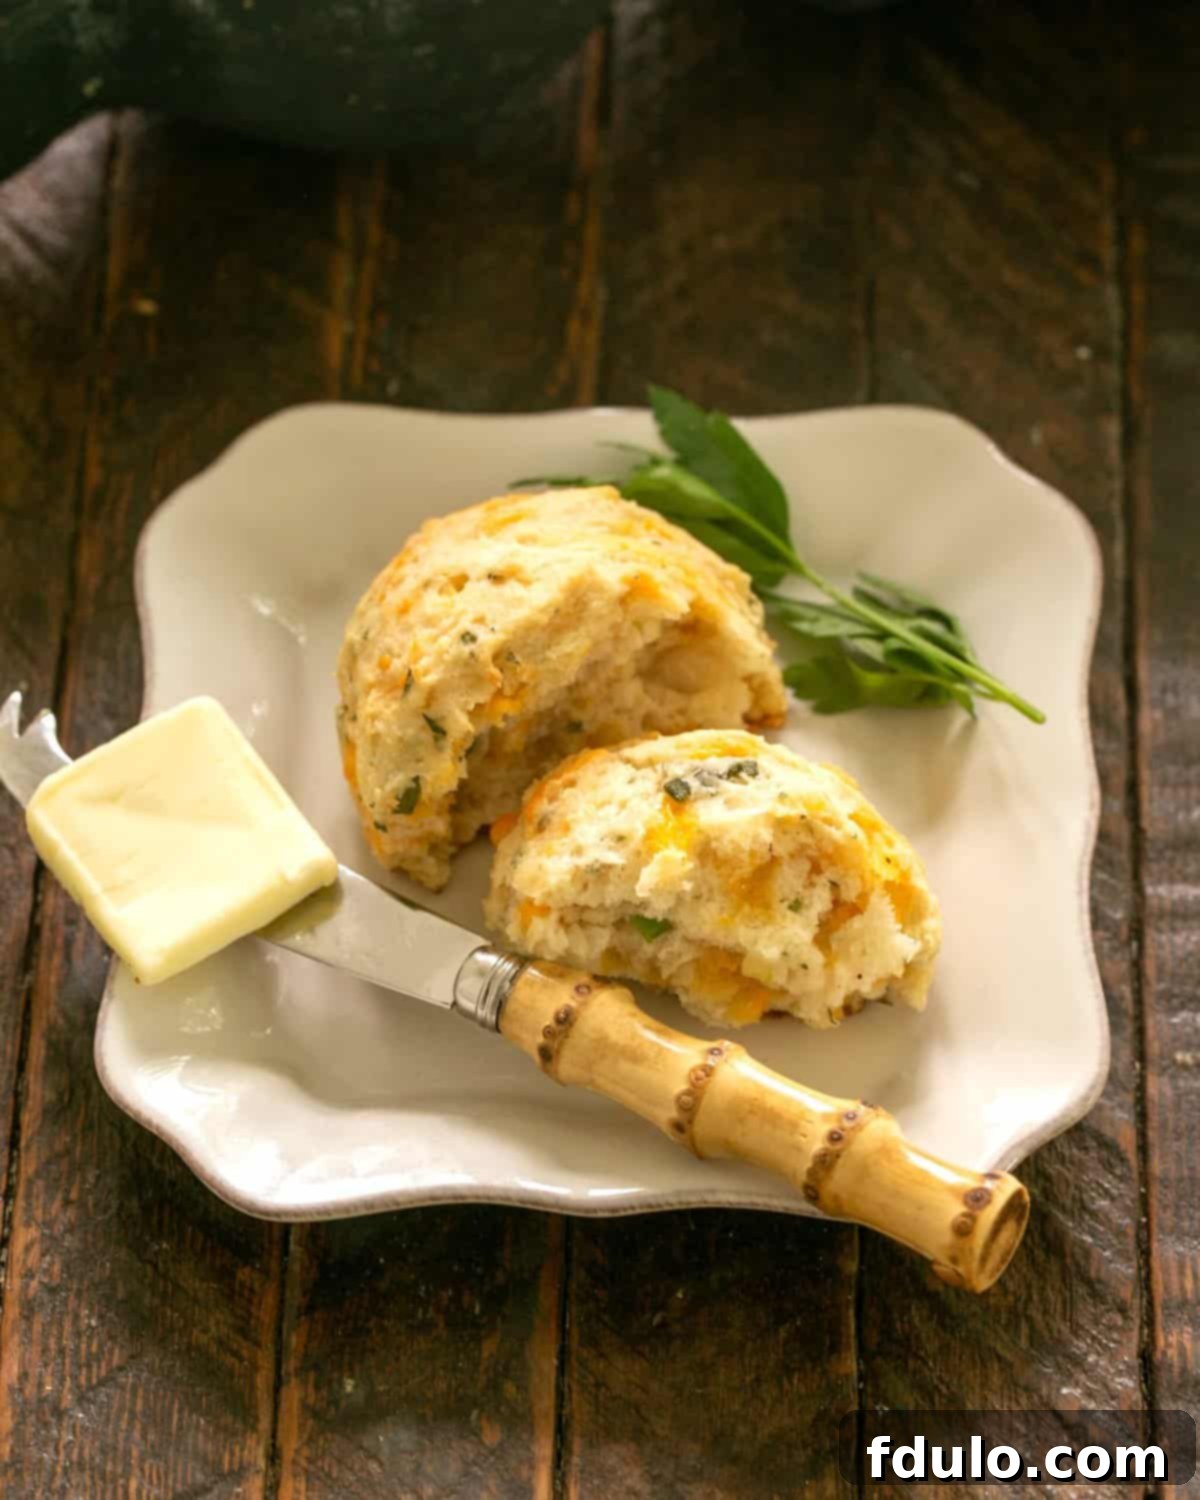
There’s a special kind of magic that happens when warm, savory biscuits make an appearance at the dinner table. And when those biscuits are infused with sharp cheddar, fragrant garlic, and fresh herbs, they transform from a simple side into an unforgettable culinary experience. Such was the case during our recent quarterly dinner club gathering, where these incredible Cheddar Cheese Biscuits stole the show. One of the many joys of our dinner club is discovering those must-recreate recipes that beg to be baked in our own kitchens. This particular recipe immediately earned its place at the top of that list.
This Easy Cheese Biscuit Recipe isn’t just a delicious accompaniment; it’s a statement piece that elevates any meal. Imagine serving these tender, fluffy biscuits alongside a vibrant Classic Cobb Salad at your next book club meeting or family dinner. That’s exactly what I did, and the result was instant requests for both recipes! These aren’t your average biscuits; they’re a harmonious blend of textures and flavors, surprisingly simple to whip up, yet yielding a sophisticated result that will impress everyone.
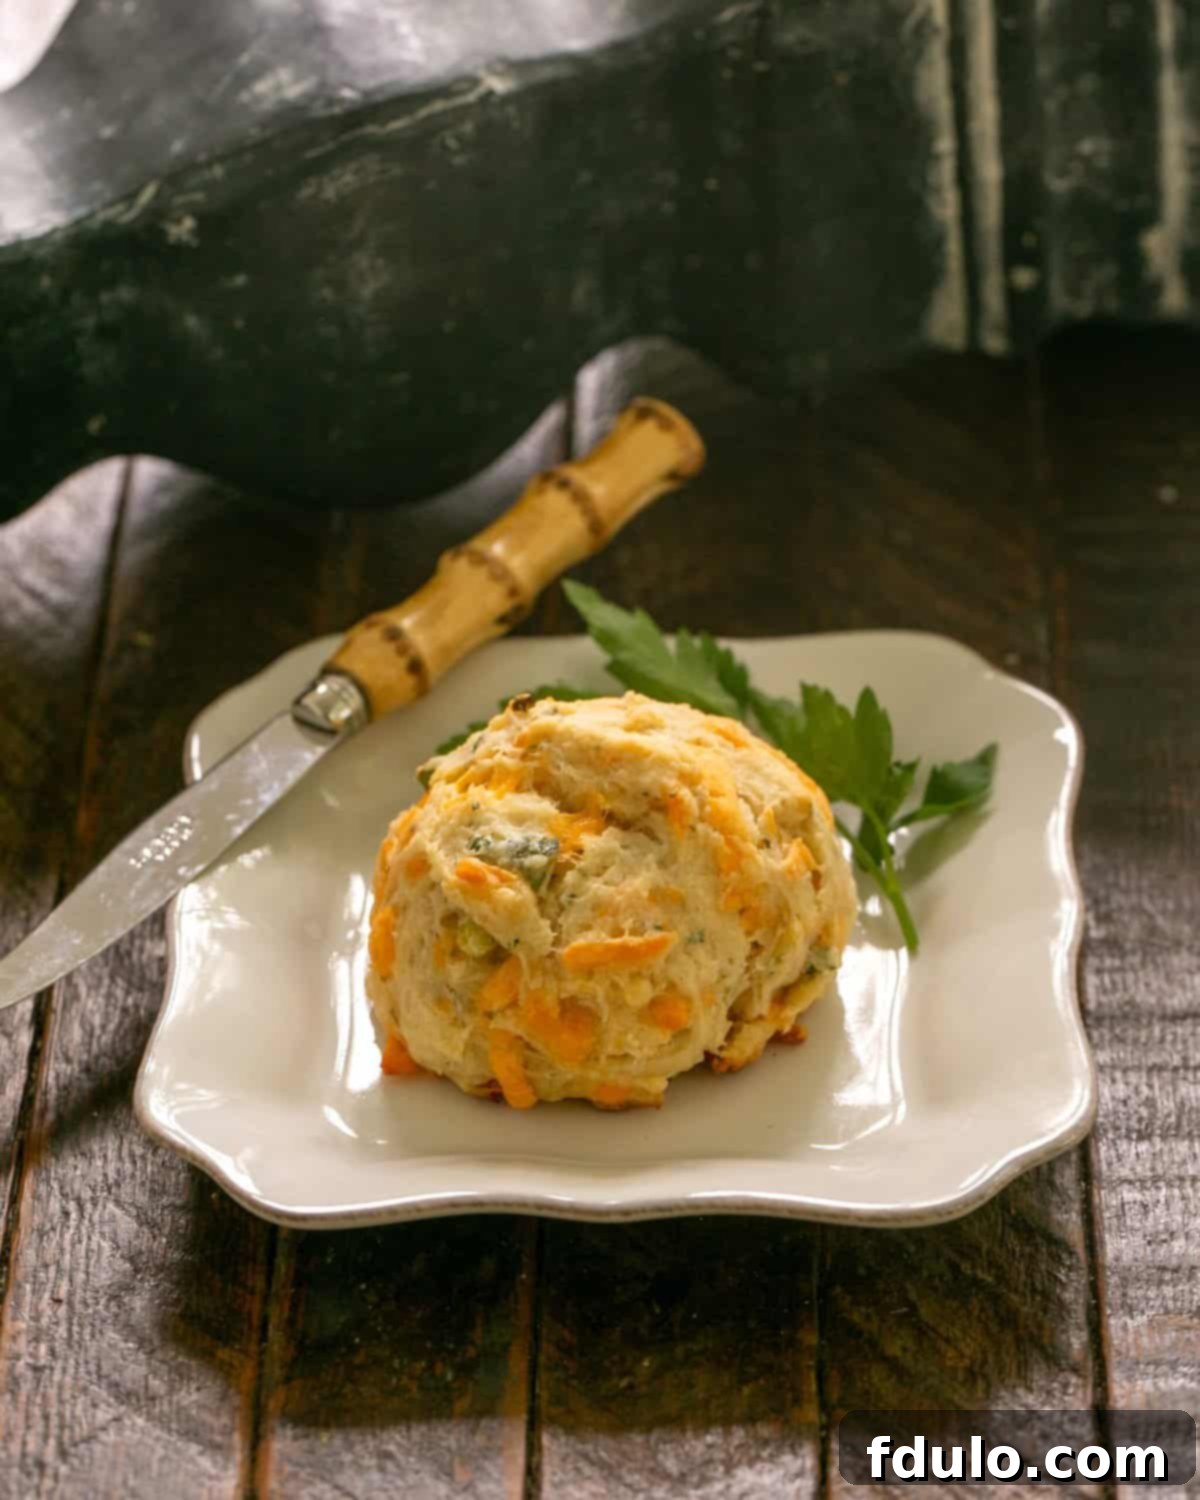
Why These Cheddar Biscuits Are a Must-Try
If you’re looking to add a touch of homemade warmth and irresistible flavor to your meals, look no further. These cheddar cheese biscuits are more than just a recipe; they’re an invitation to culinary delight. Here’s why they deserve a permanent spot in your baking repertoire:
- Unbelievably Moist and Tender Texture: Prepare for a biscuit experience unlike any other. Thanks to the magic of buttermilk, these biscuits boast an incredibly moist and tender crumb that practically melts in your mouth. They’re so light and fluffy, you’ll find yourself reaching for seconds before you’ve even finished the first. The delicate balance ensures they are never dry or crumbly, just pure, buttery goodness.
- Bursting with Savory Flavor: What sets these biscuits apart is their rich, complex flavor profile. The generous addition of sharp cheddar cheese provides a tangy, savory backbone, perfectly complemented by the pungent warmth of garlic powder. Fresh scallions introduce a mild oniony bite, while a hint of parsley adds a bright, herbaceous finish. Every bite is a symphony of savory notes, making them utterly addictive.
- Incredibly Versatile for Any Occasion: These biscuits are true culinary chameleons. They effortlessly complement a wide range of dishes, transforming a simple meal into something special. Imagine them soaking up the rich broth of your favorite soup, providing a hearty contrast to a crisp salad, or adding a comforting touch to a robust chili. They’re also an absolute dream alongside grilled meats, poultry, or vegetables, making them perfect for backyard BBQs or elegant dinners alike.
- Surprisingly Simple to Make: Don’t let their gourmet taste fool you – these biscuits are wonderfully easy to prepare. With straightforward steps and common pantry ingredients, even novice bakers can achieve impressive results. The recipe minimizes fuss while maximizing flavor, proving that you don’t need to spend hours in the kitchen to create something truly spectacular.
Essential Ingredients for Perfect Biscuits
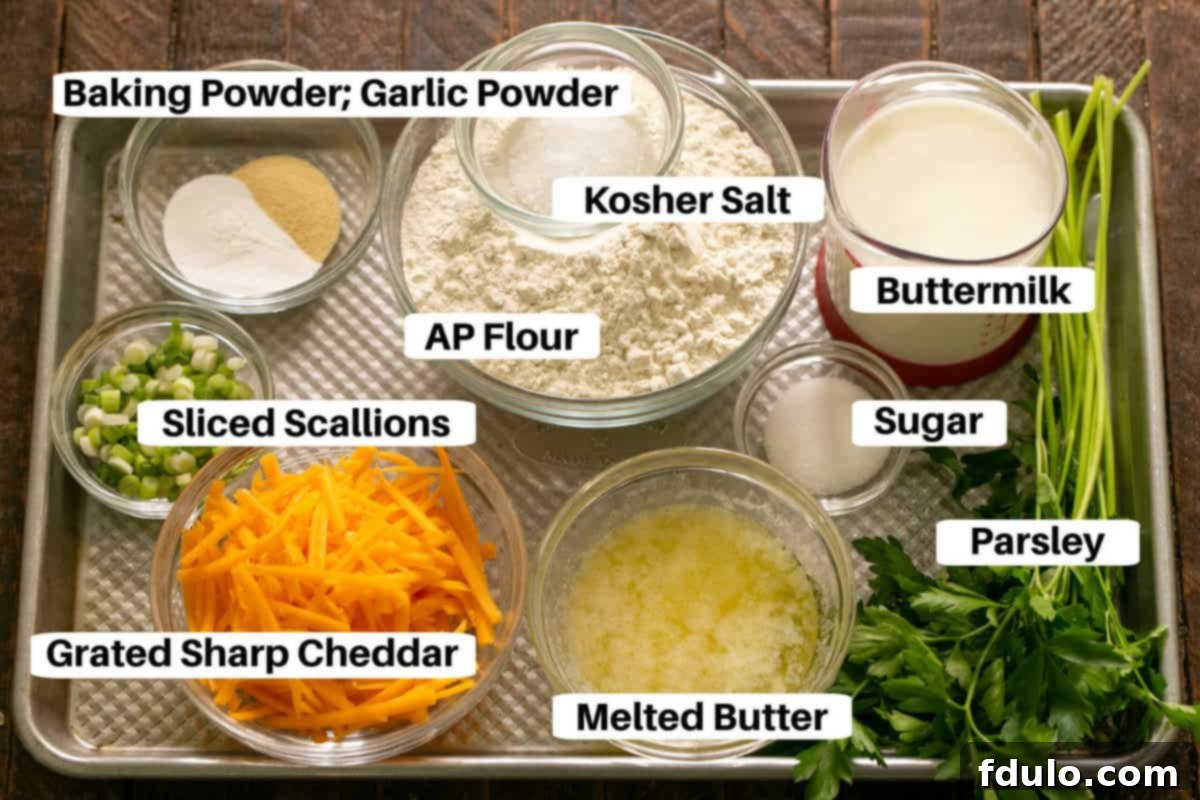
Crafting the perfect cheddar biscuit begins with understanding the role each ingredient plays. Here’s a closer look at what you’ll need and why it matters, ensuring you get the best possible results every time.
- All-Purpose Flour: The foundation of our biscuits. While many biscuit recipes call for self-rising flour, using all-purpose flour allows us to control the leavening agents precisely. Spoon and level your flour for accuracy to avoid dense biscuits.
- Baking Powder: This is your primary leavening agent, responsible for those beautiful fluffy biscuits. It’s crucial to ensure your baking powder is fresh and active. Unlike baking soda, which needs an acid to react immediately, baking powder contains both an acid and a base, reacting when wet and again when heated. (See our pro-tip below on how to test its freshness!)
- Kosher Salt: Essential for seasoning and balancing the flavors. Kosher salt has a coarser grain than table salt, which affects how it measures. If substituting with fine table salt, use slightly less (about ¾ of the amount) to prevent over-salting.
- Granulated Sugar: A small amount of sugar doesn’t make these biscuits sweet, but rather enhances the savory notes of the cheese and garlic, while also contributing to a golden-brown crust. It balances the acidity of the buttermilk beautifully.
- Garlic Powder: Provides a foundational savory aroma and flavor that perfectly complements the cheddar. It’s an easy way to infuse a deep, consistent garlic taste without the moisture of fresh garlic.
- Shredded Sharp Cheddar Cheese: The star of the show! Sharp cheddar offers a robust, tangy flavor that stands up well in the biscuit. I often use orange cheddar for a vibrant color, but white cheddar works equally well if you prefer a more subtle hue. For the best flavor and melt, shred your own cheese from a block rather than using pre-shredded, which often contains anti-caking agents.
- Fresh Scallions (Green Onions): Finely sliced, scallions add a mild, fresh oniony flavor and a touch of visual appeal. They provide a gentle aromatic lift without overpowering the other ingredients.
- Fresh Parsley: Chopped fresh parsley brings a burst of herbaceous freshness and a lovely green fleck to the biscuits. It brightens the overall flavor profile and adds an appealing aesthetic. Flat-leaf (Italian) parsley is often preferred for its stronger flavor, but curly parsley is also suitable.
- Buttermilk: The secret to incredibly tender biscuits! The acidity in buttermilk reacts with the baking powder, producing carbon dioxide gas which helps the biscuits rise. More importantly, the acid also tenderizes the gluten strands in the flour, resulting in that wonderfully soft, melt-in-your-mouth texture that everyone raves about. If you don’t have buttermilk, you can easily make a substitute by adding 1 tablespoon of white vinegar or lemon juice to a measuring cup and filling the rest with regular milk to make 1 cup. Let it sit for 5-10 minutes until it slightly curdles.
- Melted Butter: Unlike some biscuit recipes that rely on cold butter for flakiness, this recipe utilizes melted butter for ease of mixing and to contribute to a consistently tender crumb. It imparts a rich, decadent flavor throughout the biscuit.
Expert Tips for Biscuit Baking Success
Achieving bakery-quality biscuits at home is easier than you think, especially with these insider tips and tricks. Pay attention to these details, and you’ll be baking like a pro in no time!
- Prepare Your Baking Sheet: To prevent sticking and ensure a hassle-free cleanup, always line your baking sheet with parchment paper. This creates a non-stick surface, allowing your biscuits to slide off easily once baked and preventing any delicious cheesy bits from sticking to the pan.
- High Heat is Key: These biscuits thrive in a hot oven, specifically 400°F (200°C). A high temperature creates a sudden burst of steam, which helps the biscuits rise quickly and achieve that desirable light, airy texture with a beautifully golden crust. Don’t be tempted to bake them at a lower temperature, as this can result in dense, dry biscuits.
- Calibrate Your Oven: An accurate oven temperature is paramount for consistent baking results. Many home ovens run hotter or colder than their display indicates. Investing in an inexpensive oven thermometer for each of your ovens (if you have more than one) can make a huge difference. This small tool ensures your biscuits bake evenly and to perfection every time.
- Accurate Flour Measurement: Precision in measuring flour is critical. The “spoon and level” method is highly recommended: gently spoon flour into your measuring cup until it overflows, then use the straight edge of a knife or an offset spatula to level off the excess. Never scoop flour directly from the bag with the measuring cup, as this compacts it and can lead to using too much flour, resulting in tough, dry biscuits.
- Baking Powder, Not Baking Soda: This is a common point of confusion, but in baking, chemistry matters! This recipe specifically calls for baking powder because it contains both an acid and a base, allowing it to leaven without an additional acidic ingredient other than the buttermilk which further enhances the leavening. Baking soda, on the other hand, requires an acid (like vinegar or lemon juice) to react fully. They are not interchangeable in equal amounts for this recipe.
- Test Your Baking Powder’s Freshness: Baking powder has a shorter shelf life than baking soda and can lose its potency over time. To avoid flat, dense biscuits, always check its expiration date. If you’re unsure, perform a quick test: place a spoonful of baking powder into a cup of hot water. If it fizzes vigorously, it’s still active and good to use. If there’s little to no reaction, it’s time to replace it, or your biscuits will indeed have the unfortunate texture of hockey pucks!
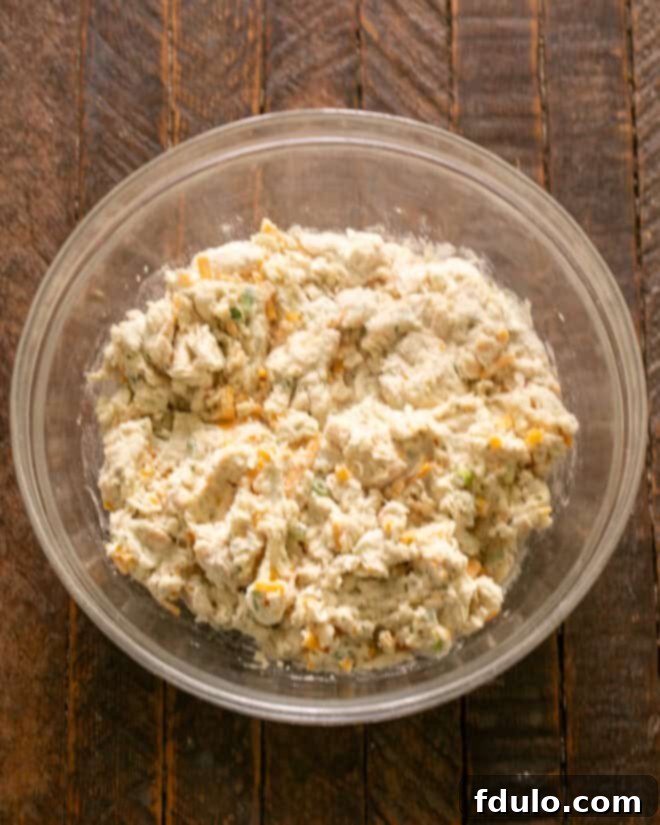
- Avoid Overmixing the Dough: This is perhaps the most crucial tip for tender biscuits. Once you’ve added the wet ingredients, mix the dough *just* until everything is combined. Overmixing develops the gluten in the flour, making the biscuits tough and chewy rather than light and flaky. A few lumps are perfectly fine and even desirable.
- Why Melted Butter Works Here: While many classic biscuit recipes champion cold, cut-in butter for creating flaky layers (as the butter melts and creates steam pockets), this particular recipe is designed for ease and a wonderfully tender crumb using melted butter. The melted butter evenly distributes through the dough, contributing to uniform richness and moisture, perfect for these drop biscuits. If you ever use a recipe calling for cold butter, remember that its purpose is different.
- The Power of Buttermilk: As mentioned in the ingredient notes, buttermilk is a game-changer for biscuit texture. Its acidity not only aids in leavening when combined with baking powder but also helps break down gluten, resulting in a significantly more tender biscuit. Don’t skip it or substitute without using the DIY method!
- Optimize for Air Circulation: For the most even baking, some bakers prefer an unrimmed baking sheet as it allows for better air circulation around the biscuits. However, a rimmed baking sheet works perfectly well, and I’ve never experienced uneven baking with these particular biscuits when using one. The most important factor is consistent oven temperature.
- Serving and Storage: These biscuits are best enjoyed warm, fresh from the oven, perhaps with a pat of extra butter. Leftovers can be stored in an airtight container at room temperature for up to 2 days, or refrigerated for up to 4 days. Reheat gently in the microwave or a warm oven to restore their tenderness.
Step-by-Step: Crafting Your Cheddar Biscuits
Making these delightful cheddar biscuits is a straightforward process. Follow these simple steps to achieve perfect, tender, and flavorful results every time.

Frequently Asked Questions About Biscuits
The term “biscuit” carries vastly different meanings across the Atlantic. In America, a biscuit is typically a savory, soft, leavened quick bread, usually made with baking powder or baking soda, and served alongside meals. They are often flaky, tender, and eaten with butter, gravy, or as a sandwich base. In Britain, however, a “biscuit” refers to a thin, flat, often crispy baked product, which Americans would call a cookie or a cracker. These can be sweet or savory and are typically enjoyed with tea or coffee.
The word “biscuit” originates from the Old French “bescuit,” which literally means “twice cooked.” This term referred to a type of hard, dry bread that was baked twice to remove moisture, making it last longer. Such durable biscuits were essential provisions for sailors and soldiers, as they wouldn’t spoil easily during long journeys. Over time, the culinary definition evolved differently in various regions, leading to the diverse uses of the word we see today.
Once baked, these delightful cheddar biscuits are best enjoyed fresh and warm. For storing leftovers, place them in a sealed airtight bag or container at room temperature for up to 2-3 days. To extend their freshness, you can refrigerate them for up to 4-5 days. For longer storage, biscuits freeze exceptionally well! Place them in an airtight, freezer-safe container or bag for up to a month. You can also freeze individual mounds of biscuit dough on a sheet pan until solid, then transfer them to a freezer-safe bag. When you’re ready to bake, simply place the frozen dough balls on a prepared baking sheet and bake at the same oven temperature, doubling the baking time (as a general guideline, always check for doneness). Reheat baked biscuits in a warm oven (around 300°F/150°C) for 5-10 minutes, or briefly in the microwave for a softer texture.
Absolutely! While sharp cheddar provides a classic, robust flavor, feel free to experiment with other cheeses. Medium cheddar, Monterey Jack, Colby, or a blend of cheeses like cheddar and Gruyere or Parmesan would also work beautifully. For a bit of heat, try adding a touch of pepper jack. Just ensure the cheese you choose melts well and complements the savory profile of the biscuits.
Yes, you can! You can prepare the biscuit dough, scoop the mounds onto a parchment-lined baking sheet, cover it tightly with plastic wrap, and refrigerate for up to 12-24 hours. When you’re ready to bake, remove them from the refrigerator about 15-20 minutes before baking to allow them to come closer to room temperature, then brush with melted butter and bake as directed. This makes them perfect for a quick fresh-baked treat in the morning or for unexpected guests!

Explore More Delicious Biscuit & Baking Recipes
If you’ve fallen in love with these cheddar biscuits, you’re in for a treat! Discover more delightful recipes and essential baking insights from our collection:
- Herbed Buttermilk Biscuits: Another take on savory buttermilk biscuits, packed with aromatic herbs.
- Buttermilk Goat Cheese Biscuits: For a tangy twist, these offer a sophisticated flavor profile.
- Angel Biscuits Recipe: A unique hybrid combining baking soda, baking powder, and yeast for an incredibly light texture!
- All my Best Baking Tips: Elevate your baking game with these tried-and-true secrets.
- My Best Bread Recipes: A comprehensive collection of homemade bread, rolls, and more.
We love hearing from you! Stay connected and share your culinary creations with us through social media on Instagram, Facebook, and Pinterest. Don’t forget to tag us when you try one of our recipes! Your feedback is invaluable – if you adore the results, please consider leaving a 5-star rating in the recipe card below. Happy baking!
Irresistible Cheddar & Herb Biscuits Recipe
10 minutes
20 minutes
30 minutes
9 Biscuits
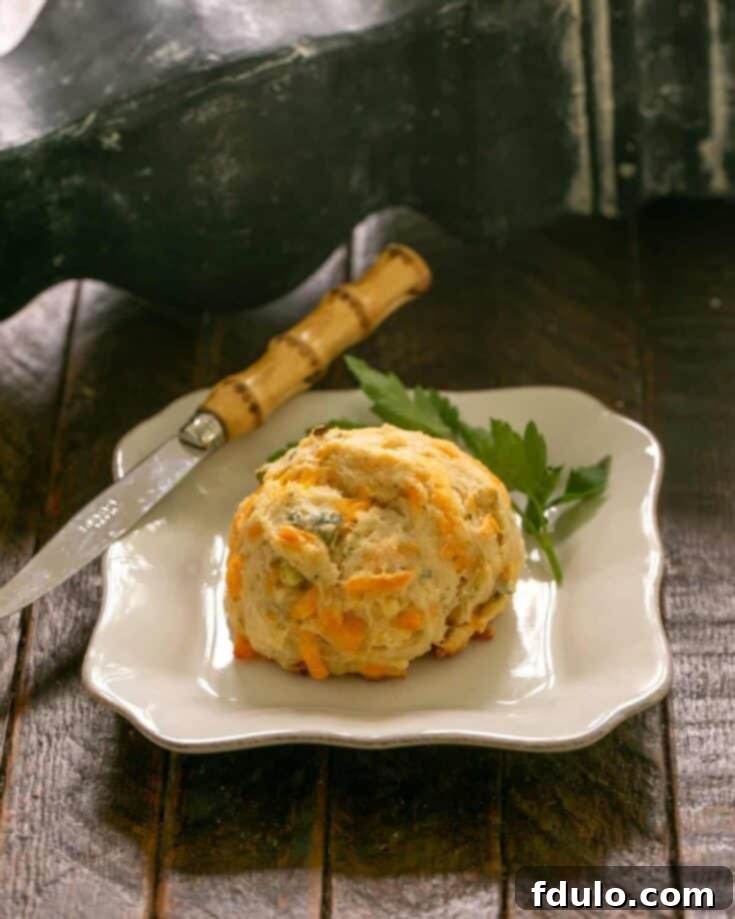
Indulge in these tender, incredibly flavorful buttermilk biscuits infused with sharp cheddar cheese, fresh scallions, aromatic garlic, and vibrant parsley. Perfect as a side or a delightful snack!
Ingredients
- 2 cups all-purpose flour
- 2 teaspoons baking powder
- 1 ½ teaspoons kosher salt
- 1 teaspoon granulated sugar
- ½ teaspoon garlic powder
- 1 cup shredded sharp Cheddar cheese (freshly shredded for best results)
- 2 ½ tablespoons sliced fresh green onions (scallions)
- 1 tablespoon finely chopped fresh parsley (stems removed before chopping)
- 1 cup buttermilk (room temperature is ideal)
- 3 tablespoons unsalted butter, melted
Instructions
- Preheat your oven to a consistent 400°F (200°C).
- Line a standard rimmed baking sheet with parchment paper to prevent sticking and ensure easy cleanup. Set this aside.
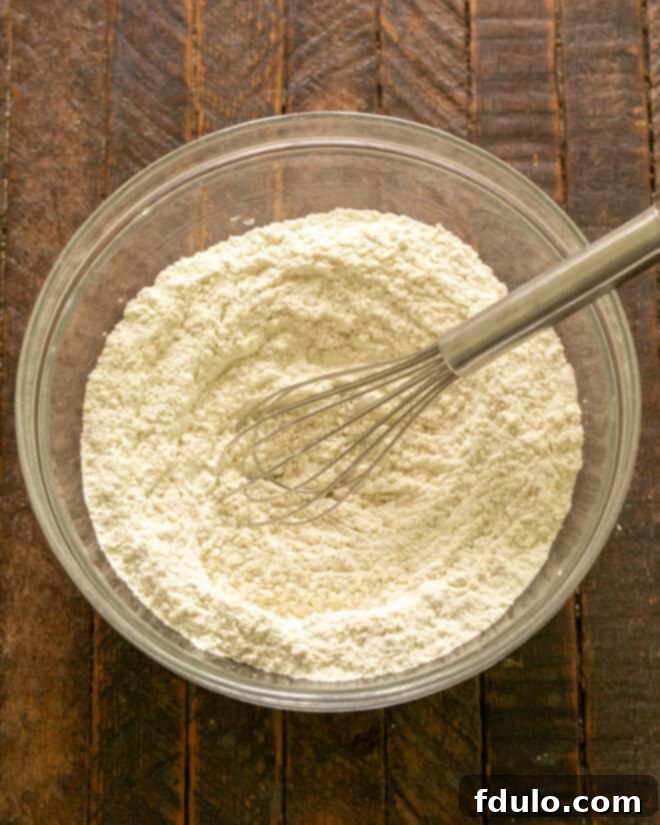
- In a large mixing bowl, thoroughly whisk together the flour, baking powder, kosher salt, sugar, and garlic powder until they are completely combined. This ensures the leavening and seasonings are evenly distributed.
- Add the shredded cheddar cheese, sliced green onions, and chopped parsley to the dry ingredients. Stir gently to coat them with the flour mixture.
- Pour in the buttermilk and stir *just* until all the ingredients are combined and a soft dough forms. It’s crucial not to overmix, as this can develop the gluten and result in tough biscuits. A few lumps are perfectly acceptable. Avoid using an electric mixer for this step.
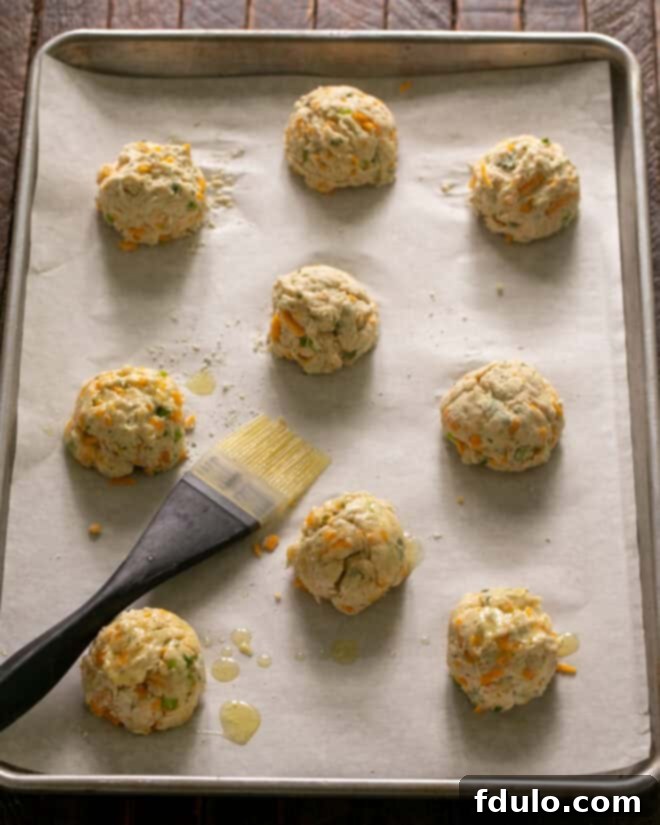
- Using a ¼-cup cookie scoop or simply a spoon, drop uniform mounds of dough onto the prepared baking pan. Aim for about 9 biscuits, spaced evenly apart.
- Take the melted butter and gently brush the tops of each biscuit mound. This contributes to a beautiful golden crust and rich flavor.
- Bake in the preheated oven for approximately 18-22 minutes, or until the biscuits are beautifully golden brown on top and cooked through.
- Once baked, remove the pan from the oven and let the biscuits cool on the pan for about 5 minutes. Then, carefully transfer them to a wire rack to cool slightly further. Serve them warm for the ultimate experience!
Recipe Notes & Variations
This recipe is adapted from a classic. For an extra touch of flavor, consider adding a pinch of cayenne pepper for a subtle kick, or a teaspoon of dried chives along with the fresh herbs. Always ensure your ingredients are fresh for the best results!
Recommended Baking Tools
As an Amazon Associate and member of other affiliate programs, I earn from qualifying purchases, helping to support this blog at no extra cost to you.
- Reynolds Kitchens Non-Stick Baking Parchment Paper Sheets – 12×16 Inch, 22 Count
- USA Pan Bakeware Half Sheet Pan
- ¼ cup stainless steel scoop
Nutrition Information:
Yield:
9 Servings
Serving Size:
1 Biscuit
Amount Per Serving (Estimated):
Calories: 261Total Fat: 13gSaturated Fat: 8gTrans Fat: 0gUnsaturated Fat: 4gCholesterol: 36mgSodium: 568mgCarbohydrates: 26gFiber: 2gSugar: 3gProtein: 10g
Please note: The nutritional information provided is an estimate only, generated by online calculators. Factors such as ingredient brands, specific product types, and optional toppings can significantly alter the actual nutritional content. For the most accurate figures, it is recommended to calculate the nutrition based on the exact ingredients you use. This information is intended as a general guide and not a substitute for professional dietary advice.
HOW MUCH DID YOU LOVE THIS RECIPE?
Please leave a comment on the blog or share a photo on Pinterest
