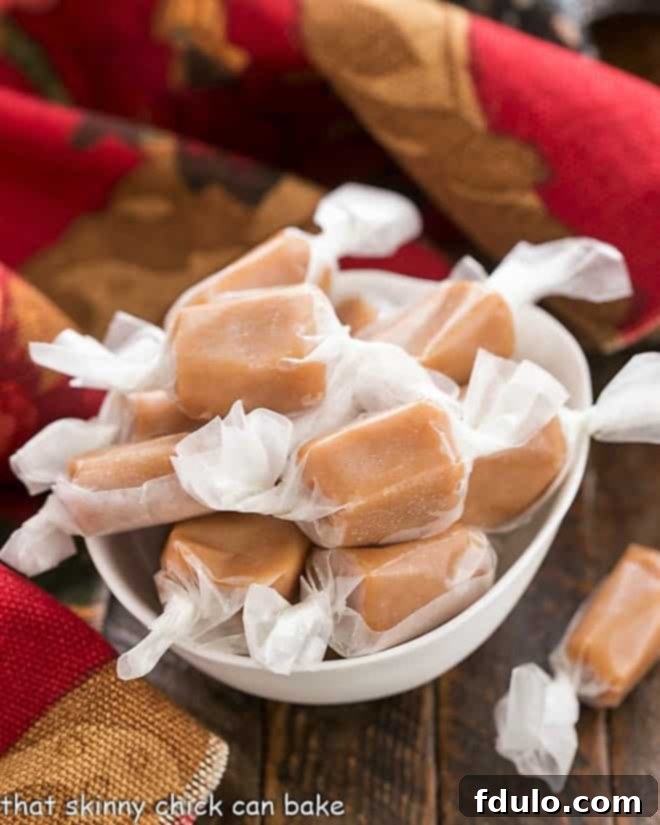
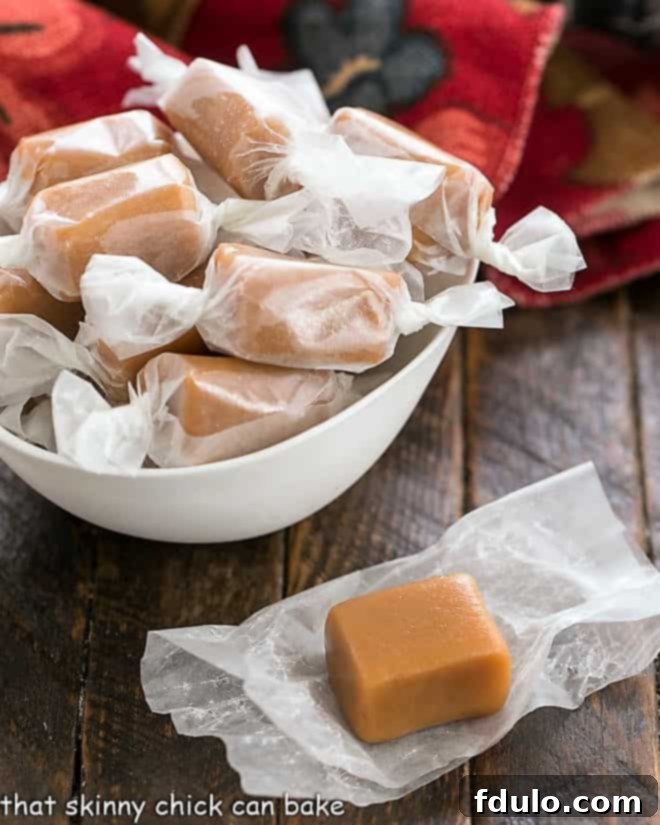
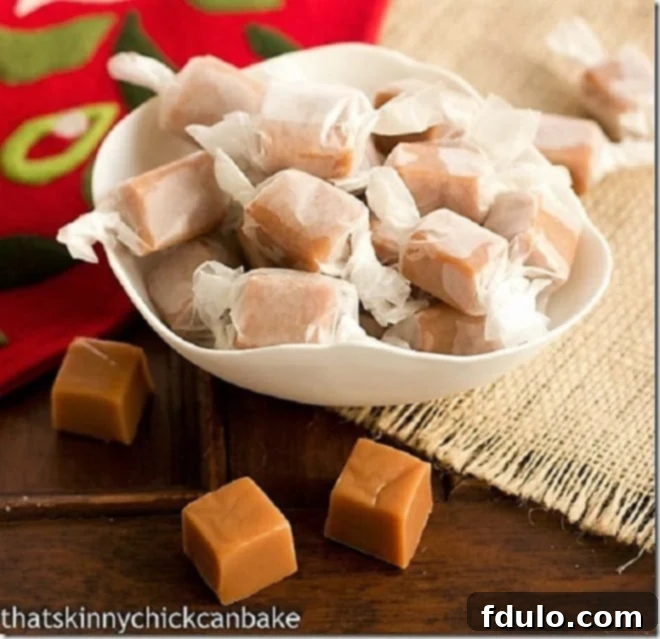
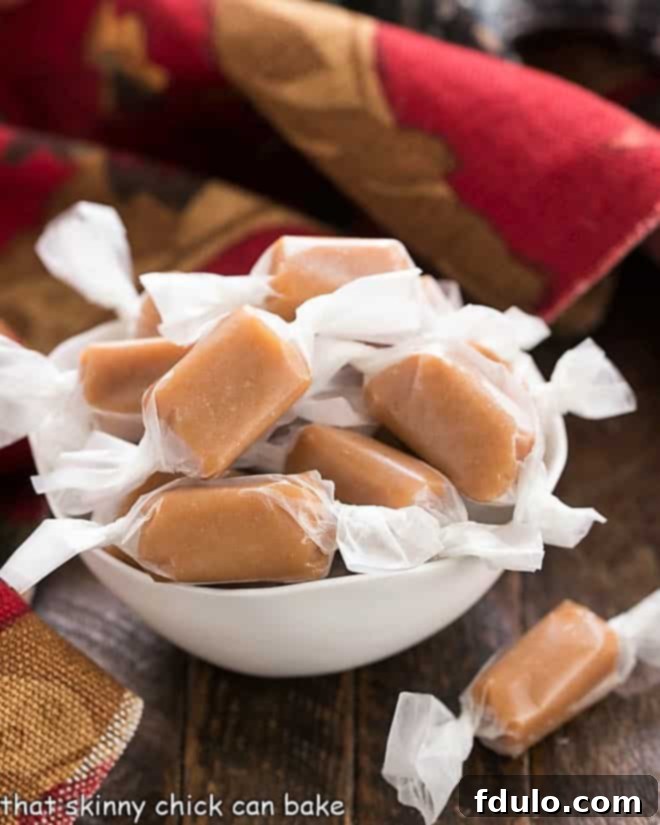
Few treats evoke such a strong sense of nostalgia and cozy comfort as a perfectly crafted caramel. These dreamy, buttery Brown Sugar Caramels are not just a confection; they are a labor of love, a delightful indulgence, and the quintessential homemade gift that truly comes from the heart. While preparing Homemade Caramels might require a touch of patience and precision, the rich, deep flavor and irresistibly chewy texture of the finished product are unequivocally worth every moment spent in the kitchen. Imagine unwrapping a soft, golden square, its aroma a sweet symphony of brown sugar and vanilla, melting gently in your mouth. This isn’t just candy; it’s an experience, a memory in the making.
Mastering a classic Caramel Recipe might seem daunting, but it’s far from difficult. The true art lies in carefully guiding the molten sugar to its precise temperature, a process that demands attention and a steady hand. But fear not, for this tried-and-true recipe, perfected over countless batches, equips you with all the insights and tips needed to ensure a stunning success. Beyond their immediate gratification, these luscious caramels are remarkably practical. They store beautifully in the freezer for up to a year, offering the fantastic advantage of being made well in advance, perfect for holiday preparations or spontaneous gifting.

Why You Must Make These Brown Sugar Caramels
If you’ve ever dreamt of crafting confectionery masterpieces in your own kitchen, these Brown Sugar Caramels are your perfect starting point. They stand out from other caramel recipes for several compelling reasons, promising a truly superior homemade treat.
- Enhanced Caramel Flavor: The secret to their unparalleled taste lies in the thoughtful inclusion of brown sugar. Unlike recipes relying solely on white granulated sugar, brown sugar introduces molasses notes, adding a richer, more complex, and deeply caramelized flavor profile. This gives the caramels a warmth and depth that is simply irresistible, a step above your average candy.
- Foolproof and Reliable: This isn’t just any caramel recipe; it’s a meticulously tested and refined method that comes with comprehensive tips for guaranteed success. We understand that candy making can feel intimidating, but with clear instructions and expert advice on temperature, stirring, and common pitfalls, you’ll achieve perfect, chewy caramels every time. It’s designed to build your confidence and deliver consistent, delicious results.
- The Perfect Homemade Gift: Nothing conveys thoughtfulness and effort quite like a batch of homemade treats. These caramels are absolutely irresistible, making them an ideal candidate for wonderful holiday gifts, hostess presents, or just a special way to show someone you care. Their elegant appearance and decadent taste will impress anyone lucky enough to receive them.
- Impressively Chewy Texture: Achieving that ideal chewy-but-not-too-sticky texture is crucial for a great caramel. This recipe hits the sweet spot, yielding caramels that are soft enough to melt in your mouth yet firm enough to hold their shape, offering a satisfying bite without tugging at your teeth.
- Long Shelf Life: Not only are these caramels delicious, but they’re also incredibly practical. Properly stored, they can last for weeks at room temperature and even up to a year in the freezer. This means you can make large batches well ahead of festive seasons or simply enjoy them over an extended period, always having a delightful treat on hand.
Essential Ingredient Insights for Perfect Caramels
Each ingredient in this caramel recipe plays a crucial role in achieving that perfect balance of flavor, texture, and stability. Understanding why each component is necessary will elevate your candy-making experience and ensure spectacular results.
- Granulated Sugar & Brown Sugar: These are the foundational sweeteners. While white granulated sugar provides the primary sweetness and caramelization base, brown sugar is the star that truly sets these caramels apart. Its molasses content not only imparts a deeper, more robust caramel flavor but also contributes to a softer, chewier texture. Using a combination creates a beautifully balanced and complex taste.
- Light Corn Syrup: This often-misunderstood ingredient is absolutely critical to the success of homemade caramels. Corn syrup, a simple sugar (dextrose), acts as an interfering agent. Its primary function is to prevent the sucrose (from your granulated and brown sugars) from recrystallizing. If you’ve ever encountered grainy caramels, it’s because the melted sugar reverted back to its original crystalline form. Corn syrup ensures a smooth, non-grainy, and consistently chewy caramel by disrupting crystal formation. Do not skip this!
- Half and Half: This dairy product is a blend of equal parts whole milk and light cream, typically containing 10-12% milk fat. It contributes to the richness and creaminess of the caramels without making them overly heavy. Its fat content helps emulsify the mixture, preventing separation and contributing to the smooth mouthfeel. If you don’t have half and half, you can create your own by mixing equal parts whole milk and heavy cream.
- Heavy Cream (Whipping Cream): Boasting a higher milk fat content (36-40%), heavy cream is essential for luxurious richness and a velvety texture. It adds body and a decadent mouthfeel, making the caramels truly melt-in-your-mouth. The fat helps carry the flavors and contributes to the overall stability of the caramel.
- Salted Butter: I specifically recommend using salted butter in this recipe. While it might seem counterintuitive to add salt to a sweet treat, salt is a profound flavor enhancer. In both sweet and savory applications, a touch of salt brightens and deepens other flavors. Without it, desserts can often taste flat or one-dimensional. The small amount of salt in salted butter perfectly balances the sweetness of the caramels, making their rich flavor sing without making them taste overtly salty. Ensure your butter is fresh for the best results.
- Pure Vanilla Extract: Make sure to use real vanilla extract, not artificially flavored alternatives. Vanilla is a vital aromatic that complements and enhances the deep caramel notes. Adding it at the end, after removing the mixture from the heat, ensures its delicate flavor isn’t cooked off, allowing its fragrant warmth to shine through in the finished caramels.

Step-by-Step Guide: Crafting Your Delicious Brown Sugar Caramels
Creating these irresistible brown sugar caramels is a process that’s more about patience than complexity. Follow these key steps to ensure a batch of perfectly chewy, deeply flavorful homemade candy.
- Prepare Your Pan: Begin by lining an 8×8-inch baking pan with non-stick foil or parchment paper, ensuring extra overhang on the sides. This overhang will serve as handles, making it incredibly easy to lift the cooled caramel out of the pan. Lightly grease the foil or parchment with butter or a non-stick spray. Set this prepared pan aside; you’ll need it immediately once your caramel is cooked.
- Combine and Cook Ingredients: In a large, heavy-bottomed saucepan, combine the granulated sugar, brown sugar, light corn syrup, half and half, heavy cream, and butter. Place the saucepan over medium-low heat. Stir constantly at the beginning to dissolve the sugars and butter and combine all ingredients thoroughly, preventing anything from sticking to the bottom and scorching. Once the mixture comes to a gentle boil, insert your candy thermometer. Continue to cook, stirring frequently (though not necessarily continuously once boiling vigorously, as discussed in the tips), until the mixture reaches precisely 250ºF (121ºC) on the candy thermometer. Be prepared for this step to take a significant amount of time, typically anywhere from 45 minutes to an hour, or even longer depending on your stovetop and saucepan. Patience is paramount here!
- Remove from Heat and Add Vanilla: The moment your caramel mixture hits 250ºF, immediately remove the saucepan from the heat source. Quickly stir in the pure vanilla extract. Adding the vanilla off the heat preserves its delicate flavor and prevents it from evaporating in the intense heat. Stir until it is fully incorporated.
- Pour and Cool: Carefully pour the molten hot caramel mixture into your prepared 8×8-inch pan. Do not scrape the bottom or sides of the saucepan, as any sugar crystals that may have formed there could cause the entire batch to crystallize and become grainy. Allow the caramel to cool completely at room temperature, undisturbed, for several hours or preferably overnight. Resist the urge to poke or refrigerate it, as this can affect its texture.
- Cut and Wrap: Once the caramel is completely cool and firm, use the foil or parchment overhang to lift it out of the pan onto a cutting board. Use a sharp, buttered knife or a pizza cutter to cut the large block into small, uniform squares, approximately 1-inch by 1-inch. Finally, wrap each individual caramel square tightly in small pieces of waxed paper or specialized candy wrappers. This prevents them from sticking together and keeps them fresh.
Mastering Homemade Caramels: Essential Expert Tips
Making these delightful brown sugar caramels follows a traditional method, combining sugar, corn syrup, cream, and butter in a large, heavy saucepan. The mixture is then cooked until it reaches a specific temperature, followed by the addition of vanilla extract and pouring into a prepared pan. While the process is straightforward, these expert tips will help you navigate common challenges and achieve professional-quality results every time.
- The Indispensable Candy Thermometer: This is arguably the most crucial tool in your caramel-making arsenal. You absolutely need a good, accurate candy thermometer. Precision in temperature is non-negotiable for the perfect caramel texture. If your mixture doesn’t reach the target temperature of 250ºF, your caramels will be too soft, sticky, and possibly runny. Conversely, if the mixture overheats, even by a few degrees, your caramels will turn out hard and difficult to chew, akin to a brittle. Invest in a reliable thermometer and ensure it’s calibrated correctly.
- Embrace the Corn Syrup: As mentioned in the ingredient notes, light corn syrup is a magic ingredient here. Its role in preventing sugar recrystallization is vital for a smooth, non-grainy caramel. Never omit it from the recipe if it’s listed. It acts as an interfering agent, ensuring your caramels retain their beautiful, uniform texture.
- Choose Your Saucepan Wisely: A flimsy, thin-bottomed saucepan is your enemy in caramel making. Instead, opt for a heavy-bottomed, high-quality pan that conducts heat evenly. Thin pans can lead to hot spots, causing portions of the caramel to scorch while others remain undercooked. Even heat distribution is key to a perfectly cooked, uniformly colored, and flavored caramel. A large saucepan is also recommended to account for the mixture bubbling up significantly as it cooks.
- Maintain a Steady Flame/Burner Temperature: This tip is critical for preventing butter separation, a common issue known as “buttering out.” A rapid or drastic fluctuation in temperature during the cooking process can cause the butterfat to separate from the caramel as it cools. Therefore, once you’ve set your heat, strive to keep your flame or burner temperature as steady as possible. This requires a watchful eye and a patient approach.
- The Art of Stirring: I typically use a silicone spatula that can withstand high heat to stir almost continuously. This is most important in the initial stages when you’re melting all the ingredients together to prevent scorching and ensure even dissolution of the sugars. Once the mixture reaches a vigorous boil, you can often transition to stirring intermittently, every few minutes, to prevent sticking and monitor temperature. However, always follow the specific directions of your recipe. Some recipes are more forgiving, while others demand constant attention. Staying close to the pan and observing is key.
- Patience is a Virtue (and a Necessity): Getting your caramel mixture up to the precise temperature can indeed take a long time, often an hour or more. This is not a quick recipe, but a meditative process. Have a book, turn on your favorite podcast, or enjoy a chat with a friend nearby to keep you company. Rushing the process by cranking up the heat too high will lead to scorched sugar and a ruined batch. Slow and steady wins the caramel race.
- Don’t Scrape the Sides: When pouring the cooked caramel into your prepared pan, avoid scraping down the sides of the saucepan. Any sugar crystals that may have formed on the sides could fall into your smooth caramel mixture and trigger a chain reaction, causing the entire batch to crystallize and become grainy.
- Storage and Shelf Life: Once cooled and wrapped, store your caramels in an airtight container at room temperature for up to 3 weeks. For longer storage, they freeze beautifully for 6 to 12 months. Ensure they are well-wrapped to prevent freezer burn and absorb odors.
Frequently Asked Questions About Homemade Caramels
Absolutely! In fact, using brown sugar in place of, or in combination with, white sugar is highly recommended for homemade caramels. Brown sugar contains molasses, which imparts a deeper, richer, and more complex caramel flavor. It also contributes to a softer, chewier texture, making your caramels even more irresistible. This recipe specifically calls for a mix of both white and brown sugar to achieve the best of both worlds in terms of flavor and texture.
The necessity of stirring sugar when making caramels depends on the specific recipe and ingredients used. Generally, stirring helps prevent sugar crystals from forming and becoming grainy. In this particular recipe, the inclusion of light corn syrup plays a crucial role in inhibiting recrystallization, making constant stirring less critical once the mixture is boiling vigorously. However, it is essential to stir constantly during the initial melting stage to ensure the butter and sugars dissolve evenly and prevent them from burning or sticking to the bottom of the pan. Once boiling, you can stir occasionally to prevent sticking and monitor temperature, but constant stirring isn’t strictly necessary due to the corn syrup. Always follow the specific instructions of your chosen recipe.
Proper storage is key to maintaining the freshness and deliciousness of your homemade caramels. Once completely cooled and individually wrapped in waxed paper or candy wrappers, store them in an airtight container at room temperature. Kept this way, they will remain fresh for up to 3 weeks. For longer preservation, caramels freeze exceptionally well. Place them in an airtight, freezer-safe container, and they can be stored in the freezer for 6 to 12 months. Thaw them at room temperature before enjoying.
Caramels that are too hard typically mean the mixture was cooked to too high a temperature. The higher the temperature, the firmer the caramel will be. For a soft, chewy caramel, reaching exactly 250ºF (121ºC) is crucial. If your thermometer isn’t accurate, or if you cook it beyond this point, the sugar concentration becomes too high, resulting in a very firm, possibly brittle-like candy.
Grainy caramels are usually caused by sugar recrystallization. This happens when undissolved sugar crystals remain in the mixture and act as seeds, causing other sugar molecules to crystalize around them. To prevent this, ensure all sugar is completely dissolved at the beginning of cooking, avoid scraping the sides of the pan when pouring, and don’t omit the corn syrup, which is a powerful anti-crystallization agent.

Explore More Delicious Recipes
If you’ve fallen in love with the rich flavors and satisfying textures of these Brown Sugar Caramels, you’re in for a treat! Here are more delightful recipes that explore the wondrous world of caramel and other fantastic desserts to satisfy your sweet cravings.
- Caramel Apple Bars from Snappy Gourmet
- Mini Vanilla Flans
- Microwave Caramel Sauce Recipe
- Caramel Espresso Bars
- Soft Chewy Cream Caramels
- Caramel Stuffed Rice Krispie Treats
- Caramel Apple Pie
- Plus more of my Best Dessert Recipes
Stay connected and share your culinary creations with me! Find me on social media @
Instagram,
Facebook, and
Pinterest. Don’t forget to tag me when you try one of my recipes! If you’re delighted with the results, please consider leaving a 5-star rating on the blog. Your feedback helps others discover these wonderful treats!

The Recipe:
Brown Sugar Caramels
5 minutes
50 minutes
55 minutes
64 caramels
Homemade caramels with both white and brown sugar. These intensely flavored, chewy delights are perfect for the holidays and make extraordinary food gifts!
Ingredients
- 2 cups granulated sugar
- 1 cup brown sugar (packed)
- 1 cup light corn syrup
- 1 cup half and half
- 2 cups whipping cream (heavy cream)
- 1 cup unsalted butter (2 sticks), cut into pieces
- 1 ½ teaspoons pure vanilla extract
Instructions
- Prepare Pan: Line an 8×8-inch pan with non-stick foil or parchment paper, leaving an overhang on the sides. Lightly grease. Set aside.
- Combine & Cook: In a large, heavy-bottomed saucepan, combine the granulated sugar, brown sugar, light corn syrup, half and half, whipping cream, and butter. Cook over medium-low heat, stirring frequently at first to ensure sugars dissolve and ingredients are well combined. Attach a candy thermometer to the side of the pan. Continue cooking, stirring occasionally, until the mixture reaches precisely 250ºF (121ºC). This can take up to an hour or more.
- Remove & Add Vanilla: Once the thermometer reaches 250ºF, immediately remove the pan from the heat. Stir in the pure vanilla extract until fully incorporated.
- Pour & Cool: Carefully pour the hot caramel mixture into the prepared pan. Do not scrape the bottom or sides of the saucepan. Allow the caramel to cool completely at room temperature for several hours, or preferably overnight, until firm.
- Cut & Wrap: Once cooled, use the foil/parchment overhang to lift the caramel block from the pan. Place on a cutting board. Using a lightly buttered sharp knife or pizza cutter, cut the caramel into small 1-inch squares. Wrap each individual caramel tightly in small pieces of waxed paper or candy wrappers.
- Yields: This recipe makes approximately 64 delicious caramels.
Notes
- Always use a reliable and accurate candy thermometer. Incorrect temperature will result in caramels that are either too soft or too hard.
- Light corn syrup is essential to prevent the sugar from crystallizing and creating grainy caramels. Do not omit it from the recipe.
- Cook with a heavy-bottomed saucepan to ensure even heat distribution and prevent scorching.
- Maintain a steady flame/burner temperature throughout the cooking process to prevent the butter from separating from the caramel as it cools.
- A silicone spatula is excellent for stirring, as it can withstand high heat and effectively scrape the bottom of the pan without melting.
- For best flavor, use pure vanilla extract. Adding it off the heat preserves its aroma.
- Do not refrigerate the caramel to cool, as this can negatively impact its texture. Allow it to cool slowly at room temperature.
Recommended Products
As an Amazon Associate and member of other affiliate programs, I earn from qualifying purchases.
- Deep Frying Thermometer
- Nonstick Foil
- 8 x 8-inch Baking Pan
Nutrition Information:
Yield: 32 servings
Serving Size: 2 caramels
Amount Per Serving:
Calories: 212
Total Fat: 12g
Saturated Fat: 8g
Trans Fat: 0g
Unsaturated Fat: 4g
Cholesterol: 35mg
Sodium: 63mg
Carbohydrates: 27g
Fiber: 0g
Sugar: 27g
Protein: 1g
My love affair with caramels dates back to my earliest childhood memories. Whenever a box of assorted chocolates found its way into our home, I’d instinctively navigate past the nougats and truffles, heading straight for those delightful, chewy, square-shaped caramels. It turns out, this profound fondness for caramels is a cherished family trait. Just last year, my uncle unearthed and sent me an old, wonderfully splattered candy cookbook that once belonged to my grandfather. Tucked between its yellowed pages, alongside countless recipe clippings, were handwritten notes — not just about ingredients, but also precious tips on altitude adjustments specifically for caramel and praline recipes.
The cookbook, dating back to 1952, contained charmingly archaic instructions, such as, “Remove from the fire and pour on an oiled slab between oiled bars.” While my initial intention was to honor my mom’s side of the family by using one of these vintage recipes, terms like “slack back” and the generally finicky nature of candy making made me a tad apprehensive. The stakes for a perfect holiday gift were high! So, after careful consideration, I decided to rely on one of my proven, tried-and-true caramel recipes instead. I’ve shared other caramel variations on my blog before, but this particular recipe, with its thoughtful blend of both white and brown sugar, delivers an extra boost of rich, complex caramel flavor that truly sets it apart. It’s a modern classic built on timeless principles, ensuring every bite is a moment of pure, buttery bliss.
