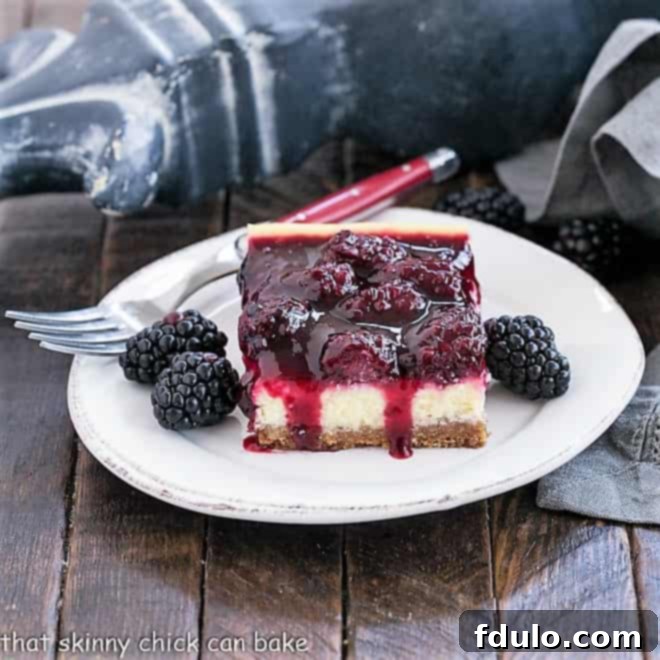
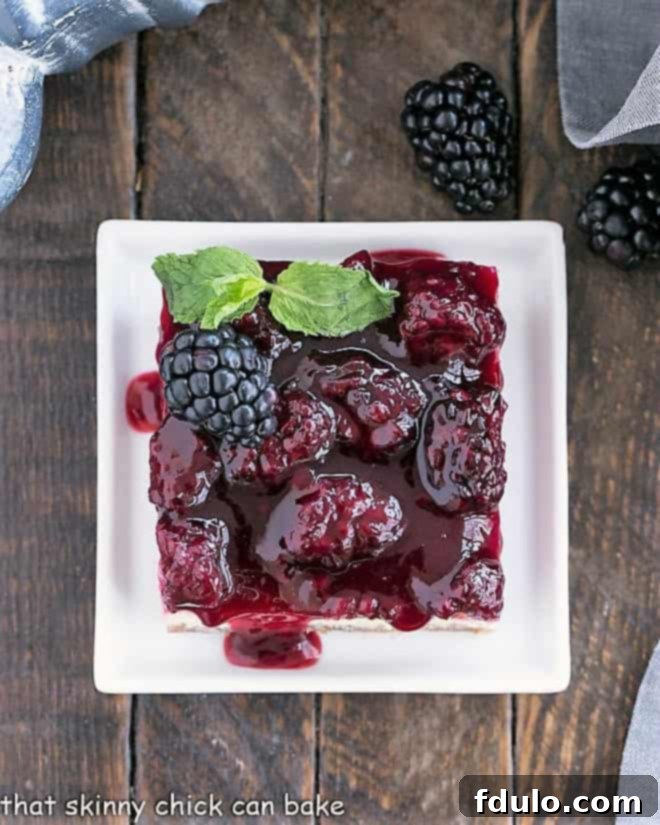
Prepare to embark on a delightful culinary journey where the tangy sweetness of fresh blackberries harmonizes perfectly with the creamy richness of cheesecake. These **Blackberry Cheesecake Bars** offer an irresistible combination: a buttery, crunchy vanilla wafer crust, a velvety smooth vanilla cheesecake filling, and a vibrant, fresh blackberry topping that bursts with natural flavor. This dessert isn’t just a treat for the taste buds; it’s a feast for the eyes, presenting a stunning mosaic of colors and textures that promises an unforgettable experience.
Crafted in a convenient 9×13-inch baking pan, this cheesecake recipe is remarkably portable, making it the quintessential dessert for any gathering. Whether you’re heading to a potluck, planning a picnic in the park, or contributing to a pitch-in meal, these bars travel beautifully and are guaranteed to be the star of the show. Imagine the delighted expressions of your friends and family as they savor each bite of this dreamy confection. It’s not just a dessert; it’s a testament to simple elegance and incredible flavor, designed to impress even the most discerning cheesecake aficionados.
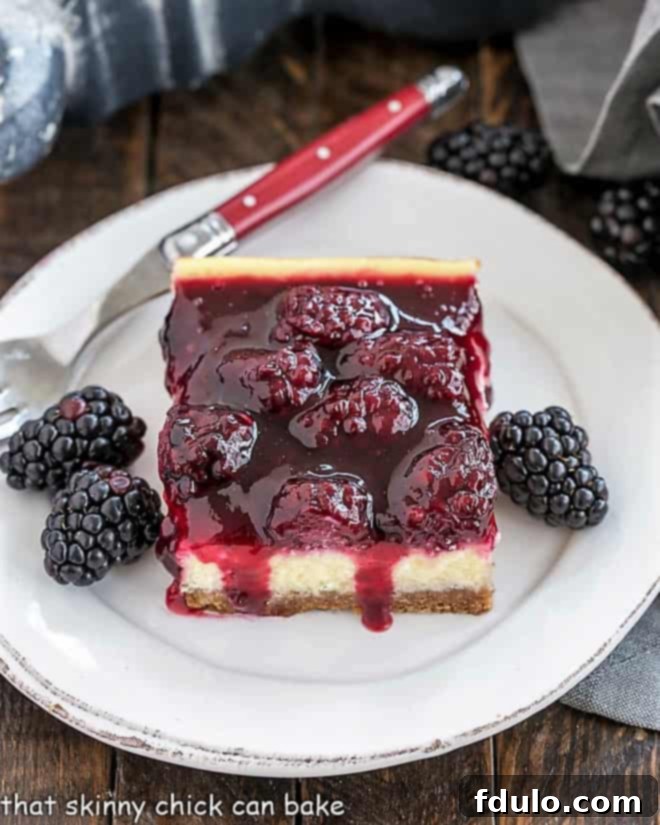
Why You Must Make These Irresistible Blackberry Cheesecake Bars
If you’re searching for a dessert that marries elegance with simplicity, look no further. These Blackberry Cheesecake Bars are more than just a recipe; they’re an experience waiting to happen. Here’s why they deserve a top spot on your baking list:
- Showcase the Best of Seasonal Blackberries: When the market is brimming with sweet, plump blackberries, this recipe is your perfect excuse to bring them home. It elevates these luscious berries, transforming them into a glistening, tangy topping that perfectly complements the rich cheesecake. This dessert allows the natural beauty and flavor of fresh blackberries to truly shine, making it an ideal choice for late summer and early fall celebrations. It’s a fantastic way to capture the essence of the season in a delectable treat.
- Effortless Cheesecake in a 9×13-inch Pan: Forget the complexities often associated with traditional springform cheesecakes! This easy cheesecake recipe is designed for a standard 9×13-inch pan, making it incredibly accessible for bakers of all skill levels. The convenience of a rectangular pan means no worries about water baths (unless you prefer to use one for an extra-smooth finish, though it’s optional here), fewer concerns about cracking, and a much simpler cutting and serving process. It’s the perfect solution for satisfying your cheesecake cravings without the fuss.
- A Match Made in Heaven: Cheesecake and Berries: Some flavor combinations are simply iconic, and cheesecake with fresh berries is undoubtedly one of them. The creamy, rich, and slightly tangy cheesecake base provides the perfect canvas for the bright, sweet, and tart blackberries. This harmonious pairing creates a delightful contrast that dances on your palate, offering a refreshing counterpoint to the decadent filling. It’s a classic duo that never fails to impress and satisfy, making every bite a moment of pure bliss.
While my discerning husband might suggest raspberries, as a devoted fan of both blackberries and the sheer indulgence of cheesecake, I can attest that this specific combination is nothing short of divine. The slight tartness of the blackberries cuts through the richness of the cheesecake, creating a perfectly balanced flavor profile that will have everyone reaching for a second slice.
Mastering the Art of Cheesecake: Essential Recipe Tips
Achieving a perfectly smooth and creamy cheesecake, whether in a large springform pan, individual mini molds, or a versatile 9×13-inch pan, hinges on a few crucial techniques. These expert tips will elevate your Blackberry Cheesecake Bars from good to absolutely extraordinary, ensuring a flawless dessert every time.
- Pro-Tip: Room Temperature Ingredients are Non-Negotiable. This is perhaps the most critical advice for any cheesecake. Ensure both your cream cheese and eggs are at room temperature. Cold ingredients are stiff and won’t emulsify properly, leading to a lumpy batter and a less-than-silky final texture. Room temperature ingredients, on the other hand, blend seamlessly, creating a homogeneous, airy, and incredibly smooth cheesecake filling. While some cookie doughs might forgive cold eggs, with cheesecake, this small step makes a monumental difference in achieving that signature creamy consistency.
- Pro-Tip: Embrace Your Stand Mixer with a Paddle Attachment. When preparing your cheesecake batter, a stand mixer fitted with the paddle attachment is your best friend. Resist the urge to use a whisk attachment, as it incorporates too much air into the mixture. Excessive air can cause your cheesecake to puff up dramatically during baking and then collapse, resulting in an undesirable airy or crumbly texture and often leading to cracks. The paddle attachment gently mixes the ingredients, ensuring a dense, rich, and perfectly smooth cheesecake that holds its shape beautifully.
- Understanding the Water Bath (Bain-Marie): For traditional, full-sized cheesecakes, a water bath (bain-marie) is often recommended. This technique provides a moist, even heat environment, which helps prevent the cheesecake from cracking and over-baking. However, for these bars, the luscious berry topping acts as a beautiful camouflage. Even if minor cracks occur (which are less likely with bars compared to larger cheesecakes), they will be gracefully hidden beneath the vibrant blackberry layer, allowing you to skip this step for simplicity without sacrificing appearance.
- Infinite Topping Possibilities: While fresh blackberries are divine, feel free to let your imagination run wild with alternative toppings. If blackberries aren’t your favorite, consider swapping them for juicy blueberries, tangy raspberries, or even a mix of seasonal berries. For a decadent twist, a rich chocolate ganache poured over the cooled cheesecake bars creates an entirely different, yet equally delicious, experience. Caramel sauce, lemon curd, or even a sprinkle of toasted coconut can also add fantastic flavor dimensions.
- Customize Your Crust: Our recipe calls for a delightful vanilla wafer and pecan crust, but you have options! If you have a nut allergy, simply omit the pecans for a pure vanilla wafer base. Alternatively, if graham crackers are more readily available, use approximately 11 ounces of crushed graham crackers instead of the vanilla wafers. For an adventurous twist, consider using crushed Oreo cookies for a chocolate crust, or Biscoff cookies for a spiced, caramel-like flavor profile. Ensure your chosen crumbs are finely ground for the best texture.
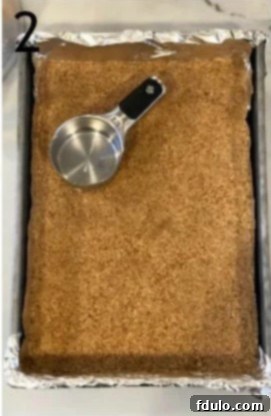
- Pro-Tip: The Secret to a Perfectly Pressed Crust. Achieving an evenly pressed and firm crust is crucial for the structural integrity of your cheesecake bars. After spreading the crumb mixture into the pan, use the flat bottom of a dry measuring cup or a drinking glass to firmly and evenly press the crust into the bottom of the pan. This technique ensures a compact crust that won’t crumble when you cut into your bars.
- Pro-Tip: Serve Your Cheesecake at Its Best Temperature. For the creamiest, most flavorful cheesecake experience, bring your bars (or any cheesecake) out of the refrigerator approximately an hour before serving. Serving cheesecake straight from the fridge can dull its flavors and make its texture feel denser. Allowing it to come to a slightly cooler room temperature softens the cream cheese, enhancing its silky texture and allowing the full spectrum of flavors to truly blossom on your palate.
- Cooling is Key: After baking, don’t rush the cooling process. Gradual cooling is essential to prevent cracking. Allow the cheesecake to cool completely at room temperature before chilling it in the refrigerator for at least 2 hours, or ideally, overnight. This slow temperature transition helps the cheesecake set properly and ensures a beautiful, smooth finish.
- High-Quality Ingredients Matter: For the ultimate rich and creamy texture, always opt for full-fat cream cheese. Low-fat alternatives may result in a less satisfying consistency. The quality of your vanilla extract also plays a significant role in the overall flavor of your vanilla cheesecake.
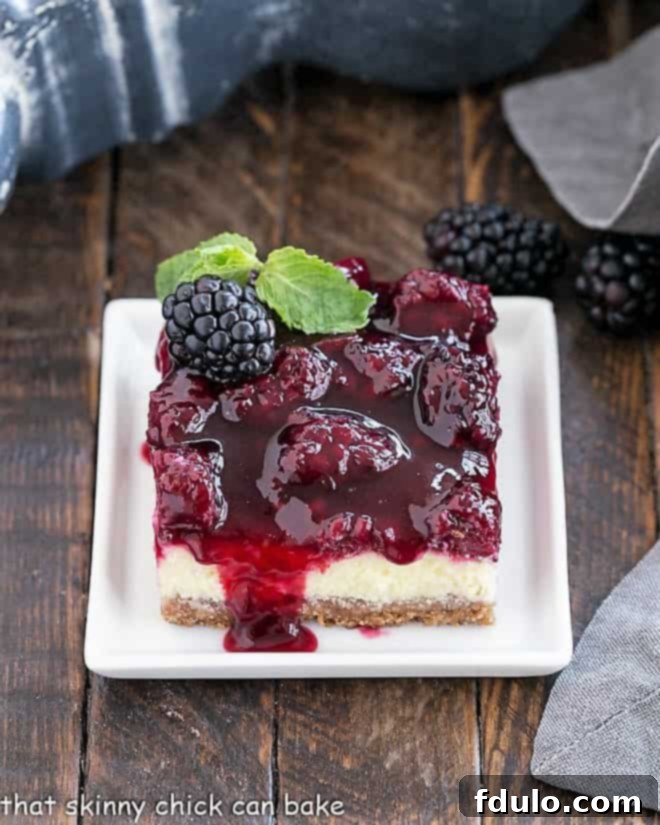
How to Make Blackberry Cheesecake Bars: Step-by-Step
Creating these delightful Blackberry Cheesecake Bars is a straightforward process, broken down into simple, manageable steps. Follow these instructions to achieve a perfectly balanced dessert with a delightful blend of textures and flavors.
Frequently Asked Questions About Blackberry Cheesecake Bars
Cheesecake bars, like all cheesecakes, are best stored in the refrigerator to maintain their freshness and creamy texture. Place them in an airtight container to prevent them from absorbing other odors and to keep them moist. They will stay fresh for 3-4 days when properly stored. For optimal flavor and creaminess, it’s recommended to take them out of the refrigerator about an hour before serving, allowing them to come to a slightly cooler room temperature. If you find yourself with more bars than you can enjoy within a few days, consider freezing a portion of the plain cheesecake bars before adding the topping.
Absolutely! Cheesecake bars freeze exceptionally well, but with a crucial caveat: they should be frozen without the berry topping. The texture of the fresh fruit topping can become compromised after freezing and thawing, often becoming watery and losing its vibrant quality. To freeze: bake and cool the cheesecake bars completely, then wrap the entire slab (or individual bars) tightly in plastic wrap, followed by a layer of aluminum foil. Freeze for up to 1-2 months. When ready to enjoy, thaw the cheesecake overnight in the refrigerator. Prepare the blackberry topping fresh on the day of serving for the best results. You can even make the topping a day or two in advance and keep it chilled until assembly.
Yes, you can certainly use frozen blackberries for the topping! There’s no need to thaw them before cooking. Simply add the frozen berries, sugar, and water to the saucepan and proceed with the recipe as directed. Keep in mind that frozen berries may release more liquid, so you might need to simmer the topping for a few extra minutes to achieve the desired thickness after adding the cornstarch slurry.
A perfectly baked cheesecake should have slightly set edges but a gentle wobble in the center. Gently jiggle the pan; if only the very center (about a 2-inch circle) slightly moves, it’s done. Overbaking can lead to a dry, cracked cheesecake, so it’s better to slightly underbake than overbake. The cheesecake will continue to set as it cools, first in the warm oven with the door ajar, then at room temperature, and finally in the refrigerator.
Yes, adapting this recipe to be gluten-free is quite simple. Replace the vanilla wafers in the crust with your favorite gluten-free vanilla or graham-style cookies. Ensure the pecans are also certified gluten-free if cross-contamination is a concern. All other ingredients (cream cheese, sugar, eggs, sour cream, blackberries, cornstarch) are naturally gluten-free, making this a fantastic option for those with gluten sensitivities or dietary preferences.
You May Also Like: Other Irresistible Desserts
If you’ve fallen in love with these Blackberry Cheesecake Bars, explore these other fantastic recipes that offer similar delightful flavors and textures. Each one promises to be a crowd-pleaser!
- Blueberry Cheesecake Bars from Copykat Recipes
- Strawberry Topped Cheesecake
- Strawberry Cheesecake Brownies
- Peanut Butter Cheesecake Bars
- Cheesecake Filled Chocolate Chip Bars
- More Tips for Making Cheesecake Recipes
Stay in touch through social media @ Instagram, Facebook, and Pinterest. Don’t forget to tag me when you try one of my recipes! And if you love the results, please give it a 5-star rating in the recipe card.
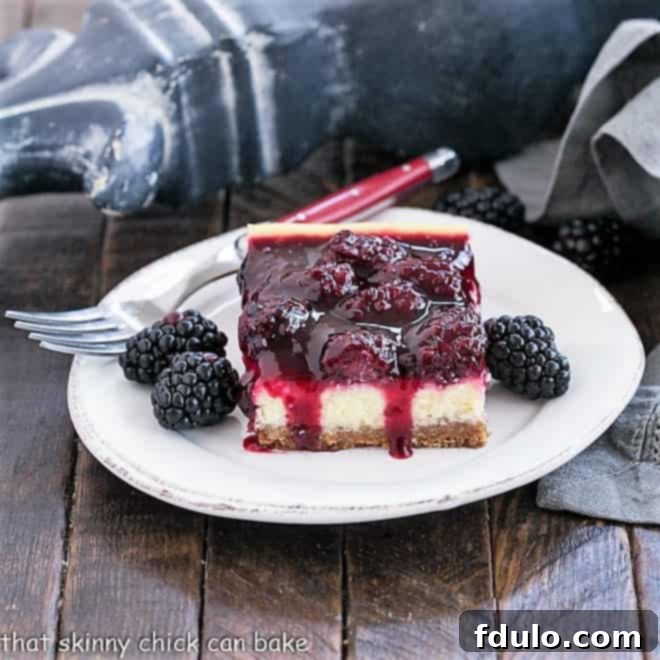
Blackberry Cheesecake Bars
20 minutes
1 hour
2 hours 15 minutes
3 hours 35 minutes
16
A luscious vanilla cheesecake on a vanilla wafer crust and a fresh blackberry topping!
Ingredients
Crust:
- One 11-ounce box vanilla wafers
- ½ cup pecans
- ½ cup butter, melted
- 1½ teaspoons vanilla
Filling:
- Three 8-ounce packages cream cheese, at room temperature
- 1½ cups sugar
- 4 eggs
- ½ cup sour cream
Topping:
- 4 cups fresh blackberries
- 1 cup sugar
- 4 teaspoons cornstarch
Instructions
- Preheat the oven to 350°.
- Line a 9-by-13-inch baking pan with nonstick foil. Set aside.
- Add the vanilla wafers and pecans to a food processor. Pulse until crumbs form. Add the melted butter and vanilla and pulse again until combined. Dump the mixture into the prepared pan. Evenly press the crumbs into the bottom of the pan.
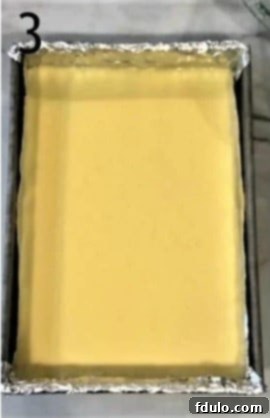
- Beat cream cheese and sugar with a paddle attachment until smooth. Add the eggs one at a time, beating until each egg is combined before adding another. Add the sour cream and mix again.
- Scrape out the filling onto the crust, smooth the top, and bake for 50 minutes. Turn off the oven, open the oven door, and allow the pan to sit in the open oven for 15 minutes. Remove and set aside to cool.
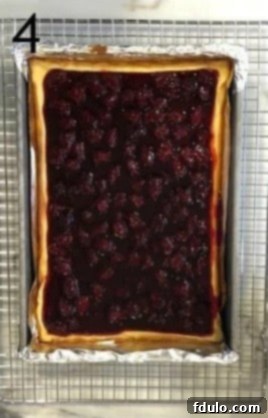
- To make the topping, add the blackberries, sugar, and ¼ cup water to a saucepan. Bring to a boil over medium-high heat and cook until the juices begin to thicken about 5 minutes.
- In a small bowl, stir together the cornstarch and 2 tablespoons of water until smooth. Add this mixture to the berries, bring to a boil, and cook for another couple of minutes. Turn off the heat and cool the mixture.
- Pour the blackberries over the cheesecake and place the pan into the fridge to chill at least 2 hours.
- To serve, use the foil as a sling to remove the bars to a cutting board. Slice into squares.
Notes
Adapted from Pioneer Woman via Hugs and Cookies XOXO
Nutrition Information:
Yield:
16
Serving Size:
1 slice
Amount Per Serving:
Calories: 484Total Fat: 29gSaturated Fat: 15gTrans Fat: 0gUnsaturated Fat: 11gCholesterol: 109mgSodium: 278mgCarbohydrates: 53gFiber: 3gSugar: 41gProtein: 6g
