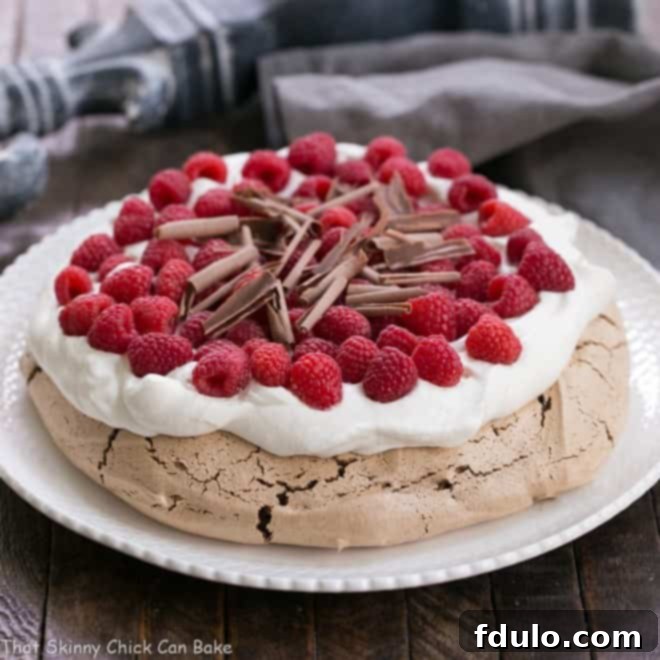
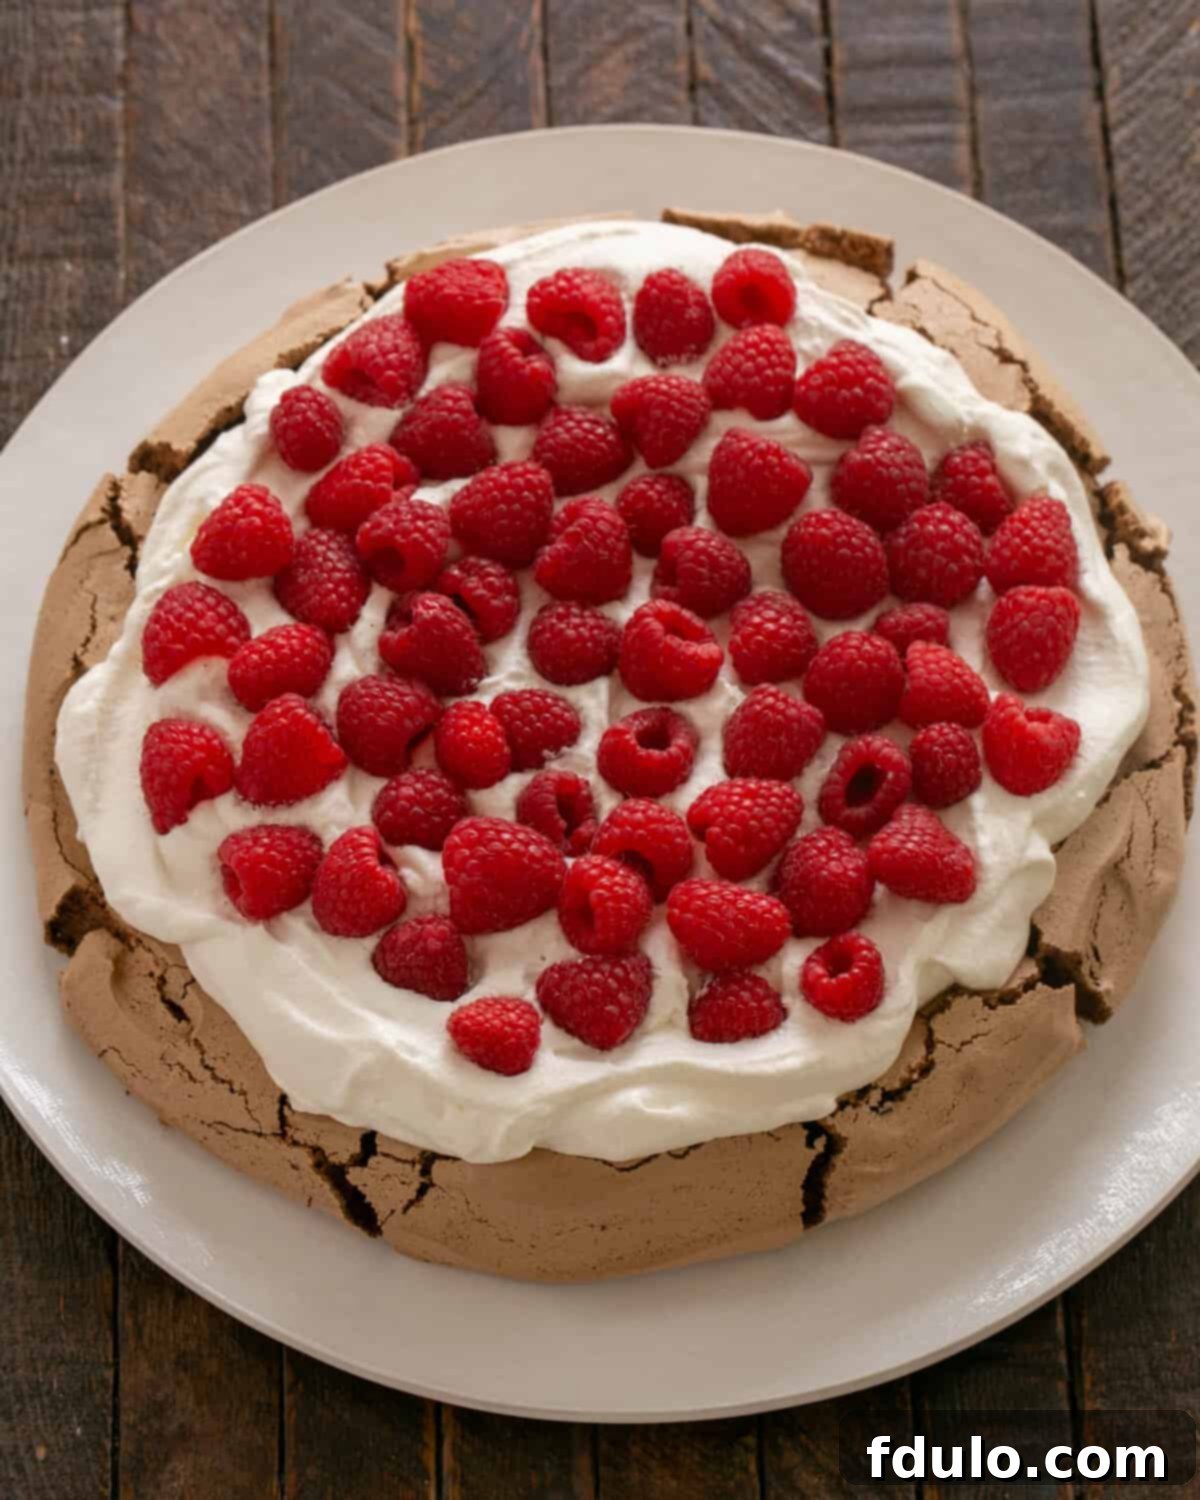
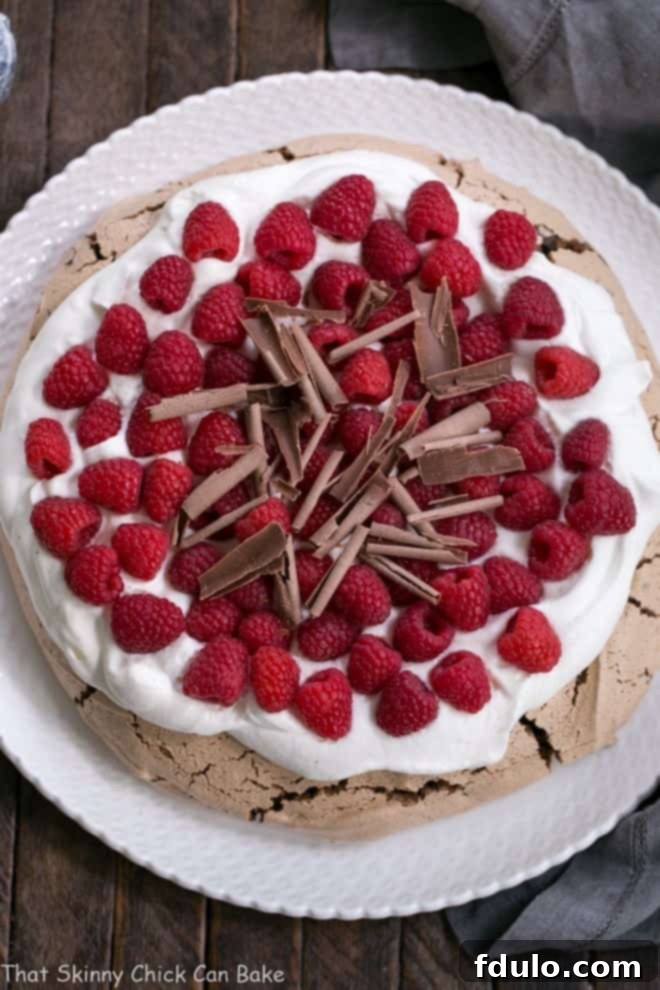
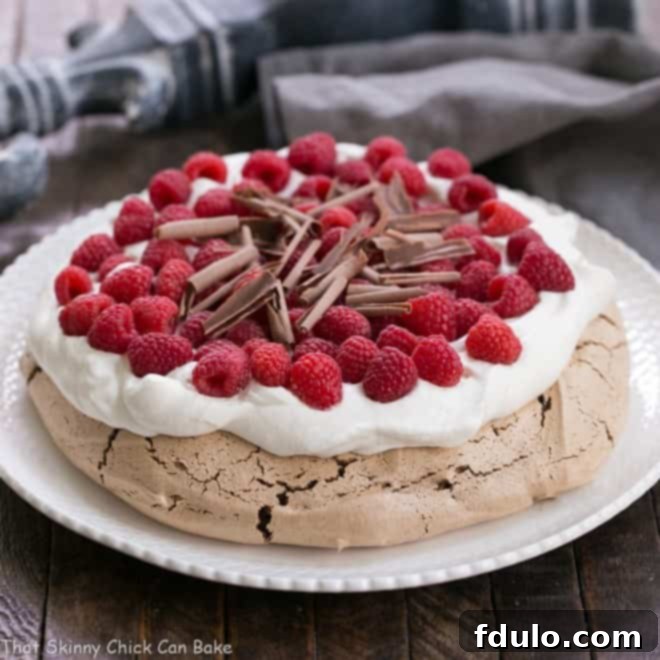
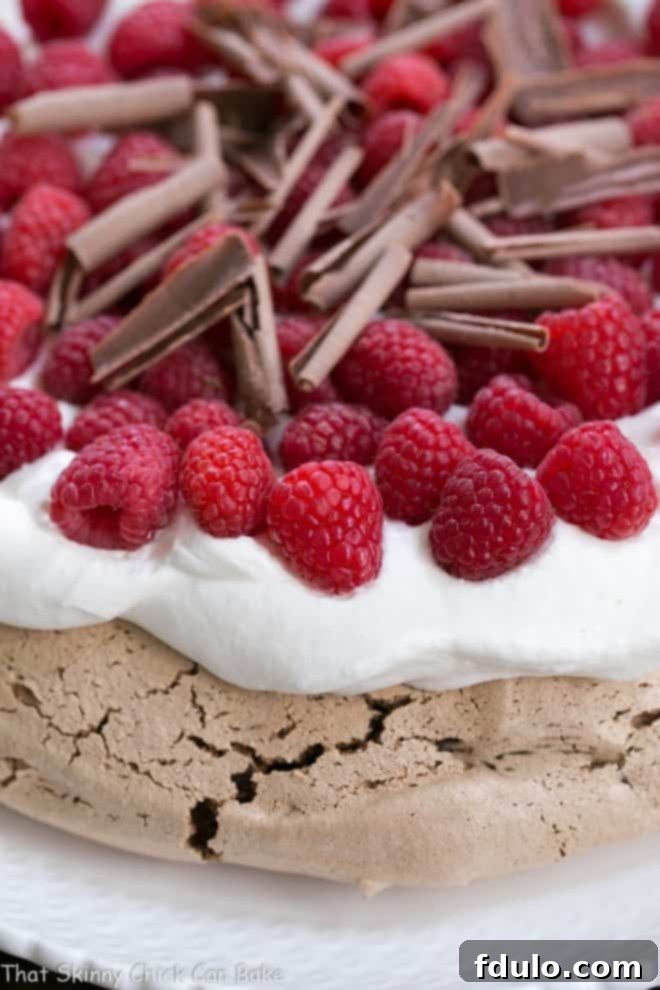
Prepare to dazzle your guests with a dessert that’s as stunning to behold as it is delightful to taste: the Chocolate Raspberry Pavlova. This exquisite creation features a rich cocoa meringue base, baked to achieve a beautifully crisp exterior and a wonderfully chewy, marshmallow-like center. Crowned with billows of lightly sweetened whipped cream, bursts of fresh, tart raspberries, and delicate chocolate shavings, it’s a symphony of textures and flavors that promises an unforgettable culinary experience.
This Chocolate Pavlova recipe transcends the ordinary, offering a sophisticated twist on a classic dessert. It’s particularly ideal for those moments when peak-season raspberries are abundant, their vibrant color and sweet-tart flavor providing the perfect contrast to the deep chocolate notes. Whether you’re hosting a special dinner party, celebrating a holiday, or simply craving an extraordinary treat, presenting this magnificent pavlova will undoubtedly elicit gasps of admiration and rave reviews from your friends and family.
Why This Chocolate Raspberry Pavlova Will Be Your New Favorite Dessert
The allure of a pavlova lies in its unique combination of textures and its elegant presentation. When you add chocolate and raspberries into the mix, you elevate it to an entirely new level. Here’s why this particular Chocolate Raspberry Pavlova recipe is a must-try:
- A Novel and Impressive Dessert: For many, pavlova remains a relatively unfamiliar delicacy. Introducing your guests to this beautiful, often novel dessert, popularized by culinary icons like Nigella Lawson, will make any occasion feel extra special. It’s a fantastic conversation starter!
- Unforgettable Flavor Combination: The deep, slightly bitter notes of cocoa in the meringue beautifully complement the sweetness of the sugar and the tang of fresh raspberries. This harmonious blend creates a flavor profile that is both decadent and refreshing.
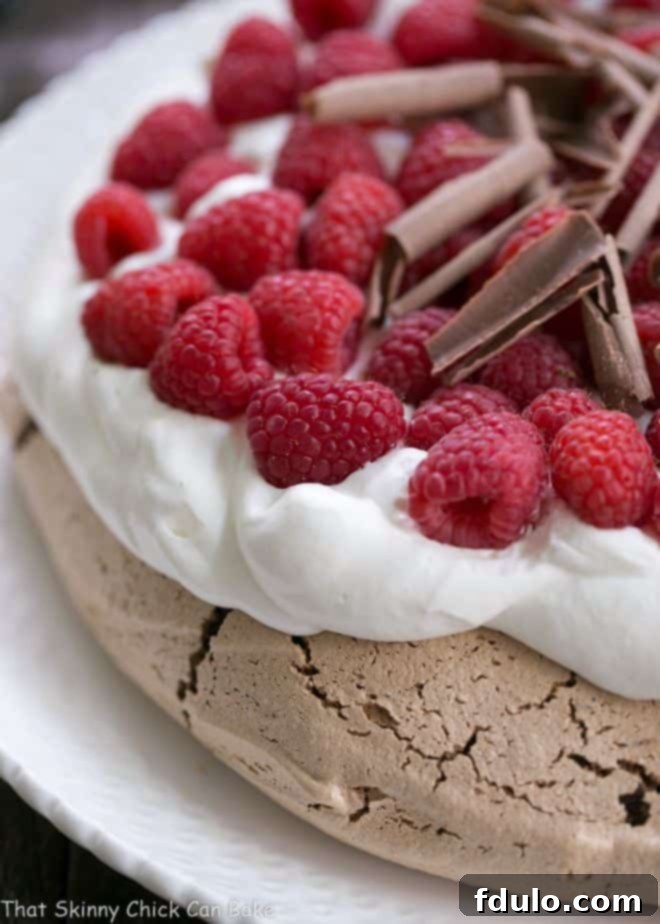
- Captivating Textural Contrast: The magic of pavlova lies in its delightful dichotomy: a crisp, delicate outer shell gives way to a soft, chewy, marshmallow-like interior. This remarkable texture, when combined with the airy whipped cream and juicy berries, creates an experience that’s truly sensational.
- A Show-Stopping Presentation: Topped with vibrant berries and a cloud of cream, this pavlova is a feast for the eyes. Its majestic appearance makes it a perfect centerpiece for any gathering, guaranteed to impress and delight.
- Surprisingly Simple to Master: While it looks incredibly sophisticated, the process of making a pavlova is quite straightforward, especially with our detailed tips. It’s a rewarding baking project that yields impressive results without undue stress.
Essential Ingredients for Your Chocolate Pavlova
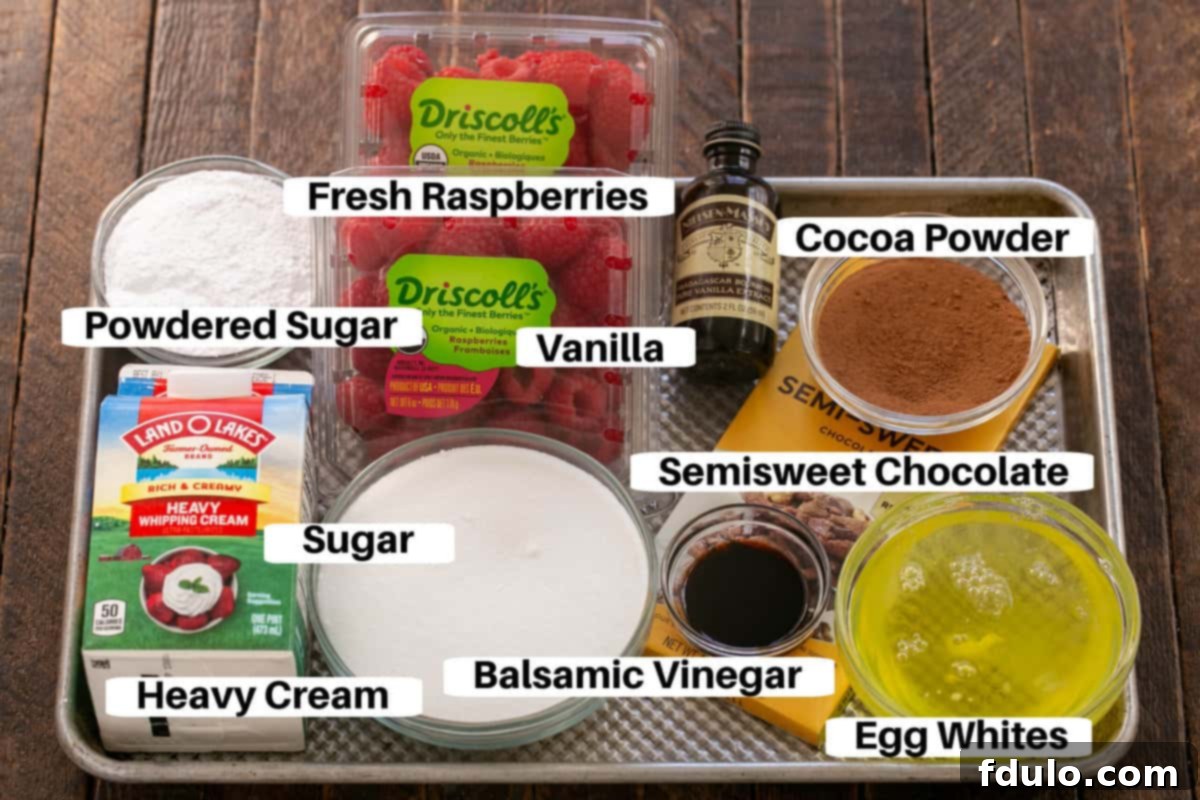
Crafting the perfect pavlova starts with understanding the role of each key ingredient. Quality makes a significant difference, so opt for the best you can find.
- Egg Whites: These are the foundation of your meringue. For optimal volume and stability, ensure your egg whites are entirely free of any oil, grease, or even the smallest speck of egg yolk. Room temperature egg whites will whip up much more effectively, achieving a higher, more stable volume.
- Superfine Sugar: While regular granulated sugar can work, superfine sugar is highly recommended. Its smaller granules dissolve more easily and thoroughly into the egg whites, resulting in a smoother, more stable, and less grainy meringue. Look for brands like Domino’s superfine sugar in your local baking aisle.
- Cocoa Powder: The quality of your cocoa powder directly impacts the depth of chocolate flavor in your pavlova. A good quality unsweetened cocoa powder, such as Ghirardelli, will provide a richer, more complex chocolate taste compared to standard brands.
- Semi-sweet Chocolate (Chopped): Incorporating finely chopped semi-sweet chocolate directly into the meringue adds pockets of intense chocolate flavor and texture. Ghirardelli semi-sweet chocolate is an excellent choice for this.
- Vinegar (Raspberry or Balsamic): A small amount of vinegar is crucial for pavlova. It helps create the signature crisp outer shell while maintaining a soft, chewy interior. Raspberry vinegar can subtly enhance the fruit flavor, but a good quality balsamic vinegar works beautifully as well, adding a touch of complexity without being overpowering.
- Toppings:
- Heavy Cream: Whipped to soft peaks, it provides a luscious, airy cloud for your base.
- Powdered Sugar: Sweetens the cream to perfection and dissolves smoothly.
- Vanilla Extract: Enhances the flavor of the whipped cream.
- Grated Semi-sweet Chocolate: Adds a final touch of chocolate elegance and texture to the finished dessert.
- Fresh Raspberries: The star topping! Choose ripe, plump, and flavorful raspberries for the best taste and visual appeal.
Crafting Your Pavlova: A Step-by-Step Visual Guide
Making a show-stopping Chocolate Raspberry Pavlova is an enjoyable process. Follow these steps, aided by our visual guide, to create your masterpiece.
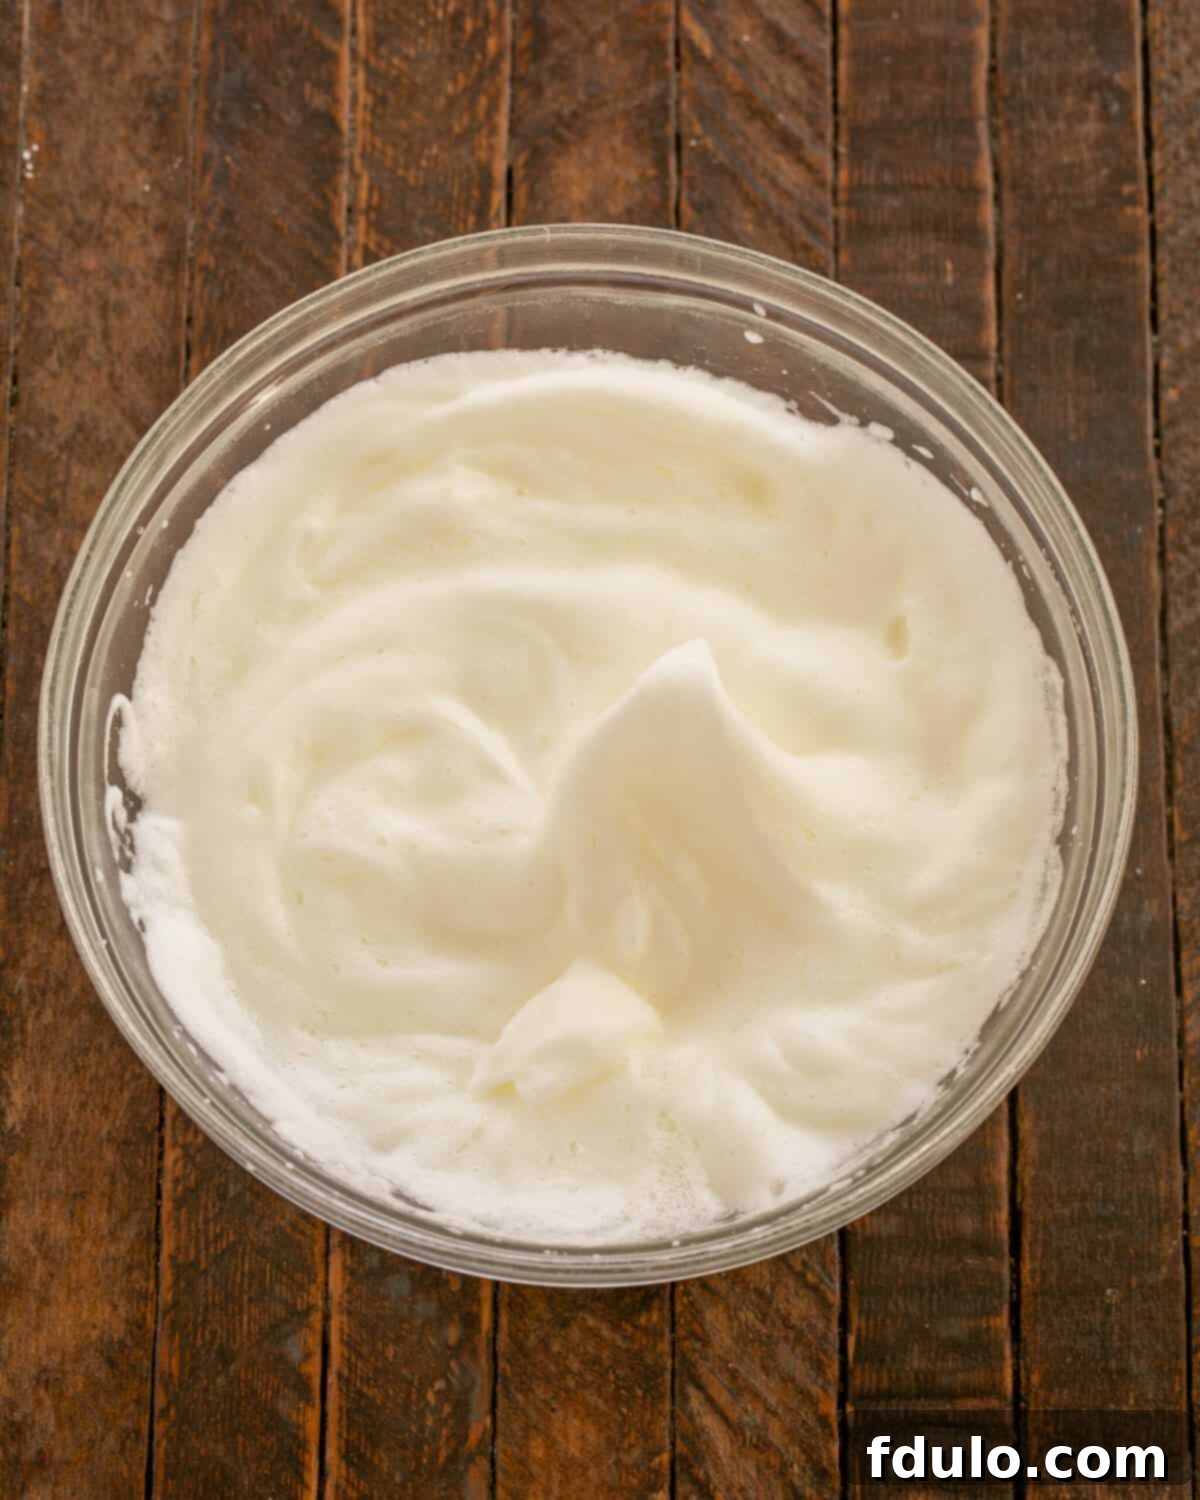
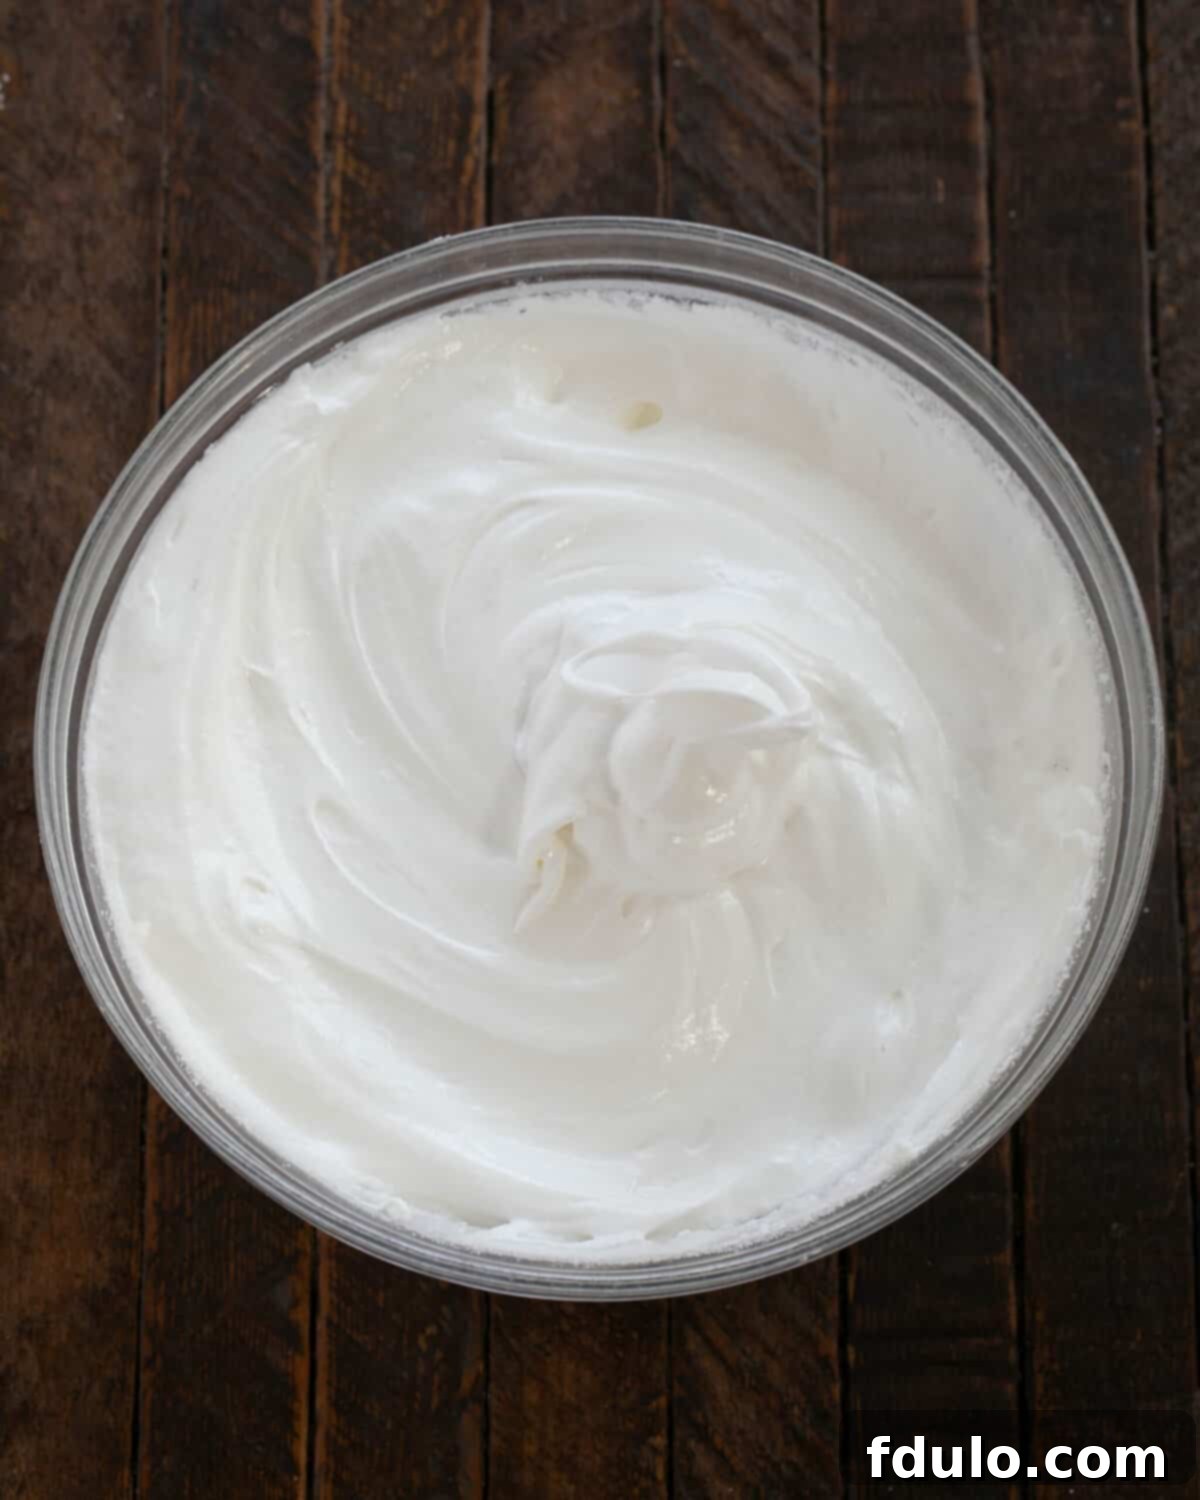
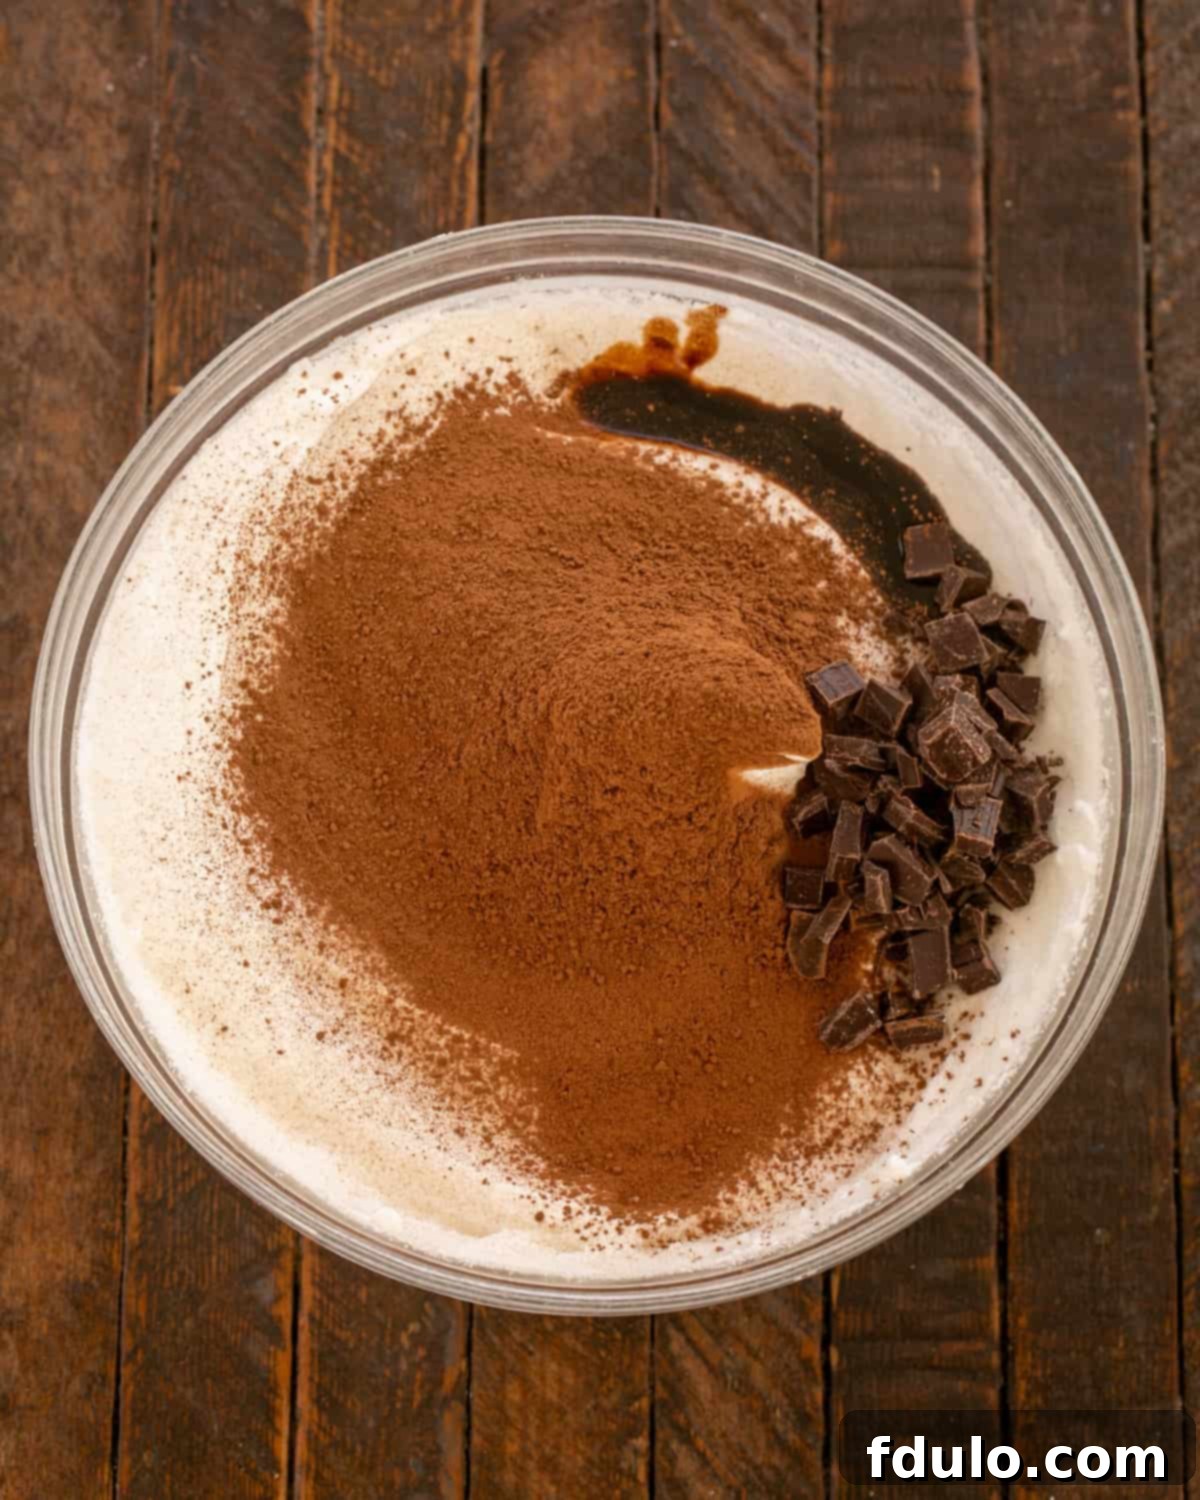
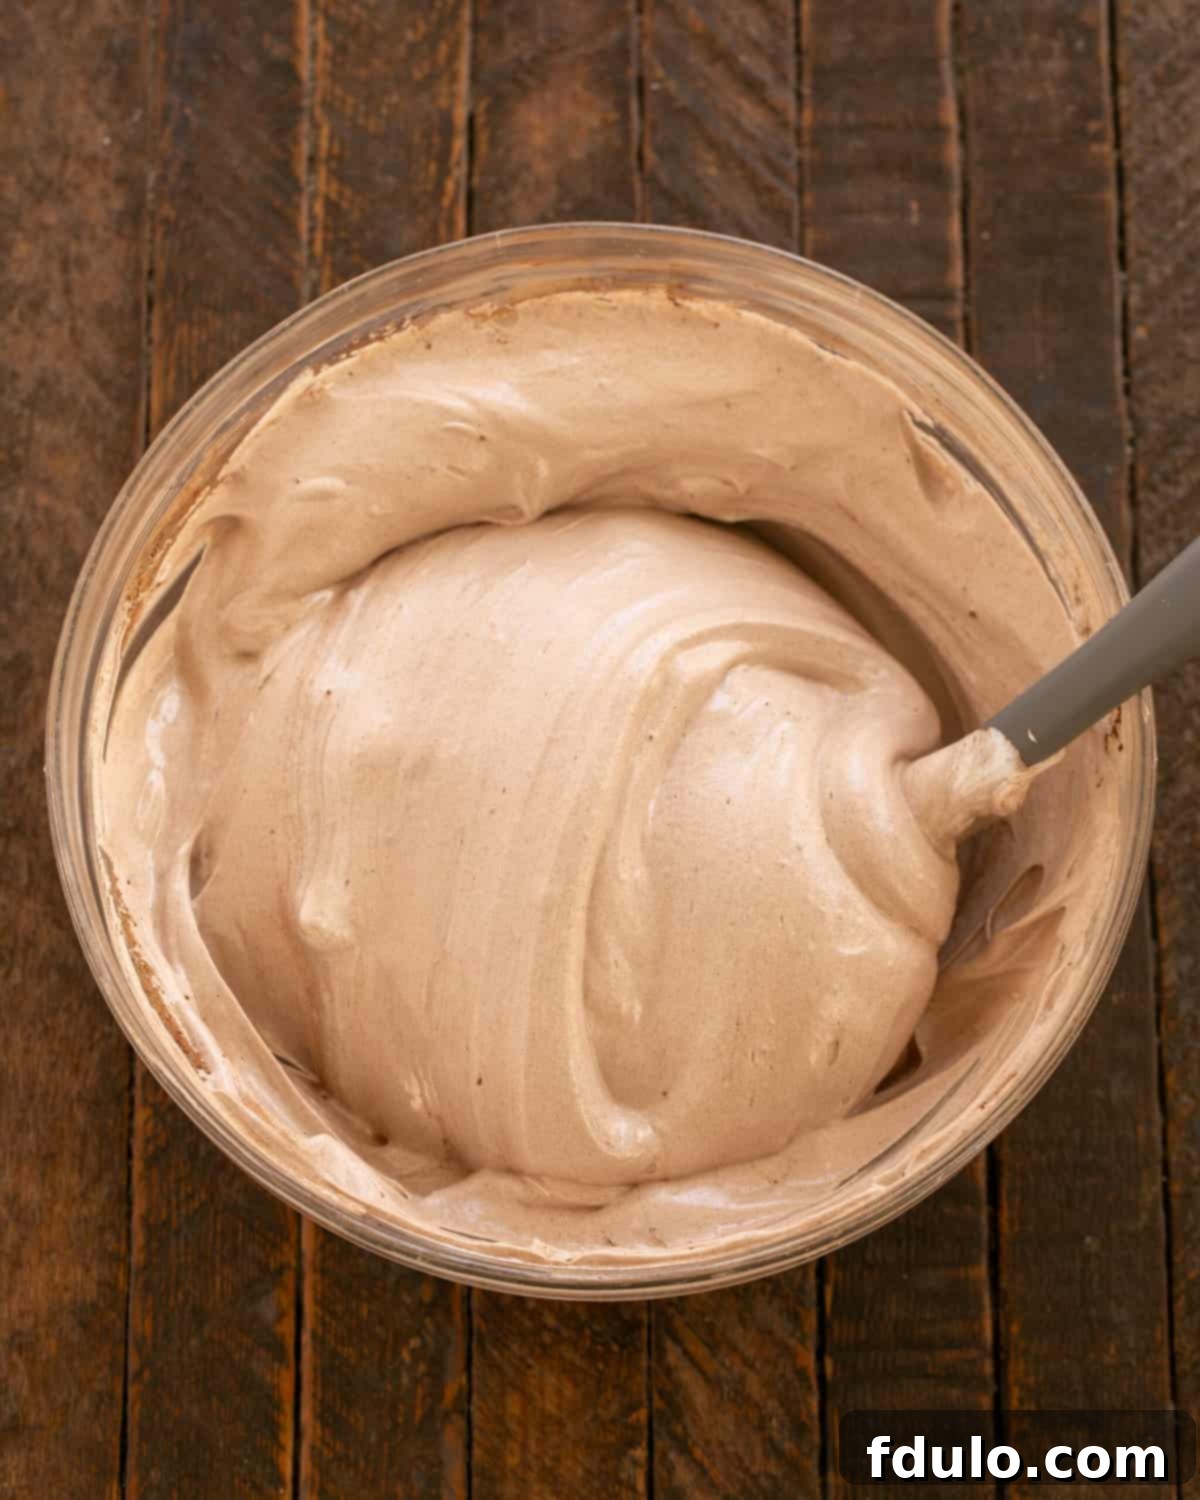
An Elegant, Make-Ahead Dessert for Stress-Free Entertaining
One of the many charms of this Chocolate Raspberry Pavlova, as I discovered many summers ago when first making Nigella Lawson’s version, is its fantastic make-ahead potential. The crisp outer meringue, giving way to its delightful chewy center, topped with a cloud of sweetened whipped cream and vibrant red raspberries – it’s a truly delicious and versatile dessert.
The meringue shell can be prepared a day in advance, making it an ideal choice for entertaining. After it has completely cooled within the oven, simply store it inside the oven or in another cool, dry place. This protects it from humidity, which can soften the meringue. A helpful tip: place a Post-it note on the oven door as a reminder to avoid accidentally turning it on! Then, a few hours before you plan to serve, assemble the pavlova by adding the luscious whipped cream and fresh berries. This approach allows you to focus on your guests while still presenting a freshly assembled, show-stopping dessert.
I recall an instance where a guest, who staunchly declared himself “not a dessert eater” (a concept I find hard to fathom!), was completely won over by this pavlova. The collective “ooohs” and “ahhhhs” from guests, many of whom had never even heard of a pavlova (we even had a few pronunciation lessons: pav-LOH-vuh!), confirmed its universal appeal. This dessert doesn’t just satisfy a sweet tooth; it creates a memorable experience, and I’m confident it will for you too.
Expert Tips for Pavlova Perfection
While making a pavlova shares some similarities with crafting small meringue cookies, there are distinct nuances that elevate it to a grander dessert. Here are invaluable tips to ensure your Chocolate Raspberry Pavlova turns out perfectly every time.
Mastering Egg Whites for Meringue
- PRO-Tip: Absolutely No Contamination: This is the golden rule for meringues. Your egg whites must be entirely free from any trace of egg yolk, oil, or grease. Even a tiny speck of fat can prevent the whites from whipping up properly, leading to a flat, unstable meringue. Ensure all your mixing bowls and utensils are meticulously clean and free of any residue.
- Separate Eggs Cold, Whip Whites at Room Temperature: Eggs are easier to separate when cold, as the yolk is firmer and less likely to break. Once separated, allow your egg whites to come to room temperature (about 30 minutes to an hour). Room temperature whites whip to a much greater volume and stability. If you’re short on time, you can carefully place the bowl of egg whites in a larger bowl of warm (not hot) water for a few minutes to quickly take the chill off.
- Individual Separation: For peace of mind, separate each egg white into a small, clean bowl first. Once you’re certain there’s no yolk contamination, pour it into your main mixing bowl. This prevents a single broken yolk from ruining an entire batch of whites.
Building the Perfect Meringue Base
- Superfine Sugar is Your Secret Weapon: As mentioned, superfine sugar (also known as caster sugar) dissolves much more readily into egg whites than regular granulated sugar. This is crucial for a smooth, stable, and glossy meringue without a gritty texture. You can usually find it in the baking aisle, or you can make your own by pulsing granulated sugar briefly in a food processor (be careful not to turn it into powdered sugar).
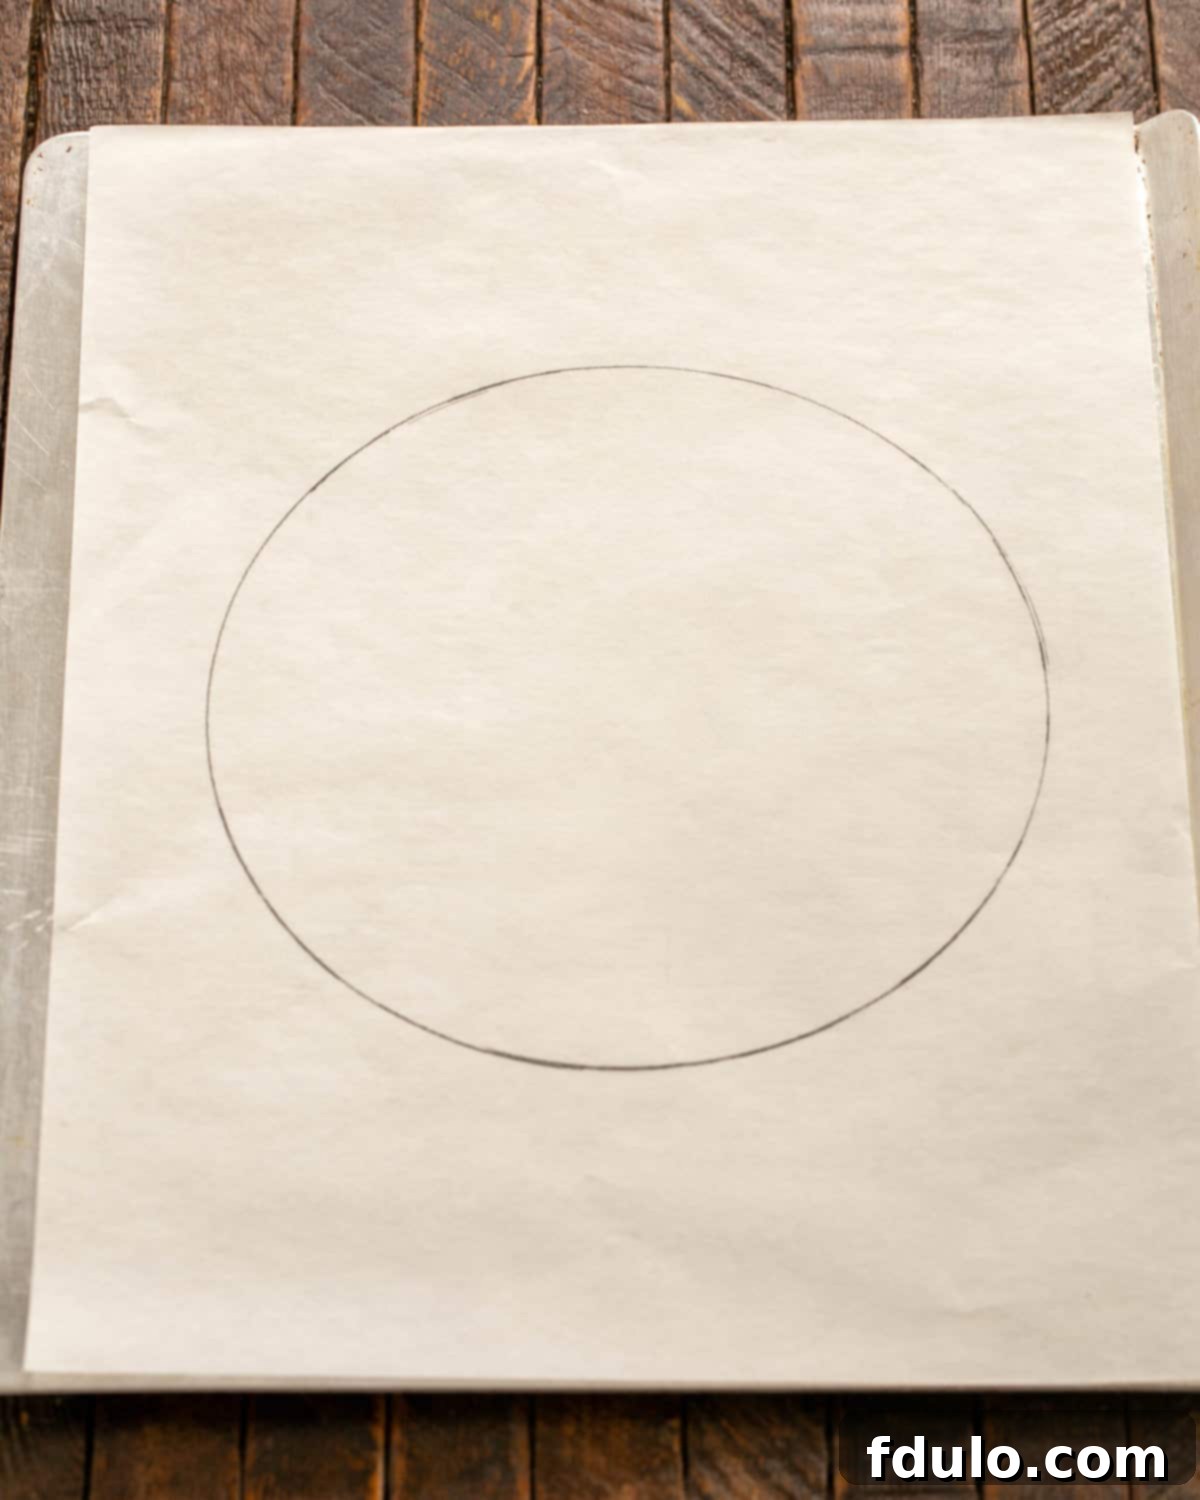
- Template for Shaping: To achieve a beautifully round pavlova, use a simple template. Place a 9-inch cake pan or plate on a sheet of parchment paper and trace around it. Then, flip the parchment paper over and place it on your baking sheet. This provides a clear guide for spreading your meringue to the perfect size and shape.
- The Vinegar Advantage: Unlike a traditional meringue cookie, pavlova includes a small amount of acid, typically vinegar. This addition doesn’t affect the flavor but works wonders to create that characteristic crisp outer shell while ensuring the interior remains wonderfully soft and chewy. Some recipes use cream of tartar or cornstarch, but vinegar is key for the unique pavlova texture.
- Gradual Sugar Addition: Begin adding the superfine sugar once your egg whites have become foamy, usually after about a minute of whipping. Add the sugar very slowly, one tablespoon at a time, allowing each addition to fully dissolve before adding the next. This gentle incorporation is vital for a strong, stable meringue.
- Achieving Stiff, Glossy Peaks: Continue beating the meringue until it’s thick, bright white, and incredibly glossy. To test if the sugar has dissolved, rub a tiny bit of meringue between your fingers. If it feels smooth with no grittiness, it’s ready. The meringue should hold stiff peaks when the beaters are lifted.
Baking to Perfection
- Careful Shaping: Once your meringue is ready, scoop it onto the parchment-lined baking sheet, centering it within your 9-inch template. Use an offset spatula to gently spread and shape it into a neat circle. You can also create a slight indentation in the center to form a ‘nest’ for your toppings later.
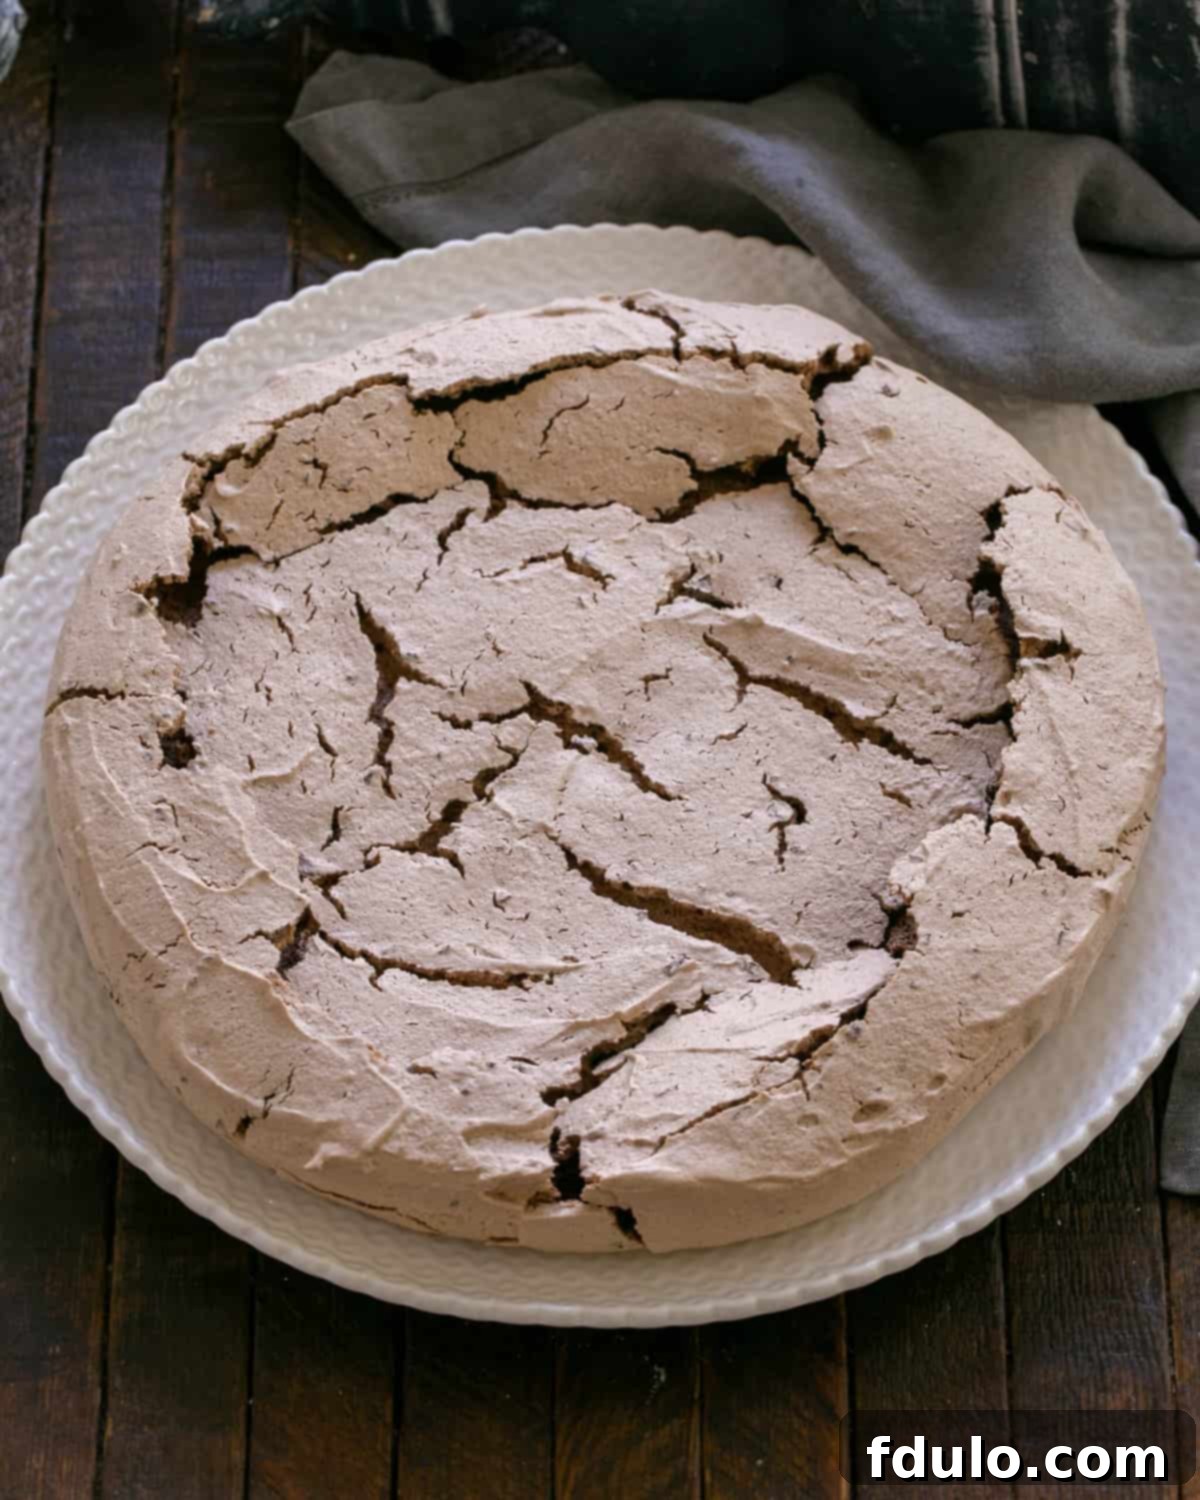
- The Art of Slow Cooling: Pavlovas are sensitive to sudden temperature changes, which can lead to cracking. After baking for the directed time, turn off the oven and prop the oven door open slightly (with a wooden spoon, for example). Allow the pavlova to cool completely inside the oven. This slow, gradual cooling process helps prevent large cracks and ensures a beautifully stable meringue shell. While some cracking is normal and even charming, excessive cracking can be minimized this way.
Elegant Garnishing Techniques
- Stabilizing Whipped Cream Naturally: To prevent your whipped cream from weeping or deflating, a fantastic PRO-Tip is to chill your mixing bowl (and even your whisk attachments) in the freezer for 10-15 minutes before whipping the heavy cream. This extra cold environment helps the cream whip up faster and hold its volume for longer, eliminating the need for stabilizers like “Whip-It.”
- Creating Chocolate Shavings and Curls:
- For fine chocolate shavings, simply use a vegetable peeler to scrape down the flat side of a standard chocolate bar.
- For more impressive, larger curls, procure a good quality block of chocolate (such as Callebaut). Gently warm the block very slightly in the microwave for a few seconds (be careful not to melt it) to make it more pliable. Then, use your vegetable peeler or a sharp knife to shave off larger, elegant curls that will adorn your pavlova beautifully.
Troubleshooting Common Pavlova Challenges
Even experienced bakers can encounter a few bumps in the road when making pavlova. Don’t worry if your first attempt isn’t perfect; understanding common issues and their solutions will help you master this delicate dessert.
- Cracks in Your Pavlova: A few minor cracks are perfectly normal and add to the rustic charm of a pavlova. However, excessive cracking can occur for a couple of reasons:
- Undissolved Sugar: If the sugar isn’t fully dissolved before baking, it can cause the meringue to crack. Always use superfine sugar and add it very slowly, ensuring it’s completely incorporated.
- Oven Temperature Too High: An oven that’s too hot can cause the exterior to set and harden too quickly, leading to cracks as the interior expands. Always use an oven thermometer to verify your oven’s temperature.
- Rapid Cooling: As noted in our tips, sudden temperature changes during cooling are a common culprit. Allowing the pavlova to cool slowly in the oven with the door slightly ajar helps prevent this.
- Meringue Doesn’t Thicken/Stiffen: This is arguably the most common and frustrating issue, almost always related to contamination:
- Fat Contamination: Any trace of fat—whether from egg yolk, grease on your mixing bowl, or oil on your beaters—will prevent egg whites from whipping up properly. Ensure all equipment is impeccably clean, washed thoroughly with hot soapy water, or run through a dishwasher. Avoid plastic bowls, as they are known for harboring oils even after washing.
- Egg Yolk Contamination: Take extreme care when separating egg whites from yolks. If there’s any doubt, it’s best to discard that particular white and start with a fresh egg.
- Water Contamination: Even a few drops of water can hinder the whipping process. Ensure your egg whites are pure and your bowl is completely dry.
Frequently Asked Questions About Pavlova
The exact origin of pavlova is a subject of passionate debate between Australia and New Zealand, with both countries claiming it as their own national dessert. It was developed in honor of Anna Pavlova, the renowned Russian ballerina, during her tours of the region in the 1920s. Regardless of its precise birthplace, it has become a beloved staple in both countries’ culinary traditions.
At its heart, a pavlova is essentially a large, baked meringue, though smaller, mini versions are also popular. It’s made from whipped egg whites and sugar, then slowly baked until its exterior is crisp and delicate. The defining characteristic of a pavlova is its unique interior: a soft, chewy, marshmallow-like center, often described by Nigella Lawson as “squidgy.” This distinct texture is what differentiates it from a traditional hard meringue.
While classic pavlovas are typically topped with whipped cream and fresh fruit, this chocolate raspberry pavlova elevates the experience by incorporating cocoa powder and chopped chocolate into the meringue itself. This introduces a delightful richness, showcasing the versatility of this dessert and its endless possibilities for flavor iterations, such as those featuring lemon curd or tropical fruits.
The key to storing a pavlova is to keep it in a cool, dry environment, as moisture and heat are its enemies. Both can cause the delicate meringue to soften and become sticky. A common and effective suggestion is to store your cooled pavlova shell inside a cold, turned-off oven. Just be sure to leave a prominent note on the oven door to prevent anyone from accidentally turning it on!
The meringue shell can be prepared up to a day in advance. For the best taste and texture, assemble the pavlova with its whipped cream and fresh fruit toppings only a few hours before serving. While it’s undeniably best enjoyed on the day it’s made, any rare leftovers are still delicious and certainly shouldn’t go to waste!
Explore More Decadent Dessert Recipes
If you’ve fallen in love with the magic of pavlova, or simply enjoy crafting beautiful desserts, here are a few more recipes you might enjoy:
- Christmas Wreath Pavlova: A festive and decorative take on the classic.
- Strawberry Topped Chocolate Pavlova: Another delightful chocolate pavlova variation, perfect for strawberry season.
- Individual Pavlovas: Perfect for portion control or when you want to offer personalized desserts.
- Pavlova with Lemon Curd: A bright and tangy option that’s truly refreshing.
- Over 900+ Dessert Recipes: Discover a vast collection of sweet treats for every occasion!
Stay connected with us for more delectable recipes! Follow us on Instagram, Facebook, and Pinterest. Don’t forget to tag us when you create one of our recipes! We love seeing your culinary masterpieces. If you loved this Chocolate Raspberry Pavlova, please consider giving it a 5-star rating in the recipe card below.
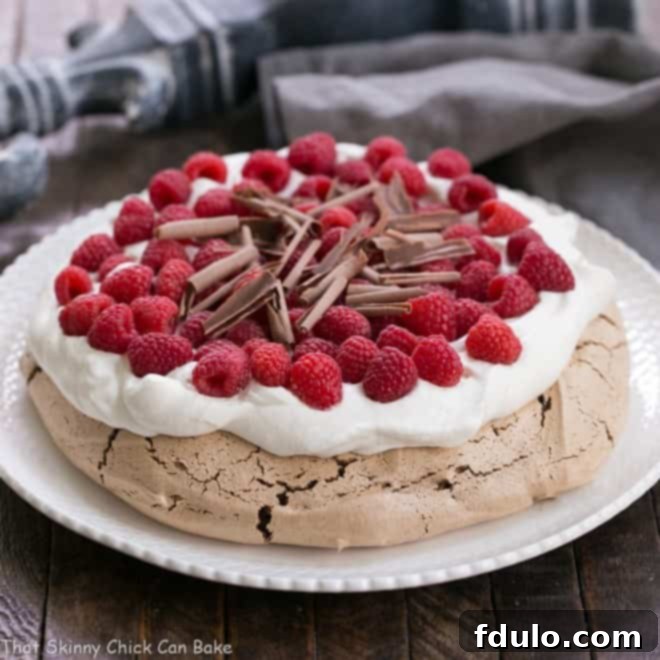
Chocolate Raspberry Pavlova
20 minutes
1 hour 15 minutes
1 hour 35 minutes
8 servings
A jumbo cocoa meringue topped with cream and berries!
Ingredients
- 6 egg whites, at room temperature
- 1 ½ cups superfine sugar
- 3 tablespoons good quality cocoa powder
- 1 teaspoon raspberry or balsamic vinegar
- 2 ounces semi-sweet chocolate, finely chopped
- 2 cups heavy cream
- ½ cup powdered sugar
- 1 teaspoon vanilla
- 2-3 tablespoons coarsely grated semi-sweet chocolate
Instructions
- Preheat the oven to 350º. Line the baking sheet with parchment. Draw a 9-inch circle on parchment, then flip the paper over. Set aside.
- Beat the egg whites till satiny in appearance. Slowly add the sugar, while continuing to beat, until the meringue is stiff and glossy. Sift cocoa powder over the meringue, then add vinegar and chopped chocolate. Fold well till combined.
- Pile the meringue onto the baking sheet, keeping it within the 9-inch circle. Smooth the top and edges with an offset spatula. Place in oven and immediately decrease the temperature to 300º. Bake for 1-1¼ hours till dry on edges and top. Pavlova will appear cracked. Turn off the oven, open the oven door, and allow it to cool completely.
- To serve, place the pavlova onto a serving plate.
- Whip cream with powdered sugar and vanilla.
- Top pavlova with whipped cream, then sprinkle with raspberries followed by grated chocolate.
Notes
Recipe adapted from Nigella Lawson.
Total time does not include cooling time.
Recommended Products
As an Amazon Associate and member of other affiliate programs, I earn from qualifying purchases.
- Superfine Sugar
- KitchenAid KSM150PSER Artisan Tilt-Head Stand Mixer with Pouring Shield, 5-Quart, Empire Red
- USA Pan Bakeware Half Sheet Pan
- Reynolds Cookie Baking Sheets Non-Stick Parchment Paper, 25 Sheet, 4 Count
Nutrition Information:
Yield:
8
Serving Size:
1
Amount Per Serving:
Calories: 452Total Fat: 25gSaturated Fat: 16gTrans Fat: 1gUnsaturated Fat: 8gCholesterol: 67mgSodium: 59mgCarbohydrates: 55gFiber: 1gSugar: 53gProtein: 5g
HOW MUCH DID YOU LOVE THIS RECIPE?
Please leave a comment on the blog or share a photo on Pinterest
