Welcome to the ultimate guide for mastering your baking journey! After decades of passion-filled experimentation and countless sweet creations in my kitchen, I’ve gathered my most effective baking tips and tricks to empower you. Whether you’re a complete novice or looking to refine your skills, this comprehensive resource is designed to make your time in the kitchen not just successful, but truly enjoyable. Get ready to elevate your homemade treats from good to absolutely unforgettable.
Feel free to share this essential guide with any friends just starting their baking adventure! And don’t miss our invaluable section on easy baking substitutions, perfect for those moments when your pantry isn’t quite stocked, helping you create delicious treats even when you’re missing an ingredient.

Baking Basics: Essential Tips for Every Home Baker
Baking is often described as a science, and understanding its fundamental principles is key to consistent success. These foundational tips cover general best practices that every home baker should know, from ingredient preparation to oven calibration. Even experienced bakers might discover a new trick here!
- Achieve Optimal Blending with Room Temperature Eggs: Always bring your eggs to room temperature before incorporating them into your batter. Cold eggs can cause butter to seize and create a lumpy mixture, affecting the final texture of your baked goods. To speed up the process, place eggs in a bowl of very hot tap water for 5-10 minutes. Ensure the water isn’t so hot that it starts cooking the eggs.
- Ensure Smooth Incorporation with Room Temperature Butter: Unless a recipe specifically calls for cold butter (like for pie crusts), your butter should also be at room temperature. It should be soft enough to indent slightly with your finger or bend without breaking, but not melted or greasy. This allows it to cream properly with sugar, creating air pockets that contribute to a light and fluffy texture.
- Cream Cheese and Sour Cream for Cheesecakes: For the smoothest cheesecakes, ensure both cream cheese and sour cream are at room temperature. Attempting to blend cold cream cheese often results in stubborn, tiny lumps throughout the batter, compromising the creamy consistency you desire.
- Master Your Recipe: Read Thoroughly Before You Begin: This might be the most overlooked yet crucial step. Read your entire recipe from start to finish before gathering ingredients or starting any prep. This helps you understand the process, identify any chilling times required (which can dramatically extend your baking schedule), and ensure you have all necessary equipment on hand.
- The Power of Mise en Place: Set Out All Ingredients: Adopt the professional chef’s practice of “mise en place” – everything in its place. Measure and set out all your ingredients before you start mixing. This streamlines the baking process, prevents you from forgetting a crucial ingredient, and allows you to enjoy the creative flow of baking without frantic searching.
- Don’t Skip the Salt in Sweet Recipes: It might seem counterintuitive to add salt to a dessert, but please don’t omit it! A small amount of salt enhances and balances the sweetness, bringing out the full depth of flavor in your baked goods. Without it, your treats can taste flat or one-dimensional.
- Invest in Quality Ingredients: The final taste and texture of your baked goods are directly influenced by the quality of your ingredients. While budget-friendly options have their place, opting for higher-quality flours, butter, and chocolates can significantly elevate your results. Think of it as investing in flavor.
- Verify the Potency of Leavening Agents: Always check the expiration dates on your baking powder, baking soda, and yeast. Expired leavening agents lose their potency, leading to baked goods that won’t rise properly and will be dense or flat. While expiration dates are often guidelines, with leavening agents, it’s best to be safe. You can test baking powder by adding a teaspoon to hot water; it should fizz vigorously.
- Baking Soda and Baking Powder: Not Interchangeable: These two leavening agents are distinct and react differently. Baking soda requires an acid to activate, while baking powder is a complete leavener containing both an acid and a base. Substituting one for the other without careful adjustment will lead to disastrous results, so always use precisely what the recipe calls for.
- Calibrate Your Oven with an Oven Thermometer: Many home ovens are not accurately calibrated, meaning the temperature you set isn’t necessarily the temperature inside. An inexpensive oven thermometer is a game-changer. It ensures that when your recipe calls for 350°F, your oven is actually at 350°F, preventing under or over-baking. Many newer ovens allow for calibration; consult your appliance manual for specific instructions.
- Address Hot Spots for Even Baking: If you notice that certain areas of your oven bake faster than others (e.g., cookies at the back browning before those at the front), your oven has “hot spots.” To combat this, rotate your baking pans halfway through the cooking time. This simple step ensures even heat distribution and uniformly baked products.
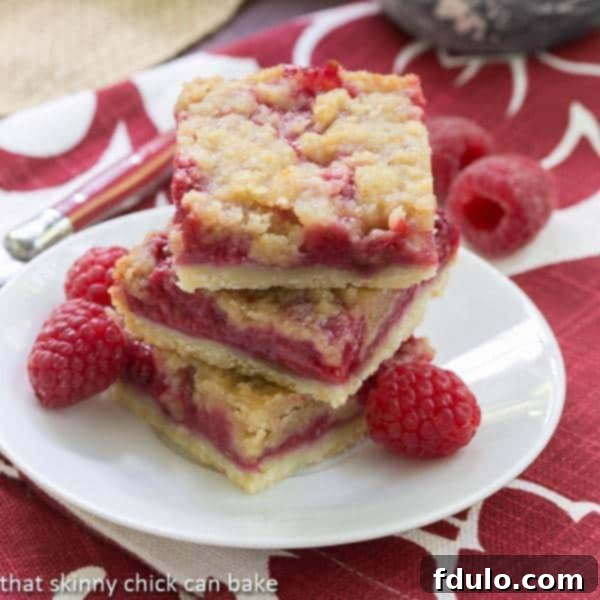
Raspberry Streusel Bars
Mastering Measurements: Accuracy for Baking Success
In baking, precision is paramount. Unlike cooking, where a pinch of this or a dash of that often works, baking relies on exact ratios for chemical reactions and structural integrity. Accurate measurement is a foundational skill that can significantly impact your results.
- Utilize Separate Dry and Liquid Measuring Cups: It’s essential to have distinct sets of measuring cups for dry and liquid ingredients, as they are designed differently for accuracy. Dry measuring cups are meant to be leveled off, while liquid measuring cups have a spout and measurements below the rim, allowing you to read at eye level for precise volume. Do not interchange them.
- The Non-Stick Spray Trick for Sticky Ingredients: When measuring sticky ingredients like peanut butter, molasses, syrup, or honey, lightly spray your measuring cup or spoon with non-stick cooking spray (such as Pam). This ingenious trick allows the ingredient to slide right out, ensuring you get every last drop without a sticky mess and providing a more accurate measurement.
- Properly Measure Flour for Consistent Results: The way you measure flour profoundly impacts the outcome of your baked goods. Never scoop flour directly from the bag with your measuring cup, as this compacts it, leading to too much flour and a dry, dense product. Instead, gently spoon flour into your measuring cup until it’s overflowing, then use a flat utensil (like an offset spatula or the back of a knife) to level off the top.
- Pack Brown Sugar Firmly: Most recipes calling for brown sugar assume you will pack it firmly into the measuring cup. This means pressing it down with your fingers or a spoon until it forms a solid mass. When inverted, the brown sugar should hold the shape of the cup, ensuring the correct amount for moisture and flavor.
- The Gold Standard: Baking with a Digital Kitchen Scale: For unparalleled accuracy and consistency in baking, investing in a Digital Kitchen Scale is highly recommended. Measuring by weight eliminates discrepancies that arise from different packing methods and provides incredibly precise results every time. It’s also invaluable for dividing dough evenly, ensuring uniform cake layers, and much more. This tool is truly worth the investment for serious home bakers.
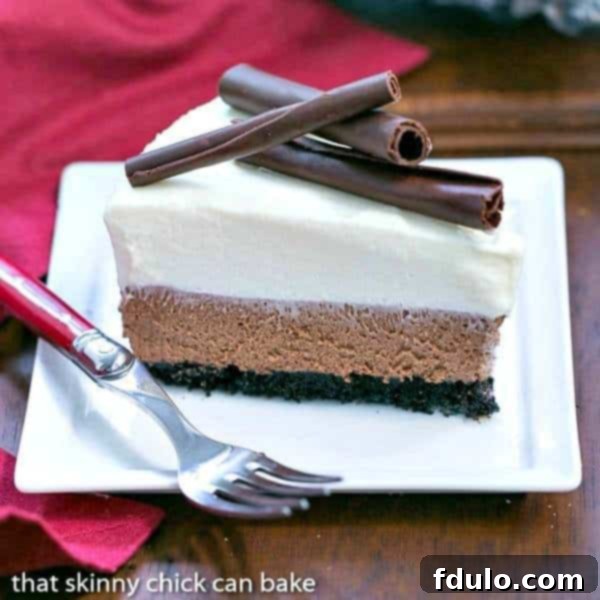
Triple Chocolate Mousse Pie
Perfect Pan Prep: Preventing Sticking & Ensuring Easy Release
Few things are more disheartening than a beautifully baked creation that stubbornly sticks to the pan. Proper pan preparation is a simple yet vital step to ensure your cakes, breads, and bars release cleanly and beautifully every time, making cleanup a breeze.
- Utilize Flour-and-Oil Baking Spray for Cakes and Quick Breads: To guarantee that your cakes and quick breads slide effortlessly out of the pan, use a cooking spray specifically designed for baking that combines oil and flour, such as Baker’s Joy. This creates a non-stick barrier that works wonders, even for intricately shaped pans.
- Line Cookie Sheets with Parchment Paper: For perfectly baked cookies that don’t stick and easy cleanup, always line your cookie sheets with Parchment Paper Baking Sheets. This not only prevents sticking but also promotes even browning across the bottom of your cookies and makes transferring them to cooling racks effortless.
- Line Loaf and Cake Pan Bottoms with Greased Parchment: For delicate cakes or quick breads, cutting a circle or rectangle of greased parchment paper to fit the bottom of your loaf or cake pan provides an extra layer of protection against sticking. This is particularly helpful for ensuring the bottoms of your baked goods release cleanly without tearing or leaving chunks behind.
- For Easy Removal of Cookie Bars, Use Non-Stick Foil or Parchment: When baking cookie bars or brownies, lining the baking pan with either Non-Stick Foil or parchment paper is a fantastic strategy. Allow the excess paper or foil to hang over the edges of the pan; once the bars are cooled, you can simply lift them out of the pan using these “handles” for easy slicing and serving.
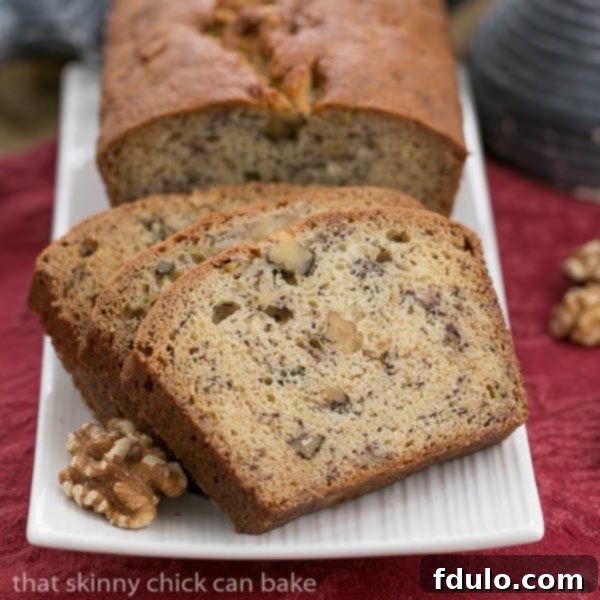
Classic Banana Nut Bread
Knowing When It’s Done: Testing Baked Goods for Perfection
Determining the perfect moment to remove your baked goods from the oven is a critical skill. Under-baked items can be doughy and unappetizing, while over-baked ones become dry and tough. Here are reliable methods to ensure your creations are perfectly done, every time.
- The Toothpick or Skewer Test for Cakes and Quick Breads: For most cakes, muffins, and quick breads, inserting a toothpick or a long wooden skewer into the center is a dependable way to check for doneness. If it comes out clean with no wet batter, your baked good is typically done. However, always refer to your specific recipe, as some might instruct that a few moist crumbs are desirable for a richer, fudgier texture.
- The Gentle Touch Technique for Cakes and Muffins: Beyond the toothpick, a simple touch can often tell you if a cake or muffin is ready. Carefully press down on the center of the baked item with your fingertip. If the indentation springs back completely, it’s done. If your finger leaves a lasting mark, it needs a few more minutes in the oven.
- Internal Temperature for Bread: When baking yeast bread, relying on visual cues alone can be misleading. An instant-read thermometer is your best friend. Insert it into the center of the loaf; for most yeast breads, an internal temperature of 200°F (93°C) signifies that the loaf is fully baked. Another traditional method is to tap the bottom of the loaf with your knuckles – a hollow sound indicates doneness.
- Visual Cues for Brownies: Brownies can be tricky to judge because doneness varies depending on desired texture (fudgy vs. cakey). Generally, they are done when the edges appear set and slightly pull away from the sides of the pan, while the center still looks a bit moist. Again, your recipe’s specific guidance is key to achieving your preferred brownie consistency.
- Judging Doneness for Cookies: Begin checking cookies at the minimum baking time specified in the recipe. They should appear just set around the edges, with the centers still looking soft or slightly underdone. A slightly under-baked cookie often yields a chewier texture, while baking them a minute or two longer will result in a crisper cookie.
- Proper Cooling for Structure and Flavor: Allow cakes and quick breads to cool in their pans for 10-15 minutes before inverting them onto a wire rack to finish cooling completely. This allows the structure to set, preventing crumbling. For cookies, let them cool on the baking sheet for a few minutes to firm up before transferring them to a wire rack. More delicate cookies may require a longer rest on the sheet before handling. Always adhere to recipe-specific cooling instructions.
- The Art of Cutting Perfect Bars: For beautifully even brownies or cookie bars, chilling is essential. Thoroughly chill your baked bars in the refrigerator for at least an hour, or until firm. Then, use a sharp, hot, dry knife (wiping it clean after each cut) to slice them into squares. For ultimate precision, use a ruler to measure out your cuts. For an 8×8-inch pan, cutting into 16 bars (each approximately 2×2 inches) works well. A 9×9-inch pan can yield nine 3×3-inch bars, or 36 1½-inch bars, depending on your serving preference. For more detailed guidance, check out this post on How to Cut Perfect Cookie Bars.
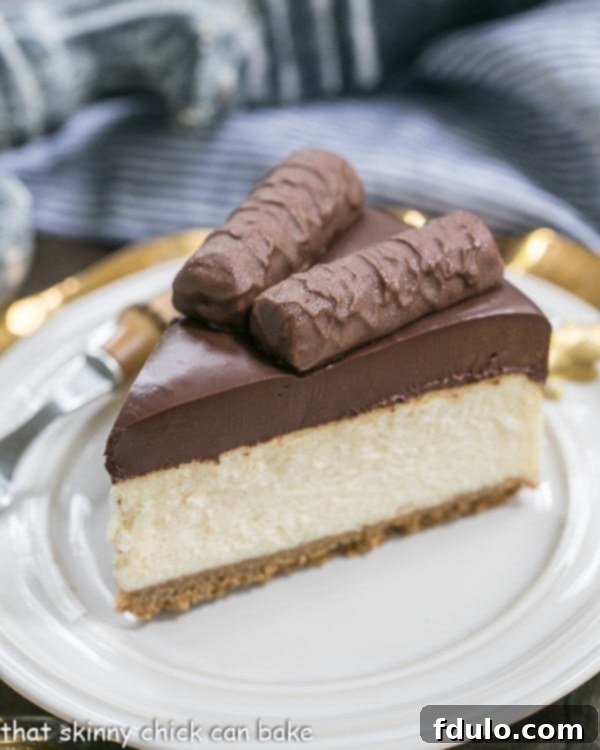
Twix Cheesecake
The Power of Quality Ingredients: Elevating Your Baked Creations
While substitutions can save the day, the foundation of truly exceptional baked goods lies in the quality of your ingredients. Opting for higher-quality products can significantly enhance the flavor, texture, and overall enjoyment of your homemade treats. Sometimes, buying the cheapest brand can compromise the outcome, especially with staples like butter, where generic versions might have added water content that affects consistency.
- Flour: The Backbone of Baking: The type and quality of flour are crucial. I consistently rely on the King Arthur brand for both All-Purpose and Cake Flour due to its consistent quality and reliable protein content. All-purpose flour is versatile, while cake flour, with its lower protein content, is ideal for creating tender, delicate crumbs in cakes.
- Sugar: Sweetness and Structure: For granulated sugar, I find the Domino brand to be excellent and widely available. Consistent sugar crystals ensure proper creaming with butter and contribute to the right texture and moisture in your baked goods.
- Butter: Flavor and Richness: Butter is a flavor powerhouse. I highly recommend Land O’Lakes for its superior flavor and consistent fat content. While I typically use salted butter, I adjust the amount of salt in the recipe accordingly (reducing it slightly) when a recipe calls for unsalted. Using quality butter ensures rich flavor and a tender crumb.
- Eggs: The Binding Element: Large eggs are the standard size in most baking recipes and provide the necessary structure, moisture, and emulsification. Always bring them to room temperature for easier incorporation into batters, as cold eggs can cause mixtures to curdle. Eggland’s Best is a readily available brand that I find reliable for consistent results.
Smart Baking Substitutions: Pantry Staples for Common Needs
Even the most organized baker occasionally finds themselves missing a key ingredient. Knowing how to make quick and effective substitutions can save a trip to the store and keep your baking plans on track. Here are some of my go-to easy baking substitutions that I’ve used successfully time and again.
- Buttermilk Substitute: If your recipe calls for buttermilk and you don’t have any, it’s incredibly easy to make your own. Pour 1 tablespoon of lemon juice or a neutral-flavored vinegar (like white or apple cider vinegar) into a one-cup liquid measuring cup. Fill the rest of the cup to the 1-cup mark with regular milk (dairy or non-dairy). Stir gently and let it sit for 5-10 minutes until it slightly curdles. Use this “soured” milk as directed in your recipe.
- Cake Flour Substitute: For a tender crumb in your cakes without a special trip, you can create a simple cake flour substitute. For every cup of cake flour needed, measure out a cup of all-purpose flour, then remove two tablespoons. Replace those two tablespoons with two tablespoons of cornstarch. Sift the mixture two or three times to ensure the cornstarch is evenly dispersed, which is crucial for achieving the light texture of cake flour.
- Baking Powder Substitute: In a pinch, if you’re out of baking powder, you can often make a reasonable substitute. Combine ¼ teaspoon of baking soda with ½ teaspoon of cream of tartar and ¼ teaspoon of cornstarch. This mixture will act as a substitute for 1 teaspoon of baking powder, providing the necessary leavening.
- Baking Soda Substitute: If you need baking soda but only have baking powder, it’s trickier as baking powder contains baking soda, but in a different ratio and often with an acid already present. As a general guideline, you can use 2 teaspoons of baking powder to substitute for ½ teaspoon of baking soda, but be aware this may alter the overall flavor or texture slightly due to the different leavening mechanisms.
- Butter Substitute: While butter offers unparalleled flavor, if you’re in a bind, an equal amount of margarine can often be substituted. Note that margarine can sometimes have a higher water content, which might slightly affect the final texture of your baked goods, but it will generally perform adequately in most recipes.
- Brown Sugar Substitute (Light): If you’re out of light brown sugar, you can easily create it from granulated sugar. For every 1 cup of light brown sugar needed, add one tablespoon of molasses to 1 cup of granulated (white) sugar. Mix them together thoroughly with a fork or your fingers until the sugar is uniformly colored and has a sticky, sandy texture.
- Dark Brown Sugar Substitute: Similarly, to make dark brown sugar, simply increase the molasses content. For every 1 cup of dark brown sugar required, add one tablespoon of molasses to 1 cup of light brown sugar (or granulated sugar if you’re making it from scratch). Mix until well combined.
- One Large Egg Substitute (Flax Egg): For vegan baking or when you’re out of eggs, a “flax egg” is a popular and effective substitute. Mix 1 tablespoon of ground flaxseed with 3 tablespoons of water. Let the mixture rest for about 5-10 minutes until it thickens to a gel-like consistency. This works best in recipes where the egg acts as a binder rather than a primary leavener.
- One Large Egg Substitute (Mayonnaise): Surprisingly, mayonnaise can also serve as an egg substitute in some recipes, particularly for added moisture and richness. Use 3 tablespoons of mayonnaise in place of one large egg. The oil and egg components in mayo work similarly to a whole egg in providing structure and tenderness.
Further Resources for Aspiring Bakers
Always keen to keep learning and exploring the world of baking? Here are some additional fantastic resources filled with tips and techniques from other baking enthusiasts and experts to help you expand your knowledge:
- 100 Best Baking Tips from Sommer of A Spicy Perspective!
- Bon Appetit’s 11 Baking Tips
- Baking Tips and Techniques from King Arthur Flour
- Baking Tips for Layer Cakes from Barbara Bakes
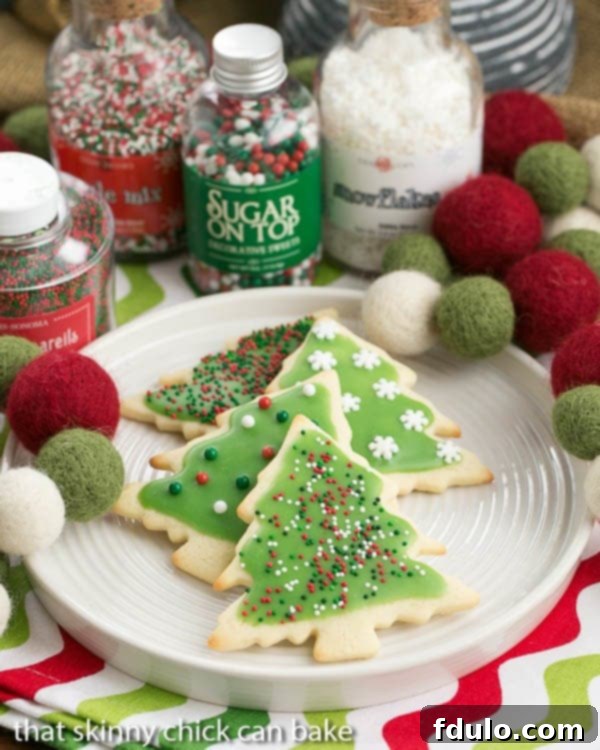
Best Sugar Cookies
Disclaimer: Please note that I am a passionate home baker, not a professionally trained pastry chef. The baking tips and tricks shared here are derived from many years of personal experience and experimentation in my home kitchen. While these methods have consistently worked for me, individual results may vary. If you have any additional suggestions for baking tips that I haven’t covered, I encourage you to share them in the comments section below! Happy baking!
