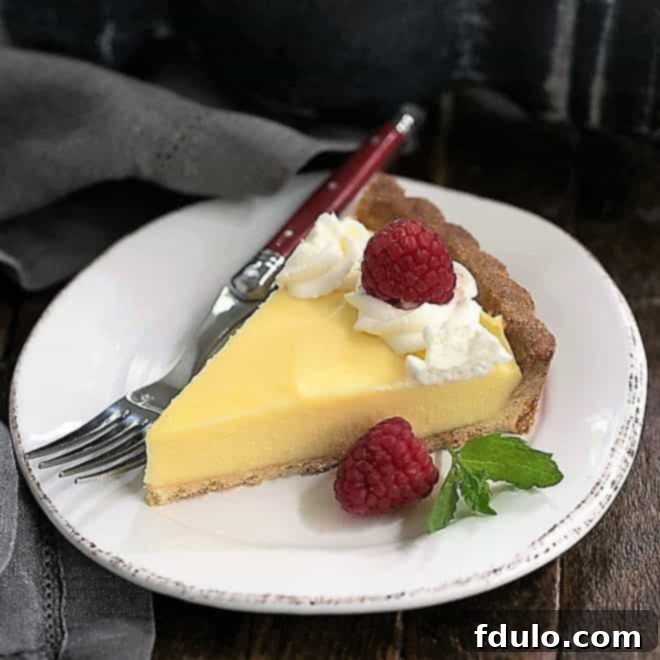
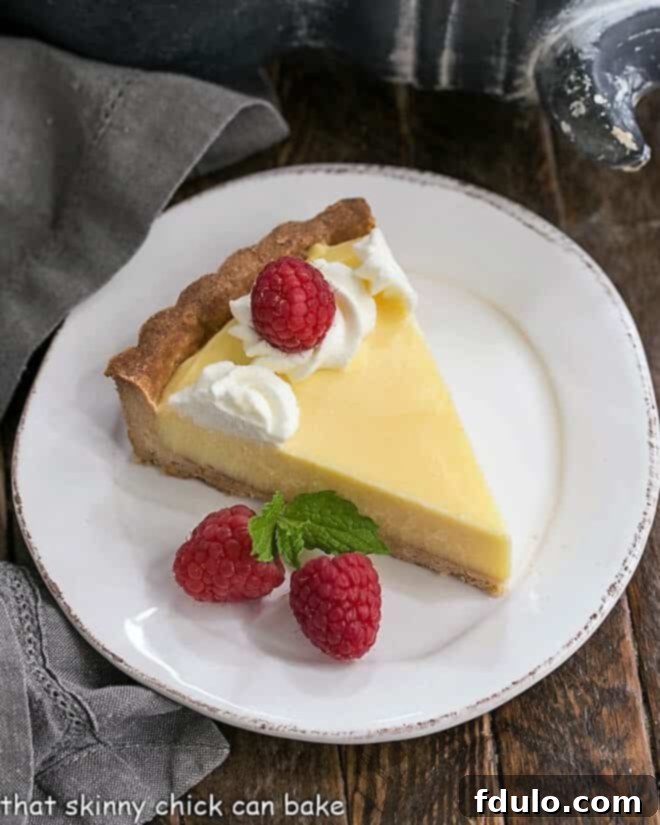
Welcome to the ultimate guide for creating a truly extraordinary dessert: the **Creamy Lemon Tart**. This exquisite French-inspired citrus delight is not just a treat for the taste buds but a celebration of bright, zesty lemon flavor, encapsulated in a lusciously smooth filling and nestled within a perfectly crisp tart shell. If you’re a lemon lover, prepare to be dazzled by a recipe that promises an unparalleled experience, balancing sweet indulgence with a refreshing tangy bite.
The inspiration for this magnificent **Lemon Curd Tart** came from a special occasion – a bridal shower where the bride-to-be’s adoration for all things lemon was the guiding star. When tasked with creating a dessert that would truly shine, my thoughts immediately turned to the revered Dorie Greenspan. Her culinary wisdom and innovative approaches to classic desserts are legendary, and her method for a glorious citrus creation proved to be nothing short of genius. This recipe is a testament to her brilliance, delivering a tart that is not only bursting with vibrant lemon notes but also boasts an incredibly luscious and silky texture that sets it apart.
Why This Creamy Lemon Tart Is an Absolute Must-Make
Making this lemon tart isn’t just baking; it’s an invitation to experience a dessert that transcends the ordinary. I crafted two of these exquisite tarts for a special event recently, and like many French sweets, they struck the perfect chord with just the right amount of sweetness and an invigorating citrus punch. Here’s why this particular Creamy Lemon Tart stands out:
- **The Dorie Greenspan Innovation:** This recipe redefines how lemon curd is made. Dorie Greenspan brilliantly conceived a creamy filling without the traditional use of heavy cream. Instead, she masterfully combines eggs, butter, and a blender to achieve an intriguing emulsified lemon “cream,” or curd. This method, inspired by the renowned Pierre Hermé, results in an astonishingly silky and luxurious texture that melts in your mouth, leaving a delightful and lingering lemon essence. It’s a game-changer for anyone seeking a curd with unparalleled smoothness.
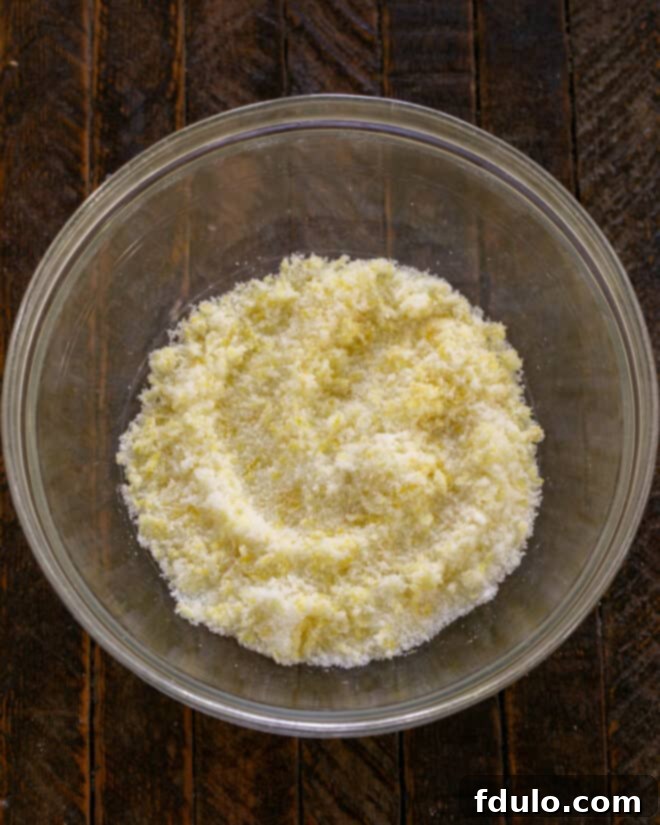
- **The Zest-Infused Sugar Secret:** One of my favorite culinary tricks is ingeniously incorporated into this recipe: rubbing lemon zest into the granulated sugar. This simple yet profound technique releases all the essential oils from the lemon peel, infusing the sugar with an intense, aromatic lemon flavor that permeates the entire filling. This extra boost of natural lemon essence elevates the tart to a truly extraordinary level, making every bite a burst of crazy deliciousness!
- **Unforgettable Texture:** The unique emulsification process, where butter is blended into the warm custard, prevents the butter from melting and then resolidifying in a grainy way. Instead, it forms a stable emulsion, resulting in a curd that is incredibly smooth, velvety, and luscious – a far cry from dense or overly firm lemon fillings.
Essential Ingredients for Your Perfect Lemon Tart
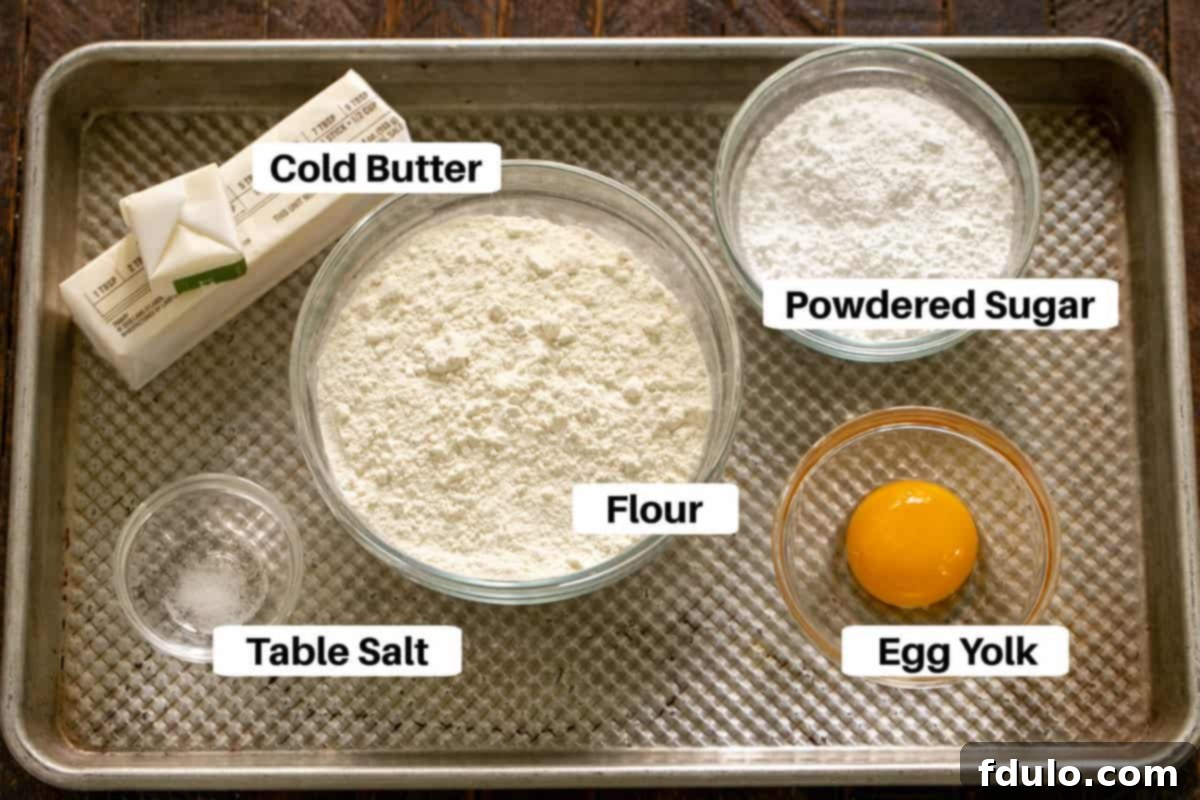
Crafting the Flaky Tart Crust
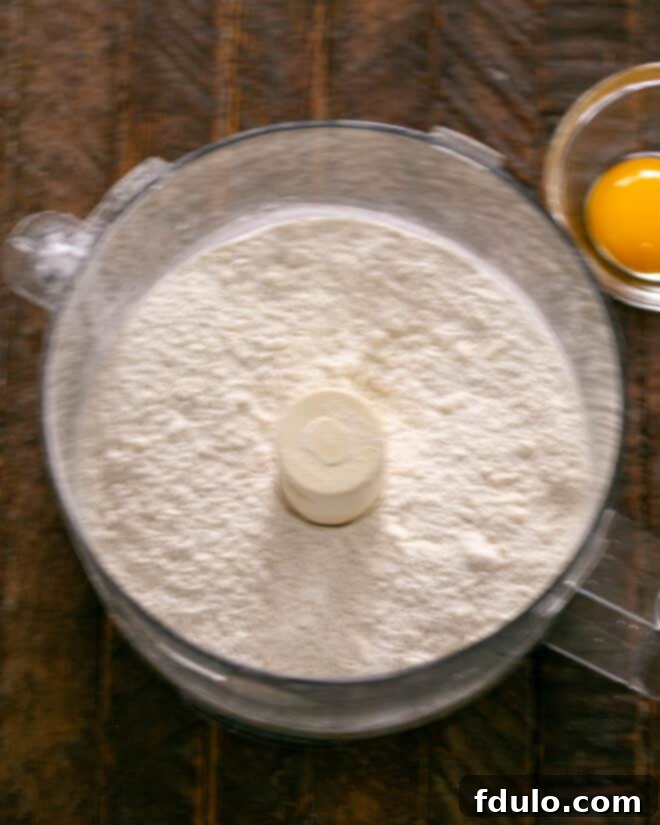
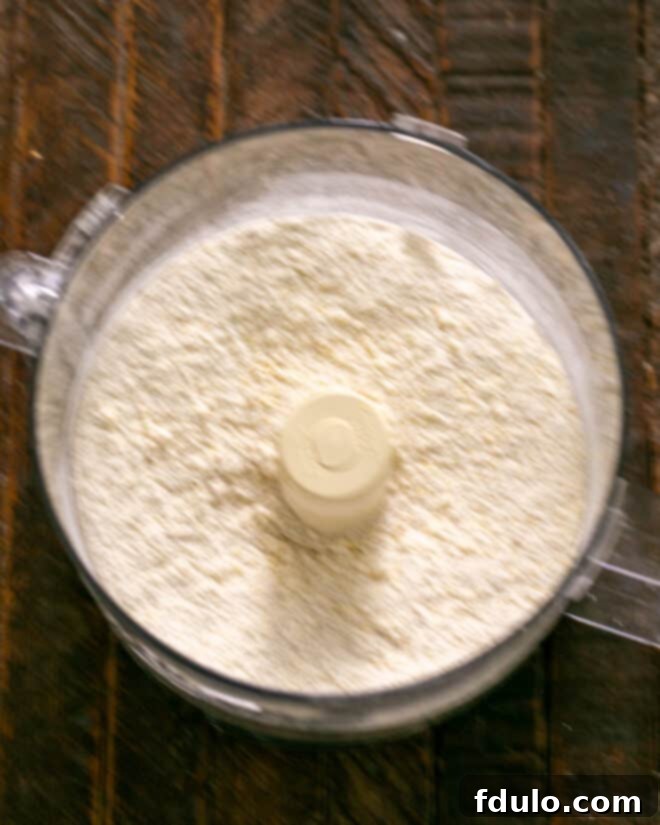
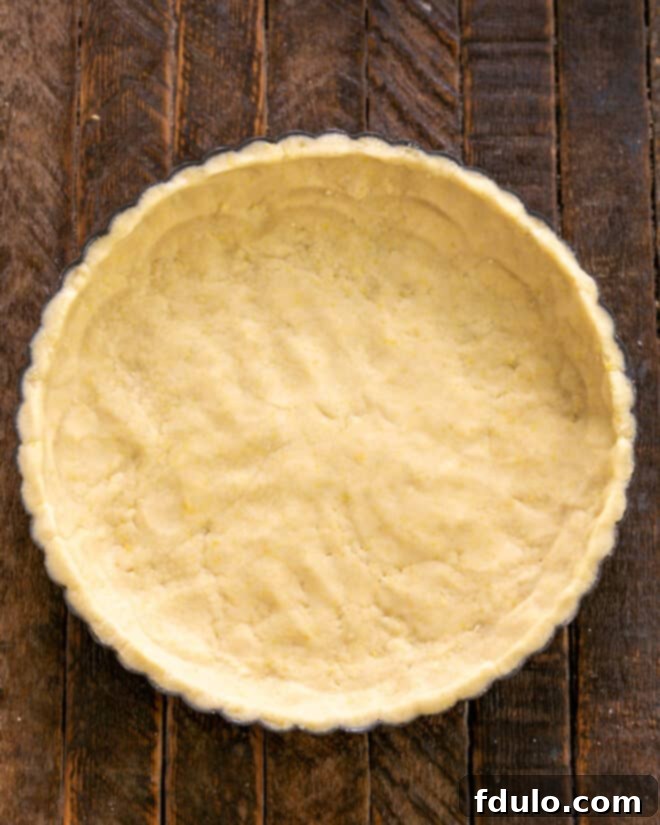
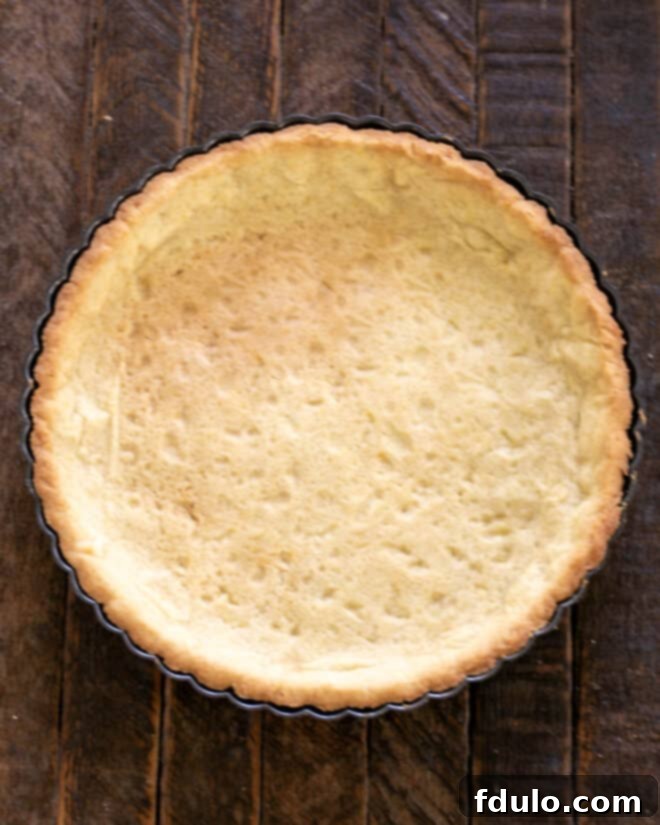
A phenomenal lemon tart begins with a foundation that is equally stellar: a perfectly baked tart shell. While the specific crust ingredients aren’t detailed in the original list, a classic French tart crust (pâte sablée or pâte sucrée) typically includes flour, butter, sugar, and sometimes an egg yolk for richness and tenderness. The key is to achieve a crisp, golden, and slightly crumbly texture that beautifully complements the creamy filling. Using a recipe that incorporates butter, or a blend of butter and shortening, will always yield the most flavorful results.
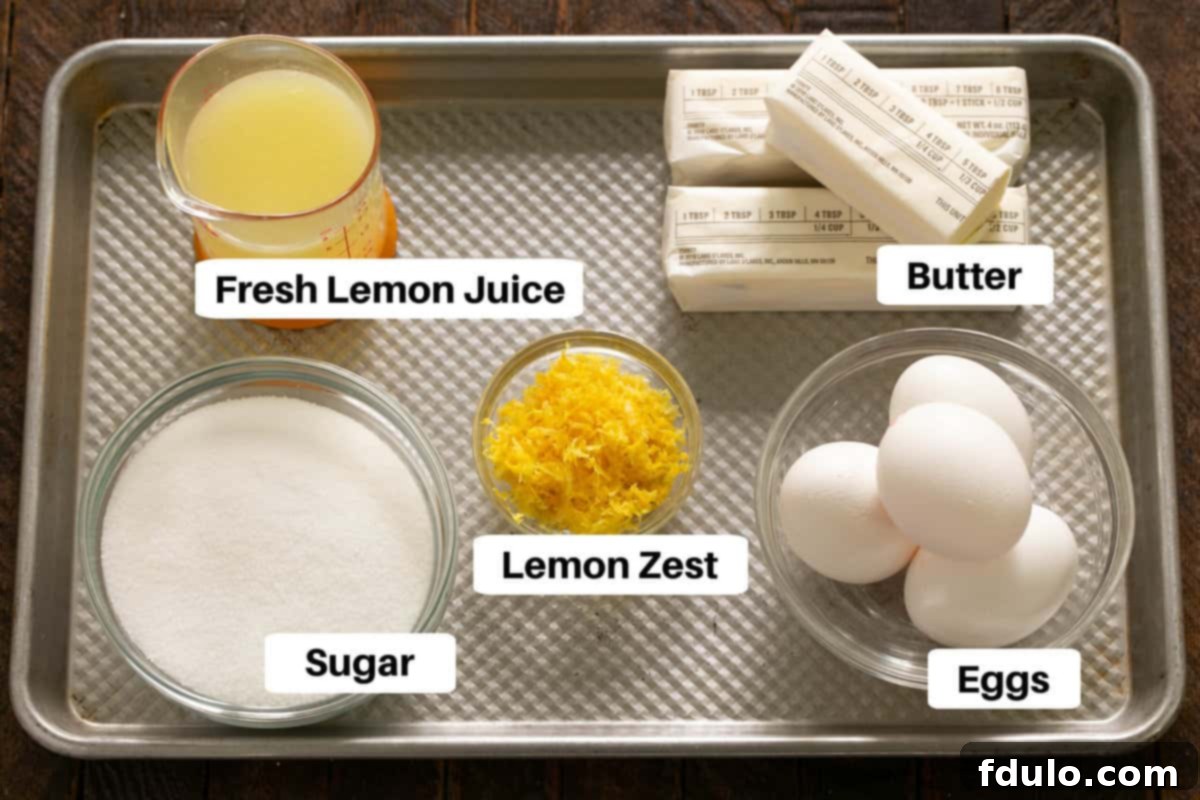
The Star of the Show: Lemon Curd Filling Ingredients
The magic of this creamy lemon tart truly lies in its vibrant, zesty filling. Here’s a closer look at the key ingredients that make it so exceptional:
- Sugar: Just regular granulated sugar is all you need. Its fine crystals help in extracting the lemon oils during the zesting process and provide the essential sweetness to balance the tartness of the lemon.
- Zest of 3 Lemons: This is non-negotiable for incredible flavor. Always use fresh lemon zest; dried zest from a jar simply cannot compare in terms of aromatic intensity. **Pro Tip:** Always zest your lemons *before* squeezing them. It’s significantly harder to get good zest from a juiced lemon! Aim for only the bright yellow outer layer, avoiding the bitter white pith.
- Eggs: Unless explicitly noted otherwise, always opt for large eggs. They provide structure and richness to the custard, contributing to its creamy texture.
- Freshly Squeezed Lemon Juice (from about 4 lemons): For the purest, brightest lemon flavor, fresh lemon juice is paramount. Bottled lemon juice often contains preservatives and lacks the vibrant, complex notes of freshly squeezed lemons, which would detract from the tart’s overall quality.
- Butter: I typically use salted butter for most of my baking, but unsalted butter can also be used, with a pinch of salt added separately if desired. It’s crucial that the butter is at room temperature and cut into tablespoon-sized pieces. This ensures it emulsifies smoothly into the warm custard, creating that signature silky texture.
- 9-inch Pie Crust or Tart Shell: You’ll need one fully baked and cooled 9-inch tart shell. As mentioned, look for a recipe that incorporates butter or a butter-and-shortening blend for the best flavor and flakiness. The pre-baked crust provides a sturdy base for the delicate lemon filling.
Expert Baking Tips for a Flawless Creamy Lemon Tart
The unique methodology for this lemon curd filling is key to its unparalleled success. Unlike many traditional curds, this one achieves a super silky and luscious consistency because the butter is emulsified rather than simply melted and resolidified. Here are some invaluable tips to ensure your Creamy Lemon Tart is nothing short of perfection:
- **The Power of Zest Rubbing:** As mentioned, rubbing the lemon zest into the sugar is more than just mixing. It’s a sensory experience that releases the potent lemon oils, dramatically enhancing the flavor profile of the entire tart. Don’t skip this step – it’s a simple action with profound results.
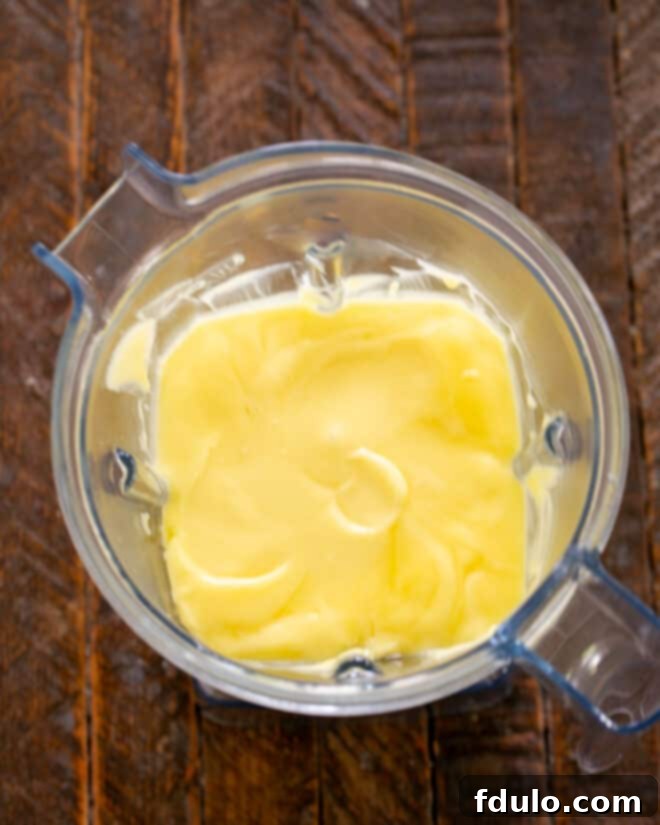
- **Emulsification Excellence:** Once your custard has thickened beautifully over a double boiler, it’s not done yet! This warm custard is then slowly added to a blender to be emulsified with a generous amount of room-temperature butter. This is where the magic happens, transforming the custard into an incredibly smooth and luxurious lemon cream. This method might be new to some, but trust the process for an extraordinary outcome.
- **Blender vs. Food Processor:** While a food processor can also work, Dorie Greenspan, the mastermind behind this technique, prefers a blender. The high-speed blades of a blender create a finer emulsion, resulting in a silkier texture. If your blender motor starts to get warm during the blending process, simply blend in short spurts, pulsing until the mixture becomes thick, creamy, and completely smooth.
- **The Art of Smoothing:** An offset spatula is your best friend for spreading the lemon curd evenly into the baked tart shell. It allows for effortless smoothing and creates a beautifully finished, professional-looking surface on your tart. You can even create elegant swirls for an extra touch of flair.
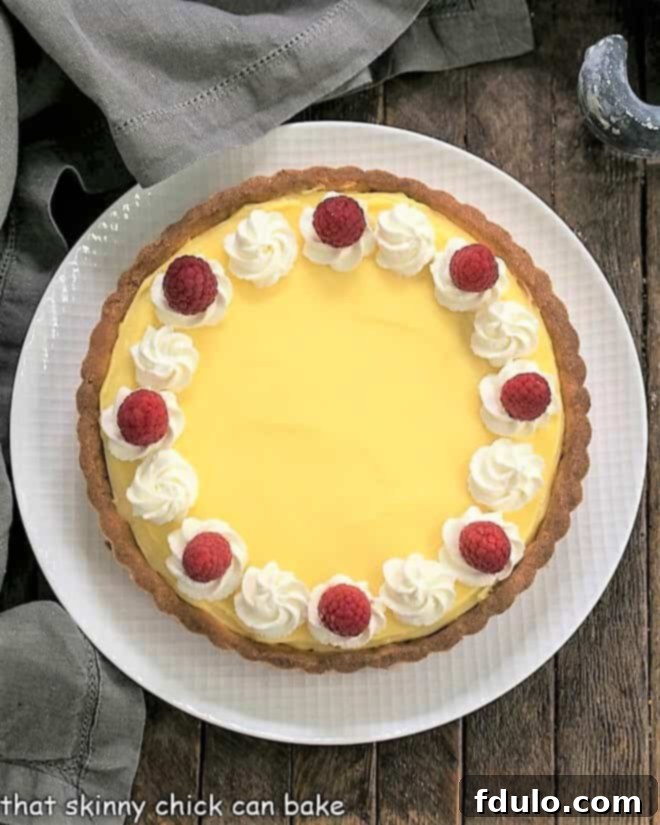
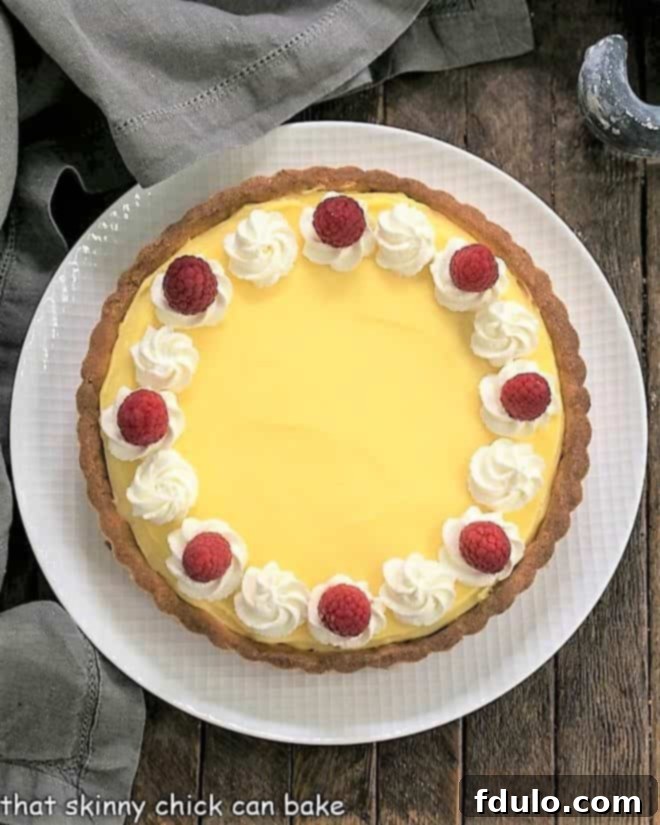
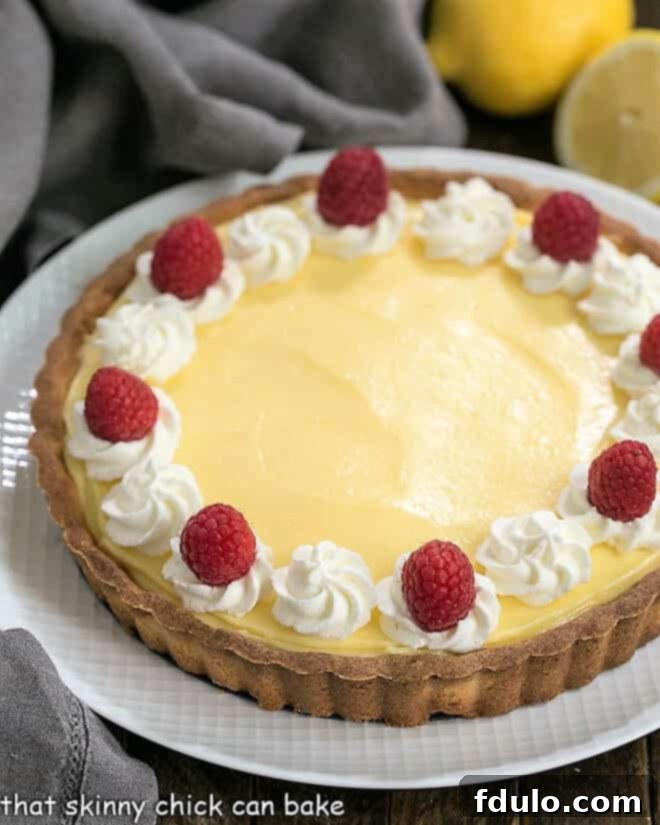
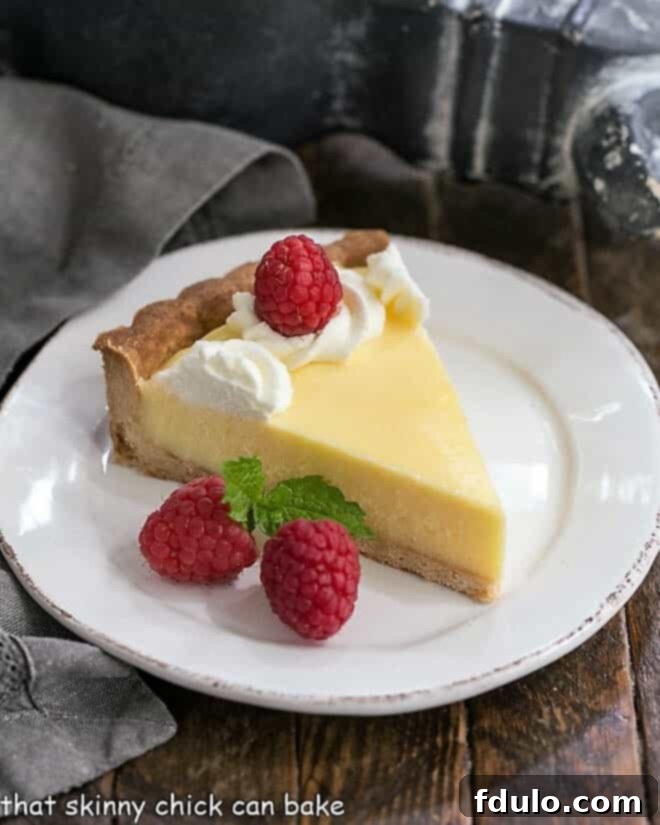
- **Elegant Garnishes:** Presentation is key! Fresh lemon slices make a beautiful and vibrant garnish, but remember to remove them before slicing the tart, as they can be difficult to cut through. Alternatively, pipe elegant whipped cream stars around the perimeter of the filling, topping each fluffy mound with a ripe red raspberry for a stunning contrast in color and flavor.
Even bona fide lemon lovers, like Bill who sampled the leftover filling directly from my blender, agree: this Creamy Lemon Tart is an absolute smash hit! Its balance of sweet and tangy, combined with the incredibly luscious texture, makes it a truly memorable dessert. If you’re looking for another complementary dessert option, a rich Dark Chocolate Tart would pair wonderfully with this lemon gem, offering a delightful contrast. And for other lemon cravings, a classic Lemon Chiffon Pie is always a winner.
How to Make This Creamy Lemon Tart: A Step-by-Step Guide
Creating this stunning Creamy Lemon Tart is a rewarding process. Follow these detailed steps to achieve a dessert that looks and tastes absolutely divine:
Frequently Asked Questions About Creamy Lemon Tart
Here are some common questions to help you master this delightful dessert:
Absolutely! This Creamy Lemon Tart is an ideal make-ahead dessert, perfect for entertaining. You can easily prepare it a day or even two days before you plan to serve it. Simply keep it refrigerated, covered gently with plastic wrap, and it will be perfectly fresh and flavorful when it’s time to enjoy. The flavors often deepen and meld beautifully with a little chilling time.
Determining the perfect thickness of the lemon custard is crucial before the emulsification step. A classic trick is to dip a spoon into the filling, then draw your finger across the back surface of the spoon, wiping away a line of the filling. If the line stays clean and distinct, without the filling running back into the gap, then your custard has reached the ideal consistency and is ready for the next step. An instant-read thermometer will confirm it’s reached 180°F (82°C).
Garnishing your Creamy Lemon Tart adds a beautiful finishing touch. For a simple yet elegant look, top individual slices with a dollop of freshly sweetened whipped cream or a scoop of premium vanilla bean ice cream. For a pop of color and freshness, arrange fresh strawberries or raspberries around the tart or on individual slices. A sprig of fresh mint can also add a vibrant green contrast and a subtle aromatic note. Candied lemon peel or finely grated lemon zest sprinkled on top also work wonderfully.
Any leftover lemon tart should be stored covered in the refrigerator. A simple plastic wrap or an airtight container will help maintain its freshness and prevent it from absorbing any other odors from the fridge. When stored properly, the tart will remain delicious for 3 to 4 days. For the best flavor and texture, allow it to sit at room temperature for about 15-20 minutes before serving.
Explore More Lemon-Inspired Delights
If this Creamy Lemon Tart has ignited your passion for all things lemon, you’ll love exploring these other fantastic recipes:
- Lemon Garlic Broccoli – A vibrant and healthy side dish.
- Lemon Steamed Spinach – A simple yet flavorful way to enjoy your greens.
- Mile High Lemon Meringue Pie – A towering classic with a zesty filling.
- Best Lemon Bars – Perfect for picnics or parties, these bars are always a crowd-pleaser.
- Lemon Souffle – A light, airy, and elegant dessert.
- Meyer Lemon Streusel Bars – A delightful twist with sweet Meyer lemons.
- For even more sweet endings, browse our collection of Best Dessert Recipes.
Stay connected and share your culinary creations with us on social media! Find us on Instagram, Facebook, and Pinterest. Don’t forget to tag us when you try one of our recipes! If you love the results, please consider leaving a 5-star rating and comment on the blog – your feedback is greatly appreciated!
The Recipe:
Creamy Lemon Tart
30 minutes
10 minutes
40 minutes
8 servings
A tart and dreamy Creamy Lemon Tart adapted from Baking From My Home to Yours by Dorie Greenspan, praised for its exquisite balance of sweet and tangy flavors.
Rating: 4.9 out of 5 stars based on 36 reviews.
Ingredients
- 1 cup granulated sugar
- Finely grated zest of 3 large lemons
- 4 large eggs
- ¾ cup freshly squeezed lemon juice (from approximately 4 lemons)
- 2 sticks plus 5 tablespoons (10 ½ ounces) unsalted or salted butter, at room temperature and cut into tablespoon-sized pieces
- 1 9-inch pre-baked pie crust or tart shell, cooled completely (refer to Dorie Greenspan’s tart shell recipe in the ingredient notes above for a recommended version)
Instructions
- **Prepare Double Boiler:** Set up your double boiler by bringing a few inches of water to a gentle simmer in a saucepan. Choose a saucepan size that allows a heat-proof bowl to fit snugly on top without the bottom of the bowl touching the simmering water.
- **Combine Zest and Sugar:** In a large, heat-proof bowl that will fit over your simmering water, combine the granulated sugar and lemon zest.
- **Infuse Sugar:** Using your fingertips, vigorously rub the sugar and lemon zest together until they are well incorporated and the sugar is intensely fragrant with lemon. Whisk in the eggs one at a time, followed by the fresh lemon juice, until well combined.
- **Cook Custard:** Place the bowl over the saucepan of simmering water, ensuring the water does not touch the bottom of the bowl. Whisk continuously until the mixture thickens and reaches 180°F (82°C) on an instant-read thermometer. Do not stop whisking, as this prevents the eggs from scrambling and ensures a smooth custard.
- **Monitor Thickness:** Begin checking the temperature and consistency as soon as you notice the custard starting to thicken. It should coat the back of a spoon.
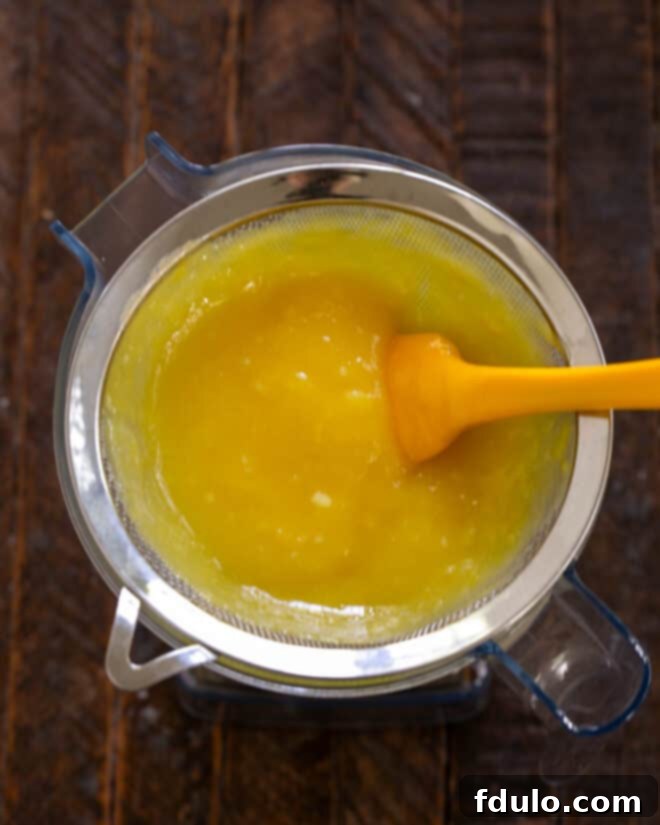
- **Strain Custard:** Immediately remove the bowl from the heat. Strain the warm lemon custard through a fine-mesh sieve directly into your blender carafe. This step removes any tiny bits of cooked egg or zest, ensuring a perfectly smooth filling.
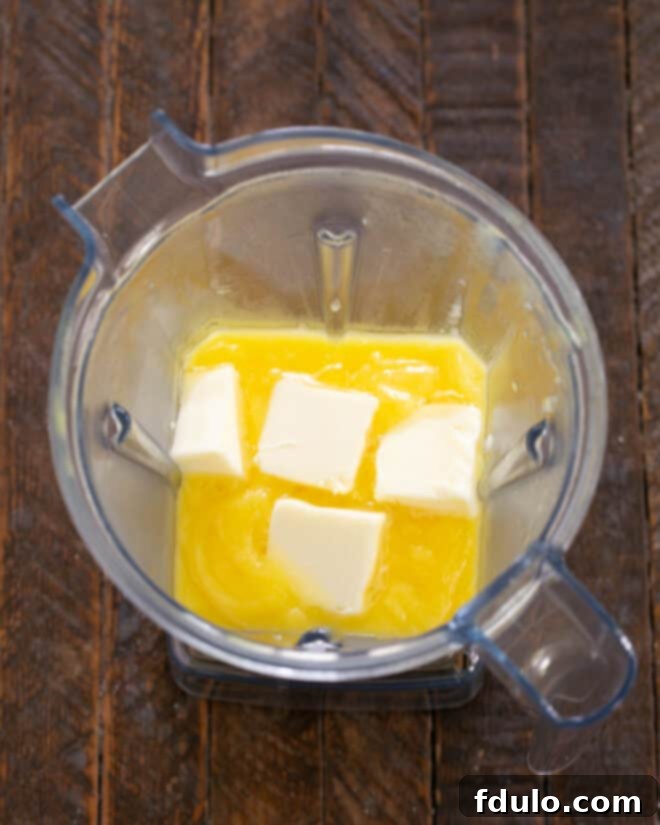
- **Cool and Blend:** Allow the strained custard to cool in the blender for about 10 minutes. Then, with the blender on high speed, begin adding the room-temperature butter, 4-5 pieces at a time. Scrape down the sides of your blender as needed to ensure everything is incorporated.
- **Emulsify Fully:** Continue blending for another couple of minutes after all the butter has been added. The mixture should be thick, creamy, and completely emulsified, resembling a luxurious lemon cream.
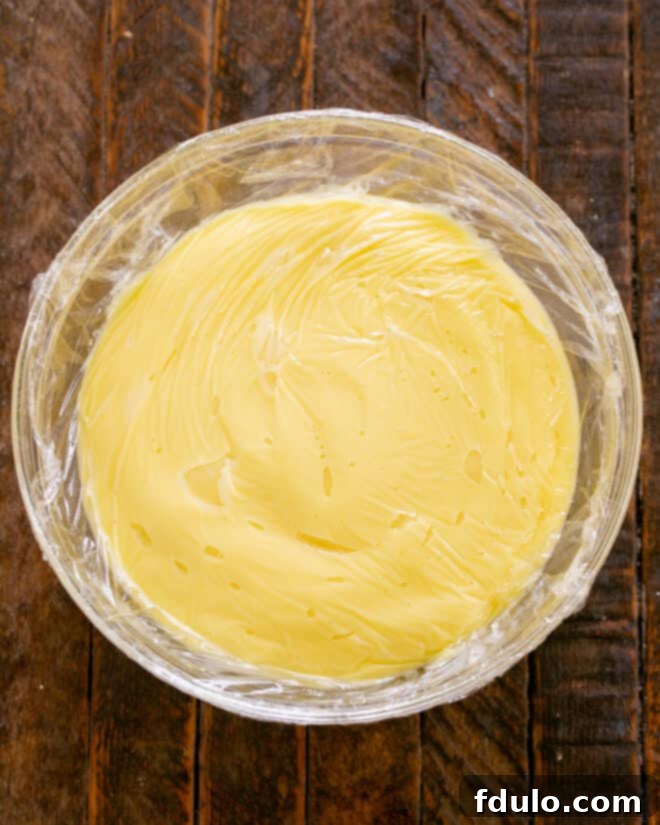
- **Chill Filling:** Pour the lemon filling into a clean container. Press a piece of plastic wrap directly onto the surface of the filling to prevent a skin from forming and create an airtight seal. Chill the filling in the refrigerator for at least 4 hours, or preferably overnight, until it is firm and thoroughly set.
- **Assemble Tart:** When you’re ready to serve, briefly whisk the chilled lemon filling to loosen it slightly, then spoon it into your pre-baked and cooled tart shell. Spread and swirl the top with an offset spatula if desired for a polished finish.
- **Serve and Enjoy:** The tart is best served immediately after assembly, but it can also be chilled overnight again before serving to ensure it is perfectly firm and cold.
Notes
You will need an instant-read thermometer to accurately make the filling and ensure it reaches the correct temperature for thickening.
The total time listed does not include the necessary chilling time for the lemon filling (at least 4 hours) or the time required for making and baking the tart crust if you choose to prepare it from scratch. For the crust, I highly recommend using Dorie Greenspan’s press-in tart dough.
Watch the Recipe Video: Creamy Lemon Tart
Learn how to create this delectable Creamy Lemon Tart, bursting with lemon flavor and an incredibly luscious texture, with our step-by-step video guide!
Nutrition Information:
Yield:
8 servings
Serving Size:
1 slice
Amount Per Serving (estimated):
Calories: 316
Total Fat: 10g
Saturated Fat: 4g
Trans Fat: 0g
Unsaturated Fat: 5g
Cholesterol: 99mg
Sodium: 149mg
Carbohydrates: 52g
Fiber: 2g
Sugar: 32g
Protein: 6g
