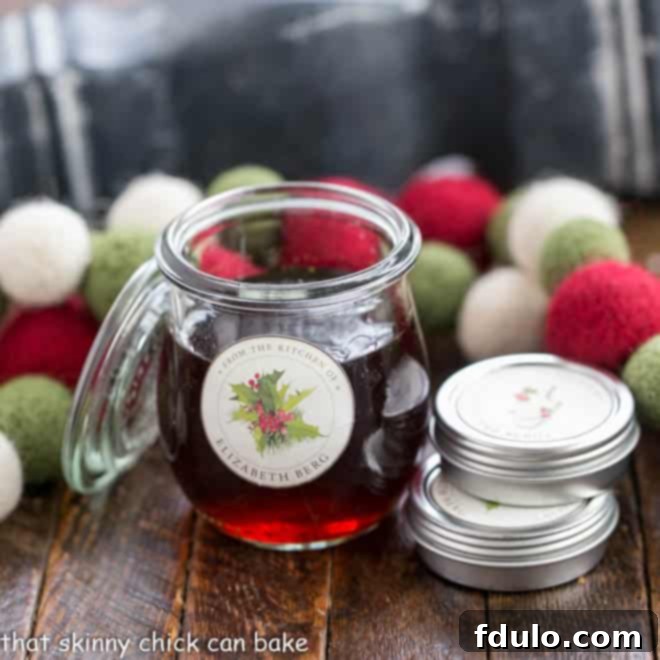
Unleash the rich, aromatic world of Homemade Vanilla Extract in your kitchen! This simple yet incredibly rewarding project transforms two basic ingredients into a gourmet essential that elevates all your baking. Start a batch today, and in just a few months, you’ll have a superior extract for yourself or a truly memorable gift for friends and family.
Discovering How to Make Vanilla Extract from scratch is surprisingly easy. Requiring only two core ingredients and a little patience, this timeless recipe is one of the most straightforward and impactful culinary endeavors you can undertake. The result? A deeply flavored, pure vanilla extract that far surpasses store-bought varieties, guaranteed to impress every baker on your list.
Why You Must Make Your Own Vanilla Extract
Venturing into the world of homemade vanilla extract is a culinary journey well worth taking. Not only does it promise a product of unparalleled quality, but it also offers numerous benefits:
- Superior Flavor Profile: Unlike many commercial extracts that can taste one-dimensional, homemade vanilla extract develops a complex, rich, and nuanced flavor over time. The natural infusion process allows the vanilla beans to release their full spectrum of aromatic compounds, resulting in a taste that is simply divine.
- The Ultimate Baker’s Gift: For anyone who loves to bake, a bottle of pure, homemade vanilla extract is a treasure. It’s a thoughtful, practical, and luxurious gift that showcases your effort and care, making it ideal for holidays, hostess gifts, birthdays, or any special occasion.
- Only Two Ingredients: The simplicity of this recipe is astonishing. With just vanilla beans and your choice of alcohol, you can create a gourmet product from the comfort of your home. This ease of preparation makes it accessible even for novice DIY enthusiasts.
- Cost-Effective in the Long Run: While the initial investment in good quality vanilla beans might seem considerable, homemade extract proves to be more economical over time. You can continually replenish your extract by topping off the alcohol and adding new beans, creating a perpetual supply that saves you money compared to repeatedly buying expensive store-bought versions.
- Personalized and Impressive: There’s a unique satisfaction in gifting something you’ve crafted yourself. Even if your batch hasn’t reached its full six-month maturity, you can still present it beautifully with a personalized tag indicating when it will be ready. Your recipients will undoubtedly be impressed by your homemade creation and the thought behind it.
- A Fun and Rewarding Project: Making vanilla extract is a slow process, but it requires minimal active time. It’s a project that fosters patience and offers immense gratification when you finally get to use or gift your aromatic creation.
The secret to this exceptional extract lies in a little planning and patience. The alcohol needs approximately six months to fully extract the complex vanilla flavoring from the beans. I recall making my first batch a couple of years ago, dividing it into smaller bottles, and presenting them to my book club friends during our holiday celebration. It truly is one of the simplest yet most impressive culinary gifts you can prepare!
Crafting Your Perfect Homemade Vanilla Extract: Expert Tips and Insights
Creating your own vanilla extract is a straightforward process, but a few expert tips can ensure your batch turns out perfectly, resulting in a rich, potent, and utterly delicious extract.
- Strategic Planning is Key: This is a project that rewards foresight. PRO-Tip: For the purest, most robust vanilla flavor, allow a full six months for the infusion process to mature. If your goal is to have homemade vanilla extract ready for holiday gifting, initiate your batch around June. This timeline ensures peak flavor by December.
- Selecting Your Spirits: The beauty of homemade vanilla lies in its versatility. I’ve successfully crafted this pure vanilla extract using both bourbon and vodka, and rum works exceptionally well too. While you don’t need to splurge on top-shelf liquor, avoid the absolute cheapest options, as their harsh notes can negatively impact the final flavor. A mid-range, neutral-flavored vodka or a smooth bourbon provides an excellent base. Consider how the subtle notes of your chosen alcohol will complement the vanilla; bourbon, for instance, adds a warm, caramel-like undertone.
- Vanilla Bean Selection Matters: The quality of your vanilla beans directly influences the depth and complexity of your extract. Opt for plump, moist, and pliable vanilla beans. Madagascar vanilla beans (Bourbon vanilla) are classic for their sweet, creamy, and familiar flavor profile. Tahitian vanilla beans offer a more floral, fruity, and cherry-like aroma, while Mexican vanilla beans provide a bold, smoky, and spicy character. Experiment with different varieties to discover your favorite!
- Preparing the Beans: For a 750 ml bottle of liquor, typically 10-12 vanilla beans are recommended. To maximize the surface area for infusion, slice each vanilla bean lengthwise from top to bottom, being careful not to cut all the way through the end, keeping the two halves connected. You can also gently scrape out some of the tiny, flavorful seeds (vanilla caviar) and add them directly to the bottle for an even richer extract, though this step is optional.
- Optimal Storage Conditions: Once your vanilla beans are nestled in their alcoholic bath, store the bottle in a cool, dark cabinet. Direct sunlight or fluctuating temperatures can degrade the vanilla and impede the infusion process. A pantry or cupboard away from heat sources is ideal.
- The Importance of Agitation: To encourage the vanilla flavor to fully infuse into the liquor, gentle agitation is necessary. For the first week, give the bottle a good shake daily. Afterward, continue to agitate the bottle once every couple of weeks. This simple action helps to circulate the liquid and ensure consistent extraction.
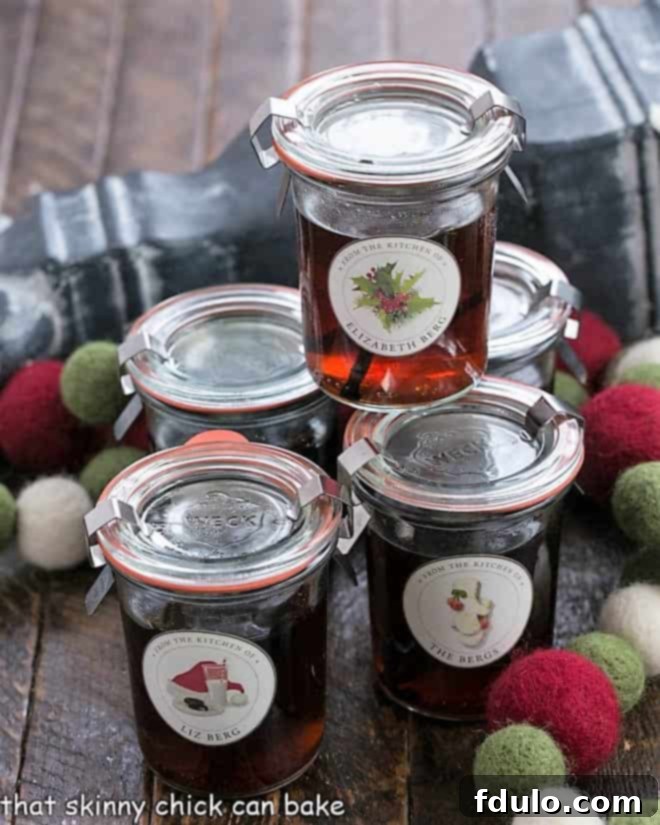
- Gifting Before Maturity – A “Pro-Tip”: Don’t let the six-month waiting period deter you from gifting! PRO-Tip: You can absolutely give your homemade vanilla extract as a thoughtful present before it fully matures. Just make sure each bottle contains at least one or two beautiful vanilla beans (you can reuse the ones from the main batch or add fresh ones for presentation). Attach a charming note or tag that informs the recipient of the “ready date” when their batch will reach its peak flavor. This creative approach allows them to witness the transformation and builds anticipation. They will be incredibly impressed that this bespoke gift came from your kitchen!
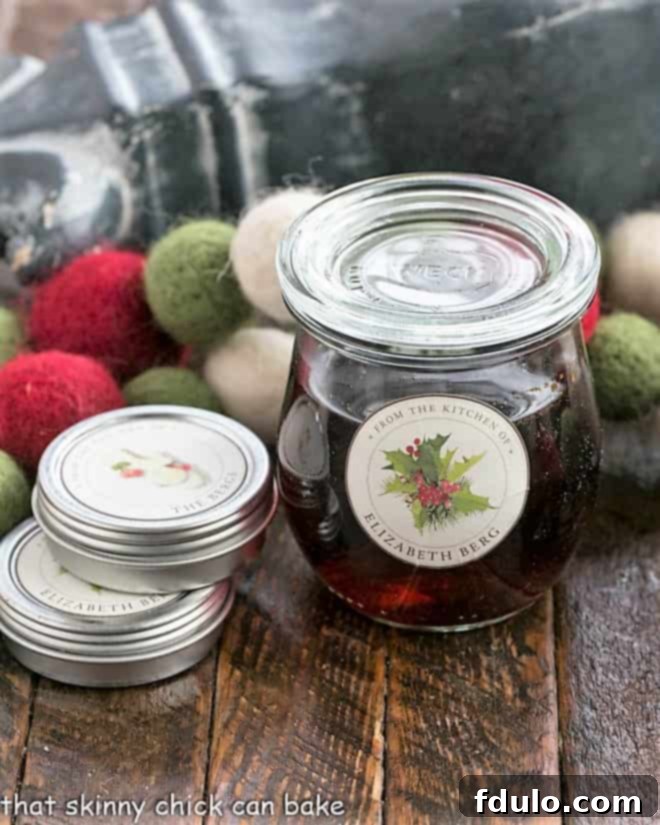
- Elevate Your Presentation: Enhance the gifting experience with beautiful labels. I adore splurging on elegant labels from Felix Doolittle, which add a touch of sophistication and charm to your homemade creations. Consider adding a decorative ribbon or a personalized message for an extra special touch.
Frequently Asked Questions About Vanilla Extract
The vanilla orchid, specifically Vanilla planifolia, originated in Mexico, where it was cherished and held sacred by the ancient Aztecs. After the fall of their empire, Hernán Cortés introduced vanilla pods to Spain, thereby bringing this exquisite spice to the rest of the world. Today, vanilla is cultivated in five primary regions, each imparting unique flavor characteristics: Mexico (bold, smoky), Madagascar (classic, creamy, sweet), Tahiti (floral, fruity), Indonesia (earthy, woody), and Uganda (dark, rich). Understanding these origins can help you select the perfect beans for your homemade extract.
I once received a gift of “white vanilla” that could be used to flavor white frostings and meringues without altering their pristine color. However, it’s important to understand that white vanilla is not pure vanilla extract. It is typically a synthetic version of vanillin, which is the primary chemical compound responsible for vanilla’s distinctive flavor. While effective for maintaining a pure white color in culinary applications where appearance is crucial, it lacks the complex depth and nuanced aromas of true, pure vanilla extract derived from actual vanilla beans. Therefore, it cannot be labeled as “pure vanilla extract” but can certainly be useful when a brilliant white color is preferred over authentic vanilla flavor.
Pure vanilla extract, thanks to its alcohol content, boasts an indefinite shelf life. It will not “go bad” in the traditional sense. In fact, like a fine wine, its flavor tends to deepen and improve with age, becoming more complex and robust over time. To preserve its quality and potency, it’s best to store pure vanilla extract in a cool, dark place, ideally decanted into dark-colored bottles to protect it from light degradation. Imitation vanilla, on the other hand, does have an expiration date typically printed on its packaging. While it’s best used within 6-12 months of opening for optimal flavor, using it a month or two past its prime is unlikely to cause any harm, though its flavor might be diminished.
For homemade vanilla extract, the most popular and versatile choice is Madagascar (Bourbon) vanilla beans. They offer a classic, rich, creamy, and sweet vanilla flavor that is universally loved and works beautifully in most recipes. However, you can also experiment with other varieties: Tahitian vanilla beans provide floral, fruity, and slightly cherry-like notes, ideal for lighter desserts or custards. Mexican vanilla beans are known for their bold, smoky, and spicy undertones, which can add a unique depth to chocolate-based recipes or savory dishes. Feel free to mix and match for a custom blend!
Absolutely! The beauty of high-quality vanilla beans is their longevity. After your first batch of extract is fully infused and strained, you can typically reuse the “spent” vanilla beans for various purposes. You can dry them out and grind them into vanilla powder, which is excellent for dusting desserts or flavoring coffee. Alternatively, you can rinse and dry them, then bury them in a jar of sugar to make vanilla sugar, perfect for baking or sweetening beverages. Some even choose to add them to a new batch of alcohol for a “second extraction,” though the flavor will be less potent than the initial run.
Complement Your Homemade Vanilla: Other Delicious Food Gifts
If you enjoy the satisfaction of creating homemade gifts, especially for the holidays, presentation is everything! Beyond the divine aroma of your vanilla extract, consider pairing it with other culinary delights. Remember to add some festive ribbon and a coordinating gift tag to make these treats extra special!
- Gourmet Banana Walnut Bread: From The View from Great Island, this recipe for a moist and flavorful banana walnut bread is a comforting classic. It’s a delightful treat on its own or paired with your homemade vanilla.
- Homemade Limoncello Liqueur: With just a few simple ingredients, you can craft this vibrant, zesty citrus liqueur. Bottle it up for your friends to enjoy a taste of sunny Italy, perfect as an after-dinner digestif or in cocktails.
- Homemade Kahlua: For coffee lovers, this rich and aromatic coffee liqueur is a dream. It’s wonderful in dessert recipes like tiramisu, decadent coffee cocktails, or simply enjoyed over ice.
- Easy Rolo Pretzel Bites: A super-easy sweet and salty treat that comes together in minutes. These addictive bites are perfect for last-minute gifts or party favors.
- Mini Pumpkin Breads: Festive and seasonal, these individual pumpkin breads are incredibly charming. The recipe shows you how to wrap them beautifully for a heartwarming autumn or winter gift.
- Homemade Chocolate Fudge Sauce: Rich, luscious, and utterly decadent, this hot fudge sauce is perfect for topping ice cream, sundaes, or drizzling over any dessert for an extra touch of indulgence.
- Microwave Caramel Sauce: A quick and nearly foolproof recipe for a velvety, rich caramel sauce. It’s fantastic for gifting and can be used in countless ways, from topping apples to enhancing coffee.
Stay connected for more delightful recipes and inspiration via social media! Follow @thatskinnychickcanbake on Instagram, Facebook, and Pinterest. Don’t forget to tag me when you try one of my recipes! If you love the results, please consider leaving a 5-star rating in the recipe card below.
The Recipe:
Homemade Vanilla Extract
10 minutes
10 minutes (plus 6 months infusion time)
750 ml vanilla extract
Unlock the secret to rich, aromatic vanilla extract right in your own kitchen! With just two simple ingredients and a little patience, you can create a superior extract that will transform your baking and make for truly unforgettable gifts.
Ingredients
- 750 ml bottle of vodka, rum, or bourbon*
- 12 plump vanilla beans (Madagascar vanilla beans are highly recommended for their classic flavor)
Instructions
- Prepare the Liquor: Carefully pour out about two tablespoons of your chosen liquor from the 750ml bottle. This creates enough space to comfortably add the vanilla beans without overflowing.
- Slice the Vanilla Beans: Take each of the 12 vanilla beans and slice them lengthwise from top to bottom, using a sharp knife. Be sure not to cut all the way through, leaving a small section at one end connected. This exposes more of the flavorful inner seeds to the alcohol. Optionally, you can gently scrape out some of the seeds and add them directly to the bottle for a richer, more visually appealing extract.
- Combine Ingredients: Carefully place all 12 split vanilla beans into the bottle of liquor. Once all beans are submerged, gently agitate the bottle to ensure the beans are fully coated.
- Initial Infusion & Storage: Place the bottle in a cool, dark cabinet, away from direct sunlight or heat sources. For the first week, give the bottle a good, gentle shake every day to help kickstart the infusion process.
- Ongoing Maturation: After the first week, continue to agitate the bottle once every couple of weeks. The peak flavor of your homemade vanilla extract will develop around the six-month mark and will continue to deepen with time. While it is usable before this point, waiting yields the best results.
- Strain and Store (Optional): At the six-month mark (or later), you may choose to strain out the vanilla beans and decant the extract into dark-colored bottles for long-term storage. However, many prefer to leave the beans in the bottle to allow the flavor to continually develop.
- Perpetual Vanilla Supply: To maintain a continuous supply of homemade vanilla extract, you can continue to top off the bottle with more alcohol as you use the extract. Periodically, you can also add a few fresh vanilla beans to keep the flavor robust. With this method, you may never need to purchase store-bought vanilla extract again!
Notes
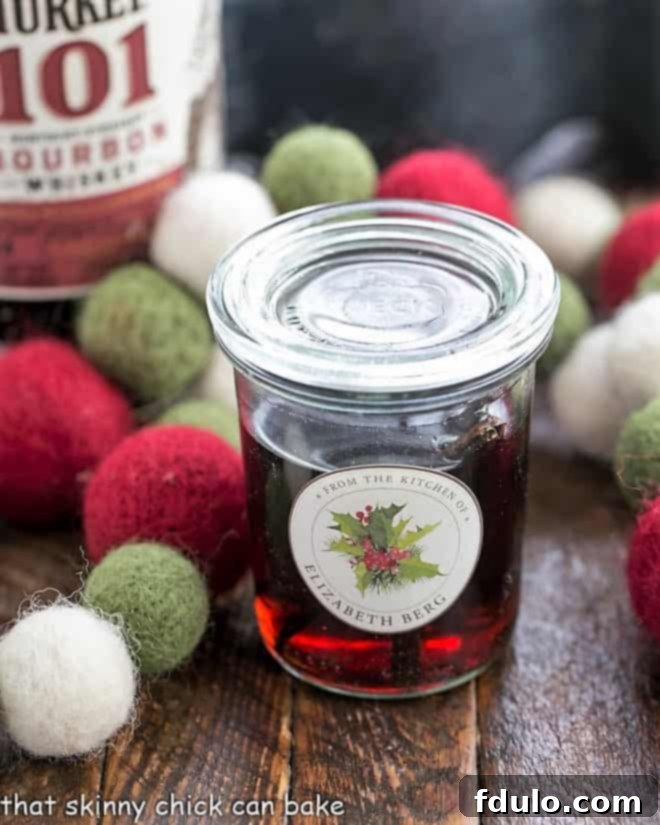
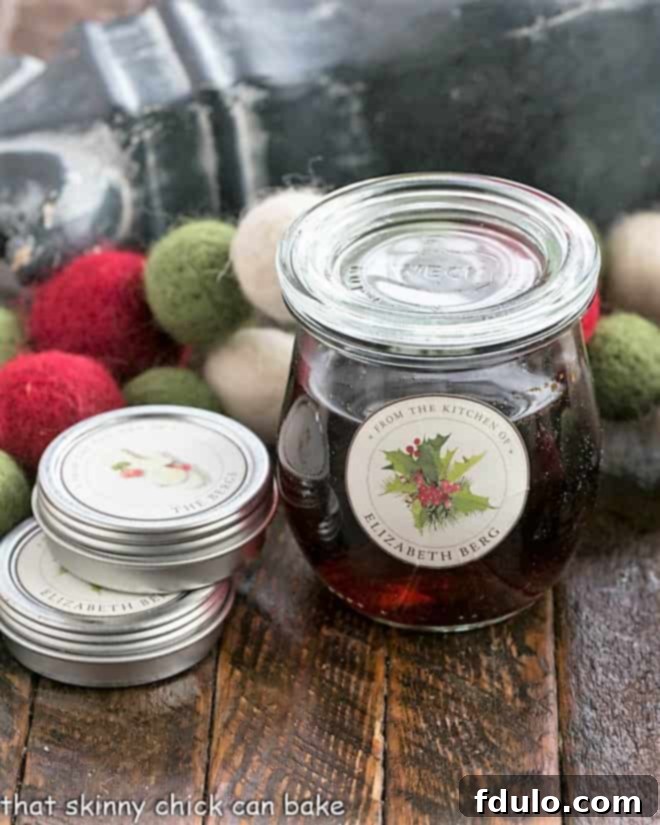
*When choosing your liquor, I used clear vodka for my first batch. This allowed me to easily observe the beautiful progress of the infusion as the alcohol gradually darkened. This particular batch was made with bourbon, which imparts its own subtle, warm undertones to the final extract.
Nutrition Information:
Yield: 150 servings
Serving Size: 1 teaspoon
Amount Per Serving (approximate):
Calories: 12
Total Fat: 0g
Saturated Fat: 0g
Trans Fat: 0g
Unsaturated Fat: 0g
Cholesterol: 0mg
Sodium: 0mg
Carbohydrates: 0g
Fiber: 0g
Sugar: 0g
Protein: 0g
HOW MUCH DID YOU LOVE THIS RECIPE?
Please leave a comment on the blog or share a photo on Pinterest!
