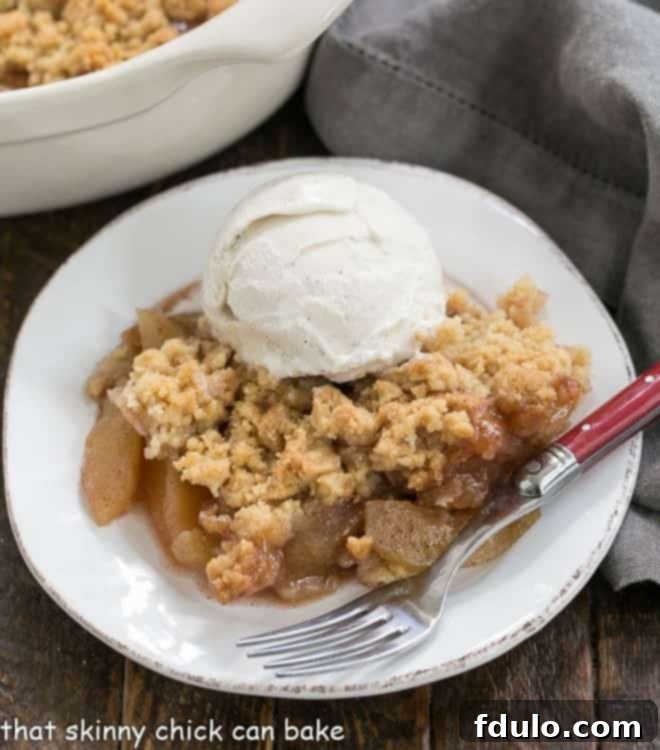
Welcome to the ultimate guide for crafting a truly exceptional Easy Apple Crisp, a timeless dessert that has graced family tables for generations. This recipe isn’t just simple; it’s a testament to comforting flavors, a buttery, crumbly streusel topping, and perfectly spiced apples, making it an undeniable family favorite. Forget complex baking techniques; this classic dessert promises warmth, sweetness, and a delightful texture that will satisfy every palate. It’s the kind of dish that evokes cozy autumn evenings and joyous gatherings, making it a perfect addition to your culinary repertoire.
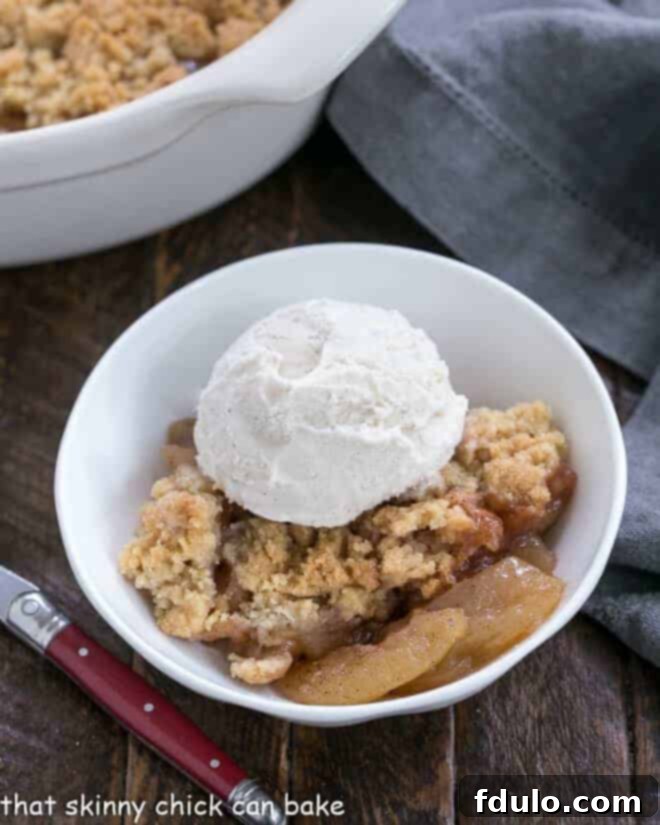
For decades, this exact Apple Crisp Recipe has been my go-to, a dependable staple in my kitchen. While apples remain the star, its versatility is remarkable. I’ve discovered it’s equally enchanting when made with ripe peaches or a vibrant mix of seasonal berries, each variation offering its own unique charm. Regardless of the fruit, the golden rule for serving this delectable Apple Dessert remains the same: a generous scoop of creamy vanilla ice cream is absolutely essential to complete the experience, its coolness melting into the warm, fruity goodness.

Discover the Irresistible Appeal of This Classic Apple Crisp
If you’re searching for a dessert that embodies comfort, simplicity, and pure deliciousness, look no further. This Classic Apple Crisp stands out for numerous compelling reasons, promising to become a cherished recipe in your home. Here’s why it’s a must-make:
- A Time-Honored Tradition: This isn’t just any recipe; it’s a tried and true classic that has delighted taste buds for decades. Its enduring popularity is a testament to its perfect balance of flavors and textures, passed down through generations. You can bake with confidence, knowing you’re recreating a beloved culinary tradition.
- Utilizes Everyday Ingredients: Forget specialty store runs. Most of the ingredients needed for this apple crisp are likely already in your pantry. Apart from perhaps selecting the perfect variety of fresh baking apples, you’ll find that flour, sugar, butter, and common spices are all you need, making this a spontaneous and accessible dessert choice.
- Delightfully Oat-Free Streusel Topping: For those who prefer a purely crumbly, melt-in-your-mouth topping without the chewiness of oats, this recipe is a dream come true. My husband, for instance, prefers his oatmeal strictly for breakfast, and this crisp delivers a beautifully crisp, buttery, and golden-brown streusel that complements the soft apples perfectly.
- The Epitome of Comfort and Ease: There’s nothing quite like a warm apple crisp fresh from the oven, especially when paired with a melting scoop of vanilla ice cream. This dessert offers unparalleled comfort, a hug in a bowl, while being incredibly straightforward to prepare. Its simplicity belies its profound ability to satisfy and soothe.
- Your Go-To Autumn Dessert: As the leaves begin to turn and the air grows crisp, this Apple Crumble naturally becomes the star of any autumn gathering. It’s ideal for intimate family dinners, bustling holiday feasts, or when entertaining company. Its inviting aroma and comforting taste make it the quintessential fall treat.
This cherished apple crisp recipe holds a special place in my heart, having been lovingly shared by my mom’s dear friend, Dee McConnell. Dee was more than just a friend; she was a significant gourmet influence in my mother’s life, a true culinary pioneer of her time. In the 70s, when many were just discovering new flavors, Dee was already subscribing to Bon Appetit, always eager to share her latest marvelous discovery. Whether it was at their CFM reunions, lively bridge club meetings, or elegant ladies’ luncheons, Dee’s passion for exquisite food was infectious.
My mom’s recipe box overflowed with handwritten cards, each a memory, inscribed in the distinctive hand of her friends. Among these treasures was this beloved family favorite: an easy apple crisp without oats. Dee’s culinary contributions extended beyond this crisp, leaving an indelible mark on our family’s menu. We often reminisce about her incredible homemade egg rolls and wontons, and the unforgettable strawberry pie dessert that truly wowed everyone at my bridal shower. This apple crisp, however, remains a beacon of comfort and tradition, a delicious echo of a cherished friendship.
Essential Ingredients for Your Perfect Apple Crisp
Creating an outstanding apple crisp begins with understanding the role of each ingredient. Here’s a detailed look at what you’ll need to assemble this delightful dessert:
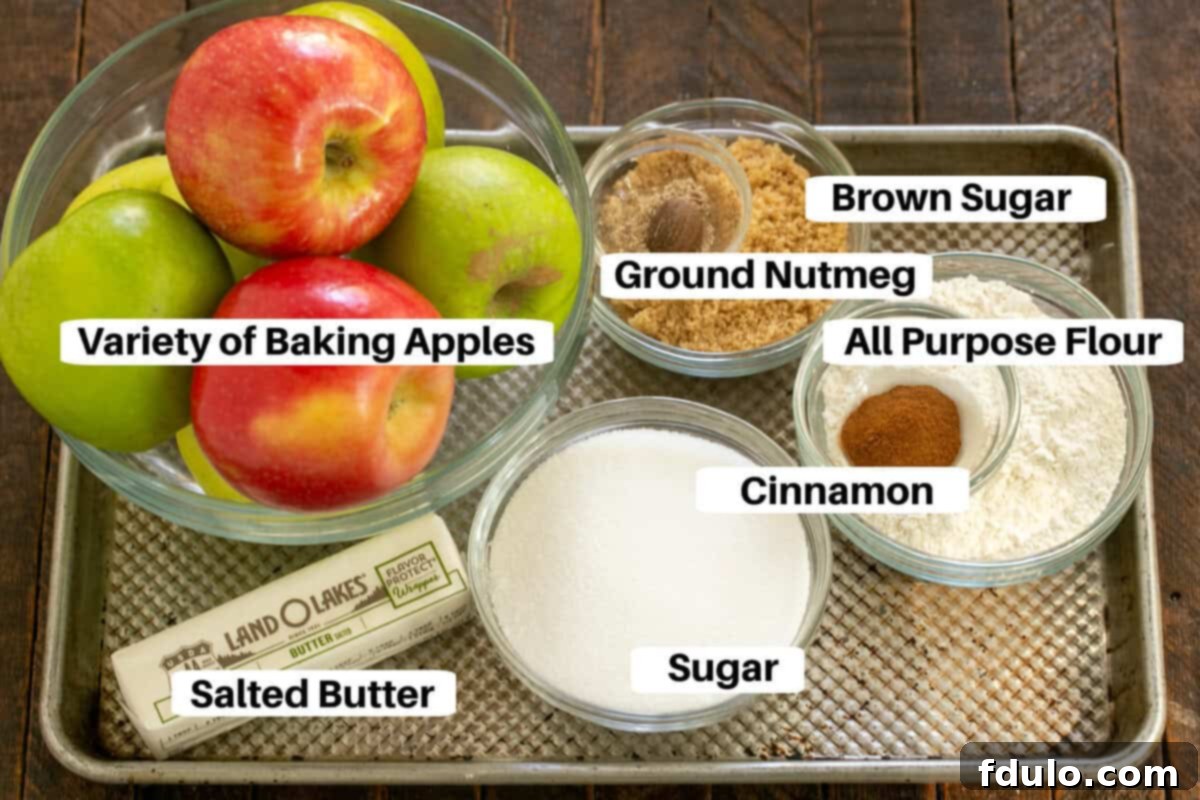
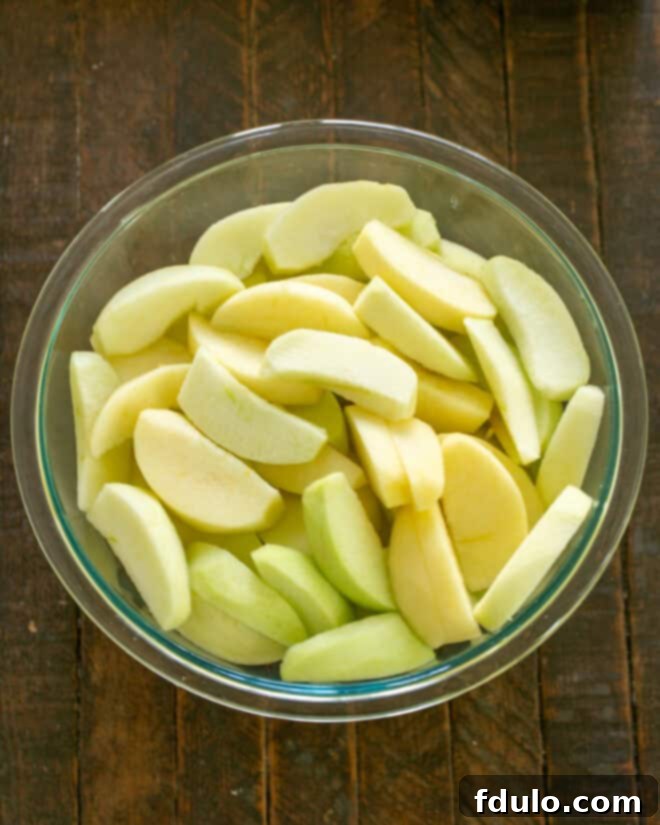
- Baking Apples: The foundation of our crisp! For the most exquisite depth of flavor and texture, I highly recommend using a variety of apples. My personal favorites for this recipe include crisp and tart Granny Smith, sweet and firm Golden Delicious, and the perfectly balanced Honeycrisp. Remember to peel, core, and slice your apples into uniform ¼-⅓-inch thick pieces to ensure even cooking and prevent them from becoming too mushy.
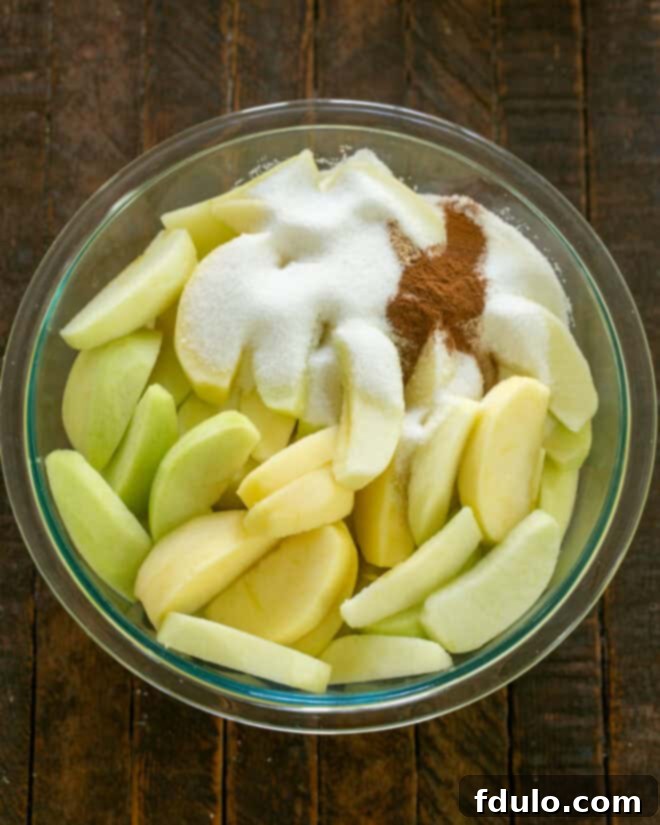
- Granulated Sugar: This provides the primary sweetness for the apple filling, balancing the tartness of some apple varieties and creating a delightful, syrupy base as the apples bake.
- Ground Cinnamon: A quintessential spice for apple desserts, cinnamon adds warmth, depth, and that familiar, comforting aroma that signifies autumn baking. It pairs perfectly with the natural sweetness of the apples.
- Grated Nutmeg: For an unparalleled aroma and flavor, grating fresh nutmeg makes a significant difference. Just a pinch of freshly grated nutmeg elevates the spice profile, adding a subtle, earthy undertone that complements the cinnamon beautifully. If fresh isn’t available, a tiny dash of ground nutmeg will suffice.
- All-Purpose Flour: This is a key component for both the apple filling (acting as a slight thickener for the juices) and the streusel topping (providing structure and contributing to that classic crumbly texture).
- Brown Sugar: The secret to a richer, more complex topping! Brown sugar not only adds sweetness but also infuses the streusel with wonderful caramel undertones and a pleasant chewiness. Its moist texture helps in creating that perfect crumble.
- Unsalted Butter: Essential for both flavor and texture in the streusel topping. Butter binds the dry ingredients together, creating irresistible golden-brown crumbles, and provides a rich, luxurious taste that makes the topping utterly delectable. Ensure it’s at a cool room temperature for easy incorporation.
Step-by-Step Guide: Crafting Your Perfect Apple Crisp
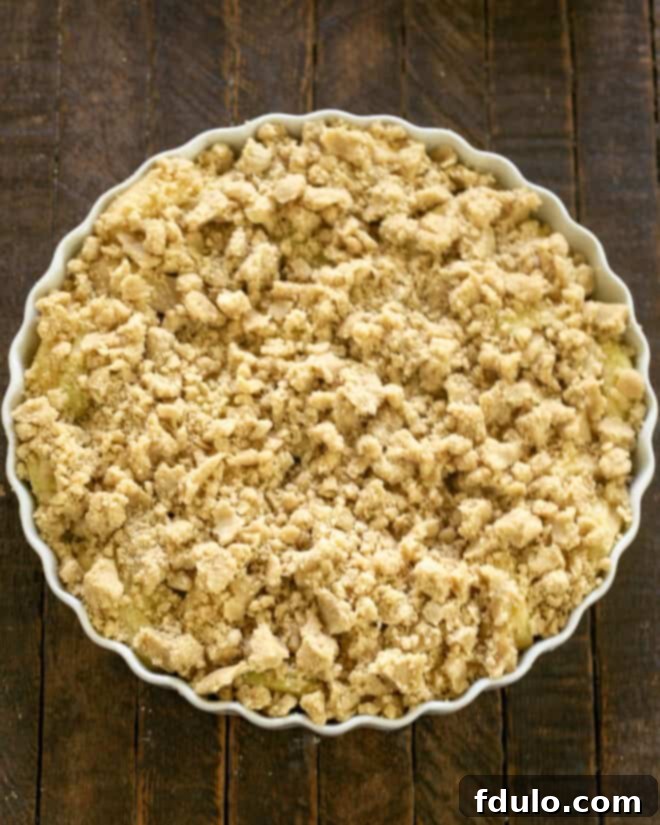
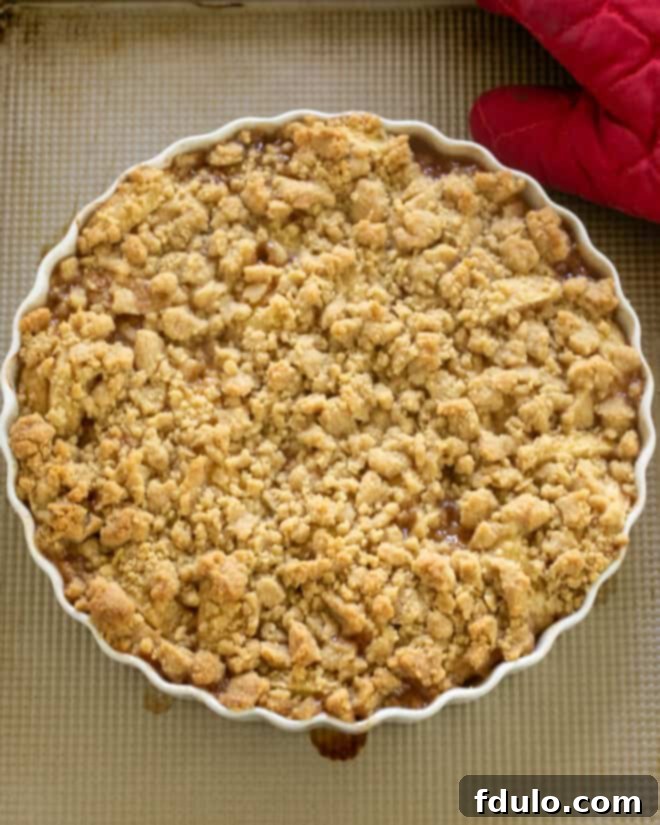
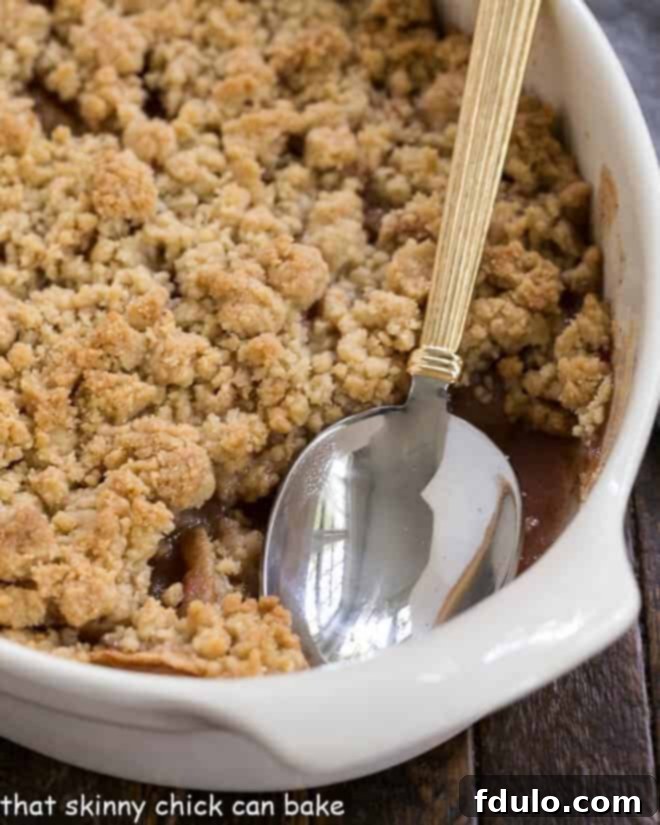
Creating this delicious apple crisp is a straightforward process, made even easier with these visual steps. Follow along to bring this comforting dessert to life in your own kitchen.
Expert Tips for the Best Apple Crisp Every Time
Making fruit crisps, especially this Easy Apple Crisp, is remarkably simple, and their versatility allows for endless seasonal variations with fruits like cherries, peaches, blueberries, raspberries, and of course, apples. The toppings can also be customized, but for a truly classic, oat-free experience, I stick to a simple, buttery crumb topping. Here are some pro tips to ensure your apple crisp is absolutely perfect:
- Mind the Thickening Agent: The type of fruit you use often dictates whether an additional thickening agent, such as cornstarch, is necessary. In the case of apples, they naturally contain pectin, which helps to thicken their juices as they cook. Furthermore, some of the flour from the streusel topping will naturally filter down into the fruit layer, providing extra thickening. This means for most apple crisps, you won’t need extra cornstarch!
- Ensure Proper Cooking Temperature: A common pitfall is removing the crisp from the oven too early. For the juices to properly thicken and the flavors to fully develop, the fruit layer must reach a bubbling temperature, signifying it’s actively cooking and gelling. If your crisp seems watery after cooling, it’s likely that it needed a few more minutes in the oven. Look for vigorous bubbling around the edges and center.
- PRO-Tip for Doneness: To confirm your apples are perfectly tender before taking the crisp out of the oven, gently insert a sharp knife into several of the fruit pieces. If the knife slides in easily with minimal resistance, your apples are cooked through and ready.
- PRO-Tip for Optimal Flavor: Don’t settle for just one type of apple! Using a variety of apples creates a more complex and balanced flavor profile. A tart apple, like a Granny Smith, provides a refreshing tang, while a sweeter, softer apple, such as a Golden Delicious or Jonagold, adds depth and mellow sweetness. During the fall harvest, popular pie apples like Jonathan and Macintosh also lend incredible flavor.
- Ideal Apple Slice Size: For a crisp that has both tender apples and a pleasant bite, aim for uniform ½-inch slices. While you can certainly leave the peels on for added fiber and color, or even cube the fruit, maintaining a decent piece size is crucial. This prevents the apples from turning into a mushy applesauce-like consistency, ensuring a crisp that’s wonderfully textured.
- Personalize with Your Favorite Spices: Think about what spices best complement the fruit you’re using. For apple crisp, cinnamon and nutmeg are a classic, unbeatable duo, evoking traditional fall flavors. However, feel free to experiment with a touch of allspice, cloves, or even a hint of cardamom for a unique twist.
- The Signature Oat-Free Topping: My signature Apple Crisp Topping is beautifully simple, consisting primarily of sugar, flour, and butter. This combination creates a rich, crumbly streusel that browns gorgeously in the oven. If you prefer, oats can be added for extra texture, or chopped nuts for a delightful crunch, but for an oat-free version, this blend is perfection.
- Patience is a Virtue: It’s tempting to dig in as soon as it comes out of the oven, but allowing your crisp to rest for about a half-hour before serving is essential. This crucial resting period gives the fruit juices time to fully gel and set, resulting in a more cohesive and less watery filling, all while remaining wonderfully warm.
- Perfect Pairings: Serve your warm Apple Crumble Recipe with a generous scoop of classic vanilla ice cream. The cold, creamy ice cream melting over the hot, spiced apples is an incomparable delight. Alternatively, salted caramel gelato or a dollop of freshly whipped cream can also create a sensational pairing.
- PRO-Tip for Gluten-Free: If you’re catering to gluten-free dietary needs, making this apple crisp gluten-free is incredibly simple. Just substitute the all-purpose flour in both the filling (if using any) and the streusel topping with a reliable gluten-free all-purpose flour blend, such as Cup4Cup. The results will be equally delicious!
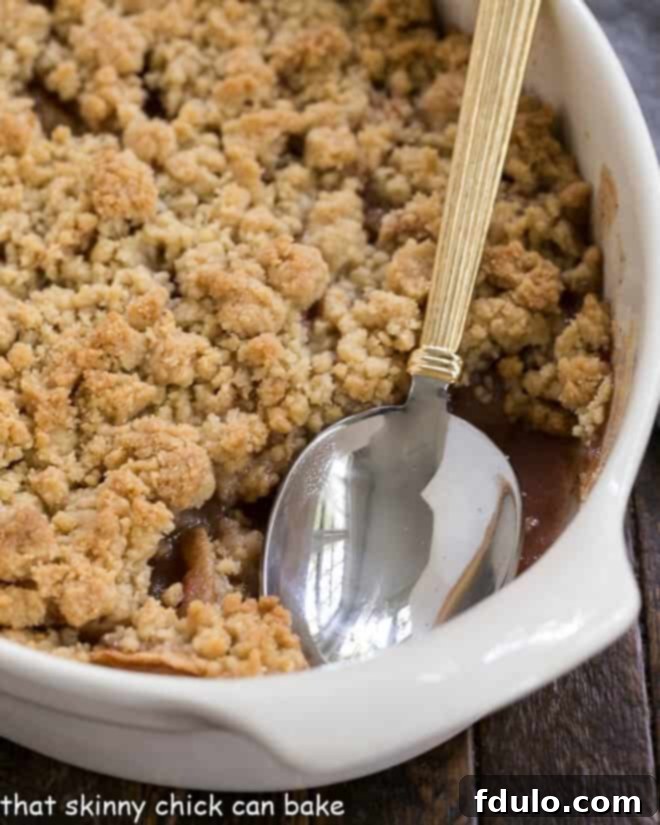
Frequently Asked Questions About Apple Crisp
Selecting the right apples is key to a superior crisp. Look for firm, flavorful baking apples that hold their shape well during cooking. Excellent choices include Jonathan, Jonagold, Winesap, Granny Smith (for a tart element), Honeycrisp, and Cortland. If you’re fortunate enough to reside in prime apple-growing regions like Minnesota, Michigan, or New York, you might find Northern Spys, which are my absolute favorite pie apples due to their incredible flavor and texture.
Using a combination of different apple varieties is highly recommended, as it creates a more dynamic and nuanced flavor profile, offering a delightful interplay of textures and sweet-tart notes. Crucially, avoid apples that tend to break down and become mushy too quickly when baked, as these are better suited for applesauce than for a crisp or pie. Always aim to pair some sweet apples with tart ones for an exquisite depth of flavor in every bite.
An apple crisp is best enjoyed on the day it is baked, when its topping is at its crispiest and the apples are perfectly tender. On the first day, it can be kept at room temperature, loosely covered. However, after the initial day, the crisp topping will inevitably begin to absorb some moisture from the cooked apples, which will hasten its softening and potential spoilage.
To maximize its shelf life, cover any areas where servings have been removed with plastic wrap, ensuring not to cover the entire crisp topping directly, which can trap moisture and make it soggy. Store the remaining crisp in the refrigerator for an additional 2-3 days. When you’re ready to enjoy leftovers, gently rewarm individual servings in the microwave or a low oven (around 300°F/150°C) until warm through. This helps to re-crisp the topping slightly, if desired.
Yes, you can certainly prepare parts of your apple crisp in advance. You can peel and slice the apples up to a day ahead, storing them in a bowl of lightly lemon-acidulated water (a squeeze of lemon juice in water) to prevent browning, then drain thoroughly before mixing with spices. The streusel topping can also be made a day or two in advance and stored in an airtight container in the refrigerator. Assemble the crisp just before baking for the freshest results, or assemble completely and refrigerate for up to 24 hours, then bake as directed, potentially adding 5-10 minutes to the baking time if baking from cold.
Freezing apple crisp is a great way to enjoy this delicious dessert later. For best results, bake the crisp completely, then allow it to cool entirely. Cover it tightly with plastic wrap and then aluminum foil, or transfer to a freezer-safe container. It can be frozen for up to 2-3 months. To reheat, thaw the crisp in the refrigerator overnight, then bake uncovered in a preheated oven at 350°F (175°C) for 20-30 minutes, or until warmed through and the topping is crisp again. You can also freeze individual unbaked crisps in ramekins for a quick dessert anytime.
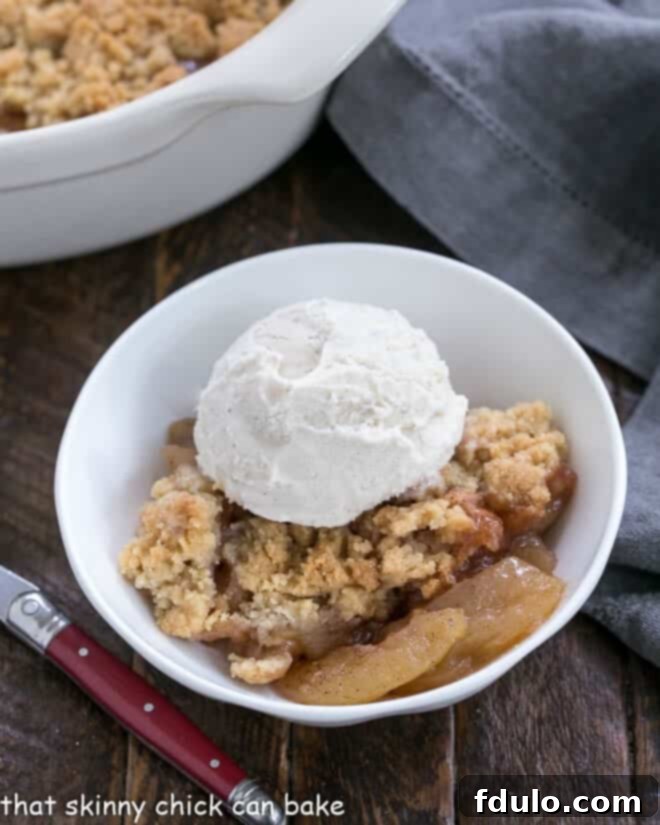
Explore More Delicious Apple & Dessert Recipes
If you’ve fallen in love with this easy apple crisp, you’ll be thrilled to discover more delightful recipes that celebrate the versatile apple and other comforting desserts. Expand your baking horizons with these tempting options:
- Apple Cobbler with Cake Mix from Sugar Yums
- Easy Slow Cooker Apple Crisp
- Irresistible Apple Brownies
- Delightful Apple Pear Crisp
- Charming Individual Berry Crisps
- How to Make an Elegant Apple Rose Tart
- Quick & Easy French Apple Tart with Puff Pastry
- Discover even more Best Dessert Recipes for every occasion.
Stay connected with us on social media! Follow us on Instagram, Facebook, and Pinterest. Don’t forget to tag us when you bake one of our recipes! If you adore the results, please consider leaving a 5-star rating in the recipe card below.
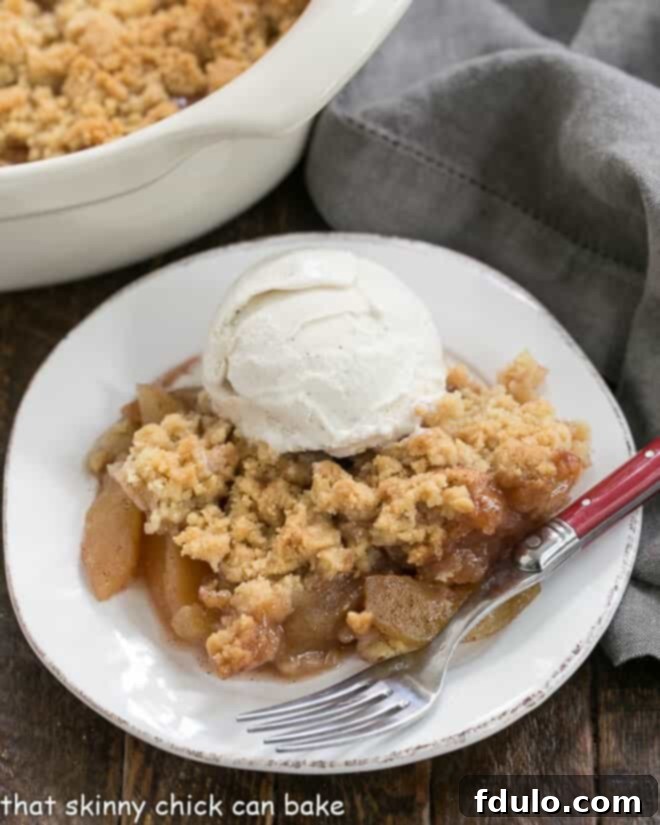
Classic Apple Crisp
20 minutes
45 minutes
1 hour 5 minutes
6 servings
An Easy, Classic Apple Crisp with a streusel topping that promises warmth and flavor.
Ingredients
For the Filling:
- 6-8 medium apples, peeled, cored, and sliced (using 2 or 3 different varieties for best flavor)
- 1 cup granulated sugar
- ½-1 teaspoon ground cinnamon (adjust to your preference)
- A few grates of fresh nutmeg, optional (for enhanced aroma)
For the Streusel Topping:
- 1 cup all-purpose flour
- ½ cup packed light brown sugar
- ½ cup unsalted butter, softened to room temperature
Instructions
- Preheat your oven to 350 degrees Fahrenheit (175 degrees Celsius).
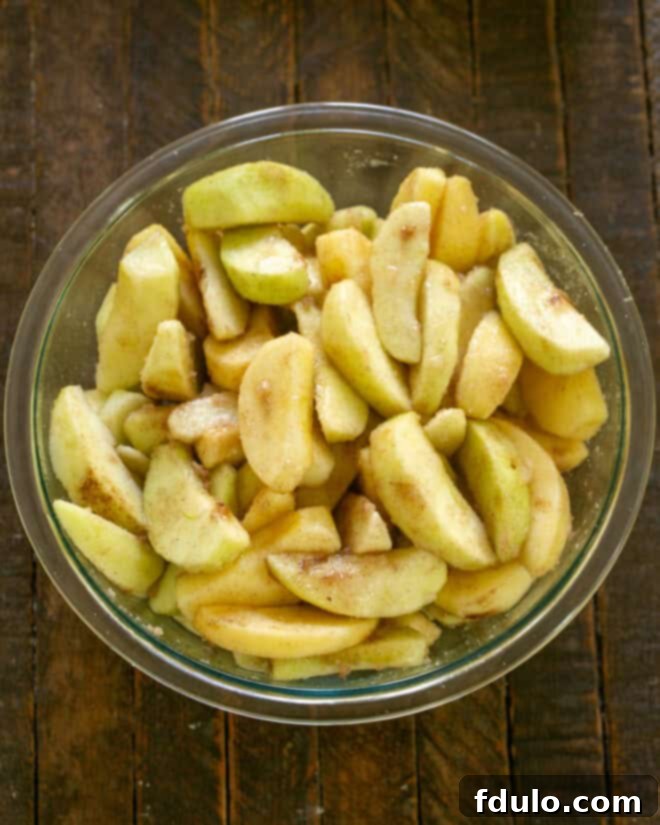
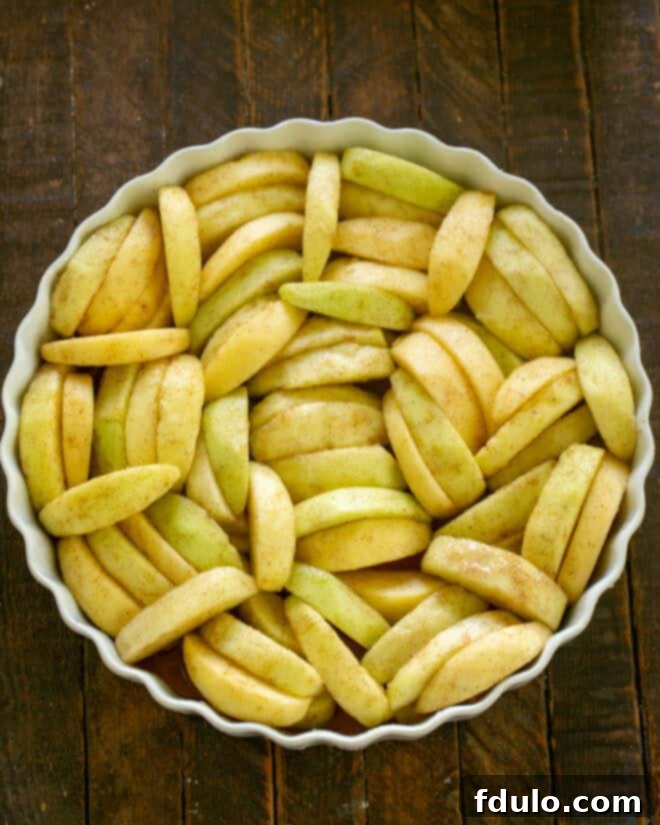
- In a large bowl, gently mix the sliced apples with the granulated sugar, ground cinnamon, and fresh nutmeg until the apples are evenly coated. Transfer this mixture into a greased 9×9-inch baking pan or an equivalent casserole dish, spreading the apples evenly.
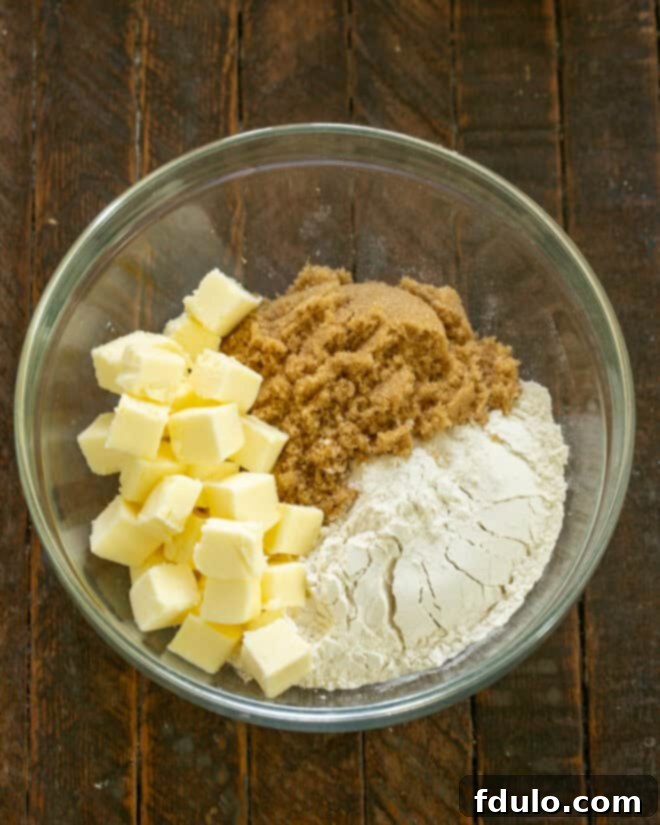
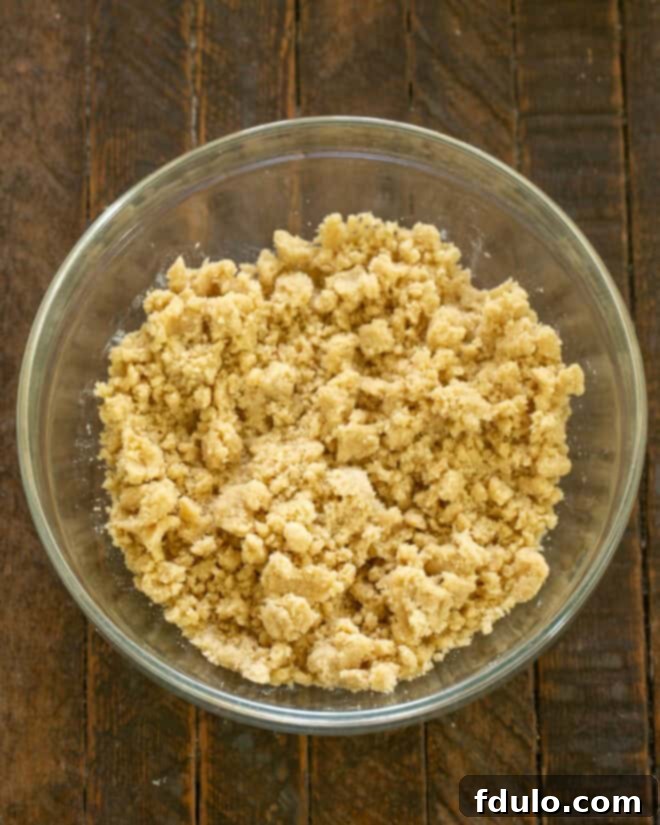
- In a separate mixing bowl, combine the flour, brown sugar, and softened butter. Using a pastry blender, your fingertips, or a fork, work the ingredients together until a crumbly mixture forms, with pea-sized clumps. Evenly sprinkle this streusel topping over the spiced apple layer in the baking dish.
- Bake for 35-45 minutes, or until the streusel topping is golden brown and the apple filling is visibly bubbly. To ensure the apples are tender, carefully poke a sharp knife into several pieces of fruit; it should slide in easily. Serve warm, ideally with a generous scoop of vanilla ice cream or salted caramel gelato for an indulgent treat.
Recommended Kitchen Essentials
As an Amazon Associate and member of other affiliate programs, I earn from qualifying purchases.
- Nesting Mixing Bowls Set
- OXO Good Grips Cutting Board
- OXO Swivel Vegetable Peeler
Nutrition Information:
Yield:
6
Serving Size:
1
Amount Per Serving:
Calories: 417Total Fat: 16gSaturated Fat: 10gTrans Fat: 1gUnsaturated Fat: 5gCholesterol: 41mgSodium: 127mgCarbohydrates: 69gFiber: 2gSugar: 51gProtein: 2g
Thatskinnychickcanbake.com occasionally offers nutritional information for recipes contained on this site. This information is provided as a courtesy and is an estimate only. This information comes from online calculators. Although thatskinnychickcanbake.com attempts to provide accurate nutritional information, these figures are only estimates.
Varying factors such as product types or brands purchased can change the nutritional information in any given recipe. Also, many recipes on thatskinnychickcanbake.com recommend toppings, which may or may not be listed as optional and nutritional information for these added toppings is not listed. Other factors may change the nutritional information such as when the salt amount is listed “to taste,” it is not calculated into the recipe as the amount will vary. Also, different online calculators can provide different results.
To obtain the most accurate representation of the nutritional information in any given recipe, you should calculate the nutritional information with the actual ingredients used in your recipe. You are solely responsible for ensuring that any nutritional information obtained is accurate.
WE’D LOVE TO HEAR FROM YOU!
Please leave a comment on the blog below or share a photo of your creation on Pinterest!
