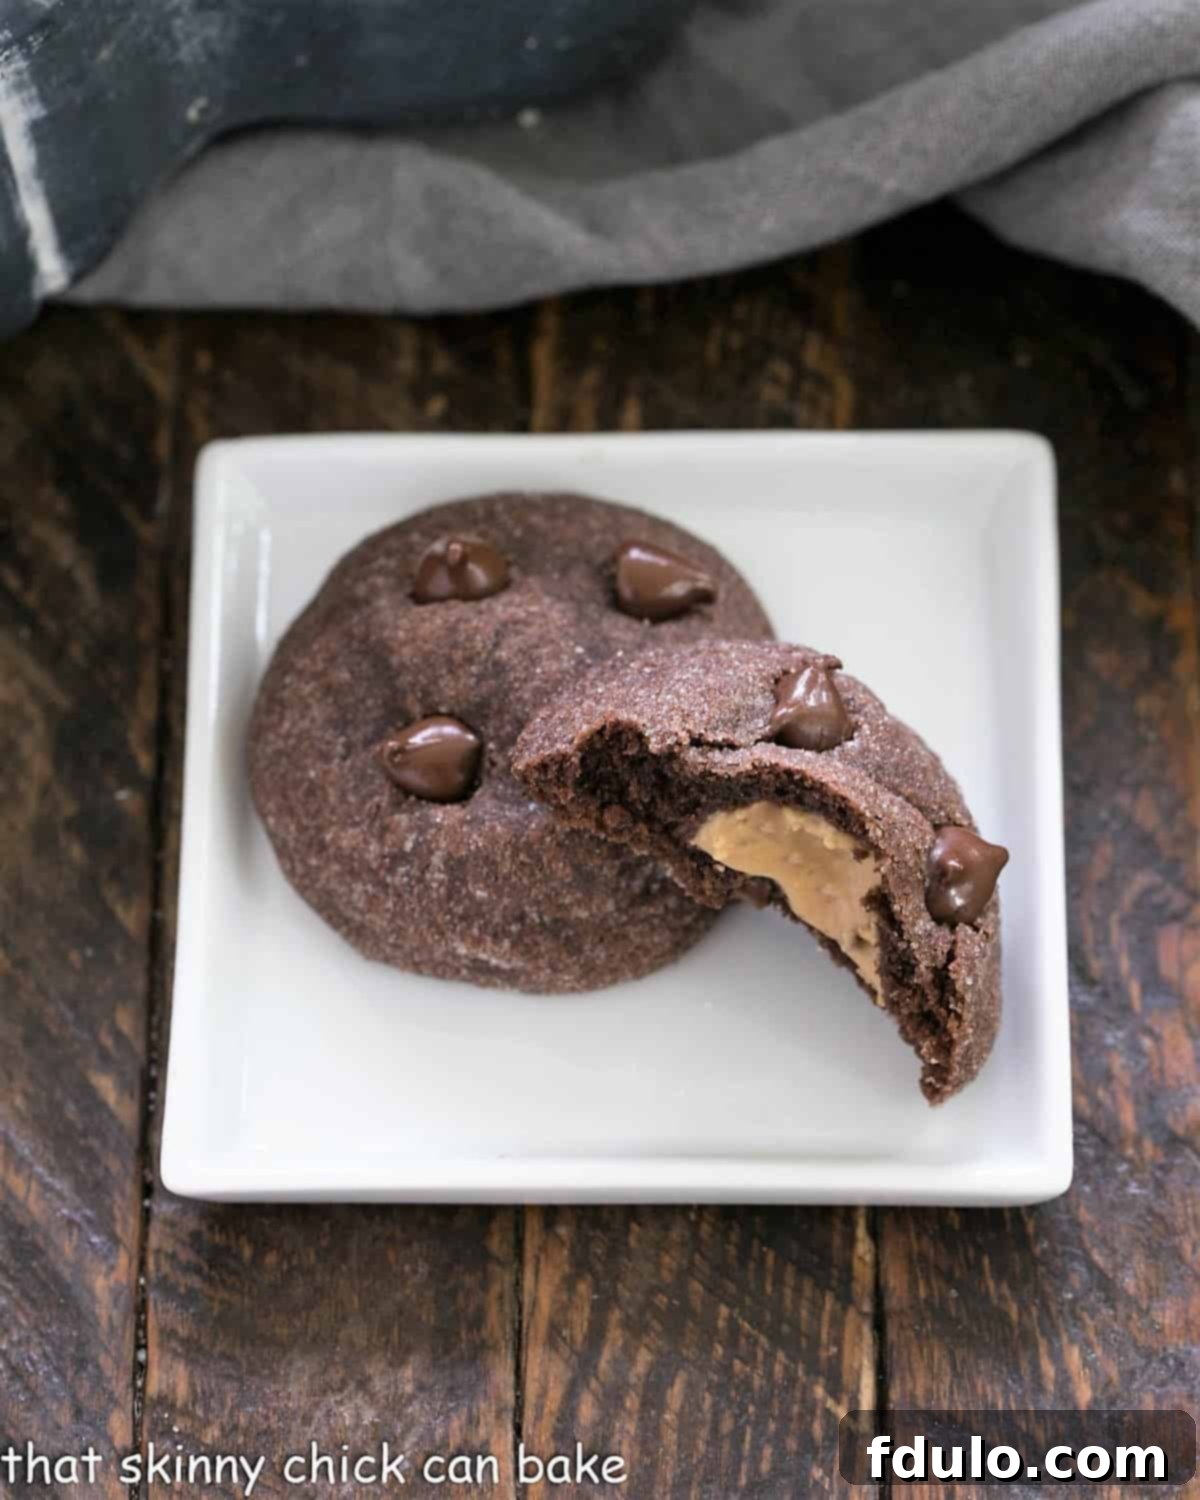
If you love the classic combination of rich chocolate and creamy peanut butter, then these Peanut Butter Filled Chocolate Cookies are destined to become your new favorite indulgence! Imagine sinking your teeth into a perfectly chewy chocolate cookie, only to discover a delightful, sweet peanut butter surprise hidden within. These aren’t just cookies; they’re a decadent experience waiting to happen, a symphony of flavors and textures that will captivate your taste buds with every bite.
These incredibly satisfying Chocolate Peanut Butter Cookies are the ultimate treat for all the Reese’s lovers in your life, or anyone who appreciates the timeless appeal of this beloved flavor pairing. Far from ordinary, each cookie promises a moment of pure bliss, making them a standout addition to any dessert spread or a comforting snack for a cozy evening.
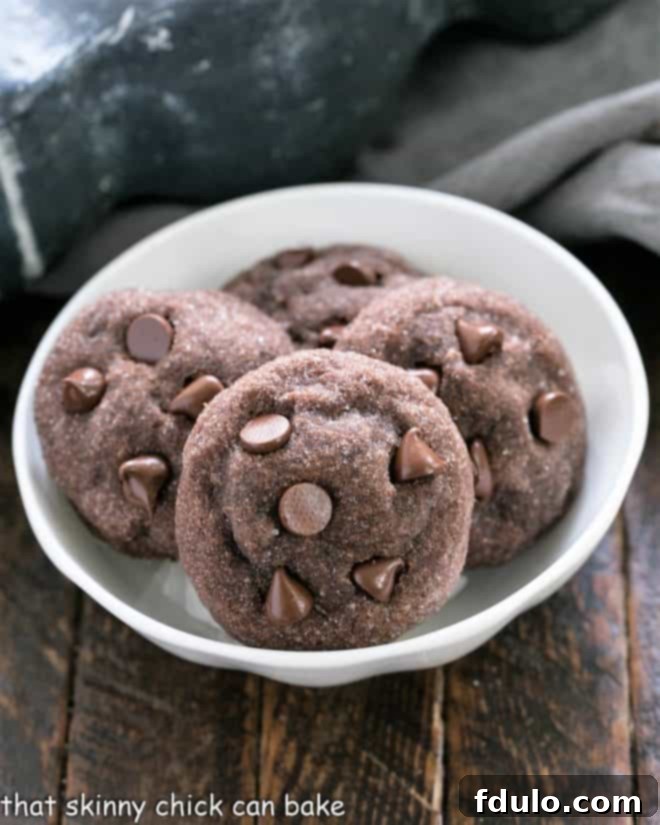
Why These Peanut Butter Filled Chocolate Cookies Are a Must-Bake
From their irresistible taste to the joyful surprise they offer, there are countless reasons why you absolutely need to add these stuffed chocolate peanut butter cookies to your baking repertoire. They transcend the ordinary cookie experience, offering something truly special that leaves a lasting impression.
- A Nostalgic Flavor Journey: I first created these delightful peanut butter-filled chocolate cookies years ago when my daughter, Katie, was a young Girl Scout. Watching her face light up with her first nibble was pure joy. These cookies became legendary amongst her troop, who were, after all, expert cookie enthusiasts. If you’re a fan of classic Girl Scout cookies like Tagalongs or Do-Si-Dos, you’ll find that these homemade treasures evoke that same comforting, irresistible flavor profile, but with an elevated homemade touch.
- The Ultimate Sweet Surprise: Who doesn’t adore a hidden gem? That’s precisely what you get when you bite into one of these magnificent chocolate cookies! The tender, rich chocolate exterior gives way to a creamy, dreamy peanut butter core, creating an unexpected explosion of flavor and texture that truly sets them apart from conventional cookies. It’s a delightful secret that makes every cookie an adventure.
- Perfect for Any Occasion: Whether you’re hosting a party, contributing to a bake sale, looking for a comforting family dessert, or simply craving a satisfying sweet treat for yourself, these cookies fit the bill. Their unique appeal makes them a conversation starter and a guaranteed crowd-pleaser, ensuring smiles all around.
- A Love Affair in Every Bite: The marriage of chocolate and peanut butter is a culinary match made in heaven. This recipe elevates that classic pairing by encasing the peanut butter within a perfectly baked chocolate cookie, delivering an intense flavor experience that satisfies even the most ardent fans of this combination.
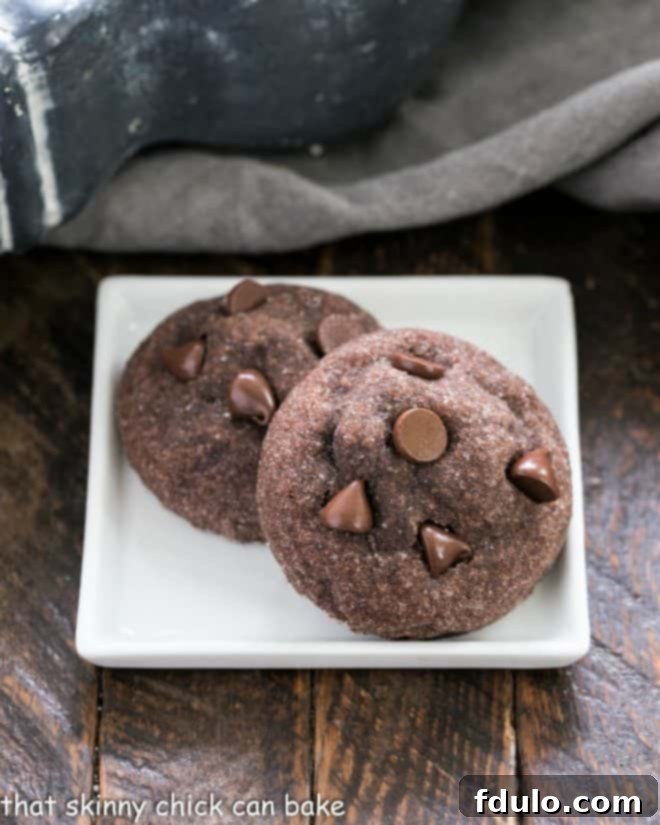
Mastering Your Peanut Butter Filled Chocolate Cookies: Expert Baking Tips
Crafting these delectable cookies is a rewarding experience, and with a few expert insights, you can ensure they turn out perfectly every time. This recipe, adapted from a gem I discovered on the Martha Stewart website many years ago, has been a perennial favorite in my home, especially with two out of my three children being avid Reese’s fanatics. The chocolate-peanut butter combo is always a winner here! I recall sending most of a batch home with my oldest, only for his roommates and their significant others to request more cookies when he visited again. And Katie, who usually shies away from chocolate cookies, couldn’t stop grinning after her first bite, declaring they tasted just like peanut butter cups. That, for me, was a true victory!
- PRO-Tip: The Importance of Chilling Dough and Filling: This is perhaps the most crucial step for achieving perfect, shapely cookies. Make sure to thoroughly chill both the chocolate cookie dough and the peanut butter filling. Cold dough is less prone to spreading excessively in the oven, ensuring your cookies maintain their delightful plump shape instead of baking flat. Chilling the filling also makes it much easier to handle and seal within the dough.
- Understanding Dutch-Processed Cocoa Powder: These cookies specifically call for Dutch-processed cocoa powder. It’s essential to understand that Dutch-processed cocoa is neutralized with an alkali, making it less acidic than natural cocoa powder. This chemical difference is why the recipe uses both baking powder and baking soda. Baking powder contains its own acid, while baking soda requires an acidic ingredient to activate fully. Using Dutch-processed cocoa results in a darker, richer chocolate color and a smoother, less bitter chocolate flavor.
- Check Your Baking Powder’s Potency: Don’t underestimate the power of fresh leavening agents! Baking powder, in particular, can lose its potency over time, often expiring before you’ve used an entire can. An expired baking powder will result in flat, dense cookies.
- PRO-Tip: Test Your Baking Powder: To check if your baking powder is still active, simply place a spoonful into a small bowl of hot water. If it’s fresh and potent, it should bubble vigorously. If you see little to no reaction, it’s time to discard it and purchase a new can for optimal baking results.
- Baking a Test Cookie for Perfection: If you’re new to the art of filling cookies, it’s always a good idea to bake a single test cookie first. This helps you gauge the perfect amount of filling and ensures you don’t overstuff them. If you notice the filling oozing out during baking, try using slightly less filling or patting your chocolate dough disc a little thinner for the next batch.
- Seal with Care: A crucial detail for preventing leaks is to ensure the dough is completely sealed around the peanut butter filling. If you can see any of the filling after you’ve rolled the dough into balls, it will almost certainly leak out during baking. Take your time to pinch and smooth the seams thoroughly.
- Choosing the Right Peanut Butter: For this recipe, the consistency of your peanut butter matters significantly. I recommend using a conventional, creamy peanut butter like Jif. Do NOT use natural peanut butter, as its oil tends to separate, and its thinner, often runnier consistency makes it very difficult to work with for filling and can cause leakage.
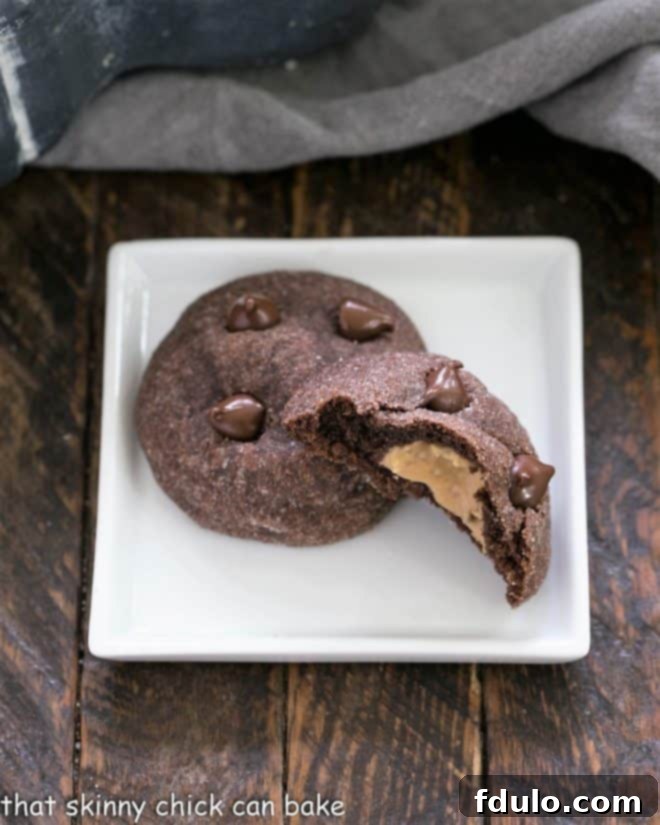
Frequently Asked Questions About Filled Cookies
Filled or “stuffed” cookies are a delightful category of baked goods where a sweet filling is enclosed within the cookie dough. This can be achieved in several ways: the dough might be wrapped entirely around a filling, shaped into cups and then filled, or baked as two separate cookies and then sandwiched together with a filling, much like an Oreo or a classic Linzer cookie. The appeal lies in the surprise and the harmonious blend of textures and flavors in every bite.
I’ve successfully used two primary methods for stuffing these particular cookies. The first approach involves creating two equally sized, flat discs of cookie dough, placing a spoonful of the peanut butter filling between them, and then carefully sealing the edges all around. For this batch, I opted for a slightly different, often easier, method: I made a single disc of chocolate dough, placed the filling in the center, folded the dough over the filling to create a half-moon shape, sealed the edges thoroughly, and then rolled it into a neat ball. Both methods work wonderfully, but the single disc and fold method can sometimes be more forgiving for beginners.
Achieving professional-looking cookies is easier than you think! First, always ensure your dough balls are perfectly round and uniform in size before placing them on the baking sheet; a cookie scoop can be invaluable here. Second, for an extra touch, hold back a handful of chocolate chips, nuts, or candies that are part of the recipe to garnish the cookies. Gently press these onto the surface of the cookies immediately after they come out of the oven, while they are still warm and soft. This makes them visually appealing and highlights the delicious ingredients within. Finally, while the cookies are still hot and pliable, use a spatula to gently tap and reshape any cookies that might have spread unevenly into perfectly round discs. This simple trick makes a huge difference in presentation.
Absolutely! These cookies freeze beautifully, making them perfect for meal prep or enjoying a homemade treat whenever a craving strikes. Once baked and completely cooled, arrange the cookies in a single layer on a baking sheet and freeze until solid (about 1-2 hours). Then, transfer them to an airtight freezer-safe container or bag, separating layers with parchment paper to prevent sticking. They can be stored in the freezer for up to 3 months. Thaw at room temperature for a quick and delicious indulgence.
Excessive spreading is a common issue with cookies. The most likely culprits are warm dough, too much butter or shortening, or expired leavening agents. Ensure both your cookie dough and peanut butter filling are well-chilled before baking. Measure your ingredients precisely, especially fats, as too much can cause spreading. And as mentioned in our expert tips, always check that your baking powder is fresh. Baking on parchment-lined baking sheets also helps prevent spreading and ensures even baking.
Storing Your Peanut Butter Filled Chocolate Cookies
To keep your delicious Peanut Butter Filled Chocolate Cookies fresh and delightful, proper storage is key. Once completely cooled, store the cookies in an airtight container at room temperature for up to 3-4 days. For longer enjoyment, these cookies are also freezer-friendly! Follow the freezing instructions mentioned in the FAQ section above. They thaw beautifully and taste just as fresh as the day they were baked, making them perfect for future cravings or unexpected guests.
Delicious Variations to Elevate Your Cookies
While these Peanut Butter Filled Chocolate Cookies are perfect as is, you can always experiment with variations to customize them to your taste or for different occasions:
- Chocolate Chip Swaps: Instead of semisweet chocolate chips, try milk chocolate chips for a sweeter cookie, dark chocolate chips for a more intense chocolate flavor, or even white chocolate chips for a beautiful contrast. You could also use mini chocolate chips in the dough.
- Nutty Additions: For an extra layer of texture and flavor, finely chop some roasted peanuts and fold them into the cookie dough or mix a small amount into the peanut butter filling.
- Spicy Kick: A pinch of cayenne pepper in the chocolate dough can add a subtle, intriguing warmth that complements the chocolate beautifully.
- Decorative Finish: Before baking, sprinkle the tops of the dough balls with flaky sea salt to enhance both the flavor and appearance. After baking, a drizzle of melted chocolate or a dusting of powdered sugar can also elevate their bakery-worthy look.
More Irresistible Cookie Recipes You May Also Enjoy
- Homemade Nutter Butter Cookies from Barbara Bakes
- Classic Monster Cookies
- No-Bake Chocolate Peanut Butter Cookies
- Brown Butter Chocolate Chip Cookies
- Chocolate Crackle Cookies
Stay in touch and share your baking creations with me through social media @ Instagram, Facebook, and Pinterest. Don’t forget to tag me when you try one of my recipes! And if you absolutely love the results and these cookies bring a smile to your face, please consider leaving a 5-star rating in the recipe card below. Your feedback helps other bakers discover these delightful treats!
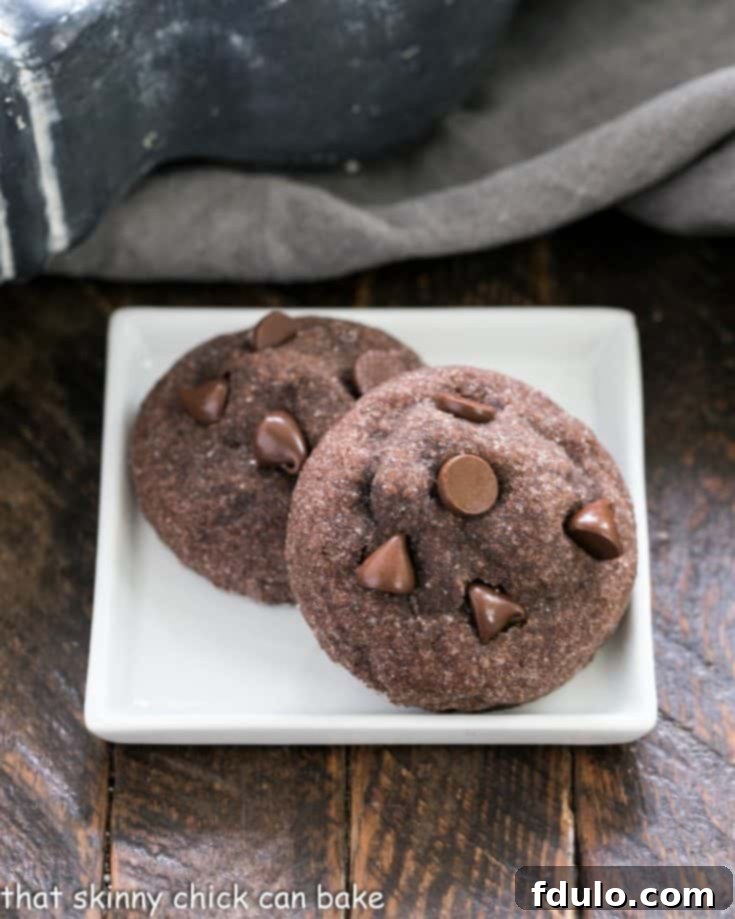
Peanut Butter Filled Chocolate Cookies
40 minutes
14 minutes
54 minutes
16 cookies
A delicious cookie with the classic chocolate-peanut butter combo adapted from Martha Stewart Living, February 2000
Ingredients
Cookies:
- 2 cups all-purpose flour
- 1/2 cup Dutch-processed cocoa powder
- 1/2 teaspoon baking powder
- 1/2 teaspoon baking soda
- 1/4 teaspoon salt
- 8 tablespoons (1 stick) unsalted butter, softened
- 1/2 cup shortening
- 1/2 cup granulated sugar (plus extra for rolling dough balls)
- 1 cup brown sugar, firmly packed
- 2 large eggs
- 1 teaspoon vanilla extract
- 1 cup semisweet chocolate chips (reserve half to garnish warm cookies)
Filling:
- 1/2 cup creamy peanut butter (such as Jif, not natural)
- 1/2-3/4 cup powdered sugar (adjust to desired sweetness)
- 1/2 teaspoon vanilla extract
Instructions
- In a medium bowl, whisk together the flour, Dutch-processed cocoa powder, baking powder, baking soda, and salt. Set these dry ingredients aside.
- In the bowl of your stand mixer fitted with the paddle attachment, beat the softened butter, shortening, granulated sugar, and packed brown sugar for 2-3 minutes until the mixture is light and fluffy.
- Add the eggs, one at a time, mixing well after each addition until fully incorporated. Stir in the vanilla extract, then gradually add the reserved dry ingredients on low speed, mixing just until combined.
- Gently stir in half of the semisweet chocolate chips by hand.
- Cover the bowl with plastic wrap and chill the cookie dough in the refrigerator for at least 1 hour, or until firm. This is crucial for preventing spread.
- Preheat your oven to 350°F (175°C). Line baking sheets with parchment paper.
- While the dough chills, prepare the filling: In a small bowl, stir together the peanut butter, powdered sugar (start with 1/2 cup and add more if you prefer a sweeter or firmer filling), and vanilla extract. Chill this mixture for at least 1 hour to help it firm up.
- Once both dough and filling are chilled, drop the chocolate cookie dough by heaping tablespoons onto the prepared baking sheets, ensuring they are about 2 inches apart. A medium cookie scoop works perfectly for uniform sizing.
- Use the heel of your hand or a flat-bottomed glass to gently compress each dough ball into a flat disc.
- Place about a teaspoon of the chilled peanut butter filling directly in the center of each chocolate dough disc.
- With your fingers, carefully press down around the perimeter of the dough disc to create a slightly larger rim, making it easier to fold and seal.
- Fold each round of chocolate dough over the peanut butter filling, carefully sealing the edges completely to enclose the filling. Then, gently roll the dough into a smooth ball. Ensure there are no visible seams or cracks where the filling could escape.
- Roll each filled dough ball in granulated sugar for a lovely crunchy coating and place them back on the parchment-lined baking sheet.
- Bake for 12-14 minutes, or until the edges are firm and the centers are just set. Immediately after removing from the oven, carefully press some of the reserved chocolate chips onto the surface of the hot cookies to garnish.
- Allow the cookies to cool on the baking sheets for 5 minutes to firm up before carefully transferring them to wire racks to cool completely.
Notes
Total time listed does not include the essential chilling and cooling times, which are crucial for the best cookie texture and shape.
Remember to use Dutch-processed cocoa powder, which is different from natural cocoa powder. It can typically be found in the baking aisle of most grocery stores and yields a darker color and milder chocolate flavor for these cookies.
Recommended Products
As an Amazon Associate and member of other affiliate programs, I earn from qualifying purchases.
- Nielsen-Massey Madagascar Bourbon Pure Vanilla Extract, 4 ounces
- Droste Dutch Process Cocoa Powder
- Small Cookie Scoop
- OXO Good Grips Medium Cookie Scoop
- Reynolds Cookie Baking Sheets Non-Stick Parchment Paper, 25 Sheet, 4 Count
- USA Pan Bakeware Half Sheet Pan
Nutrition Information:
Yield:
16
Serving Size:
1 cookie
Amount Per Serving:
Calories: 313Total Fat: 15gSaturated Fat: 6gTrans Fat: 0gUnsaturated Fat: 8gCholesterol: 27mgSodium: 107mgCarbohydrates: 43gFiber: 2gSugar: 27gProtein: 5g
Thatskinnychickcanbake.com occasionally offers nutritional information for recipes contained on this site. This information is provided as a courtesy and is an estimate only. This information comes from online calculators. Although thatskinnychickcanbake.com attempts to provide accurate nutritional information, these figures are only estimates.
Varying factors such as product types or brands purchased can change the nutritional information in any given recipe. Also, many recipes on thatskinnychickcanbake.com recommend toppings, which may or may not be listed as optional and nutritional information for these added toppings is not listed. Other factors may change the nutritional information such as when the salt amount is listed “to taste,” it is not calculated into the recipe as the amount will vary. Also, different online calculators can provide different results.
To obtain the most accurate representation of the nutritional information in any given recipe, you should calculate the nutritional information with the actual ingredients used in your recipe. You are solely responsible for ensuring that any nutritional information obtained is accurate.
HOW MUCH DID YOU LOVE THIS RECIPE?
Please leave a comment on the blog or share a photo on Pinterest
