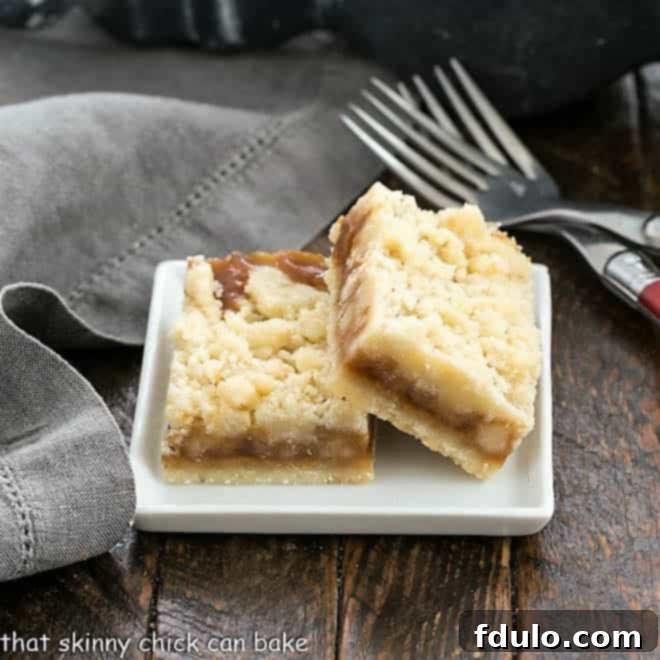
Irresistible Caramel Butter Bars: Your Ultimate Guide to a Decadent Treat
Prepare to fall in love with these incredibly delicious Caramel Butter Bars – a heavenly dessert that’s remarkably easy to make! If you’ve been searching for that perfect, gooey caramel treat that satisfies every craving, your quest ends here. These bars feature a delightful combination of a buttery shortbread crust, a luscious caramel filling, and a crumbly streusel topping, making them an instant favorite for any caramel enthusiast.
For years, I sought a recipe that captured the magic of these layered delights, often referred to as Oatmeal Carmelitas in some circles, though this version simplifies the classic to pure caramel bliss. After just one bite, you’ll understand why the pursuit was worth it. These bars aren’t just for seasoned bakers; their straightforward process makes them accessible to everyone, promising dazzling results with minimal effort. Get ready to bake up a batch and watch them disappear!
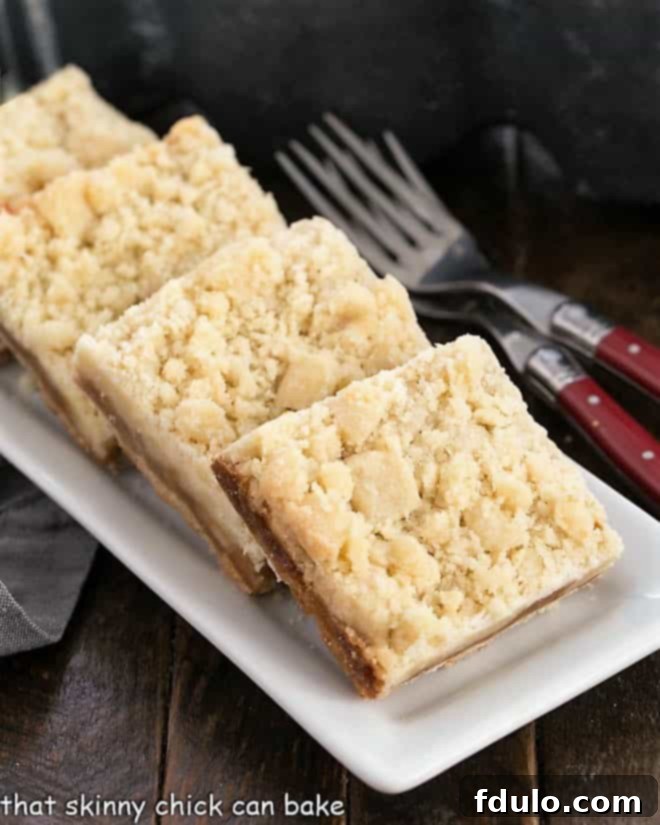
Why These Caramel Butter Bars Are an Absolute Must-Bake
If the mere thought of rich, buttery caramel makes your mouth water, then these Caramel Butter Bars need to be at the very top of your baking list. Beyond their undeniable deliciousness, there are several compelling reasons why this recipe stands out as a true culinary gem:
- Uncomplicated Perfection: One of the greatest advantages of this recipe is its simplicity. The same versatile dough forms both the sturdy, buttery shortbread crust and the delightful, crumbly topping. This eliminates the need for multiple dough preparations, streamlining your baking process significantly. It’s truly a one-bowl wonder for the dough!
- Effortless Caramel Layer: Forget complicated caramel-making with candy thermometers and sticky unwrapping. This recipe brilliantly utilizes a high-quality, store-bought caramel sauce as its luscious filling. A mere half-cup of this golden delight is nestled between the two buttery layers, delivering maximum flavor with minimum fuss.
- Irresistible Flavor Profile: The combination of the tender shortbread, the sweet and chewy caramel, and the slightly crisp streusel creates a texture and flavor experience that is simply phenomenal. Each bite offers a perfect balance of buttery richness and sweet caramel goodness, making them incredibly addictive. You’ll find it hard to stop at just one!
- Crowd-Pleasing Dessert: Whether you’re hosting a party, bringing a treat to a potluck, or simply looking for a dessert to share with family, these bars are guaranteed to impress. Their universal appeal makes them a favorite among all age groups, even those who claim not to be “caramel people” might just be converted!
- Simple, Quality Ingredients: The magic of these bars lies in their straightforward ingredient list. With pantry staples forming the base, the key is to choose good-quality components, especially your caramel sauce. Opting for a brand with real ingredients like sugar, cream, and butter will elevate the taste to an extraordinary level.
These Caramel Butter Bars are more than just a dessert; they’re an experience. They embody comfort, indulgence, and the joy of homemade treats, all delivered with an ease that will surprise and delight you.
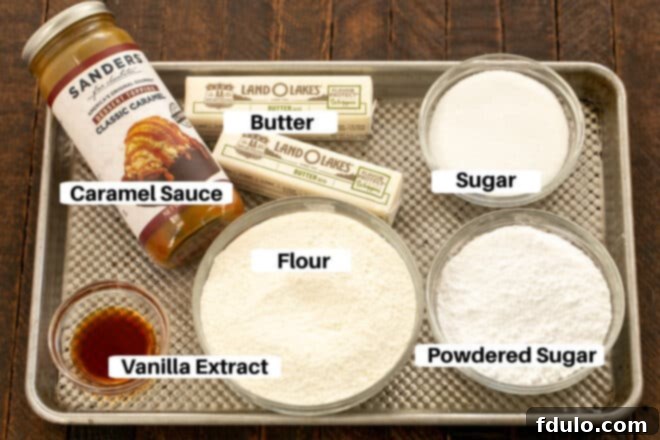
Essential Ingredients for Perfect Caramel Butter Bars
The beauty of these Caramel Butter Bars lies in their simplicity, relying on common pantry ingredients to create something truly extraordinary. While the list is short, paying attention to the quality and state of each component will ensure the most delicious results.
- Kitchen Staples: Sugar, Flour, Powdered Sugar – These form the backbone of our shortbread dough. Granulated sugar provides sweetness and structure, while powdered sugar contributes to the melt-in-your-mouth texture of the finished bars. All-purpose flour is perfect for this recipe, ensuring a tender yet firm crust and crumble.
- Unsalted Butter (Room Temperature) – Butter is king in these bars, providing richness and flavor. It’s crucial for your butter to be at room temperature, which means it should be soft enough to indent with a finger but not greasy or melted. This allows it to cream properly with the sugars, creating a smooth, cohesive dough that yields tender results. Using unsalted butter gives you control over the overall saltiness, which is important when pairing with sweet caramel.
- Pure Vanilla Extract – Don’t underestimate the power of good vanilla! Real vanilla extract enhances all the other flavors, adding a warm, aromatic depth that imitation vanilla simply cannot replicate. Invest in a good quality pure vanilla extract for the best possible taste experience.
- Premium Jarred Caramel Sauce – This is where convenience meets indulgence. While you can certainly make your own caramel from scratch, a high-quality jarred caramel sauce makes this recipe incredibly quick and easy. The key is “premium.” Look for brands that list real ingredients like sugar, cream, and butter at the top of their ingredient list. Avoid those with high-fructose corn syrup or artificial flavors, as these can detract from the rich, authentic caramel taste. A good quality sauce will be thick, smooth, and deeply flavorful, making all the difference in your bars.
By selecting these simple yet crucial ingredients with care, you’re setting yourself up for success and a batch of Caramel Butter Bars that will truly dazzle your taste buds.
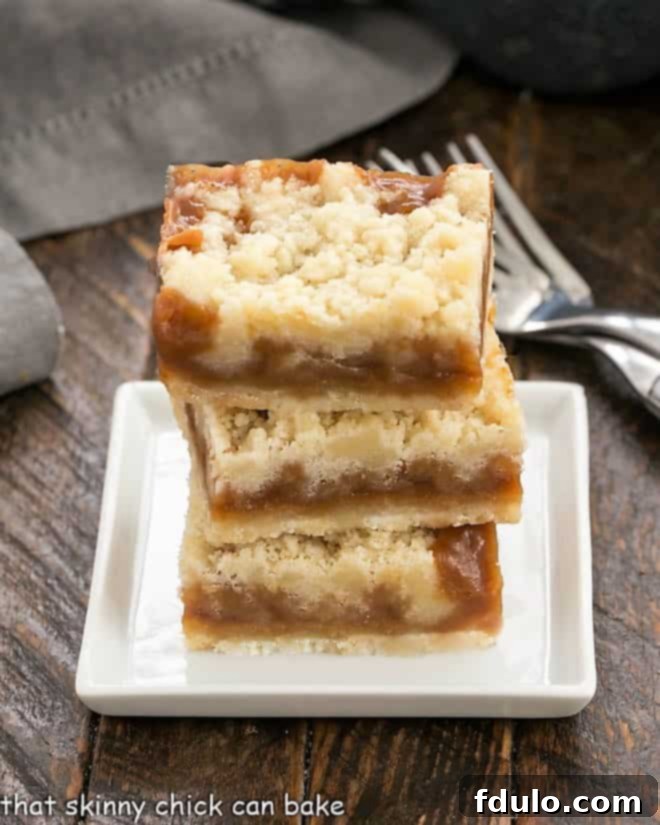
Mastering Caramel Butter Bars: Expert Tips for Success
These caramel cookie bars are celebrated for their simplicity, yet a few expert tips can elevate them from great to truly unforgettable. If you adore caramel, these Caramel Butter Bars are an absolute must-make, and these pointers will ensure your success every time:
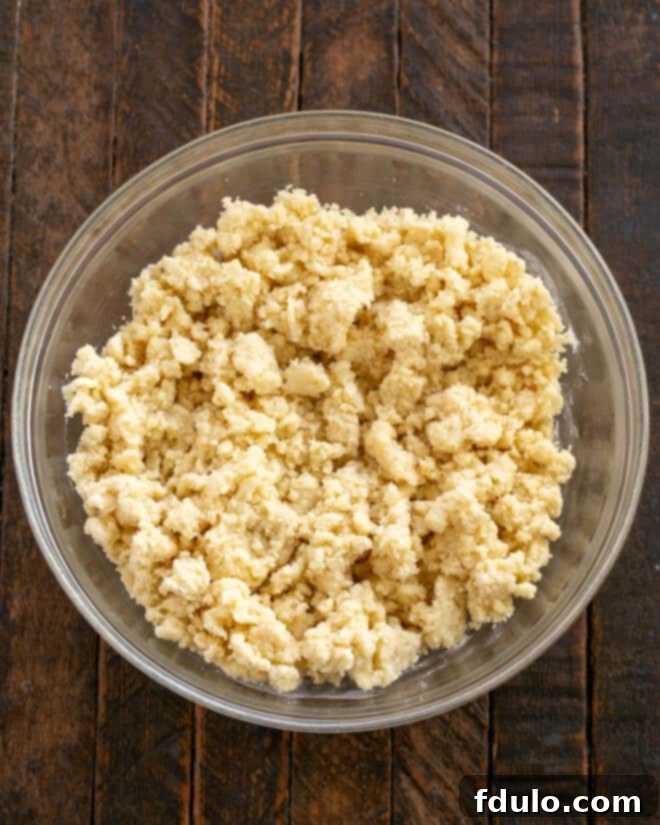
- The Versatile Dough: Embrace the genius of using a single dough for both your crust and streusel topping. This clever shortcut not only saves time but also ensures a cohesive flavor profile throughout the bar. You’ll prepare a single batch of dough, press about one-third into the pan for the base, and reserve the rest for crumbling later. It’s truly an “easy peasy” approach that yields delightful results.
- Temperature Matters: Always ensure your butter is at room temperature before you begin. Softened butter creams beautifully with sugar, incorporating air and creating a light, fluffy mixture. This results in a tender, melt-in-your-mouth shortbread crust and a crumble topping with the perfect texture. If you forget to take it out, you can quickly soften it by cutting it into small pieces or gently microwaving it for a few seconds.
- Precision vs. Estimation: While the recipe calls for dividing the dough (roughly one-third for the crust and two-thirds for the topping), don’t stress too much about being exact. For those who love precision, weighing the dough to ensure an accurate 1:2 ratio can be helpful. However, most bakers find that a careful visual estimation works perfectly fine. The beauty of these bars is their forgiving nature!
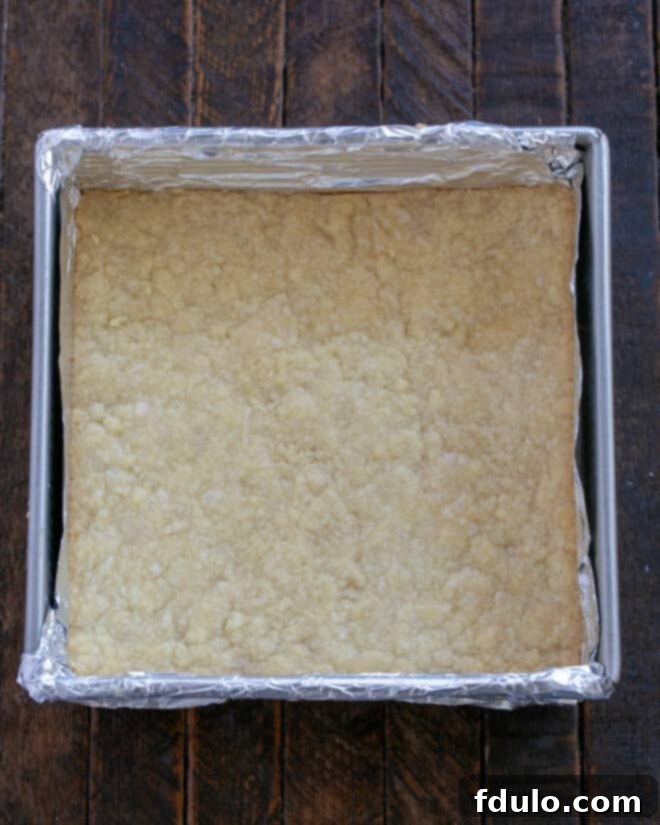
- Non-Stick Baking Prep: Caramel is wonderfully gooey, but this stickiness can pose a challenge when it comes to removing your bars from the pan. The ultimate PRO-Tip is to line your baking pan with non-stick foil, ensuring generous overhangs on all sides. This creates “handles” that allow you to easily lift the entire slab of cooled bars out of the pan without any struggle or caramel adhesion to the edges. If non-stick foil isn’t available, regular foil sprayed thoroughly with a non-stick cooking spray will also do the trick.
- Effortless Caramel Transfer: To prevent your precious caramel sauce from stubbornly clinging to your measuring cup, here’s another fantastic PRO-Tip: lightly spray your liquid measuring cup with a non-stick cooking spray (like Pam) before pouring in the caramel. The caramel will then slide out smoothly and completely, making for a cleaner and less wasteful process.
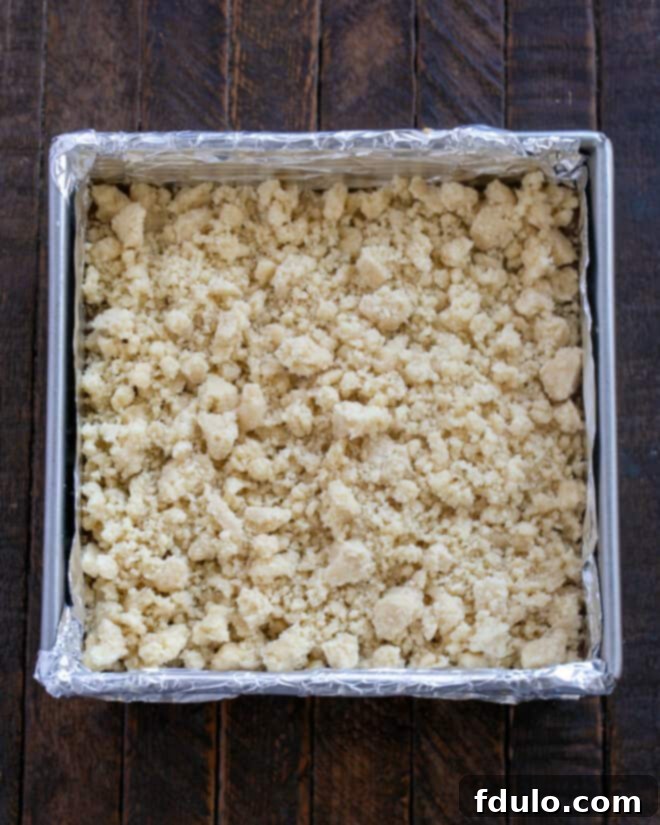
- Crafting the Perfect Crumble: When it’s time to add the reserved dough for the topping, don’t just sprinkle it on. Use your fingers to gently pinch and crumble the dough over the caramel. This technique allows you to create varying sizes of crumbs, from fine sandy bits to delightful larger clumps, adding wonderful textural contrast to the finished bars.
- No-Fuss Caramel Filling: A major time-saver in this recipe is the use of jarred caramel sauce. This eliminates the need for specialized equipment like candy thermometers or the tedious unwrapping of individual caramel candies. While you don’t need to hunt for a rare, specialty sauce, do heed the PRO-Tip: choose a premium brand. Check the ingredient list for real butter, cream, and vanilla. These quality ingredients will deliver a much richer, more authentic caramel flavor than cheaper alternatives.
- The Art of Cooling and Cutting: Patience is truly a virtue when it comes to cutting these bars. Caramel, especially when warm, is incredibly sticky and prone to smearing. For neat, clean slices, ensure the bars are thoroughly cooled. An excellent PRO-Tip for speeding up this process and achieving ultra-clean cuts is to place the entire pan in the refrigerator or even the freezer for 30-60 minutes before slicing. Once chilled, the caramel firms up, allowing for precise cuts. Remember to let them come back to room temperature before serving for the best texture and flavor experience.
- Flavor Twist: Salted Caramel: For those who love a sophisticated twist, consider using a salted caramel sauce instead of regular. The touch of sea salt beautifully balances the sweetness and enhances the caramel’s depth. Alternatively, you can mix a pinch of flaky sea salt directly into your regular caramel sauce to taste before spreading it over the crust.
Armed with these expert tips, you’re well on your way to baking Caramel Butter Bars that are not only delicious but also perfectly executed, every single time. This is a recipe everyone needs in their repertoire – a simple, reliable way to whip up a truly crowd-plepleasing dessert that takes minimal time and few ingredients.
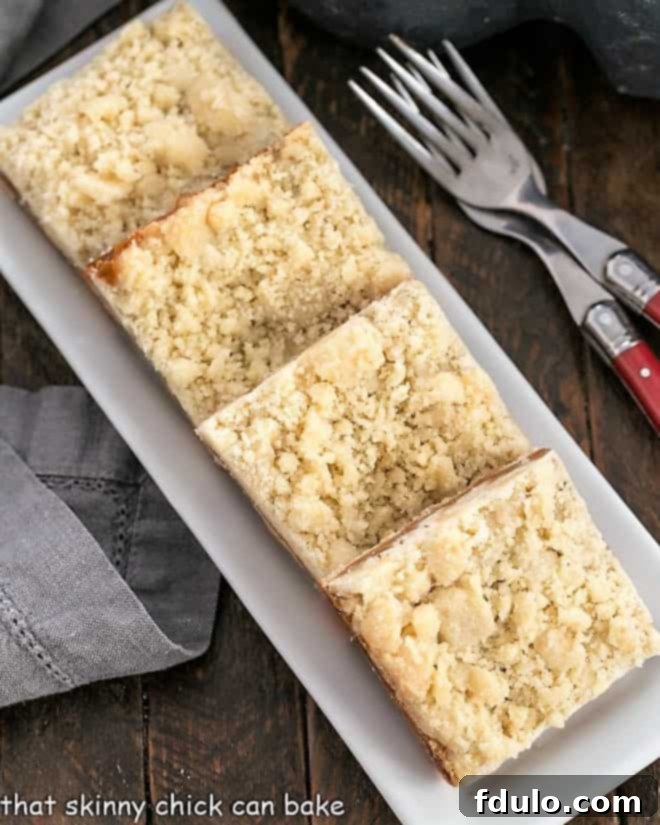
Step-by-Step Guide: How to Bake Irresistible Caramel Butter Bars
Making these Caramel Butter Bars is a straightforward and rewarding process. Follow these simple steps to create a batch of perfectly gooey and crumbly treats that will delight everyone.


Frequently Asked Questions About Caramel Butter Bars
For optimal freshness, these delectable Caramel Butter Bars should be stored in an airtight container at room temperature for up to three days. If your kitchen tends to be warm, or if you plan to keep them longer, refrigerating them is a great option. When refrigerated, they will maintain their quality for approximately one week. Always ensure they are completely cool before storing to prevent condensation.
Absolutely, these bar cookies freeze exceptionally well, making them perfect for meal prep or enjoying a homemade treat whenever a craving strikes. First, ensure the bars are completely cool. Then, slice them into individual squares and arrange them in an airtight freezer-safe container, placing a layer of parchment or waxed paper between each layer to prevent sticking. They can be frozen for up to three months. To enjoy, simply thaw them at room temperature or gently warm them for a few seconds in the microwave.
The secret to beautiful, neat slices for your Caramel Butter Bars is chilling! Once baked, let the pan cool completely at room temperature, then transfer it to the refrigerator for at least an hour, or even longer if time permits. The cold temperature firms up the caramel, preventing it from sticking to your knife and making a mess. When ready to cut, place the chilled slab on a cutting board. For professional-looking squares, a ruler can be your best friend. Mark off 1.5 to 2-inch intervals on all four sides of the bars before slicing. A large, sharp chef’s knife or even a plastic knife (which surprisingly works well with sticky treats) can be used. Wipe your knife clean between each cut for the cleanest edges. Serve at room temperature for the best soft and gooey texture.
Explore More Delicious Caramel and Bar Cookie Recipes
If you’ve fallen in love with these Caramel Butter Bars, you’ll surely enjoy exploring these other fantastic recipes that celebrate caramel and the joy of easy-to-make bar cookies:
- Caramel Apple Magic Bars from Brown Eyed Baker
- Homemade Caramels
- Cookie Dough Billionaire Bars
- Chocolate Chip Caramel Butter Bars
- Caramel Chocolate Brownies
- Microwave Caramel Sauce
- More of my Best Bar Cookies
Stay in touch through social media @ Instagram, Facebook, and Pinterest. Don’t forget to tag me when you try one of my recipes! And if you love the results, please give it a 5-star rating in the recipe card.

Caramel Butter Bars Recipe
20 minutes
45 minutes
1 hour 5 minutes
16 bars
Simple flavors with delicious results! Perfect for caramel fans!
Average Rating: 4.8 stars based on 147 reviews.
Ingredients
- 1 cup unsalted butter, at room temperature
- ½ cup granulated sugar
- ¾ cup powdered sugar
- 1 tablespoon pure vanilla extract
- 2 cups all-purpose flour
For the Filling:
- ½ cup premium jarred caramel sauce
Instructions
- Preheat Oven: Preheat your oven to 325°F (160°C).
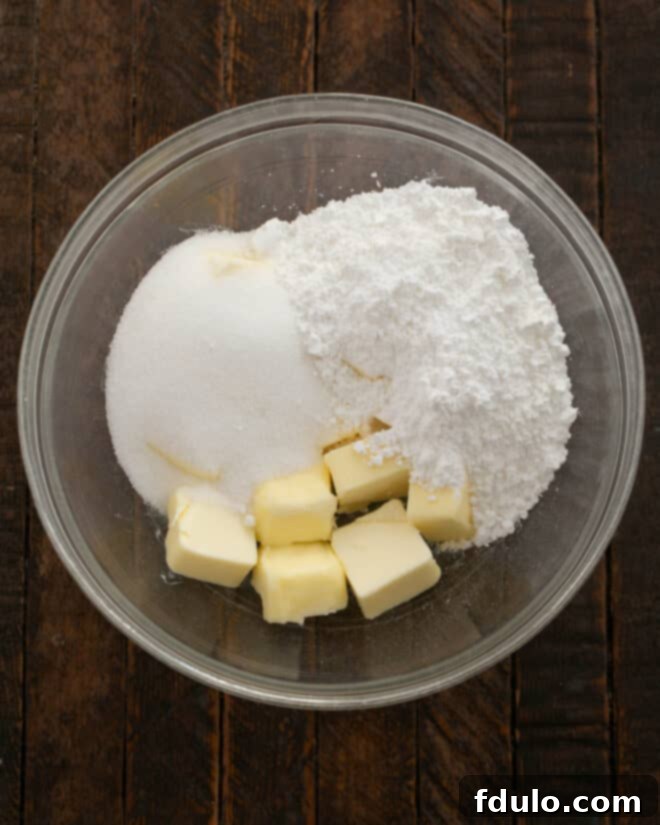
- Prepare Dough: In a large mixing bowl, combine the softened butter, granulated sugar, and powdered sugar. Using a hand mixer, beat until the mixture is light, creamy, and well combined. Stir in the vanilla extract until fully incorporated. Gradually add the flour, mixing on low speed until a soft dough forms and no dry streaks of flour remain.
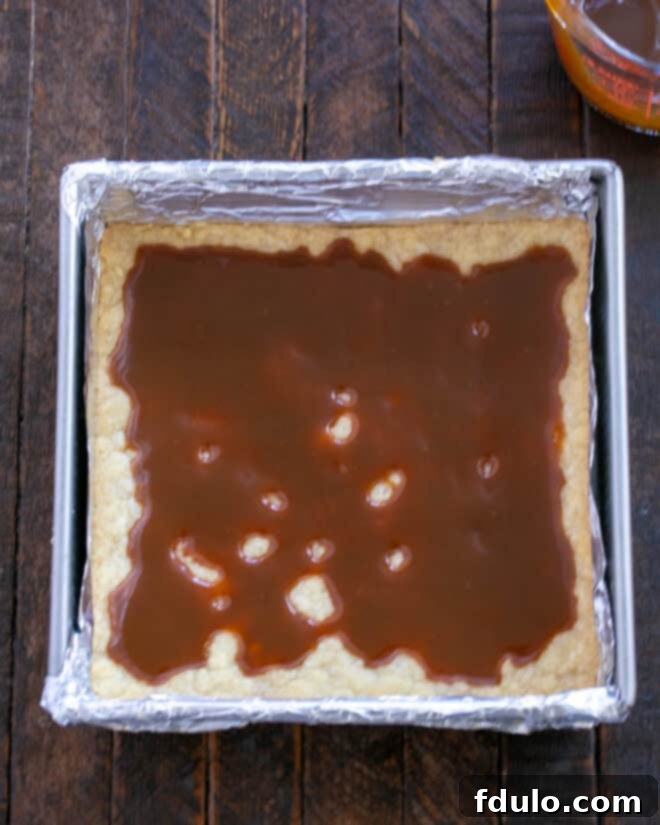
- Form Crust: Line an 8 x 8-inch baking pan with non-stick foil, leaving an overhang on the sides for easy removal. Press about one-third of the prepared dough evenly into the bottom of the pan to create the crust. Place the remaining two-thirds of the dough in the refrigerator to chill while the crust bakes.
- Bake Crust: Bake the crust in the preheated oven for about 20 minutes, or until it appears lightly golden around the edges and set.
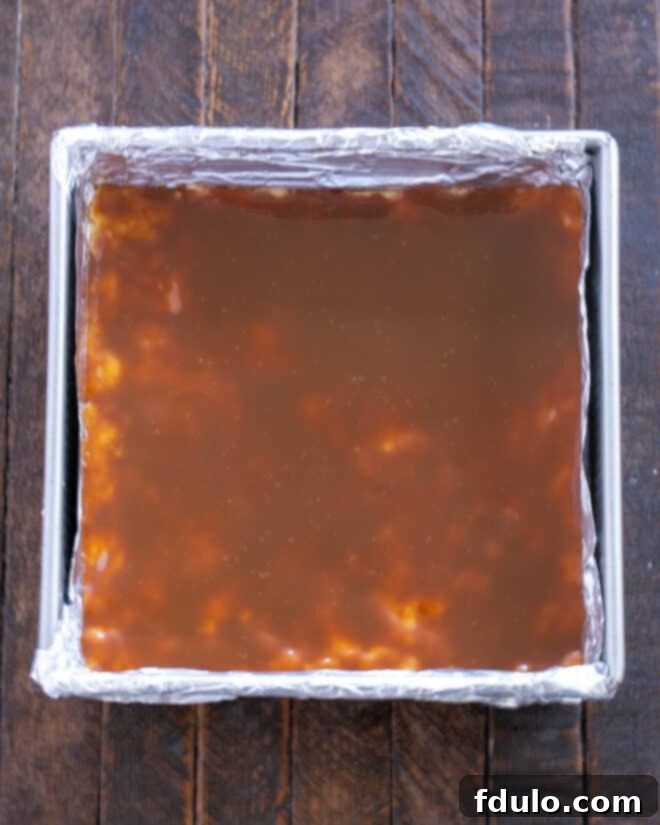
- Add Caramel: While the crust is still hot from the oven, drizzle the caramel sauce evenly over its surface. Let it sit for a few minutes to slightly warm up, then carefully spread the caramel with an offset spatula or the back of a spoon to cover the entire crust.
- Crumble Topping: Retrieve the chilled dough from the refrigerator. Using your fingers, crumble the reserved dough evenly over the caramel layer. For a varied texture, pinch some pieces together to form larger crumbs.
- Final Bake: Return the pan to the oven and continue baking for approximately 25 minutes, or until the caramel filling is bubbly around the edges and the crumbled shortbread topping is firm and a beautiful golden brown.
- Cool and Serve: Allow the bars to cool completely in the pan on a wire rack before attempting to cut them. For cleaner slices, you can place the cooled pan in the refrigerator for about 30-60 minutes to firm up the caramel. Once chilled and sliced into squares, bring them back to room temperature for the best soft and gooey texture before serving.
Notes
To easily measure and pour caramel: Spray your liquid measuring cup with a non-stick cooking spray (like Pam) before measuring the caramel. The sauce will slide out effortlessly.
For a textured topping: When crumbling the reserved dough over the caramel, use your fingers to pinch together some of the dough pieces to create larger, chunkier crumbs. This adds a delightful textural contrast to the finished bars.
Recommended Products for Baking Excellence
As an Amazon Associate and member of other affiliate programs, I earn from qualifying purchases.
- Nonstick Foil
- 8 x 8-inch Baking Pan
- KitchenAid 9-Speed Digital Hand Mixer
Nutrition Information:
Yield:
16
Serving Size:
1 bar
Amount Per Serving:
Calories: 227Total Fat: 12gSaturated Fat: 7gTrans Fat: 0gUnsaturated Fat: 3gCholesterol: 31mgSodium: 127mgCarbohydrates: 29gFiber: 0gSugar: 17gProtein: 2g
HOW MUCH DID YOU LOVE THIS RECIPE?
Please leave a comment on the blog or share a photo on Pinterest
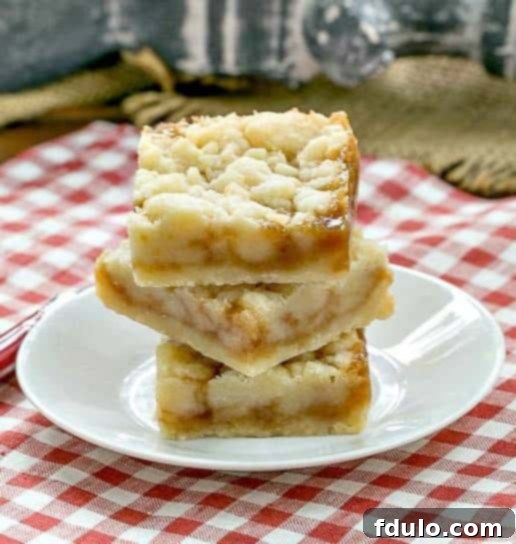
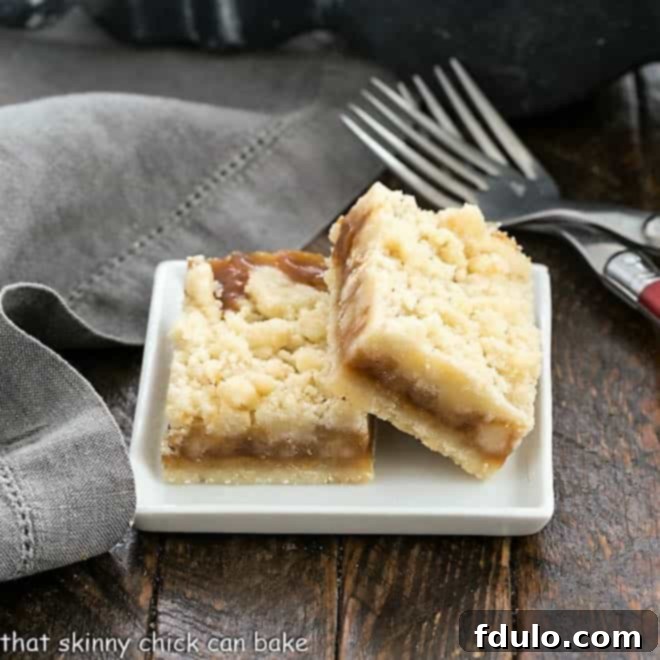
Original photo from when first posted in 2014.
In conclusion, these Caramel Butter Bars are more than just a recipe; they are a delightful invitation to indulge in a truly satisfying dessert that is as simple to make as it is delicious to eat. Whether you’re a seasoned baker or just starting your culinary journey, this recipe provides a foolproof path to creating a show-stopping treat that will earn rave reviews. The harmonious blend of a tender shortbread crust, a rich, gooey caramel center, and a delightful streusel topping creates a textural and flavor experience that is simply irresistible.
So, go ahead and treat yourself, your family, and your friends to the magic of these Caramel Butter Bars. They are perfect for any occasion, from a casual weeknight dessert to a festive gathering. With our comprehensive guide, expert tips, and easy-to-follow instructions, you have everything you need to bake these golden wonders to perfection. Happy baking, and enjoy every buttery, caramel-laden bite!
