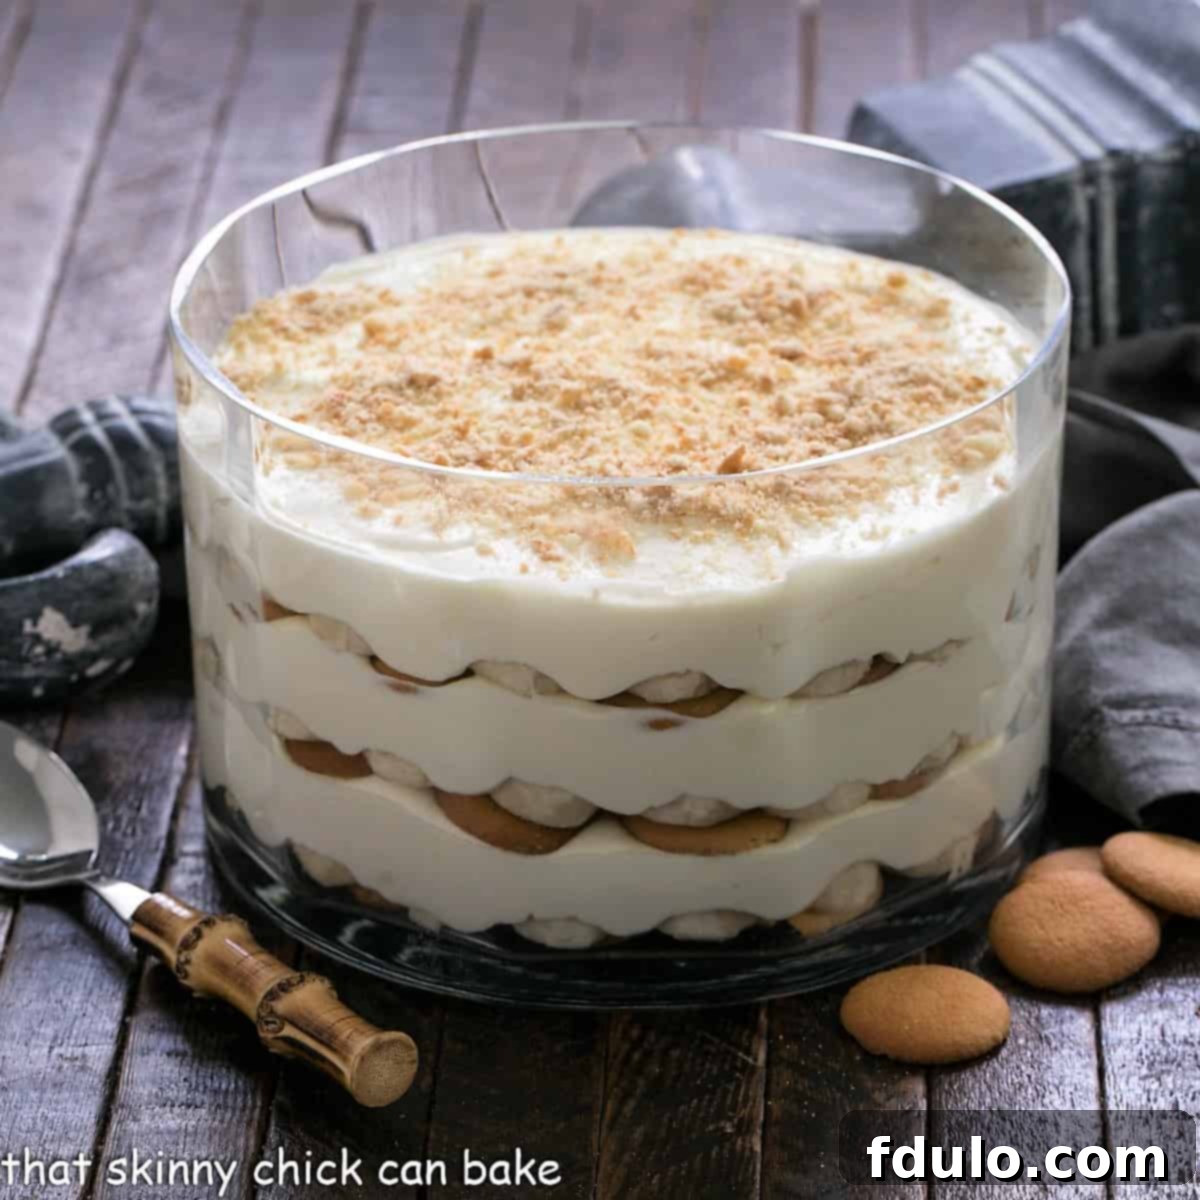
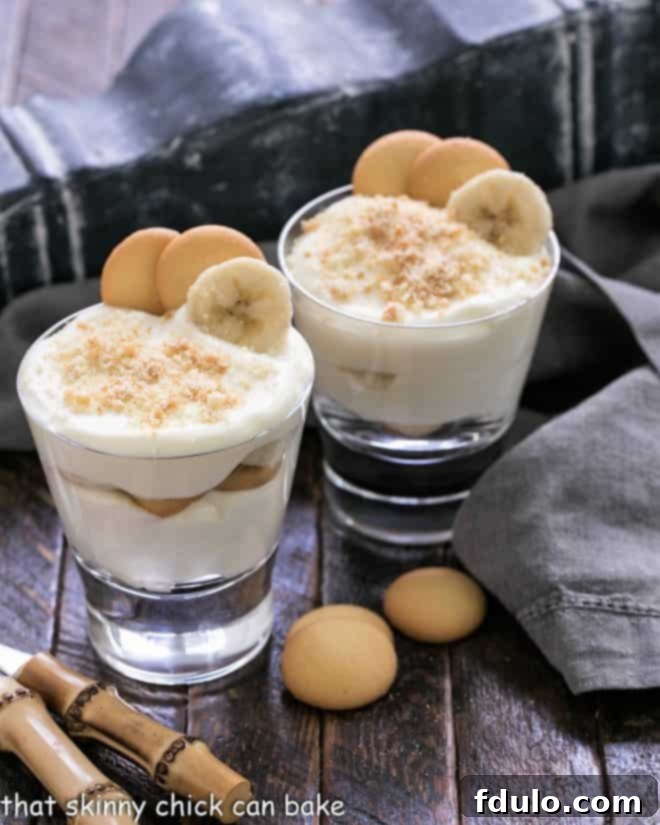
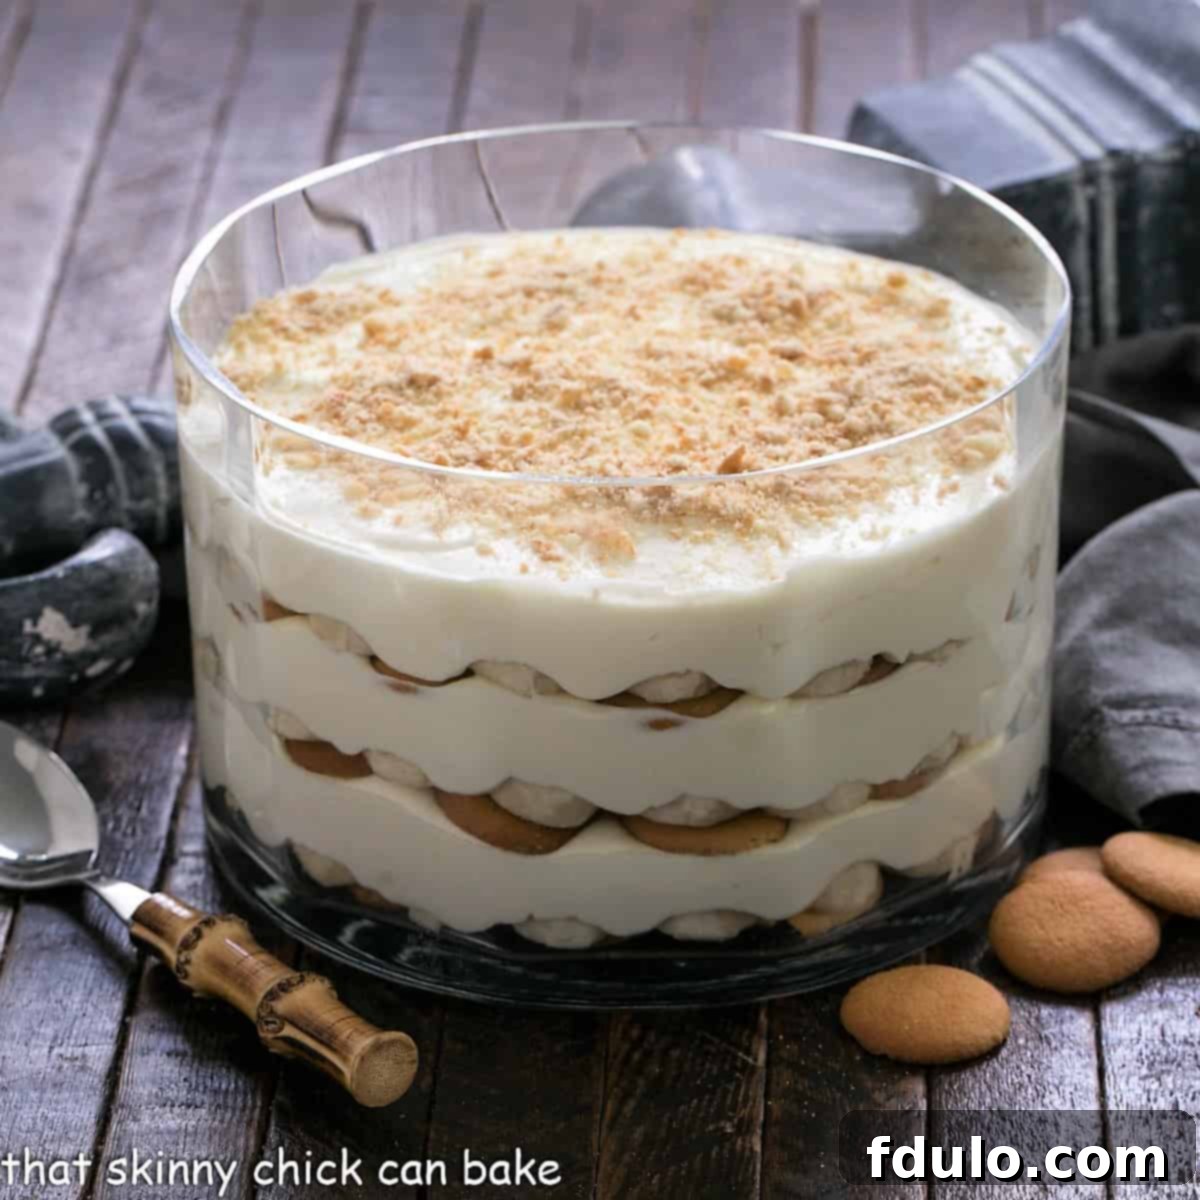
This Homemade Banana Pudding is a cinch to prepare and is perfect for banana cream pie lovers who don’t have time to roll out a pastry crust. You can make individual servings or a big bowl of banana pudding; it’s all up to you!!!
Making Magnolia Bakery Banana Pudding was my sneaky way of getting out of making a banana cream pie! Layering vanilla wafers instead of making a pie crust made this a less tedious way to put a smile on the dear husband’s face!
Indulge in the Ultimate Homemade Banana Pudding: A Southern Classic Made Effortless
Step into a world of creamy, comforting bliss with this delightful homemade banana pudding recipe. A true Southern staple, this dessert brings together layers of sweet ripe bananas, crunchy vanilla wafers, and a luscious vanilla pudding that’s impossibly rich yet surprisingly simple to create. Forget the fuss of a traditional pie crust; our approach prioritizes ease without sacrificing any of that beloved, nostalgic flavor. Whether you’re planning a grand family gathering or simply craving a sweet treat for yourself, this recipe offers the flexibility to craft individual servings or a magnificent communal bowl, ensuring every bite is a taste of pure happiness.
Why This Easy Banana Pudding Recipe Is a Must-Try
Dive into the delightful world of banana pudding, a dessert that holds a special place in countless hearts. This particular recipe isn’t just easy; it’s a gateway to creating a truly iconic sweet treat that will have everyone asking for more. Here’s why this classic Southern dessert deserves a spot in your recipe collection:
- A Timeless Southern Tradition: Banana Pudding has graced Southern tables for generations, with early recipes popularized by brands like Nilla Vanilla Wafers as far back as the 1920s. It’s a dessert steeped in history and comfort, evoking memories of Sunday dinners, barbecues, and holiday celebrations. Making it at home connects you to this rich culinary heritage, offering a taste of authentic Southern hospitality in every spoonful.
- The Coveted Magnolia Bakery Secret, Now Yours: For years, the Magnolia Bakery Banana Pudding has been a legendary sensation, celebrated for its unparalleled creaminess and perfect balance of flavors. Fortunately, their cherished recipe was revealed in their cookbook, making it accessible for home bakers like you to replicate that iconic taste right in your own kitchen. You no longer need to travel to New York City to experience this gourmet delight – you can enjoy it whenever the craving strikes!
- Effortless Preparation with Instant Pudding: While some traditional recipes call for entirely scratch-made custards, this version smartly leverages the convenience of instant vanilla pudding mix. This ingenious shortcut dramatically reduces preparation time, making it significantly easier and faster than other recipes without compromising on the decadent texture or robust flavor. Paired with sweetened condensed milk, it forms a rich, velvety base that’s utterly irresistible and comes together in minutes.
- No Fussy Pie Crust Required: One of the biggest advantages of this no-bake banana pudding is the complete absence of a pie crust. Instead, layers of tender vanilla wafers naturally soften as they absorb the creamy pudding and banana moisture, transforming into a delightful, cake-like texture. This eliminates the need for rolling, chilling, and baking pastry, simplifying the process and making it accessible even for novice bakers. It truly is a hassle-free, yet incredibly satisfying, dessert solution.
With its straightforward steps, delightful flavor, and undeniable charm, this banana pudding recipe is not just a dessert—it’s an experience. It’s a perfect blend of convenience and classic taste, offering all the deliciousness of a banana cream pie but with a fraction of the effort, making it the best banana pudding for busy bakers.
Mastering Your Homemade Banana Pudding: Expert Tips for Perfection
Creating the perfect banana pudding is an art that’s easily mastered with a few insider tricks. Follow these expert tips to ensure your creamy banana pudding turns out flawlessly every time, delighting everyone with its rich flavor and beautiful presentation.
- Selecting the Perfect Bananas: The quality of your bananas is paramount for the best flavor and texture. Opt for ripe bananas that are bright yellow, firm to the touch, and preferably without any brown spots. A slight hint of green on the stem is acceptable, indicating they are perfectly ripe but not yet overripe. Overripe bananas can become mushy, impart an overly strong, sometimes fermented, flavor, and make your pudding watery. Underripe bananas, conversely, lack the sweetness and soft texture essential for this dessert.
- PRO-Tip: Combat Browning with a Simple Soak: Bananas naturally oxidize and turn brown when exposed to air – a process that can detract from your pudding’s visual appeal. To keep your banana slices looking fresh and appealing, briefly soak them in a lemon-lime soda like 7-Up or Sprite. The citric acid in these sodas acts as a natural preservative, significantly minimizing the oxidation process. While lemon juice also works, many prefer the subtle flavor of lemon-lime soda or even orange juice to avoid a tart taste in the pudding. Ensure the slices are thoroughly drained and gently patted dry before layering to prevent introducing excess liquid.
- Embrace Natural Banana Flavor: While some recipes suggest banana extract, we strongly advocate for the simplicity and superior taste of whipped cream-enhanced vanilla pudding, allowing the fresh banana slices to be the true stars. Banana extracts can sometimes have an artificial or “off-putting” taste, reminiscent of synthetic flavors from childhood medicines! The generous layers of real, perfectly ripe banana provide all the authentic, sweet flavor you need, creating a harmonious and natural blend with the creamy vanilla base.
- Ensure Your Pudding Sets Properly: A crucial step is allowing your pudding and sweetened condensed milk mixture to gel completely before proceeding with the next steps. If the pudding does not set to a firm, thick consistency, your final dessert will be runny and lack the desired luxurious texture. Follow the package instructions for chilling time diligently, usually at least 3 hours, or until it’s thick and spoonable. This ensures a stable and luscious foundation for your subsequent layers.
- The Importance of Extended Chilling Time: Patience truly is key when it comes to banana pudding! Chill your assembled pudding for a minimum of 4 hours before serving, though overnight is even better for optimal results. This extended chilling period allows the flavors to fully meld, creating a more cohesive and deeply satisfying taste. More importantly, it gives the vanilla wafers ample time to soften and absorb the creamy pudding, transforming them into a delightful, cake-like texture that’s characteristic of the best banana pudding. Rushing this step can result in a less cohesive and flavorful dessert.
- Perfect for a Crowd: This recipe yields a generous 14-16 servings, making it an ideal dessert for parties, potlucks, barbecues, and large family gatherings. If you’re preparing it for company, plan to start it early in the day or even the night before to ensure ample chilling time and a relaxed serving experience. It’s a guaranteed crowd-pleaser!
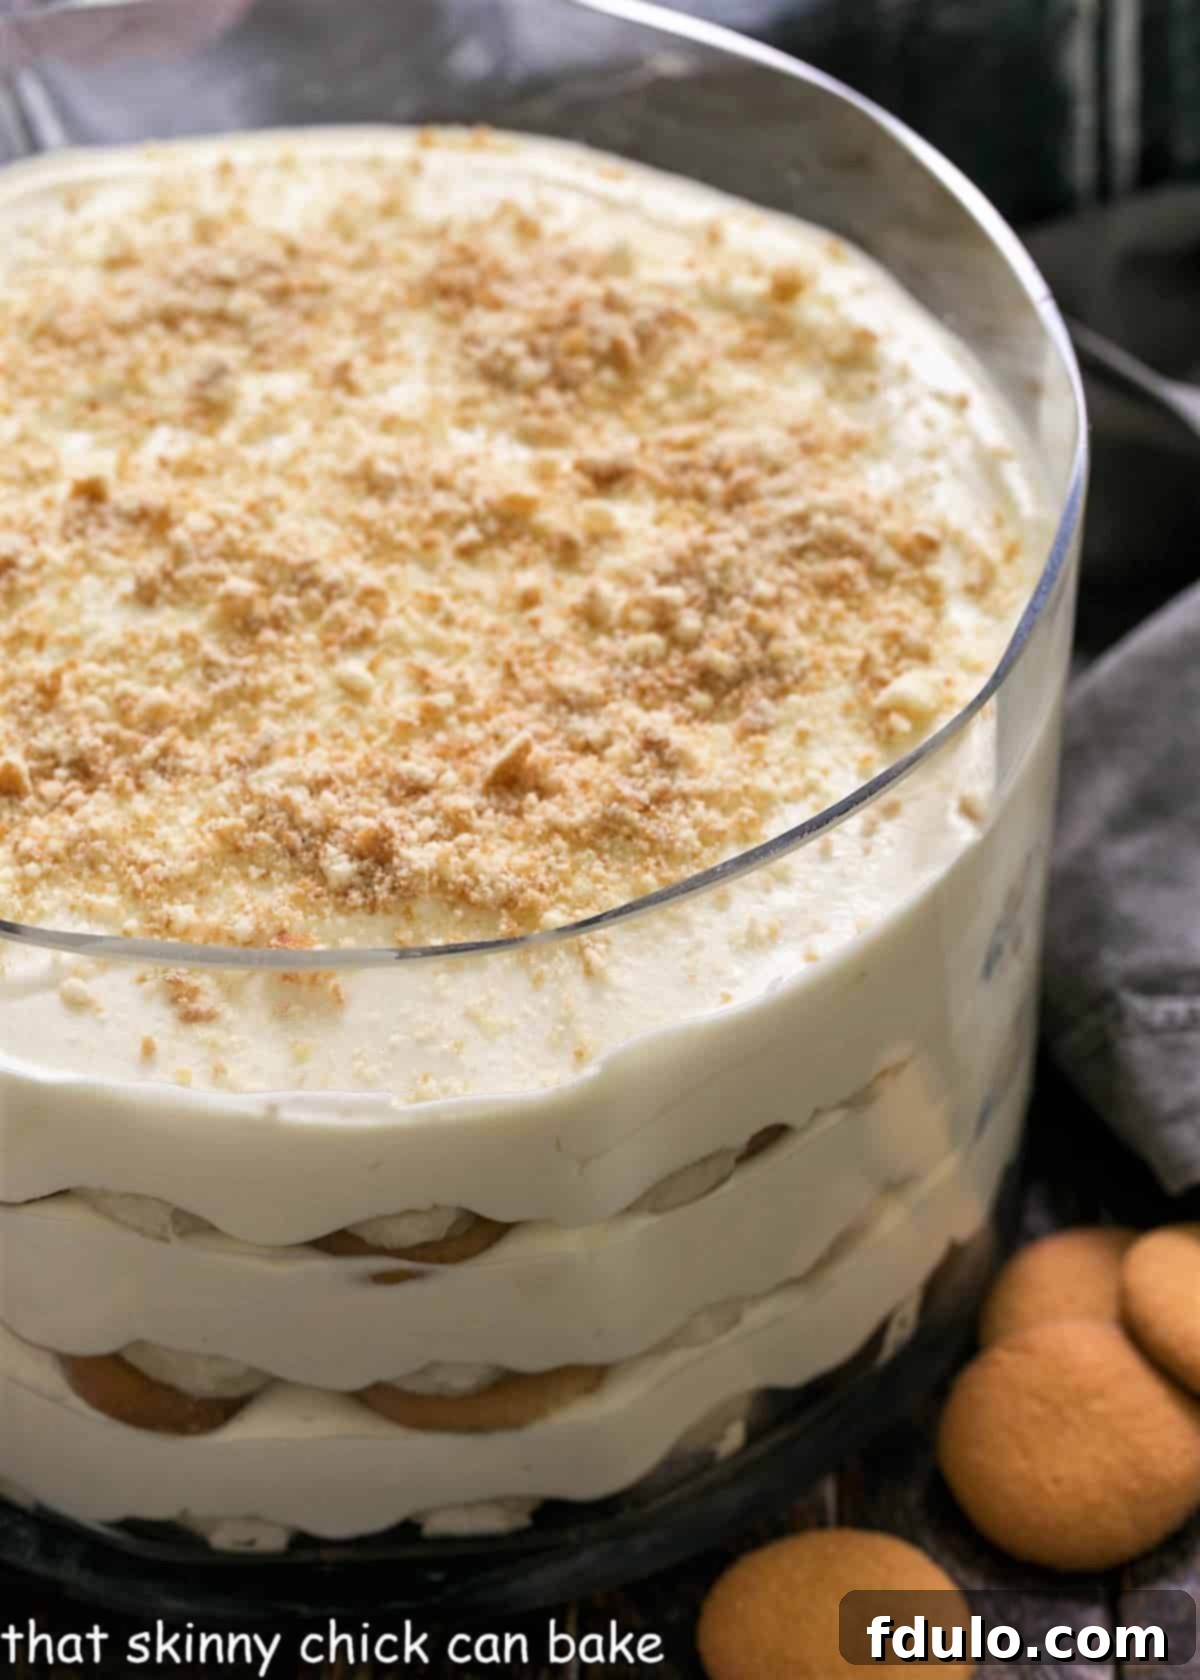
- Achieving Pristine Layers in a Glass Bowl: If you’re using a clear glass serving bowl to showcase your beautiful layers – which is highly recommended for presentation – here’s a trick for a clean look: add the pudding mixture to the center of the bowl first, then gently spread it outwards towards the sides with an offset spatula. This technique helps prevent smearing the pudding up the sides of the bowl, ensuring crisp, distinct, and visually appealing layers.
- Serve at the Right Temperature: For optimal flavor, allow the banana pudding to sit out at room temperature for about 30 minutes before serving. Extremely cold desserts can dull the perception of sweetness and the subtle nuances of flavor. Bringing it to a slightly warmer temperature allows the authentic tastes of banana and vanilla to truly shine and be fully appreciated.
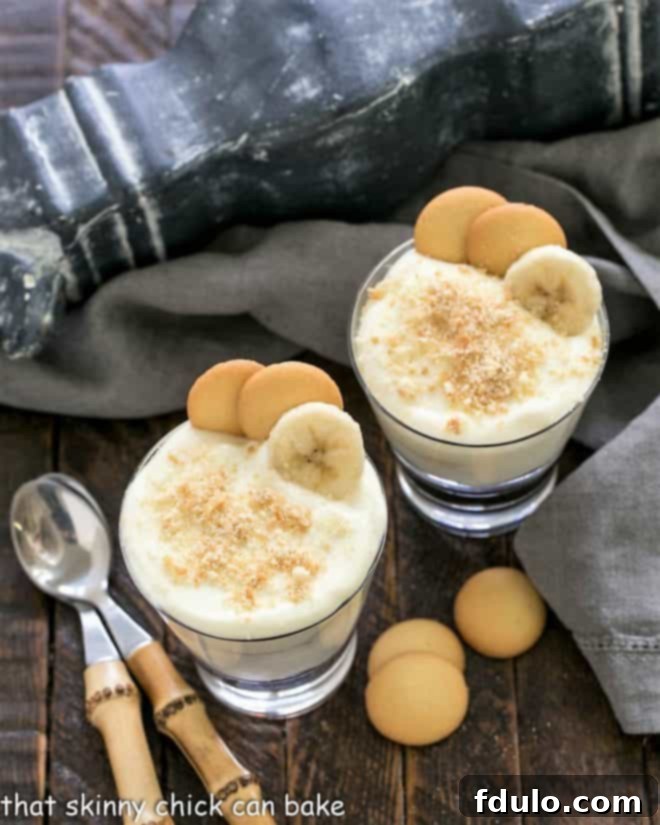
- Garnish for Individual Servings: If you opt for individual parfaits or small dessert cups, consider buying mini vanilla wafers for an adorable and perfectly proportioned garnish. A freshly sliced banana, added just before serving, also makes for a beautiful and delicious topping, preventing any pre-browning issues. You can also crumble extra wafers for a textural sprinkle.
- Storage and Longevity: Banana pudding is at its absolute prime for about 2 days after preparation. During this timeframe, the bananas remain relatively fresh, and the wafers maintain their ideal soft consistency. Beyond 2 days, the bananas will begin to deteriorate, becoming softer and more prone to browning, which can affect both texture and appearance. While it might still be safe to eat for up to 4 days when stored properly in the refrigerator, its prime freshness and visual appeal will have passed.
- Avoid Freezing: Unfortunately, banana pudding does not freeze well. The freezing and thawing process significantly alters the texture of both the bananas (making them mushy, watery, and discolored) and the pudding (leading to a grainy or separated consistency). For the best culinary experience, it’s always recommended to prepare and enjoy banana pudding fresh and within the recommended timeframe.
Frequently Asked Questions About Banana Pudding
Absolutely! Banana pudding is an excellent make-ahead dessert, especially when entertaining a crowd. For the best presentation and freshest banana appearance, it’s ideal to prepare it early on the day you plan to serve it. This allows sufficient time for the flavors to meld beautifully and the vanilla wafers to soften to that delightful cake-like consistency, typically requiring at least 4 hours of chilling. While it will still taste delicious the next day, the banana slices may start to show some signs of oxidation (browning). If making further in advance, consider tossing bananas in lemon-lime soda as suggested in our expert tips to mitigate browning and maintain their vibrant color.
For optimal freshness, texture, and visual appeal, banana pudding is best enjoyed within 2 days of preparation. During this time, the bananas remain relatively fresh and the wafers maintain their ideal soft consistency. Beyond 2 days, the bananas will inevitably begin to deteriorate, browning more noticeably and becoming softer in texture. While it remains safe to eat for up to 4 days when stored properly in an airtight container in the refrigerator, its prime quality and fresh taste will diminish significantly.
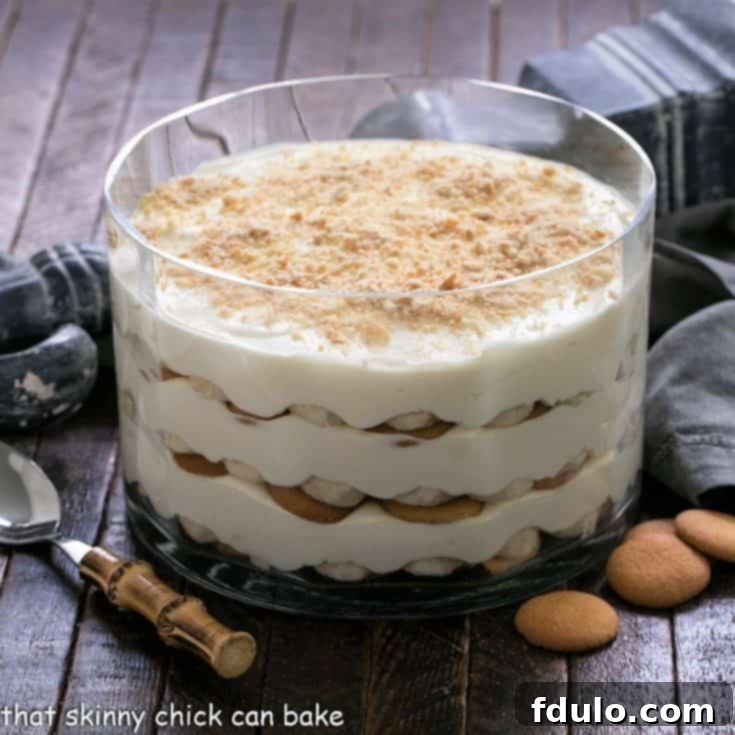
Layering is straightforward and crucial for creating a visually appealing and balanced dessert. For this recipe, you’ll typically start with a foundational layer of vanilla wafers covering the bottom of your serving dish. This is followed by an even layer of thinly sliced bananas, ensuring they are well-distributed. Finally, a generous layer of the creamy vanilla pudding mixture is spooned and gently spread over the bananas. You repeat these three distinct layers until all ingredients are used, usually two more times, always finishing with a final, smooth layer of pudding. For a clean and professional look, especially when using a clear glass bowl, aim to make each layer as level as possible.
Unfortunately, banana pudding is not a freezer-friendly dessert. Both the delicate texture of the bananas and the creamy consistency of the pudding base are negatively affected by freezing and subsequent thawing. Freezing causes bananas to become mushy, watery, and often discolored, losing their appealing firmness. The creamy pudding, on the other hand, can develop an unappetizing grainy or separated consistency, compromising the overall mouthfeel. For the best culinary experience and to enjoy its luscious texture, it’s always recommended to prepare and enjoy banana pudding fresh.
Bananas naturally undergo oxidation when exposed to air, which causes them to turn brown and less appealing. To significantly minimize this browning in your banana pudding, there are a few effective strategies. The primary method is to ensure your banana slices are completely submerged and enveloped by the creamy vanilla pudding layers, minimizing their contact with oxygen. Additionally, tossing your sliced bananas in a mild acidic solution can delay the oxidation process. Options include lemon juice, orange juice, or a lemon-lime soda like Sprite or 7-Up. Many prefer orange juice or lemon-lime soda to avoid any distinct tart lemon flavor in the dessert.
It’s also important to select bananas that are ripe but not overly ripe; look for bright yellow bananas that still have a slight hint of green at the stem end and no significant brown spots. These bananas contain less sugar and will brown slower than very ripe ones, while still providing ample flavor. Resist the temptation to use under-ripe bananas, as they will lack the essential sweetness and soft texture needed for a truly delicious banana pudding. If presentation and vibrant color are a top concern, making the pudding early on the day of serving will always yield the freshest and most visually appealing results.
Explore More Delicious Banana Recipes
If you’ve fallen in love with the comforting taste of bananas in this pudding, you’ll be thrilled to discover other fantastic ways to incorporate this versatile fruit into your baking. From breakfast treats to decadent desserts, here are some more banana-inspired recipes you might enjoy:
- Cinnamon Topped Banana Bread – A classic breakfast or snack elevated with a warm cinnamon topping, perfect with your morning coffee.
- Sour Cream Banana Cake – A wonderfully moist and tender cake, rich with deep banana flavor and a hint of tang from sour cream, ideal for celebrations.
- Bananas Foster – A spectacular, flambéed dessert featuring caramelized bananas in a rich, buttery sauce, perfect for special occasions and impressing guests.
- Banana Cream Cheesecake Pie – The best of both worlds: creamy, smooth banana goodness blended with tangy cheesecake in one irresistible, easy-to-make pie.
- More of my Best Dessert Recipes – A curated collection of tried-and-true sweet treats for every occasion, ensuring you always have a delightful dessert option.
We love hearing from you! Stay in touch through social media @ Instagram, Facebook, and Pinterest. Don’t forget to tag us when you try one of our recipes! Your beautiful creations inspire us, and if you love the results, please consider leaving a 5-star rating and comment on the blog post to help other dessert lovers discover this amazing recipe and bring a smile to their faces too!
Southern Banana Pudding Recipe
15 minutes
20 minutes
35 minutes
16 servings
A classic Southern dessert recipe that’s incredibly easy to prepare, featuring creamy vanilla pudding, ripe bananas, and tender vanilla wafers. Perfect for any gathering!
Ingredients
- 1 can (14 ounces) sweetened condensed milk
- 1 ½ cups ice water (remove ice before measuring)
- 1 small box (3.4 ounces) instant vanilla pudding mix
- 3 cups heavy cream
- 4 bananas, yellow but not spotted, and slightly green at the stem end
- 1 bottle or can of lemon lime soda, like Sprite or 7-up, optional (for soaking bananas)
- 1 12-ounce box of Nilla Vanilla Wafers
Instructions
- In a large mixing bowl, combine sweetened condensed milk and ice water. Beat with an electric mixer until well combined and smooth. Add the instant vanilla pudding mix and continue to beat for about 2 minutes until thickened. Cover the bowl with plastic wrap and refrigerate for at least 3 hours, or until fully set.
- Once the pudding mixture is firmly set, in a separate cold bowl, whip the heavy cream to stiff peaks. Gently fold the whipped cream into the set pudding mixture until thoroughly combined and light.
- Slice the bananas into even rounds. If using, place the sliced bananas in a bowl and pour the lemon-lime soda over them. Let them soak briefly (5-10 minutes) while you begin preparing your serving dish and gathering the vanilla wafers. This step helps prevent browning.
- Arrange about a third of the vanilla wafers in a single layer at the bottom of a large (4-quart) glass bowl or another preferred serving dish.
- Carefully drain the soda from the bananas (if used) and gently pat them dry with paper towels to absorb any excess liquid. Place a third of the banana slices evenly over the vanilla wafer layer.
- Spoon about a third of the creamy pudding mixture over the bananas. Gently smooth the pudding with an offset spatula or the back of a spoon to create an even layer.
- Repeat the layering process two more times, using the remaining wafers, bananas, and pudding, finishing with a final layer of pudding.
- For a decorative touch, crumble some of the reserved vanilla wafers and sprinkle the crumbs over the top of the pudding. You can also add fresh banana slices or whole mini wafers as a garnish just before serving.
- Refrigerate the assembled banana pudding for at least 4 hours before serving to allow the flavors to meld and the wafers to soften to a cake-like consistency.
Notes
This delightful recipe is adapted from the renowned Magnolia Bakery’s Cookbook, bringing their famous flavor directly to your home.
For elegant individual servings, layer the three main components (wafers, bananas, pudding) into clear glasses or small parfait dishes. This creates a stunning presentation.
Soaking the bananas in lemon-lime soda is an optional but highly recommended step to significantly delay browning. Be aware that even with this step, bananas will still begin to show signs of browning by Day 2. For the freshest appearance, serve on the day it’s made.
Recommended Products
As an Amazon Associate and member of other affiliate programs, I earn from qualifying purchases.
- Small Offset Spatula
- Pyrex Measuring Cups
- Set of Glass Mixing Bowls
- Silicone Spatulas
- European Trifle Bowl with Pedestal
Nutrition Information:
Yield:
16
Serving Size:
1
Amount Per Serving:
Calories: 338
Total Fat: 20g
Saturated Fat: 12g
Trans Fat: 1g
Unsaturated Fat: 7g
Cholesterol: 51mg
Sodium: 200mg
Carbohydrates: 39g
Fiber: 1g
Sugar: 27g
Protein: 3g
Thatskinnychickcanbake.com occasionally offers nutritional information for recipes contained on this site. This information is provided as a courtesy and is an estimate only. This information comes from online calculators. Although thatskinnychickcanbake.com attempts to provide accurate nutritional information, these figures are only estimates. Varying factors such as product types or brands purchased can change the nutritional information in any given recipe. Also, many recipes on thatskinnychickcanbake.com recommend toppings, which may or may not be listed as optional and nutritional information for these added toppings is not listed. Other factors may change the nutritional information such as when the salt amount is listed “to taste,” it is not calculated into the recipe as the amount will vary. Also, different online calculators can provide different results. To obtain the most accurate representation of the nutritional information in any given recipe, you should calculate the nutritional information with the actual ingredients used in your recipe. You are solely responsible for ensuring that any nutritional information obtained is accurate.
HOW MUCH DID YOU LOVE THIS RECIPE?
Please leave a comment on the blog or share a photo on Pinterest
