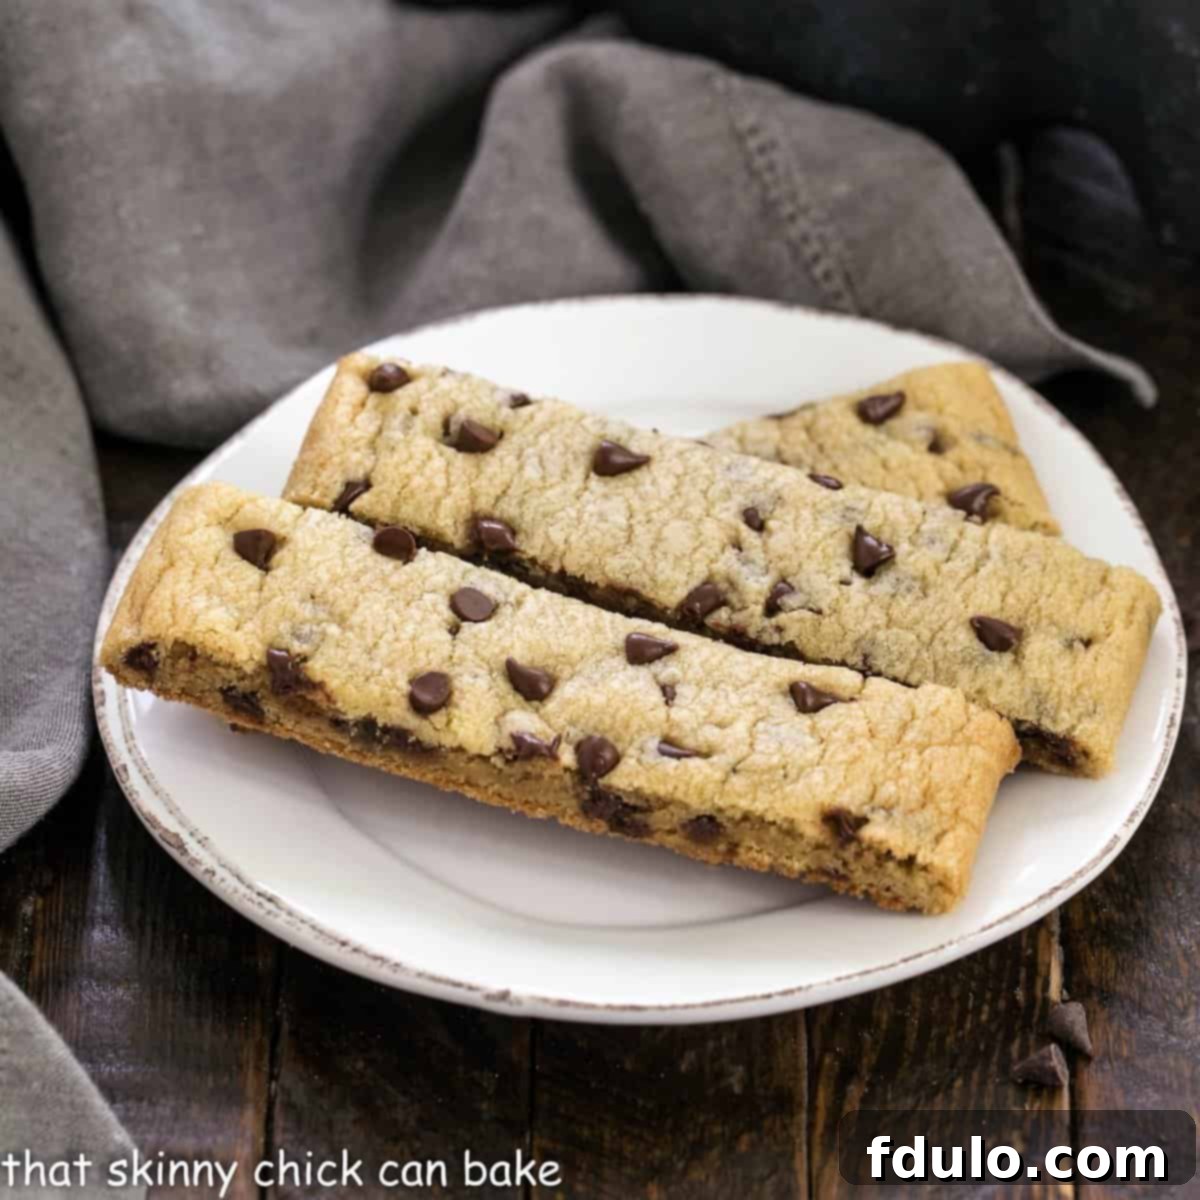
Welcome to a delightful twist on a timeless treat! These Chewy Chocolate Chip Cookie Sticks redefine the classic homemade chocolate chip cookie experience, offering an irresistible shape perfect for dipping, dunking, and effortless snacking. Imagine all the beloved flavor of your favorite gooey, chocolate-studded cookies, but in a convenient, handheld form that eliminates the fuss of individual scooping. This ingenious approach simplifies the baking process, transforming traditional cookies into versatile bars that are just as satisfying, if not more so, for any occasion.
Say goodbye to elaborate cookie preparations and hello to these incredibly easy-to-make cookie bars. You’ll be amazed at how quickly you can whip up a batch, and your entire family will be utterly thrilled with the results. This recipe promises a wonderfully chewy texture, rich chocolate flavor, and a uniquely fun presentation that makes them stand out from the crowd. Whether you’re looking for a quick afternoon snack, a delightful dessert, or a portable treat, these cookie sticks are guaranteed to become a new household favorite. Get ready to bake a batch that will bring smiles and satisfy cravings with minimal effort!
Why These Chocolate Chip Cookie Sticks Are a Must-Make
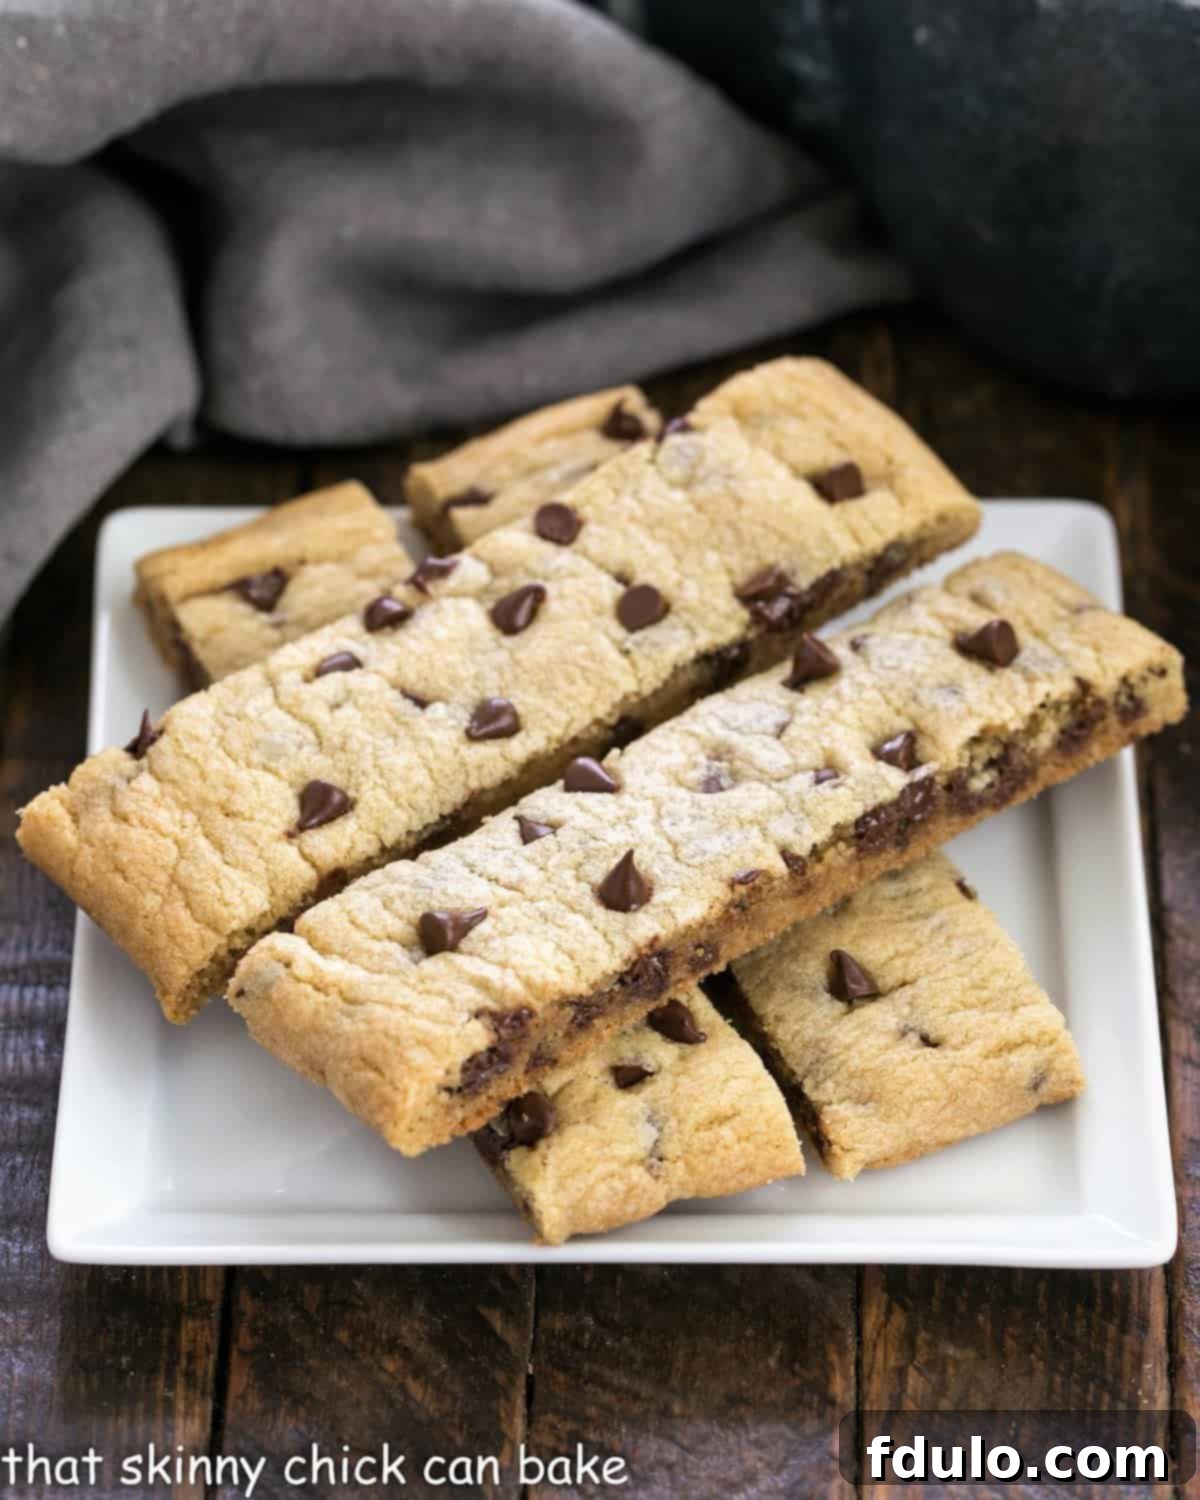
In a world full of delicious desserts, these chocolate chip cookie sticks carve out a special niche. They offer the comforting, familiar taste of a classic chocolate chip cookie but in an innovative format that enhances their appeal and versatility. If you appreciate a sweet indulgence with your afternoon tea, a robust cup of coffee, or a refreshing glass of milk, these cookie sticks are your ideal companion. Their elongated shape is not merely a novelty; it’s a practical design that makes them perfect for resting on a saucer, ensuring a mess-free experience while you sip your beverage. Beyond their functional shape, the true genius of this recipe lies in its simplified baking technique.
Unlike traditional cookies that require endless scooping of individual dough portions, this recipe streamlines the process with a single baking time. You simply press the dough into a pan, bake it as a whole, and then slice it into sticks after it cools. This dramatically cuts down on preparation time and effort, making homemade treats more accessible even on busy days. When I first introduced these to my daughter, her calm, yet definitive, review was simply, “These taste just like chocolate chip cookies, Mom.” Coming from a discerning palate, that’s high praise indeed and a testament to their authentic, beloved flavor!
Here’s why these delightful cookie sticks will quickly become a cherished recipe in your kitchen:
- Effortless Baking Experience: Forget the tedious scooping! This recipe uses a bar-style method, meaning you spread the dough onto a single baking sheet and cut it into sticks after baking. This single-bake approach saves significant time and effort, making homemade cookies a breeze.
- Perfect for Dipping: The slender, sturdy shape of these cookie sticks makes them ideal for dunking. Whether it’s a hot mug of coffee, a soothing cup of tea, a tall glass of cold milk, or even a rich chocolate sauce, these sticks hold up beautifully without crumbling, ensuring a delightful dip every time.
- Versatile Snacking: Beyond dipping, their convenient shape makes them perfect for on-the-go snacking, lunchboxes, or a quick treat anytime. They are less crumbly than traditional cookies, making them cleaner to eat.
- Classic Flavor, Modern Form: You get all the comfort and joy of a perfectly chewy, homemade chocolate chip cookie, but with a fun, novel presentation. It’s a familiar favorite transformed into an exciting new format that appeals to all ages.
- Crowd-Pleaser Guaranteed: Who doesn’t love chocolate chip cookies? This universally adored flavor in a fun stick shape is sure to be a hit at parties, family gatherings, or simply as an everyday treat. They disappear quickly, so consider making a double batch!
Creating Your Chewy Chocolate Chip Cookie Sticks
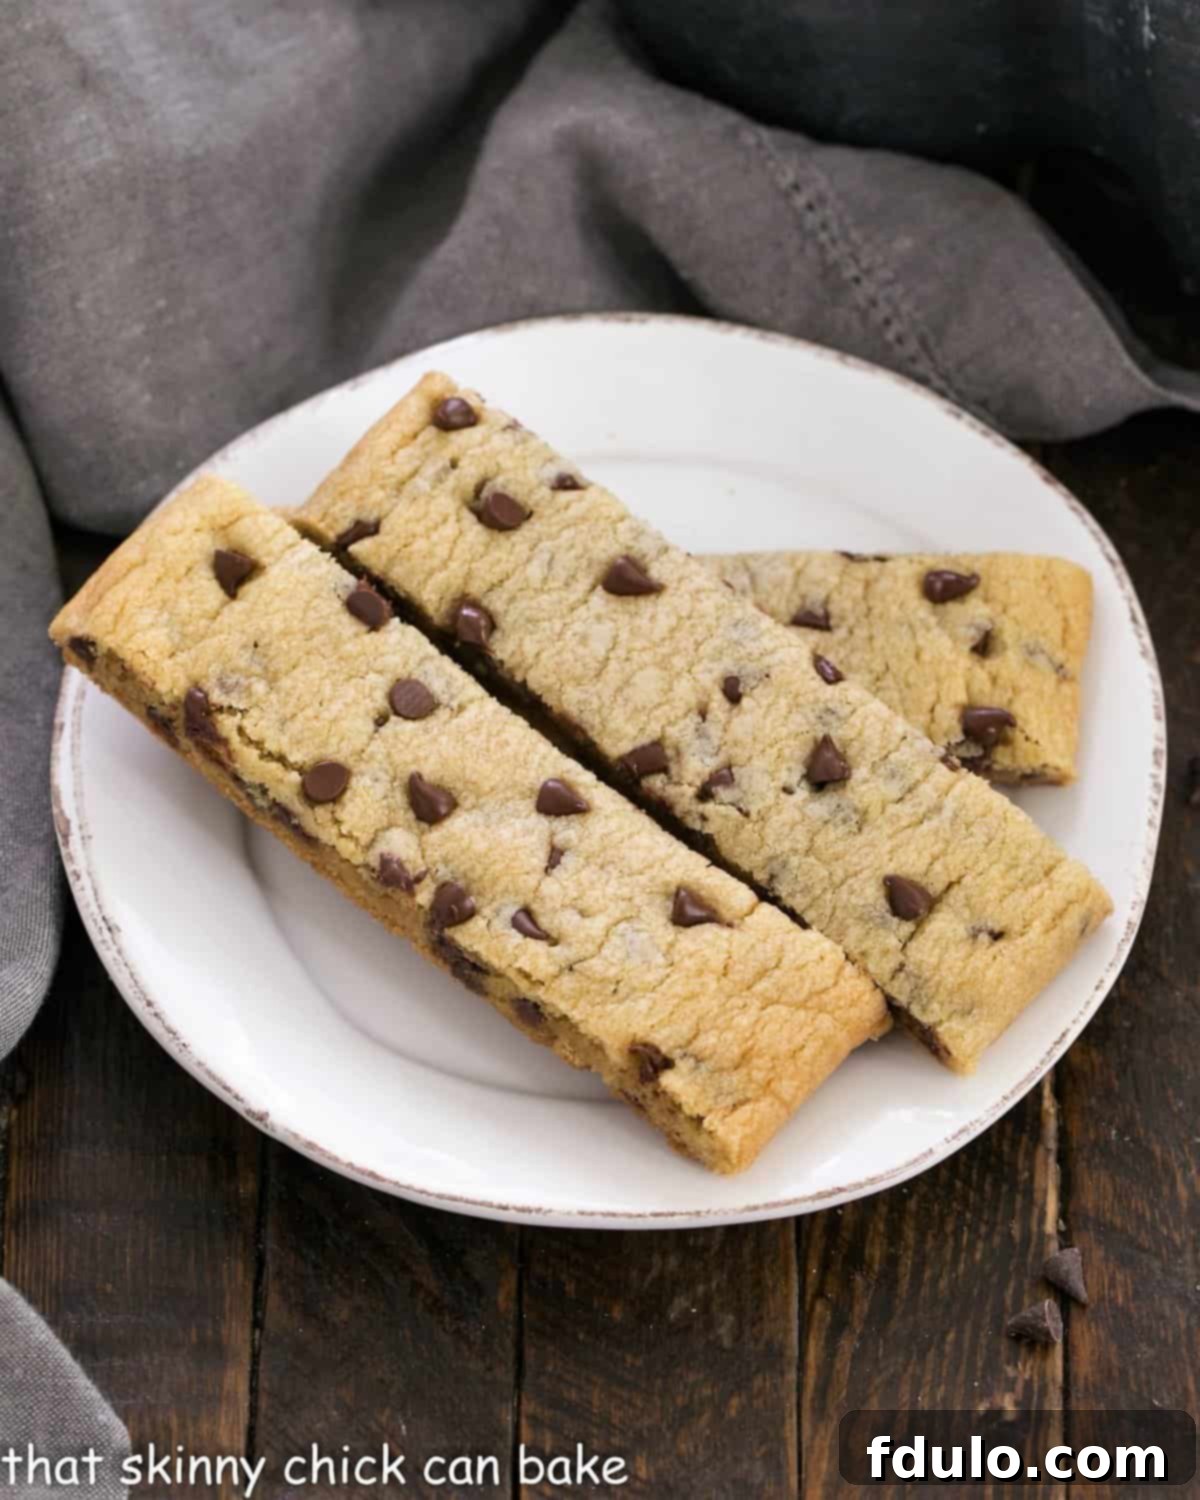
Making these delightful chocolate chip cookie sticks is surprisingly simple, transforming a classic cookie dough into an innovative, easy-to-manage format. The process is broken down into a few straightforward steps, ensuring delicious results with minimal fuss.
- Prepare the Dough: Begin with your favorite basic chocolate chip cookie dough recipe. For this recipe, we’ll use a dough that bakes into a slightly softer, chewier bar. Once your dough is mixed, divide it in half.
- Form and Bake: On a parchment-lined baking sheet, gently press each half of the dough into two flat, elongated rectangles (approximately 3×15 inches each), ensuring there’s enough space between them for even baking. Bake as directed in the recipe card until the edges are golden brown and the center is set but still slightly soft. This ensures a wonderfully chewy texture.
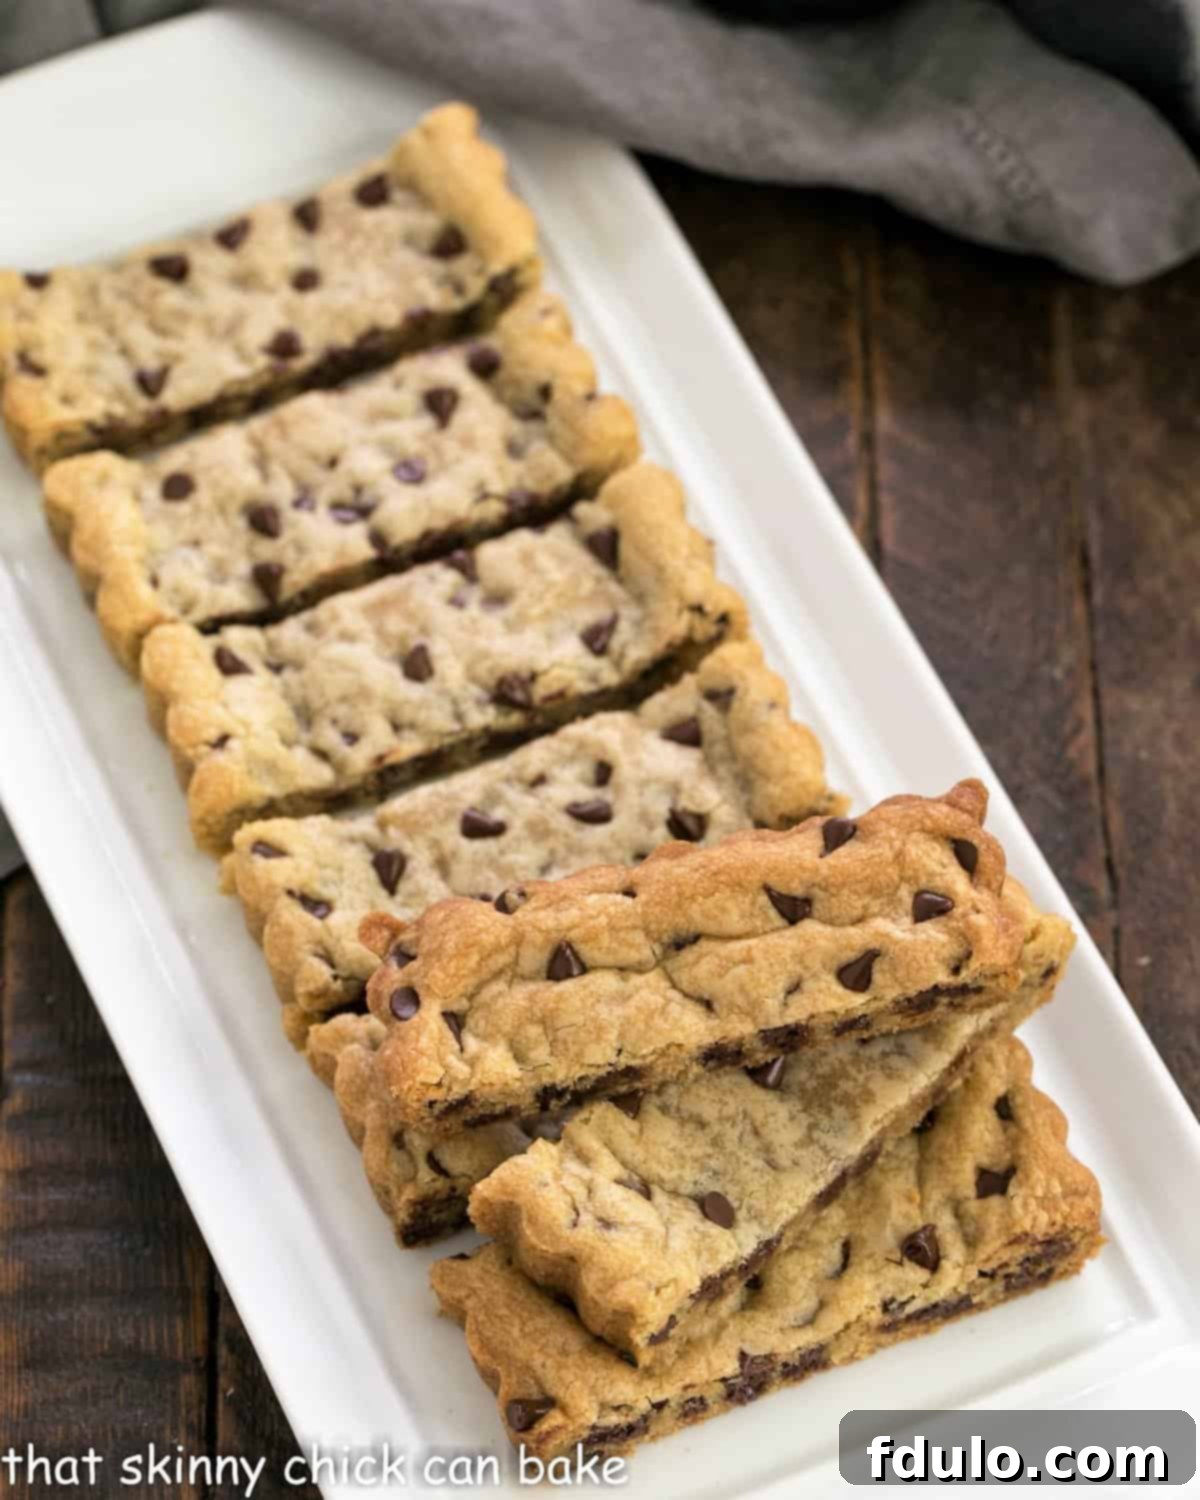
- Cool and Slice: After removing from the oven, allow the baked cookie bars to cool on the baking sheet for a few minutes. This initial cooling period is crucial, as it allows them to firm up slightly before slicing. While still warm but not hot, use a sharp knife or a pizza cutter to slice the large cookie bars into individual sticks of your desired width and length.
And just like that, you’ll have a batch of perfectly portioned, deliciously chewy chocolate chip cookie sticks ready for snacking, dunking, or sharing!
Expert Tips for Perfect Cookie Sticks Every Time
Achieving the perfect batch of chocolate chip cookie sticks is easy with a few insider tips. These expert suggestions will help you elevate your baking game and ensure your cookie sticks are consistently chewy, flavorful, and perfectly structured for all your dipping needs.
- Opt for Mini Chocolate Chips: While standard chocolate chips are delicious, mini chocolate chips are a game-changer for cookie sticks. Their smaller size ensures that each slice contains an even distribution of chocolate without creating large chunks that can tear or crumble the cookie when you cut into it. This results in cleaner, more professional-looking sticks.
- Precision Slicing is Key: The timing of your slicing is critical. For the cleanest cuts, slice the bars into sticks while they are still warm, but no longer piping hot. If they are too hot, they might fall apart; if they cool completely, they can become too firm and prone to cracking. A warm cookie bar will yield neat, distinct sticks.
- Utilize a Pizza Cutter: For quick and perfectly straight lines, a pizza wheel is an invaluable tool for slicing your cookie bars. Its sharp, rolling blade makes light work of cutting through the warm, soft cookie dough, ensuring uniform sticks with minimal effort. If you don’t have a pizza cutter, a very sharp chef’s knife will also work well.
- Explore Flavor Variations: Don’t limit yourself to just semi-sweet chocolate chips! Experiment with different types of chocolate to customize your cookie sticks. White chocolate chips offer a creamy, sweet contrast, milk chocolate chips provide a classic, milder sweetness, and bittersweet chocolate chips add a deeper, more intense cocoa flavor. You could even combine different types for a multi-layered chocolate experience.
- Add-Ins for Extra Zing: Take your cookie sticks to the next level by incorporating other delicious add-ins. Consider a sprinkle of sea salt before baking to enhance the chocolate flavor, or mix in finely chopped nuts like pecans or walnuts for an extra layer of texture and richness. A dash of cinnamon or a hint of almond extract can also add a unique twist to the traditional flavor profile.
- Parchment Paper is Your Best Friend: Always line your baking sheet with parchment paper. This not only prevents sticking, making it incredibly easy to lift the entire baked cookie bar from the pan, but it also ensures even baking and easy cleanup.
- Don’t Overbake: For that signature chewy texture, slightly underbaking your cookie sticks is preferable to overbaking. The edges should be golden brown, but the center should still look slightly soft and set. They will continue to cook slightly as they cool on the hot baking sheet.
Frequently Asked Questions About Chocolate Chip Cookie Sticks
Here are answers to some common questions about making, storing, and enjoying your delicious chocolate chip cookie sticks:
Like most cookies, these delightful cookie sticks are best stored at room temperature in an airtight container. They will maintain their freshness and wonderful chewy texture for up to 3 days. For longer storage, they can be frozen for up to 3 months. To freeze, arrange the cooled sticks in a single layer on a baking sheet to flash freeze for about 30 minutes, then transfer them to a freezer-safe bag or container. This prevents them from sticking together. My husband enjoys them straight from the freezer, offering a delightful chewy-cold treat. However, for a softer, warm experience with melty chocolate chips, my daughter prefers to microwave them for just a few seconds.
Achieving that perfect chewy texture in chocolate chip cookies, or in this case, cookie sticks, comes down to a few key factors. The specific recipe and the ratio of fat to flour play a significant role. A higher proportion of brown sugar to white sugar also helps, as brown sugar contains molasses which adds moisture and chewiness. Incorporating an extra egg yolk can further boost the moisture content, contributing to a softer, chewier bite. Crucially, slightly underbaking the cookies is essential. Remove them from the oven when the edges are set and lightly golden, but the center still looks a bit soft. They will continue to set as they cool, resulting in that coveted chewy, soft interior.
The stick shape opens up a world of creative possibilities beyond just simple snacking! Here are some fun ideas:
- Make Sandwich Cookies: Spread your favorite frosting, Nutella, or peanut butter on the flat side of one cookie stick and top it with another similarly sized stick for an instant, delightful sandwich cookie.
- Ultimate Dippers: Beyond hot beverages and milk, use them as dippers for a variety of sweet sauces. Think warm fudge sauce, a luscious brownie batter dip, s’mores dip, or even a creamy caramel sauce. They’re also fantastic with fruit dips or a simple dollop of whipped cream.
- Dessert Toppers: Crumble them over ice cream, yogurt parfaits, or puddings for an added crunch and burst of chocolatey flavor.
- Garnish for Hot Drinks: Serve a cookie stick alongside a mug of hot cocoa, a latte, or an Irish coffee for an elegant and delicious edible stirrer.
- Creative Gifts: Stack a few cookie sticks in a cellophane bag tied with a ribbon for a thoughtful homemade gift or party favor.
Or, as always, simply dunk them into a hot cup of coffee, tea, or a cold glass of milk for pure, unadulterated pleasure!
Absolutely! Preparing the cookie dough in advance is a fantastic time-saver. You can mix the dough, press it into its rectangular shape on parchment paper, cover it tightly with plastic wrap, and refrigerate it for up to 2-3 days. When you’re ready to bake, simply place the chilled dough rectangles directly onto your baking sheet (you might need to add a couple of extra minutes to the baking time). You can also freeze the raw dough rectangles, well-wrapped, for up to a month. Thaw in the refrigerator overnight before baking, or bake from frozen, adding about 5-7 minutes to the baking time.
Explore More Delicious Chocolate Recipes:
If you’ve fallen in love with these chocolate chip cookie sticks, you’ll surely enjoy exploring other chocolate-centric delights. Here are some hand-picked recipes that celebrate the rich, comforting flavors of chocolate in various forms, from classic cookies to decadent desserts:
- DoubleTree Chocolate Chip Cookie Recipe from The View from Great Island
- Mocha Cheesecake with Chocolate Chips
- Quadruple Chocolate Cookies
- Chocolate Chip Cookie Cake
- Gooey Chocolate Chip Pie
- Jumbo Chocolate Chip Cookies
- The New York Times Chocolate Chip Cookies
- Chocolate Chip Cookie Dough Dip
- Discover even more of the Best Homemade Chocolate Recipes
Stay connected and share your baking adventures with us on social media! Find us on Instagram, Facebook, and Pinterest. Don’t forget to tag us when you try one of our recipes! We love seeing your creations. And if you adore the results from this recipe, please consider leaving a 5-star rating in the recipe card below – your feedback helps others discover these amazing treats!
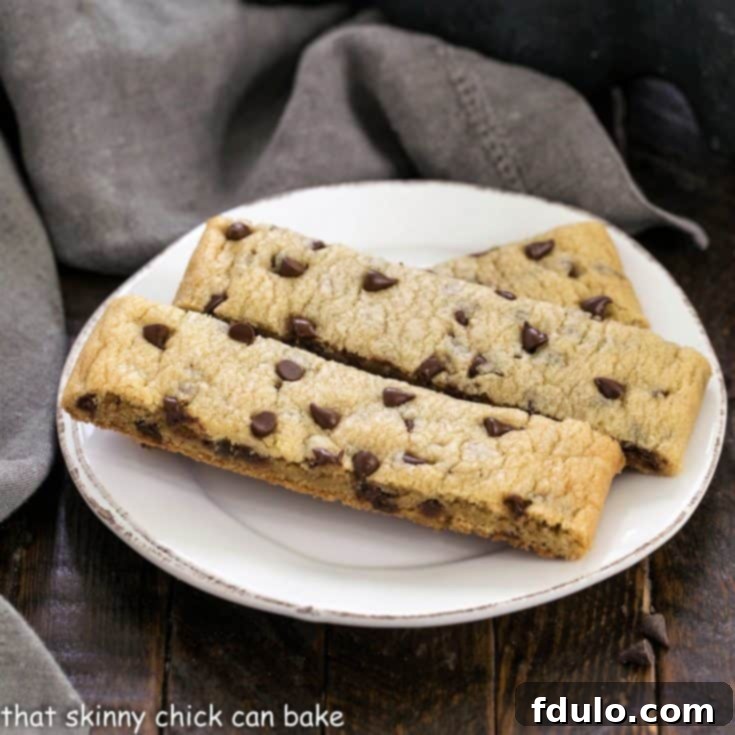
Chocolate Chip Cookie Sticks
20 minutes
13 minutes
15 minutes
48 minutes
30 Cookie Sticks
An incredibly easy and fun way to enjoy classic chocolate chip cookies! These chewy cookie sticks are perfectly shaped for dunking in milk or dipping into your favorite sauces, making them an ideal snack or dessert for any occasion.
Ingredients
- ½ cup (1 stick) unsalted butter, melted
- ½ cup granulated white sugar
- ½ cup packed light brown sugar
- 2 teaspoons pure vanilla extract
- 1 large egg
- ½ teaspoon baking soda
- ½ teaspoon salt
- 1¾ cups all-purpose flour
- 1 cup mini chocolate chips (for easier slicing)
Instructions
- Prepare Oven and Pan: Preheat your oven to 375°F (190°C). Line a large baking sheet (approximately 13×18 inches) with parchment paper, allowing some overhang on the sides for easy lifting.
- Combine Sugars and Butter: In a large mixing bowl, combine the melted butter with both the granulated white sugar and light brown sugar. Stir well until thoroughly combined and smooth. Allow the mixture to cool for a few minutes to prevent scrambling the egg.
- Add Wet Ingredients and Dry: Stir in the vanilla extract and the egg until just combined. In a separate small bowl, whisk together the baking soda and salt with the flour. Gradually add the dry ingredients to the wet ingredients, mixing until just combined. Be careful not to overmix. Fold in the mini chocolate chips until evenly distributed throughout the dough.
- Shape the Dough: Divide the cookie dough in half. On the prepared baking sheet, shape each half of the dough into two distinct rectangles, approximately 3×15 inches each. Ensure there is at least 1-2 inches of space between the two dough rectangles for even baking and spreading.
- Bake: Bake in the preheated oven for 10-13 minutes, or until the edges are golden brown and the centers are set but still look slightly soft. Remember, slight underbaking helps achieve a chewier texture.
- Cool and Slice: Once baked, remove the baking sheet from the oven. Let the cookie bars cool on the baking sheet for about 5-10 minutes. While still warm (but not hot to the touch), use a pizza cutter or a very sharp knife to slice each large cookie bar into individual sticks of your desired width (typically about 1 inch wide). Transfer the sticks to a wire rack to cool completely.
Notes
Adapted from Hugs and Cookies XOXO for an optimized chewy texture and easy preparation. Feel free to adjust the size of your sticks based on preference, but aim for consistent dimensions for even baking and an appealing presentation.
Recommended Products
As an Amazon Associate and member of other affiliate programs, I earn from qualifying purchases.
- Reynolds Kitchens Non-Stick Baking Parchment Paper Sheets – 12×16 Inch, 22 Count
- USA Pan Bakeware Half Sheet Pan
Nutrition Information:
Yield:
30
Serving Size:
1 Cookie Stick
Amount Per Serving:
Calories: 109
Total Fat: 5g
Saturated Fat: 3g
Trans Fat: 0g
Unsaturated Fat: 2g
Cholesterol: 14mg
Sodium: 85mg
Carbohydrates: 16g
Fiber: 1g
Sugar: 10g
Protein: 1g
HOW MUCH DID YOU LOVE THIS RECIPE?
Please leave a comment on the blog or share a photo on Pinterest and tag us!
