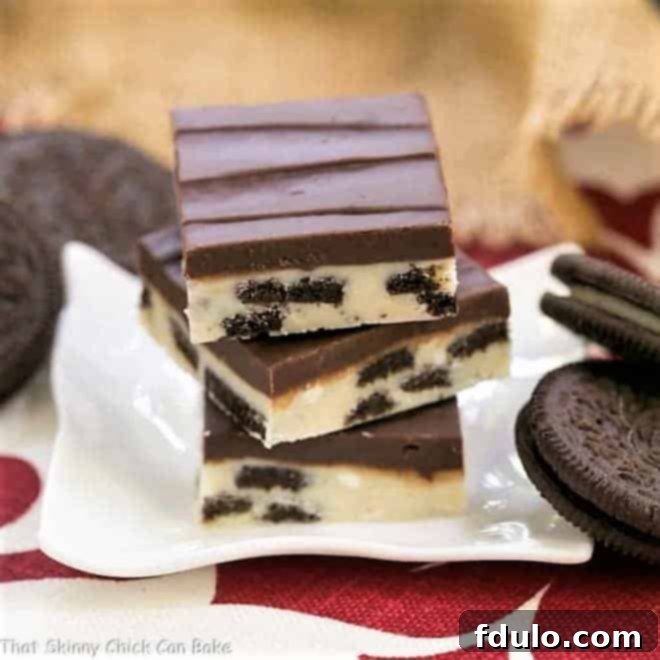
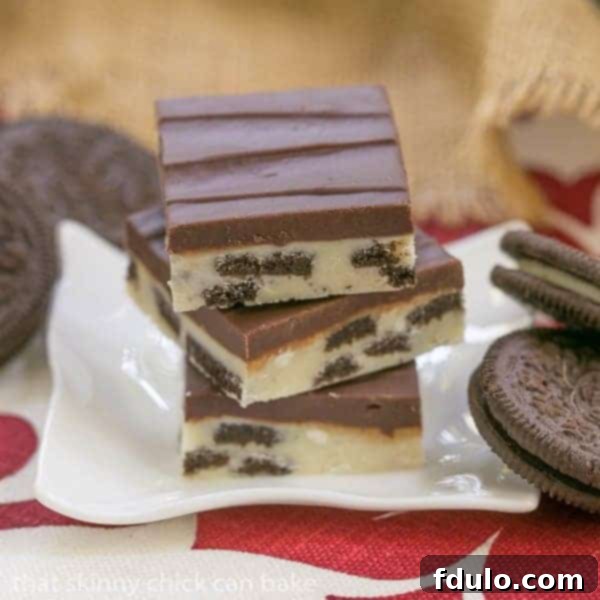
Indulge in the ultimate homemade treat with this incredible Double Decker Oreo Fudge! This exquisite dessert masterfully combines the creamy richness of white chocolate, the deep intensity of dark chocolate, and the irresistible crunch of classic Oreos into one spectacular bite. It’s a symphony of textures and flavors that will delight your senses and leave everyone craving more.
Say goodbye to complicated confectionery! Our Easy Fudge Recipe is a true game-changer, requiring just 5 simple ingredients and your microwave. Forget about candy thermometers or endless stirring over a hot stove; this recipe is designed for effortless preparation, making it a dream for both seasoned bakers and complete novices. Get ready to impress your family and friends with a treat so delicious, they’ll ask for it again and again!
Why This Homemade Oreo Fudge is a Must-Make
If you’re looking for a dessert that delivers on taste, ease, and visual appeal, this homemade Oreo fudge is your answer. Here’s why it deserves a top spot in your recipe collection:
- Effortless Preparation: With only 5 ingredients, this recipe strips away all the fuss. You won’t need a candy thermometer, and the microwave does most of the heavy lifting. It’s truly a foolproof method, perfect for busy schedules or spontaneous sweet cravings.
- Irresistible Flavor Combination: Experience the perfect harmony of sweet white chocolate, classic crunchy Oreos, and a luscious dark chocolate top layer. Each bite offers a delightful contrast that keeps you coming back for more. It’s a flavor profile that appeals to nearly everyone!
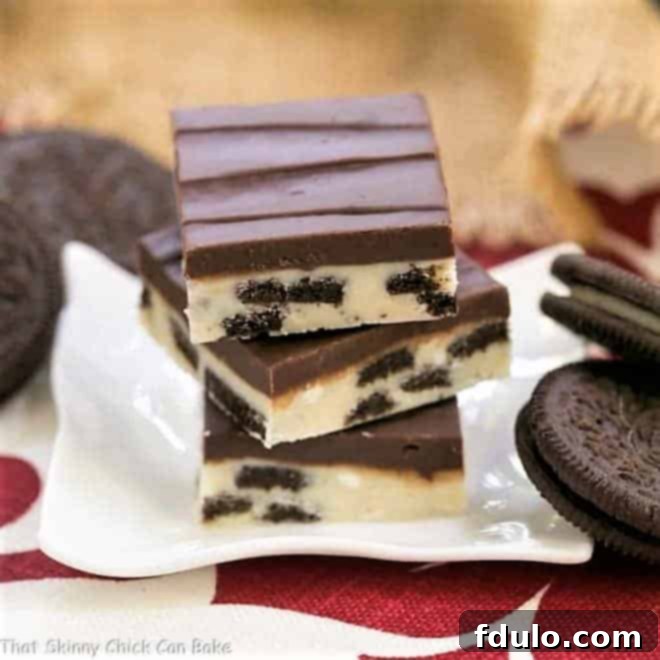
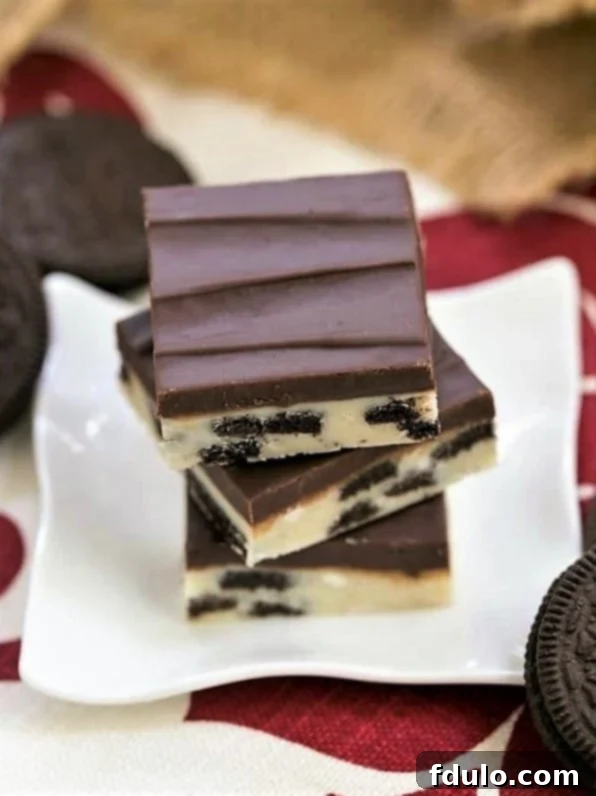
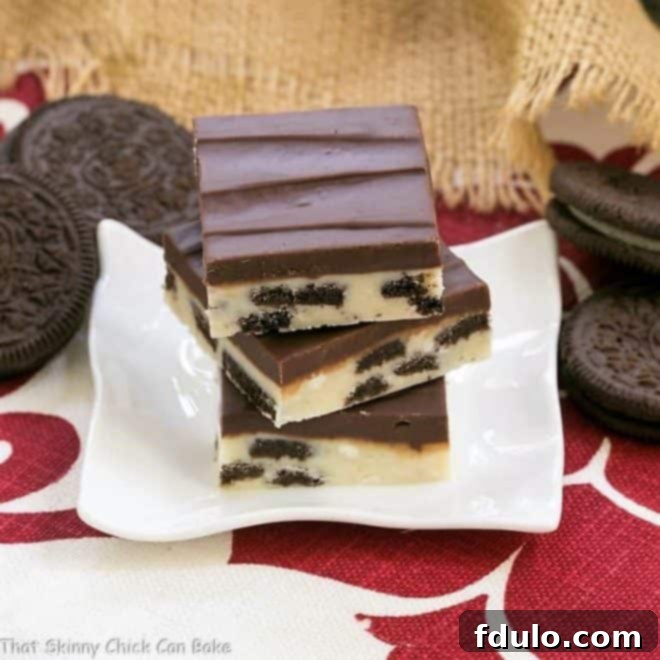
- Visually Stunning: The distinct two-tone layers, studded with Oreo pieces, make this fudge incredibly appealing. It looks gourmet, yet it’s astonishingly simple to achieve, making it ideal for gifting or holiday platters.
- Crowd-Pleaser: Whether you’re hosting a party, bringing a dish to a potluck, or simply treating your family, this Double Decker Oreo Fudge is always a hit. Its familiar flavors in a new format are universally loved.
- Versatile & Adaptable: While fantastic as is, this recipe also serves as a wonderful base for creative variations. Easily switch up Oreo flavors or add different toppings to suit any occasion or personal preference.
Our family’s love affair with Oreos began years ago, largely influenced by my husband, Bill. For him, Double-Stuf Oreos are the pinnacle, though any standard Oreo variety is met with enthusiasm. Me? While I appreciate the structural integrity of an Oreo pie crust, I usually pass on the cookies themselves. However, a new fudge recipe? That’s a different story altogether! Fudge is the one dessert that consistently gets the entire household excited.
To satisfy the family’s insatiable sweet tooth, I’m always on the lookout for creative ways to incorporate these beloved sandwich cookies into my desserts. So, when I stumbled upon Danielle’s brilliant recipe for Double Decker Oreo Fudge on her blog, Hugs & Cookies XOXO, I knew instantly that I had to make it. It promised the best of both worlds: decadent fudge and everyone’s favorite Oreos, all in one glorious package. It was an undeniable win-win for my crew!
How to Make The Perfect Double Decker Oreo Fudge: A Step-by-Step Guide
Making this delightful layered fudge is incredibly straightforward. Follow these simple steps for a dessert that looks and tastes like it took hours, but only takes minutes!
- Essential Ingredient Check: Start by ensuring you have a can of sweetened condensed milk on hand. This is a crucial distinction from evaporated milk, which lacks the added sugar and thicker consistency necessary for fudge. Using the wrong one will result in a runny mixture that won’t set.
- Preparation is Key: Begin by dividing the single can of sweetened condensed milk equally between two separate microwave-safe bowls. One bowl will be for your white chocolate layer, and the other for the dark chocolate layer.
- Mastering the White Chocolate Layer: In one bowl with half of the sweetened condensed milk, add your white chocolate chips (and butter, if using). Microwave this mixture carefully, using short bursts of 30 seconds at a time. After each interval, remove the bowl and stir thoroughly. This prevents the chocolate from overheating and seizing. Continue this process until most of the white chocolate appears soft and melted, with perhaps a few tiny unmelted bits remaining.
- Utilize Residual Heat: Don’t keep microwaving until every last chip is perfectly smooth! The residual heat from the warm chocolate and milk will continue to melt any remaining small pieces as you stir. Keep stirring until the mixture is completely smooth and glossy.
- Integrate the Oreos: Once your white chocolate fudge base is smooth, gently fold in your quartered Oreos. Stir just enough to distribute them evenly without overmixing. Then, pour this delightful mixture into your prepared pan, spreading it into an even layer with an offset spatula.
- Crafting the Dark Chocolate Layer: Repeat the melting process with the semi-sweet chocolate chips (and butter) in the second bowl of sweetened condensed milk. Microwave in 30-second intervals, stirring vigorously after each, until smooth and well combined.
- Layer and Chill: Carefully pour the warm dark chocolate fudge mixture over the white chocolate Oreo layer, spreading it gently to create a distinct top layer. Once both layers are in place, transfer the pan to the refrigerator and chill for at least 2-4 hours, or until the fudge is completely firm and set. This is essential for clean cuts.
Pro Tips for Making Your Easy Fudge Recipe Absolutely Perfect
While this easy fudge recipe is inherently simple, a few expert tips can elevate your results from great to truly exceptional:
- The Magic of Non-Stick Foil: Lining your baking pan (an 8×8 inch pan works perfectly) with non-stick foil is a game-changer. Ensure the foil extends over the edges of the pan, creating “slings.” Once your fudge is set, simply use these foil extensions to lift the entire slab out of the pan. This technique guarantees effortless removal and makes for incredibly easy cleanup, saving you time and frustration. Transfer the fudge to a cutting board before slicing.
- The Power of an Offset Spatula: For beautifully smooth and even layers, an offset spatula is your best friend. Its angled blade allows you to spread both the white chocolate Oreo layer and the dark chocolate layer with precision, ensuring a consistent thickness and a professional, visually appealing finish. If you don’t have one, the back of a spoon or a regular spatula can work, but an offset spatula truly makes a difference.
- Achieving Perfect Slices: Once your fudge is completely chilled and firm, use a hot, dry knife for the cleanest cuts. Run your knife under very hot water for a few seconds, then dry it thoroughly with a clean towel before each slice. This warms the blade just enough to glide through the fudge without dragging or sticking, creating neat, crisp edges. Repeat this warming and drying process as needed for every cut.
- Quality Ingredients Matter: While the recipe is simple, the quality of your chocolate chips and Oreos can significantly impact the final taste. Opt for brands you enjoy eating on their own, as their flavor will shine through in the fudge. High-quality chocolate melts more smoothly and offers a richer taste.
- Don’t Rush the Chill: Patience is a virtue when it comes to setting fudge. Allow the fudge ample time in the refrigerator (at least 2-4 hours, or even overnight) to firm up completely. Trying to cut it too soon will result in a messy, sticky outcome.
Inspired by Hugs & Cookies XOXO
A special thank you goes out to my incredibly talented friend, Danielle, from Hugs & Cookies XOXO, for sharing such a magnificent dessert recipe! Her culinary creativity consistently inspires me to explore new and delicious treats in my kitchen.
I highly recommend you explore Danielle’s original take on this recipe, along with all the other fantastic creations on her blog and social media platforms. You’ll find a treasure trove of delightful recipes that are sure to spark your own baking adventures!
Visit Hugs & Cookies XOXO for more sweet inspiration
Connect on Facebook
Follow on Twitter
Discover More Irresistible Fudge Recipes You’ll Love!
If you’ve fallen in love with the simplicity and deliciousness of this Double Decker Oreo Fudge, you’re in for a treat! Fudge is a versatile and rewarding dessert to make, perfect for any occasion. Here are some more fantastic fudge recipes from our kitchen that we know you’ll adore:
- No-Fail Chocolate Fudge: A classic, rich chocolate fudge that lives up to its name – impossible to mess up!
- Oreo White Chocolate Fudge: If you’re a fan of the white chocolate layer in this recipe, this all-white-chocolate version with even more Oreos is a must-try.
- Easy Red Velvet Fudge: Indulge in the vibrant color and unique flavor of red velvet, transformed into a decadent fudge.
- Chocolate Marshmallow Fudge: A dreamy, gooey fudge infused with soft marshmallows, offering a delightful texture contrast.
- Easy Pumpkin Fudge: Perfect for autumn, this seasonal fudge brings the warm, comforting flavors of pumpkin spice to your dessert table.
- Milky Way Fudge: Capture the essence of your favorite candy bar in a smooth, chewy fudge form.
- Fudge Snowflakes: Adorably festive and fun to make, these fudge snowflakes are perfect for holiday celebrations.
- Layered Chocolate Peanut Butter Fudge: The classic combination of chocolate and peanut butter in a beautiful, irresistible layered fudge.
- Explore even more of my Best Dessert Recipes for endless sweet inspiration!
Stay Connected: Don’t Forget to Subscribe!
Don’t miss out on another delicious recipe or baking tip! Have you subscribed to my weekly newsletter yet? Every Saturday morning, you’ll receive the latest blog recipes directly to your inbox, along with some seasonal favorites and exclusive content. As a special bonus for new subscribers, you’ll also get a fantastic series of 5 Tips & Recipes for Leveling Up Your Desserts! It’s the perfect way to keep your kitchen inspired. And, of course, you have the flexibility to unsubscribe at any time.
SUBSCRIBE HERE—> https://bit.ly/3tLQIcL
This recipe was originally shared in June 2015. The text and details were lovingly updated and expanded in 2021 to provide an even better experience for our readers.
Double Decker Oreo Fudge Recipe
10 minutes
4 minutes
14 minutes
25 squares
An easy layered fudge with Oreos, white and semi-sweet chocolate. Adapted from Bakers Royale via Hugs & Cookies
Ingredients
- 14 ounces sweetened condensed milk, split in half (1 can)
- 10 Oreos, chopped in quarters
- 1 cup white chocolate chips
- 2 tablespoon butter
- 1 cup of semi-sweet chocolate chips
Instructions
- Line an 8 x 8-inch pan with non-stick foil, leaving an overhang on the sides to act as handles. Set aside.
- Divide the sweetened condensed milk equally between two separate microwave-safe bowls. Roughly chop the Oreos into quarters.
- In one bowl with half of the sweetened condensed milk, add the white chocolate chips and 2 tablespoons of butter. Microwave for 30 seconds, then stir well. Continue microwaving in 15-30 second intervals, stirring thoroughly after each, until the chocolate is smooth and completely melted. Stir in the chopped Oreos and pour the mixture into the prepared pan, spreading it evenly.
- In the second bowl with the remaining sweetened condensed milk, add the semi-sweet chocolate chips. Microwave, stopping and stirring at frequent 15-30 second intervals, until the chocolate is smooth and melted.
- Pour the semi-sweet chocolate mixture carefully over the Oreo layer in the pan, spreading it gently to create a distinct top layer. Refrigerate until fully set (at least 2-4 hours). Once firm, lift the fudge out using the foil handles and cut it into squares.
Notes
Using a hot, dry knife will help make for neat slices. Run your knife under very hot water, then dry well before using. Repeat as needed for each cut.
Recommended Products
As an Amazon Associate and member of other affiliate programs, I earn from qualifying purchases.
- OXO Cutting Board
- Nonstick Foil
- 8 x 8-inch Baking Pan
Nutrition Information:
Yield:
25
Serving Size:
1 square
Amount Per Serving:
Calories: 168Total Fat: 8gSaturated Fat: 5gTrans Fat: 0gUnsaturated Fat: 2gCholesterol: 11mgSodium: 59mgCarbohydrates: 23gFiber: 1gSugar: 21gProtein: 3g
HOW MUCH DID YOU LOVE THIS RECIPE?
Please leave a comment on the blog or share a photo on Pinterest
