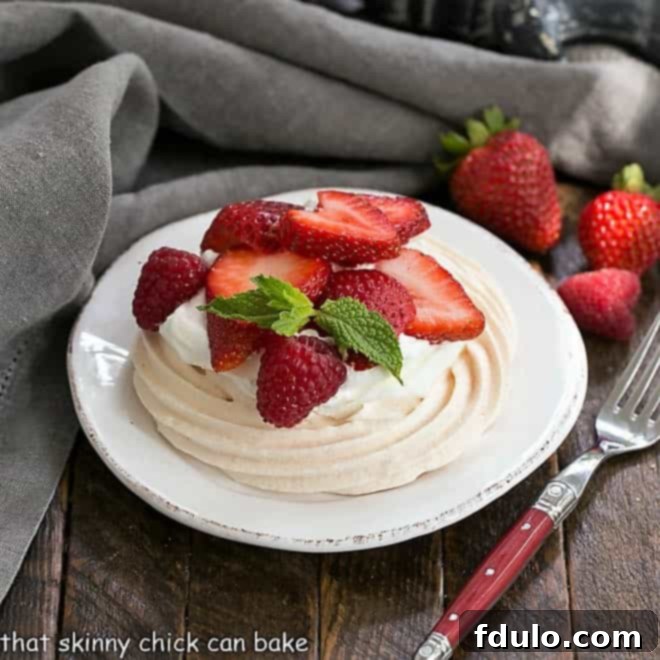
Welcome to the enchanting world of Mini Pavlovas, where elegance meets delightful simplicity. If you’re searching for an impressive yet effortlessly chic dessert that promises to captivate both the eye and the palate, look no further. These individual meringues, crowned with a cloud of sweetened whipped cream and vibrant fresh fruit, are a true culinary masterpiece. Each bite offers a harmonious blend of crisp exterior, soft, marshmallowy interior, and creamy, fruity freshness. Best of all, they are naturally gluten-free, making them an inclusive choice for almost any occasion.
Imagine the delight of your guests as they are presented with their very own perfect dessert. These Individual Pavlovas are not just treats; they are miniature works of art, designed to melt in your mouth and leave a lasting impression of sophisticated indulgence. Their versatility means they can be tailored to any season or taste, making them a dessert that truly shines.
Why These Mini Pavlovas Are an Absolute Must-Make
The journey to perfecting these mini pavlovas began one summer when friends expressed a desire to see a pavlova demonstration. Creating smaller, individual portions proved to be the ideal solution, allowing everyone to enjoy their own personal dessert experience. While a simple cut-corner Ziploc bag works perfectly for piping, using a star tip elevates the presentation to a professional level. Regardless of your piping method, the taste remains exquisitely delicious.
- Personalized Perfection: Guests and family absolutely adore having their own individual dessert. It adds a touch of specialness to any gathering, eliminating the need for slicing and serving a larger cake. Each mini pavlova is a personal invitation to pure bliss.
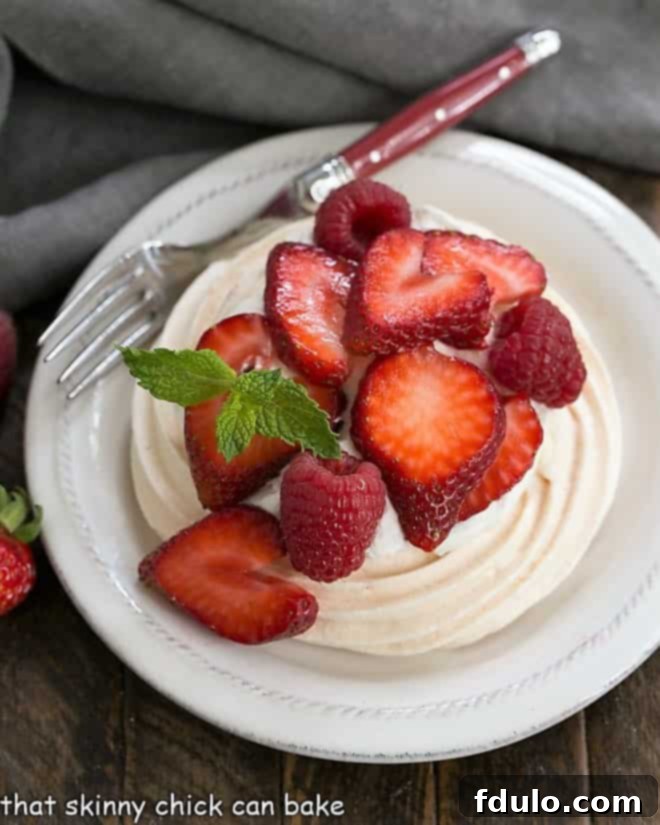
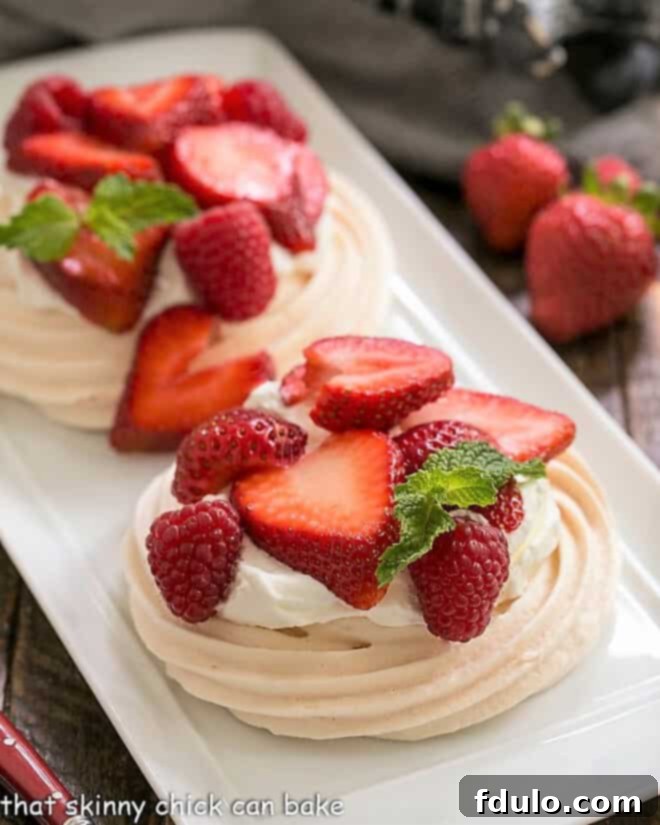
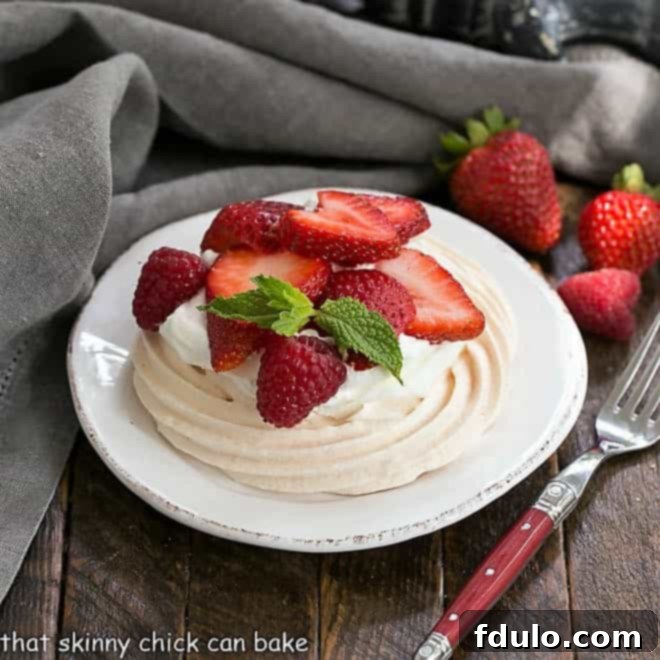
- Stunningly Beautiful and Delicious: These mini pavlovas are as visually appealing as they are scrumptious. Their pristine white meringue bases, adorned with a swirl of cream and a medley of colorful fruits, make for an unforgettable presentation that’s sure to impress.
- Unmatched Topping Versatility: One of the greatest joys of pavlova is its adaptability. The sweetened whipped cream can be customized with an array of toppings to suit any season, theme, or personal preference. Consider vibrant lemon curd for a zesty kick, decadent fudge sauce for chocolate lovers, an assortment of fresh berries like raspberries, blueberries, or blackberries, juicy peach slices in summer, or even warm sautéed apples for a cozy autumn treat. The possibilities are truly endless, limited only by your imagination!
- A Naturally Gluten-Free Delight: For those with dietary restrictions or anyone looking for a lighter dessert option, pavlovas are a fantastic choice. Made primarily from egg whites and sugar, they are inherently gluten-free, ensuring everyone can indulge without compromise.
- Effortless Elegance: Despite their sophisticated appearance, mini pavlovas are surprisingly simple to make. With a few key techniques and a little patience, you can create a dessert that looks like it came straight from a gourmet patisserie.
Crafting Your Perfect Mini Pavlovas: A Step-by-Step Guide
Creating these delightful mini pavlovas is a rewarding process that begins with quality ingredients and a careful approach to meringue making. Follow these steps to achieve perfectly crisp yet tender pavlovas, ready for your favorite toppings.
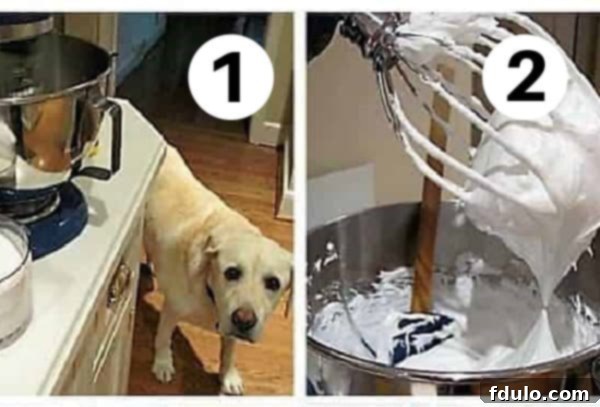
- Preparation is Key: Begin by gathering all your ingredients and ensuring your stand mixer is ready. This organized approach makes the baking process smooth and enjoyable.
- Achieving Billowy Peaks: In a clean, dry bowl, beat the egg whites with sugar until they transform into a glossy, billowy meringue. Look for stiff peaks that hold their shape beautifully.
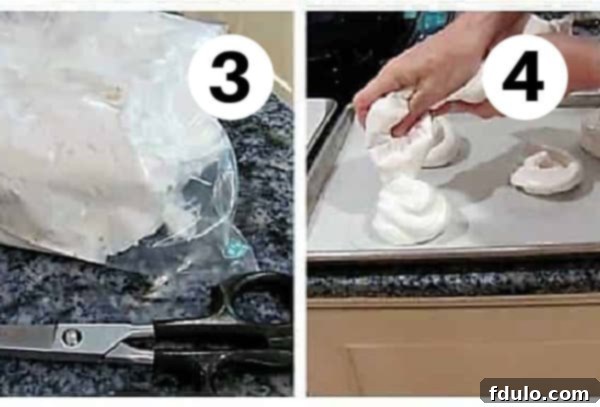
- Piping Your Pavlovas: Carefully scrape the fluffy meringue batter into a piping bag fitted with an M1 star tip for an elegant design. If you don’t have a piping tip, a large Ziploc bag with a corner snipped off works wonderfully for creating neat rounds.
- Shape and Create a Well: Pipe rounds of meringue onto your prepared baking sheet. Using the back of a spoon, gently create a slight indentation in the center of each round. This well will serve as a perfect pocket for your luscious toppings once the pavlovas are baked and cooled.
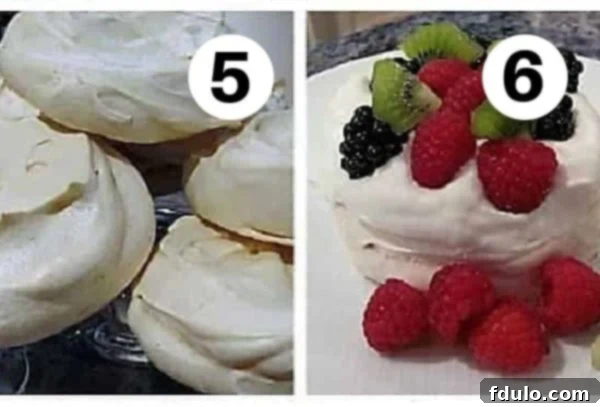
- Bake to Perfection: Follow the recipe’s baking instructions carefully. The key to a perfect pavlova is a low and slow bake, followed by cooling in the oven.
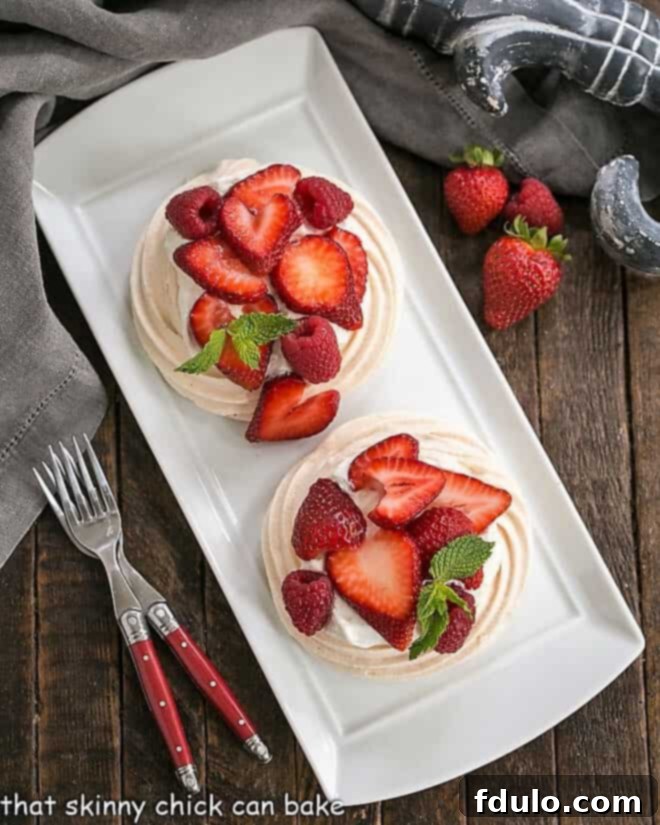
- Cool and Garnish: Once baked and fully cooled, generously top your mini pavlovas with freshly sweetened whipped cream and an abundance of your favorite fresh berries. Prepare to be delighted!
Mastering Pavlova: Insider Secrets for Success
Creating flawless pavlovas involves a few crucial techniques and a keen eye for detail. These expert tips will guide you to success, ensuring your meringues are perfect every time.
- Cold Eggs for Easy Separation: Always separate your egg whites when the eggs are cold. This makes the yolks firmer and less likely to break, preventing any accidental yolk contamination which can hinder whipping.
- PRO-Tip: Room Temperature for Whipping: While separating cold, allow your egg whites to come to room temperature before whipping. Room temperature egg whites whip up faster, achieve greater volume, and form more stable peaks, resulting in a lighter, airier meringue.
- Freshness Matters: Use the freshest eggs available. Fresher eggs tend to have thicker whites, which yield a more stable and voluminous meringue.
- Scrupulous Cleanliness: Your mixing bowl and beaters must be impeccably clean and completely free of any grease or oil. Even the tiniest speck of fat, whether from egg yolk or residual oil, will prevent the egg whites from whipping properly. To ensure this, I always run my stand mixer bowl and beaters through the dishwasher before making meringues.
- Superfine Sugar for Superior Meringue: Opt for superfine sugar, also known as caster sugar, if possible. Its finer granules dissolve more readily into the egg whites, creating a smoother, more stable, and less gritty meringue. Domino brand, for instance, offers superfine sugar.
- Parchment Paper is Your Friend: Always line your baking sheets with parchment baking sheets. This prevents sticking, ensures easy removal of the delicate pavlovas, and makes cleanup a breeze.
- Stabilize Your Whipped Cream: If you plan to make your pavlovas ahead of time or anticipate leftovers, consider using a whipped cream stabilizer like Whip-It by Oetker. This product helps the whipped cream maintain its light and fluffy texture for several days, preventing it from weeping or deflating. It’s often found in grocery stores or specialty food shops.
- PRO-Tip: The Power of Acid: Adding a touch of acid, such as white wine vinegar, lemon juice, or cream of tartar, makes the meringue more stable. The acid helps to denature the egg white proteins, allowing them to form a stronger, more resilient foam that holds its structure during baking.
- Gradual Sugar Addition: Incorporate the sugar gradually, a tablespoon at a time, while beating. This allows the sugar to fully dissolve into the egg whites, creating a smooth and shiny meringue without collapsing the foam.
- Bake Low and Slow: The secret to a perfect pavlova texture lies in baking it at a low temperature for an extended period, followed by cooling in the oven. A longer baking time will result in a crisper pavlova, while a slightly shorter time can yield a delightful “squidgy” or chewy center, as Nigella Lawson famously calls it. We often prefer a balance, with a delicate crispness on the outside and a tender chewiness inside.
- Top with the Freshest Fruits: The crowning glory of any pavlova is the fruit. While traditionally made with strawberries, passion fruit, and bananas, don’t hesitate to experiment. Raspberries, kiwis, mangoes, or any of the ripest, most delicious seasonal fruits will create an irresistible dessert.
- Storage Savvy: Store unfrosted meringue shells in an airtight container at room temperature for up to two days. Once frosted with cream and fruit, pavlovas are best enjoyed within a few hours, as the moisture from the toppings can soften the meringue.
Frequently Asked Questions About Mini Pavlovas
This is one of the most common issues in meringue making, and it almost always comes down to contamination. Most likely, there was an undetectable speck of egg yolk that made its way into the whites, or your mixing bowl or beaters had some residual grease, oil, or fat on them. Even a tiny, microscopic amount of fat can prevent the egg whites from whipping up properly into stiff peaks. Ensure all equipment is meticulously clean and dry before you begin.
Yes, absolutely. Overbeating egg whites is a common pitfall. If you beat them past the point of stiff, glossy peaks, you’ll notice the egg whites begin to look dry, granular, and may even start to droop or separate from the whisk. This indicates that the protein structure has been overworked and broken down. If this happens, unfortunately, there’s no recovery; you will have to start over for the best results. Over-whipped egg whites lose their airiness and will lead to a heavier, less desirable texture in your final pavlova, rather than the classic light and crisp meringue.
Unassembled pavlova shells can be stored in an airtight container at room temperature for up to two days. Ensure they are completely cool before storing to prevent condensation. Once topped with whipped cream and fruit, pavlovas are best enjoyed immediately or within a few hours. The moisture from the cream and fruit will eventually soften the delicate meringue.
While both meringue and pavlova are egg-white based desserts, pavlova has a distinct texture. Traditional meringue is typically crisp and dry all the way through. Pavlova, on the other hand, contains cornstarch and vinegar (or another acid), which creates a crisp outer shell and a soft, marshmallowy, almost chewy interior. This unique texture is what sets pavlova apart as a truly special dessert.
Explore More Meringue Delights
Once you’ve mastered these mini pavlovas, you’ll find that the principles of meringue-based desserts open up a world of light, airy, and truly delectable treats. Here are a few more of my favorite meringue recipes to inspire your next baking adventure:
- Peppermint Snowcap Meringues from Belly Full
- Fresh Strawberry Meringue Cake
- Strawberry Pavlova
- Chocolate Meringue Cake
- Strawberry Meringue Roll
- Chocolate Raspberry Pavlova
- More of the Best Dessert Recipes

Stay connected and share your baking triumphs with me on social media! Find me @ Instagram, Facebook, and Pinterest. Don’t forget to tag me when you whip up one of my recipes! If you love the results, please consider leaving a 5-star rating in the recipe card below – your feedback means the world to me!
Mini Pavlovas
30 minutes
30 minutes
1 hour
8 servings
These exquisite individual pavlovas, featuring a crisp meringue shell and a tender, marshmallowy interior, are perfectly topped with luscious sweetened whipped cream and an assortment of fresh, vibrant fruits. An elegant and naturally gluten-free dessert that’s simple to make and always impresses.
Ingredients
- 4 egg whites
- Pinch of salt
- 1 ¼ cups superfine sugar, if available
- 2 teaspoons corn starch
- 1 teaspoon white wine vinegar
- ½ teaspoon vanilla
To serve:
- 1 cup heavy cream
- ¼ cup powdered sugar
- 2 cups sliced strawberries or mixed fruit
Instructions
- Preheat the oven to 350º.
- Line 2 baking trays with parchment paper.
- Beat the egg whites and salt until the mixture forms satiny peaks.
- Keep beating while slowly adding the sugar. Continue beating till the meringue is stiff and shiny.
- Sprinkle meringue with cornstarch, vinegar, and vanilla. Mix in gently.
- Form meringues on the parchment paper about 4 inches in diameter (I traced 4-inch circles on the backside of parchment paper for a guide to size).
- I use a piping bag with a star tip, but you can also use a gallon-sized Ziploc bag. Cut the corner off the bag to pipe the meringue onto the parchment.
- Make an indentation in the middle of each pavlova with the back of a spoon.
- Put into the oven and immediately reduce the heat to 300º.
- Bake for 30 minutes. Turn off the oven and leave pavlovas inside for 1 ½ to 2 hours.
- Serve with sweetened whipped cream (Whip cream and powdered sugar until soft peaks form), fresh fruit and, if you’d like, a fruit syrup.
Notes
This recipe is adapted from Nigella Lawson’s insightful “How to be a Domestic Goddess,” offering a reliable method for perfect pavlovas. Please note that the total time listed does not account for the extensive cooling period required within the oven for optimal texture development, which is crucial for achieving that signature crisp exterior and soft interior.
Recommended Products
As an Amazon Associate and member of other affiliate programs, I earn from qualifying purchases.
- 1M Piping Tip
- Superfine Sugar
- KitchenAid KSM150PSER Artisan Tilt-Head Stand Mixer with Pouring Shield, 5-Quart, Empire Red
Nutrition Information:
Yield:
8
Serving Size:
1 pavlova
Amount Per Serving:
Calories: 273Total Fat: 11gSaturated Fat: 7gTrans Fat: 0gUnsaturated Fat: 3gCholesterol: 34mgSodium: 53mgCarbohydrates: 43gFiber: 1gSugar: 40gProtein: 3g
HOW MUCH DID YOU LOVE THIS RECIPE?
Please leave a comment on the blog or share a photo on Pinterest
