Rustic Peach Galette: An Effortless & Exquisite Summer Peach Dessert
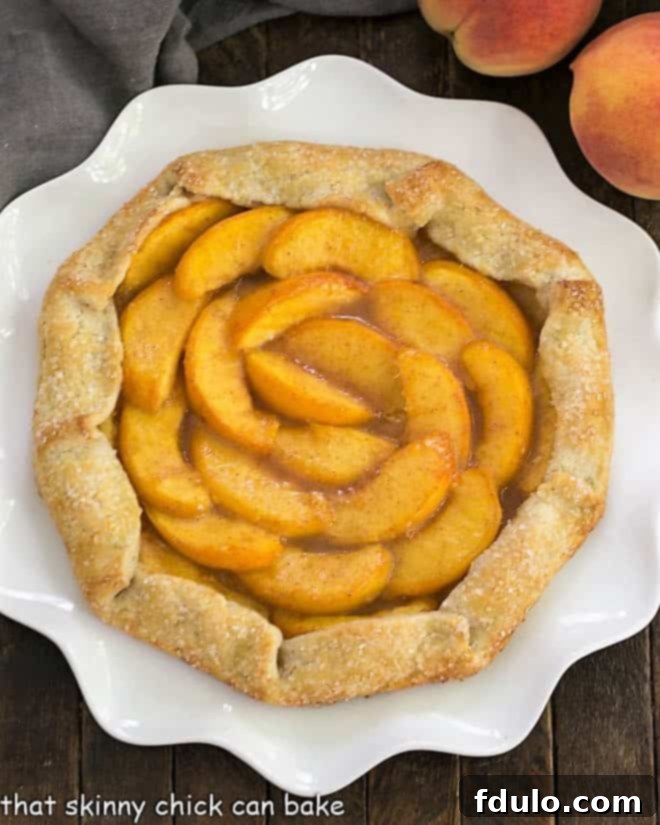
There’s nothing quite like the arrival of peak peach season. When you find yourself with an abundance of gloriously ripe, fragrant peaches, a Rustic Peach Galette stands out as the ultimate dessert to celebrate their vibrant flavor. This free-form, single-crust pastry is a beautiful and simple alternative to a traditional pie, offering all the delightful tastes and textures without any of the fuss.
For many home bakers, the thought of tackling a double-crust pie can be daunting. The intricate latticework, the delicate crimping – it can all feel a bit overwhelming. This is precisely where the charm of a galette shines! Requiring only one sheet of pastry that you artfully fold up around your luscious fruit filling, this galette delivers the wholesome, homemade goodness of a pie with unparalleled ease. It’s truly an irresistible easy peach tart recipe that promises a stunning presentation and an unforgettable taste, making it a perfect centerpiece for any summer gathering or a comforting treat for a quiet evening.
Why a Rustic Peach Galette is a Must-Make Summer Dessert
When summer delivers its bounty of sweet, juicy peaches, a galette is the perfect vehicle to let their natural deliciousness shine. Beyond its incredible flavor, here are several compelling reasons why this particular dessert should be at the top of your baking list:
- Embrace Rustic Beauty: The very essence of a galette is its rustic appearance. This means there’s no need to strive for perfection. Uneven folds or a slightly imperfect shape only add to its homemade charm and appeal, taking the pressure off for novice bakers.
- Effortless Elegance: Compared to a complex classic peach pie, a galette is significantly simpler to assemble. You get all the comforting flavors and textures of a homemade pie without the elaborate commitment of a double crust, making it a go-to dessert for busy days or impromptu celebrations.
- Showcase Summer’s Best: This homemade peach galette recipe is designed to highlight the juicy, ripe peaches of summer. Its open-face structure allows the vibrant color and natural sweetness of the fruit to take center stage, creating a truly spectacular seasonal treat.
- Versatility at Its Best: While peaches are the star here, galettes are incredibly versatile. Once you master this recipe, you can easily adapt it with other seasonal fruits, ensuring you have a delightful dessert for any time of year.
As the vibrant hues of summer begin to softly wane, I always make sure to savor the last of the season’s magnificent peaches with a special dessert. Galettes, with their inherent simplicity and delightful results, are my go-to. They capture all the beloved flavors and textures of a classic pie but bypass the common complexities associated with a double crust. The final batch of Michigan Red Haven peaches from my garden found their glorious purpose in this luscious Rustic Peach Galette. Soon enough, the crisp autumn air will call for an equally delightful apple rendition.
While I prefer to peel my peaches for a smoother texture in this recipe, leaving the skins on offers an equally beautiful, more robust presentation and adds a slight tang and texture. It truly comes down to personal preference. I often recall a humorous childhood memory: the greatest “nightmare” was when my mom left the peels on apples in her pies – a testament to how particular taste buds can be even at a young age!
Essential Ingredients for Your Perfect Peach Galette
Crafting an exceptional peach galette starts with selecting high-quality ingredients, from the buttery crust to the sweet, spiced peach filling. Here’s a detailed look at what you’ll need and why each component is vital:
For the Irresistible Galette Crust
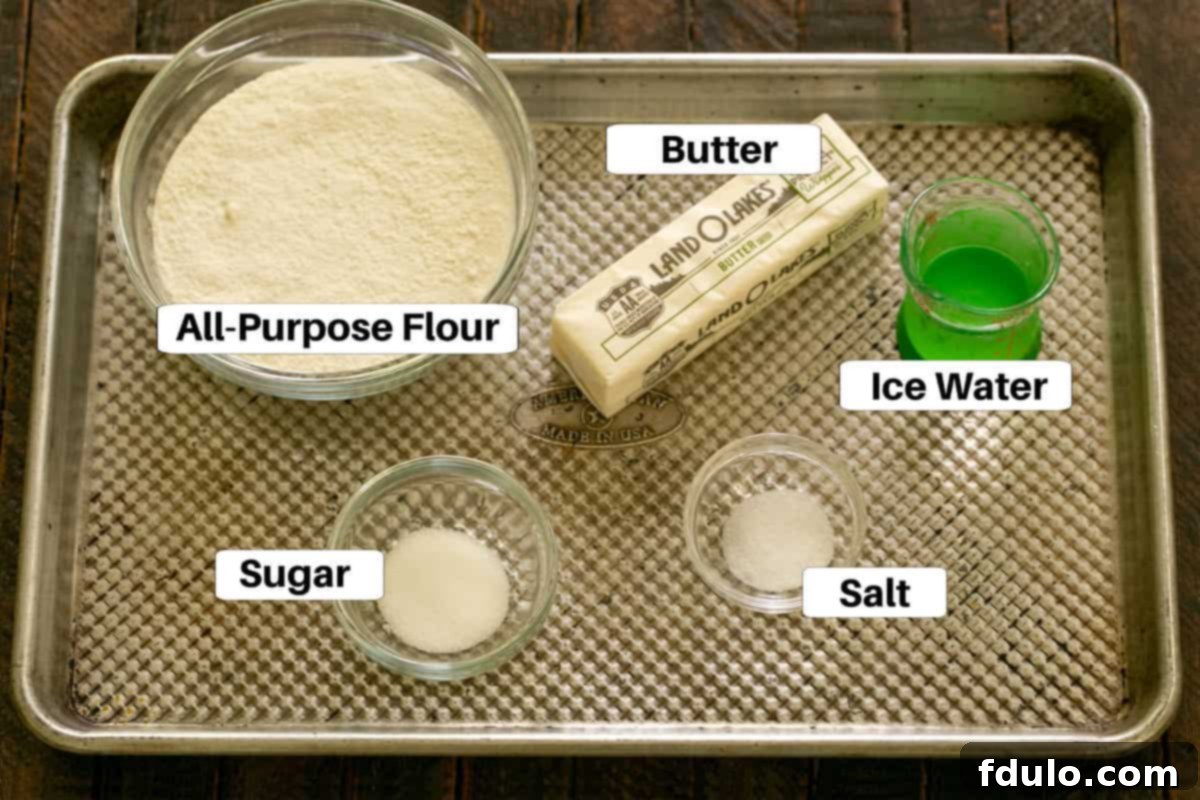
- All-Purpose Flour: The foundational element, providing structure to our tender, flaky crust.
- Salted Butter: Key for richness and flakiness. Using very cold, cubed butter is crucial to prevent it from fully incorporating into the flour, which creates pockets of steam during baking, leading to a wonderfully flaky texture. If using unsalted butter, simply add an extra pinch of salt (about ¼ teaspoon) to the dough mixture.
- Ice Water: This is essential for bringing the dough together without developing too much gluten, which would result in a tough crust. The cold temperature also helps keep the butter solid.
- Granulated Sugar: A small amount of sugar in the crust enhances its flavor and contributes to a beautiful golden-brown finish.
- Table Salt: Balances the sweetness and enhances the overall flavor of the crust.
For the Luscious Peach Topping
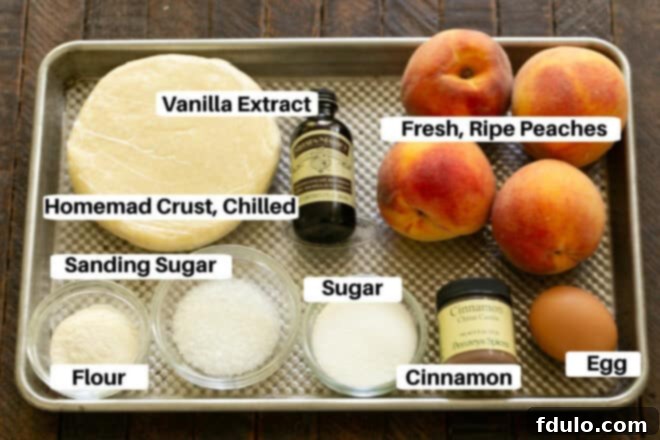
- Fragrant Peaches: The star of the show! Select peaches that are fragrant, displaying an obvious fruity aroma, and that yield slightly to a gentle squeeze (not rock hard). This indicates ripeness and ensures the best flavor. You’ll need to peel, pit, and slice them thinly (about ¼ inch thick).
- All-Purpose Flour: A small amount is mixed with the peaches to help absorb excess juices, preventing a soggy crust and ensuring a perfectly thickened filling.
- Granulated Sugar: Sweetens the peaches, complementing their natural sugars, and creates a beautiful caramelized texture when baked. Adjust the amount based on the sweetness of your peaches.
- Large Egg: Used for the egg wash, which is brushed over the crust edge before baking. This gives the galette a beautiful golden sheen and helps the sanding sugar adhere.
- Ground Cinnamon: Adds a warm, inviting spice note that perfectly complements the sweet peaches.
- Real Vanilla Extract: A touch of high-quality vanilla extract, such as Nielsen-Massey, deepens the overall flavor profile, adding a layer of sophisticated sweetness.
- Sanding Sugar: (Optional but highly recommended) This coarse sugar is sprinkled over the egg-washed crust edges. It adds a lovely sparkle and a delightful crunchy texture once baked, elevating the visual appeal of your galette. Regular granulated sugar can be used as a substitute for a similar, though less pronounced, effect.
How to Create Your Perfect Rustic Peach Galette: A Step-by-Step Guide
Baking a galette is an enjoyable process that yields impressive results with minimal effort. Follow these detailed steps to create your own magnificent peach tart.
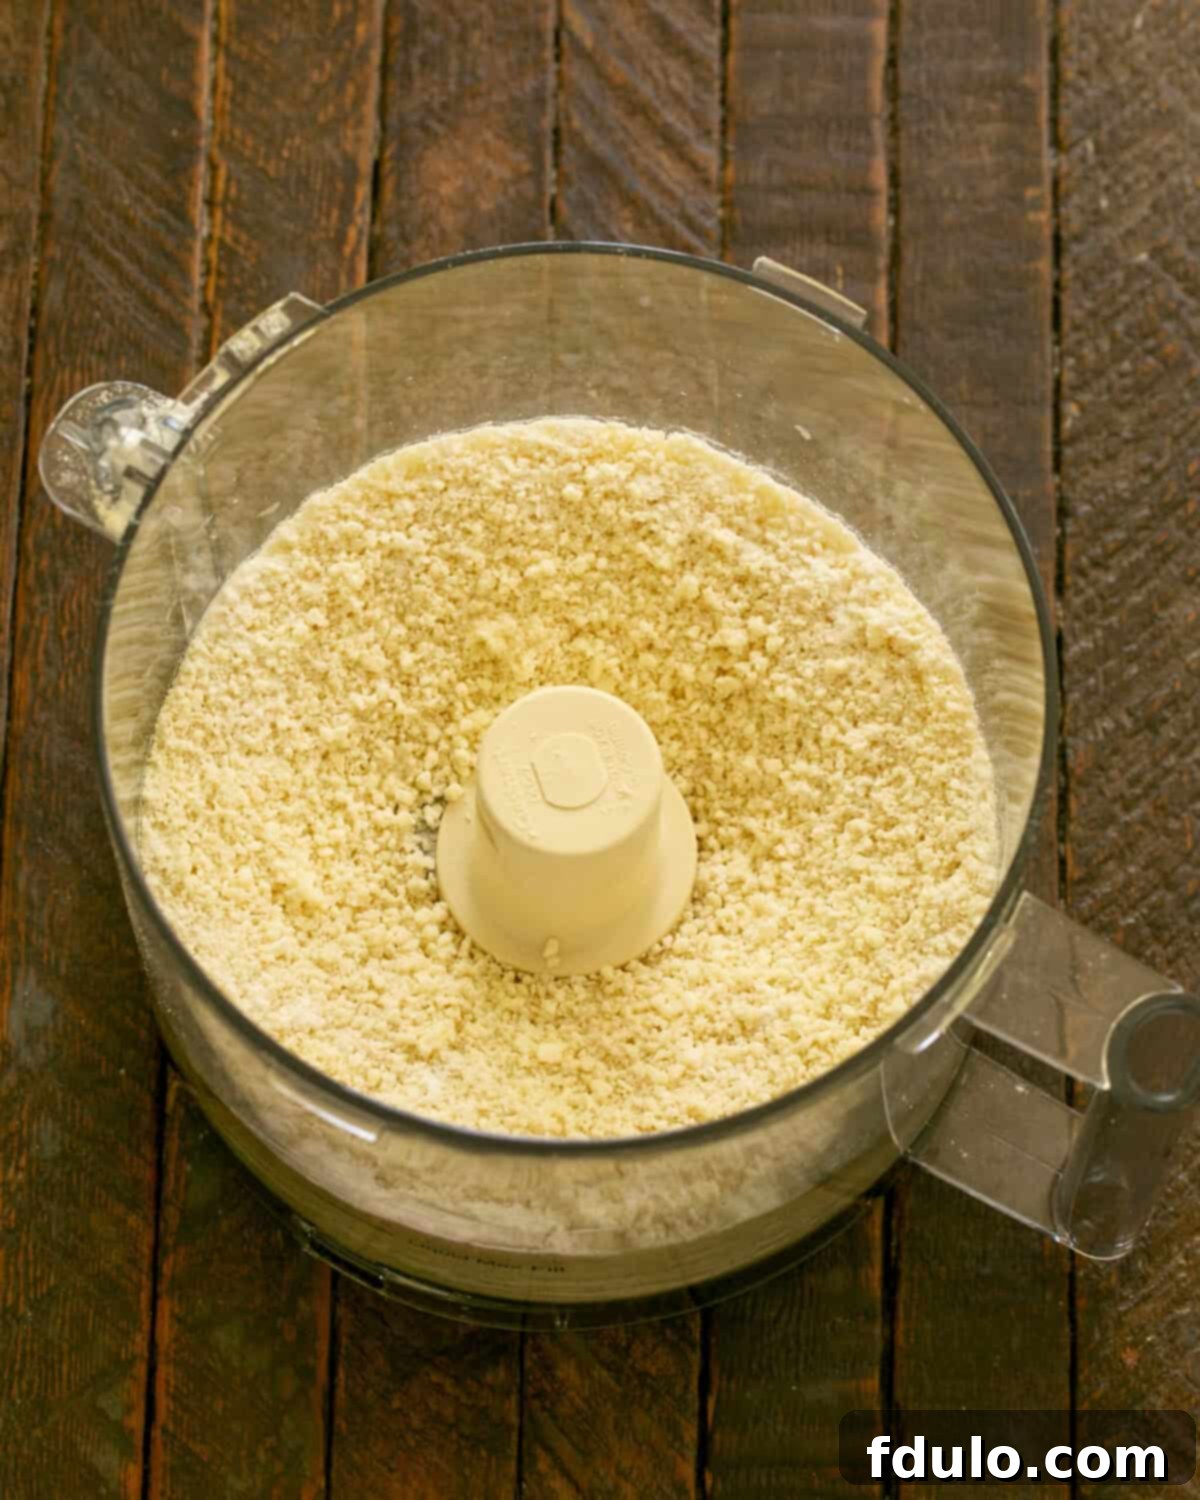
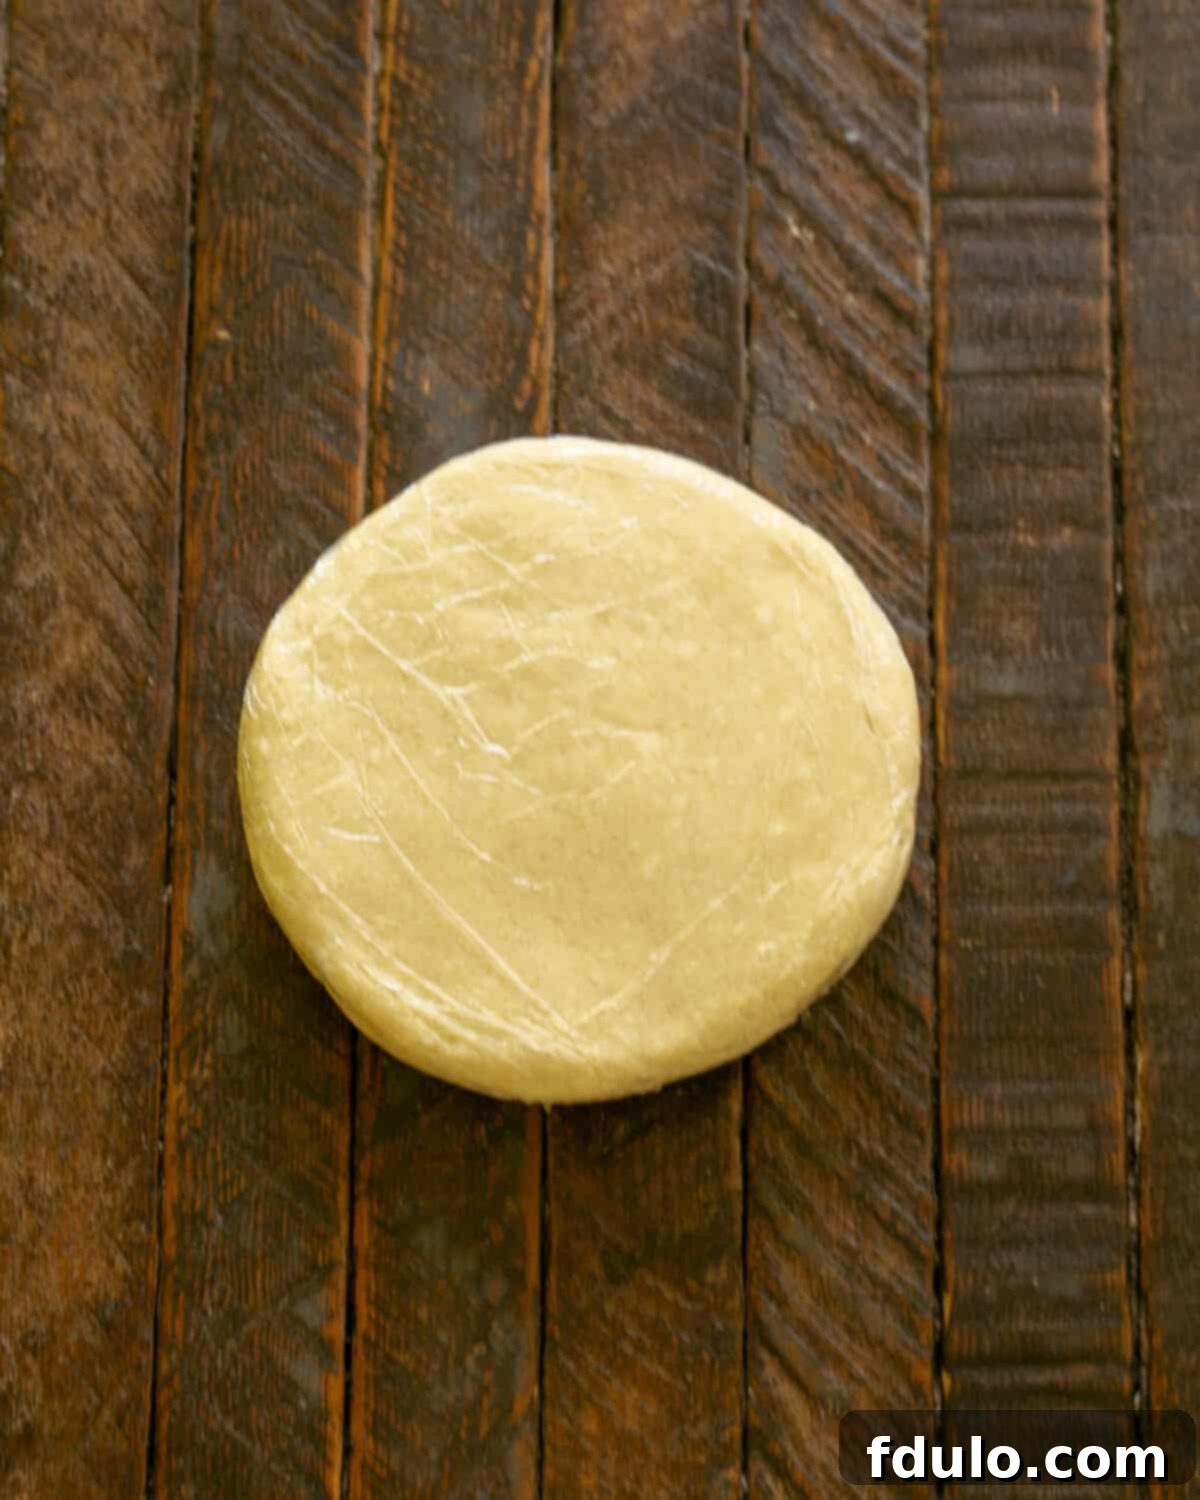
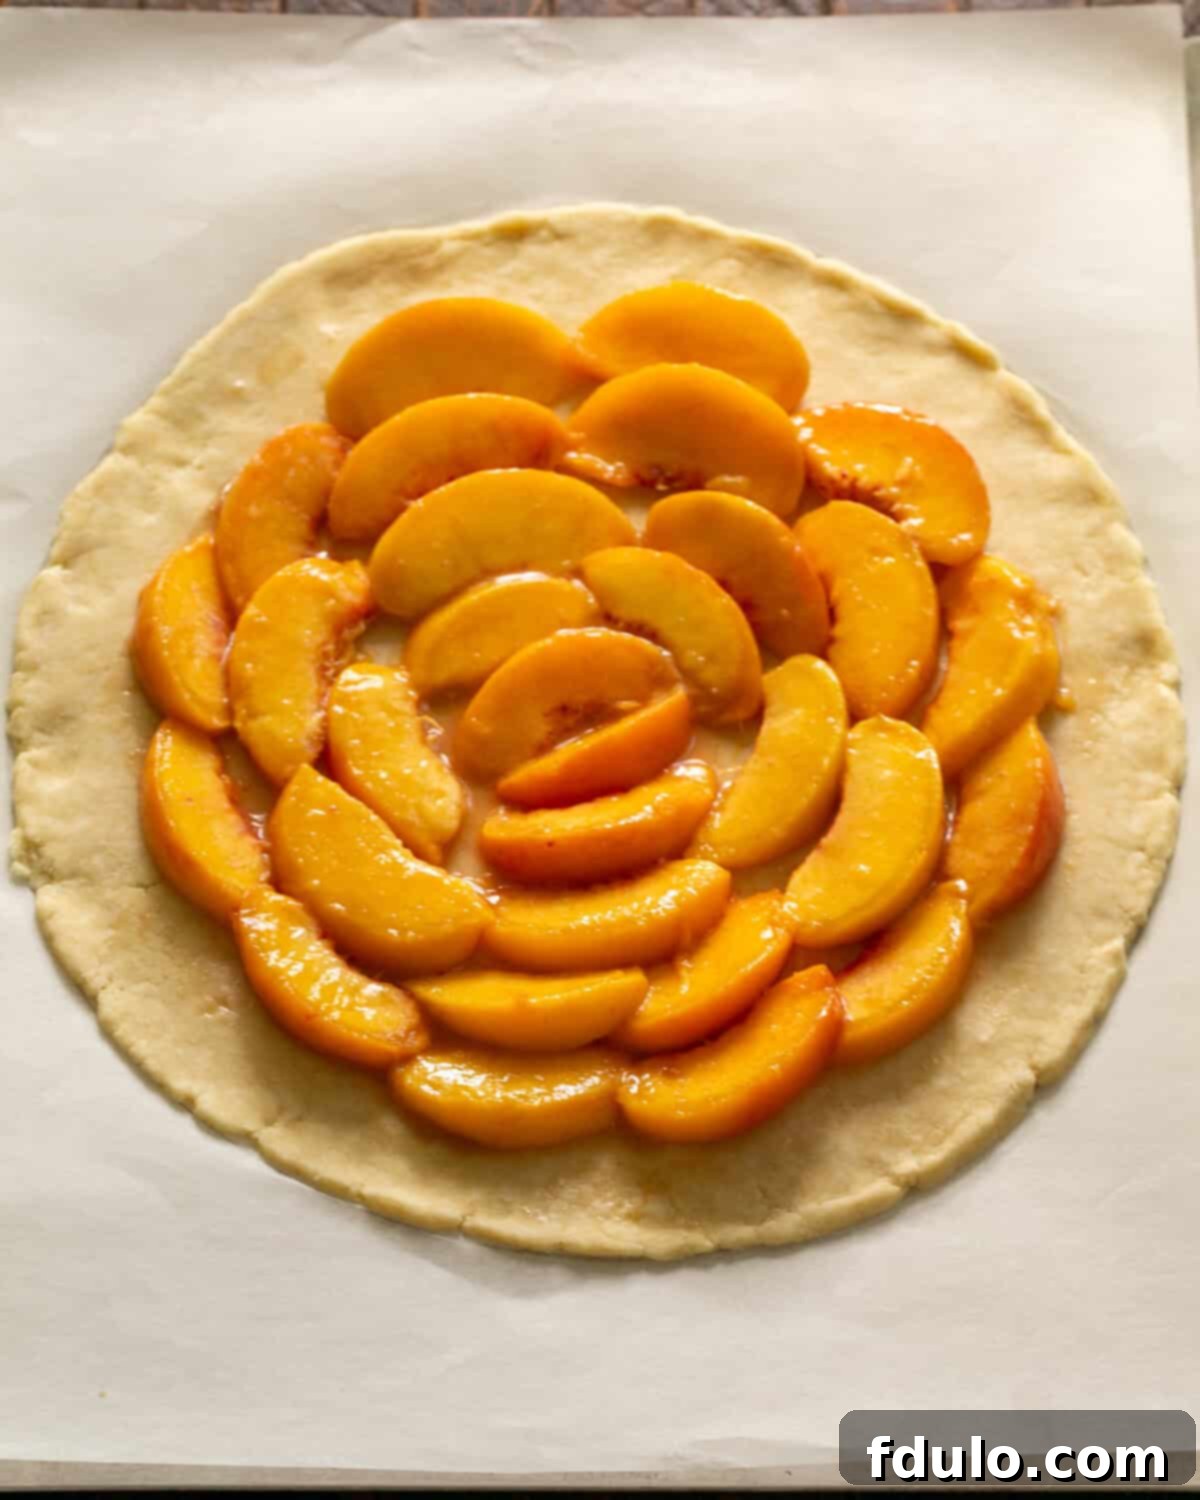
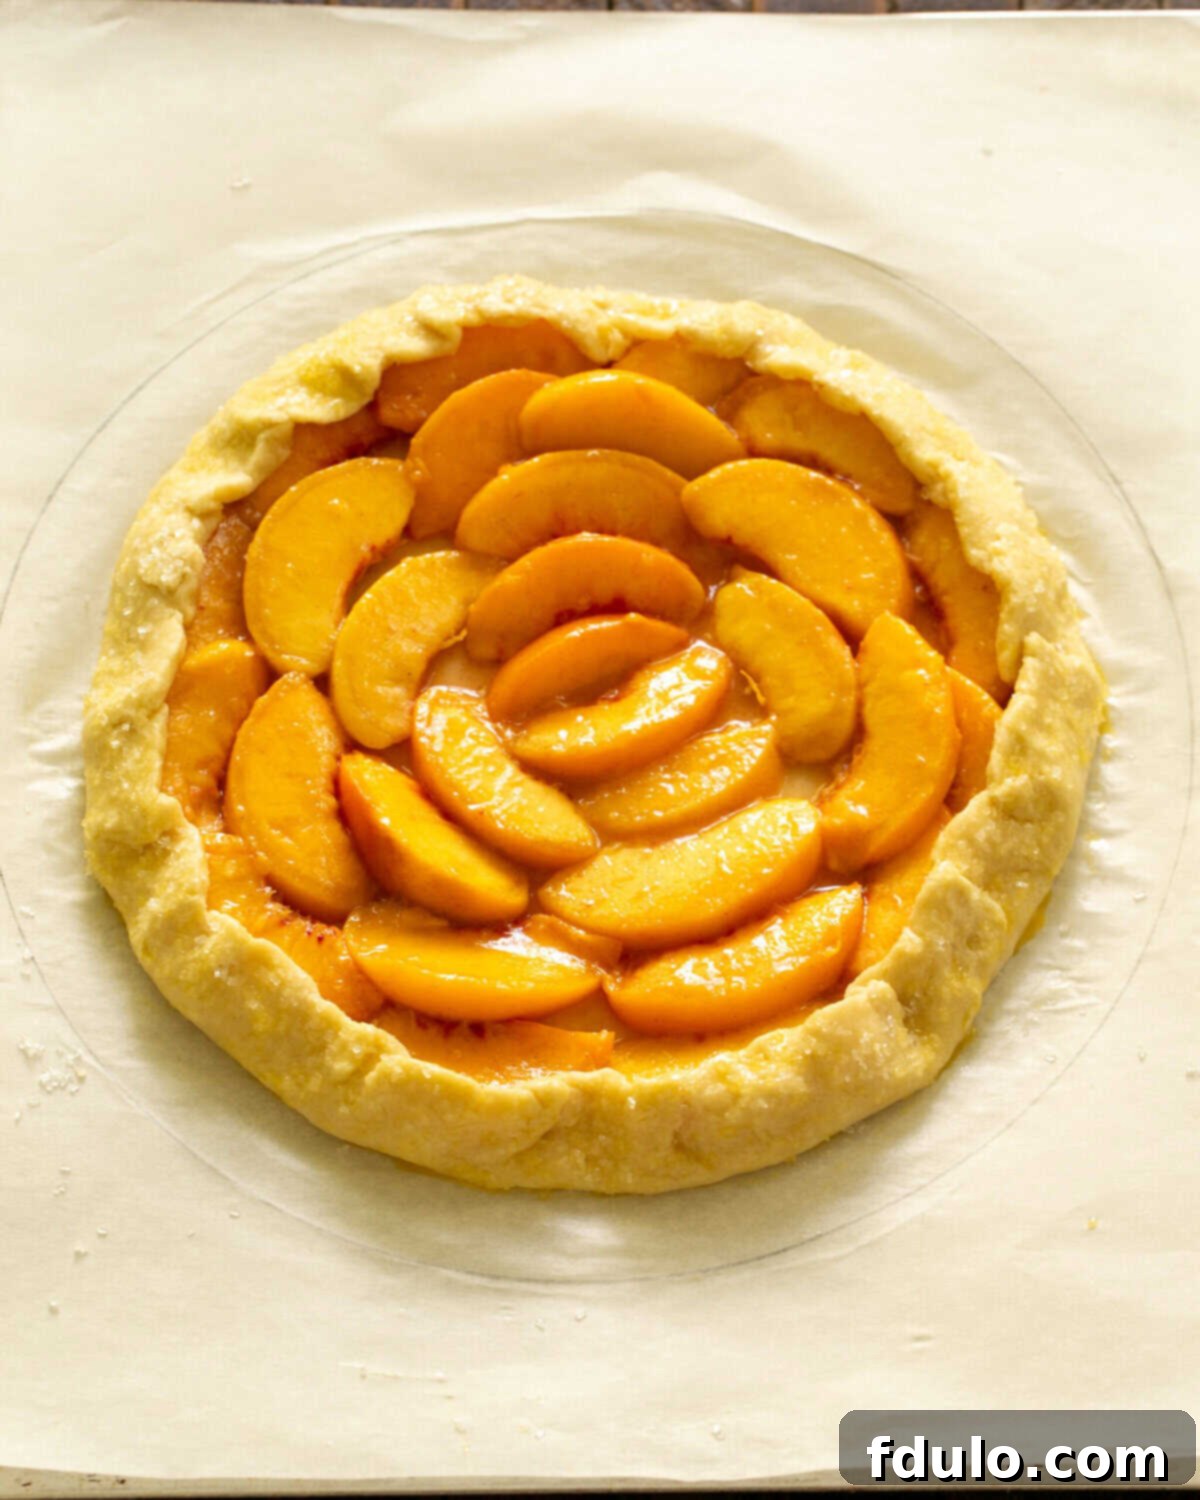
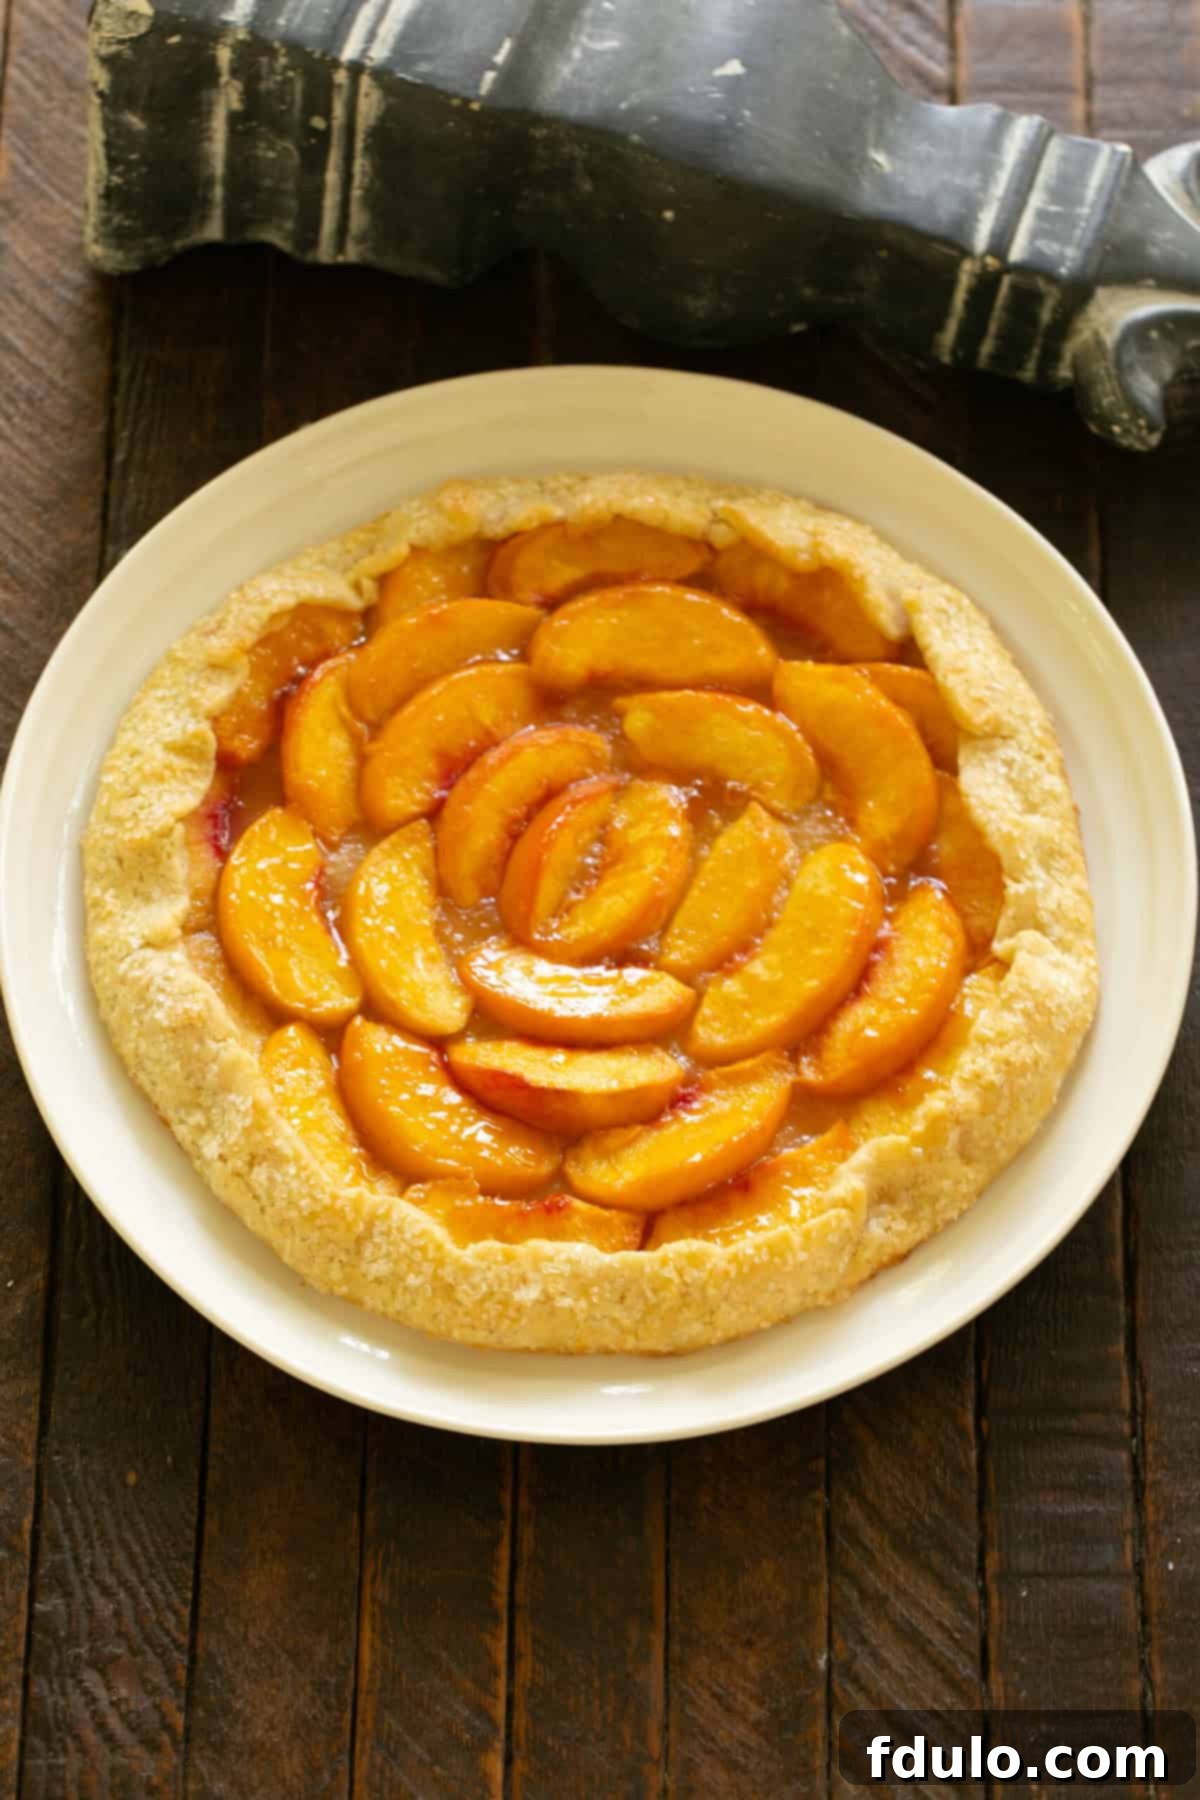
- Prepare the Dough: Begin by combining your flour, sugar, and salt in a food processor, pulsing briefly. Add very cold, cubed butter and pulse until the mixture resembles coarse cornmeal with some pea-sized pieces of butter remaining. Gradually add ice water, one tablespoon at a time, pulsing after each addition, until the dough just comes together. Form the dough into a flat disc, wrap it tightly in plastic wrap, and chill it in the refrigerator for at least an hour (or up to two days). This resting period allows the gluten to relax and the butter to firm up, ensuring a tender, flaky crust.
- Preheat Oven & Prepare Peaches: While the dough chills, preheat your oven to 425ºF (220ºC). Prepare your peaches by peeling, pitting, and slicing them into uniform ¼-inch thick pieces. In a large bowl, gently combine the sliced peaches with flour, granulated sugar, vanilla extract, and ground cinnamon until the peaches are evenly coated.
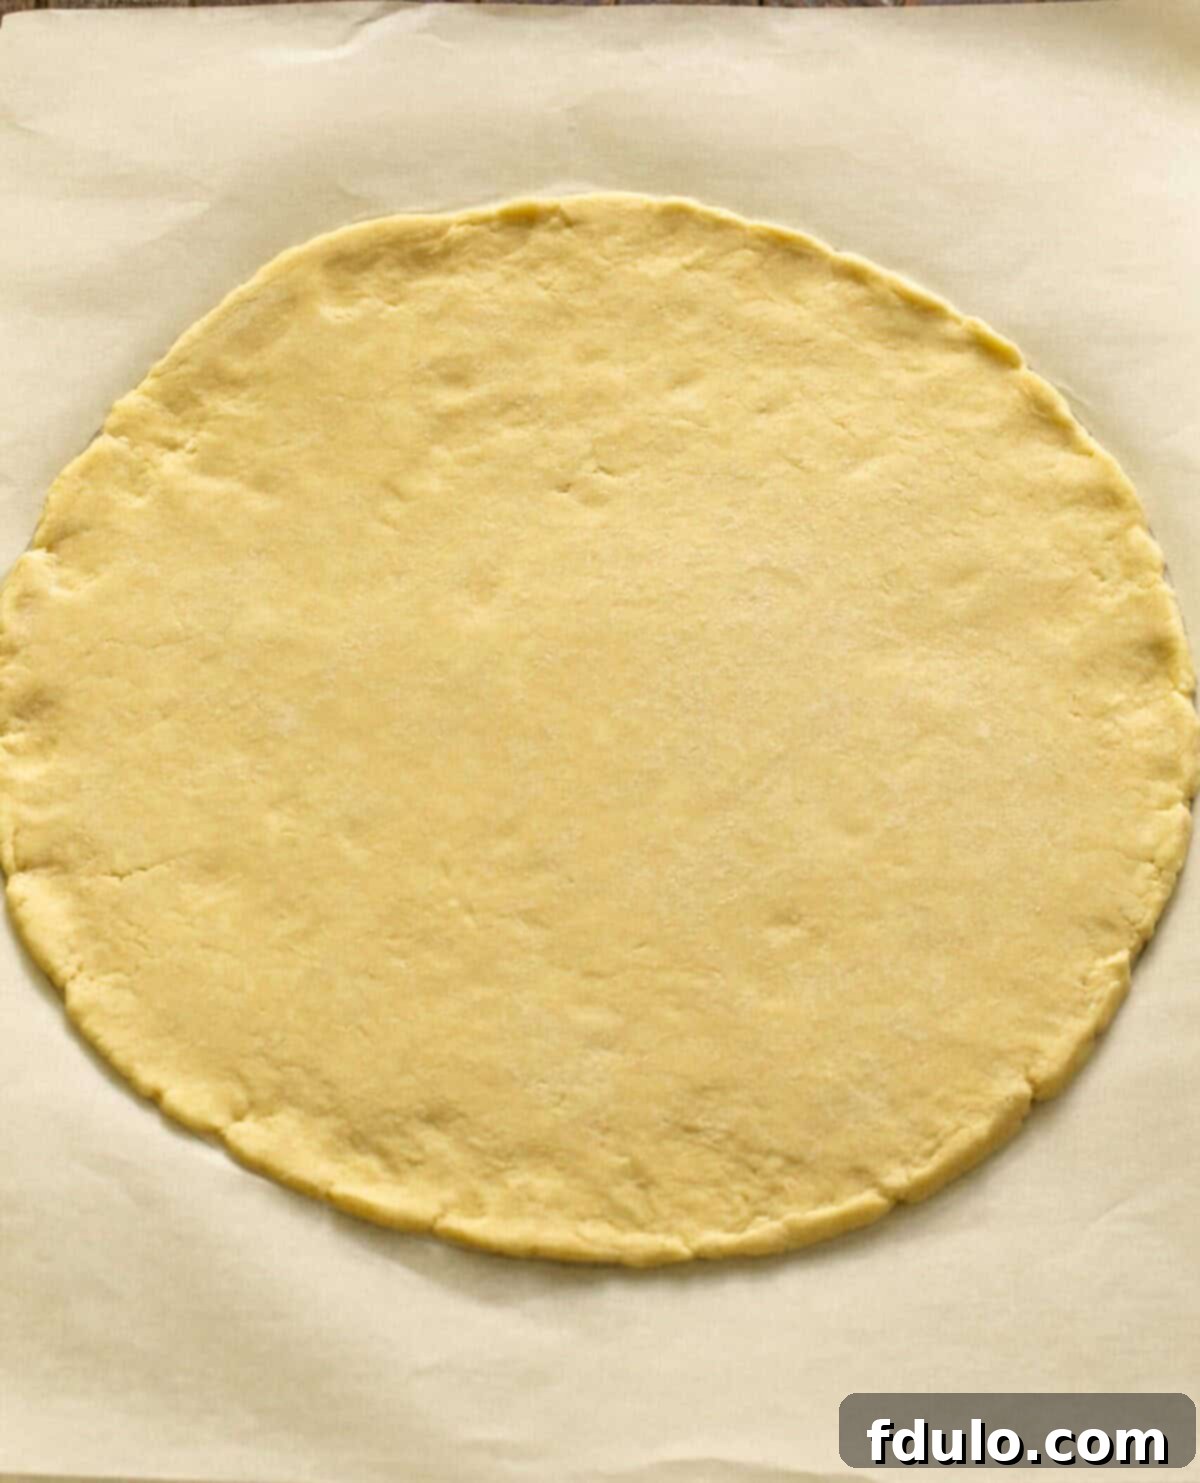
- Roll Out the Crust: On a piece of parchment paper lightly dusted with flour, roll out the chilled dough into a 12-inch circle, approximately ⅛-inch thick. Rolling on parchment paper is a pro-tip that makes transferring the galette to the baking sheet incredibly easy.
- Assemble the Galette: Carefully arrange the seasoned peach slices in the center of the rolled-out dough, leaving a 2-inch border of dough exposed around the perimeter. Try to arrange them in an attractive pattern, such as overlapping concentric circles, for a beautiful presentation.
- Fold the Edges: Gently fold the exposed dough border up and over the outer edge of the peach filling. As you work your way around, pleat the dough as needed to create a rustic, free-form edge that helps contain the delicious fruit juices during baking.
- Egg Wash & Sugar Sprinkle: In a small bowl, whisk one large egg with a tablespoon of water to create an egg wash. Brush this mixture generously over the folded crust edge. Immediately sprinkle the egg-washed border with coarse sanding sugar (or regular granulated sugar) for a shimmering, crisp finish.
- Bake to Golden Perfection: Carefully slide the parchment paper with the assembled galette onto a baking sheet. Bake in the preheated oven for 15-20 minutes, or until the crust is beautifully golden brown and the peach juices are bubbling thick and caramelized in the center.
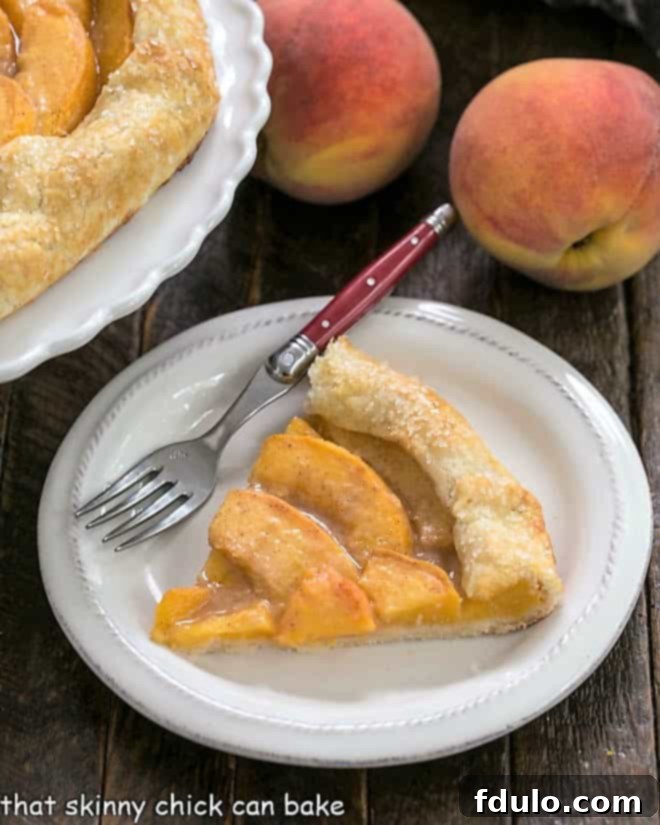
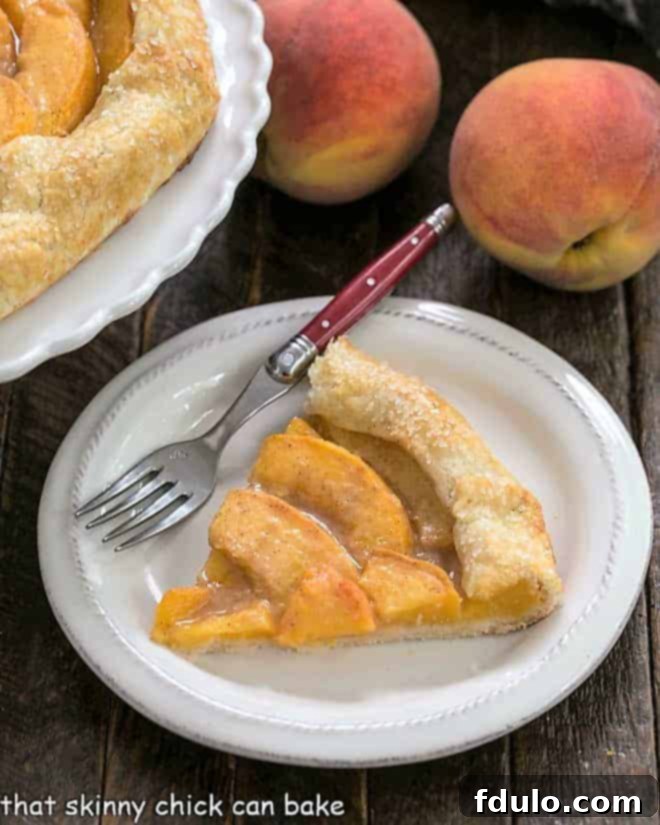
- Cool & Serve: Once baked, remove the galette from the oven and let it cool slightly on the baking sheet before transferring it to a wire rack to cool completely. Serve slices warm or at room temperature, ideally with a scoop of creamy vanilla ice cream or a dollop of freshly whipped cream for an extra touch of indulgence.
Mastering Your Peach Galette: Expert Tips for Success
Creating a truly exceptional peach galette is straightforward, especially with a few insider tips. I adore using a rich, buttery crust recipe, rolling it out, arranging the fruit, and pleating the sides to capture all the succulent juices. The result is a stunning presentation without the complexities of a double-crust peach pie!
- Choose Your Peaches Wisely: Avoid overly ripe or mushy peaches. While fragrant and sweet is good, excessive juiciness can lead to a soggy crust. Opt for firm-ripe peaches that still hold their shape when sliced.
- Prevent a Soggy Bottom: For an impeccably crisp bottom crust, consider using a pizza stone. Place it in the oven while preheating, then slide your baking sheet with the galette directly onto the hot stone to bake. This creates a blast of heat from below, ensuring even cooking and a perfectly browned base.
- Achieve a Perfect Circle (Optional): While rustic is the goal, if you prefer a more uniformly round galette, a pro-tip is to use a 12-inch mixing bowl as a template. After rolling out your dough, simply place the bowl upside down over it and trim away any excess dough with a knife or pastry wheel.
- Dough Thickness Matters: Aim to roll your chilled dough about ⅛-inch thick. If it’s too thick, it will be challenging to fold neatly, and the crust might be dense. If it’s too thin, it risks tearing when you try to fold it, especially with juicy fruit.
- Parchment Paper is Your Friend: Always roll out your dough directly onto a piece of parchment paper. This eliminates the tricky step of transferring the delicate dough from a counter to a baking pan, making the process much smoother. You can simply slide the parchment-lined galette onto your baking sheet.
- Combat Extra Moisture (Pro-Tip): If your peaches are particularly juicy, or if you’re concerned about a soggy crust, sprinkle a thin layer of fine bread crumbs (about 1-2 tablespoons) over the dough before arranging the peaches. The bread crumbs will absorb any excess moisture from the fruit, safeguarding your crust.
- Don’t Overload the Fruit: One single layer of peaches is typically sufficient. Piling on too many peaches can lead to uneven cooking, and the fruit might not soften and caramelize properly.
- Perfect Baking Cues: Your galette is perfectly baked when the crust is a deep golden brown and the peach juices in the center are visibly bubbling and slightly thickened. The fruit should also appear tender.
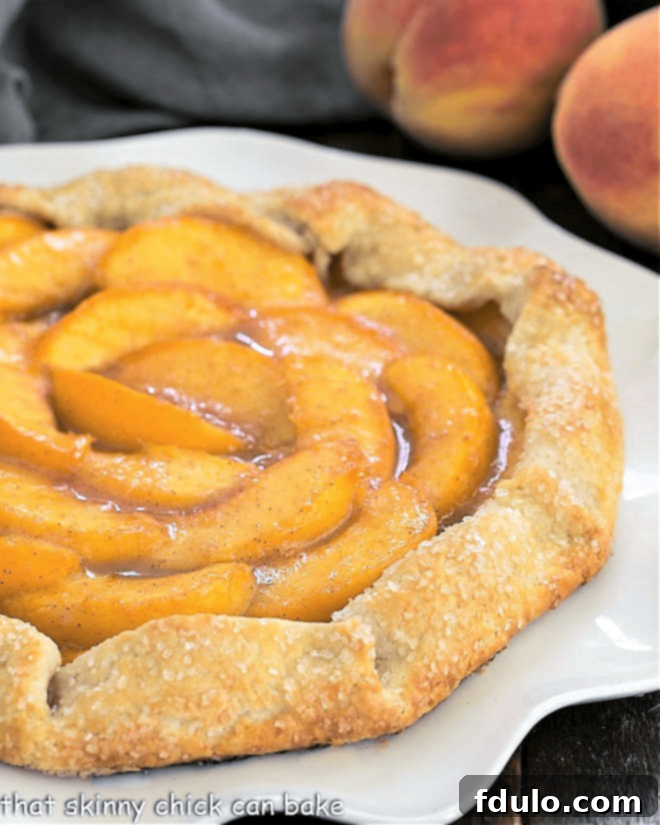
The Enduring Appeal of an Easy Peach Tart
The beauty of this easy peach tart recipe lies not just in its deliciousness but in the joy and comfort it brings. I vividly remember making this delightful peach dessert the morning I was moving my son, Nick, back to college for his sophomore year. There were undeniably sad faces from the rest of the family as I meticulously packed up the ginormous chocolate chip cookies I had baked the previous day, destined for him and his roommates. Knowing my husband would likely raid the pantry for Oreos after dinner if no special treat awaited him, I made sure this delightful tart was cooling on the counter when he arrived home from work. His delighted reaction to this Peach Galette Recipe was truly heartwarming – a testament to how a simple, homemade dessert can brighten anyone’s day.
Frequently Asked Questions About Peach Galettes
Got questions about galettes? Here are some common inquiries to help you master this delightful dessert.
The word “galette” is a French term that traditionally refers to a flat, round cake or pastry, often made with a single crust. It’s essentially a rustic, free-form tart made with pastry or bread dough, much like a pizza. Unlike a pie, a galette doesn’t require a pie plate; its edges are simply folded over the filling to create a border. If the filling ingredients are moist, like with peaches, the sides are typically folded up to contain the flavorful juices during baking, resulting in a charmingly irregular and homemade appearance.
The correct pronunciation is Guh-LET, with the emphasis placed on the second syllable. This French pronunciation adds to its culinary charm.
Selecting the perfect peaches is key for a delicious galette. Use your senses: they should smell wonderfully sweet and distinctly fruity. Look for peaches that are vibrant peach or golden in color; avoid any with green spots, as this often indicates they were picked too early and may not ripen properly. When gently squeezed, a good peach for baking should not be rock hard, but rather yield slightly to the pressure, indicating ripeness without being overly soft or mushy.
Essentially, they refer to the same type of rustic, free-form tart! The term “galette” is French in origin, while “crostata” is its Italian counterpart. Both describe a single-crust pastry with fruit filling, where the edges are folded inward over the filling.
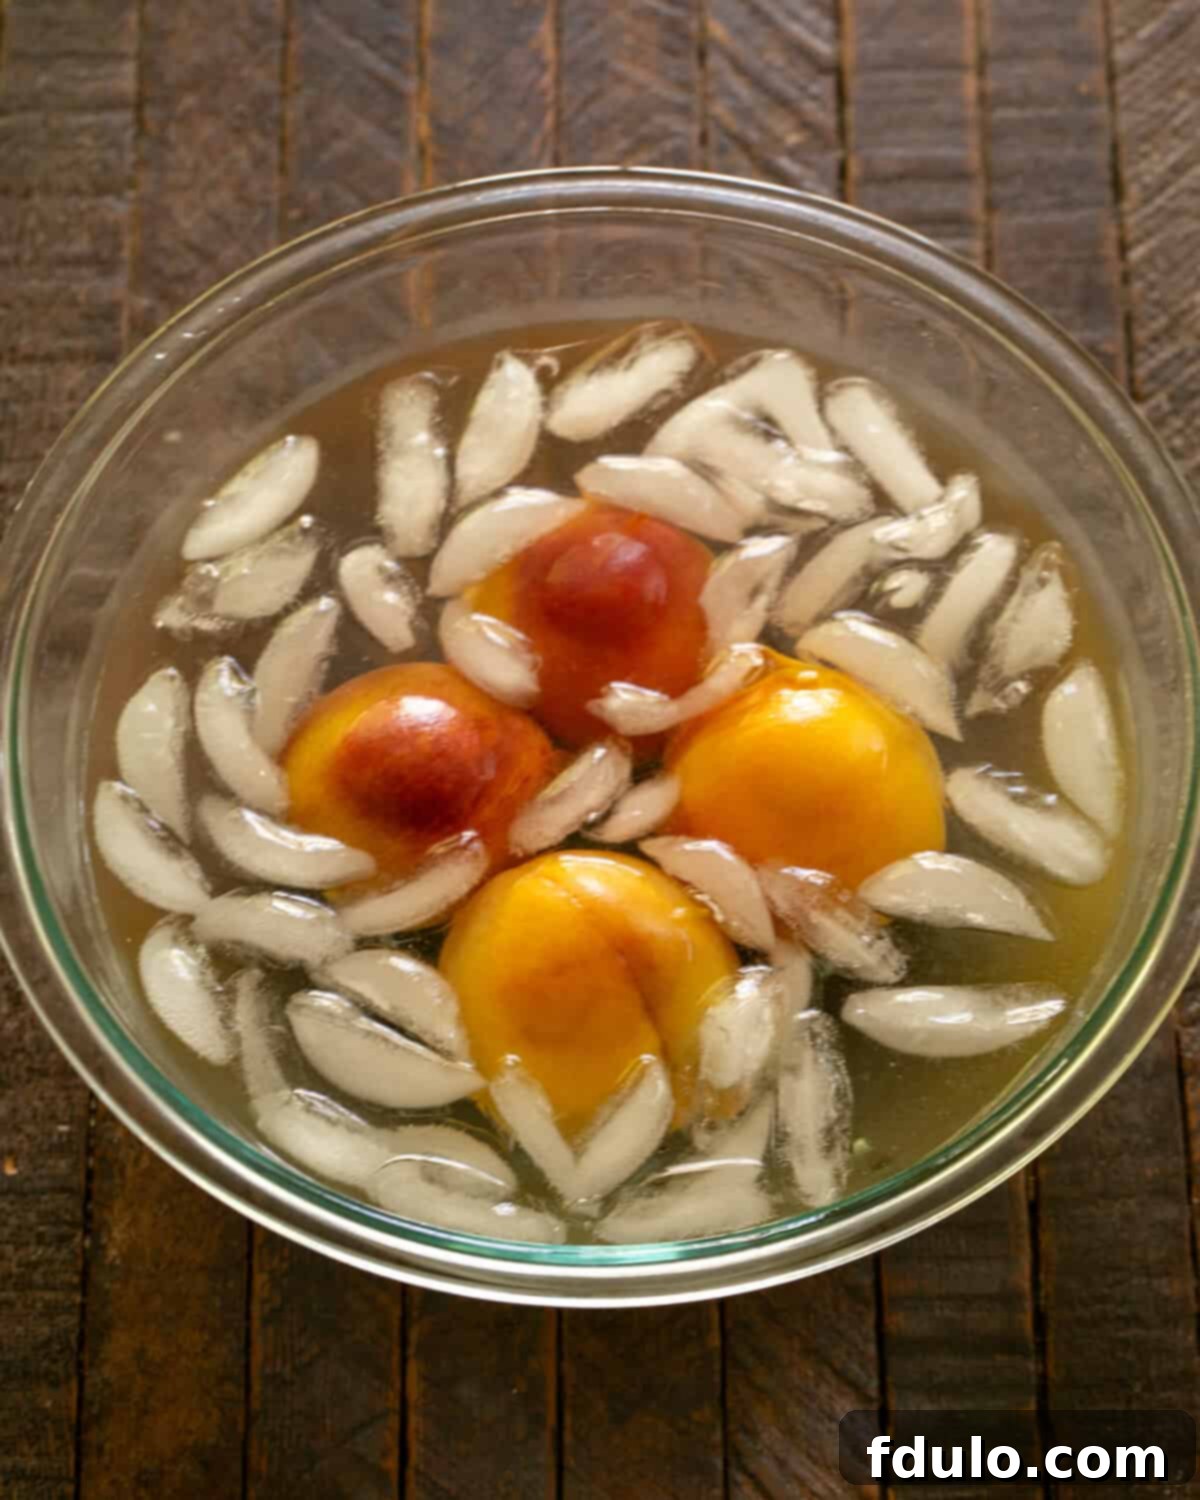
The easiest method for peeling peaches is blanching. Bring a large pot of water to a rolling boil. While the water heats, cut a small “X” through the skin on the non-stem end of each peach. Carefully drop the peaches into the boiling water and cook for just 30 to 60 seconds, or until you see the peel starting to loosen and pull away easily. Immediately transfer the blanched peaches into a bowl of ice water to stop the cooking process and make them cool enough to handle. The skins should then slip off effortlessly.
A freshly baked galette can be stored at room temperature, loosely covered, for up to two days. To extend its freshness, particularly if your kitchen is warm or humid, it’s best to store it in the refrigerator for an additional 2-3 days. While still delicious, the crust may soften slightly after the third or fourth day due to the moisture from the fruit.
Yes, you can absolutely freeze a galette, both baked and unbaked! For an unbaked galette, prepare it up to the point of brushing with egg wash. Freeze it uncovered on a baking sheet for about an hour until firm. Then, wrap it tightly in foil and place it in an extra-large freezer bag. It can be frozen for up to one month. To bake from frozen, defrost for about 15-20 minutes on the counter, then bake as directed, extending the baking time by 5-10 minutes, or until the crust is golden and the filling is bubbling. Baked galettes can also be frozen; simply cool completely, wrap well, and reheat gently when ready to serve.
Explore More Delicious Peach and Pie Recipes
This rustic peach galette truly is a winner, balancing ease of preparation with a delectable outcome. While our daughter Katie, on one memorable occasion, opted for ice cream with caramel sauce, my husband and I absolutely adored this straightforward peach dessert. If you’ve fallen in love with the simple elegance of galettes and the vibrant flavor of peaches, you might enjoy exploring these other delightful creations:
- Peach Raspberry Galette: A wonderful combination of sweet peaches and tart raspberries.
- Mixed Berry Galette: Perfect for utilizing any mix of seasonal berries you have on hand.
- Peach Blueberry Galette: A classic fruit pairing that’s always a crowd-pleaser.
- Peach Bellinis: A refreshing cocktail to complement your peach desserts.
- Fresh Peach Pie Bars: All the flavors of peach pie in an easy-to-serve bar format.
- Easy Peach Crumb Pie: A comforting pie topped with a sweet, buttery streusel.
- Plus, don’t miss my extensive collection of 100+ Pie Recipes for endless baking inspiration!
Stay in touch through social media @ Instagram, Facebook, and Pinterest. Don’t forget to tag me when you try one of my recipes! And if you love the results, please give it a 5-star rating in the recipe card.
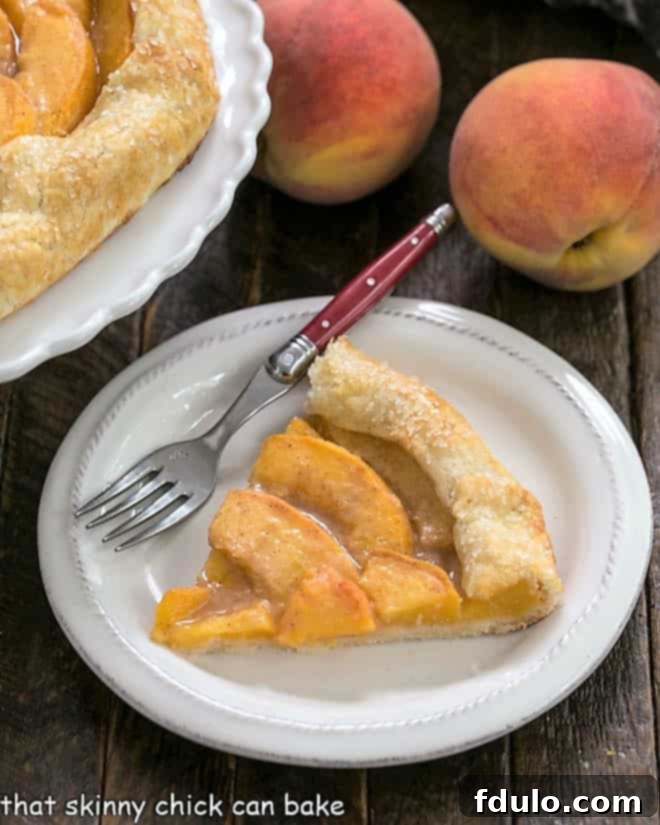
Rustic Peach Galette
20 minutes
20 minutes
40 minutes
6 servings
A marvelous dessert with all the glorious flavors of a homemade pie
Ingredients
Dough:
- 1¼ cup all-purpose flour
- 1½ teaspoons granulated sugar
- ¼ teaspoon salt
- 1 stick (½ cup) very cold, frozen butter, cut into small cubes
- 4-6 tablespoons ice water
Filling:
- 2 large peaches (not overly ripe), peeled, pitted, and sliced thin (about ¼ inch slices)
- ½ teaspoon vanilla extract
- 3 tablespoons granulated sugar
- 1 tablespoon all-purpose flour
- ⅛ teaspoon ground cinnamon
- 1 large egg, beaten (for brushing over dough)
- Coarse sanding sugar, to sprinkle over tart (optional)
Instructions
- Prepare the Dough: Combine flour, sugar, and salt in a food processor. Pulse to combine. Add frozen butter cubes and pulse until the mixture resembles coarse cornmeal with some pea-sized pieces of butter remaining.
- Add Water: Add a tablespoon of ice water at a time, pulsing to mix after each addition. After 4 tablespoons are added, squeeze a portion of dough between your fingers.
- Chill Dough: If the dough stays together, pour it out onto a piece of plastic wrap, form it into a flat disk, wrap well, and refrigerate for at least an hour. If the dough crumbles significantly, add up to 2 more tablespoons of ice water, one at a time, until it just comes together.
- Preheat Oven: Once the dough is chilled and ready, preheat your oven to 425ºF (220ºC).
- Prepare Peaches: In a medium bowl, combine the sliced peaches with vanilla, sugar, flour, and cinnamon. Toss gently until the peaches are evenly coated.
- Roll Dough & Arrange Peaches: On a sheet of parchment paper, roll out the chilled dough into a 12-inch circle. Arrange the seasoned peach slices attractively in the middle of the dough, leaving a 2-inch perimeter of just dough exposed.
- Fold Edges: Gently fold up the sides of the dough (the part without peaches) towards the middle, pleating as needed to create a rustic border that contains the filling.
- Egg Wash & Sugar: Brush the folded dough with the beaten egg wash and sprinkle generously with coarse sanding sugar for extra sparkle and crunch.
- Bake Galette: Carefully slide the parchment paper and the tart onto a baking sheet. Bake for 15-20 minutes, or until the crust is golden brown and the peach juices are bubbling thick in the center.
- Cool & Serve: Allow the galette to cool on the baking sheet for a few minutes before transferring it to a wire rack. Serve warm or at room temperature, optionally with a scoop of vanilla ice cream or whipped cream.
Notes
If your peaches are exceptionally juicy, you can sprinkle a tablespoon or two of fine bread crumbs over the crust before adding your sliced peaches. This will help absorb any excess moisture and keep your crust from becoming soggy.
Adapted from Simply Recipes.
Recommended Products
As an Amazon Associate and member of other affiliate programs, I earn from qualifying purchases.
- Reynolds Cookie Baking Sheets Non-Stick Parchment Paper
- Food Processor
- 3 Pyrex Mixing Bowls
Nutrition Information:
Yield:
6
Serving Size:
1 slice
Amount Per Serving:
Calories: 540
Total Fat: 29g
Saturated Fat: 15g
Trans Fat: 1g
Unsaturated Fat: 11g
Cholesterol: 79mg
Sodium: 402mg
Carbohydrates: 64g
Fiber: 3g
Sugar: 19g
Protein: 6g
