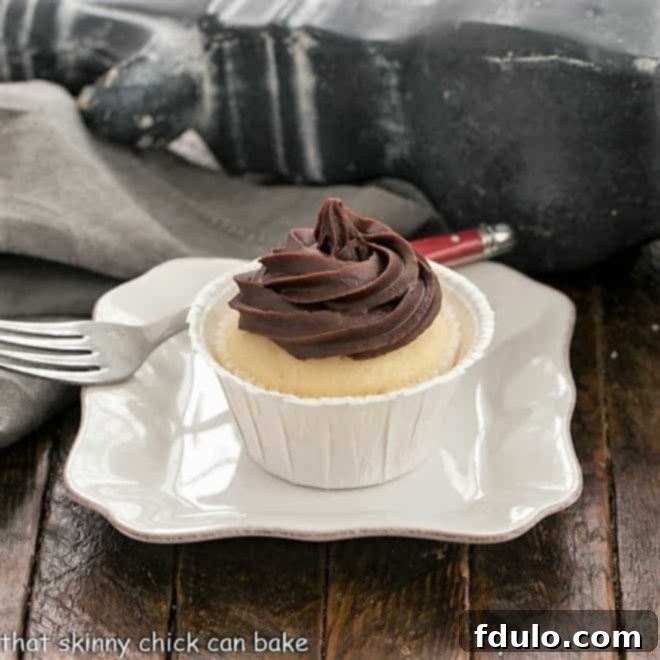
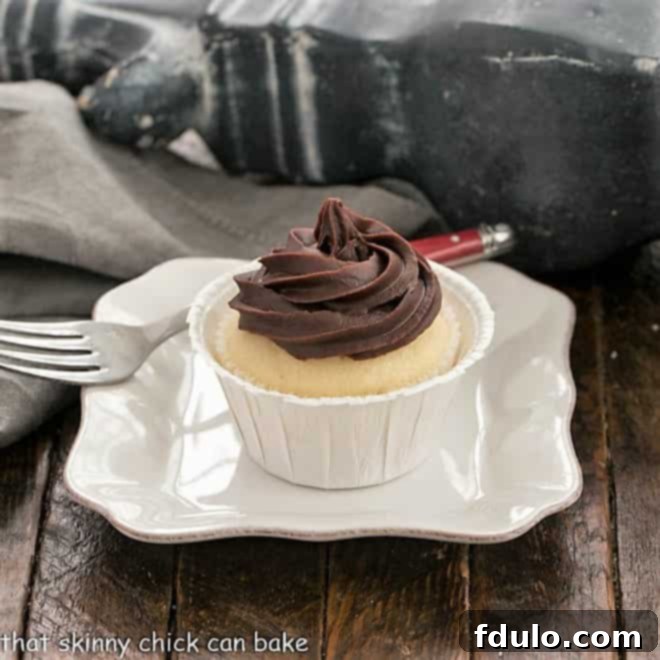
Boston Cream Pie Cupcakes are an irresistible delight, marrying the tender crumb of a vanilla cupcake with a lavish filling of rich vanilla custard and a glistening swirl of decadent chocolate ganache. These individual treats offer a sophisticated twist on a beloved classic, promising a heavenly surprise with every bite.
Imagine biting into what appears to be a classic vanilla cupcake with a smooth chocolate topping, only to discover a creamy, luscious secret tucked away inside. That moment of sweet revelation is what makes these custard-filled cupcakes truly special. They aren’t just desserts; they’re an experience, a miniature masterpiece designed to enchant and satisfy even the most discerning palates.
Why These Custard-Filled Cupcakes Are a Must-Bake Treat
There are countless reasons to whip up a batch of these delectable Boston Cream Pie Cupcakes. Beyond their stunning appearance and incredible flavor, they offer practical advantages that make them a perfect choice for any occasion:
- Universal Appeal: These cupcakes beautifully bridge the gap between chocolate lovers and vanilla aficionados. The rich vanilla custard provides a creamy counterpoint to the deep, intense chocolate ganache, all encased in a fluffy vanilla cake. This delightful combination ensures that everyone, from the most devout chocoholic to the purest vanilla enthusiast, finds something to adore. They truly satisfy cravings for a sophisticated dessert that delivers on both flavor and texture.
- Built-in Portion Control: Unlike a large cake or pie, cupcakes inherently offer individual servings. This makes managing portions effortless, allowing guests (and yourself!) to indulge without overdoing it. Each cupcake is a perfectly balanced treat, making them ideal for gatherings where you want to offer a sweet indulgence that’s both satisfying and manageable.
- Perfectly Portable Indulgence: Their individual nature also makes these cupcakes incredibly easy to transport. Once frosted and set, they can be placed back into a cupcake tin or a dedicated carrier, making them the ultimate portable dessert for picnics, potlucks, office parties, or family get-togethers. No need for complicated slicing or serving tools—just grab and go!
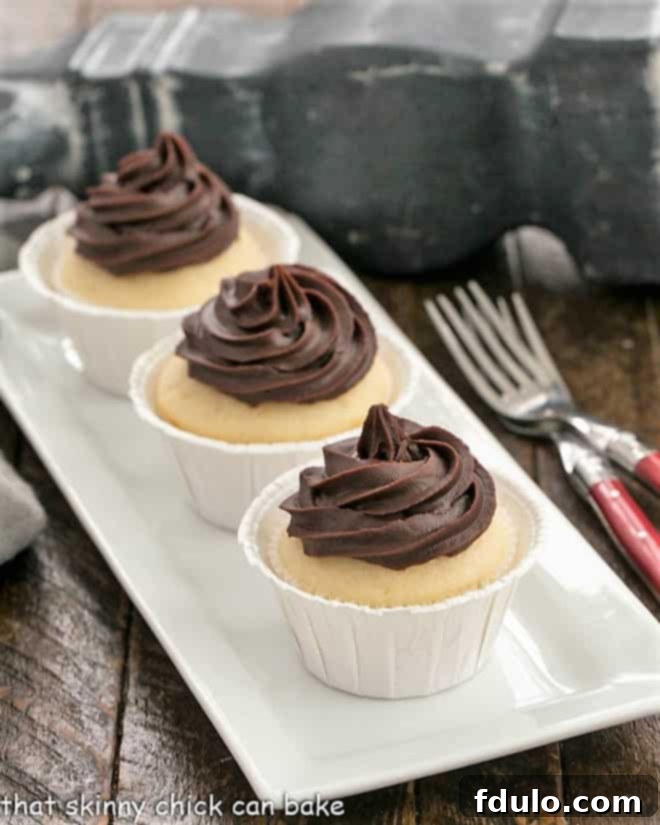
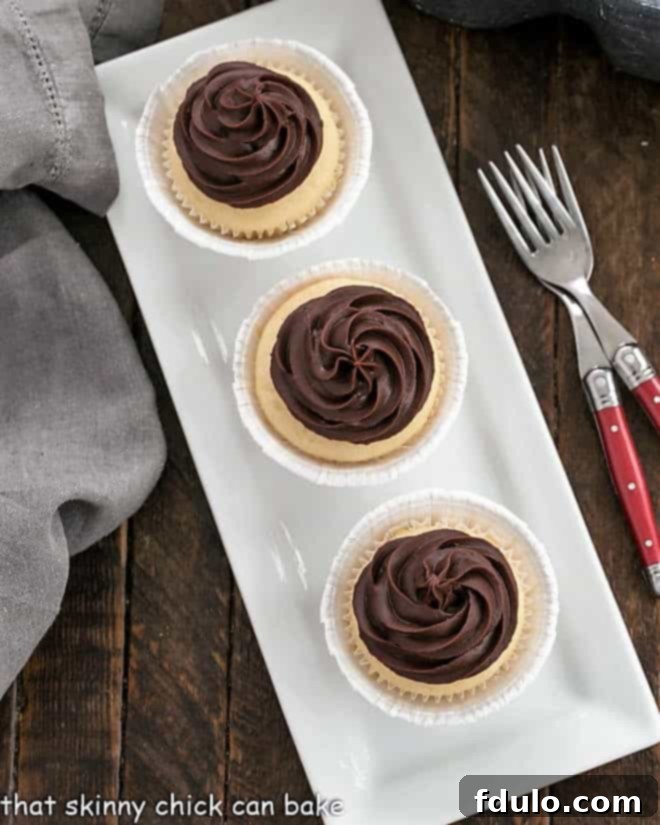
- An Impressive Presentation: From their golden-brown tops to the elegant swirl of ganache and the hidden custard core, Boston Cream Pie Cupcakes are visually stunning. They elevate any dessert table, making your baking efforts look incredibly professional and inviting.
- A Fun Baking Project: While they look sophisticated, the process of making these cupcakes is incredibly rewarding. From baking the tender vanilla base to preparing the silky custard and glossy ganache, each step builds anticipation for the final, delicious creation.
If you’re a fan of rich, indulgent treats, you might also love these Frosted Black Bottom Cupcakes, another one of our family favorites!
The Story Behind the Sweetness: My Family’s Love for Boston Cream Cupcakes
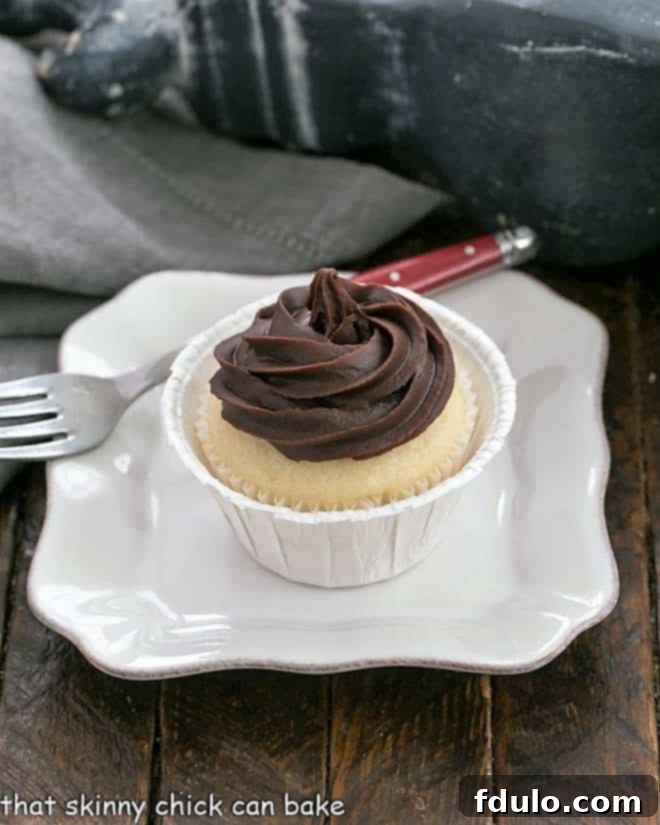
It’s always amusing to witness my husband, Bill, approach new culinary delights with a certain degree of skepticism. After a satisfying lunch, he eyed a tray of these Boston Cream Pie Cupcakes, initially dismissing them with a nonchalant, “Uh, I’m not really into that sort of cupcake.” My immediate thought? “Oh, really?” Here were homemade cupcakes, boasting a luxurious vanilla custard filling and a glistening chocolate ganache topping. These are, individually, three of his favorite things!
With a gentle nudge (and perhaps a bit of persuasive charm), he was convinced to take just one bite. The moment his teeth sank through the tender cake, past the rich ganache, and into the cool, creamy vanilla custard, his expression transformed. Within seconds, his initial doubt dissolved into pure delight, and he declared his profound love for these Boston Cream Pie Cupcakes. Imagine that! It just goes to show, sometimes I know his palate even better than he does. This charming anecdote perfectly captures the magic of these cupcakes; they have a way of winning over even the most hesitant tasters, proving that their exquisite combination of flavors is truly irresistible.
Mastering the Art of Filling Cupcakes: A Step-by-Step Guide
Filling cupcakes might seem like an advanced baking technique, but it’s surprisingly simple and incredibly rewarding. The transformation from a standard cupcake to a delightful surprise-inside treat is truly magical. Over the years, I’ve experimented with a few methods, each with its own charm.
My first attempt at crafting Boston cream cupcakes involved a tip from the queen of homemaking, Martha Stewart herself. Her method suggested a more elaborate approach: carefully cutting each cupcake in half horizontally, spreading a generous tablespoon of vanilla custard onto the bottom half, and then gently replacing the top. This was then finished with a drizzle of unchilled ganache. While effective, it could be a bit time-consuming and sometimes resulted in a less-than-perfect seal.
This time around, I opted for a more streamlined and equally effective technique: using a specialized cupcake coring tool. This clever gadget allows you to effortlessly remove a neat cylinder from the center of each baked and cooled cupcake, creating a perfect well for your filling. Don’t be shy about coring! I often find myself with ample leftover filling, so feel free to scoop out a good amount of cake to create a generous receptacle for that creamy vanilla custard.
PRO-Tip: No specialized cupcake coring tool? No problem! You can easily achieve the same result with a simple kitchen staple. Grab a small, sharp serrated knife (a paring knife works wonderfully) or even a melon baller. Carefully cut a small circle in the center of the cupcake, then gently scoop out a portion of the cake, being sure not to cut all the way through the bottom or the sides. The goal is to create a hollow cavity that will hold your delicious filling.
Once your cupcakes are cored, it’s time for the best part: filling them! I typically use a narrow spoon to carefully drop scoops of the luscious pastry cream into each well, then gently smooth the top. For an even cleaner and more professional finish, a piping bag fitted with an open round tip is an excellent option. This allows for precise filling and minimal mess, ensuring each cupcake is perfectly plump with custard.
An optional, but highly recommended, final touch is to create a small “cap” for your filled cupcakes. Remember those little cylinders of cake you removed from the centers? Trim the very top of one of these pieces and gently place it back into the filled cavity, sealing in the custard. This creates a neat finish and helps keep the filling secure. While I sometimes skip this step, it adds a nice touch, especially if you’re transporting the cupcakes.
Essential Tips for Perfect Cupcake Baking
Achieving perfectly baked, moist, and delicious cupcakes every time is a skill that comes with a few key techniques. Here are some essential tips to ensure your Boston Cream Pie Cupcakes (and any other cupcakes you bake) turn out beautifully:
- Don’t Overfill Your Liners: This is a common mistake that can lead to overflowing batter and misshapen cupcakes. Aim to fill your cupcake papers only about two-thirds full. This allows ample room for the cupcakes to rise beautifully without spilling over onto the top of the pan, ensuring a perfectly rounded top for easy frosting.
- Master the Doneness Test: There are two reliable ways to check if your cupcakes are perfectly baked. First, gently tap the top of a cupcake with your finger; if it springs back without leaving an indentation, they are likely done. If a dent remains, they need a few more minutes. Alternatively, insert a toothpick into the center of a cupcake. When it comes out with only a moist crumb or two attached, your cupcakes are ready. Avoid a completely clean toothpick, as this often indicates overbaking.
- Understand Carryover Cooking: Remember that baking doesn’t stop the moment you pull the cupcakes from the oven. The residual heat in the muffin tin will continue to cook the cupcakes for a short period. This carryover cooking time is important to consider. While it won’t salvage raw middles, it can certainly contribute to dryness if you leave them in the oven too long, resulting in a toothpick with absolutely no moist crumbs. Aim for that slightly moist crumb to ensure your cupcakes remain tender and delicious.
- Room Temperature Ingredients are Key: For a consistently smooth batter and even bake, ensure your butter, eggs, and dairy (like milk and sour cream) are all at room temperature before you begin mixing. This allows them to emulsify properly, creating a lighter, fluffier cupcake.
- Avoid Overmixing: Once you add the dry ingredients to the wet, mix only until just combined. Overmixing develops the gluten in the flour too much, leading to tough, dense cupcakes instead of light and airy ones. A few small lumps are perfectly fine!
- Cool Completely Before Filling/Frosting: Patience is a virtue in baking! Ensure your cupcakes are completely cooled before attempting to core, fill, or frost them. Warm cupcakes will melt your delicate pastry cream and ganache, leading to a messy disaster.
Frequently Asked Questions About Boston Cream Pie Cupcakes
If you’ve never had the pleasure of encountering a Boston Cream Pie, its name might be a bit misleading. This iconic dessert, despite its moniker, is actually a cake, not a pie! Originating in the Parker House Hotel in Boston in the late 19th century, it’s a glorious creation featuring two layers of light, airy sponge cake, generously filled with a rich, velvety vanilla custard. The entire masterpiece is then crowned with a glossy chocolate glaze or a dusting of powdered sugar. It’s easy to see how these cupcakes beautifully miniaturize this classic, offering all the beloved flavors and textures of a Boston Cream Pie in a convenient, individual serving.
Due to their luscious vanilla custard filling, Boston Cream Pie Cupcakes require refrigeration to maintain their freshness and food safety. Once assembled, it’s best to keep them covered in an airtight container and store them in the refrigerator. This will keep the custard fresh and the ganache intact. When stored properly, they will remain wonderfully delicious for 3-4 days. For optimal flavor and texture, allow them to come to room temperature for about 15-20 minutes before serving.
Absolutely! To streamline your baking process, you can prepare the individual components of these Boston Cream Pie Cupcakes in advance. The vanilla custard can be made up to 2-3 days ahead of time and stored in an airtight container in the refrigerator (ensure plastic wrap is pressed directly onto the surface to prevent a skin from forming). The chocolate ganache can also be made a day or two in advance and stored in the fridge; gently reheat and stir until smooth before using. Even the cupcakes themselves can be baked a day ahead, stored at room temperature in an airtight container, and then filled and frosted closer to serving time. This makes assembly quick and stress-free!
While a specialized cupcake corer makes the job incredibly easy and uniform, it’s not strictly necessary. You can use a small, sharp paring knife or even a melon baller to carefully cut and scoop out the center of your cooled cupcakes. For filling, a small spoon works well, but for a neater and more efficient process, a piping bag fitted with a large round tip (or simply snipped at the end) is ideal. This allows for precise control and ensures your custard fills the cavity perfectly.
Discover More Irresistible Cake and Cupcake Recipes
If you’ve fallen in love with these Boston Cream Pie Cupcakes, you’re in for a treat! Explore more delightful creations from our kitchen:
- Boston Cream Pie Poke Cake: All the flavors of the classic, infused into a moist poke cake.
- Perfect Chocolate Cupcakes: A timeless recipe for rich, decadent chocolate cupcakes.
- Boston Cream Pie Cheesecake: A creamy, dreamy fusion of two dessert favorites.
- TheBest Coconut Cupcakes: Light, fluffy, and bursting with tropical flavor.
- More of the Best Cupcake Recipes: A collection of our most cherished cupcake creations.
This beloved recipe for Boston Cream Pie Cupcakes was originally shared in March 2011, and has since been perfected and updated in 2021 with new photos and an improved recipe. We are delighted to share this enhanced version, graciously adapted from Hugs & Cookies. This collaboration is part of our ongoing series where we cook and share recipes from each other’s wonderful blogs. Be sure to check out what delightful creation Danielle made from my collection this month! We hope you enjoy baking and savoring these exquisite treats as much as we do.
Boston Cream Pie Cupcakes
30 minutes
30 minutes
1 hour
12 cupcakes
Indulge in these delightful Boston Cream Pie Cupcakes featuring tender, fluffy yellow cupcakes generously filled with a rich pastry cream and crowned with a luscious swirl of homemade chocolate ganache. A truly impressive dessert for any occasion!
Ingredients
For the Vanilla Cupcakes
- 6 tablespoons unsalted butter, softened to room temperature
- ¾ cup granulated sugar
- ¼ cup plus 2 tablespoons sour cream
- 2 teaspoons pure vanilla extract
- 3 large egg whites (reserve 2 yolks for pastry cream)
- 1¼ cups all-purpose flour
- 2 tsp. baking powder
- ¼ teaspoon salt
- ¼ cup plus 2 tablespoons milk
- 2 tablespoons water
For the Rich Vanilla Pastry Cream
- 2 egg yolks (from reserved egg whites)
- 6 tablespoons granulated sugar
- 1½ tablespoons cornstarch
- 1 cup + 2 tablespoons milk
- 1 tablespoon unsalted butter
- 1 teaspoon pure vanilla extract
For the Decadent Chocolate Ganache Frosting
- 12 ounces semi-sweet chocolate chips (good quality)
- 2 tablespoons light corn syrup (for shine and smoothness)
- ¾ cup + 2 tablespoons heavy whipping cream
Instructions
- Prepare the Cupcakes: Preheat your oven to 350°F (175°C). Line a 12-cup standard muffin pan with paper cupcake liners.
- In the bowl of a stand mixer fitted with the paddle attachment, or with a hand mixer, cream together the softened butter and granulated sugar on medium-high speed for about 4 minutes, until light and fluffy. Add the sour cream and vanilla extract, mixing until just combined.
- Carefully add the egg whites one at a time, mixing well after each addition until fully incorporated. Scrape down the sides of the bowl as needed.
- In a separate medium bowl, whisk together the flour, baking powder, and salt.
- In a liquid measuring cup, combine the milk and water.
- With the mixer on low speed, gradually add half of the dry ingredients to the wet ingredients, mixing until just barely combined.
- Next, pour in the milk/water mixture and mix until incorporated. Finish by adding the remaining dry ingredients, mixing on low speed until just combined. Be careful not to overmix; scrape the bottom and sides of the mixing bowl a couple of times to ensure everything is well blended.
- Fill the prepared cupcake liners approximately ½ to ⅔ full with batter. Bake for 15-18 minutes, or until a toothpick inserted into the center of a cupcake comes out with only a few moist crumbs. Allow cupcakes to cool in the pan for a few minutes before transferring them to a wire rack to cool completely.
- Make the Pastry Cream: While the cupcakes cool, begin the pastry cream. In a medium bowl, whisk the 2 egg yolks until smooth.
- In a medium saucepan, combine the sugar, cornstarch, and milk. Cook over medium heat, whisking constantly, until the mixture begins to thicken and coats the back of a spoon.
- Reduce the heat to low and continue to simmer for 2 minutes, whisking. Then, remove the saucepan from the heat.
- To temper the egg yolks, gradually add a small amount (about ¼ cup) of the hot milk mixture to the whisked yolks, whisking continuously and vigorously to prevent the yolks from scrambling.
- Pour the tempered yolk mixture back into the saucepan with the remaining hot milk mixture. Return to medium-low heat and bring to a gentle boil, stirring constantly. Cook for 2 more minutes while stirring until very thick.
- Remove the pot from the heat. Stir in the butter and vanilla extract until fully incorporated and smooth. To prevent a skin from forming, press a piece of plastic wrap directly onto the surface of the pastry cream. Chill completely in the refrigerator (at least 2-3 hours, or overnight) until firm.
- Prepare the Chocolate Ganache: In a heatproof bowl, place the semi-sweet chocolate chips and light corn syrup. In a small saucepan, bring the heavy whipping cream to a gentle boil over medium heat.
- Once the cream is boiling, immediately pour it over the chocolate chips and corn syrup. Cover the bowl with a plate or plastic wrap and let it sit undisturbed for 5-7 minutes to allow the chocolate to melt. After waiting, uncover and whisk the mixture gently from the center outwards until it is completely smooth and glossy. Let the ganache cool at room temperature until it thickens to a pipeable consistency (this may take 30-60 minutes, or you can refrigerate briefly, stirring every 10 minutes).
- Assemble the Cupcakes: Once the cupcakes are completely cooled and the pastry cream is thoroughly chilled, use a cupcake corer (or a small knife/melon baller) to carefully cut out the center of each cupcake, creating a well for the filling. Spoon or pipe the chilled pastry cream generously into each cavity. If desired, trim a small piece from the removed cake cylinder and place it back on top of the custard to act as a “cap.”
- Using a piping bag fitted with your desired tip (or simply spreading with a knife), pipe or spread the thickened chocolate ganache onto each filled cupcake. You can create elegant swirls or a smooth, even layer.
- Serve and Store: Store the finished Boston Cream Pie Cupcakes in an airtight container in the refrigerator. Allow them to come to room temperature for about 15-20 minutes before serving for the best flavor and texture. Enjoy!
Notes
This recipe is lovingly adapted from a classic method by Martha Stewart and enhanced for an even more irresistible experience.
For piping the ganache, an Ateco tip 844 is highly recommended for creating beautiful, defined swirls. It offers a superior finish compared to many other piping tips!
HOW MUCH DID YOU LOVE THIS RECIPE?
Please leave a comment on the blog or share a photo on Pinterest
