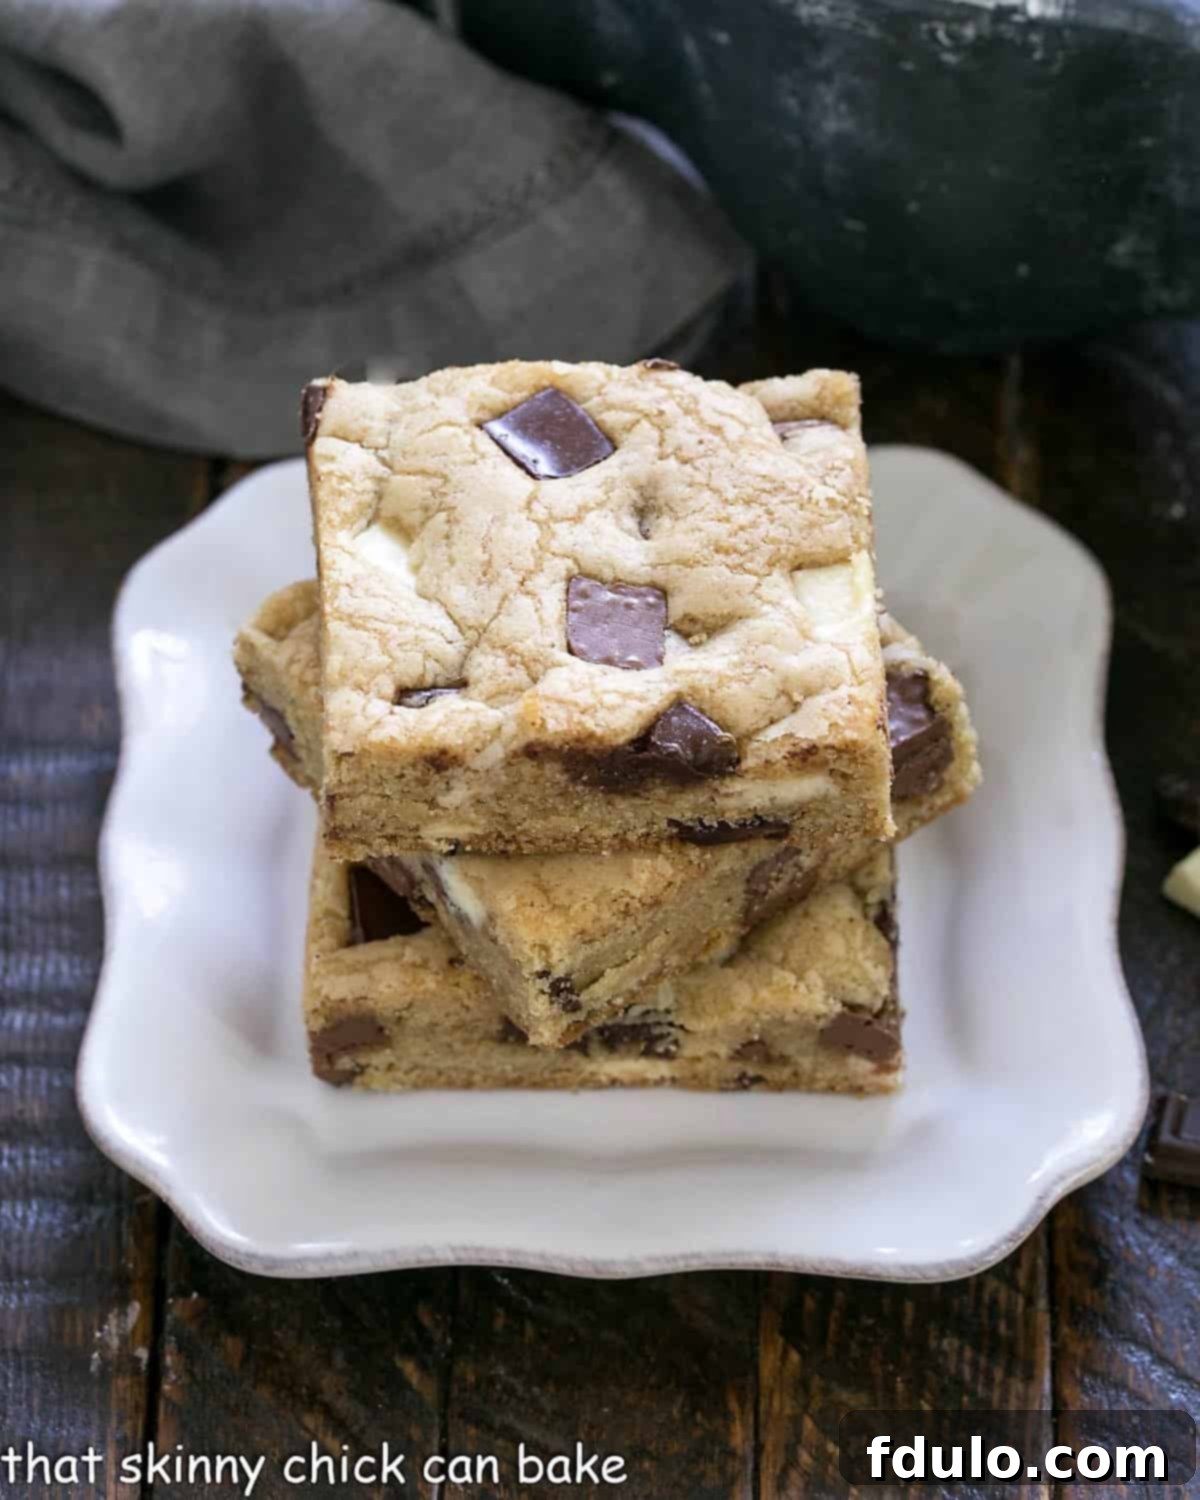
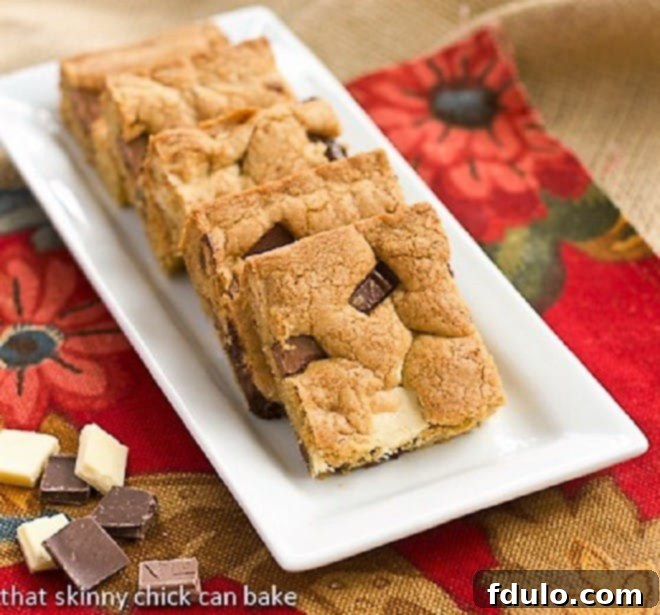
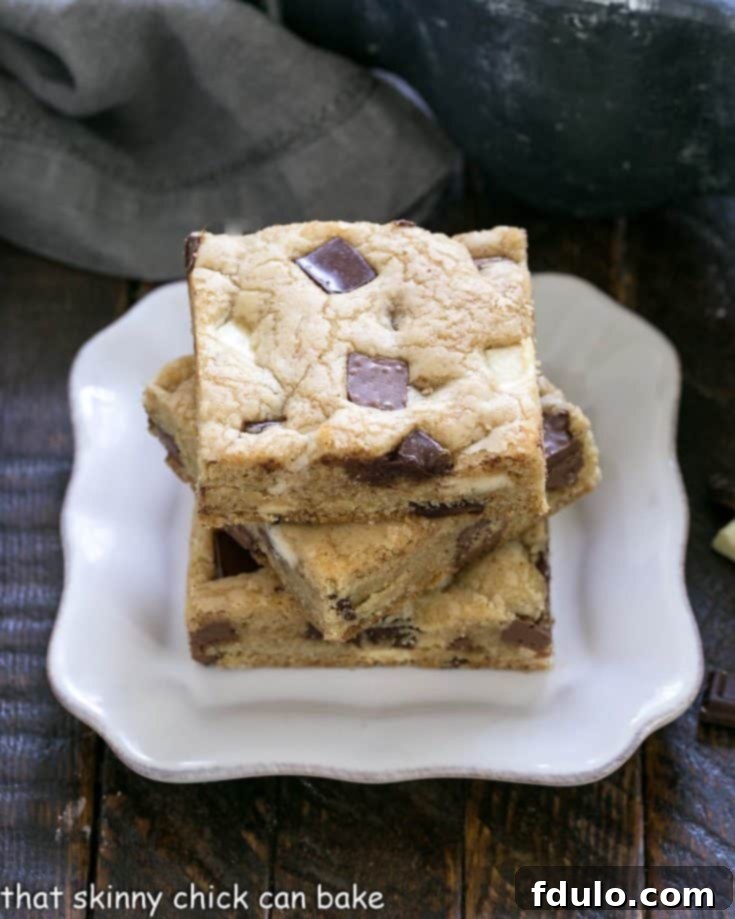
Indulge in an extraordinary treat that effortlessly combines rich flavors and delightful textures: these Brown Butter Chocolate Chunk Bars. Crafted with a trio of luscious chocolate chunks and the irresistible, nutty aroma of browned butter, these bars elevate the classic cookie experience to gourmet heights. They are not only incredibly delicious but also surprisingly simple to prepare, making them a perfect choice for any occasion, from casual family desserts to impressive potluck contributions.
Far beyond your everyday chocolate chip cookie bars, this recipe intentionally features larger, more substantial chocolate chunks. This subtle yet significant difference ensures that every bite is bursting with generous pockets of molten chocolate, delivering a more intense and satisfying flavor profile. When it comes to chocolate, more is always better, and these bars certainly deliver on that promise!
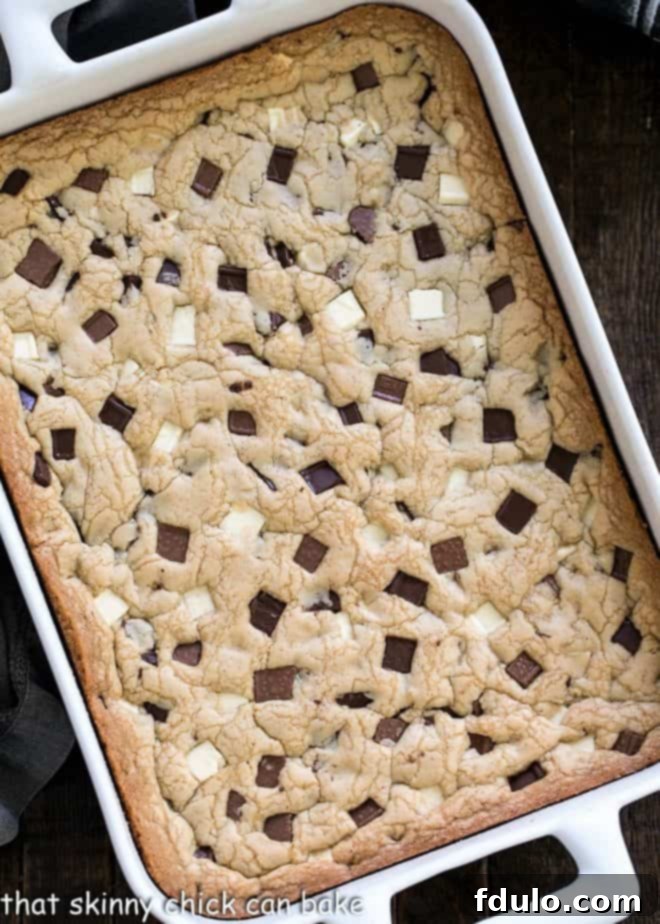
Why These Brown Butter Chocolate Chunk Bars Are a Must-Try
There are countless reasons to fall in love with these irresistible cookie bars, making them a staple in any dessert enthusiast’s repertoire:
- Abundant Chocolate Pleasure: Unlike standard chocolate chip bars, these delights are loaded with generously sized chocolate chunks. This means a more pronounced chocolate flavor and a wonderfully varied texture in every single bite, offering a truly decadent experience.
- A Symphony of Chocolate Flavors: We don’t stop at just one kind of chocolate! This recipe artfully incorporates three distinct types of chocolate (typically milk, semi-sweet, and white or dark). This thoughtful combination creates a complex and deeply satisfying flavor palate that keeps your taste buds intrigued with every mouthful.
- Effortless Baking, Unforgettable Results: Cookie bar recipes are renowned for their simplicity, and this one is no exception. Requiring minimal fuss and less shaping than individual cookies, they’re incredibly easy to whip up. The best part? They are universally adored by both children and adults, guaranteeing smiles all around.
- The Magic of Brown Butter: The secret ingredient truly is the brown butter. Transforming ordinary butter into a rich, nutty, and subtly caramel-flavored component, brown butter adds an unparalleled depth and sophistication that elevates these bars far beyond the ordinary. It’s a simple step that yields gourmet results.
Sometimes, the simplest culinary adjustments yield the most profound rewards. In my household, there’s a constant yearning for classic chocolate chip cookies or bars. My husband, Mr. Predictable, often finds himself baking a batch when the craving strikes. As a food blogger, I’m perpetually seeking innovative and exciting new dessert ideas. However, my better half would be perfectly content with the familiar comfort of traditional Tollhouse cookies day in and day out. This recipe became my easy solution: a subtly more gourmet version of his beloved classic, adding a touch of elegance without sacrificing the comforting familiarity he adores.
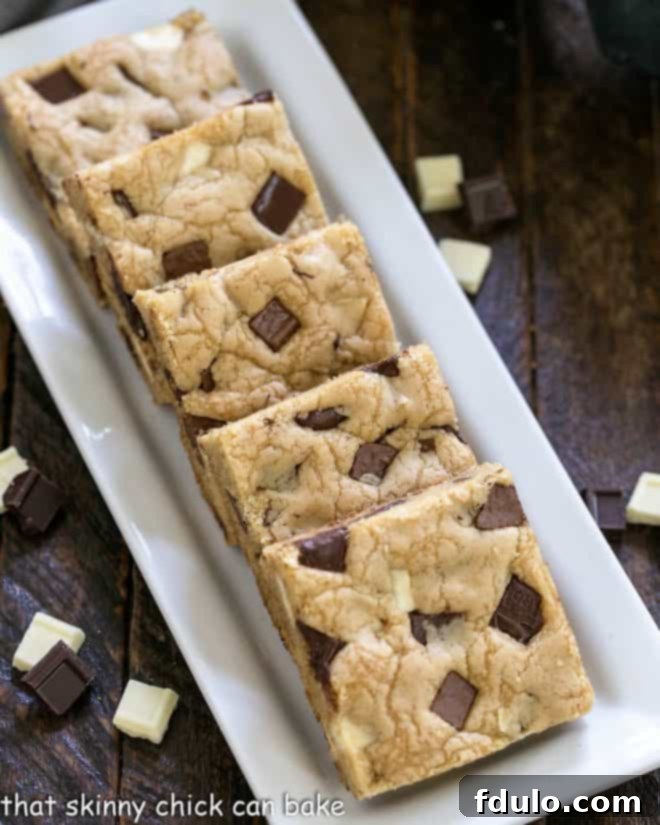
The Art of Browning Butter: A Flavor Game Changer
Browning butter, or making beurre noisette as it’s known in French, is a simple yet transformative technique that unlocks incredible depth of flavor. This process involves gently cooking butter until its milk solids toast to a beautiful golden-brown, releasing a rich, nutty, and subtly caramel-like aroma. It’s an easy step that elevates any recipe, adding a sophisticated dimension that plain melted butter simply cannot match.
How to Achieve Perfectly Browned Butter
Making brown butter is straightforward but requires your attention. Start with a light-colored saucepan, which allows you to easily monitor the butter’s color change. Melt your butter over low to medium heat, stirring continuously. As the butter melts, it will first foam, then begin to simmer, and eventually, the milk solids at the bottom of the pan will start to turn golden brown. Continue stirring gently until these solids achieve a rich, amber, hazelnut-like color and a distinct nutty fragrance fills your kitchen. Be careful not to let it burn – the transition from perfectly browned to burnt happens quickly! Once it reaches the desired color, immediately remove it from the heat and pour it into a heatproof bowl to stop the cooking process. Do not filter out the tiny brown specks; these are the toasted milk solids responsible for all that exquisite nutty flavor!
Mastering Cookie Bars: Expert Tips for Irresistible Results
Creating the perfect cookie bar is an art, and these tips will guide you to consistently moist, flavorful, and beautifully presented results:
- Pan Preparation is Key: Always line your baking pan with non-stick foil or parchment paper, allowing an overhang on the sides. This seemingly small step is a game-changer for effortless removal of the entire slab of cooled bars, making cleanup a breeze and facilitating neat, precise slicing.
- Room Temperature Ingredients for Best Texture: Ensure your eggs are at room temperature before incorporating them into the batter. Room temperature eggs emulsify more effectively with the butter and sugar, creating a smoother, more homogenous batter. This results in a lighter, more tender crumb in your finished bars.
- Brown Butter vs. Melted Butter: While plain melted butter works in a pinch, taking the extra step to brown your butter infuses the bars with an incredible, subtle nutty flavor that truly sets them apart. This simple technique adds a gourmet touch, transforming a good bar into an exceptional one.
- Gentle Flour Incorporation: When adding the flour, baking soda, and salt, always mix by hand using a spatula or wooden spoon. An electric mixer can easily overdevelop the gluten in the flour, leading to a tougher, chewier texture. Hand mixing ensures a tender, melt-in-your-mouth consistency.
- The Golden Rule: Do Not Overbake: Overbaking is the arch-nemesis of moist cookie bars. Keep a close eye on your oven; the bars are ready when the edges are lightly golden and the center appears set but still slightly soft. They will continue to set as they cool, ensuring a perfectly moist and chewy interior.
- Chocolate Selection: Chunks vs. Chips: While chocolate chips are convenient, using high-quality chocolate chunks (especially from premium chocolate bars like Ghirardelli) provides a superior chocolate experience. The larger pieces melt into gooey pockets of rich flavor, and the quality of the chocolate shines through. However, feel free to use your favorite chocolate chips if that’s what you have on hand. Don’t hesitate to experiment with different varieties like butterscotch chips, peanut butter chips, or even chopped nuts for added crunch.
- A Touch for Presentation: For a truly professional and enticing presentation, reserve a handful of chocolate chunks before mixing them into the batter. Press these extra chunks onto the warm, freshly baked bars immediately after they come out of the oven. As the bars cool, the chocolate will melt slightly, creating beautiful, visible pools of chocolate that make them look utterly irresistible, perfect for guests or a special treat.
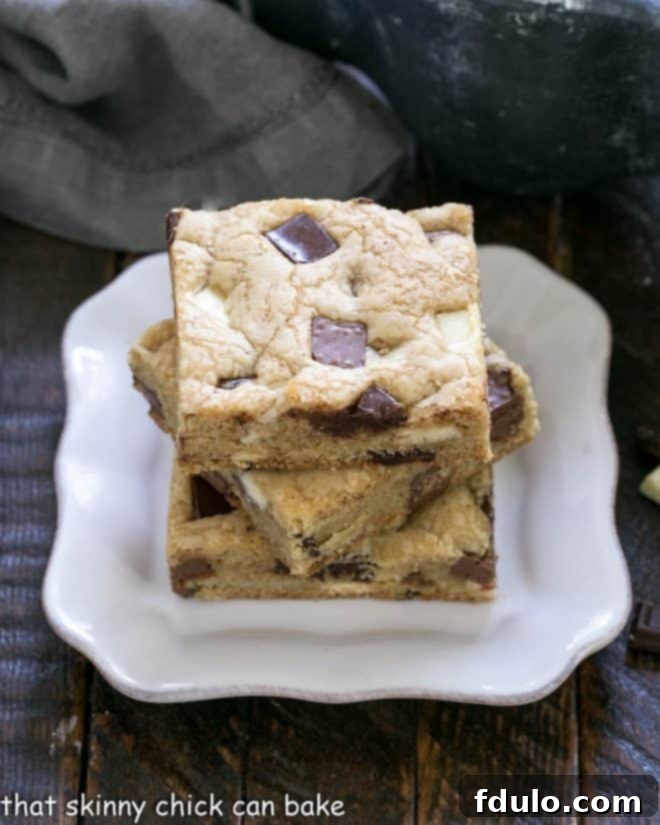
Step-by-Step Guide to Baking Perfect Brown Butter Chocolate Chunk Bars
Follow these straightforward steps to create your own batch of delicious and decadent chocolate chunk bars:
- Prepare Your Pan: Begin by thoroughly greasing a 9×13 inch baking pan or, ideally, lining it with non-stick foil or parchment paper, leaving an overhang on the sides. This ensures easy removal and clean cuts later.
- Preheat Oven: Preheat your oven to 350°F (175°C).
- Cream Butter and Sugars: In a large mixing bowl, cream together the cooled brown butter and both the brown and white sugars until the mixture is light, fluffy, and well combined. This process incorporates air, contributing to the bars’ tender texture.
- Add Wet Ingredients: Beat in the eggs one at a time, ensuring each is fully incorporated before adding the next. Stir in the vanilla extract until just combined.
- Combine Dry Ingredients: In a separate bowl, whisk together the flour, baking soda, and salt.
- Gently Mix Dry into Wet: Gradually add the dry ingredient mixture to the wet ingredients, mixing by hand with a spatula or wooden spoon. Mix only until just combined and no dry streaks of flour remain. Be careful not to overmix, as this can lead to tough bars.
- Fold in Chocolate Chunks: Gently fold in the majority of your chocolate chunks. Remember to reserve a small handful to press onto the top of the bars for garnish after baking.
- Press into Pan: Evenly press the cookie dough into the prepared 9×13 inch pan. You can use your hands or the back of a spoon to spread it smoothly.
- Bake to Perfection: Bake for 25-30 minutes, or until the edges are golden brown and the center is set but still looks slightly soft. The bars will continue to cook slightly as they cool.
- Cool and Cut: Allow the bars to cool completely in the pan on a wire rack before attempting to cut them. For cleaner slices, you can even chill them in the refrigerator for about 30 minutes to an hour. Once cooled, use the foil/parchment overhang to lift the entire slab out of the pan onto a cutting board, then cut into squares.
Frequently Asked Questions About Chocolate Chunk Bars
Brown butter, also known as beurre noisette (French for “hazelnut butter”), is simply butter that has been cooked until its milk solids caramelize and turn a beautiful golden-brown color, akin to toasted hazelnuts. This process imparts a wonderfully nutty, slightly sweet, and complex flavor that elevates baked goods and savory dishes alike, adding a gourmet touch that plain butter cannot achieve.
To make brown butter, melt unsalted butter in a light-colored saucepan over low to medium heat. Stir constantly. The butter will foam, then sizzle, and eventually, tiny brown bits will appear at the bottom of the pan while the butter itself turns amber. As soon as you smell a nutty aroma and see the desired golden-brown color, remove it from the heat immediately and pour it into a heatproof bowl to stop the cooking. Do not discard the brown specks, as they are the source of the incredible flavor!
While both chocolate chips and chunks work well in this recipe, using larger chocolate chunks offers a more luxurious and intense chocolate experience. Chunks, especially those chopped from high-quality chocolate bars (like Ghirardelli mentioned in the original recipe), tend to melt into gooey, expansive pockets throughout the bars, providing a richer mouthfeel and a more pronounced chocolate flavor. They also often offer superior quality chocolate in various percentages, enhancing the overall taste. Feel free to use chocolate chips if that’s your preference or what you have available.
For impeccably neat and perfectly square cookie bars, proper cutting technique is essential. First, always ensure your bars are completely cooled, and ideally, chilled in the refrigerator for at least 30-60 minutes. Cold bars firm up, allowing for cleaner cuts and preventing crumbling. Use a sharp, non-serrated knife. If your knife begins to stick, wipe it clean between cuts. For perfectly uniform squares, consider using a ruler as a guide to mark your cutting lines before making the first slice. Once cut, allow the bars to come back to room temperature before serving for the best flavor and texture. For even more detailed instructions, you can refer to my comprehensive guide on How to Cut Perfect Cookie Bars.
To maintain their freshness and delicious texture, store your chocolate chunk bars in an airtight container at room temperature for up to 3-4 days. For longer storage, you can refrigerate them for up to a week. They also freeze beautifully! Wrap individual bars or the entire cooled slab tightly in plastic wrap, then place in a freezer-safe bag or container for up to 2-3 months. Thaw at room temperature before serving.
Other Irresistible Treats You May Also Enjoy:
If you’ve fallen in love with these brown butter chocolate chunk bars, here are some other delightful recipes that explore similar flavor profiles and baking styles:
- These Brown Butter Easter Cookies are another fun way to use brown butter and celebrate the season!
- For even more chocolate indulgence, try our Double Chocolate Chunk Bars.
- Experience a delightful crunch with our Toffee and White Chocolate Chunk Cookies.
- Our Chewy Cherry Chocolate Chunk Cookies offer a wonderful fruity twist.
- If you can’t get enough chocolate, dive into our Quadruple Chocolate Cookies.
- For the ultimate chocolate lover, these Death by Chocolate Cookies are a must-bake.
- And for a unique sweet-and-salty combination, don’t miss these intriguing Potato Chip Cookies with Chocolate Chunks!
Stay connected for more delicious recipes and baking inspiration! Follow me on social media: Instagram, Facebook, and Pinterest. Don’t forget to tag me when you create one of my recipes! If you adore the results, please consider leaving a 5-star rating in the recipe card below – your feedback means the world to me!
Brown Butter Chocolate Chunk Bars
20 minutes
30 minutes
50 minutes
24 bars
A trio of exquisite chocolate chunks and nutty brown butter come together to create these utterly irresistible cookie bars!
Ingredients
- 2 sticks (1 cup) unsalted butter (browned, then cooled to room temperature)
- ¾ cup packed light brown sugar
- ¾ cup granulated white sugar
- 2 large eggs (room temperature)
- 2 teaspoons pure vanilla extract
- 2 ½ cups all-purpose flour
- 1 teaspoon baking soda
- 1 teaspoon fine sea salt
- 12 ounces mixed chopped chocolate (e.g., 4 oz milk chocolate, 4 oz semi-sweet chocolate, 4 oz white chocolate or dark chocolate)
Instructions
- Line a 9 x 13 inch baking pan with nonstick foil or parchment paper, leaving an overhang on the short sides for easy lifting. Set aside.
- Preheat your oven to 350°F (175°C).
- In a large bowl, cream together the cooled brown butter and both the brown and white sugars until light and fluffy (about 2-3 minutes with an electric mixer, or a bit longer by hand). Add the room temperature eggs one at a time, mixing well after each addition. Stir in the vanilla extract until fully combined.
- In a separate medium bowl, whisk together the all-purpose flour, baking soda, and salt. Gradually add the dry ingredients to the wet ingredients, mixing by hand with a spatula or wooden spoon until just combined. Be careful not to overmix the dough.
- Gently fold in the chopped chocolate chunks, reserving a small handful (about ¼ cup) to press into the top of the baked bars for an appealing garnish.
- Press the prepared dough evenly into the lined 9×13 inch pan. Use your hands or the back of a spoon to ensure an even layer.
- Bake for 25-30 minutes, or until the edges are lightly golden brown and the center is set but still looks slightly soft. The bars will continue to firm up as they cool.
- Immediately after removing from the oven, press the reserved chocolate chunks onto the warm surface of the bars. Allow the bars to cool completely in the pan on a wire rack before cutting. For the cleanest cuts, chill the cooled bars in the refrigerator for 30 minutes to an hour before lifting them out of the pan and slicing into squares.
Notes
Detailed instructions on how to make brown butter are provided within the blog post above. Recipe adapted from Hugs & Cookies XOXO.
Nutrition Information:
Yield:
24
Serving Size:
1
Amount Per Serving:
Calories: 244Total Fat: 12gSaturated Fat: 8gTrans Fat: 0gUnsaturated Fat: 4gCholesterol: 39mgSodium: 220mgCarbohydrates: 30gFiber: 1gSugar: 19gProtein: 3g
HOW MUCH DID YOU LOVE THIS RECIPE?
Please leave a comment on the blog or share a photo on Pinterest
