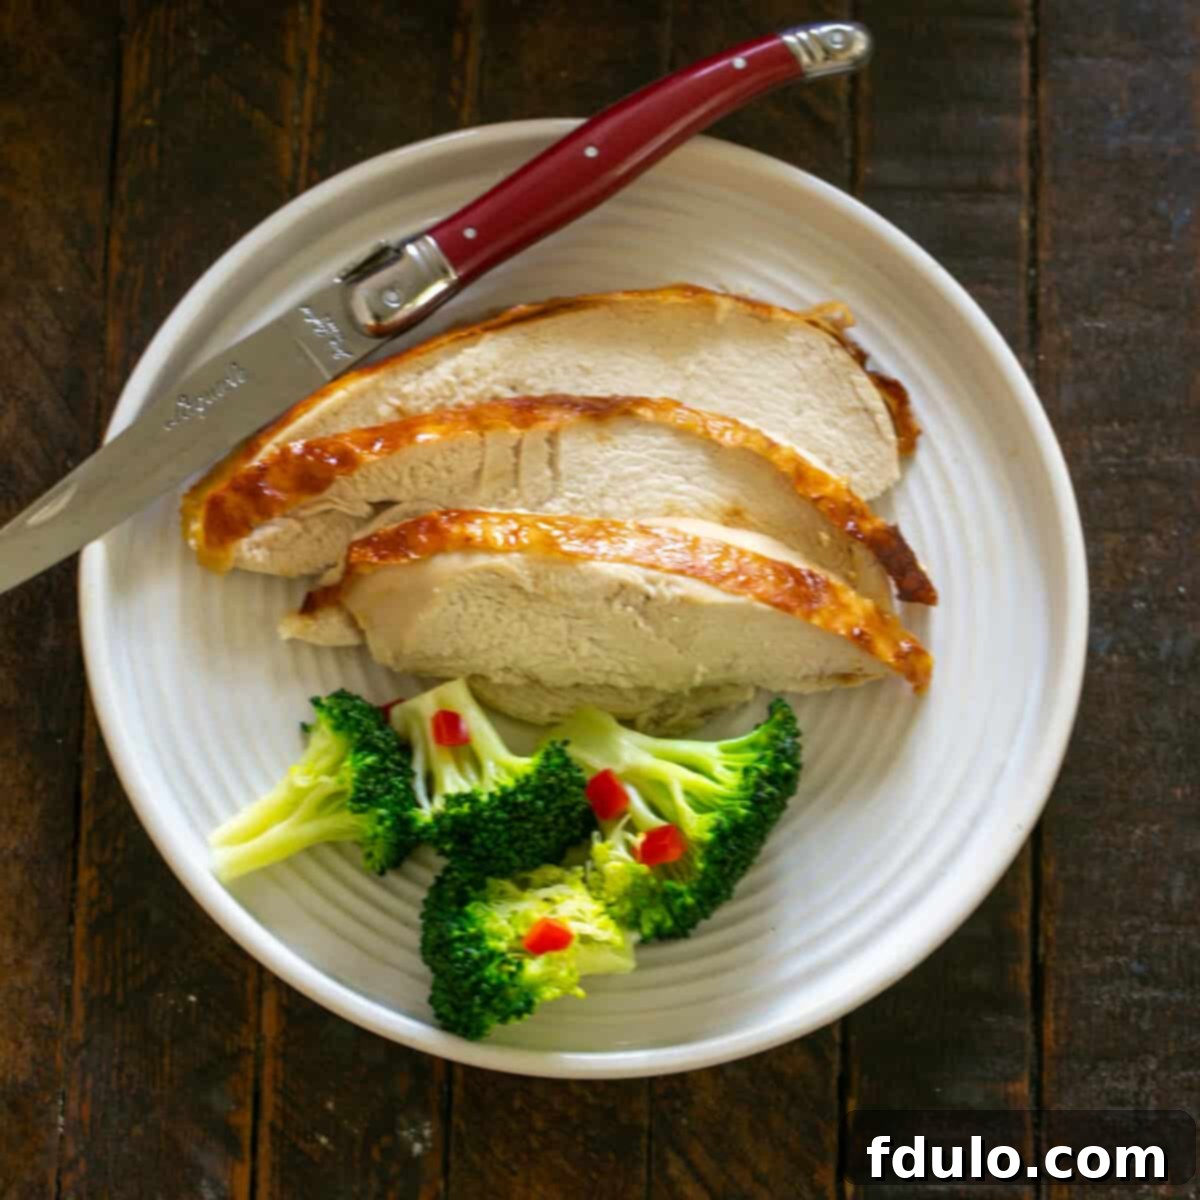
Welcome to the definitive guide for crafting the most tender, succulent, and utterly delicious Buttermilk Roasted Chicken. This beloved recipe is celebrated for its simplicity, requiring minimal ingredients yet delivering maximum flavor and an irresistibly crispy, golden-brown skin. While the preparation is quick and straightforward, a crucial element is patience – allowing the chicken to luxuriate in its buttermilk bath is the secret to its unparalleled tenderness.
At the heart of this extraordinary dish lies the simple yet powerful Buttermilk Marinade. Composed of just two readily available ingredients – fresh buttermilk and quality salt – this marinade works wonders. The buttermilk, with its subtle acidity, acts as a natural tenderizer, gently breaking down the chicken fibers to ensure a supremely moist interior. Beyond its tenderizing properties, the natural sugars (lactose) present in buttermilk contribute to a beautiful bronze caramelization during roasting, enhancing the chicken’s visual appeal and deepening its savory notes. Salt, the other foundational ingredient, is a fundamental flavor enhancer. It penetrates the meat, intensifying the chicken’s natural taste and bringing out the best in both sweet and savory elements, creating a perfectly balanced profile.
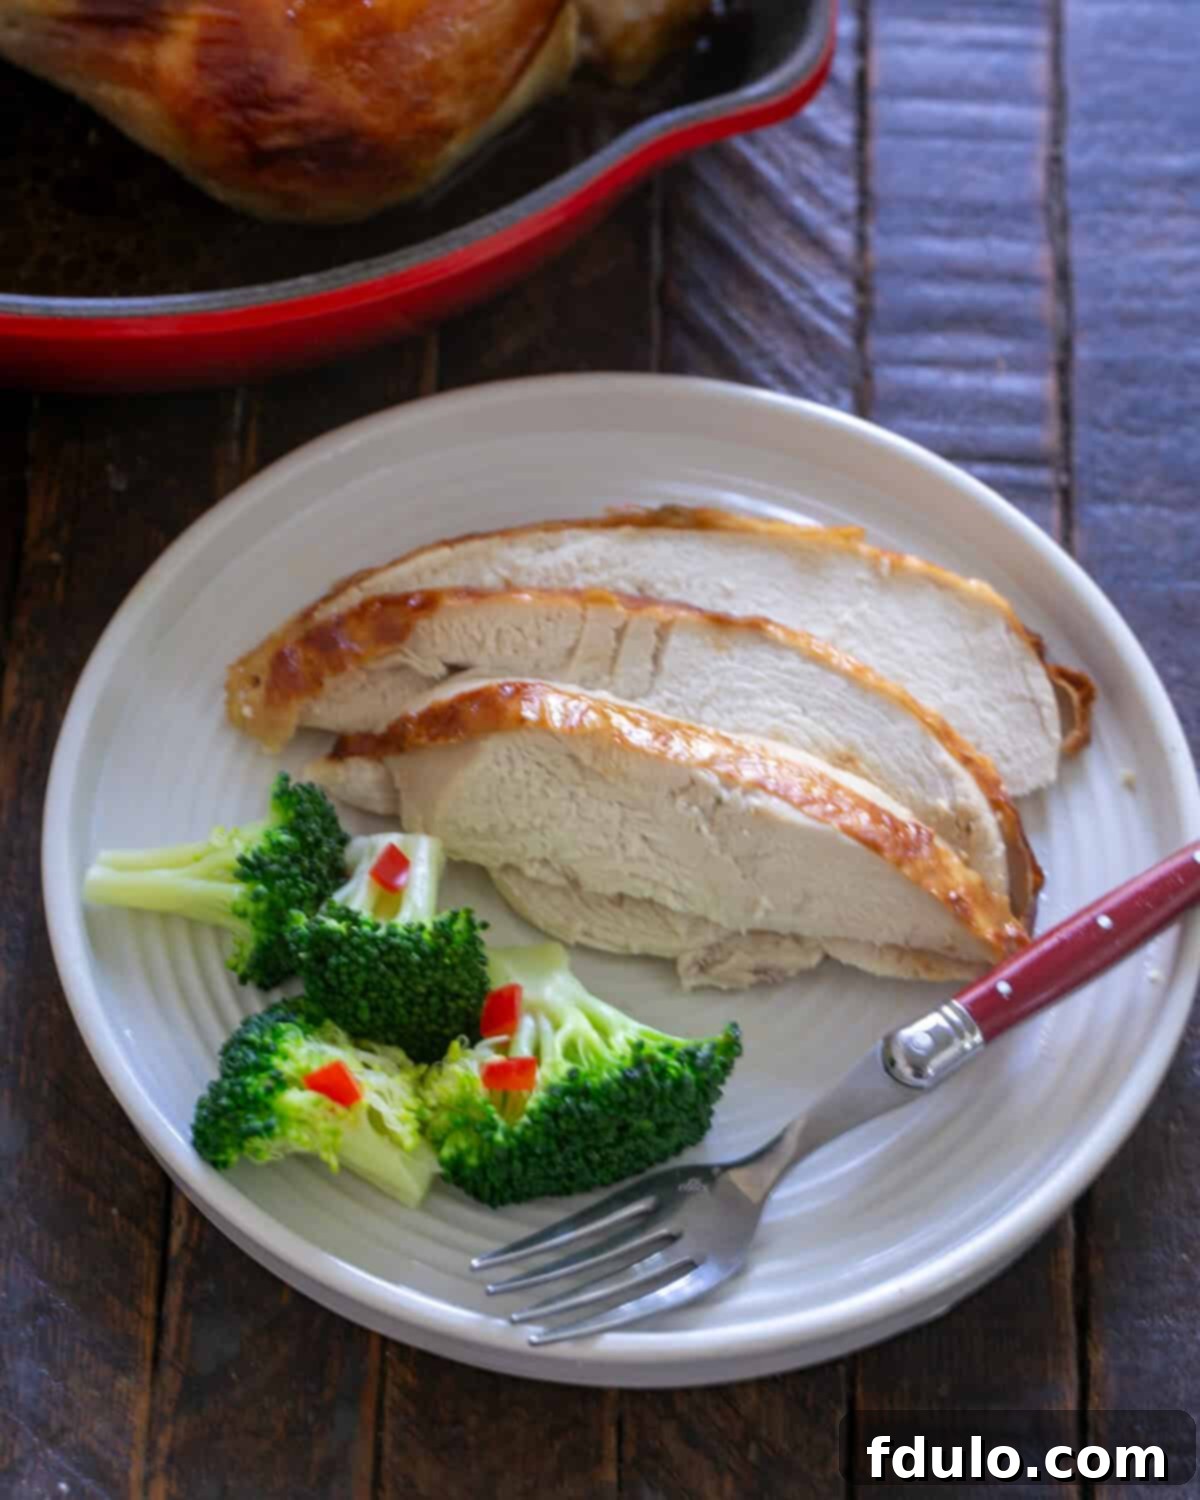
Why This Buttermilk Roasted Chicken Will Become Your Go-To Recipe
If you’re searching for a foolproof recipe that consistently delivers mouth-watering results with minimal fuss, look no further. This buttermilk roasted chicken offers a symphony of flavors and textures, making it a perfect centerpiece for any meal. Here’s why it deserves a permanent spot in your culinary repertoire:
- Unbelievable Simplicity, Remarkable Flavor: With only a handful of essential ingredients, this recipe proves that incredible taste doesn’t require a complex shopping list or an elaborate cooking process. The magic happens with just three core components, allowing the natural goodness of the chicken to shine through.
- Guaranteed Moisture and Tenderness: The prolonged marination in buttermilk is an absolute game-changer. This overnight process ensures every fiber of the chicken is infused with moisture, resulting in a roast that is exceptionally juicy and tender from skin to bone. Say goodbye to dry, bland chicken forever!
- Effortless Meal Prep and Versatility: Not only is this dish a showstopper fresh out of the oven, but its leftovers are equally delightful. Transform any remaining chicken into gourmet sandwiches, vibrant salads, hearty wraps, or comforting chicken pot pies. It’s an incredibly versatile protein that adapts beautifully to various subsequent meals, making your meal planning much easier.
- Crispy, Golden-Brown Skin: The unique properties of buttermilk and the specific roasting technique we’ll explore ensure a beautifully bronzed and irresistibly crispy skin, adding another layer of texture and flavor that elevates the entire dish.
- A Crowd-Pleaser for Any Occasion: Whether it’s a casual weeknight dinner, a festive Sunday roast, or a special gathering, this buttermilk chicken is sure to impress. Its comforting familiarity combined with its gourmet quality makes it a dish everyone will love.
Essential Ingredients for Your Perfect Roast
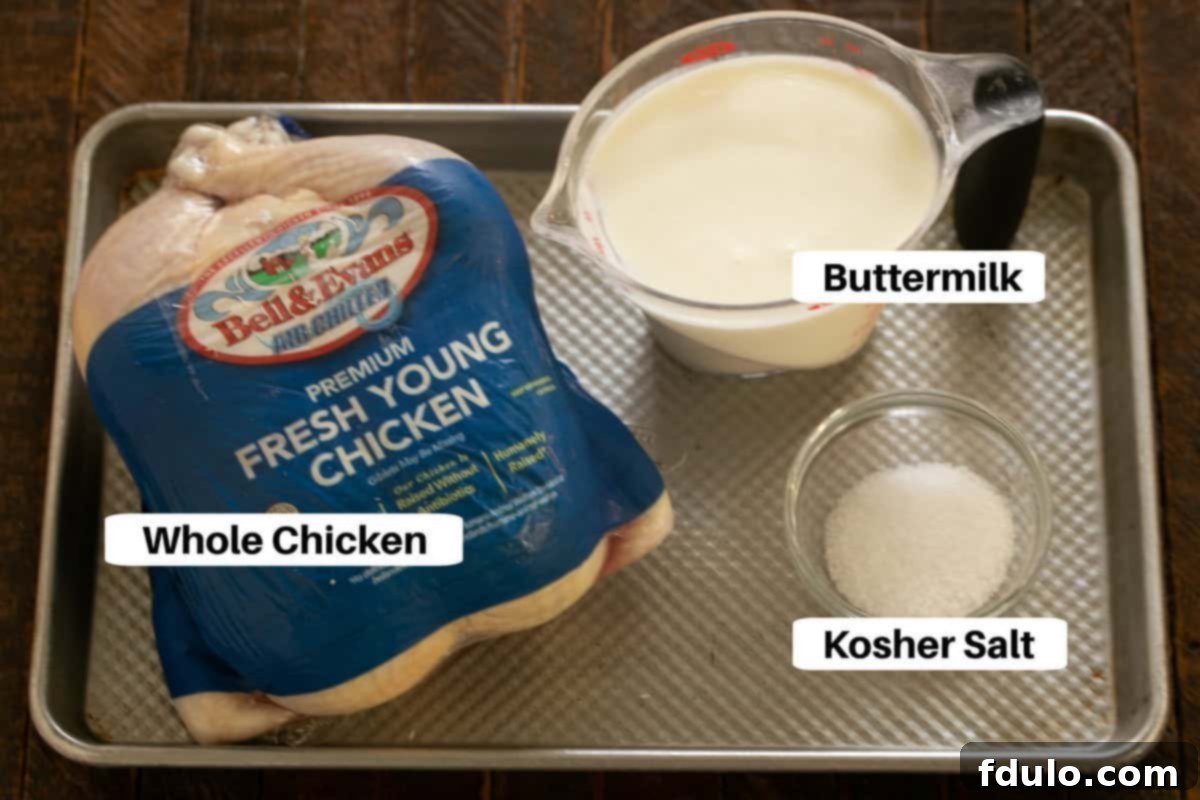
Achieving a truly exceptional buttermilk roasted chicken hinges on understanding and selecting the right ingredients. Each component plays a vital role in the final texture and flavor profile.
- Salt: The Unsung Hero of Flavor – We highly recommend using kosher salt or fine sea salt for this recipe. These types of salt have a cleaner taste and dissolve beautifully into the marinade. Salt is more than just a seasoning; it’s a powerful flavor enhancer that awakens and deepens the inherent tastes of your ingredients. Without adequate salt, dishes can taste flat and underdeveloped. It penetrates the chicken during the marination, helping to retain moisture and season the meat from within. Of course, if you have any medical reasons for avoiding or limiting salt intake, please consult your doctor and adjust accordingly.
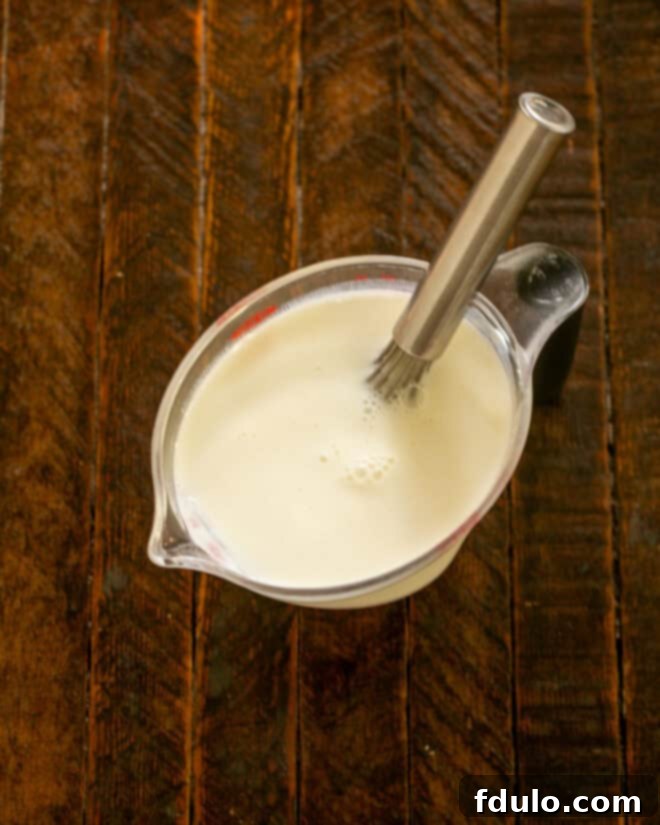
- Buttermilk: The Tenderizing Elixir – Buttermilk is the star ingredient of our marinade, renowned for its tenderizing properties. Its mild acidity, primarily lactic acid, works gently on the chicken protein, resulting in a noticeably softer and more succulent texture without breaking down the meat too aggressively (unlike harsher acids like lemon juice or vinegar used alone). The lactose (milk sugar) also contributes to the stunning golden-brown crust you’ll achieve during roasting. If fresh buttermilk isn’t available, don’t fret! You can easily create a homemade substitute: simply add 1 tablespoon of fresh lemon juice or white vinegar to a 1-cup liquid measuring cup, then fill the rest of the cup with regular milk (dairy or non-dairy works). Stir gently and let it sit for about 5-10 minutes until the milk slightly thickens and curdles. This will yield one cup of buttermilk substitute. For this recipe, you’ll need two cups, so simply double the quantities. Alternatively, plain yogurt or crème fraîche can also be used as substitutes, offering similar acidic properties that contribute to tenderization and flavor.
- Roasting Chicken: Selecting Your Centerpiece – Aim for a whole roasting chicken weighing approximately 3½ to 4 pounds. This size is ideal for even cooking and generous servings. Before marinating, always remember to remove any neck or organ meats (giblets) that may be tucked inside the chicken’s cavity. While some prefer to rinse their chicken, modern food safety guidelines suggest it’s often unnecessary and can risk spreading bacteria. If you choose to rinse, do so thoroughly and immediately pat the chicken completely dry with paper towels. A dry surface is crucial for achieving that coveted crispy skin. Patting dry also helps the marinade adhere better to the chicken.
Expert Tips for Buttermilk Chicken Perfection
Mastering the art of roasting a whole chicken can seem daunting, but with a few expert tips, you’ll achieve consistent perfection every time. These insights will help you navigate the cooking process with confidence, ensuring a juicy, tender, and beautifully browned chicken.
- Monitor with Precision: The Meat Thermometer is Your Best Friend – The most reliable way to ensure your chicken is cooked through and safe to eat, without overcooking, is to use a high-quality meat thermometer. Insert it into the thickest part of the thigh, avoiding the bone. While the chicken cooks, monitor the internal temperature. For a perfectly cooked chicken, you’ll want it to reach an internal temperature of 180°F (82°C) before it’s ready to eat.
- The Art of the High-Heat Start – Begin your roasting process with a higher oven temperature, specifically 425°F (220°C). This initial blast of heat is key to achieving that desirable golden-brown and crispy skin. The intense heat quickly renders the fat in the skin and kick-starts the Maillard reaction, developing deep flavors and textures on the exterior. After the initial browning period, you’ll decrease the oven temperature to prevent the outside from becoming too dark or even burning while the interior finishes cooking evenly.
- PRO-Tip: The Power of Carryover Cooking – For an extra juicy result, you can strategically pull the chicken from the oven slightly before it reaches its final target temperature. Aim to remove it when the internal temperature in the thigh reads around 170°F (77°C). Why? Because of carryover cooking. Residual heat trapped within the chicken will continue to cook it for several minutes after it’s removed from the oven, typically raising the internal temperature by another 5-10 degrees. This ensures the chicken reaches its safe internal temperature of 175-180°F (79-82°C) while remaining incredibly moist.
- The Importance of Resting – Immediately after removing the roasted chicken from the oven, transfer it to a cutting board or platter. Crucially, cover it loosely with aluminum foil and let it rest for at least 10-15 minutes (or even up to 20 minutes for a larger bird) before carving. This resting period is not optional; it allows the juices that have migrated to the center of the bird during cooking to redistribute throughout the meat. Slicing too soon will result in those precious juices running out, leaving you with a drier chicken.
- PRO-Tip: Buttermilk’s Dual Role in Perfection – Reiterate that the acidic nature of the buttermilk is absolutely critical for tenderizing the meat, ensuring a soft, succulent texture. Furthermore, the lactose (milk sugar) in buttermilk plays a significant role in developing that beautifully browned exterior through caramelization, creating a crisp, flavorful crust. As renowned chef Samin Nosrat highlights in her acclaimed cookbook “Salt, Fat, Acid, Heat,” plain yogurt or crème fraîche are also excellent alternatives to buttermilk, offering similar beneficial properties for marinades.
- Food Safety First: Handling Raw Chicken – While rinsing chicken is a common practice, it’s crucial to be mindful of potential cross-contamination. Raw chicken often harbors bacteria, including Salmonella. If you choose to rinse your chicken in the kitchen sink before marinating, it is imperative to sanitize your sink and surrounding countertop surfaces thoroughly afterward with a strong disinfectant. Always wash your hands meticulously with soap and hot water for at least 20 seconds after touching raw chicken or any surfaces it has come into contact with. This simple precaution prevents the spread of harmful bacteria.
- Achieving Crispier Skin: Pat It Dry! – Before applying your marinade (if you aren’t doing a wet brine), ensure your chicken is as dry as possible. After removing from packaging and any optional rinsing, pat the entire surface of the chicken thoroughly with paper towels. A dry surface allows the skin to crisp up beautifully in the oven, whereas excess moisture will steam the skin rather than allowing it to become golden and crunchy.
- Trussing for Even Cooking: Consider trussing your chicken (tying its legs together and tucking the wings underneath). This helps the chicken cook more evenly and results in a neater, more appealing presentation. While not strictly necessary, it can prevent thinner parts like the breast from drying out before the thighs are fully cooked.
Step-by-Step Guide: Roasting Your Buttermilk Chicken
Creating this magnificent buttermilk roasted chicken is a straightforward process, broken down into a few easy steps. Follow these instructions carefully to achieve a dish that’s sure to impress.
Frequently Asked Questions About Buttermilk Chicken
To help you confidently prepare this delicious dish, here are answers to some common questions you might have:
Preventing Salmonella contamination is paramount when cooking with raw poultry. Salmonella bacteria are microscopic and have no obvious aroma, making them undetectable by sight or smell. Always assume raw chicken may harbor these bacteria and take extra precautions. Ensure any surfaces that come into contact with raw chicken, such as cutting boards, knives, and your kitchen sink, are thoroughly washed with hot, soapy water immediately, then sanitized with a strong disinfectant. Alternatively, place contaminated dishes and cutting boards directly into a dishwasher. Always wash your hands well with soap and hot water for at least 20 seconds after handling raw chicken to avoid cross-contamination.
The ideal marinating time for buttermilk chicken ranges from 6 to 24 hours. The beauty of buttermilk as a marinade lies in its gentle acidity. Unlike stronger acids suchles as lemon juice or vinegar used in higher concentrations, buttermilk’s lactic acid tenderizes the chicken without turning it mushy, even over a longer period. This allows the chicken to remain in the marinade for up to 24 hours, ensuring maximum flavor penetration and tenderization. For smaller cuts, you might get away with 4-6 hours, but for a whole chicken, aiming for at least 12 hours delivers the best results.
Proper storage is key to enjoying your leftovers safely. Once the buttermilk chicken has cooled, store any leftovers in an airtight container in the refrigerator for 3-4 days. It is crucial to ensure the chicken hasn’t been left at room temperature for longer than 2 hours before refrigerating, as this increases the risk of bacterial growth. Leftover buttermilk chicken is fantastic for meal prep and can be enjoyed cold in salads or sandwiches, or gently reheated for another delicious meal.
Absolutely! Cooked buttermilk chicken freezes wonderfully. Once cooled, shred or chop the leftover chicken and store it in freezer-safe airtight containers or heavy-duty freezer bags. It will maintain its quality for up to 3-4 months in the freezer. Thaw overnight in the refrigerator before reheating gently. This is a great way to have quick and easy protein for future meals like stir-fries, quesadillas, or soups.
Buttermilk roasted chicken is incredibly versatile and pairs well with a wide array of side dishes. For a classic meal, consider creamy mashed potatoes, roasted seasonal vegetables (like asparagus, Brussels sprouts, or carrots), or a fresh garden salad with a light vinaigrette. Other excellent choices include rice pilaf, quinoa, sweet potato fries, or a vibrant coleslaw. The subtle tang of the buttermilk complements rich and earthy flavors beautifully.
Stay connected with us and share your culinary creations! Find us on social media @ Instagram, Facebook, and Pinterest. Don’t forget to tag us when you try one of our recipes! And if you absolutely love the results and this recipe has become a new favorite, please consider giving it a 5-star rating in the recipe card below. Your feedback helps other home cooks discover delicious meals!
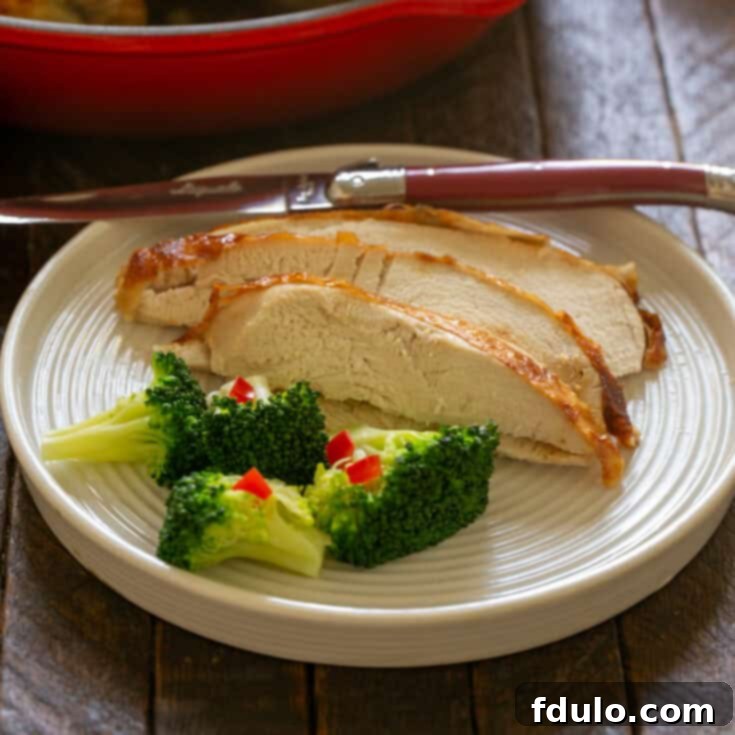
Buttermilk Chicken Recipe
10 minutes
1 hour
10 minutes
1 hour 20 minutes
6 servings
An easy two-ingredient marinade that makes a beautiful, tender roast chicken!
Ingredients
- 1 Roasting Chicken, 4 pounds, giblets and neck removed from cavity
- 2 tablespoons kosher salt or sea salt
- 2 cups buttermilk
Instructions
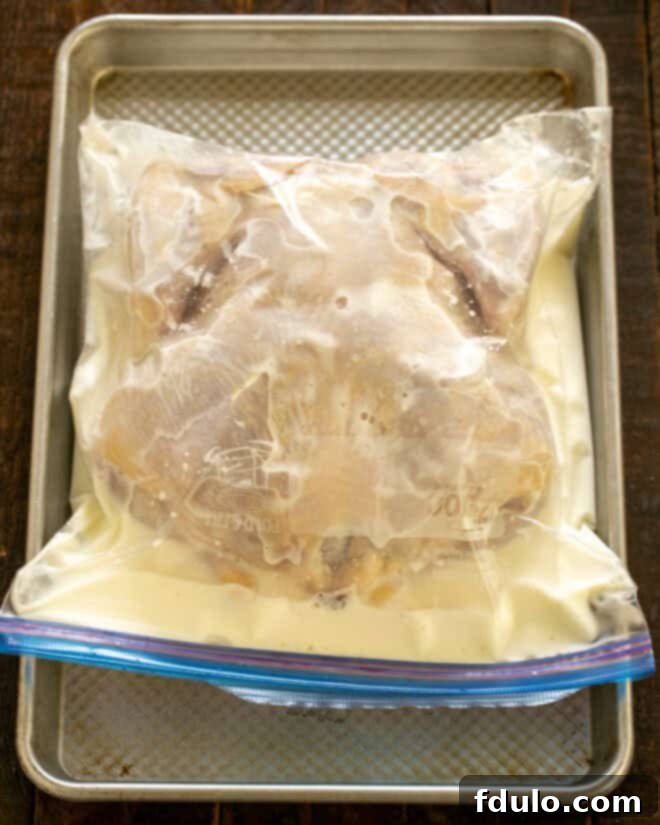
- Remove packaging from chicken, pat dry, and place in a large zip-top bag.
- Mix the buttermilk with the salt and pour into the bag with the chicken. Seal and place in the refrigerator on a rimmed baking sheet.
- Chill for 12-24 hours, flipping occasionally.
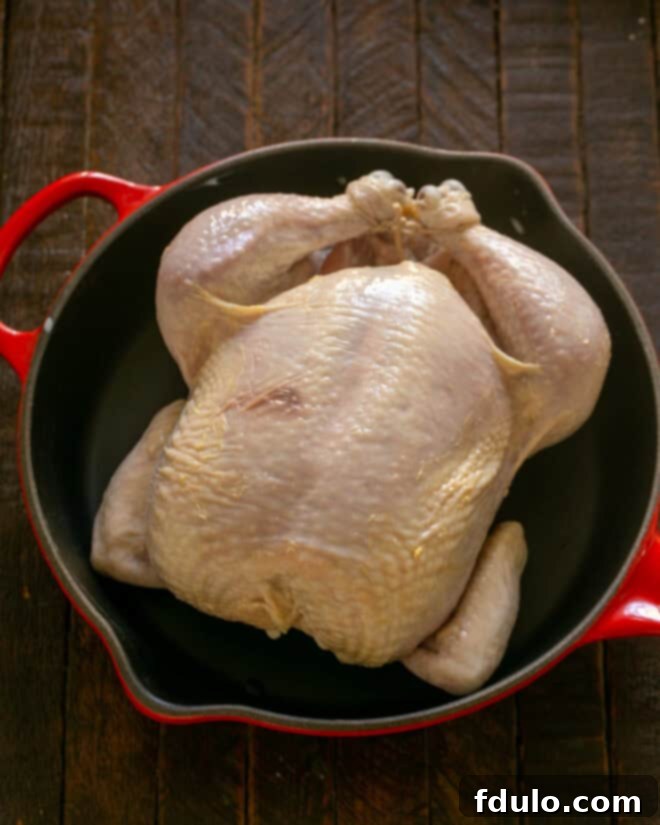
- An hour before roasting, pull the chicken from the refrigerator, remove it from the bag, and dispose of the bag and its contents.
- Tie the legs together with butcher’s twine and place in a roasting pan.
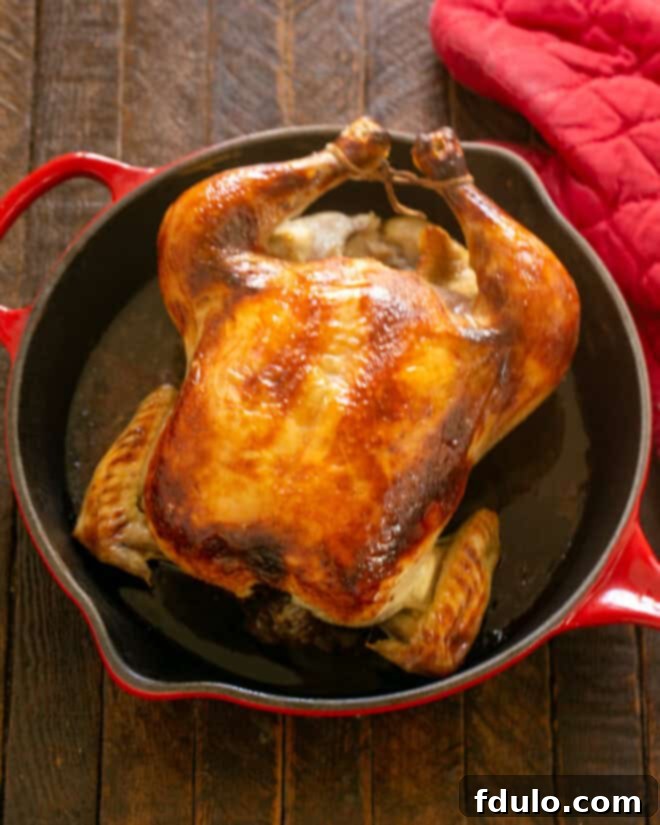
- Preheat the oven to 425°. Roast for 20 minutes.
- Reduce the oven temperature to 400°.
- If one side of the chicken is browning more than the other, rotate the pan, and continue roasting for 30-40 minutes longer or until the chicken is browned and the juices run clear when a knife is inserted into the thigh. The internal temperature of the chicken should be 165°.
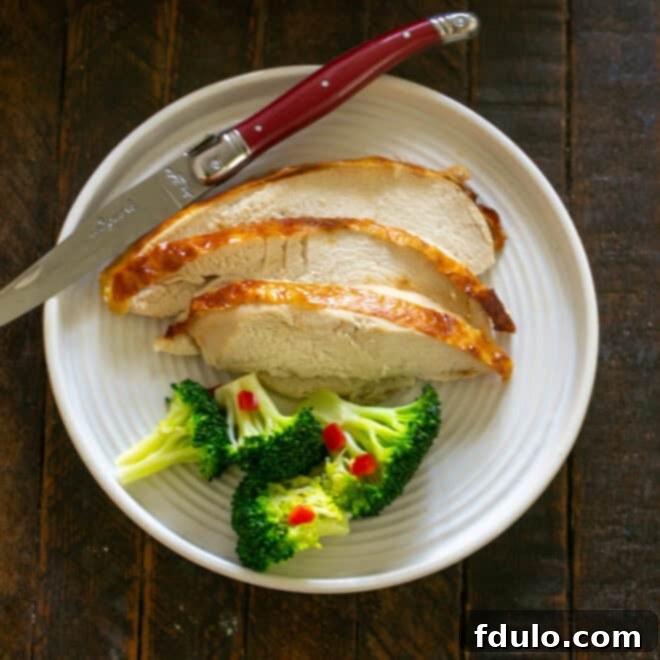
- Remove to a cutting board, cover with foil, and let rest before slicing.
Notes
If your chicken is browning too fast, tent with foil. But note that this recipe makes a nicely browned chicken.
Smaller or larger roasting chickens will work well, too. Adjust roasting time accordingly.
This recipe is adapted from “Salt, Fat, Acid, Heat” by Samin Nosrat, a fantastic resource for understanding the fundamentals of cooking.
Recommended Products
As an Amazon Associate and member of other affiliate programs, I earn from qualifying purchases.
- Kosher Salt
- Pyrex Measuring Cups
- Cuisinart 7117-16UR Chef’s Classic Stainless 16-Inch Rectangular Roaster with Rack, Roaster Rack
Nutrition Information:
Yield:
6
Serving Size:
1
Amount Per Serving:
Calories: 794Total Fat: 34gSaturated Fat: 9gTrans Fat: 0gUnsaturated Fat: 16gCholesterol: 1666mgSodium: 1946mgCarbohydrates: 4gFiber: 0gSugar: 4gProtein: 110g
Thatskinnychickcanbake.com occasionally offers nutritional information for recipes contained on this site. This information is provided as a courtesy and is an estimate only. This information comes from online calculators. Although thatskinnychickcanbake.com attempts to provide accurate nutritional information, these figures are only estimates.
Varying factors such as product types or brands purchased can change the nutritional information in any given recipe. Also, many recipes on thatskinnychickcanbake.com recommend toppings, which may or may not be listed as optional and nutritional information for these added toppings is not listed. Other factors may change the nutritional information such as when the salt amount is listed “to taste,” it is not calculated into the recipe as the amount will vary. Also, different online calculators can provide different results.
To obtain the most accurate representation of the nutritional information in any given recipe, you should calculate the nutritional information with the actual ingredients used in your recipe. You are solely responsible for ensuring that any nutritional information obtained is accurate.
HOW MUCH DID YOU LOVE THIS RECIPE?
Please leave a comment on the blog or share a photo on Pinterest
