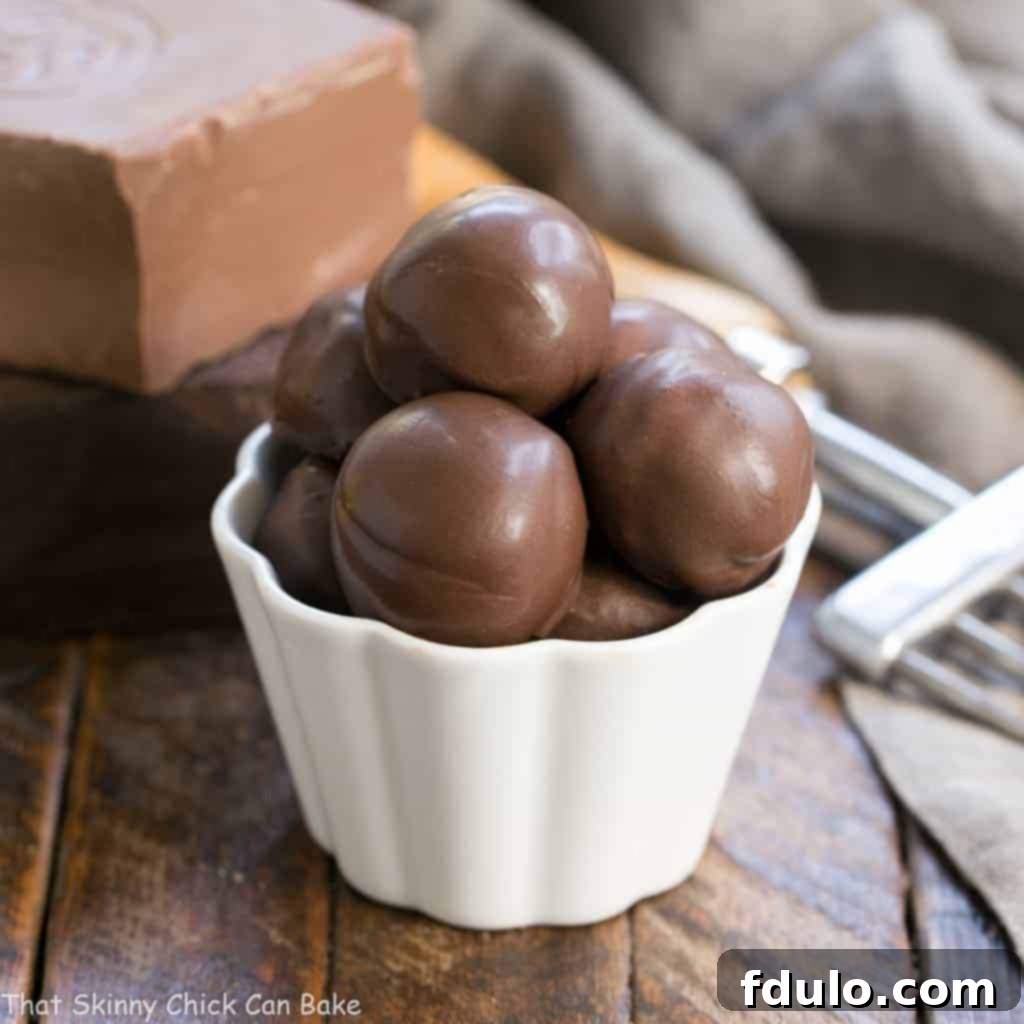
Indulge your senses with the exquisite delight of homemade Chocolate Frangelico Truffles. There’s a certain magic that happens when rich, decadent chocolate meets the nutty warmth of hazelnut liqueur, creating a confection that’s truly unforgettable. Whether you’re looking to impress guests, create a thoughtful edible gift, or simply treat yourself to a luxurious dessert, these truffles are a perfect choice. And while the idea of working with chocolate might seem daunting, especially the art of tempering, we’re here to guide you through every step, ensuring a spectacular result. Trust us, once you master these, you’ll wonder why you ever bought store-bought truffles!
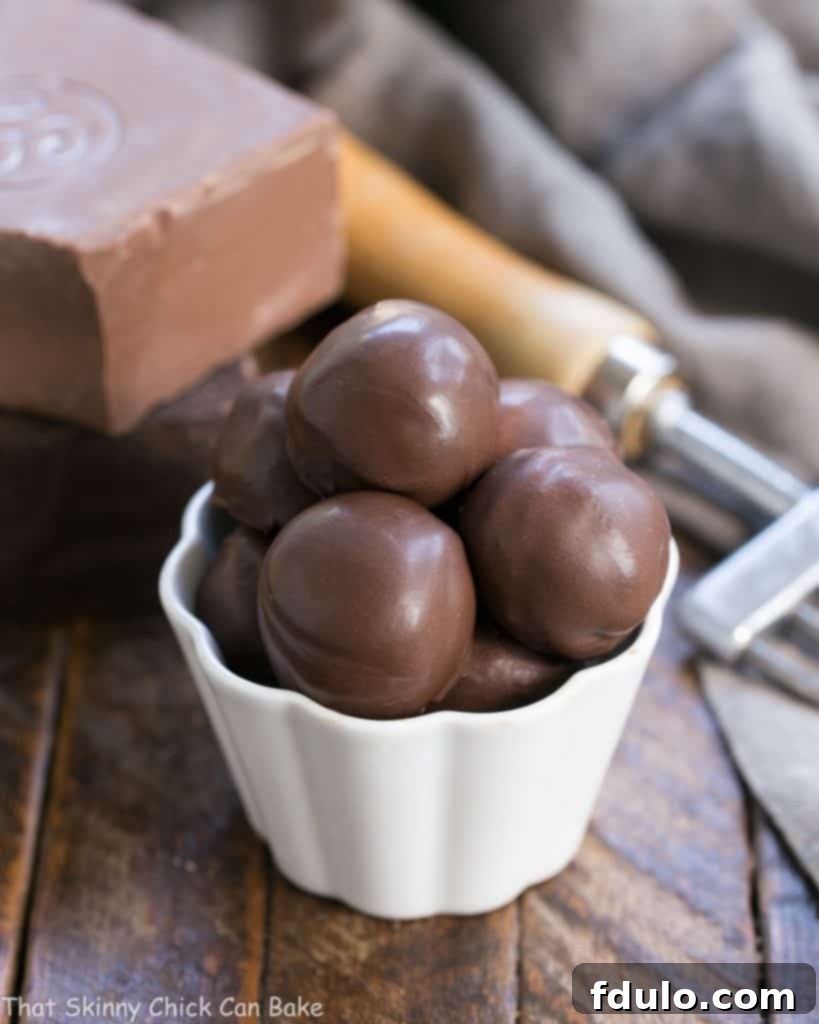
Crafting Exquisite Chocolate Frangelico Truffles
Few desserts capture hearts quite like a perfectly crafted truffle. Right alongside classic chocolate chip cookies and creamy fudge, truffles consistently rank high as a family favorite in our home. And among truffles, these particular Chocolate Frangelico Truffles hold a special place. If you’ve never ventured into making truffles before, you’re in for a delightful surprise – they’re surprisingly straightforward, especially the ganache component.
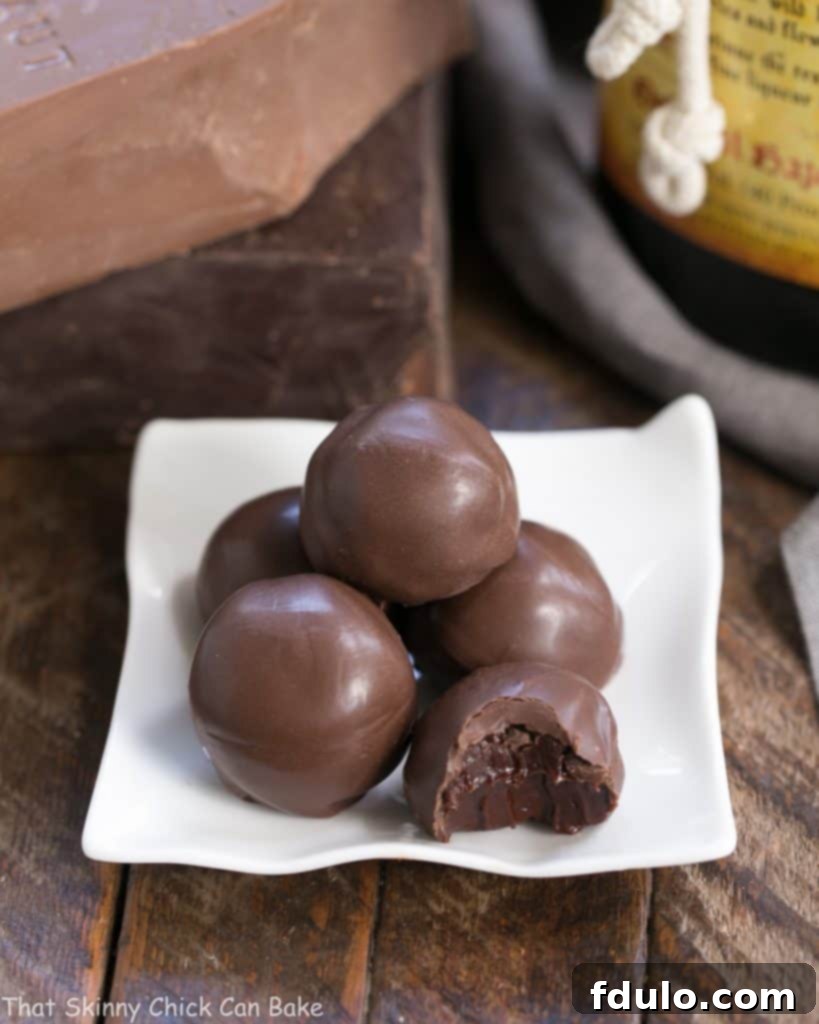
The foundation of any great truffle is a rich, smooth ganache. For these dreamy confections, we start with high-quality chopped semi-sweet chocolate. The magic begins when hot, luscious heavy cream, infused with a generous splash of Frangelico – a wonderfully aromatic hazelnut liqueur – is poured over the chocolate. This warm infusion gently melts the chocolate, and a few minutes of patient stirring transform it into a silky-smooth, irresistible mixture. This ganache then requires a chilling period, typically a couple of hours, but often extending overnight for optimal firmness, making it much easier to roll into perfect bite-sized spheres.
Once your ganache balls are perfectly chilled and firm, the fun of coating begins! While dipping them in tempered chocolate provides that iconic snap and glossy finish, there are several equally delicious and less labor-intensive alternatives. A simple roll in high-quality cocoa powder creates a classic, slightly bitter contrast that enhances the chocolate’s depth. Finely chopped nuts, such as toasted hazelnuts (to echo the Frangelico!), almonds, or pecans, offer a delightful crunch and added flavor. Shredded coconut, either toasted or untoasted, also makes a wonderful textural coating. Each option brings its own unique charm, allowing you to customize your truffles to your liking.
The Essential Guide to Tempering Chocolate for a Professional Finish
Tempering chocolate is often perceived as a challenging culinary technique, reserved only for professional chocolatiers. However, with the right tools, a bit of patience, and a clear understanding of the process, any home baker can achieve beautifully tempered chocolate. Why bother with tempering? Untempered chocolate can result in a dull, streaky appearance, a soft or crumbly texture, and a tendency to melt too quickly at room temperature. Properly tempered chocolate, on the other hand, boasts a gorgeous, glossy sheen, a satisfying crisp snap when broken, and a stable texture that resists melting, making it ideal for coatings, decorative elements, and, of course, these delectable truffles.
While the weather might not always cooperate (hot, humid days are certainly not a chocolatier’s friend!), adjustments can be made. Ensuring a cool, dry environment, perhaps by cranking up the air conditioning and extending refrigeration times for your truffle centers, can significantly aid the process. The essential tools for tempering chocolate are straightforward: high-quality couverture chocolate (or any good quality chocolate with sufficient cocoa butter), a reliable double boiler setup (which can be as simple as a heatproof bowl snugly fitted over a saucepan of simmering water), and, most critically, an accurate candy thermometer. Precision in temperature is key to success.
The method we’re focusing on is the “seeding” method, a highly effective technique for home bakers. It fundamentally involves three precise steps: melting, cooling (or seeding), and reheating to a working temperature. You’ll begin by gently melting about two-thirds of your finely chopped chocolate over a double boiler, bringing it up to a specific initial temperature. This step ensures that all the cocoa butter crystals are melted and disoriented. Next, you remove the chocolate from the heat and gradually add the remaining one-third of the unmelted, finely chopped chocolate (known as “seed” chocolate). Stir continuously as this “seed” chocolate melts, cooling the overall mixture and introducing stable cocoa butter crystals, which encourage the formation of desirable crystal structures throughout the batch. Finally, you’ll gently reintroduce the chocolate to the heat, bringing it up to its ideal “working temperature.” This final rise ensures the chocolate is fluid enough for dipping while maintaining its stable crystal structure. While seasoned professionals can often gauge these temperatures by sight and feel, for us enthusiastic home bakers, a dependable thermometer is our best friend!
Should the tempering process prove too demanding or time-consuming for your schedule, there’s a fantastic shortcut: using high-quality chocolate melts, like Ghirardelli Dark Chocolate Melts. These products are formulated to melt smoothly and set firmly without the need for traditional tempering, offering a convenient and reliable option for achieving a beautiful coating on your truffles.
The temperatures involved in tempering vary slightly depending on the type of chocolate due to their differing cocoa butter content. Here are the precise temperature ranges to guide you, based on what was learned through groups like the Daring Bakers, known for their meticulous approach to confectionery:
Precise Tempering Ranges: Your Temperature Guide
Understanding and adhering to these precise temperature ranges is paramount for successful chocolate tempering. Slight deviations can prevent the desired crystal formation, leading to bloom or a dull finish. Always monitor your thermometer closely.
Celsius Temperatures:
- Dark Chocolate: Melt to 45°C – 50°C > Cool to 27°C > Reheat to 32°C (Working Temperature)
- Milk Chocolate: Melt to 45°C > Cool to 27°C > Reheat to 30°C (Working Temperature)
- White Chocolate: Melt to 45°C > Cool to 27°C > Reheat to 29°C (Working Temperature)
Fahrenheit Temperatures:
- Dark Chocolate: Melt to 113°F – 122°F > Cool to 80.6°F > Reheat to 89.6°F (Working Temperature)
- Milk Chocolate: Melt to 113°F > Cool to 80.6°F > Reheat to 86°F (Working Temperature)
- White Chocolate: Melt to 113°F > Cool to 80.6°F > Reheat to 84.2°F (Working Temperature)
Expert Tips for Flawless Chocolate Tempering
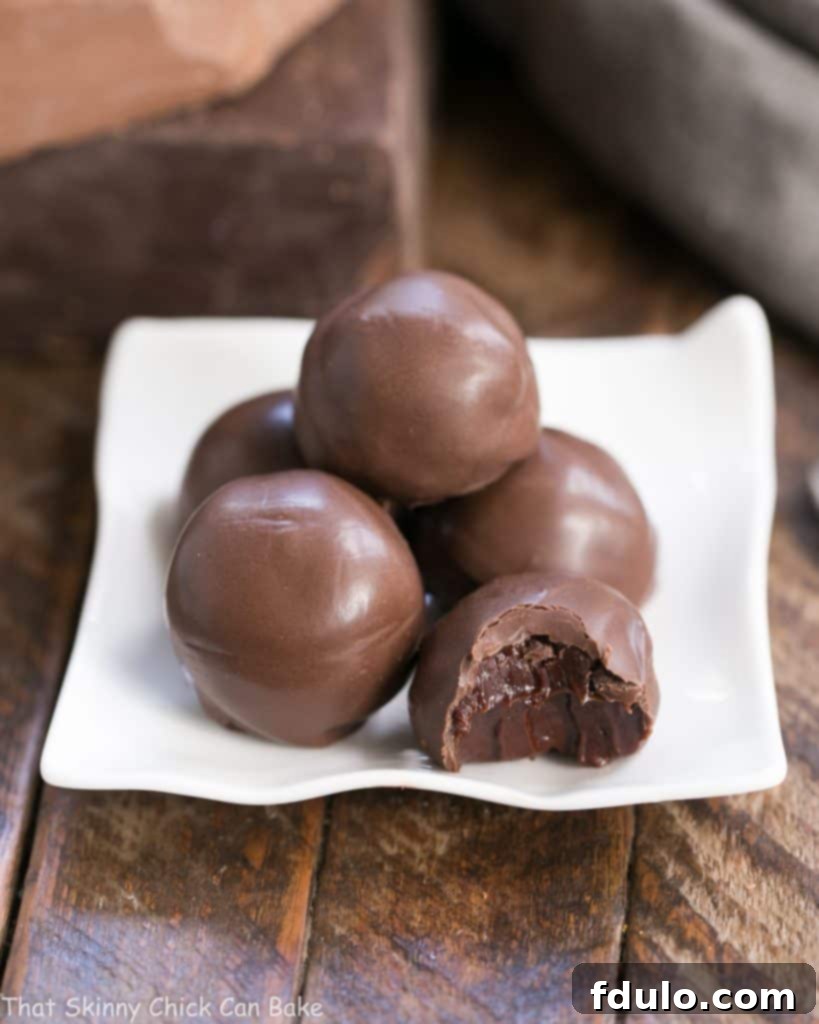
While the recipe provides a step-by-step guide, these additional insights will help ensure your tempering process goes as smoothly as possible, resulting in beautifully coated truffles with that desirable snap and shine. Remember, if you’re ever pressed for time or prefer a simpler approach, using pre-tempered chocolate melts for dipping your truffles is an excellent, hassle-free alternative!
- Preventing Seizing: The Water Enemy: Chocolate is highly sensitive to water. Even a tiny droplet of steam or water falling into your melted chocolate can cause it to “seize,” transforming it into a stiff, clumpy, unusable mess. To prevent this, ensure your heatproof bowl fits snugly over the saucepan of simmering water, creating a tight seal that prevents steam from escaping and condensing into water droplets that could fall back into your chocolate. Always use dry utensils and bowls.
- Gentle and Even Melting: Use a flexible rubber spatula to gently and consistently stir the chocolate as it melts. This promotes even melting and prevents hot spots, ensuring all the chocolate crystals melt uniformly. Avoid vigorous stirring, which can introduce air. Wooden spoons are generally not recommended for chocolate work as they can retain moisture.
- The Power of the Thermometer: Unless you have years of experience and can literally feel the temperature difference by touching chocolate to your lip like a master chocolatier, a high-quality candy thermometer is non-negotiable. Going even a few degrees above or below the target temperatures can disrupt the delicate crystal structure, ruining the temper. Invest in a reliable digital thermometer for accurate readings.
- Troubleshooting Unmelted Bits: If, after adding your seed chocolate and cooling, you still find a few stubborn unmelted pieces, gently place the bowl back over the simmering water for just a few seconds. Stir continuously and watch your thermometer like a hawk to ensure the temperature does not exceed the maximum working temperature for your chocolate type. Patience is key here.
- Maintaining Working Temperature: Once your chocolate is perfectly tempered, it’s crucial to keep it at its ideal working temperature (the third temperature in the ranges above) for dipping. If you’re dipping a large batch of truffles, the chocolate will naturally cool and thicken over time, losing its ideal viscosity. To counteract this, briefly return the bowl to the double boiler for 30 seconds to 1 minute every 10-15 minutes, stirring gently. Again, rigorously monitor the temperature to prevent it from overheating. You can also place the tempered chocolate in a warmed glass bowl and wrap it in a hot kitchen towel to help retain its temperature for longer.
- Quantity Matters: It’s generally easier to maintain the temper and working temperature when dealing with larger quantities of chocolate. Small amounts cool down too quickly, making it harder to control the temperature. Don’t worry about leftovers; any properly tempered chocolate can be stored and re-tempered for future use, eliminating waste.
- Starting Over is Okay: If, at any point, you suspect you’ve made a mistake with the temperatures or the chocolate seizes, don’t despair! You can usually “re-temper” the chocolate by simply starting the entire process again from the melting phase. Alternatively, embrace the convenience of chocolate melts if patience wears thin!
- Semisweet Focus: The primary recipe provided here is tailored for semisweet chocolate. Remember to refer to the comprehensive temperature ranges above for specific guidelines if you opt to use milk or white chocolate for your coatings. Each type has its own sweet spot for perfect tempering.
With these comprehensive tips and a little practice, you’ll be creating professional-looking, delicious chocolate truffles with a perfect snap and shine in no time. Enjoy the journey of becoming a confident home chocolatier!
More Decadent Chocolate Recipes You’ll Love:
- No-Fail Chocolate Fudge: A classic, foolproof recipe for rich, creamy fudge.
- Chocolate Mousse Cups: Elegant, airy chocolate mousse served in convenient cups.
- Caramel Filled Chocolate Truffles: Another delightful truffle variation, perfect for gifting.
- La Bete Noire (Flourless Chocolate Cake): An intensely rich and fudgy flourless chocolate cake.
- Cherry Chocolate Brownies: A fruity twist on the beloved chocolate brownie.
- Death by Chocolate Cake: The ultimate indulgence for serious chocolate lovers.
- Flourless Chocolate Cake with Marshmallow Frosting: A gluten-free delight topped with fluffy marshmallow.
- Explore more Homemade Chocolate Recipes for endless inspiration.
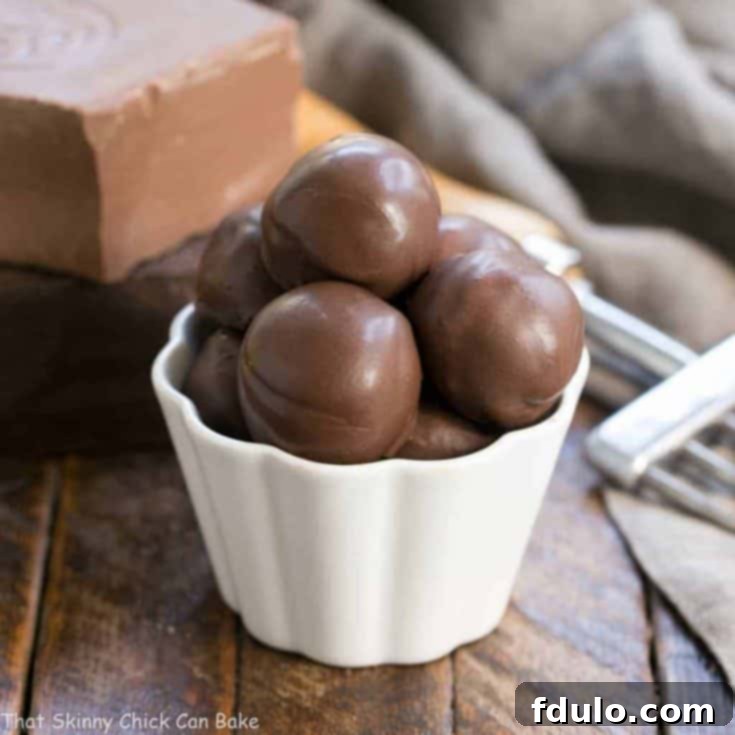
Chocolate Frangelico Truffles Recipe
1 hour
1 hour
2 dozen
These homemade Chocolate Frangelico Truffles are a decadent confection that’s perfect for gifting or a special treat.
Ingredients
For the Ganache:
- 8 ounces semisweet chocolate, finely chopped
- ½ cup heavy cream
- 1 tablespoon Frangelico (hazelnut liqueur)
For Tempering and Coating:
- 8 ounces semisweet chocolate, finely chopped, divided (approx. 5.5 ounces for melting, 2.5 ounces for seeding)
Instructions
- Prepare the Ganache: Place the 8 ounces of finely chopped semisweet chocolate (for ganache) into a heatproof bowl.
- In a separate microwave-safe measuring cup (like Pyrex), heat the heavy cream until it’s hot and just begins to simmer, almost boiling. Stir in the Frangelico until well combined.
- Pour the hot cream and Frangelico mixture over the chopped chocolate in the heatproof bowl. Let it sit undisturbed for 2-3 minutes to allow the chocolate to melt. Then, gently whisk the mixture until it is completely smooth and uniform.
- Allow the ganache to cool to room temperature, then cover the bowl and refrigerate for a minimum of 2 hours, or until it’s firm enough to roll.
- Shape the Truffles: Once the ganache is firm, use a small scoop or spoon to portion out rounds onto a parchment-lined cookie sheet. Roll each portion into a smooth ball. Chill these ganache balls thoroughly until the tempered chocolate is ready (overnight chilling is ideal for best results).
- Temper the Chocolate: Place approximately two-thirds of the remaining 8 ounces of finely chopped semisweet chocolate (a little over 5 ounces) into a clean, dry heatproof bowl.
- Set aside the remaining one-third of the chocolate pieces (a little less than 3 ounces) to use as “seed” chocolate.
- Place the bowl with the two-thirds chocolate over a saucepan of simmering water, ensuring the bottom of the bowl does not touch the water.
- Using a rubber spatula, gently stir the chocolate constantly until it melts evenly and completely.
- Watch your candy thermometer carefully. As soon as the chocolate reaches 45°C / 113°F (for semisweet/dark chocolate), immediately remove the bowl from the heat.
- Begin adding small amounts of the reserved one-third unmelted (seed) chocolate pieces to the melted chocolate, stirring continuously to help them melt and cool the mixture.
- Continue adding small additions of seed chocolate and stirring until the chocolate cools down to 27°C / 80.6°F (for dark chocolate, aim between 80°F and 82°F). Ensure all seed chocolate is melted before proceeding.
- Return the bowl to the double boiler for just a few seconds, stirring constantly, until the chocolate reaches its final working temperature of 89.6°F (for semisweet/dark chocolate). Do not let it exceed this temperature.
- The chocolate is now perfectly tempered and ready for coating.
- Coat the Truffles: Dip each chilled ganache truffle ball into the tempered chocolate, ensuring it’s fully coated. Lift with a fork, tapping gently to remove excess chocolate. Place the coated truffles onto a parchment-lined sheet until the chocolate coating hardens and sets, achieving a beautiful, glossy finish.
Notes
For a convenient shortcut, if you prefer not to temper chocolate, you can use quality chocolate melts (such as Ghirardelli) to coat your truffles. Simply melt them according to package directions and dip!
Recommended Products for Chocolate Mastery
As an Amazon Associate and member of other affiliate programs, I earn from qualifying purchases.
- Silicone Spatulas
- USA Pan Bakeware Half Sheet Pan
- Reynolds Cookie Baking Sheets Non-Stick Parchment Paper, 25 Sheet, 4 Count
- 3 Pyrex Mixing Bowls
Nutrition Information:
Yield:
24
Serving Size:
1 truffle
Amount Per Serving:
Calories: 108Total Fat: 7gSaturated Fat: 5gTrans Fat: 0gUnsaturated Fat: 3gCholesterol: 6mgSodium: 3mgCarbohydrates: 12gFiber: 1gSugar: 10gProtein: 1g
HOW MUCH DID YOU LOVE THIS RECIPE?
Please leave a comment on the blog or share a photo on Pinterest
