Indulge in a truly unforgettable dessert experience with this luscious, no-bake Easy Chocolate Cream Pie. Featuring a cloud of dreamy, rich chocolate filling nestled perfectly within a crisp, buttery graham cracker crust, every single bite is designed to make you swoon. This isn’t just a dessert; it’s a culinary hug, a guaranteed crowd-pleaser that will have your family and friends begging for an encore. Its irresistible flavor profile and silky-smooth texture make it a dessert legend in the making.
Crafted from scratch with a superior homemade whipped topping, this Chocolate Pie Recipe is versatile enough for any occasion. Whether you’re hosting an elegant dinner party, enjoying a casual summer barbecue, or simply craving something sweet, this pie fits the bill perfectly. For those moments when time is of the essence, a store-bought whipped topping offers a convenient shortcut, though we highly recommend experiencing the enhanced richness of the homemade version.
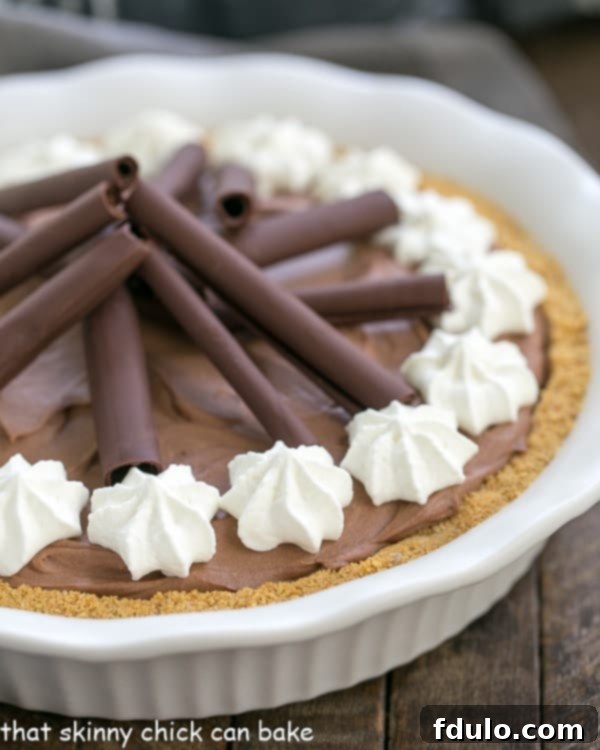
Why This Easy Chocolate Cream Pie Will Be Your New Favorite
If you’re searching for a dessert that consistently impresses without demanding hours in the kitchen, this chocolate cream pie is your answer. It’s more than just a recipe; it’s a passport to dessert bliss, offering compelling reasons why it should be at the top of your baking list:
- Effortless Elegance: This pie delivers the “wow” factor with surprising ease. Imagine hosting dinner guests and presenting a dessert so visually appealing and incredibly delicious, they can’t help but rave about it. We recently served this to company, and their expressions of delight were truly priceless. The combination of its no-bake simplicity and gourmet taste makes it a culinary triumph.
- A Symphony of Textures and Flavors: The magic of this pie lies in its harmonious contrast. The velvety, intensely rich chocolate filling melts in your mouth, perfectly complemented by the sweet, buttery, and satisfyingly crunchy graham cracker crust. This exquisite balance creates a truly memorable dessert experience that is hard to beat.
- Customizable for Convenience: While we advocate for a homemade graham cracker crust and a decadent filling featuring cream cheese and freshly whipped cream, this recipe is incredibly adaptable. Short on time? Opt for a ready-made crust from your local grocery store. For an even quicker assembly, a tub of whipped topping can easily substitute the cream cheese and whipped cream combination. While these shortcuts save precious minutes, we encourage you to try our scratch-made filling first to fully appreciate its superior flavor and texture.
Essential Ingredients for Your Perfect Chocolate Cream Pie
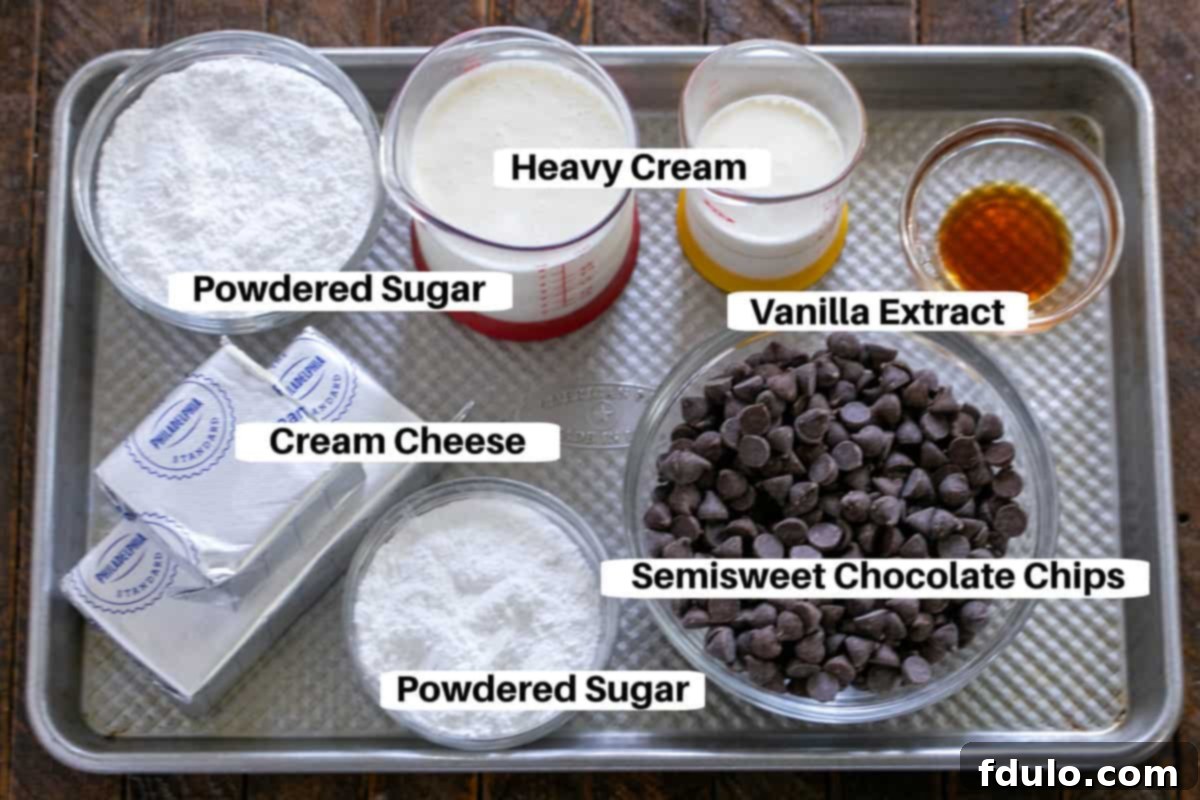
Crafting this phenomenal chocolate cream pie begins with selecting the right ingredients. Here’s a closer look at what you’ll need and why each component is crucial for achieving that irresistible flavor and texture:
- Kitchen Staples: Ensure you have Powdered Sugar on hand. For the smoothest filling possible, it’s vital to sift it first. This simple step removes any small lumps, ensuring a silky, uniform texture in your chocolate cream.
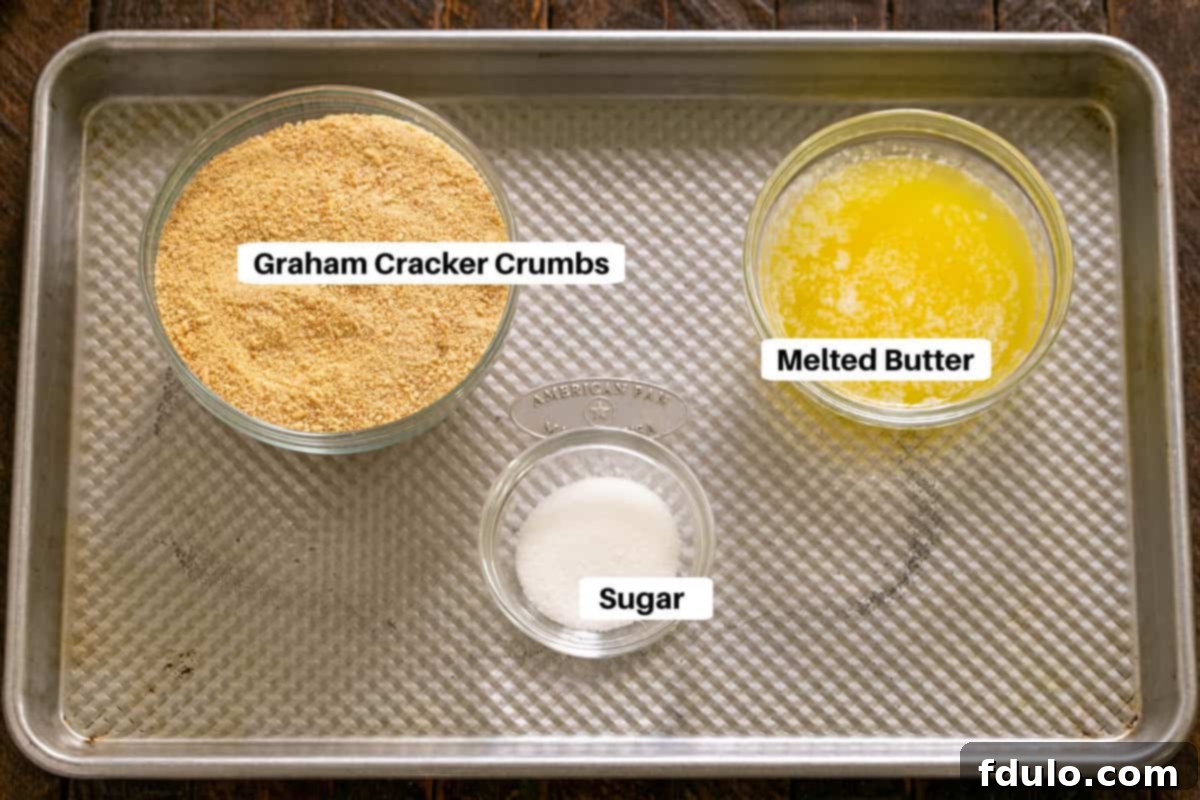
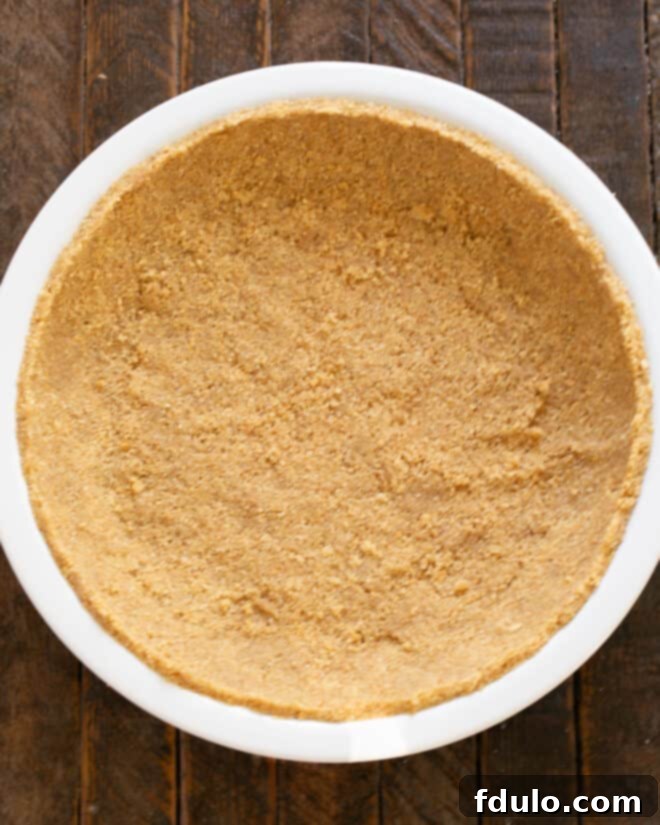
- 9-inch Graham Cracker Crust: This forms the delicious foundation of your pie. You can choose the convenience of a good quality store-bought crust, or elevate your pie with a homemade version. For a homemade crust, you’ll need Graham Cracker Crumbs (approximately 1 ½ cups), a touch of Sugar (1 tablespoon), and Melted Butter (6 tablespoons). A homemade crust offers a superior buttery flavor and satisfying crunch that truly complements the rich filling.
- Cream Cheese: Crucial for the creamy, tangy balance in the filling. Always ensure your Cream Cheese is at room temperature before you begin. This allows it to blend smoothly without lumps, creating a uniform and luxurious texture.
- Semisweet Chocolate Chips: The heart of your chocolate pie. The quality of your chocolate will significantly impact the flavor. We highly recommend a reputable brand like Ghirardelli for its rich, balanced flavor profile.
- Heavy Cream: This is what gives your filling its light, airy texture and provides a beautiful richness. Look for heavy cream with at least 36% butterfat for optimal whipping and stability. Make sure it’s very cold when you whip it to achieve stiff peaks.
- Vanilla Extract: A splash of pure vanilla extract enhances the chocolate flavor and adds a warm, inviting aroma to your pie.
How to Create Your Dreamy Chocolate Cream Pie: A Step-by-Step Guide
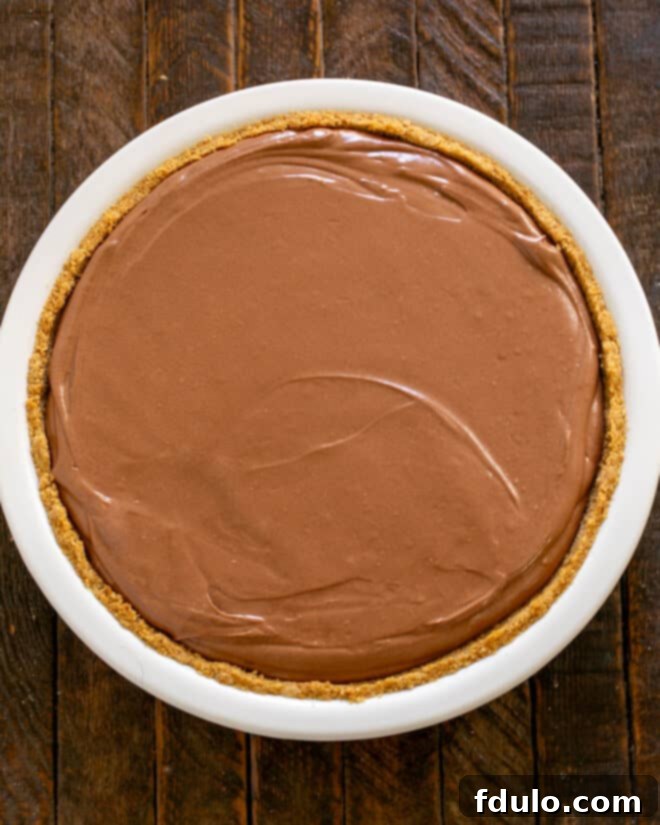
Creating this magnificent chocolate cream pie is a delightful process. Follow these visual and textual steps to bring this decadent dessert to life:

Expert Tips & Tricks for Chocolate Cream Pie Perfection
Achieving a truly flawless chocolate cream pie is simple with a few insider tips. These pointers will help you elevate your dessert from delicious to absolutely divine:
- PRO-Tip for Perfect Slices: The secret to a firm, beautifully sliced pie is sufficient chilling. Aim for at least 4 hours in the refrigerator, or even better, chill it overnight. This allows the chocolate filling to set completely, ensuring clean, elegant cuts every time.
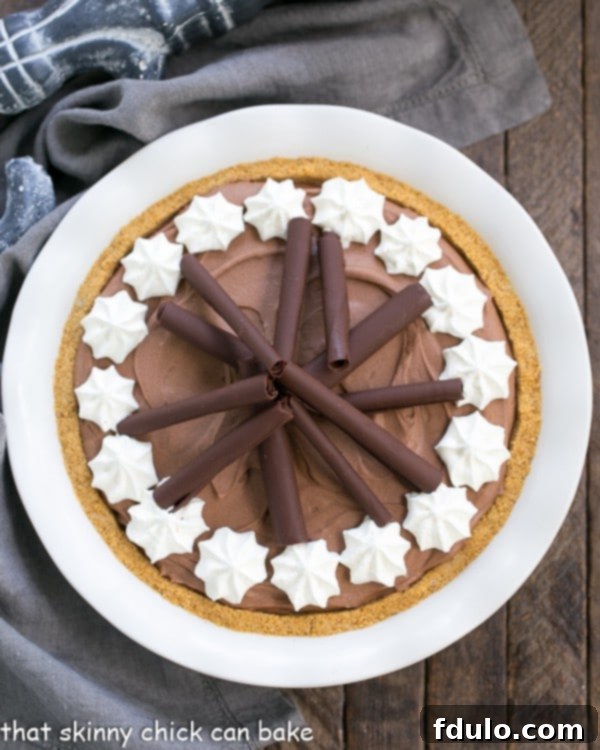
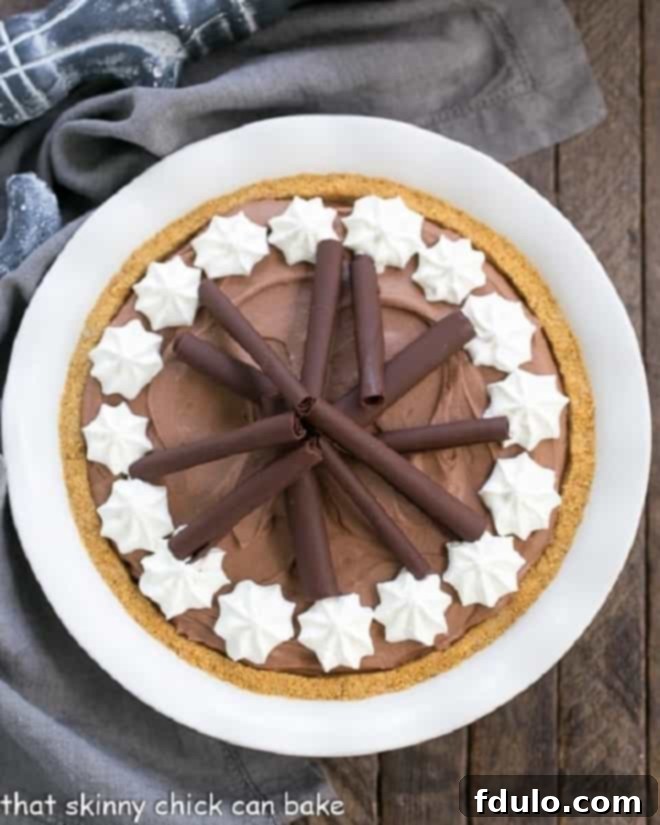
- Garnish Like a Pro: Elevate your pie’s presentation with homemade chocolate curls. You can find a detailed method for creating stunning chocolate curls on our post for Triple Chocolate Cheesecake. Alternatively, a sprinkle of cocoa powder, a dusting of powdered sugar, or a few fresh berries can add a lovely touch.
- Effortless Whipped Cream Stars: For picture-perfect dollops of whipped cream, consider using a decorator tool. We’ve had great success with The Pampered Chef Easy Accent® Decorator (Amazon affiliate link). It makes piping a breeze and instantly transforms a rustic homemade pie into an elegant masterpiece.
- Homemade vs. Store-Bought Whipped Topping: While a tub of store-bought whipped topping like Cool Whip offers ultimate convenience, it often contains artificial ingredients that can alter the taste and might not agree with everyone. We highly recommend using the Homemade Cool Whip Recipe included in the recipe card. It provides a fresher, richer flavor and a more natural texture that truly enhances the pie. Of course, if Cool Whip is your go-to, it remains a super easy substitute!
- The Crust Conundrum: A ready-made graham cracker crust is a fantastic time-saver, especially on busy days. However, for a superior taste and texture, a homemade crust is always preferred. The buttery flavor and crispness of a freshly made crust make a noticeable difference.
- PRO-Tip for Homemade Crusts: You can create your own graham cracker crumbs by processing about 10 full-sized graham crackers in a food processor until finely ground. Or, for even more convenience, purchase boxed graham cracker crumbs directly.
- Dress Up a Store-Bought Crust: If you opt for a pre-made crust in a foil pan, simply drop the entire pan into a slightly larger, attractive ceramic pie plate. This helps to camouflage the foil and instantly gives your pie a more homemade and elegant appearance.
- Preventing a Soggy Crust: To keep your graham cracker crust from becoming soggy, ensure it’s completely cooled after baking (if applicable) before adding the filling. Also, don’t over-chill the pie for extended periods, as condensation can sometimes lead to a softer crust.
- Make Ahead Magic: This pie is an excellent make-ahead dessert! Prepare the pie up to 24 hours in advance, chill thoroughly, and add garnishes just before serving for optimal freshness.
Frequently Asked Questions About Chocolate Cream Pie
Making a chocolate cream pie is simpler than you might think! It typically involves three main steps: 1. Preparing the pie crust (either baking a homemade one or using a pre-made crust). 2. Crafting the rich chocolate filling and pouring it into the cooled crust. 3. Chilling the pie thoroughly to allow the filling to set, then garnishing it just before serving.
Chocolate cream pie fillings can vary widely, with some recipes calling for pudding mixes or store-bought whipped topping. Our preferred method for this particular recipe involves melting semi-sweet chocolate chips with heavy cream to create a smooth ganache. This ganache is then cooled slightly and gently folded into a sweetened, creamy mixture of cream cheese and freshly whipped heavy cream. This technique ensures a wonderfully rich, stable, and incredibly smooth filling that won’t seize or become lumpy.
Yes, chocolate cream pie freezes exceptionally well! You can freeze it for 2-3 months, provided it’s wrapped very tightly to be airtight. This prevents freezer burn and maintains its fresh flavor. A good rule of thumb is that if you find similar pies in your grocery store’s frozen dessert aisle, it’s likely a freezer-friendly recipe. To defrost, simply transfer the pie to the refrigerator overnight (about 6-8 hours) before you plan to enjoy it. Always remember to add any delicate garnishes, such as fresh whipped cream or chocolate curls, after the pie has fully defrosted.
Once prepared, your chocolate cream pie will remain fresh and delicious in the refrigerator for about 3-4 days. For best results, cover it loosely with plastic wrap to prevent the crust from becoming soggy and to protect the filling from absorbing other food odors.
A runny filling is usually a sign that it hasn’t been chilled long enough, or the cream cheese wasn’t at room temperature (leading to lumps), or the heavy cream wasn’t whipped to stiff peaks. Ensure all dairy ingredients are properly prepared and give the pie ample chilling time – at least 4 hours, or preferably overnight, for optimal setting.
Explore More Decadent Pie Recipes
If you’ve fallen in love with this chocolate cream pie, you’re in for a treat! Here are more fantastic pie recipes to inspire your next baking adventure:
- Homemade Baker’s Square French Silk Pie from Amanda’s Cookin’
- S’mores Pie
- Coconut Crusted Chocolate Ganache Pie
- Triple Chocolate Layer Pie
- Best Apple Pie Recipe
- Discover even more of the Best Pie Recipes
We love connecting with our baking community! Stay in touch through social media @ Instagram, Facebook, and Pinterest. Don’t forget to tag us when you try one of our recipes! And if you absolutely love the results, please consider giving this recipe a 5-star rating in the recipe card below.

Chocolate Cream Pie with a Graham Cracker Crust Recipe
30 minutes
8 minutes
38 minutes
8 servings
A dreamy chocolate filling nestled in a graham cracker crust. This recipe is adapted from Chocolate, Chocolate and more via Hugs & Cookies, bringing you a dessert that’s both classic and irresistibly easy.
Ingredients
- 1 graham cracker crust (see notes for homemade version)
- 8 ounces cream cheese, softened to room temperature
- ½ cup powdered sugar, sifted
- 1 ½ cups dark chocolate chips (high quality recommended)
- ⅓ cup heavy cream (for melting with chocolate)
For the Homemade Whipped Topping (Cool Whip Substitute):
- 4 ounces cream cheese, softened to room temperature
- ⅓ cup powdered sugar, sifted
- 1 ½ teaspoon pure vanilla extract
- 1 cup cold heavy cream, whipped to stiff peaks
Instructions
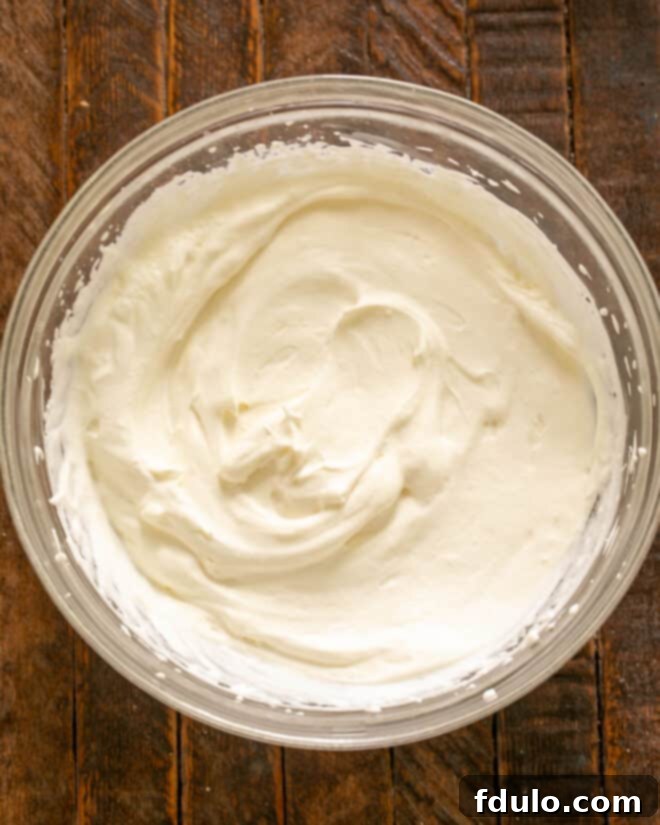
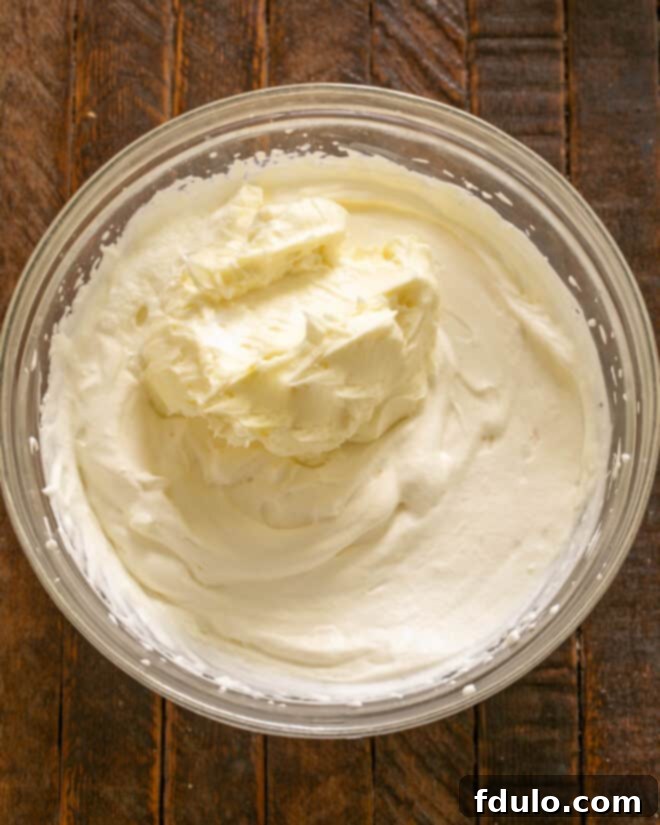
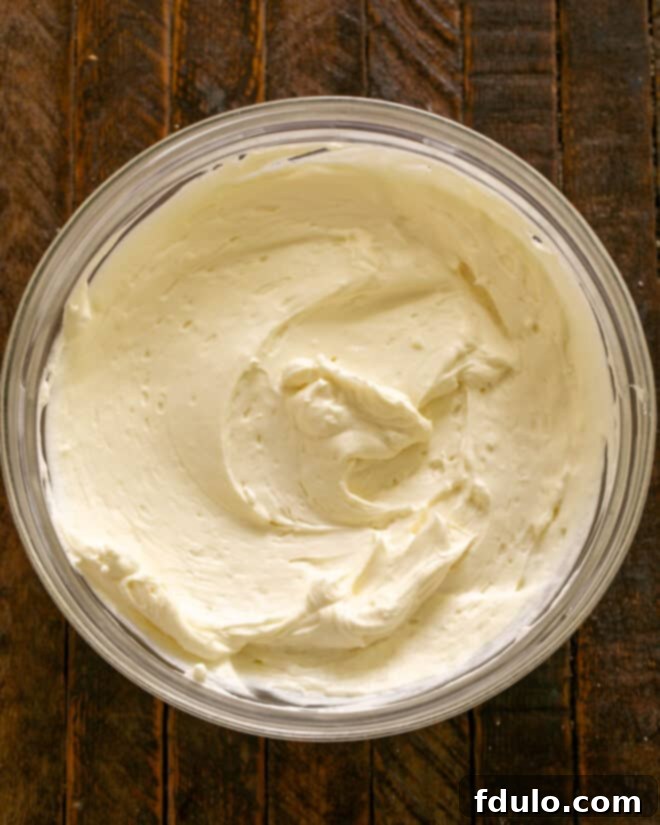
- Prepare Homemade Whipped Topping: If making the homemade whipped topping, beat the 4 ounces of room-temperature cream cheese with ⅓ cup powdered sugar and 1 ½ teaspoons vanilla until smooth. Gently fold this mixture into 1 cup of freshly whipped heavy cream until just combined. Set aside.
- Prepare Crust: If using a store-bought pie shell or if your homemade crust requires pre-baking, follow package directions or recipe notes for baking and cooling completely.
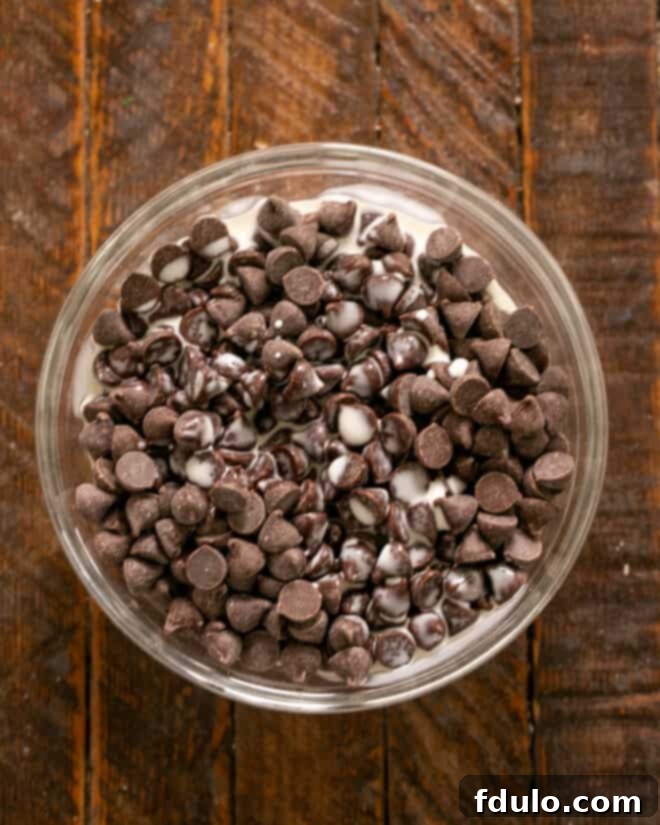
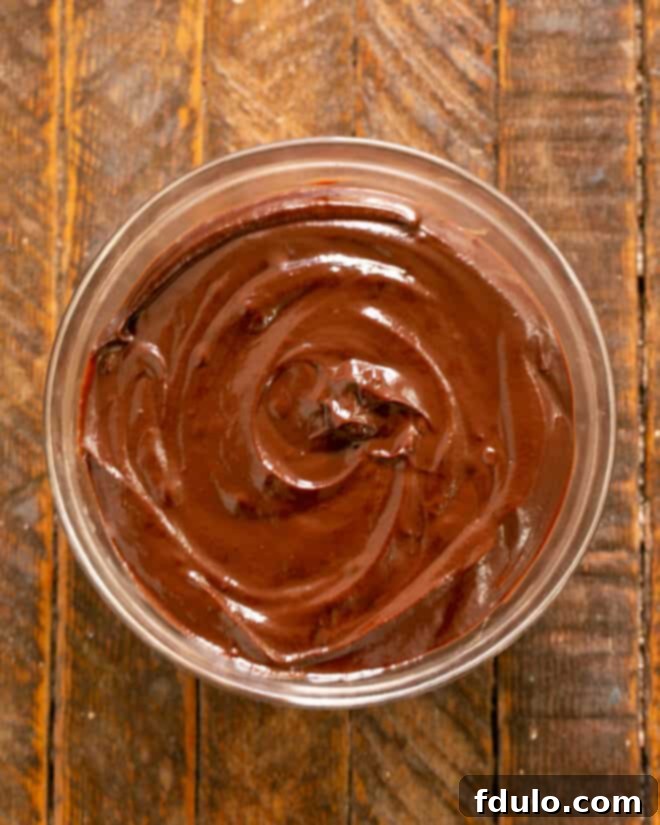
- Melt Chocolate: In a microwave-safe bowl, gently melt the 1 ½ cups dark chocolate chips with ⅓ cup heavy cream. Heat in 30-second intervals, stirring until smooth and fully combined. Let it cool slightly, ensuring it remains fluid.
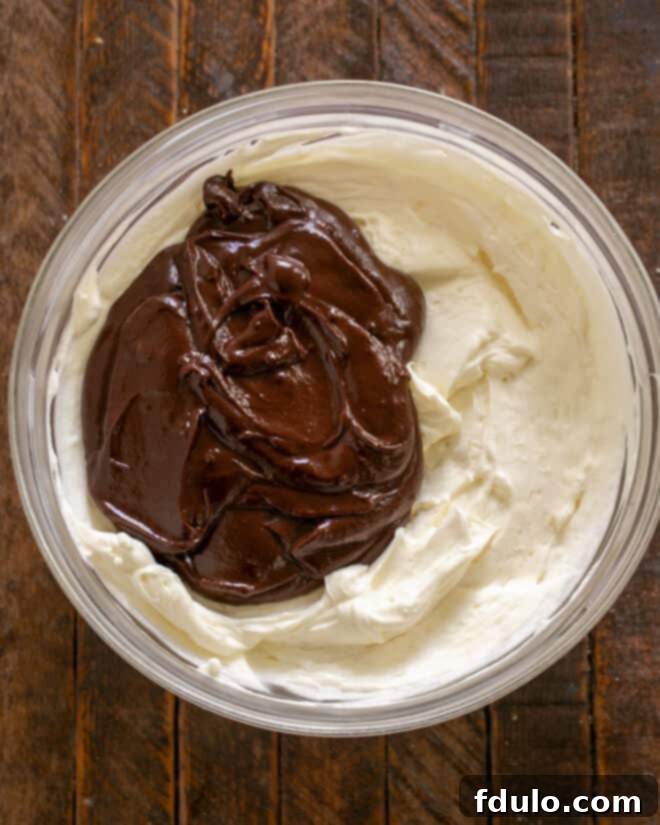
- Combine Filling Base: In a large mixer bowl, beat the 8 ounces of room-temperature cream cheese with ½ cup powdered sugar until light and fluffy. Gradually add the slightly cooled chocolate ganache, beating gently on low speed until well combined and smooth.
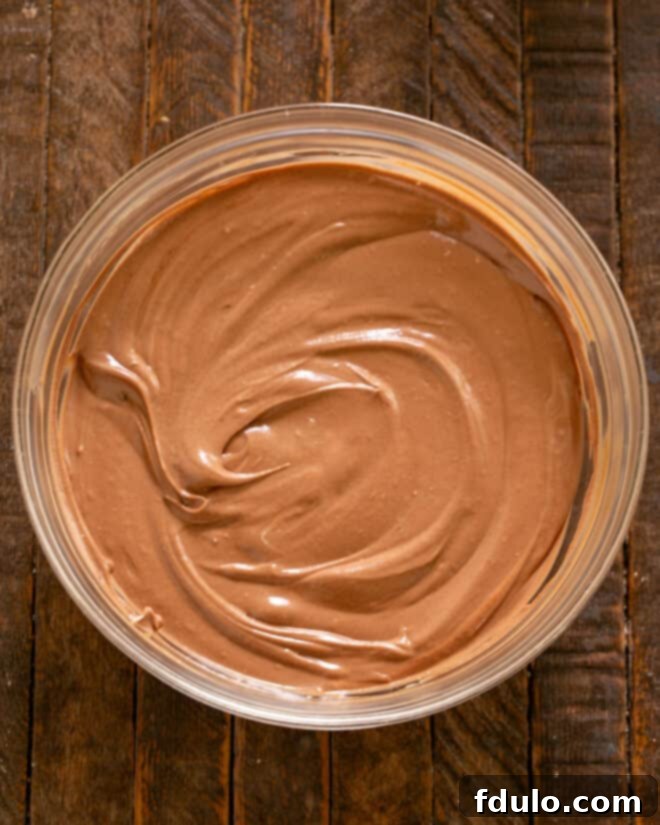
- Incorporate Whipped Topping: Carefully fold in the homemade whipped topping mixture (or 8 ounces of store-bought whipped topping, if preferred) into the chocolate-cream cheese mixture. Mix on low speed until just blended and no streaks remain. Be careful not to overmix.
- Fill Crust: Pour the luscious chocolate filling evenly into your prepared and cooled graham cracker crust. Smooth the top with a spatula.
- Chill & Serve: Chill the pie in the refrigerator for at least 4 hours, or preferably overnight, until thoroughly set. Just before serving, top with additional whipped cream and garnish with chocolate curls or shavings. Slice and enjoy!
Notes
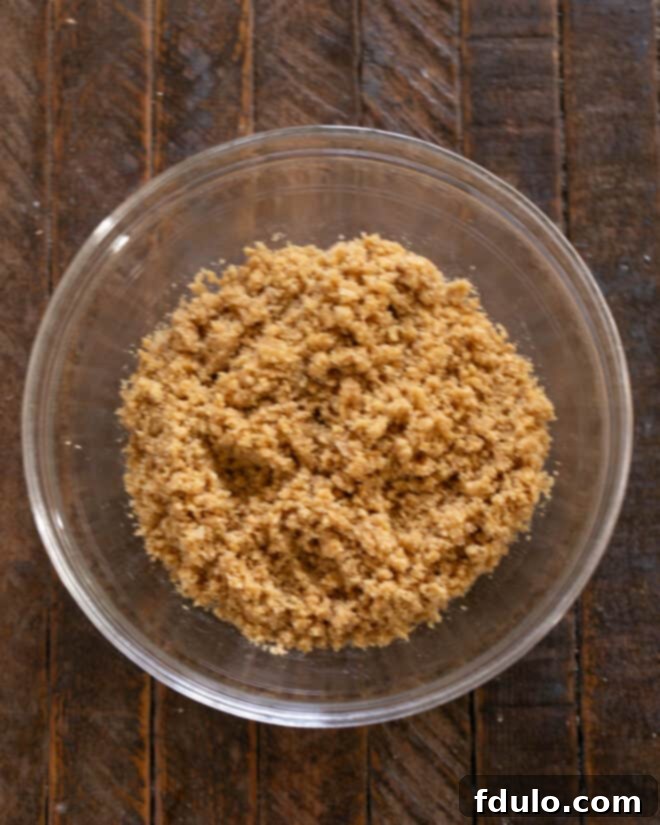
To make your own graham cracker crust: Combine 1 ½ cups graham cracker crumbs, 1 tablespoon granulated sugar, and 6 tablespoons melted unsalted butter. Mix thoroughly until moistened. Press firmly into a 9-inch pie plate. Bake at 350ºF (175ºC) for 8 minutes. Allow the crust to cool completely on a wire rack before adding the filling.
Regarding Whipped Topping: The homemade whipped topping (Cool Whip substitute) will undoubtedly create a richer, more flavorful pie with a superior texture. However, using 8 ounces of your favorite store-bought whipped topping is a perfectly acceptable and quick substitution if you are short on time or prefer its convenience.
*If you choose to use store-bought whipped topping (like Cool Whip) for your pie, you will not need the last four ingredients listed under “Cool Whip Substitute” in the ingredient list, as those are specifically for making the homemade version.
Helpful Tools: (As an Amazon Associate and member of other affiliate programs, I earn from qualifying purchases, which helps support this site at no extra cost to you.)
- Nesting Mixing Bowls: Essential for organizing ingredients and mixing efficiently.
- Ceramic Pie Plate: Ideal for even baking and attractive presentation.
- KitchenAid Hand Mixer: A reliable tool for whipping cream and blending fillings smoothly.
Nutrition Information:
Yield:
8
Serving Size:
1 slice
Amount Per Serving:
Calories: 617Total Fat: 44gSaturated Fat: 25gTrans Fat: 1gUnsaturated Fat: 16gCholesterol: 90mgSodium: 260mgCarbohydrates: 49gFiber: 3gSugar: 33gProtein: 6g
Thatskinnychickcanbake.com occasionally offers nutritional information for recipes contained on this site. This information is provided as a courtesy and is an estimate only. This information comes from online calculators. Although thatskinnychickcanbake.com attempts to provide accurate nutritional information, these figures are only estimates.
Varying factors such as product types or brands purchased can change the nutritional information in any given recipe. Also, many recipes on thatskinnychickcanbake.com recommend toppings, which may or may not be listed as optional and nutritional information for these added toppings is not listed. Other factors may change the nutritional information such as when the salt amount is listed “to taste,” it is not calculated into the recipe as the amount will vary. Also, different online calculators can provide different results.
To obtain the most accurate representation of the nutritional information in any given recipe, you should calculate the nutritional information with the actual ingredients used in your recipe. You are solely responsible for ensuring that any nutritional information obtained is accurate.
HOW MUCH DID YOU LOVE THIS RECIPE?
Please leave a comment on the blog or share a photo on Pinterest
