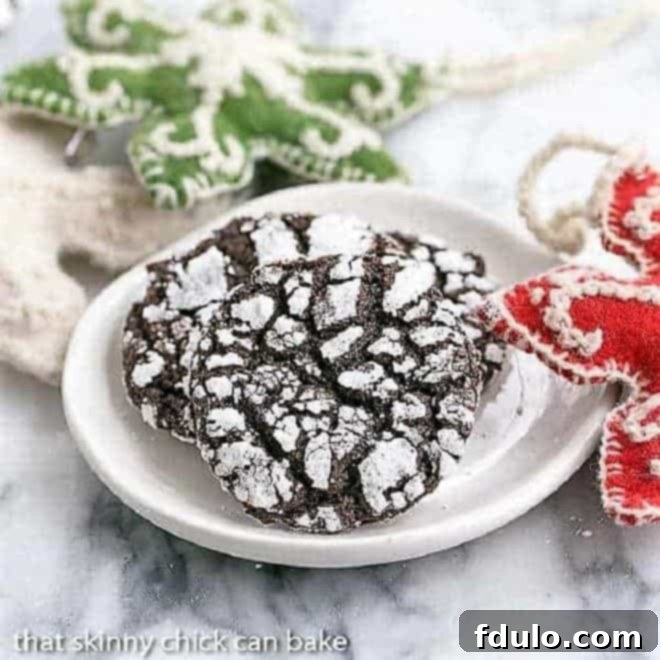
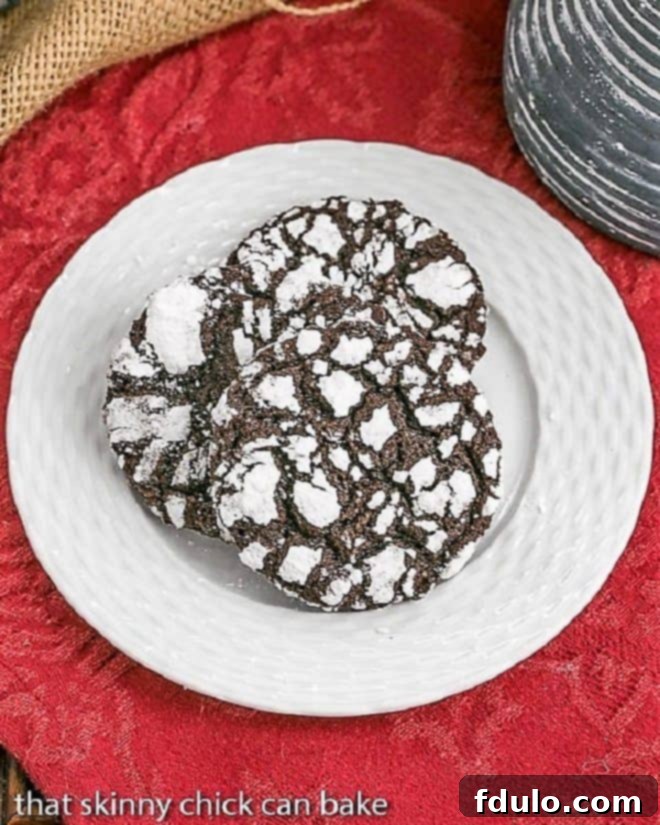
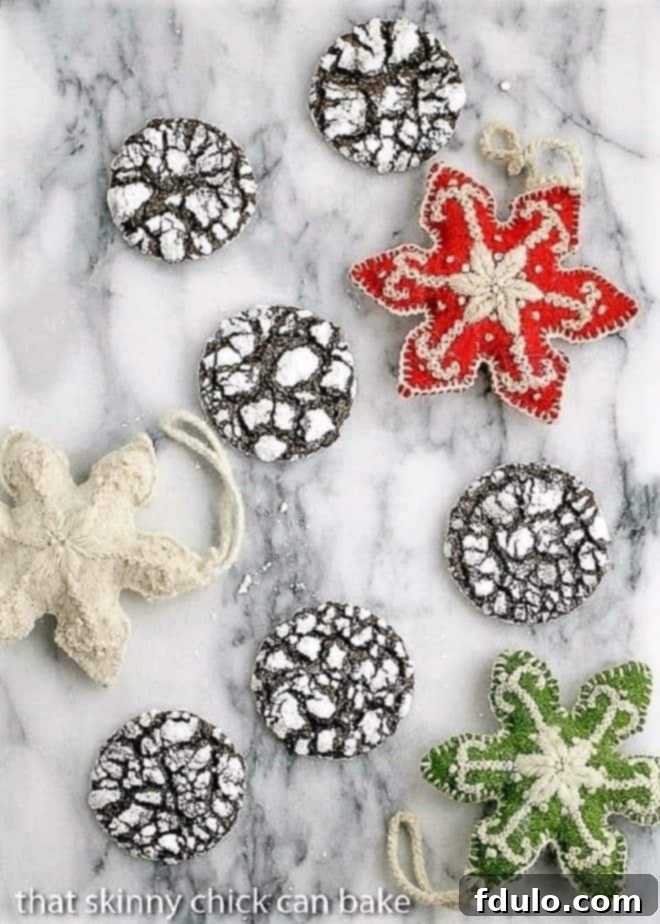
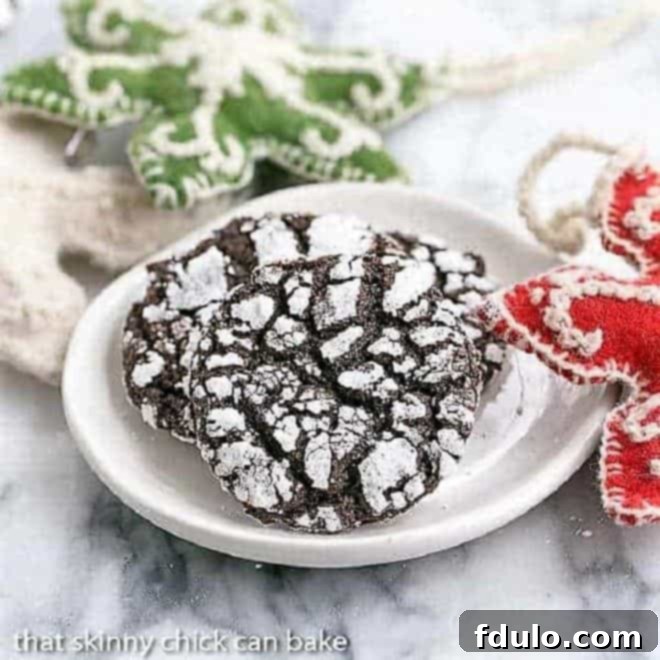
Festive Chocolate Crinkles will fulfill your sweet tooth urges. And your chocolate cravings at Christmastime.
These Crinkle Cookies are made with a fudgy chocolate dough which is rolled in powdered sugar and baked up into beautiful cookies with crackled surfaces. Perfect for the holidays, though suitable for indulging all year long!

Indulge in the Magic of Chocolate Crinkle Cookies: Your Ultimate Guide to Festive Baking
As the holiday season draws near, or whenever a profound chocolate craving strikes, there’s one cookie that consistently captures hearts with its unique charm and irresistible flavor: the Chocolate Crinkle Cookie. Often referred to as “Chocolate Crackle Cookies” due to their distinctive snow-dusted, cracked appearance, these treats are more than just a dessert; they are a celebration in every bite. Their fudgy, intensely chocolatey interior contrasted with a delicate, powdery exterior makes them a standout on any cookie platter, a cherished gift, or a delightful personal indulgence. Join us as we explore the art of creating these magical cookies, from understanding their ingredients to mastering the perfect crinkle, ensuring your baking endeavors are both successful and utterly delicious.
The Enduring Appeal of Chocolate Crinkle Cookies
What is it about Chocolate Crinkles that makes them such a beloved classic? Perhaps it’s the delightful visual contrast—a deep, dark chocolate canvas beautifully adorned with a snowy white crackle, reminiscent of a winter wonderland. Or maybe it’s the exquisite texture: a soft, chewy, almost brownie-like center that gives way to a slightly crisp edge. For many, these cookies evoke warmth, nostalgia, and the joyous spirit of festive gatherings. They strike a perfect balance between simplicity and sophistication, making them accessible for home bakers while still impressing guests with their gourmet look and taste. Whether gracing a Christmas cookie exchange, completing a holiday meal, or simply serving as a comforting treat on a quiet afternoon, Chocolate Crinkles embody the very essence of baking pleasure. Their versatility means they’re not just for December; these cookies are a year-round delight, ready to satisfy any chocolate craving, any time.

Mastering the Art of Chocolate Crinkle Cookie Preparation
Creating these chewy chocolate cookies, elegantly rolled in powdered sugar, results in a stunning visual effect that truly looks like they’ve been dusted with fresh snow. While undeniably perfect for the holidays, their rich flavor profile means my chocoholic family never complains about a batch or two making an appearance in the summer, spring, or fall, either! If you’re planning for an upcoming cookie exchange, these would be a wonderfully welcome addition, especially if your friends are fellow chocolate enthusiasts. To help you achieve perfection, here are some comprehensive tips for baking your very first (or next) batch of these delectable chocolate crinkles, sometimes affectionately known as chocolate crackle cookies.
- **Choosing Your Mixing Method Wisely**: For the ideal texture, opt for a paddle attachment on your stand mixer or a sturdy wooden spoon when mixing the dough. The goal is to incorporate ingredients thoroughly without beating in excessive air with a whisk attachment. Too much air can lead to a cakey rather than fudgy texture, which isn’t what we’re aiming for with a classic crinkle cookie. The paddle attachment gently brings everything together, ensuring a dense, chewy crumb that is characteristic of perfect crinkle cookies.
- **Gentle Chocolate Melting Techniques**: When melting your semisweet chocolate, a gentle approach is key to preventing burning or seizing. I prefer to use a microwave, starting with 30-second intervals. After each interval, stir the chocolate well, even if it doesn’t look fully melted. The residual heat will continue to melt the chocolate. Repeat this process until just a few tiny bits of unmelted chocolate remain, then remove it from the microwave and continue stirring until completely smooth. This method ensures the chocolate is perfectly melted without overheating, which can compromise its flavor and texture, leading to a dull or grainy chocolate note in your cookies.
- **The Importance of Room Temperature Ingredients**: For seamless incorporation and a smooth, consistent dough, ensure your butter and eggs are at room temperature. Room temperature butter creams beautifully with sugar, creating a light and airy base, while room temperature eggs emulsify better with the other ingredients, leading to a more uniform dough and better cookie structure. If your butter is too cold, it won’t cream properly, and if your eggs are cold, they can cause the batter to curdle.
- **Chilling the Dough for Success**: This dough is inherently sticky due to its high chocolate and sugar content. Chilling it thoroughly before rolling into balls is absolutely crucial. Aim for at least 2 hours, or even overnight, in the refrigerator. This firming process makes the dough much easier to handle, preventing sticky mishaps and ensuring beautifully formed cookies that hold their shape better during baking. A well-chilled dough also helps to prevent the cookies from spreading too much, preserving that signature crinkle.
- **Enhancing Chocolate Flavor with Espresso Powder**: A small amount of instant espresso powder might seem unusual, but it acts as a secret weapon to deepen and accentuate the rich chocolate flavor without making the cookies taste like coffee. It’s a flavor enhancer that makes the chocolate “more chocolatey” and complex. If you prefer, you can certainly omit it without negatively affecting the final results, but I highly recommend trying it for that extra layer of deliciousness that truly elevates these cookies.
- **Achieving the Perfect Crinkle Effect**: For an even more dramatic and pronounced crinkle effect, consider a double-roll technique. First, roll the chilled dough balls thoroughly in granulated sugar, which helps absorb some surface moisture and provides a base for the second coating. This granulated sugar layer also provides a slight crunch and helps prevent the powdered sugar from dissolving into the dough too quickly. Then, roll them generously in powdered sugar, ensuring they are completely coated. Don’t be shy with the powdered sugar – a thick, even layer is absolutely essential for the striking “snow-dusted” cracked look to form as the cookies bake and expand. The contrast between the dark cookie and the white sugar is what makes these so visually appealing.

Essential Tools for Your Chocolate Crinkle Baking Journey
While these cookies don’t require highly specialized equipment, having a few key tools on hand can significantly streamline your baking process and contribute to consistently excellent results. Investing in quality baking tools will not only make the process more enjoyable but also help you achieve professional-looking results every time.
- **KitchenAid 5-Qt. Artisan Stand Mixer**: An invaluable appliance for any serious baker, and particularly useful for this recipe. Its powerful motor and paddle attachment make light work of creaming butter and sugar and mixing the dense chocolate dough, saving you time and effort. While a hand mixer can work, a stand mixer provides consistency and frees up your hands for other prep.
- **Medium Cookie Scoop**: Achieving uniform cookie sizes is crucial for even baking. A medium cookie scoop (typically 1.5 to 2 tablespoons) ensures each cookie bakes consistently and looks professional. This also helps in accurately portioning the sticky dough without direct handling for the initial scoop, making the rolling process much cleaner and quicker.
- **Parchment Paper or Silicone Baking Mats**: Lining your baking sheets with parchment paper or silicone mats is a non-negotiable step. It prevents sticking, ensures easy cleanup, and promotes even heat distribution, contributing to perfectly baked cookies with uniform bottoms and preventing them from burning.
- **Wire Cooling Rack**: Essential for allowing your cookies to cool properly. Transferring them from the hot baking sheet to a wire rack immediately after baking prevents them from overcooking due to residual heat and helps them achieve their desired chewy texture while maintaining their crackled appearance.
- **Shallow Bowls for Rolling**: Having two shallow bowls dedicated to your granulated sugar and powdered sugar makes the rolling process efficient and tidy. This setup allows for quick, complete coating of each dough ball.
Variations and Serving Suggestions for Your Crinkle Cookies
While the classic Chocolate Crinkle is a timeless favorite, don’t hesitate to experiment with variations to suit your taste or occasion. For a minty twist, add a teaspoon of peppermint extract along with the vanilla. Orange zest or a touch of almond extract can also add a delightful complexity. For an extra indulgent treat, try pressing a small piece of chocolate truffle or a Rolo candy into the center of each dough ball before rolling and baking. These cookies are perfect for gifting during the holidays, packaged in a decorative tin, or added to a festive cookie assortment. They pair beautifully with a cold glass of milk, a warm mug of coffee, or a cozy cup of hot cocoa, making them ideal for any sweet moment.
Storage Tips for Freshness
To keep your Chocolate Crinkles at their best, store them in an airtight container at room temperature. They will remain fresh and chewy for up to a week. For longer storage, these cookies freeze exceptionally well. Once completely cooled, place them in a single layer on a baking sheet and freeze until firm. Then, transfer the frozen cookies to a freezer-safe bag or container, separating layers with parchment paper. They can be frozen for up to 3 months. Thaw them at room temperature for a few hours before serving, and they’ll taste as good as freshly baked.

Classic Chocolate Crinkles
30 minutes
15 minutes
45 minutes
Approximately 4 dozen cookies
A truly festive and irresistible holiday cookie that brings joy all year round. This recipe is an adaptation from a classic Martha Stewart version, perfected for home bakers.
Ingredients for Perfect Chocolate Crinkles
- 8 ounces quality semisweet chocolate, finely chopped, then melted and cooled slightly
- 1 ¼ cups all-purpose flour
- ½ cup Dutch-processed cocoa powder, for a rich, dark color and deep chocolate flavor
- 1 teaspoon instant espresso powder (optional, but highly recommended for flavor enhancement)
- 2 teaspoons baking powder
- ¼ teaspoon fine sea salt
- 8 tablespoons unsalted butter, softened to room temperature
- 1 ⅓ cups packed light brown sugar
- 2 large eggs, at room temperature
- 1 teaspoon pure vanilla extract
- ⅓ cup whole milk, at room temperature
- 1 cup powdered sugar (confectioners’ sugar), for generous rolling
- Granulated sugar, for an initial roll to enhance the crinkle effect
Step-by-Step Instructions: Bake Your Best Crinkles!
- **Prepare Oven and Dry Ingredients**: Preheat your oven to 350ºF (175ºC). In a medium bowl, thoroughly whisk together the all-purpose flour, Dutch cocoa powder, espresso powder (if using), baking powder, and salt. Set aside.
- **Cream Butter and Sugar**: In the bowl of an electric mixer fitted with the paddle attachment, beat the softened butter and brown sugar on medium speed until the mixture is light, fluffy, and pale in color, about 2-3 minutes. This step incorporates air, contributing to a tender cookie.
- **Add Eggs and Vanilla**: Scrape down the sides of the bowl. Add the eggs one at a time, beating well after each addition until fully incorporated. Stir in the vanilla extract.
- **Incorporate Melted Chocolate**: Pour the cooled melted chocolate into the mixture and beat on low speed until just combined. Be careful not to overmix.
- **Combine Wet and Dry Ingredients**: With the mixer on low speed, alternate adding the dry ingredient mixture and the milk, beginning and ending with the dry ingredients. Mix only until just combined and no streaks of flour remain. Overmixing at this stage can lead to tough cookies.
- **Chill the Dough**: Scrape the sticky dough onto a large piece of plastic wrap. Fold the edges of the plastic wrap over to cover the dough completely, pressing it into a disk. Chill the dough in the refrigerator for at least 2 hours, or preferably overnight, until it is firm enough to handle. This chilling is crucial for ease of rolling and achieving the signature crinkle.
- **Portion and Roll Dough Balls**: Place granulated sugar in one shallow bowl and powdered sugar in another. Scoop out tablespoonfuls of the chilled dough (it will still be sticky, but much more manageable). Using your hands, quickly roll each portion into a smooth ball. For best results, work quickly and keep your hands lightly floured or greased if needed.
- **Double Roll for Maximum Crinkle**: First, roll each dough ball thoroughly in the granulated sugar. This initial coating helps the powdered sugar adhere better and promotes a more defined crinkle. Then, roll the granulated sugar-coated balls generously in the powdered sugar, ensuring they are completely coated on all sides. Don’t be shy; a thick layer of powdered sugar is essential for the striking “snow-dusted” appearance and the characteristic crackle.
- **Bake to Perfection**: Place the coated cookie balls about 2 inches apart on a parchment-lined baking sheet. Bake in the preheated oven for 12 to 15 minutes, or until the cookies have flattened slightly, the edges are set, and the powdered sugar coating has beautifully split and cracked. The centers should still be soft and fudgy.
- **Cool Completely**: Transfer the baked cookies from the oven to a wire rack to cool completely. As they cool, the cookies will firm up, and their fudgy texture will set perfectly. Store in an airtight container at room temperature for up to a week.
Nutrition Information (Per Serving):
Yield:
Approximately 48 cookies
Serving Size:
2 cookies
Approximate Amount Per Serving:
Calories: 175Total Fat: 7gSaturated Fat: 4gTrans Fat: 0gUnsaturated Fat: 2gCholesterol: 26mgSodium: 105mgCarbohydrates: 27gFiber: 1gSugar: 20gProtein: 2g
Share Your Delicious Creations!
Loved this recipe? Please leave a comment on our blog or share a photo of your beautiful Chocolate Crinkles on Pinterest. Your feedback and photos inspire us to keep baking!
