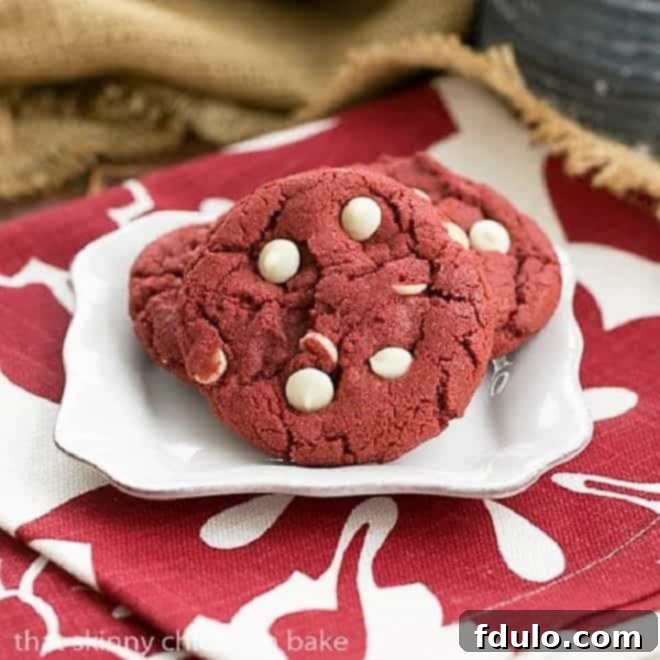
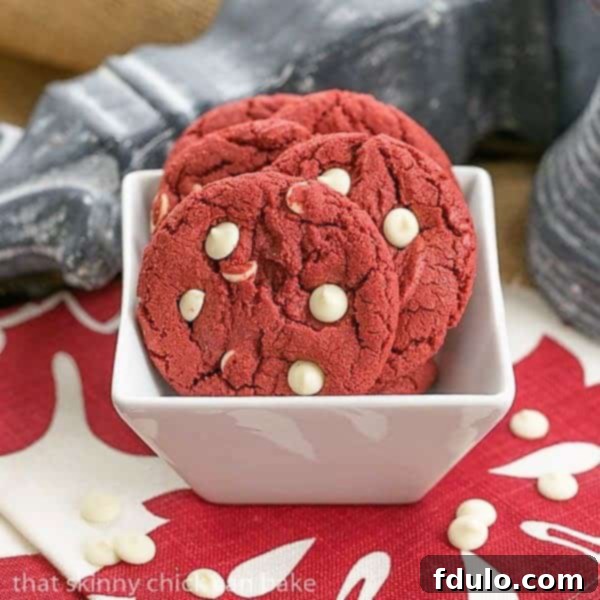
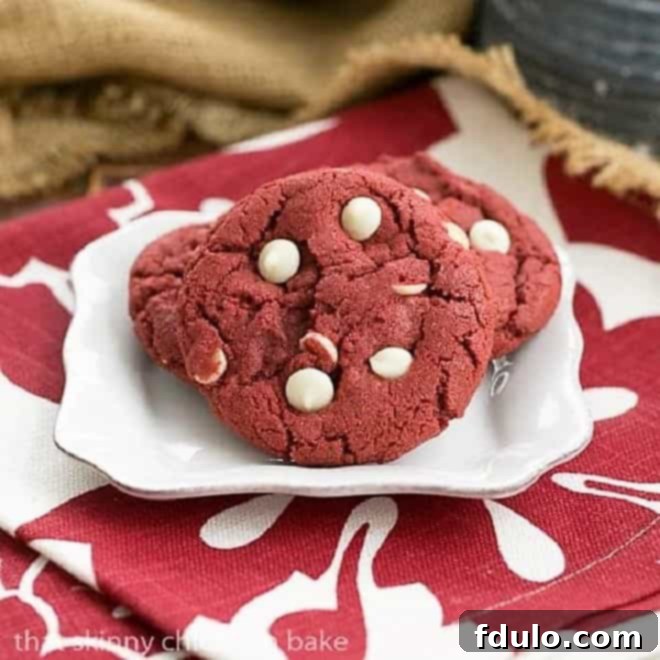
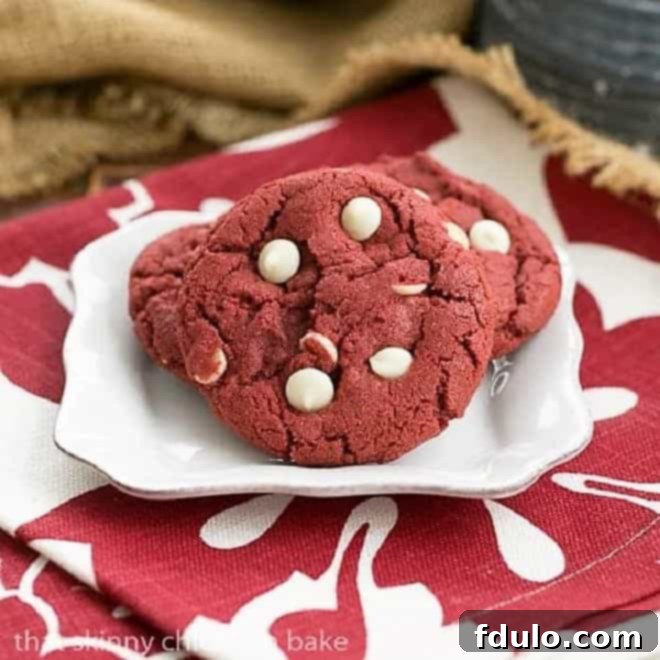
Indulge in the ultimate treat with these soft, chewy, and irresistibly delicious Red Velvet Cookies with White Chocolate Chips! Capturing all the classic charm and flavor of red velvet cake in a convenient cookie form, these vibrant delights are generously studded with creamy white chocolate chips, making them a true showstopper. Get ready to bake a batch of pure joy!
These magnificent Red Velvet Chocolate Chip Cookies are not just a dessert; they’re an experience. Their striking crimson hue and delightful texture make them an ideal choice for festive occasions like Valentine’s Day, Christmas, or any time you want to add a touch of elegance and flavor to your table. If you’re a devoted fan of red velvet, or simply looking for an easier alternative to baking a complex layer cake, this cookie recipe is your perfect solution. It delivers all the iconic taste of red velvet cake without the extensive effort, proving that sometimes, the best things come in small, perfectly baked packages.

Why These Red Velvet Cookies Are a Must-Bake
There are countless reasons to fall in love with this Red Velvet White Chocolate Chip Cookie recipe. Here’s why they should be at the top of your baking list:
- Universal Appeal: Even those who are typically hesitant about red velvet desserts or white chocolate find themselves reaching for a second (or third!) of these cookies. Their balanced flavor and perfect texture win over even the pickiest eaters.
- Irresistibly Chewy and Delicious: Experience that ideal cookie texture – crisp edges, a perfectly soft and chewy center, and a melt-in-your-mouth goodness that will have everyone asking for the recipe.
- Simplicity Reigns Supreme: Of all the red velvet treats you could embark on, this cookie recipe stands out for its straightforward process. It’s significantly less demanding than baking a multi-layered cake, allowing you to achieve stunning results with minimal fuss.
- Visually Stunning: The deep, rich red color contrasting with bright white chocolate chips makes these cookies incredibly photogenic and a festive addition to any dessert platter, especially during holidays.
- A Classic Flavor Reinvented: Enjoy the classic red velvet profile – subtle cocoa notes, a hint of tang from the vinegar, and rich vanilla – all perfectly translated into a delightful cookie format.
The Essence of Red Velvet: A Flavor Profile
Many wonder about the true flavor of red velvet, given its iconic color and hint of cocoa. Contrary to popular belief, red velvet desserts are not intensely chocolatey. Instead, the flavor profile is wonderfully complex and nuanced. It’s a harmonious blend where the richness of butter and the warmth of vanilla truly shine. The subtle cocoa powder contributes depth rather than dominance, often enhanced by a slight tanginess, traditionally from buttermilk or, in this recipe, white vinegar. This unique combination creates a mild, yet distinct flavor that is undeniably comforting and utterly delicious. When you bite into these red velvet cookies, you’ll experience a gentle cocoa whisper, beautifully complemented by the sweet, creamy notes of white chocolate chips.
Key Ingredient Notes for Perfect Red Velvet Cookies
Each ingredient plays a crucial role in achieving the perfect taste, texture, and vibrant color of these red velvet cookies. Here’s a closer look at what you’ll need and why:
- Kitchen Staples:
- All-Purpose Flour: The structural base of our cookies. Make sure to measure it correctly, preferably by weight if possible, to avoid dense cookies.
- Baking Soda: A leavening agent that helps the cookies rise and contributes to their soft texture.
- Salt: Essential for balancing the sweetness and enhancing all the other flavors in the cookie.
- Regular Unsweetened Cocoa Powder: Provides the subtle chocolate flavor and, importantly, reacts with the acid (vinegar and baking soda) to deepen the red color.
- Cornstarch: This secret ingredient is key for exceptionally soft and chewy cookies. It helps tenderize the dough and prevents excessive spreading.
- Butter: Use good quality salted or unsalted butter, brought to room temperature. Room temperature butter creams easily with sugar, creating a light and fluffy base, which is crucial for a tender cookie.
- Shortening: A baker’s secret weapon! Shortening helps the cookies maintain their shape, provides lift, and contributes to an incredibly soft, tender texture that melts in your mouth.
- Egg and Egg Yolk: Both should be at room temperature for better emulsification with the other ingredients. The whole egg provides moisture and binding, while the extra egg yolk adds richness, chewiness, and helps create a wonderfully tender crumb.
- White Vinegar: Don’t skip this! White vinegar is vital for two reasons: it reacts with the cocoa powder to enhance the red hue, and it also contributes to the traditional red velvet tang and helps activate the baking soda for optimal leavening.
- Pure Vanilla Extract: Use only high-quality, real vanilla extract. Vanilla is a prominent flavor in red velvet, and an artificial substitute will significantly compromise the taste.
- Red Food Coloring: One small bottle (usually 1 ounce or 2 tablespoons) of liquid or gel red food coloring is needed to achieve that iconic, deep red velvet color. Gel coloring often provides a more intense hue with less volume.
- White Chocolate Chips: The perfect creamy counterpoint to the subtle cocoa and tang of the red velvet. You’ll want extra white chocolate chips to press into the tops of the freshly baked cookies for that professional, appealing finish.

Expert Baking Tips for Flawless Red Velvet Cookies
Achieving bakery-quality cookies is easier than you think with these expert tips and tricks:
- PRO-Tip: Room Temperature Ingredients are Non-Negotiable: This is a golden rule in baking! Ensure your butter and eggs are at room temperature. This allows them to cream together seamlessly, creating a smoother, more emulsified dough. For butter, simply set it out on the counter an hour or two before you plan to bake. For eggs, placing them in a bowl of warm (not hot!) water for 5-10 minutes can speed up the process if you forget. Never melt butter in the microwave for this step; it will change the cookie’s texture.
- Measure with Precision: Baking is often called a science, and for good reason! Accurate measurements are critical. Use a kitchen scale for flour if possible, or the “spoon and level” method: spoon flour into your measuring cup, then level off the excess with a straight edge. Don’t pack the flour!
- Mixing Matters: You can use a stand mixer with a paddle attachment or an electric hand mixer to cream the butter, shortening, and sugar until light and fluffy, and to incorporate the eggs. However, when adding dry ingredients, it’s best to mix them in by hand with a spatula or on the lowest speed of your mixer, just until combined. Overmixing the flour develops too much gluten, which can lead to tough, dense cookies.
- Always Line Your Baking Sheets: For perfect non-stick results and incredibly easy cleanup, always line your baking sheets with parchment paper or silicone baking mats. This also helps promote even baking. You can typically reuse the same parchment paper for multiple batches of cookies, as long as it’s not overly browned.
- PRO-Tip: Keep Baking Sheets Cool: After each batch, allow your baking sheets to cool completely before placing new cookie dough balls on them. Placing dough on a warm sheet can cause the butter to melt prematurely, leading to cookies that spread too much and become thin and flat.
- Use a Cookie Scoop for Consistency: A cookie disher (or scoop) is your best friend for uniform cookies. Scooping out evenly sized dough balls ensures that all your cookies bake at the same rate, preventing some from being undercooked while others are overcooked.
- Don’t Skip the Dough Chilling: Chilling the cookie dough for at least an hour, or even overnight, can make a huge difference. It allows the flavors to meld, the butter to firm up (which prevents spreading), and results in a chewier, more flavorful cookie.
- Garnish for a Professional Touch: Immediately after removing the cookies from the oven, gently press a few extra white chocolate chips onto the top of each hot cookie. The warmth will slightly melt them, making them stick beautifully and giving your cookies that irresistible, bakery-style appearance.
Frequently Asked Questions About Red Velvet Cookies
Despite the presence of cocoa powder, red velvet is not predominantly a chocolate flavor. It’s more of a unique blend where the rich notes of vanilla and butter are most prominent, beautifully balanced by a subtle tang from ingredients like vinegar or buttermilk, and a mild hint of cocoa. This combination creates a distinct, sophisticated flavor that is less about intense chocolate and more about depth and creaminess. If you have a refined palate, you might pick up on the subtle cocoa undertones in these cookies, but the overall experience is one of sweet vanilla richness with a slight tangy finish.
Achieving that perfect bakery look is simple with a few tricks! First, use a cookie disher or scoop to ensure all your dough balls are uniform in size, leading to consistently shaped cookies. When the cookies come out of the oven, while still hot on the tray, if any are misshapen, use a spatula or the back of a spoon to gently tap their edges into perfect rounds. For that irresistible finishing touch, reserve some white chocolate chips (or have extra on hand) and carefully press a few onto the top of each hot cookie right after baking. The residual heat will slightly melt them, making them adhere beautifully and creating a stunning visual appeal.
These delicious red velvet cookies will remain wonderfully fresh for approximately 3 days when stored in an airtight container at room temperature. To extend their freshness even further, you can place a slice of plain bread in the container with the cookies. The bread will release moisture, which the cookies will absorb, helping them stay soft and chewy for an extra day or two. For longer storage, these cookies freeze exceptionally well. Place them in an airtight freezer-safe container or bag, and they can be kept frozen for up to 3 months. Thaw at room temperature for a quick, delightful treat whenever a craving strikes!
Absolutely! While white chocolate chips are a classic pairing that beautifully complements the red velvet flavor, feel free to experiment. Semi-sweet or dark chocolate chips would offer a more pronounced chocolate flavor, creating a delicious contrast with the mild red velvet base. You could also try milk chocolate chips for a sweeter, creamier profile, or even a mix of different chips for a multi-faceted chocolate experience. Just ensure you use good quality chips for the best results.
While the vibrant red color is iconic and a hallmark of red velvet desserts, the food coloring itself doesn’t contribute to the flavor. The color traditionally came from a reaction between natural cocoa powder and acidic ingredients, but modern cocoa processing methods often diminish this effect. Therefore, food coloring is used to achieve the signature crimson hue. You can certainly omit it if you prefer, and your cookies will still taste amazing, but they will have a brownish, slightly reddish-brown color rather than the deep red. They’ll be “brown velvet” cookies, just as delicious!
Several factors can contribute to cookies spreading too much. Ensure your butter wasn’t too soft or melted; it should be softened but still cool to the touch. The dough chilling step is crucial, as it firms up the butter and prevents excessive spreading. Make sure your baking soda is fresh and active. Overmixing the dough can also lead to thinner cookies. Lastly, always use cool baking sheets for each batch of cookies, as a warm pan will cause the butter to melt too quickly, leading to flat results.
Explore More Red Velvet and Cookie Delights:
- Red Velvet Checkerboard Cake
- Favorite Red Velvet Recipes
- Red Velvet Marble Cake Recipe from Grandbaby Cakes
- Red Velvet Snack Cake from Melissa’s Southern Style Kitchen
- Red Velvet Pancakes from Tidy Mom
Don’t stop at red velvet! Make sure to check my Recipe Index for a treasure trove of cookie inspiration. You’ll find tons of my Best Cookies Recipes to peruse there, along with endless ideas on my Best Cookies, Bar Cookies Pinterest Board. Happy baking!
Stay connected and share your baking adventures! Follow me on social media @ Instagram, Facebook, and Pinterest. Don’t forget to tag me when you try one of my delicious recipes! And if you absolutely love the results, please consider giving it a 5-star rating in the recipe card below – your feedback means the world.

Red Velvet Cookies with White Chocolate Chips Recipe
20 minutes
16 minutes
36 minutes
30 cookies
The classic flavors of red velvet cake in cookie form—with the added deliciousness of white chocolate chips!
Ingredients
- 2 ¼ cups all-purpose flour
- 2 ½ tablespoons unsweetened cocoa powder
- 1 ½ teaspoons cornstarch
- ¾ teaspoon baking soda
- ½ teaspoon salt
- 8 tablespoons unsalted butter, at room temperature
- 5 tablespoons shortening
- 1 ½ cups granulated sugar
- 1 large egg, at room temperature
- 1 large egg yolk, at room temperature
- 1 ½ tablespoons white vinegar
- 1 ½ teaspoons pure vanilla extract
- 1 tablespoon red food coloring (liquid or gel)
- ¾ cup white chocolate chips, plus extra for garnishing
Instructions
- Preheat your oven to 350ºF (175ºC). Line several cookie sheets with parchment paper and set them aside.
- In a medium mixing bowl, whisk together the flour, cocoa powder, cornstarch, baking soda, and salt until well combined. Set aside.
- In a large separate bowl, using an electric mixer, beat the room temperature butter, shortening, and granulated sugar together until the mixture is very pale and fluffy (about 2-3 minutes).
- Add the room temperature whole egg and egg yolk to the butter mixture and beat until thoroughly combined, scraping down the sides of the bowl as needed.
- Next, add the white vinegar, pure vanilla extract, and red food coloring. Mix on low speed until all the ingredients are well blended and the color is consistent.
- Gradually add the dry ingredients to the wet ingredients, mixing on low speed or by hand with a spatula, just until combined. Be careful not to overmix the dough.
- Gently fold in the ¾ cup of white chocolate chips using a spatula until evenly distributed throughout the dough.
- Cover the cookie dough and chill it in the refrigerator for at least one hour, or preferably overnight. This step helps prevent spreading and enhances flavor.
- Once chilled, use a 2-tablespoon capacity cookie disher or scoop to form evenly sized dough balls. Roll them lightly between your palms if desired, then place them about 2 inches apart on your prepared cookie sheets.
- Bake for 14-16 minutes, or until the edges are lightly set and the centers still look slightly soft. Avoid overbaking to keep them chewy.
- Remove the cookies from the oven. While they are still hot, gently press a few of the remaining white chocolate chips onto the top of each cookie for an extra visual appeal. Allow the cookies to cool on the baking sheet for several minutes before transferring them to a wire rack to cool completely.
Notes
Nutrition Information:
Yield:
30
Serving Size:
1
Amount Per Serving:
Calories: 149Total Fat: 7gSaturated Fat: 4gTrans Fat: 0gUnsaturated Fat: 3gCholesterol: 23mgSodium: 98mgCarbohydrates: 20gFiber: 0gSugar: 13gProtein: 2g
HOW MUCH DID YOU LOVE THIS RECIPE?
Please leave a comment on the blog or share a photo on Pinterest
