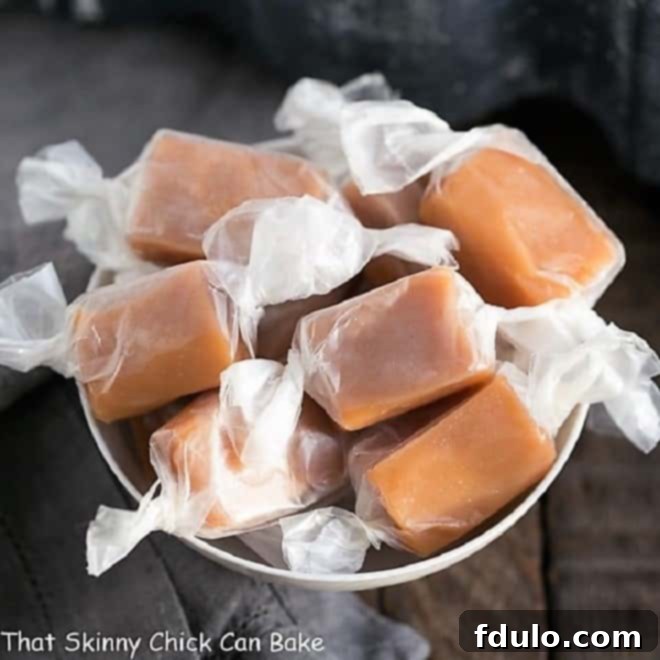
Indulge in Bliss: The Ultimate Recipe for Soft Chewy Cream Caramels
Soft Chewy Cream Caramels are more than just a treat; they are a labor of love that promises exceptional rewards. While crafting these delightful candies might be a bit time-consuming, the rave reviews you’ll receive from friends and family will make every moment worthwhile. Perfect as elegant holiday gifts or simply for your own enjoyment, these spectacular homemade caramels are a testament to the magic of confectionery.
There’s an undeniable charm and superior quality to **Homemade Caramels** that store-bought versions simply cannot match. Especially during the festive season, presenting a batch of your own handcrafted, melt-in-your-mouth caramels will leave your loved ones in awe of your culinary prowess. This comprehensive guide will walk you through every step, ensuring your success in creating the most irresistible chewy caramels.
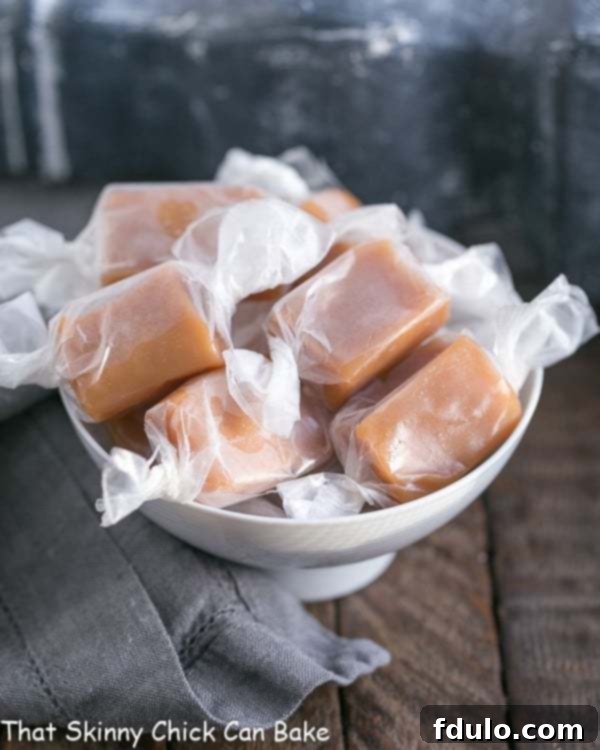
The Irresistible Allure of Homemade Caramels
Once you experience the decadent pleasure of homemade cream caramels, you’ll understand why this recipe is truly special. Here’s why these soft and chewy delights are a must-make for any dessert enthusiast:
- Unmatched Texture: These caramels boast an incredibly soft, buttery consistency that delivers an authentic melt-in-your-mouth sensation. Forget the hard, waxy texture of mass-produced candies; these are pure bliss.
- Superior Flavor Profile: Each piece offers a rich, sweet vanilla essence that perfectly teases your palate. The carefully balanced ingredients create a depth of flavor that is simply unparalleled.
- A Culinary Masterpiece: Having experimented with numerous caramel recipes over the years, I can confidently declare these chewy caramels as the absolute best. They strike the perfect balance between sweetness, richness, and chewiness, making them truly exceptional.
- Pride in Craftsmanship: There’s immense satisfaction in creating something so delicious from scratch. Your friends and family will be genuinely impressed, and you’ll love taking credit for such a spectacular homemade treat.
- Customizable Perfection: While this recipe is fantastic as is, making caramels from scratch allows you to subtly adjust flavors or add a sprinkle of sea salt for a gourmet touch, tailoring them to your exact preferences.
Many baking recipes call for store-bought caramels as a convenient shortcut, ideal for dishes like Oatmeal Caramel Bars. However, even the finest pre-packaged caramels, despite being carefully wrapped, rarely achieve the tender softness and delightful chewiness of their homemade counterparts. Once you taste the difference, you’ll never settle for anything less than homemade cream caramels again.
There are countless variations in caramel recipes, from those using half-and-half to others incorporating heavy cream or even evaporated milk. Sweeteners can range from classic white sugar to richer brown sugar. Yet, a common thread among the best recipes is the inclusion of corn syrup, a crucial ingredient that prevents sugar crystallization, ensuring a smooth, non-grainy texture. This particular recipe stands out as a clear favorite, perfected over years of candy-making.
The Science Behind Perfect Caramels
Making caramel is a delightful blend of art and science. Understanding a few key principles can transform your candy-making experience from daunting to dazzling. The process involves heating sugar, cream, and butter to precise temperatures, triggering a series of chemical reactions that create the caramel’s signature color, flavor, and texture.
Understanding Sugar Crystallization
One of the biggest challenges in caramel making is preventing sugar from recrystallizing. When sugar melts and then cools too quickly or is agitated excessively, it can revert to its crystalline form, resulting in a grainy caramel. This is where corn syrup plays its vital role. Corn syrup, a liquid sugar, acts as an “interfering agent.” It disrupts the sugar molecules’ ability to bind together and form crystals, ensuring your caramels remain incredibly smooth and chewy.
The Importance of Temperature Control
Achieving the perfect caramel consistency hinges on precise temperature control. A candy thermometer is your best friend here. As the mixture cooks, its temperature steadily rises, indicating different stages of sugar concentration. For soft, chewy caramels, aiming for the “firm ball” stage—typically between 245-250°F (118-121°C)—is crucial. Cooking it too little will result in a sticky, runny caramel, while overcooking will yield a hard, brittle toffee-like candy. Patience and a reliable thermometer are key.
Essential Ingredients for Perfect Caramels
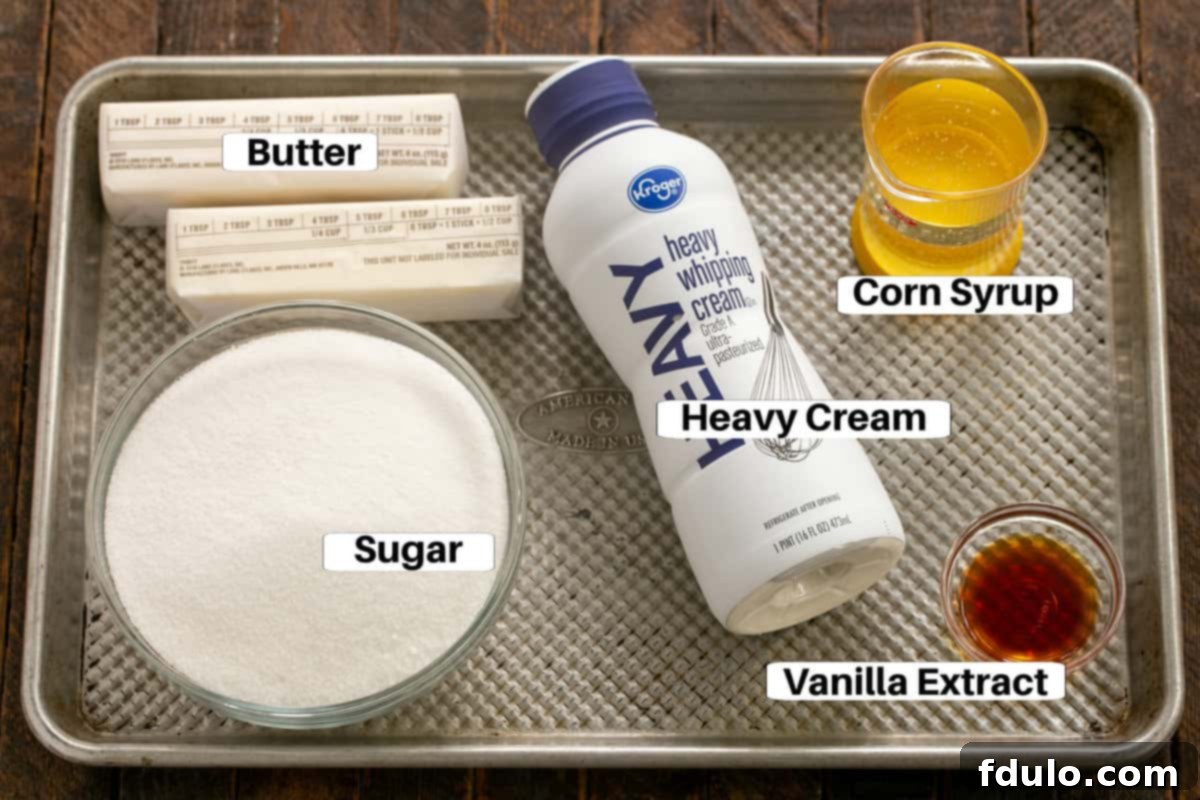
Each ingredient in this recipe plays a crucial role in achieving that sought-after soft, chewy texture and rich flavor. Using high-quality ingredients will elevate your homemade caramels from good to truly extraordinary.
- Granulated Sugar: This is your primary sweetener and the foundation of the caramel. While some recipes incorporate brown sugar for a deeper molasses flavor, white granulated sugar creates a cleaner, classic caramel taste.
- Salted Butter: The butter contributes to the caramel’s rich flavor and smooth texture. The touch of salt in salted butter acts as a flavor enhancer, balancing the sweetness without making the caramels taste overtly salty. Always opt for good quality butter for the best results.
- Heavy Cream: This ingredient is non-negotiable. With its high butterfat content (typically 36% or more), heavy whipping cream is essential for creating the creamy, tender consistency of these caramels. Do not substitute with half-and-half or whole milk, as their lower fat content will result in a less rich and potentially tougher caramel.
- Real Vanilla Extract: Vanilla is a crucial flavor note in any classic caramel. Always use high-quality, pure vanilla extract, such as the Nielsen-Massey brand, for the most authentic and aromatic flavor. Avoid artificially flavored vanilla, which can impart an unpleasant aftertaste.
- Light Corn Syrup: As discussed, corn syrup is the secret weapon against crystallization, preventing your caramels from becoming grainy. Use light corn syrup (like Karo brand) for clarity and neutral flavor. It ensures a beautifully smooth and uniform texture, making your caramels wonderfully chewy rather than crystalline.
Equipment You’ll Need
Having the right tools is just as important as having the right ingredients for successful caramel making. These items will ensure a smooth and safe process:
- Heavy-Bottomed Saucepan: A sturdy, heavy-bottomed saucepan is essential for even heat distribution, which prevents scorching. Avoid thin or flimsy pans, as they can cause hot spots and lead to uneven cooking.
- Candy Thermometer: A reliable candy thermometer is your most critical tool. It allows you to precisely monitor the temperature of your caramel mixture, ensuring it reaches the exact “firm ball” stage for perfect texture.
- Whisk or Heat-Proof Spatula: For initial stirring and occasional agitation, a sturdy whisk or heat-proof silicone spatula will come in handy.
- 8×8 Inch Baking Pan: A standard 8×8 inch square baking pan is ideal for setting your caramels.
- Non-Stick Foil or Parchment Paper: Lining your baking pan with non-stick foil or parchment paper makes removing the cooled caramel slab incredibly easy, preventing sticking and ensuring clean cuts.
- Kitchen Scissors or Greased Knife: For neatly cutting your cooled caramels into individual squares.
- Wax Paper or Candy Wrappers: For individually wrapping each caramel to prevent them from sticking together.
Step-by-Step Guide to Making Perfect Cream Caramels
Follow these detailed steps to create your own batch of irresistible soft and chewy cream caramels:
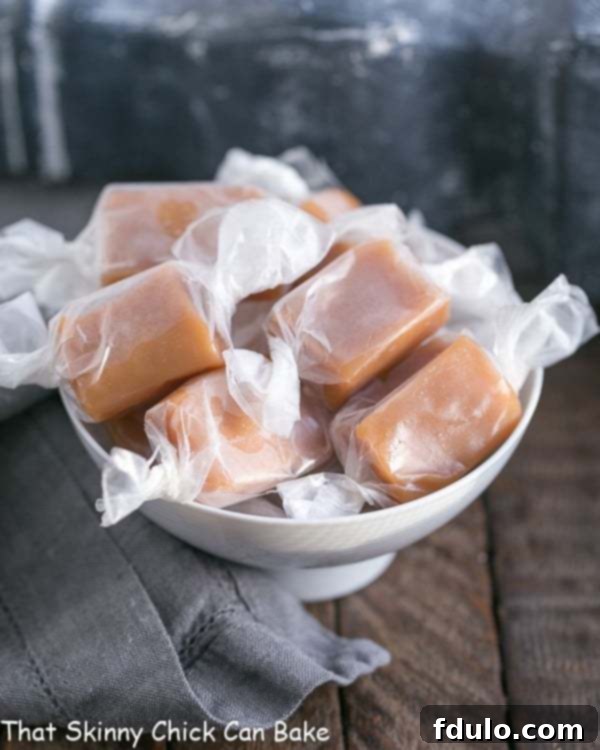
Mastering the Art of Caramel Making: Expert Tips & Troubleshooting
Making homemade caramels is a rewarding endeavor, but it requires patience and attention to detail. Having made countless batches of holiday candies like caramels and toffee, I understand the unique challenges and triumphs of confectionery. Here are my expert tips to ensure your caramels turn out perfectly every time:
- Embrace Corn Syrup: Don’t be deterred by the inclusion of corn syrup in this recipe. It is absolutely vital for preventing sugar recrystallization, ensuring your caramels achieve that wonderfully smooth, non-grainy texture. It’s the secret to a professional-quality finish.
- Patience is a Virtue: The cooking process can be lengthy, often taking nearly an hour for the caramel mixture to reach the precise temperature. This is not a time to multitask; remain vigilant. You cannot walk away from the stove, or you risk scorching your caramel, which will result in a burnt taste and wasted ingredients.
- Stay Focused: Candy-making demands your full attention. Avoid distractions like answering the phone. I often recommend turning on the TV or listening to music to keep yourself entertained while you stand and stir, meticulously watching your candy thermometer slowly approach the firm ball stage.
- PRO-Tip: Gradual Temperature Adjustments: If you need to adjust your burner’s heat, do so very, very gradually. Abrupt changes in temperature, or even excessive movement of the pan, can cause the butter to “leach” or separate from the caramels as they cool, resulting in an undesirable oily layer. Smooth, consistent heat is key.
- Invest in a Quality Candy Thermometer: A precise and reliable candy thermometer is arguably your most important tool. It eliminates guesswork and ensures your caramel reaches the exact temperature needed for the perfect texture. For best results, ensure your thermometer is calibrated correctly.
- Know Your Desired Texture: This recipe targets 247-248°F (120-120.5°C) for soft, chewy caramels. If you prefer a slightly firmer caramel that holds its shape a bit more, allow the mixture to cook to 250°F (121°C). Do not exceed this, or you risk entering the toffee stage.
- Use a Heavy Saucepan: As mentioned, a heavy-bottomed saucepan is crucial for even heat distribution. A cheap, flimsy pan will lead to hot spots and a higher risk of burning your caramel.
- Safety First: The boiling sugar mixture is extremely hot and can cause severe, second-degree burns if it comes into contact with your skin. Exercise extreme caution throughout the cooking process. Keep small children and pets at a safe distance from the stove.
- Caramels Freeze Beautifully: These caramels are excellent candidates for making ahead, especially for the busy holiday season. Wrap each caramel individually in rectangles of wax paper (ensure the pieces are large enough to fully encase the caramel), then place them in a freezer-safe Ziploc bag. Remove as much excess air as possible before sealing. They can be frozen for up to 6 months. Simply pull out what you need, let them thaw at room temperature, and enjoy!
When your friends and family rave about your incredible homemade caramels, you’ll be immensely glad you took the extra time and care to create such a spectacular treat!
Frequently Asked Questions About Homemade Caramels
For clean and easy cuts, I highly recommend using greased kitchen scissors. A sharp, greased knife also works very well. Lightly oiling your cutting tool prevents the sticky caramel from clinging and tearing.
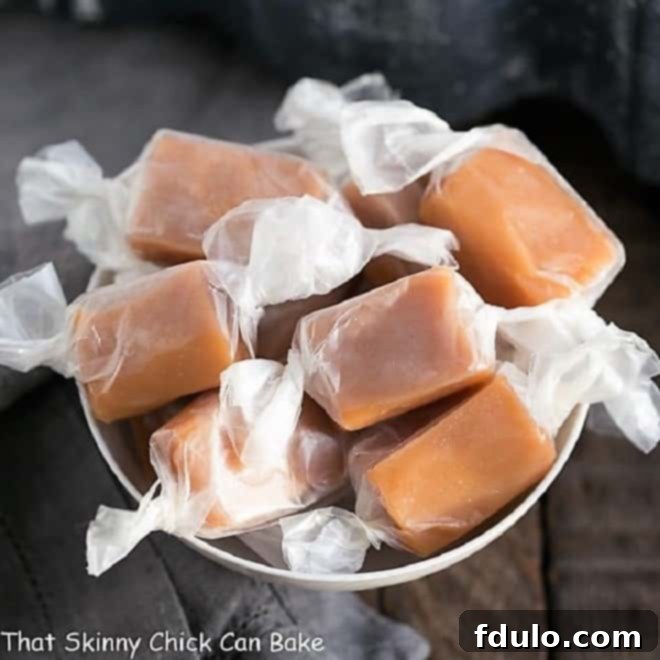
While you can purchase specialized candy wrappers online, simple wax paper is an inexpensive and highly effective solution. Its neutral color is also aesthetically pleasing. You’ll need decent-sized rectangular pieces for each caramel – large enough to fully enclose the candy and twist both ends securely to prevent air exposure and sticking.
Since these are soft, delicate caramels, proper storage is crucial. After wrapping them individually, store them in a cool, dry location in a sealed, airtight container. They will keep well in the refrigerator for up to two weeks. For longer-term storage, homemade caramels freeze exceptionally well for up to six months. Just ensure they are in an airtight container to prevent freezer burn and moisture absorption.
Moisture is the primary enemy of caramel, so keeping them in a cool, dry environment is key to their longevity. When stored correctly, chilled caramels can last for several weeks, while frozen caramels will maintain their quality for several months.
Butter separation, also known as “butter leaching,” often occurs due to abrupt temperature changes during the cooking process. It’s challenging to be patient while monitoring the caramel for up to an hour, but resisting the urge to quickly adjust the burner’s temperature to speed things up is vital. Rapid heating or cooling can disrupt the emulsion, leading to an oily layer on top of your cooled caramels. If you must adjust the burner, do so very, very gradually to maintain a stable cooking environment.
Serving & Gifting Ideas for Your Homemade Caramels
Once you’ve mastered these soft, chewy cream caramels, the possibilities for enjoying and sharing them are endless. Here are some ideas:
- Elegant Holiday Gifts: Arrange wrapped caramels in a beautiful tin or cellophane bag tied with a ribbon. They make thoughtful, personalized presents for neighbors, teachers, colleagues, or hostess gifts.
- Dessert Platter Addition: Offer them alongside other homemade treats like cookies and chocolates for a varied and impressive dessert spread.
- Coffee or Tea Companion: A single homemade caramel is the perfect accompaniment to a warm cup of coffee or tea, providing a sweet moment of indulgence.
- Ice Cream Topping: Gently warm a few unwrapped caramels with a tiny splash of cream to create an instant, luxurious caramel sauce for ice cream or other desserts.
- Lunchbox Treat: A wrapped caramel makes a delightful surprise in a lunchbox for kids or adults.
Explore More Caramel Delights
If you love the rich, buttery flavor of caramel, you’ll enjoy these other fantastic recipes:
- Caramel Apple Cupcakes from Mom on Timeout
- Salted Caramel Crunch Cookies from The Novice Chef
- Easy Chocolate Caramel Pretzel Bites from Crunchy, Creamy, Sweet
- Chocolate Caramel Twix Cheesecake
- Microwave Caramel Sauce
- Twix Cookies
- More of the Best Dessert Recipes
- More of the Best Holiday Recipes
What Our Readers Are Saying:
The proof is in the pudding – or rather, in the caramel! Here’s what delighted home bakers have to say about this recipe:
From Shannon: “I absolutely adore this recipe! It has produced consistently amazing results every single time I’ve made it! Thank you so much for generously sharing this gem!!”
From Tina: “I’ve actually used this recipe multiple times, and it’s fantastic! The only time I encountered an issue was when I swapped out my trusty thermometer, and my caramels turned out more like toffee. But when I use a properly calibrated candy thermometer and all the correct ingredients, this truly is a great recipe for soft caramels! I’m actually making a batch right now. In my experience, if a recipe doesn’t turn out right, it’s almost always operator error rather than a flaw in the recipe itself. Don’t blame the recipe!”
Stay connected and discover more delicious recipes by following on Instagram, Facebook, and Pinterest. Don’t forget to tag me when you whip up one of my creations! If you’re thrilled with the results, please consider leaving a 5-star rating in the recipe card below.
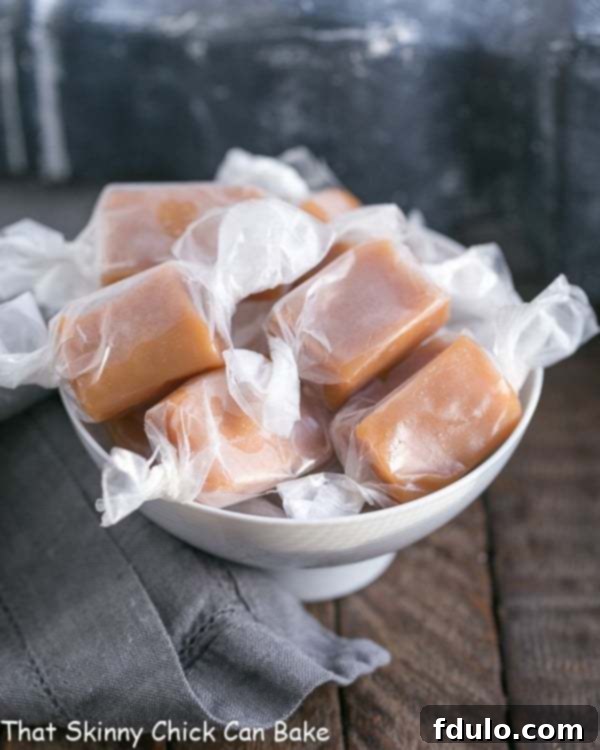
Soft Chewy Cream Caramels
5 minutes
1 hour
1 hour 5 minutes
64 1-inch caramels
Buttery homemade caramel candies that will outshine any grocery store version!
Ingredients
- 1 cup butter (2 sticks)
- 2 cups sugar
- 2 cups heavy cream
- ½ cup light corn syrup
- 2 teaspoons vanilla
Instructions
- Line an 8×8 pan with non-stick foil. Set aside.
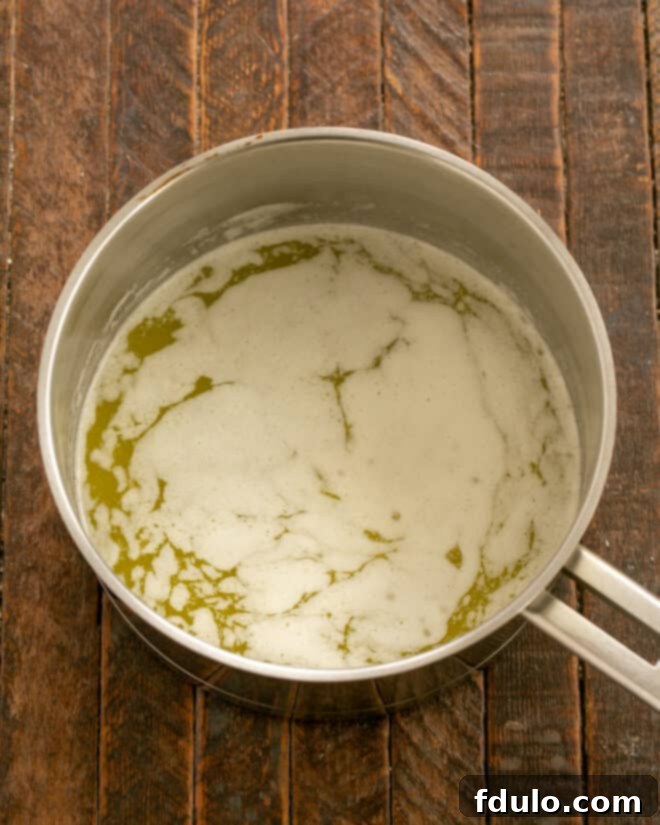
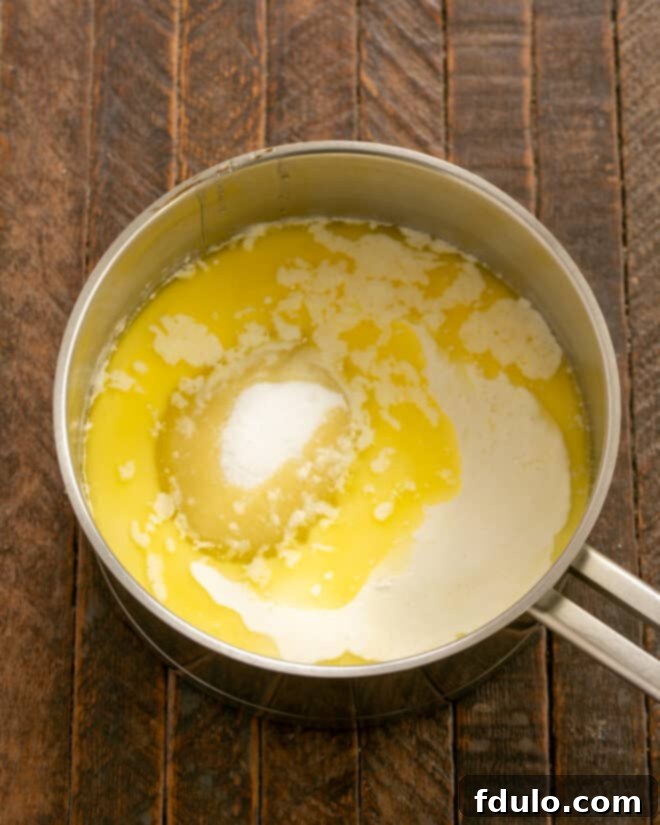
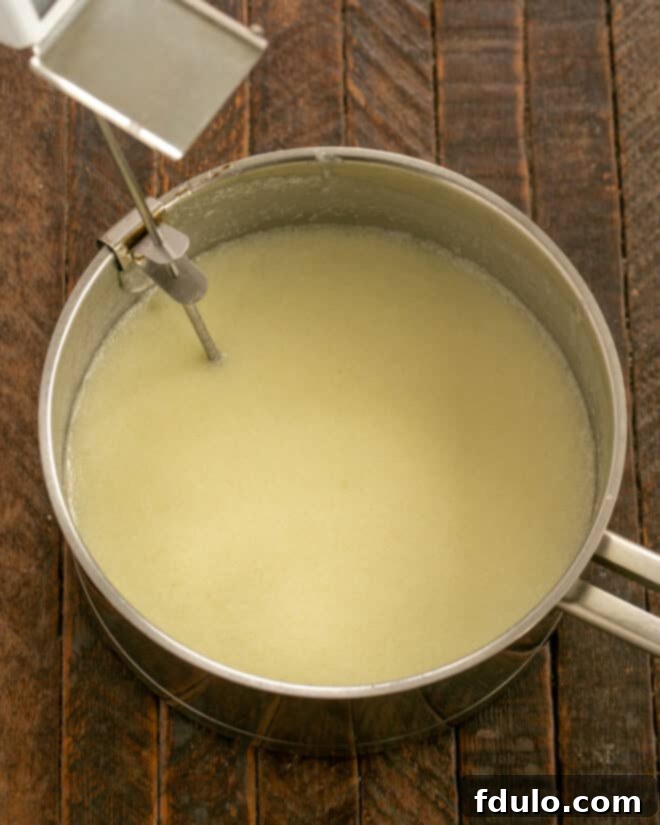
- Melt the butter in a heavy saucepan. Stir in the sugar, cream, and corn syrup. Mix and bring to a gentle boil and stir until the sugar is melted.
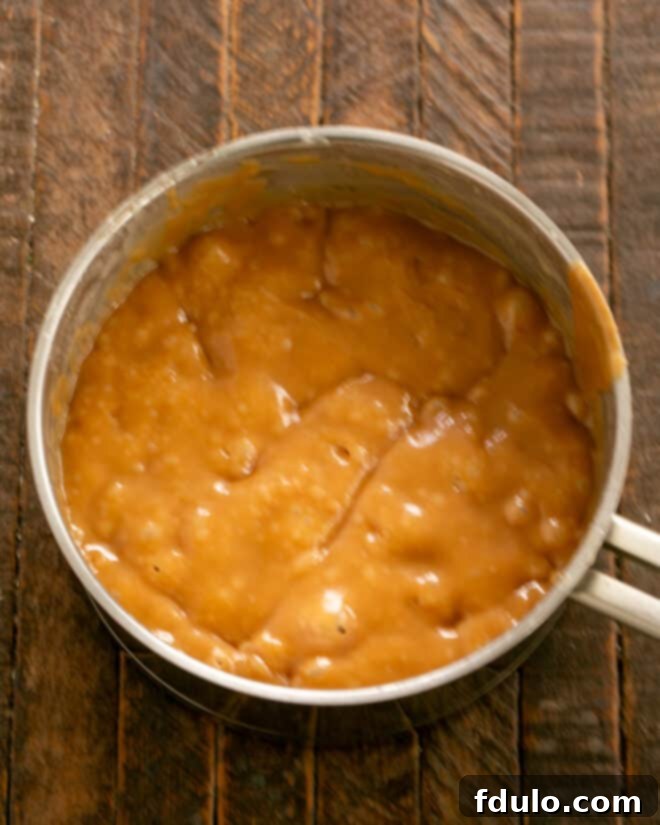
- Insert a candy thermometer and continue boiling over medium-low heat until the candy reaches 247-248°.
- Stir occasionally.
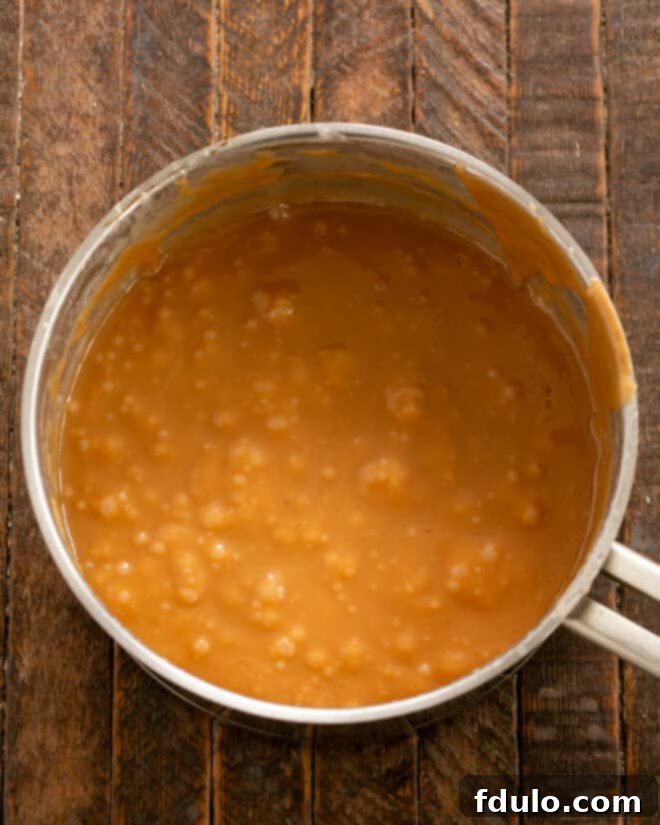
- If you like your caramel slightly firmer, let it cook to 250°. This can take 45 minutes to an hour, so be patient.
- Remove from the heat, add the vanilla, and stir to combine. Pour into prepared pan.
- Allow caramel to cool completely, then lift from the pan using the foil as a sling.
- Place on a cutting board and slice into 1-inch squares. Wrap individually in wax paper.
- These caramels freeze exceptionally well for long-term storage.
Notes
Please exercise extreme caution as the boiling caramel mixture is exceptionally hot and can cause severe burns.
To prevent the butter from separating from the caramels as they cool, ensure you do not make any abrupt adjustments to the burner temperature while the mixture is cooking.
Recommended Products
As an Amazon Associate and member of other affiliate programs, I earn from qualifying purchases.
- Nonstick Foil
- 8 x 8-inch Baking Pan
- Candy Thermometer
Nutrition Information:
Yield:
32
Serving Size:
2 caramels
Amount Per Serving:
Calories: 166Total Fat: 11gSaturated Fat: 7gTrans Fat: 0gUnsaturated Fat: 3gCholesterol: 32mgSodium: 53mgCarbohydrates: 17gFiber: 0gSugar: 17gProtein: 0g
HOW MUCH DID YOU LOVE THIS RECIPE?
Please leave a comment on the blog or share a photo on Pinterest
