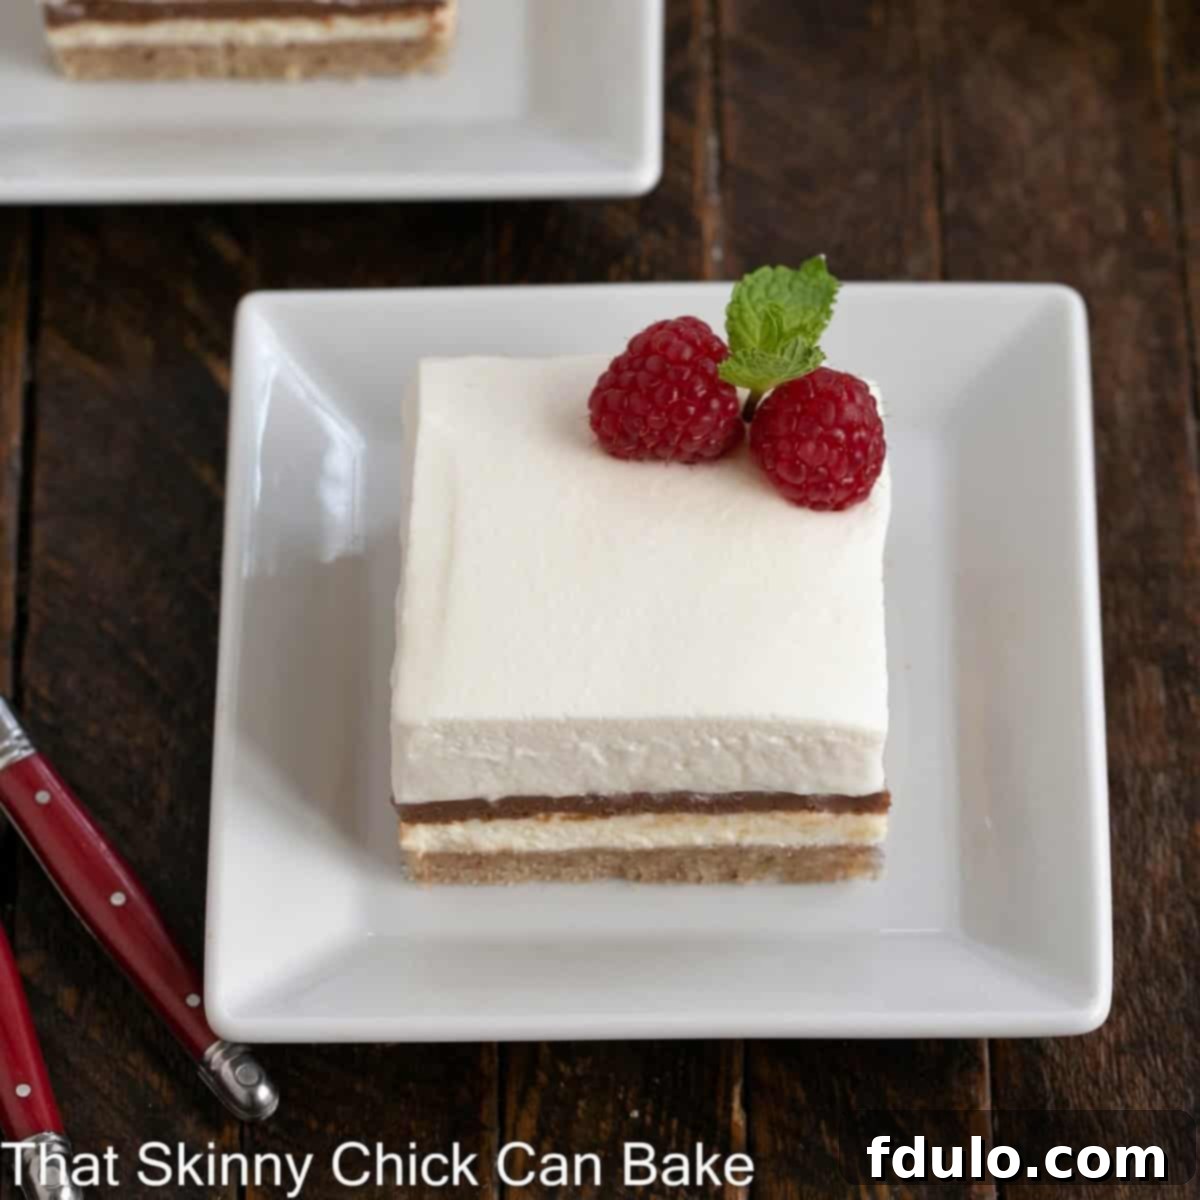
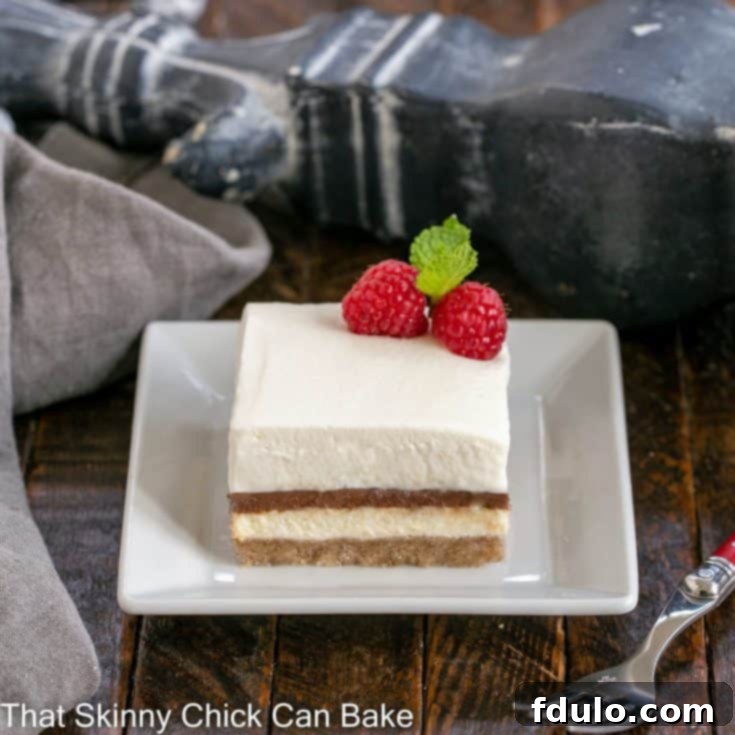
Indulge in a truly exquisite dessert experience with this homemade Chocolate Delight. This captivating layered treat features a buttery, nutty pecan shortbread crust, a luscious cream cheese layer, rich, velvety homemade chocolate pudding, and a topping of airy, sweetened whipped cream. It’s a symphony of textures and flavors that promises pure bliss with every spoonful.
While many versions of this classic, often called Chocolate Pudding Dessert, rely on instant pudding and artificial whipped toppings, our meticulously crafted recipe elevates it to an entirely new level. We’ve banished the boxed mixes and processed ingredients, opting instead for a completely from-scratch approach that guarantees an unparalleled depth of flavor and a fresh, authentic taste. Prepare to impress your guests and delight your family with this decadent masterpiece that tastes truly homemade.
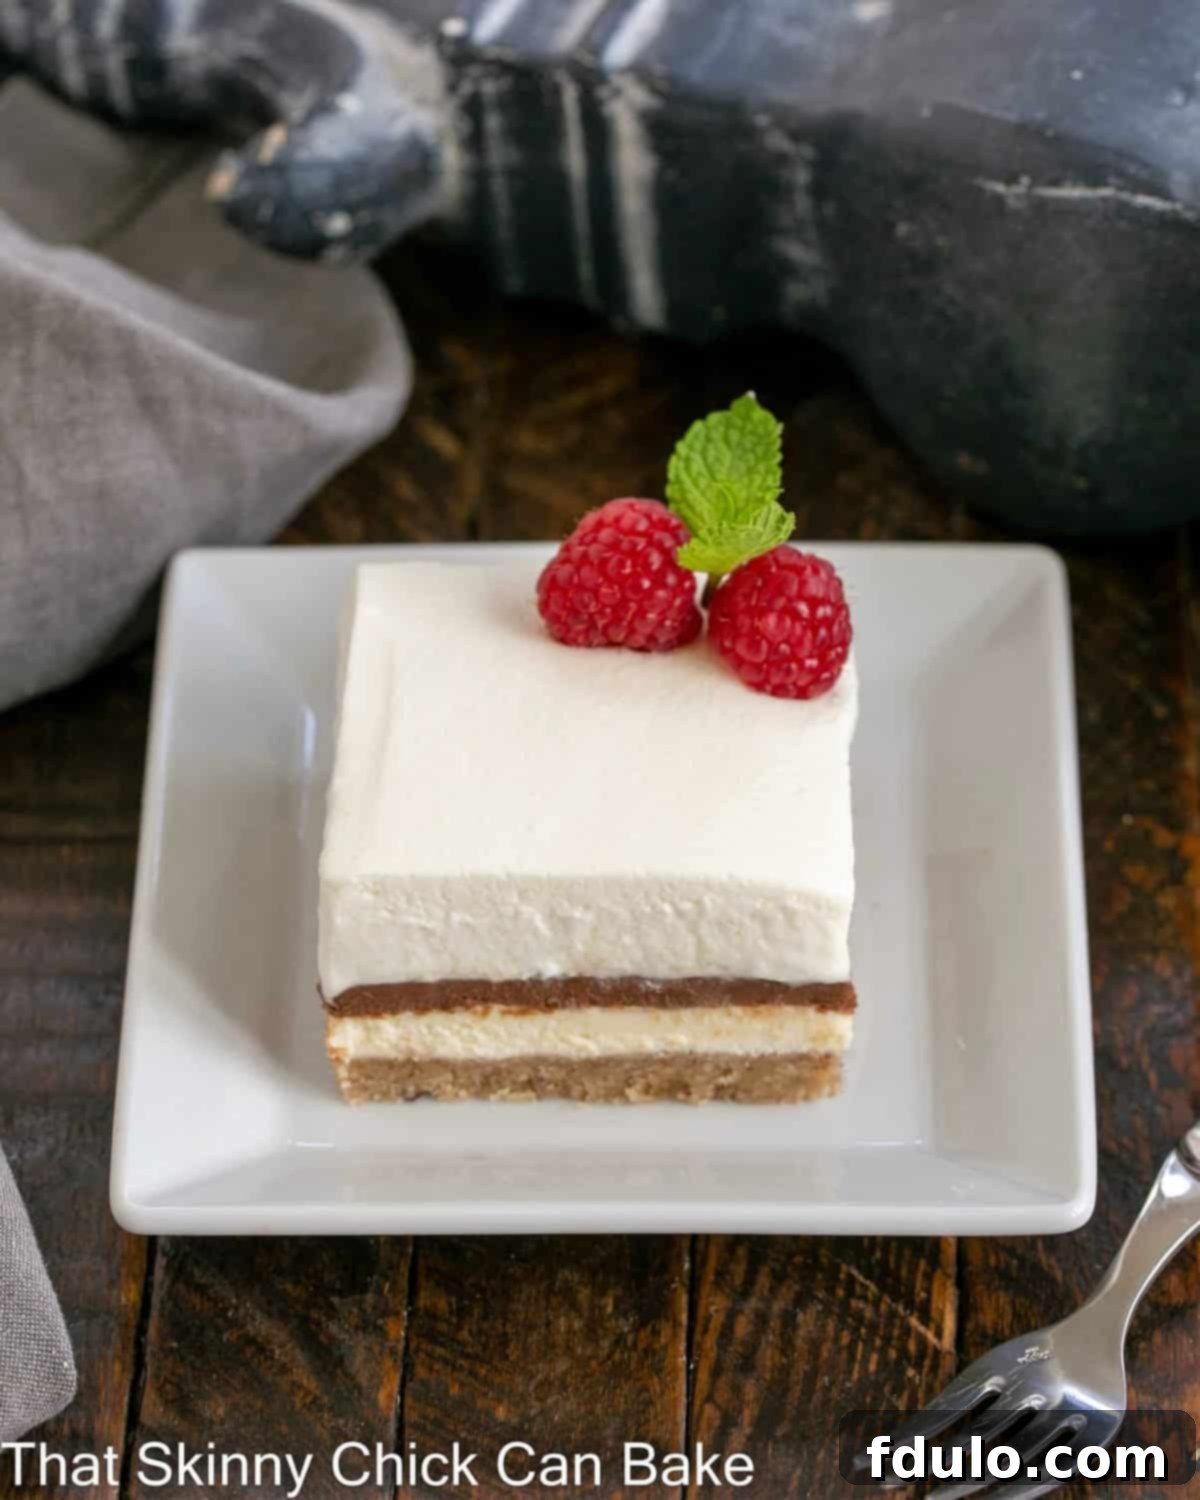
Why This Homemade Layered Dessert Is a Must-Try
Once you experience the sublime taste of this homemade Chocolate Delight, you’ll understand why it’s a staple for special occasions and everyday cravings alike. Here are just a few reasons why this dessert will become your new favorite:
- Pure, Wholesome Ingredients: Say goodbye to artificial flavors, preservatives, and questionable chemicals. Our recipe uses only real, fresh ingredients, ensuring a dessert that not only tastes incredible but also feels good to eat.
- Unmatched Creaminess: If you’re a connoisseur of creamy desserts, this recipe will truly captivate your palate. Each layer, from the smooth cream cheese to the silky chocolate pudding and light whipped cream, contributes to an unbelievably smooth and luxurious texture.
- Perfect Harmony of Textures: The crisp, buttery pecan shortbread crust provides a delightful contrast to the soft, velvety layers above. This interplay of crunchy and creamy makes every bite an exciting experience.
- Crowd-Pleasing Elegance: This dessert isn’t just delicious; it’s also visually stunning. Its perfectly stacked layers make it an impressive centerpiece for any gathering, eliciting “oohs” and “aahs” from everyone at the table.
- Versatile and Customizable: While our classic recipe is heavenly, it also serves as a fantastic base for various customizations. From different crust nuts to alternative pudding flavors, you can tailor it to your preferences or dietary needs.
Creating Your Homemade Chocolate Delight: A Step-by-Step Overview
Crafting this elegant layered dessert is simpler than you might imagine, with each step building towards a spectacular finale. Here’s a brief overview of the process:
- Prepare the Crust: Begin by making the delightful pecan shortbread crust, baking it to golden perfection, and allowing it to cool completely. This crucial first step ensures a stable and flavorful foundation.
- Whip Up the Pudding: While the crust cools, prepare the homemade chocolate pudding. Its rich flavor and silky texture are worth every moment. Once made, cover it with plastic wrap pressed directly against the surface to prevent a “skin” from forming, then chill thoroughly.
- Craft the Cream Cheese Layer: Once the pudding is cooling, mix together the ingredients for the creamy, tangy cream cheese layer. This adds a wonderful brightness and another dimension of texture.
- Assemble with Care: The magic happens in the layering! Spread the cream cheese mixture evenly over the cooled crust, followed by the chilled chocolate pudding, and finally, a generous topping of freshly sweetened whipped cream.
- Chill to Perfection: Allow the assembled dessert ample time to chill in the refrigerator. This not only firms up the layers for clean slicing but also allows the flavors to meld beautifully. Slice into neat squares and garnish with fresh raspberries, mint sprigs, or elegant chocolate curls or shavings for a professional finish.
Expert Tips for a Flawless Chocolate Delight
Achieving the perfect layered dessert is all about attention to detail. These expert tips will help you create a Chocolate Delight that’s truly unforgettable:
- Embrace the Homemade Difference: While many recipes for this dessert call for instant pudding and Cool Whip, choosing homemade versions for your pudding and whipped cream dramatically enhances the flavor and texture. The extra effort is truly rewarded in the superior taste and quality of your dessert.
- Softened Cream Cheese is Key: For a perfectly smooth and lump-free cream cheese layer, ensure your cream cheese is at room temperature. Pull it out of the refrigerator at least an hour before you plan to use it. This allows it to whip up easily and spread smoothly.
- Preventing Pudding Skin: No one likes a rubbery skin on their pudding! To prevent this, place a layer of plastic wrap directly onto the surface of the warm pudding as soon as it’s made. Press the wrap down so it touches the entire surface before chilling.
- The Right Tool for Spreading: An offset spatula is your best friend when layering this dessert. Its angled blade allows you to spread each layer evenly and smoothly, creating clean lines and a professional appearance. If you don’t have one, a regular rubber spatula can work, but an offset spatula offers much more control.
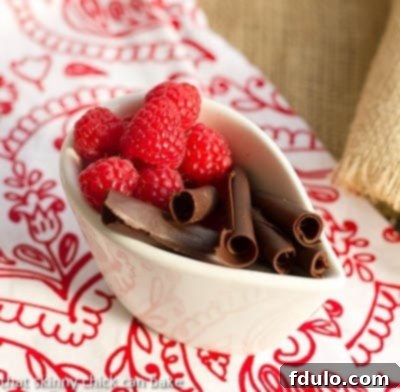
- Elevate Your Presentation with Garnishes: A beautiful garnish can transform a delicious dessert into a showstopper. For special occasions, consider fresh berries (raspberries, strawberries), a sprig of mint, or homemade chocolate curls or shavings. For an extra touch of elegance, learn how to make impressive chocolate curls with this Triple Chocolate Cheesecake recipe.
- Mastering the Chill and Slice: Proper chilling is paramount for clean slices. Refrigerate your dessert for at least 4-6 hours, or even better, overnight. For ultra-clean cuts, place the dessert in the freezer for about 30-60 minutes before slicing. Always wipe your knife clean with a warm, damp cloth between each slice to ensure the neatest presentation.
- Choosing Your Pan: While a 9×9 inch pan is specified, you can also use an 8×8 inch pan for a thicker dessert, or a 9×13 inch pan for a thinner, larger batch. Adjust baking times slightly if changing pan sizes, and always line with non-stick foil for easy removal.
How to Make Perfect Chocolate Curls for Garnish
Adding homemade chocolate curls is a simple yet impressive way to elevate the presentation of your Chocolate Delight. It’s much easier than it looks! Here’s a reliable method:
Start by melting 3 ounces of good quality semi-sweet chocolate with 1 tablespoon of shortening. The shortening helps the chocolate achieve the right consistency for curling without being too brittle. Once melted and smooth, spread this chocolate mixture very thinly and evenly onto the back of a clean, cold sheet pan. You want a thin layer, but not so thin that it’s translucent. Aim for a thickness similar to a credit card. Pop the sheet pan into the freezer for just 2-3 minutes. The chocolate should be firm but not rock-hard. If it’s too hard, let it sit at room temperature for about a minute to soften slightly to the perfect curling consistency.
To create the curls, take a bench scraper or a metal spatula with a very straight, sharp-edged scooping end. Hold the scraper at about a 45-degree angle to the chocolate surface and gently but firmly push it across the chocolate. The chocolate should peel away in beautiful curls. Don’t worry if every piece isn’t perfect; the smaller shards still make excellent garnishes. This technique, which I discovered on Pioneer Woman’s blog, has proven far more successful and less frustrating than my previous attempts with a vegetable peeler. Experiment with the angle and pressure until you get the hang of it!
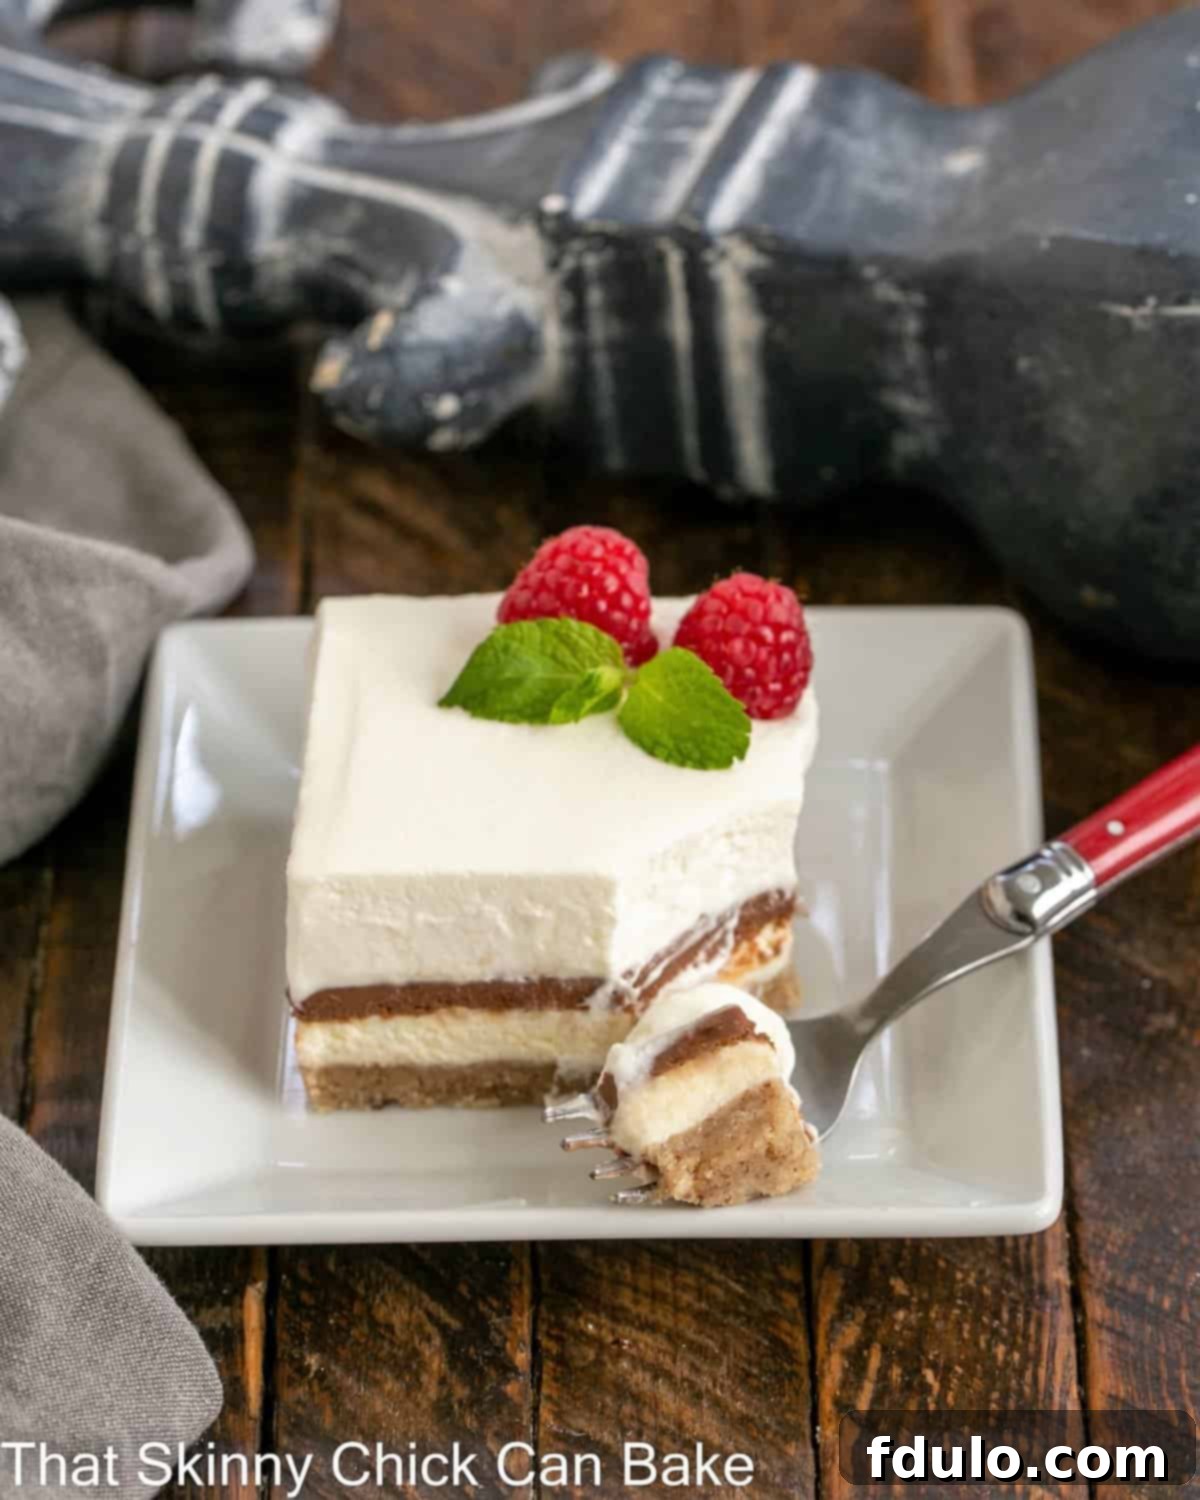
Frequently Asked Questions About Chocolate Delight
Chocolate Delight is a beloved American layered dessert, celebrated for its fluffy texture and rich flavor profile. It typically features distinct layers of a crumbly nut or cookie crust, a creamy sweetened cream cheese mixture, a velvety pudding layer, and a generous topping of whipped cream. Its irresistible nature has earned it various playful nicknames over the years, including “Better Than Sex Cake,” “Better Than Best Cake,” “Next Best Thing to Robert Redford,” and simply “Robert Redford Dessert.” Our homemade version focuses on elevating these classic layers to their gourmet potential.
This recipe is incredibly versatile! If you’re short on time, you can revert to the more retro, semi-homemade version by using instant chocolate pudding and store-bought whipped topping. For flavor variations, try using two boxes of chocolate pudding, or a combination of one chocolate and one vanilla pudding mix. The crust offers another avenue for customization: a classic graham cracker crust is a delicious alternative to the pecan shortbread, especially thoughtful if you’re serving someone with a nut allergy. You can also experiment with different types of nuts in the shortbread crust, such as walnuts or almonds. Beyond the core ingredients, play with your garnishes! Fresh berries and mint always provide a vibrant and eye-catching option, but homemade chocolate curls or elegant chocolate shavings add a sophisticated touch. Consider a dusting of cocoa powder or mini chocolate chips for a simpler, yet equally appealing finish.
Properly stored, Chocolate Delight will stay fresh and delicious in the refrigerator for 3-4 days. To maintain its quality and prevent it from absorbing other odors, cover it tightly with plastic wrap or transfer it to an airtight container. The whipped cream topping is best enjoyed fresh, but it will hold up well for a few days. Freezing is also an option; individually wrapped slices can be frozen for up to a month. Thaw in the refrigerator before serving.
Absolutely! This is an ideal make-ahead dessert, perfect for entertaining. You can assemble the entire dessert the day before you plan to serve it. In fact, an overnight chill allows the flavors to deepen and the layers to set perfectly, making for easier and cleaner slicing. If you’re planning to make it more than 24 hours in advance, consider adding the whipped cream topping closer to serving time for the freshest texture, though it will still be delicious if added earlier.
You May Also Love These Chocolate Desserts:
- Black Bottom Chocolate Mousse Pie
- Decadent Double Chocolate Pudding
- Frozen Chocolate Mousse Cake
- Easy Chocolate Mousse Bars
- More of my Best Dessert Recipes
Connect with me on social media! Find me @thatskinnychickcanbake on Instagram, Facebook, and Pinterest. I love seeing your creations, so don’t forget to tag me when you try one of my recipes! If you adore the results, please consider leaving a 5-star rating in the recipe card below to help other home bakers discover this delicious treat.
Chocolate Delight from Scratch Recipe
40 minutes
30 minutes
1 hour
2 hours 10 minutes
16
A dreamy chocolate dessert with a pecan shortbread crust, chocolate pudding layer and a whipped cream cheese topping!
Ingredients
For the crust:
- 3 ounces pecans (toasted)
- 3 tablespoons granulated sugar
- ½ cup butter, cut into small cubes
- 1 teaspoon vanilla extract
- 1 cup all-purpose flour
- ¼ teaspoon salt
For the pudding layer:
- 1 cup heavy cream
- ¼ cup granulated sugar
- 3 egg yolks
- 3 ½ ounces semisweet chocolate (coarsely chopped)
- 1-ounce milk chocolate (coarsely chopped)
- 1 tablespoon butter
- ½ teaspoon vanilla
- Pinch of salt
For the cream cheese layer:
- 1 pound cream cheese (at room temperature)
- ½ cup powdered sugar
- 1 teaspoon vanilla
For the whipped cream topping:
- 2 cups heavy cream
- 1 teaspoon vanilla
- ½ cup powdered sugar
- Chocolate shavings or curls and berries (for garnish, if desired)
Instructions
To make the crust:
1. Place the pecans and sugar in a food processor and pulse together until the pecans are finely chopped.
2. Add butter and vanilla and pulse until combined, then add the flour and salt and pulse until just mixed.
3. Chill the dough for 30 minutes.
4. Preheat the oven to 325°. Line a 9 x 9-inch pan with non-stick foil.
5. Press the chilled dough into the baking dish.
6. Prick the dough with a fork and bake for 10 minutes or until lightly golden.
7. Cool the crust completely while preparing the remaining layers.
To make the pudding layer:
1. Heat the heavy cream for the pudding in a heavy-bottomed saucepan over medium heat, just until it begins to simmer.
2. In a separate mixing bowl, stir together the granulated sugar and egg yolks until well combined.
3. When the cream just starts to simmer, slowly pour about half of the hot cream into the egg mixture while whisking vigorously. This tempers the egg yolks, preventing them from scrambling.
4. Then, pour the tempered egg mixture back into the saucepan with the remaining hot cream and stir well.
5. Continue to cook over medium-low heat for 5 to 7 minutes, stirring constantly, until the pudding is thick enough to coat the back of a spoon.
6. Place the coarsely chopped semisweet and milk chocolates in a mixing bowl with the tablespoon of butter, ½ teaspoon vanilla, and a pinch of salt.
7. Pour the hot cream mixture over the chocolate and stir until the chocolate and butter are completely melted and the mixture is smooth and glossy.
8. Pour the pudding into a clean bowl and cover its surface directly with plastic wrap to prevent a skin from forming.
9. Pop the pudding into the refrigerator to cool thoroughly while you prepare the other layers.
To make the cream cheese layer:
1. In a small mixing bowl or the bowl of an electric mixer, beat the softened cream cheese, 1 teaspoon vanilla, and ½ cup powdered sugar together until the mixture is smooth, creamy, and free of lumps.
To make the whipped cream topping:
1. In a cold bowl, whip the 2 cups of heavy cream until soft peaks begin to form. Then, add ½ cup of powdered sugar and 1 teaspoon vanilla and continue to whip until stiff peaks form. Be careful not to over-whip.
To assemble:
1. Carefully spread the prepared cream cheese layer evenly over the cooled shortbread crust.
2. Next, gently spoon and spread the chilled chocolate pudding over the cream cheese layer, ensuring an even distribution.
3. Finally, top the pudding with the freshly whipped cream, spreading it smoothly across the top.
4. Refrigerate the assembled dessert for at least 1 hour, or preferably overnight, to allow the layers to set and the flavors to meld.
5. Garnish with chocolate curls, shavings, or fresh berries as desired, just before serving.
Notes
If you’re short on time, you can revert back to the semi-homemade version by using instant chocolate pudding and Cool Whip. While the homemade version is undeniably superior, the shortcut version is still a delicious and convenient option.
Recommended Products
As an Amazon Associate and member of other affiliate programs, I earn from qualifying purchases.
- Nonstick Foil
- 9 x 9-inch Baking Pan
- Food Processor
Nutrition Information:
Yield:
16
Serving Size:
1
Amount Per Serving:
Calories: 715Total Fat: 52gSaturated Fat: 27gTrans Fat: 1gUnsaturated Fat: 21gCholesterol: 135mgSodium: 422mgCarbohydrates: 56gFiber: 3gSugar: 20gProtein: 8g
Thatskinnychickcanbake.com occasionally offers nutritional information for recipes contained on this site. This information is provided as a courtesy and is an estimate only. This information comes from online calculators. Although thatskinnychickcanbake.com attempts to provide accurate nutritional information, these figures are only estimates.
Varying factors such as product types or brands purchased can change the nutritional information in any given recipe. Also, many recipes on thatskinnychickcanbake.com recommend toppings, which may or may not be listed as optional and nutritional information for these added toppings is not listed. Other factors may change the nutritional information such as when the salt amount is listed “to taste,” it is not calculated into the recipe as the amount will vary. Also, different online calculators can provide different results.
To obtain the most accurate representation of the nutritional information in any given recipe, you should calculate the nutritional information with the actual ingredients used in your recipe. You are solely responsible for ensuring that any nutritional information obtained is accurate.
HOW MUCH DID YOU LOVE THIS RECIPE?
Please leave a comment on the blog or share a photo on Pinterest
