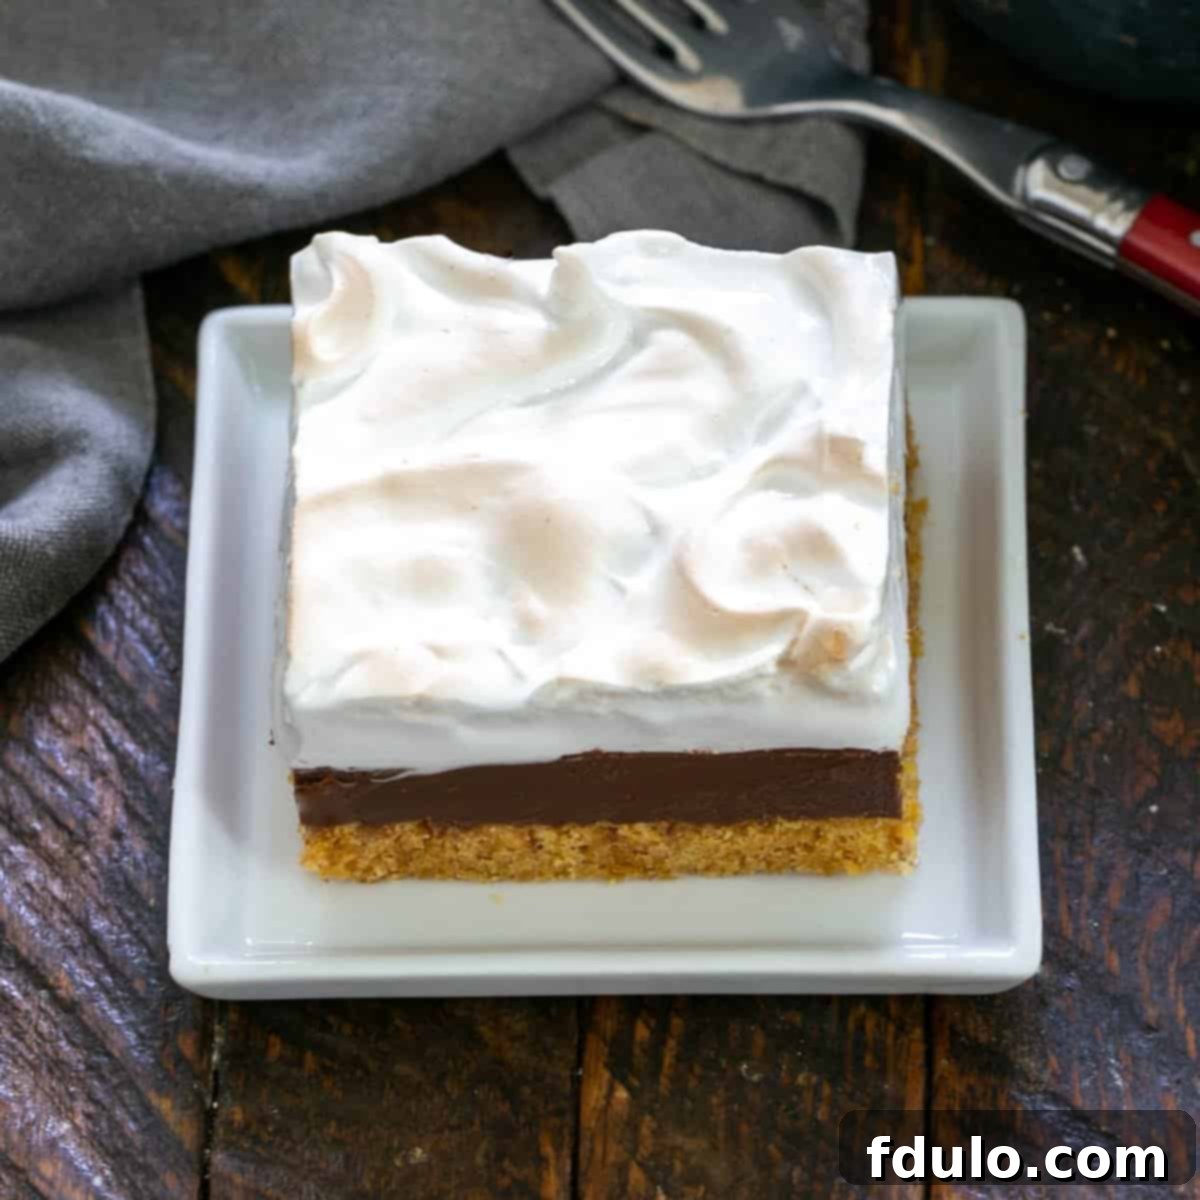
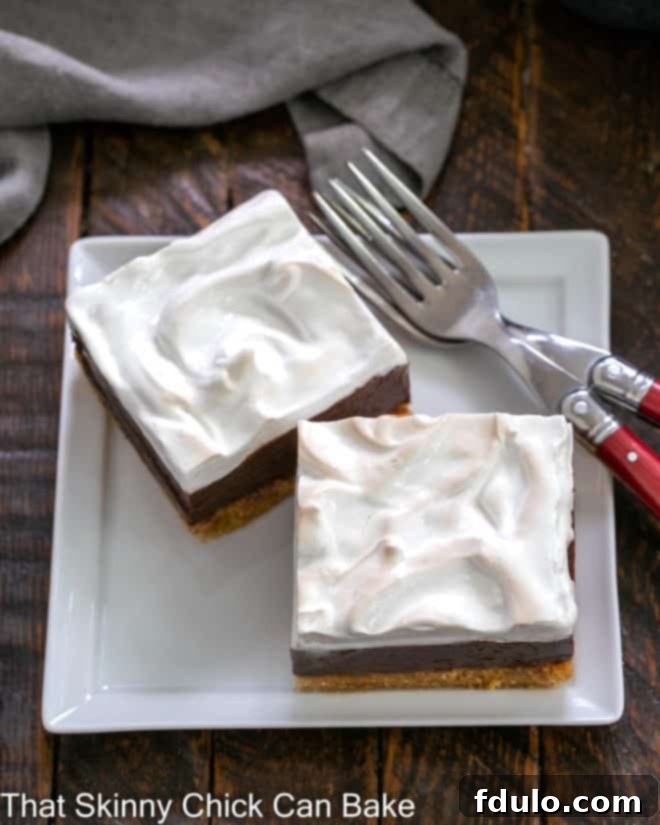
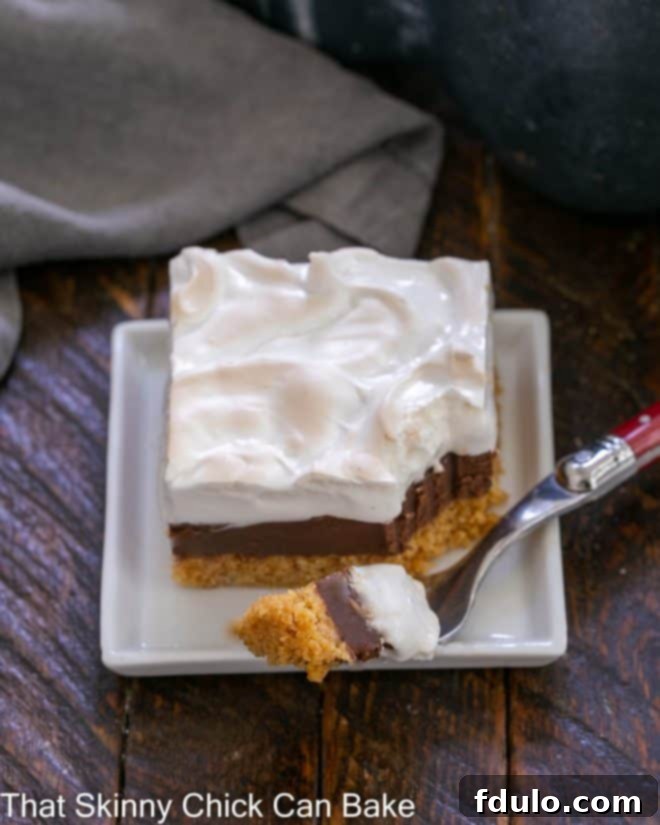
Unveiling a truly extraordinary dessert experience, these S’mores Fudge Bars are a testament to layered decadence. Imagine a perfectly buttery graham cracker crust, crowned with a rich, velvety chocolate fudge layer, and finished with a cloud-like, homemade marshmallow meringue topping. Each bite delivers a harmonious blend of textures and flavors, capturing the essence of the beloved campfire treat but elevated to a gourmet level. Far more sophisticated and delightfully less messy than their classic outdoor counterparts, these bars redefine what s’mores can be.
For those who find the traditional campfire s’mores a bit of a mixed bag – sometimes glorious, sometimes a sticky struggle – this S’mores Bars Recipe offers a transformative experience. It takes all the iconic flavors we adore and reimagines them into a convenient, show-stopping dessert that’s perfect for any occasion, from backyard barbecues to elegant indoor gatherings. This recipe doesn’t just replicate the taste; it enhances it, making it an irresistible treat that will have everyone reaching for “some more.”
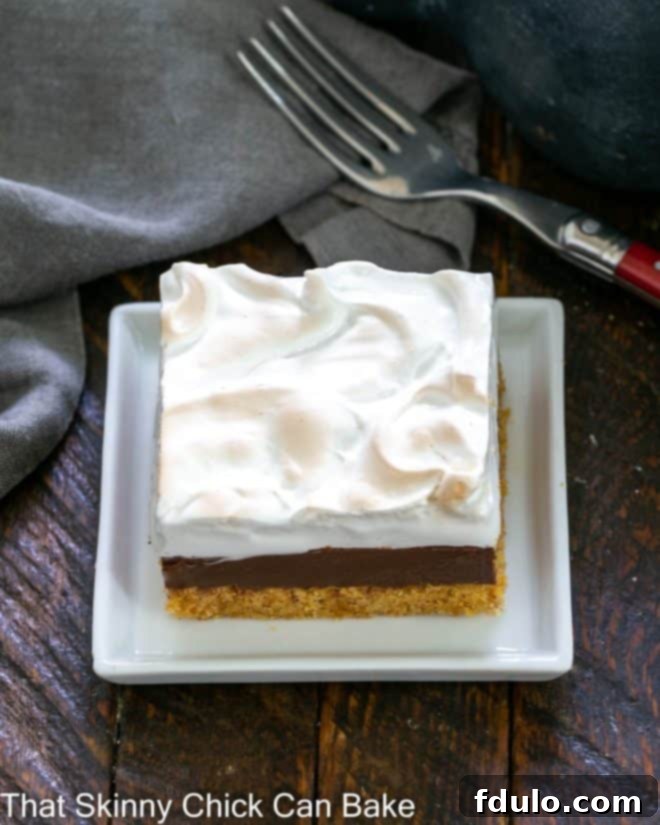
Why You Must Make These Irresistible S’mores Fudge Bars
If you’re searching for a dessert that combines nostalgic comfort with gourmet flair, look no further. These S’mores Fudge Bars are not just a recipe; they’re an experience waiting to happen. Here’s why they deserve a top spot on your baking list:
- Captures the Iconic S’mores Trio: At their core, these bars honor the three legendary components of the classic campfire treat: crunchy graham crackers, decadent chocolate, and fluffy marshmallow. By perfectly balancing these elements in a layered bar, you get all the beloved flavors and textures without the smoky hassle. It’s a complete s’mores experience in every perfect square.
- Elevated Homemade Marshmallow Meringue: Forget the bland, overly sweet store-bought marshmallows. The fluffy marshmallow meringue topping in this recipe is homemade, offering a superior texture and a delicately sweet flavor that truly sets these bars apart. It’s light, airy, and toasts beautifully, providing that quintessential gooey, slightly browned s’mores finish that is simply miles ahead of anything from a bag. This homemade touch transforms the bars into something truly special.
- Perfect for Any Occasion, No Campfire Needed: These S’mores Fudge Bars are the ultimate solution for enjoying the taste of summer s’mores when it’s too hot to light a fire, or when you simply crave this delightful dessert year-round. They are ideal for summer gatherings, potlucks, picnics, or any celebration where a crowd-pleasing dessert is desired. Easy to transport and serve, they bring the joy of s’mores indoors, making them accessible and enjoyable regardless of the weather. They also make a fantastic make-ahead dessert, freeing up your time for entertaining.
Beyond these reasons, the sheer indulgence of a rich fudge layer combined with a light, toasted meringue atop a crisp crust makes these bars an absolute standout. They are surprisingly simple to assemble, offering maximum reward for minimal effort.
Ingredient Notes for the Perfect S’mores Fudge Bars:
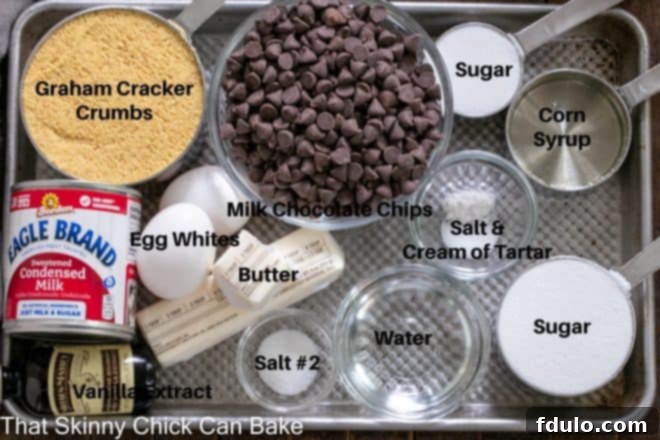
Crafting the perfect S’mores Fudge Bars starts with understanding your ingredients. Here are some essential notes to ensure your layers come together flawlessly:
- Graham Cracker Crumbs: For convenience, you can purchase pre-crushed graham cracker crumbs. However, for a fresher taste and often a more economical option, grind whole graham crackers in a food processor until finely crushed. This ensures a uniform texture for your crust, preventing it from being too crumbly or too dense. If you’re looking for a gluten-free option, many brands now offer gluten-free graham crackers that work just as well.
- Milk Chocolate Chips: While milk chocolate chips provide the classic s’mores flavor profile, you have flexibility here. Feel free to use semisweet chocolate chips for a slightly less sweet, richer fudge layer. For an even more luxurious experience, consider using high-quality chopped milk or semi-sweet chocolate bars, which can melt more smoothly and offer a superior flavor. The quality of your chocolate significantly impacts the taste of your fudge layer.
- Cream of Tartar: This often-overlooked ingredient is crucial for your homemade marshmallow meringue topping. Cream of tartar acts as a stabilizer, helping the egg whites whip up faster, achieve greater volume, and hold their stiff peaks. It also contributes to the meringue’s smooth, silky texture, preventing it from becoming grainy or weeping.
- Egg Whites: The success of your meringue hinges on properly prepared egg whites. It is paramount that your egg whites, the mixing bowl, and the beaters are completely free from any grease, oil, or even the smallest speck of egg yolk. Any trace of fat can prevent the egg whites from whipping correctly, resulting in a runny, unstable meringue. Use a clean glass or stainless steel bowl for best results.
- Corn Syrup: I recommend using Karo brand light corn syrup for the marshmallow topping. Corn syrup plays a vital role in preventing sugar crystallization, which can make your meringue gritty. It also contributes to the marshmallow’s characteristic chewiness and sheen. To easily measure out sticky corn syrup, lightly spray your measuring cup or spoon with non-stick cooking spray (like Pam) before adding the syrup. This allows it to slide out effortlessly.
- Unsalted Butter: While not explicitly listed as a note, using unsalted butter for the crust gives you more control over the overall saltiness of the bars. If using salted butter, you might want to slightly reduce the added salt in the crust recipe.
- Sweetened Condensed Milk: This is the secret to a rich, creamy, and perfectly set fudge layer. Opt for full-fat sweetened condensed milk for the best texture and flavor. Do not confuse it with evaporated milk, as they are not interchangeable.
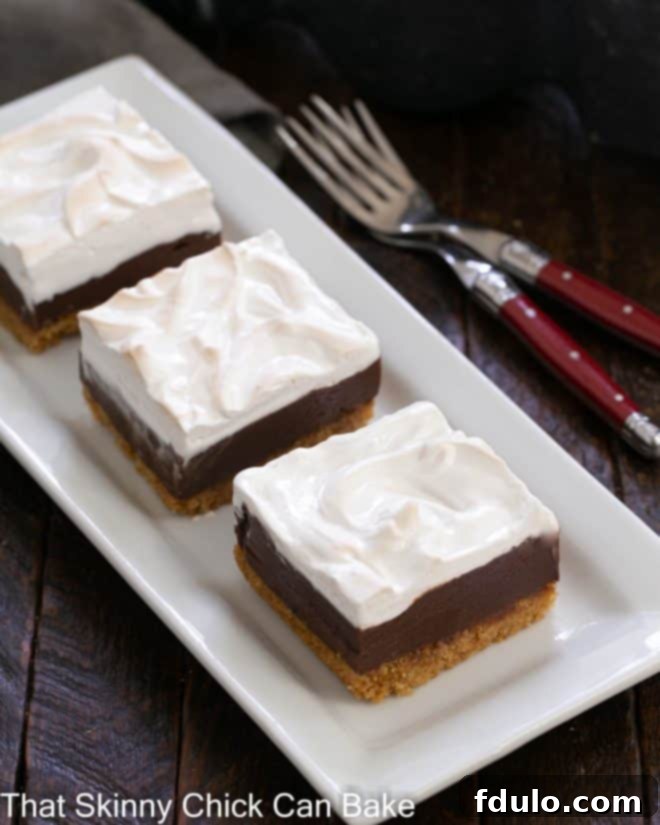
Expert Tips for Flawless S’mores Fudge Bars:
Achieving bakery-worthy S’mores Fudge Bars is easier than you think with these professional insights. Following these tips will ensure your bars are perfectly layered, beautifully textured, and an absolute joy to eat:
- Meringue Perfection Starts with Cleanliness: The secret to a tall, fluffy marshmallow meringue lies in scrupulously clean utensils. Any trace of fat—from grease on your bowl or beaters, or even a tiny speck of egg yolk—will prevent the egg whites from whipping properly. Fat molecules interfere with the protein structure of the egg whites, inhibiting them from forming stable air bubbles. Always use a glass or metal bowl, not plastic, as plastic can retain residual grease. Wipe down your bowl and beaters with a paper towel dampened with lemon juice or vinegar to ensure they are pristine before you begin.
- The Hot Knife Trick for Clean Cuts: Cutting through the sticky marshmallow meringue and dense fudge can be a challenge. To achieve beautifully clean, defined bar edges, use a hot, dry knife. The heat will allow the knife to glide effortlessly through the layers, minimizing sticking and tearing. Reheat your knife between each cut or every few cuts, as it cools quickly. A simple way to heat your knife is to run it under hot water from your tap or hot water dispenser, then immediately wipe it completely dry with a clean towel before slicing. Repeat as needed for consistently neat slices.
- DIY Graham Cracker Crumbs for Best Results: While store-bought graham cracker crumbs are convenient, making your own offers several advantages. Breaking up graham cracker squares and processing them in a food processor allows you to control the fineness of the crumbs. This typically results in a fresher, more flavorful crust with a better texture. Plus, it’s often more economical than buying pre-crushed crumbs. Ensure the crumbs are fine and uniform for a crust that presses well and holds its shape.
- Don’t Skimp on Chilling Time: Patience is a virtue when making layered bars. Allow each layer, especially the fudge, to chill adequately before adding the next. This ensures each layer sets properly, preventing them from bleeding into one another and making the bars much easier to cut cleanly. The final chill after assembling all layers is crucial for firm, well-structured bars.
- Mastering the Broiler for Toasted Meringue: Broiling the marshmallow meringue topping is what gives these bars their authentic, lightly browned s’mores finish. However, this step requires undivided attention! Broilers can vary greatly in intensity, and meringue can go from perfectly golden to burnt in a matter of seconds. Keep the pan on the top rack, but not too close to the broiler element, and watch it continuously. As soon as you see the desired golden brown spots, remove the pan immediately. A mini kitchen torch can also be used for more precise browning control.
- Accurate Temperature for Sugar Syrup: When making the marshmallow meringue, using a candy thermometer to reach precisely 240°F (soft-ball stage) for the sugar syrup is essential. This temperature ensures the syrup is hot enough to cook the egg whites and achieve the correct consistency for a stable, fluffy meringue. Do not guess; accurate temperature is key for food safety and meringue structure.
Frequently Asked Questions About S’mores Fudge Bars:
S’mores are a beloved American campfire treat, traditionally consisting of a fire-toasted marshmallow and a piece of chocolate sandwiched between two graham crackers. The name is a contraction of “some more,” reflecting the common desire for an additional serving after tasting one. This iconic dessert first gained widespread popularity through a Girl Scout cookbook in 1927, and it has since become synonymous with camping, bonfires, and summer evenings. The joy of s’mores lies in the simple, yet perfect, combination of crunchy, sweet, and gooey textures.
S’mores bars, like these delightful S’mores Fudge Bars, are a baked interpretation of the classic campfire treat. They typically feature a base of graham cracker crust, a rich chocolate filling, and a marshmallow topping. For these specific bars, we start with a pressed and baked graham cracker crust. This is followed by a simple yet luxurious fudge layer made from melted chocolate chips and sweetened condensed milk, which sets into a wonderfully creamy consistency. Finally, a homemade marshmallow meringue is carefully spread over the fudge and then lightly toasted under a broiler or with a kitchen torch to achieve that signature golden-brown finish.
While this recipe shines with its homemade marshmallow meringue, you can certainly adapt it if you prefer to use store-bought marshmallows. Simply arrange a single layer of large marshmallows or a dense layer of mini marshmallows over the chilled fudge. Then, carefully broil them for a very short time (watching constantly!) until they are golden brown and gooey, or use a kitchen torch for more control. Be aware that the texture and flavor will be different from the homemade meringue, which is lighter and less intensely sweet.
Due to their gooey marshmallow meringue topping, these S’mores Fudge Bars are best stored in a single layer in an airtight container in the refrigerator. They will maintain their freshness and texture for about 3-4 days. If you’ve used store-bought marshmallows, the bars might be fine covered at room temperature for a day, but refrigeration is generally recommended for optimal quality and to prevent the fudge from becoming too soft. For longer storage, bars made with packaged marshmallows can often be frozen in an airtight container for 2-3 months. Thaw them overnight in the refrigerator before serving to ensure they regain their best consistency.
Absolutely! These S’mores Fudge Bars are an excellent make-ahead dessert. You can prepare them a day or two in advance and store them in the refrigerator, covered. This allows the layers ample time to set perfectly, which often makes them easier to slice and serve. The flavors also meld beautifully overnight, enhancing the overall deliciousness. Just be sure to bring them to room temperature for about 15-20 minutes before serving for the best texture, especially the fudge layer.
You May Also Like These S’mores-Inspired Dessert Recipes:
If you’re a true s’mores aficionado, you’ll love exploring these other creative twists on the classic treat. Each recipe brings a unique take on the beloved graham cracker, chocolate, and marshmallow combination:
- S’mores Cookies or S’mookies: A delightful fusion of cookie and s’mores, offering a chewy, gooey experience.
- Easy S’mores Dip: A warm, bubbly, irresistible dip perfect for sharing, served with graham crackers for dipping.
- S’mores Brownies: Rich, fudgy brownies topped with toasted marshmallows, a truly decadent treat.
- S’mores Pie: All the elements of s’mores baked into a luscious, shareable pie.
- More Easy Bar Cookie Recipes: Discover a wide array of other convenient and delicious bar cookie recipes perfect for any occasion.
Note: This post may contain affiliate links; view my Disclosure Policy for details. I earn a small percentage from any purchase you make by clicking on these links at no extra cost to you.
Stay connected with us for more delicious recipes and baking inspiration! Find us on Instagram, Facebook, and Pinterest. Don’t forget to tag me when you try one of my recipes! If you love the results, please consider giving it a 5-star rating in the recipe card below.
S’mores Fudge Bars
20 minutes
20 minutes
40 minutes
16 bars
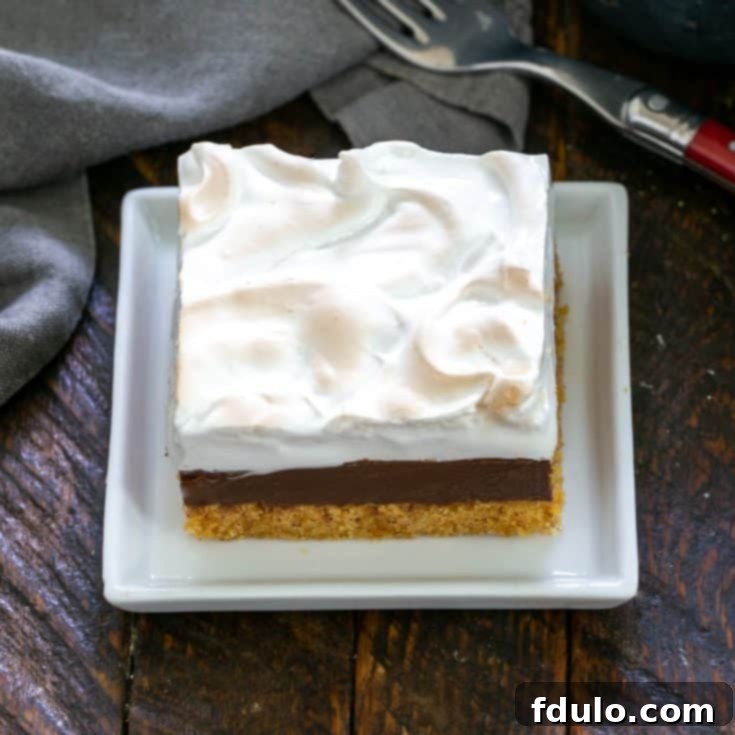
Layered s’mores bars with a crunchy graham cracker crust, a rich fudge center, and a fluffy marshmallow meringue topping.
Ingredients
Crust
- 2 cups graham cracker crumbs
- 10 tablespoons butter, melted
- ¼ cup sugar
- ½ teaspoon salt
Fudge layer
- 2 cups milk chocolate chips
- 14 ounce can of sweetened condensed milk
Marshmallow Layer
- ¾ cup sugar
- ½ cup light corn syrup
- ¼ cup water
- ¼ teaspoon salt
- 2 egg whites
- ¼ teaspoon cream of tartar
- 1½ teaspoons vanilla extract
Instructions
- Preheat your oven to 350°F (175°C).
- Line a 9 x 9-inch baking pan with nonstick foil, leaving an overhang on the sides for easy removal. Set aside.
- In a medium bowl, mix all the crust ingredients together until well combined. Press the mixture firmly and evenly into the bottom of the prepared pan.
- Bake for 10 minutes until lightly golden. Remove from oven and let cool completely on a wire rack.
- For the fudge filling, combine the sweetened condensed milk and chocolate chips in a microwave-safe bowl. Microwave in 30-second intervals, stirring after each, until the chocolate is completely melted and the mixture is smooth. Pour the warm fudge onto the cooled graham cracker crust and spread evenly with an offset spatula. Place the pan in the refrigerator to chill for at least 30 minutes, or until the fudge layer is set.
- While the fudge chills, prepare the marshmallow meringue. In the bowl of a stand mixer (or a large bowl with a hand mixer), beat 2 egg whites and cream of tartar together on medium-high speed until soft peaks form. Set aside.
- In a small saucepan, combine ¾ cup sugar, ½ cup light corn syrup, ¼ cup water, and ¼ teaspoon salt over medium-high heat. Stir until the sugar dissolves.
- Continue to boil the sugar mixture without stirring until a candy thermometer inserted into the syrup reaches 240°F (116°C), which is the soft-ball stage. This mixture is extremely HOT, so exercise caution.
- With the mixer running on low speed, slowly and carefully drizzle the hot sugar syrup into the egg whites. Be careful not to pour the syrup directly onto the beaters.
- Once all the syrup has been added, increase the mixer speed to medium-high and beat for 8 minutes, or until the meringue is very thick, glossy, and forms stiff peaks. Add the vanilla extract during the last few seconds of beating.
- Carefully spread the marshmallow meringue topping over the chilled chocolate fudge layer. You can swirl it or create decorative peaks with the back of a spoon if desired.
- For the toasted marshmallow effect, place the pan under the broiler for approximately 1 minute, or until the top of the marshmallow layer becomes lightly golden brown. WATCH CAREFULLY, as it can burn very quickly! Alternatively, use a kitchen torch to brown the meringue.
- Allow the bars to cool completely at room temperature, then chill them in the refrigerator for at least 2 hours (or preferably longer) to ensure all layers are fully set. Once chilled, use a hot, dry knife (refer to expert tips) to cut into 16 bars and serve.
Notes
Adapted from Cookies & Cups via Hugs & Cookies.
Remember, no oil or egg yolk should contaminate your egg whites; otherwise, they will not whip properly into a stable meringue. Ensure all your equipment is impeccably clean.
Be extremely careful when adding the hot sugar syrup to the egg whites, as it is very high in temperature and can cause burns if not handled safely.
When broiling the marshmallow topping, stay vigilant and do not step away from the oven. The meringue browns very quickly, and you want to prevent it from burning.
Recommended Products
As an Amazon Associate and member of other affiliate programs, I earn from qualifying purchases.
- Nonstick Foil
- Thermapen Instant Read Thermometer
- 9 x 9-inch Baking Pan
Nutrition Information:
Yield:
16
Serving Size:
1 bar
Amount Per Serving:
Calories: 410
Total Fat: 17g
Saturated Fat: 10g
Trans Fat: 0g
Unsaturated Fat: 6g
Cholesterol: 35mg
Sodium: 277mg
Carbohydrates: 60g
Fiber: 1g
Sugar: 52g
Protein: 5g
HOW MUCH DID YOU LOVE THIS RECIPE?
Please leave a comment on the blog or share a photo on Pinterest
